
96 Trans Am Restoration


 11-30-2013, 12:51 PM
#103
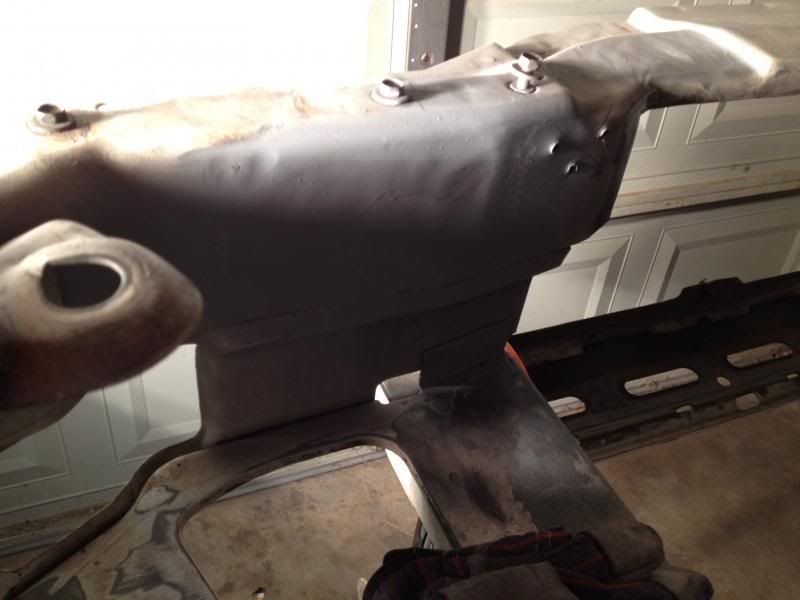
It has been a few months since I have updated this, but progress is still being made. I have been picking up new tools for the garage to help make this easier. I picked up a nice tool box, a new air compressor, and a TIG welder to make the cosmetic welding easier. I have spent many hours working on the engine bay, and still have many more to go. There is zero body filler in the engine bay as of right now.
A warning to anyone who decides to smooth their engine bay. Once you start, you can't stop!
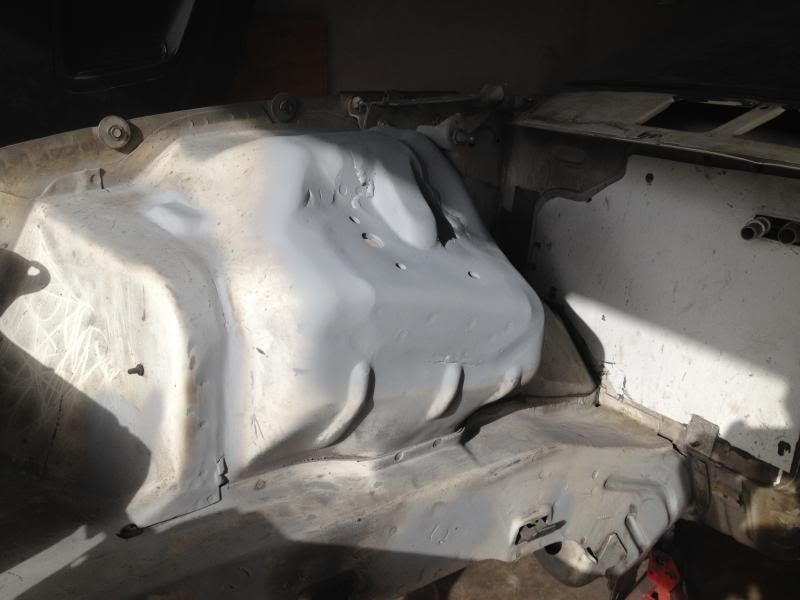
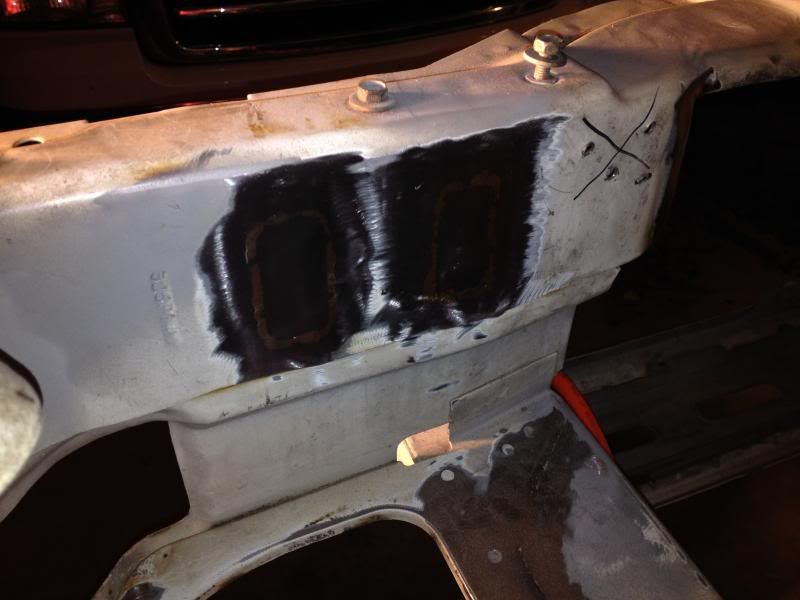
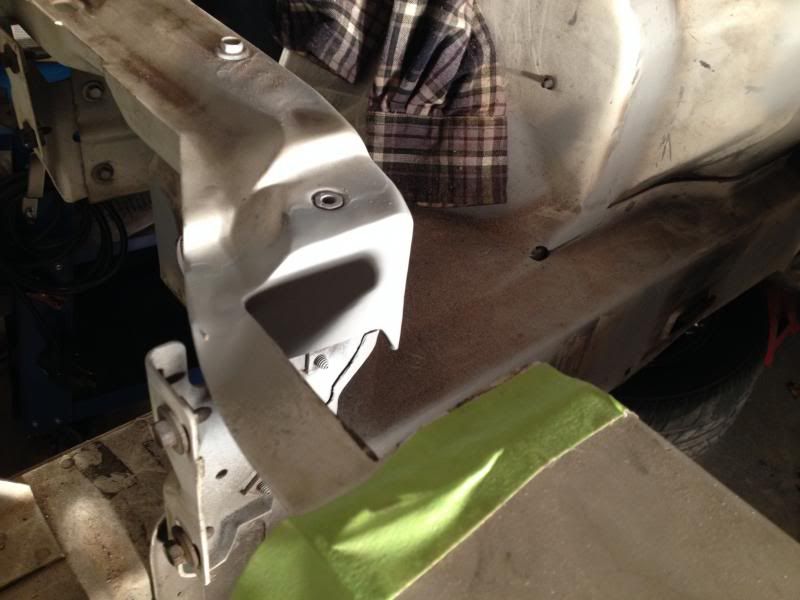
Smoothing about 1/3 of the way done on the passenger side strut tower.
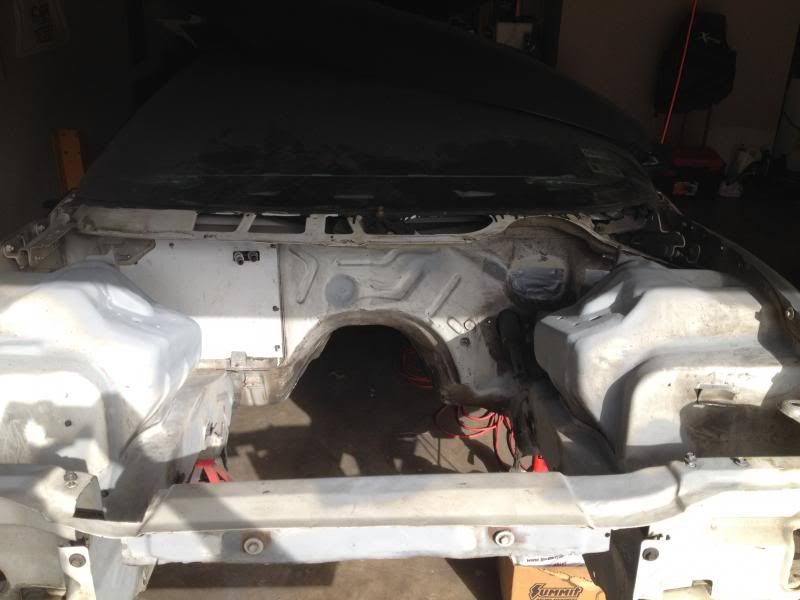
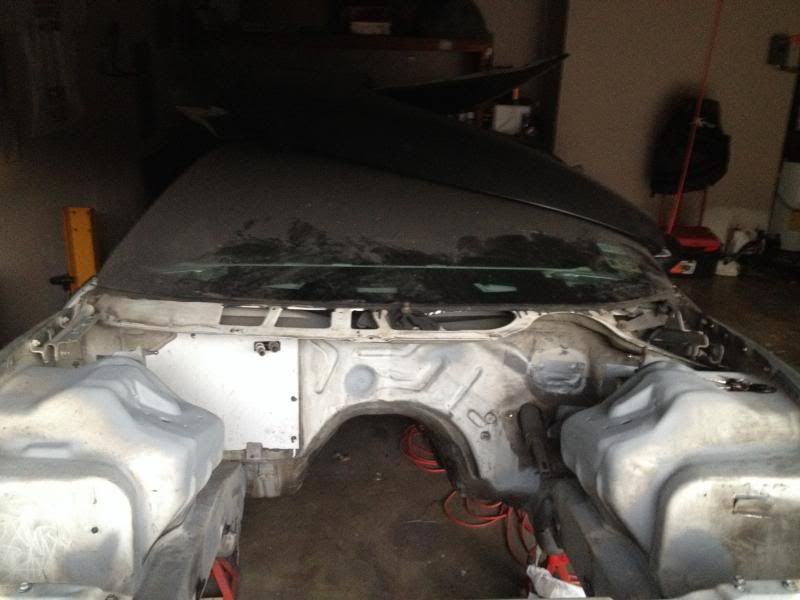
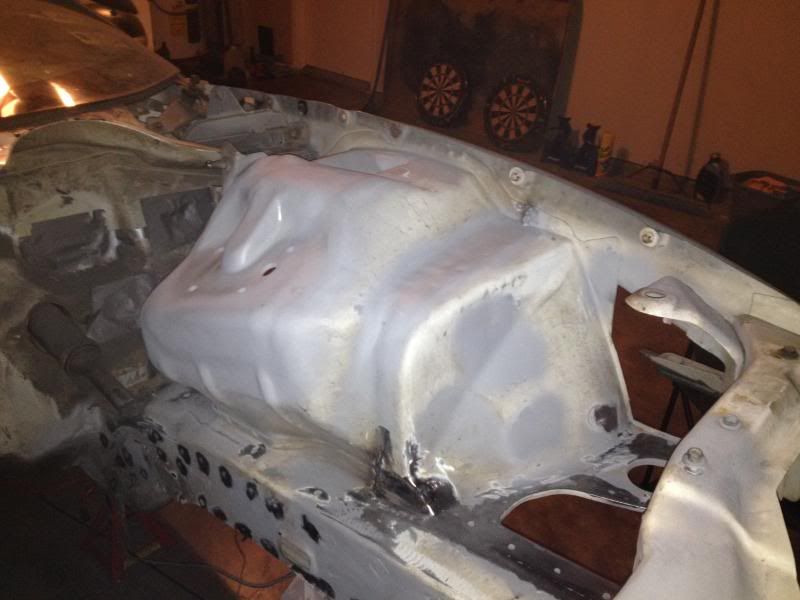
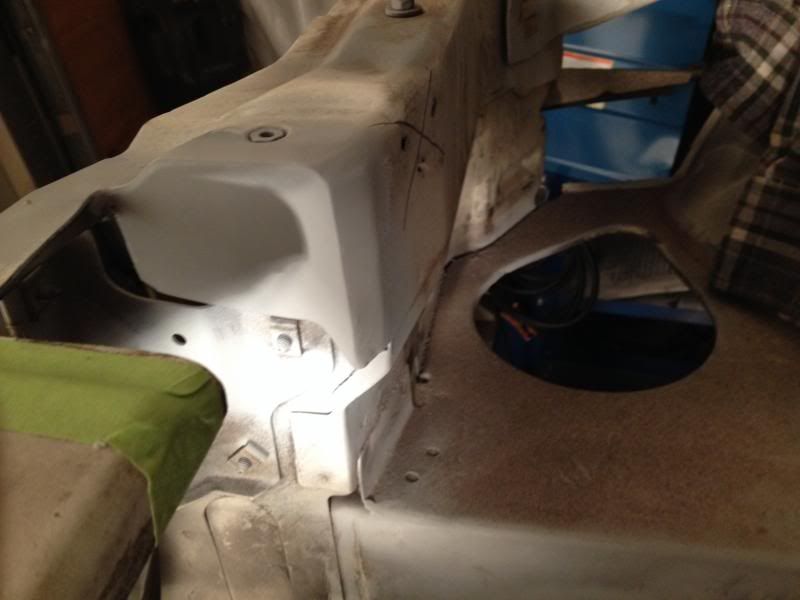
Some overall shots of the bay
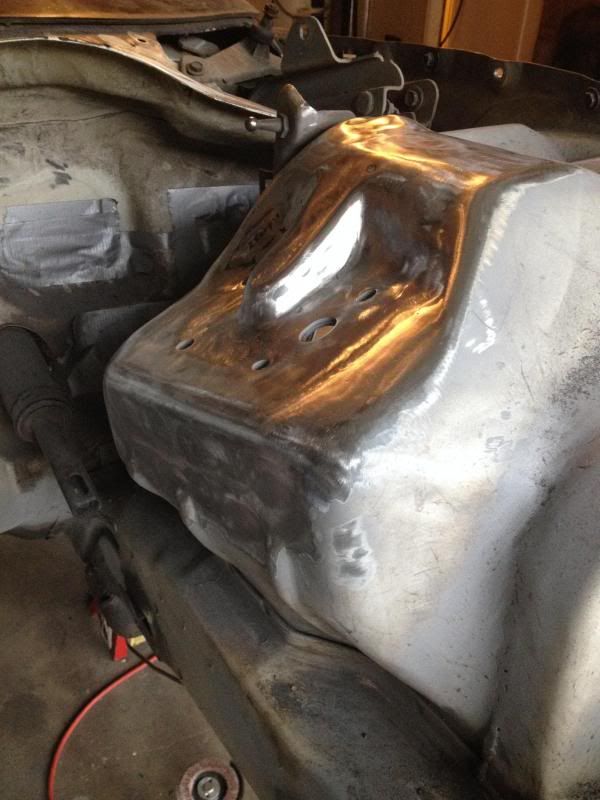
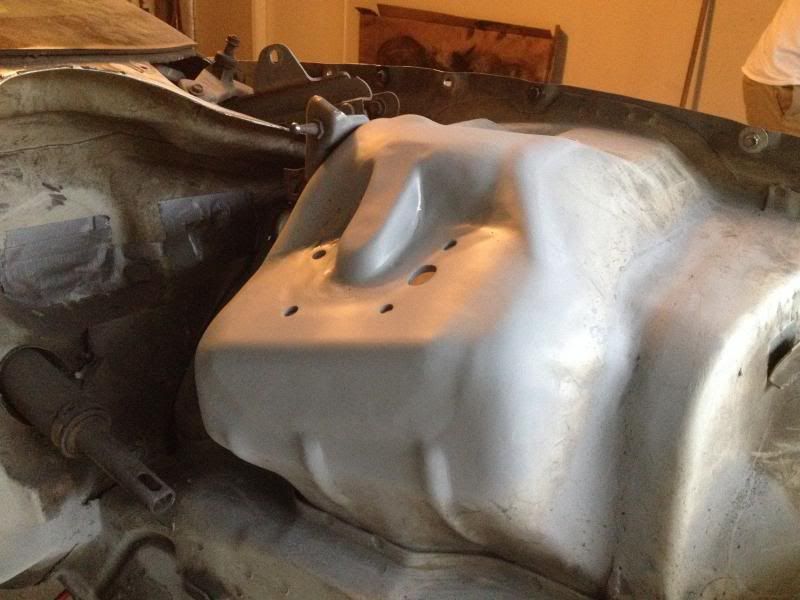
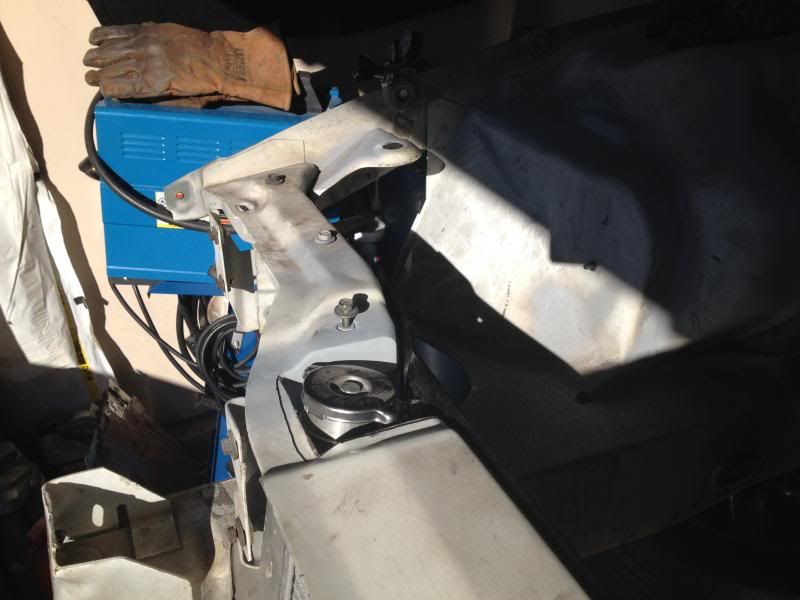
Drivers side strut tower
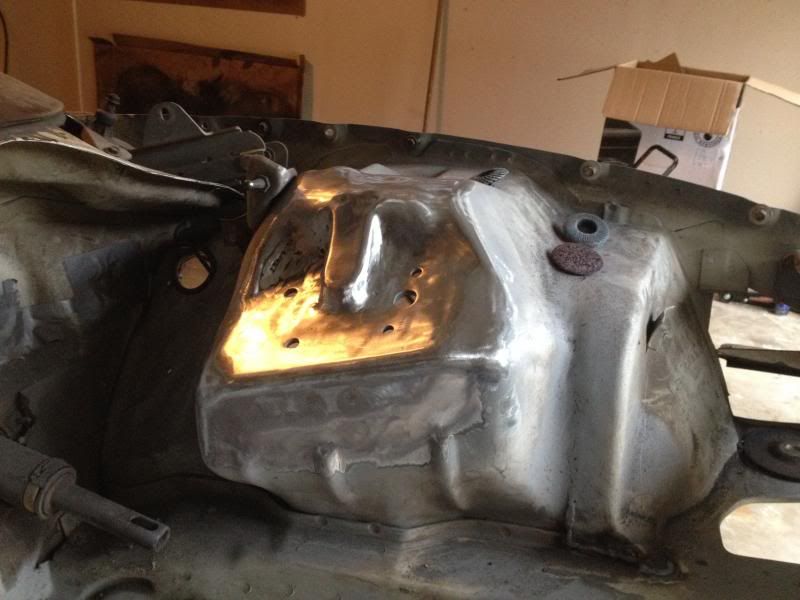

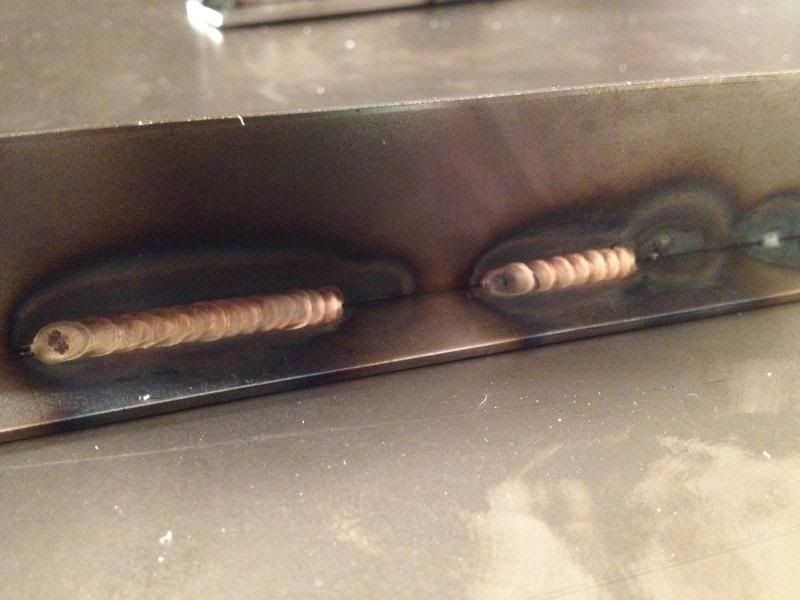
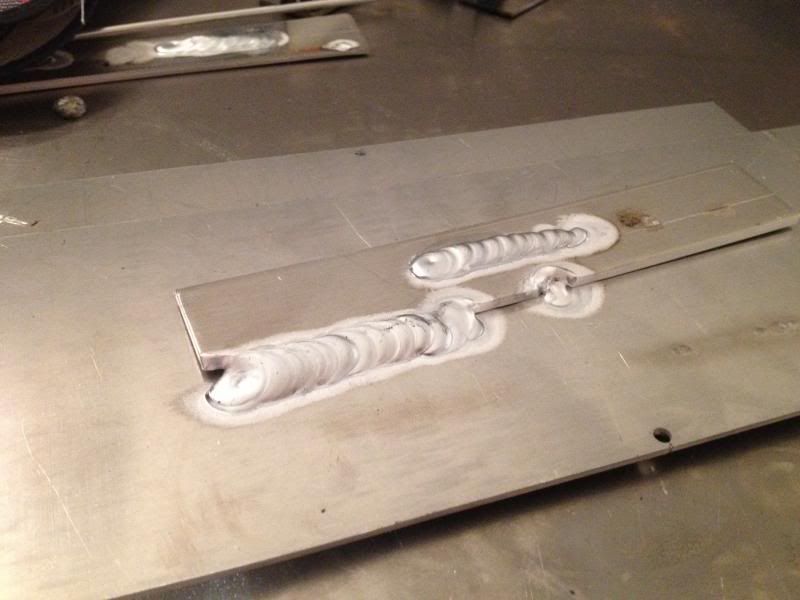
Picked up a new TIG machine and did some playing. I still have some much needed practice on Aluminum, but overall not too shabby.
Smoothing some of the core support out
A warning to anyone who decides to smooth their engine bay. Once you start, you can't stop!
Smoothing about 1/3 of the way done on the passenger side strut tower.

Some overall shots of the bay


Drivers side strut tower


Picked up a new TIG machine and did some playing. I still have some much needed practice on Aluminum, but overall not too shabby.


Smoothing some of the core support out


Last edited by 69gto96z; 11-30-2013 at 01:29 PM.
11-30-2013, 01:02 PM
#104
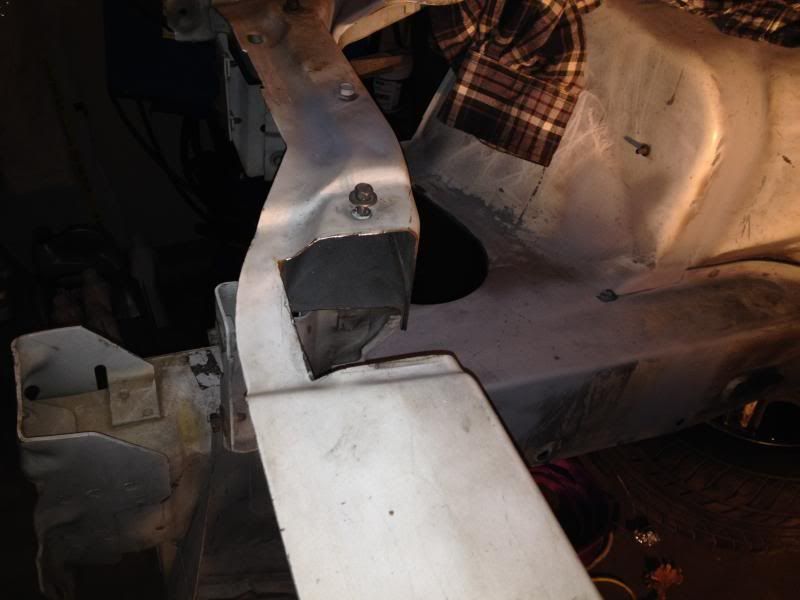
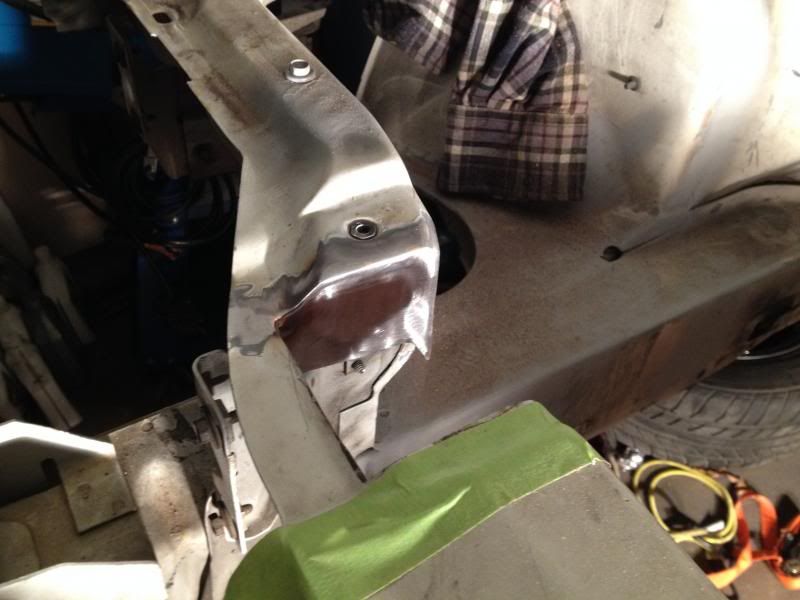
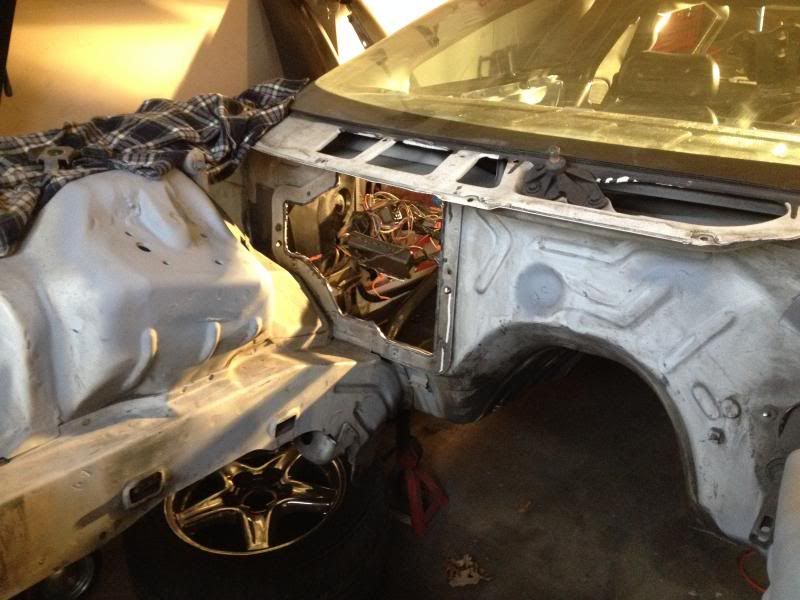
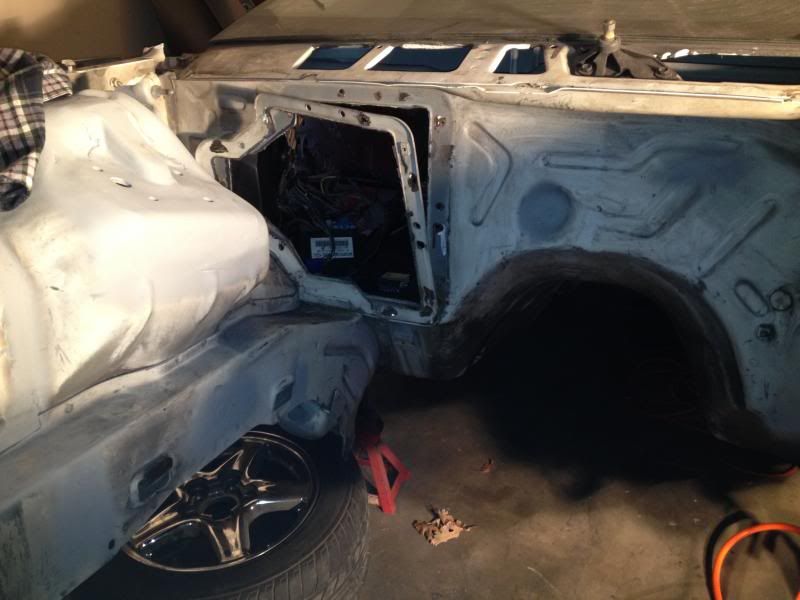
I decided to ditch heat all together for now. I will probably come back in with a smaller unit, but I want my computer and possibly fuse box hidden where the heat box was sitting. I decided to ditch my old AC delete panel, and weld a panel in, smooth it, and a light layer of filler on top to finish it up.
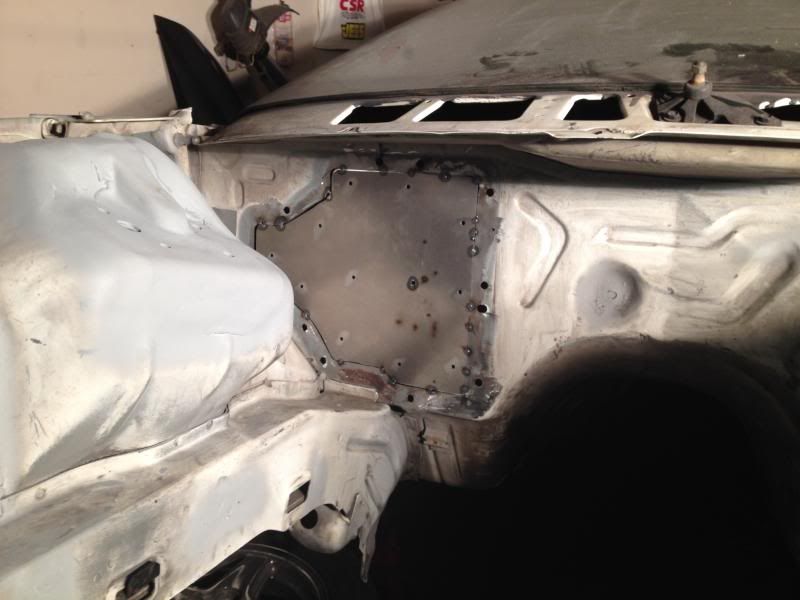
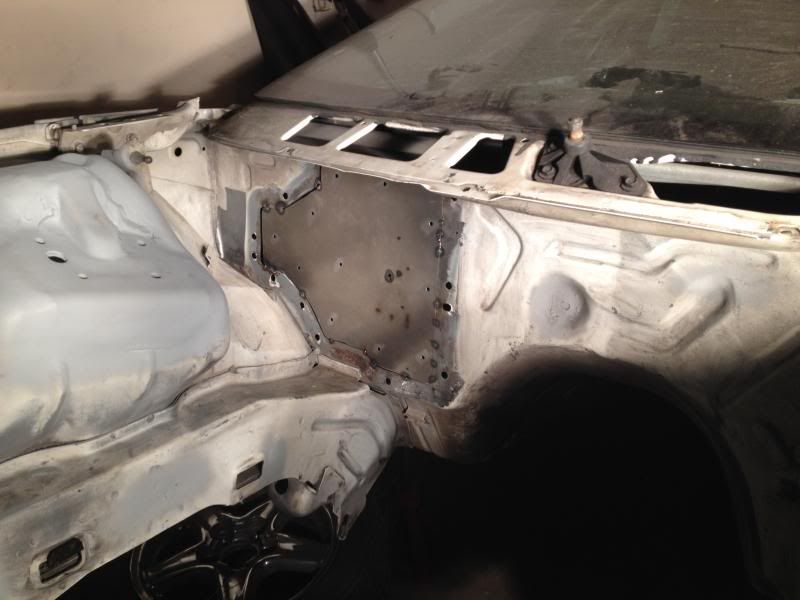
I made the AC delete plate out of two pieces, and welded some 1/2" studs on the backside with 3/8-16 threads inside of them. This way I can mount the computer to an aluminum panel, and easily unbolt the whole panel and remove it if needed.
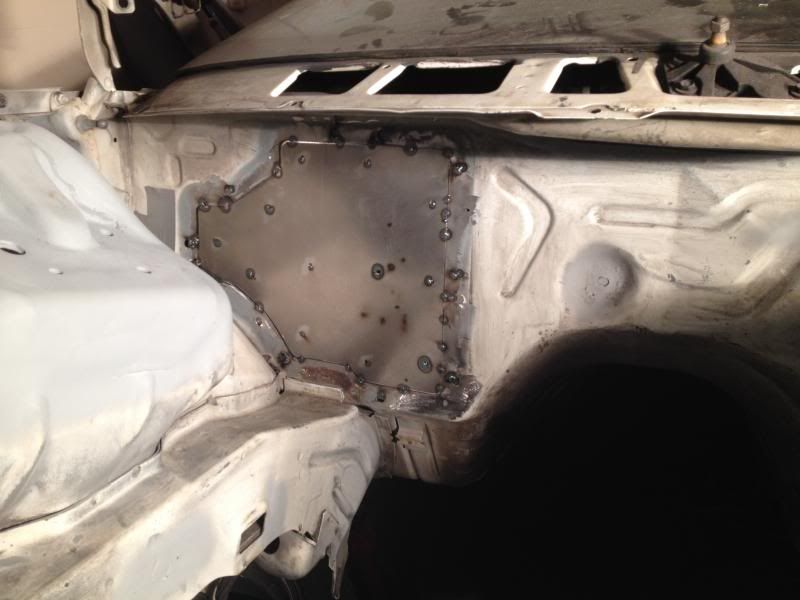
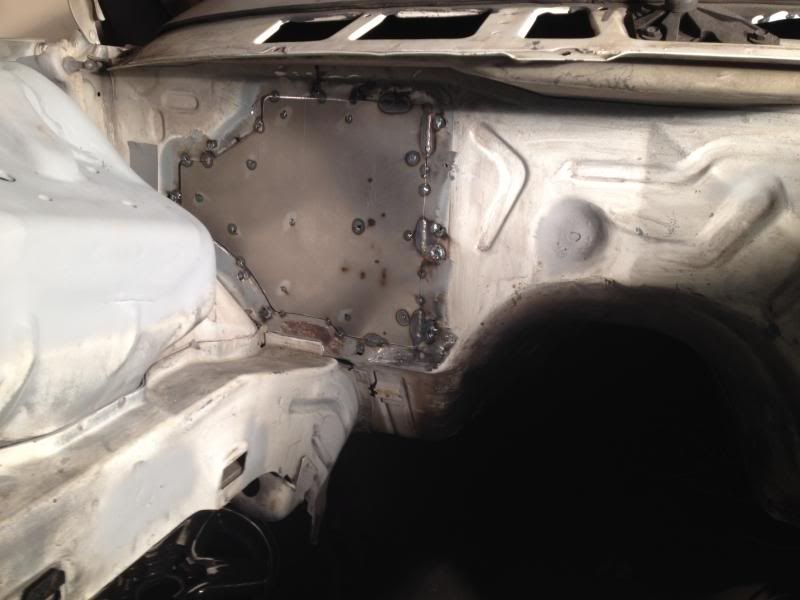
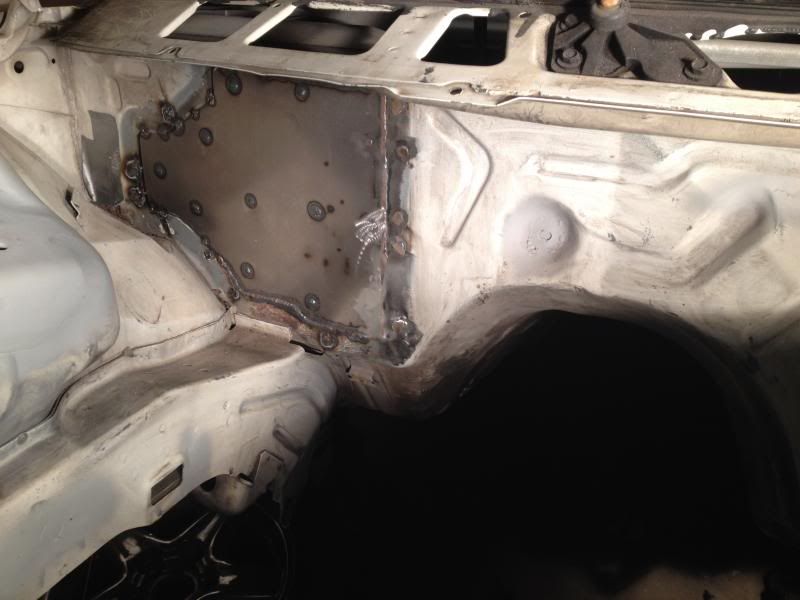
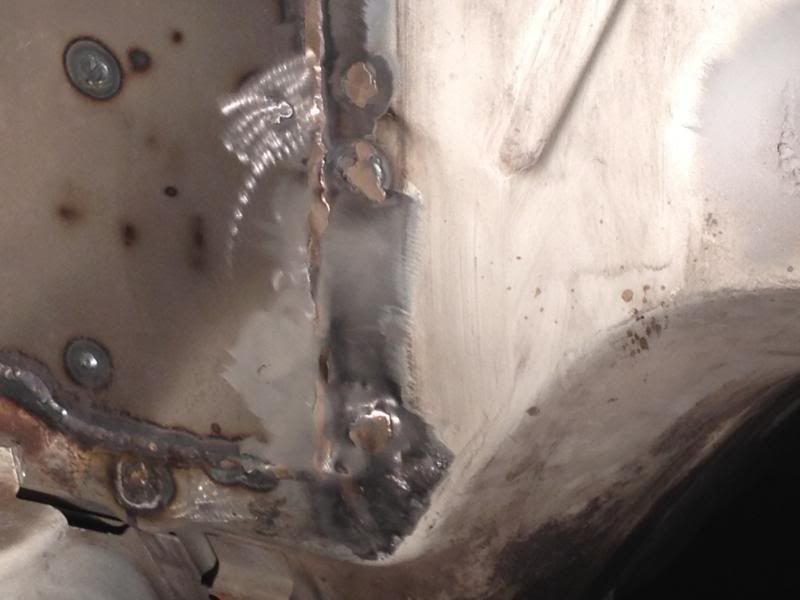


I made the AC delete plate out of two pieces, and welded some 1/2" studs on the backside with 3/8-16 threads inside of them. This way I can mount the computer to an aluminum panel, and easily unbolt the whole panel and remove it if needed.


Last edited by 69gto96z; 11-30-2013 at 01:30 PM.
 12-08-2013, 03:26 AM
#107
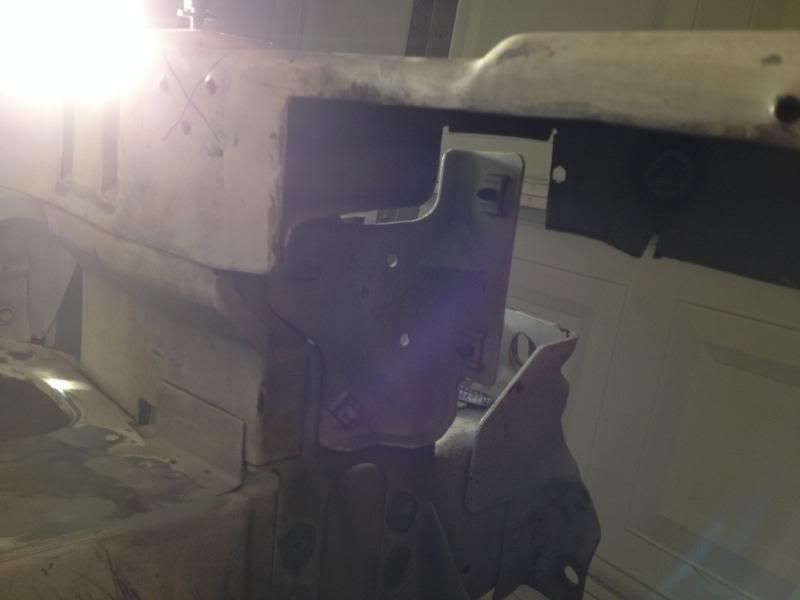
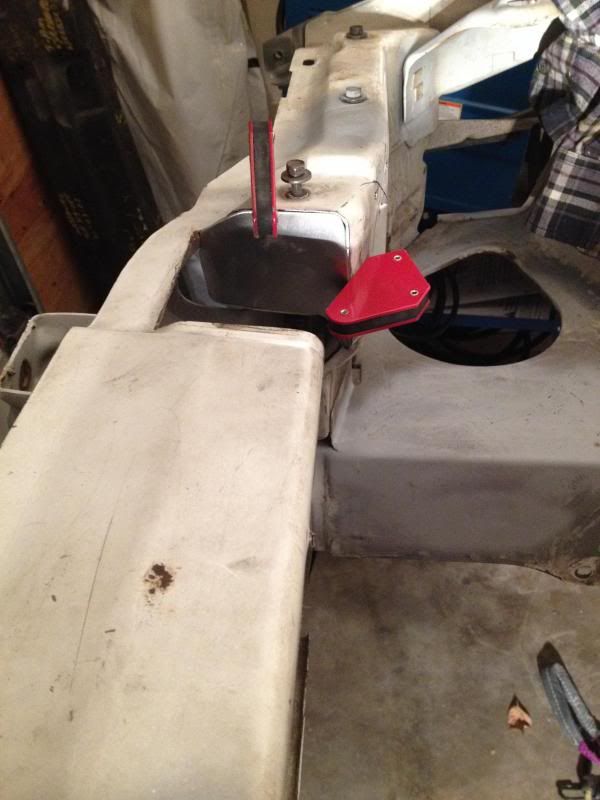
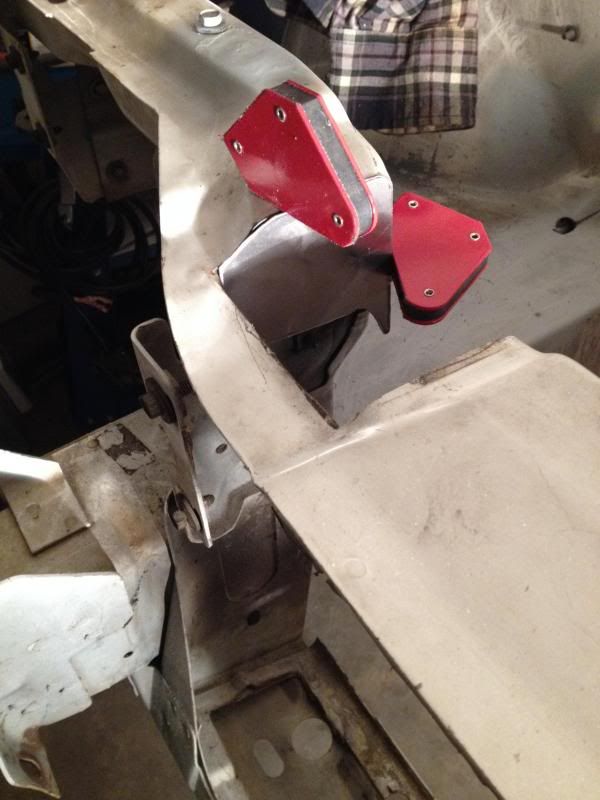
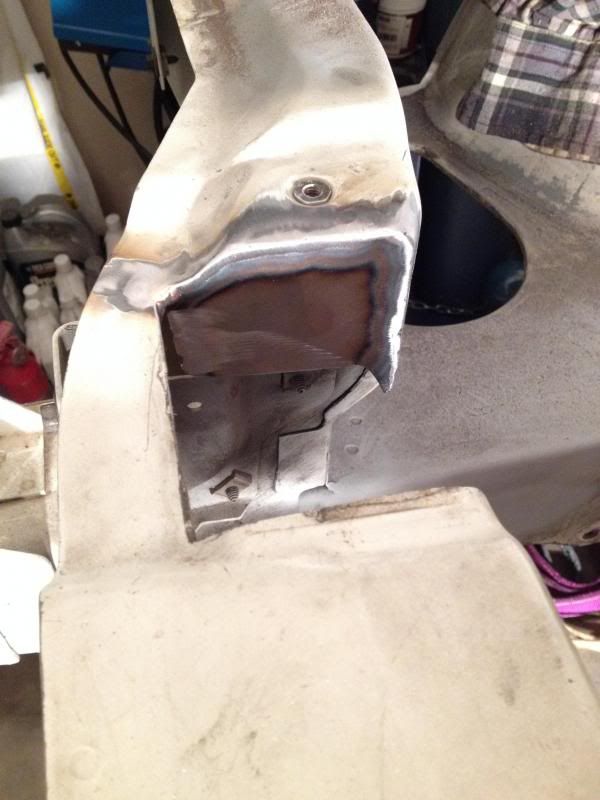
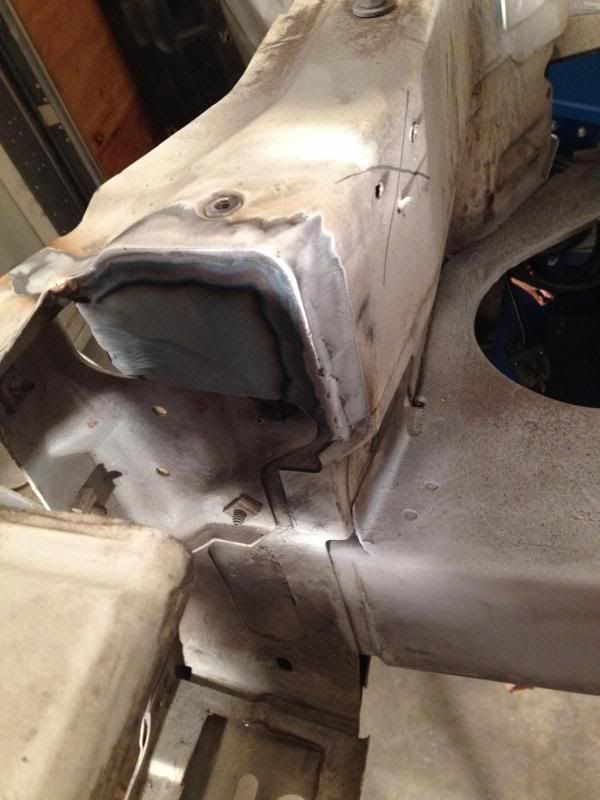
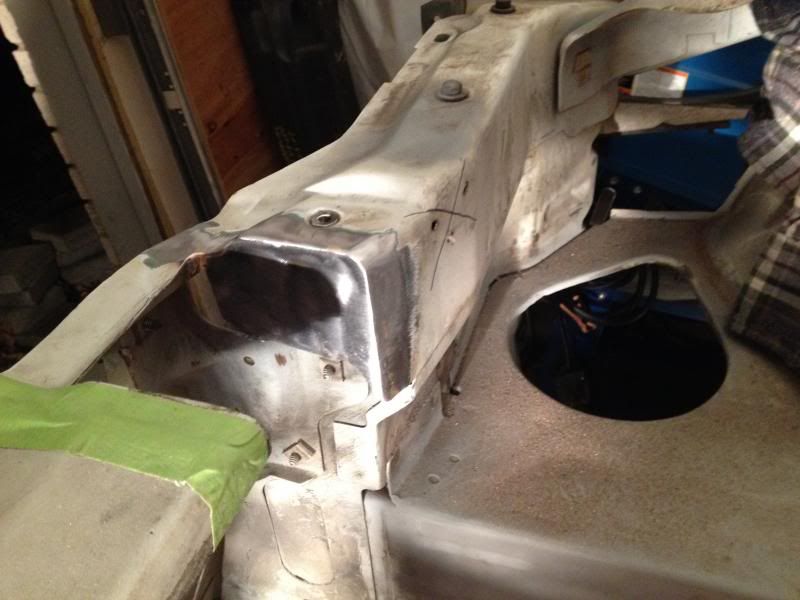
Got out in the garage today and did a little bit of work. I am running low on gas for the welder, so I couldn't finish the ac delete panel. I decided to turn my attention to the core support. I will puck up a new bottle this week and hopefully finish out the ac delete panel next week.
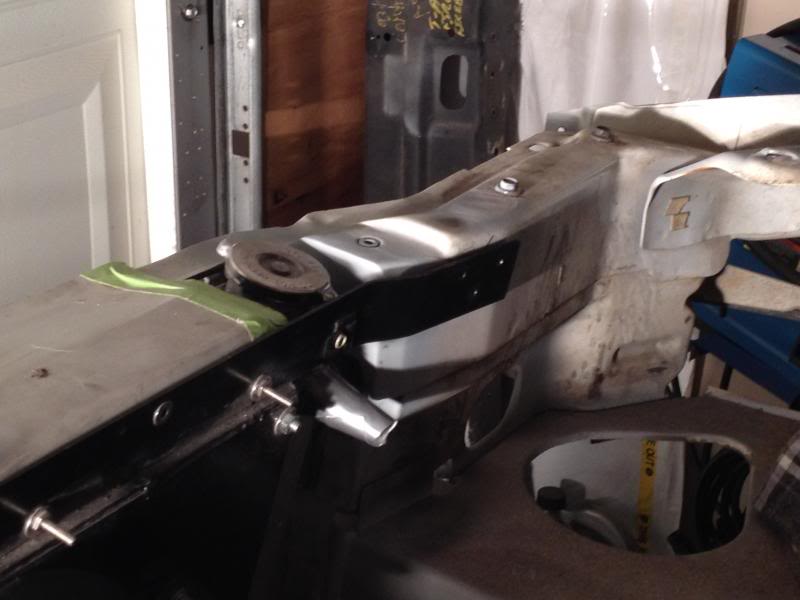
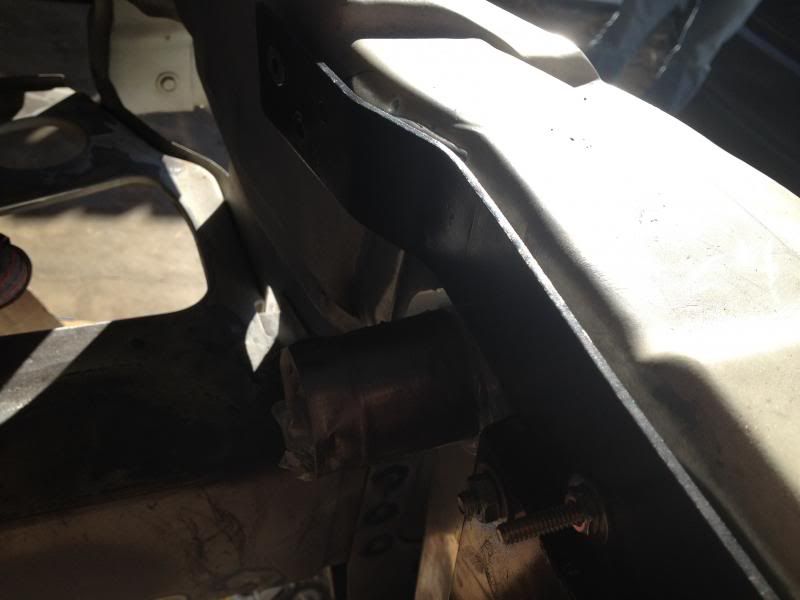
Here are some pics of the original install of the Griffin radiator. I threw it together, while still DDing the car, knowing I would come back and finish it later.
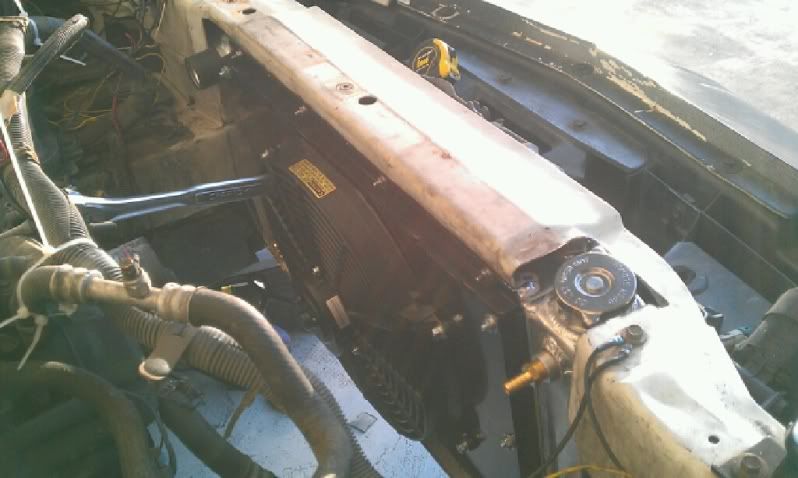
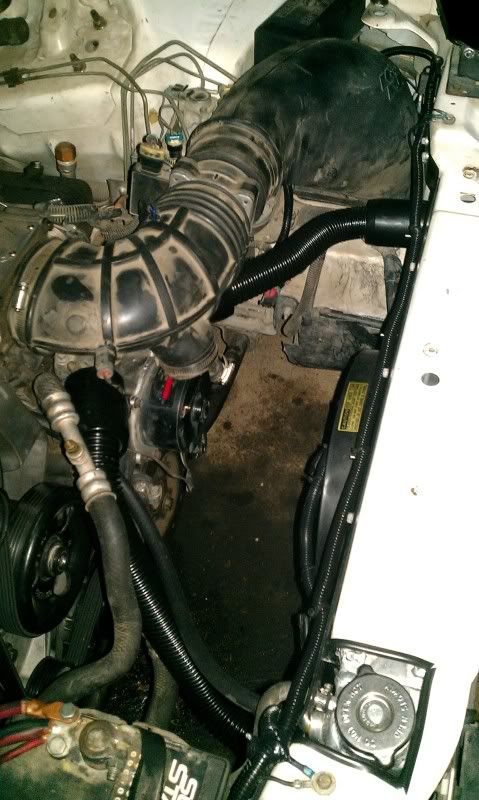
This is where it's at now
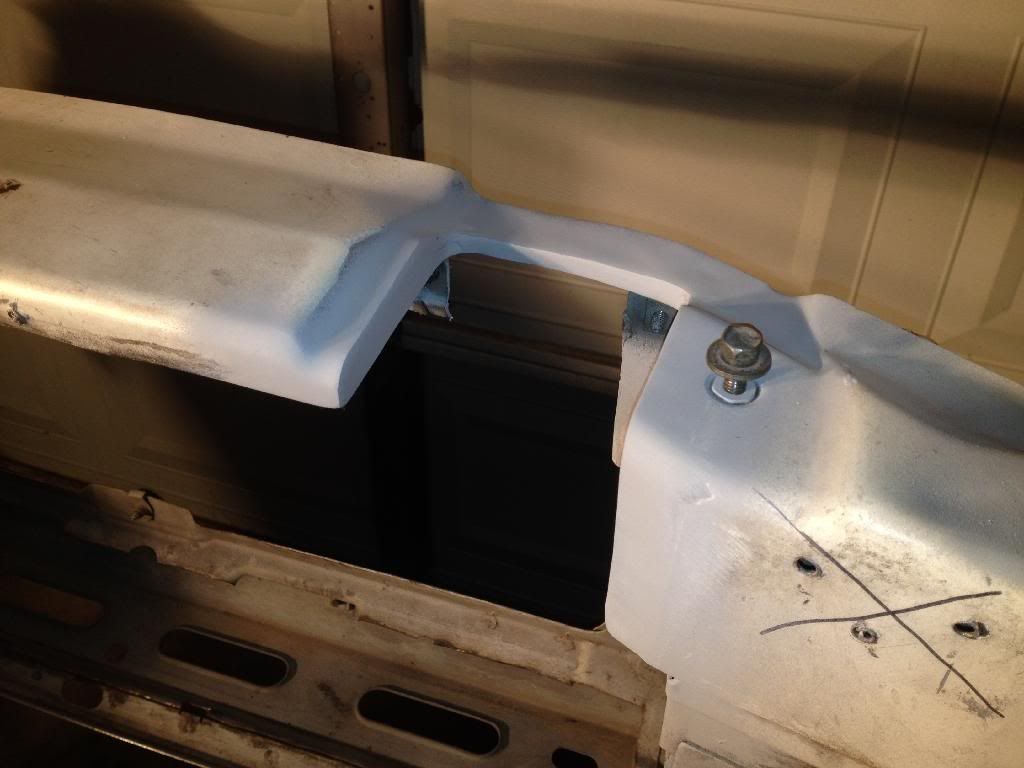
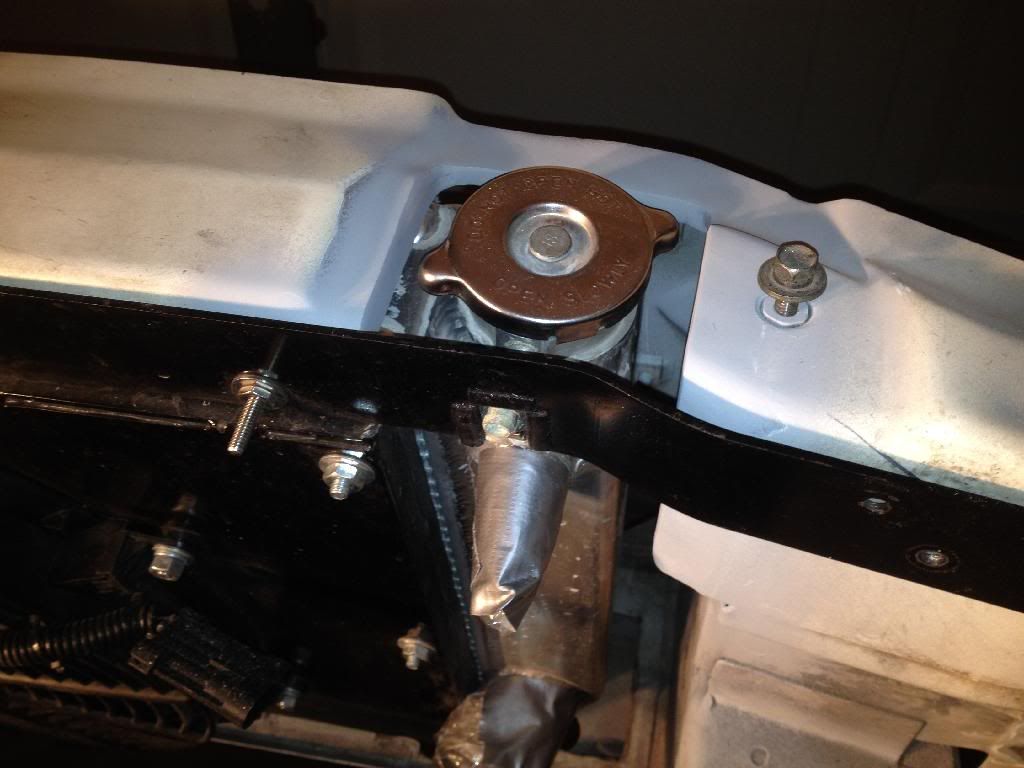
I'm still not done with it, gotta pick up a new grinder to get in the corners nicely.
Here are some pics of the original install of the Griffin radiator. I threw it together, while still DDing the car, knowing I would come back and finish it later.


This is where it's at now


I'm still not done with it, gotta pick up a new grinder to get in the corners nicely.
12-08-2013, 04:08 AM
#108
For fun I figure I would throw up a link to my first build. I started working on cars when I was old enough to hand my dad tools. I started working in the manufacturing plant he works at when I was 10, and I saved up enough for this beauty by the time I was 12. Me and my dad rebuilt it, and I drove it in primer for my first year of having a license back in 04, paying for everything on my own. It was stupid to sell I know, but I got into a race in high school with an LT1 car and got beat bad. From that point on I was hooked on going fast and fell in love with the LT1 cars. I ended up selling it to purchase my current 96 TA in 05. After this build is done, I will be picking up another late 60s/early 70s GTO.
http://www.cardomain.com/ride/550266...photo-gallery/
http://www.cardomain.com/ride/550266...photo-gallery/


 03-08-2015, 10:50 AM
#113

When you painted the interior, how did you remove all of that glue stuff that is on the floor and up the sides? I have used a wire brush on my drill with a little pressure and it takes it right off, however, I can't get to those areas in all of the crevasses and around all of the brackets with my drill. I want to remove as much as I can because the stuff has trapped years and years of dust and dirt. Also, what did you use to clean the dirt off of the seam sealer?