95 Camaro Switch/Gauge Panel Options?
 09-20-2017, 02:32 PM
#1
TECH Fanatic
Thread Starter
iTrader: (4)

Join Date: Jul 2007
Location: Davenport, IA
Posts: 1,351
Likes: 0
Received 0 Likes
on
0 Posts

Hey all - looking for some options for a cleaner switch panel setup for my 95 Camaro.
I am wanting to include an oil pressure and maybe one other gauge, switches for both my line lock and manual fan switch. Then also I have LEDs for both low/high fans and also a indicator light to show me my electric water pump is running.
I really like the panel that Nitrious Outlet has where it's in the ash tray, but I don't want the labels on there and if I were to do that I also need to have the gauge(s) located else where.
I currently have a panel I built when I was maybe 17 down in the slot where the CD cases were to be stored as that seems like the best location but I am wanting to re-do it with something cleaner.
Can anyone share pics on their setups?
 09-20-2017, 03:25 PM
#2
Launching!

Join Date: Sep 2005
Posts: 270
Likes: 0
Received 0 Likes
on
0 Posts
I removed and relocated the stereo bay ordered a sheet of aluminum,made a custom bezzle and put my gauges in there and then I made a face plate with the left over aluminum and made a stereo holder for the CD tray area and moved the stereo down there. Plenty off room and all it required was lengthening some wires to relocate the stereo.
09-20-2017, 04:51 PM
#3
TECH Fanatic
Thread Starter
iTrader: (4)
Join Date: Jul 2007
Location: Davenport, IA
Posts: 1,351
Likes: 0
Received 0 Likes
on
0 Posts
Not really looking to move the stereo down as of now. This is more of a street car so I'm not wanting to hack it up by any means. The sleeker/more discrete the better in my case.
I know there's not many options other than where I currently have the stuff but figured i'd toss this out here to see pictures of others setups and see if there were any nice ideas I could pull from.
I know there's not many options other than where I currently have the stuff but figured i'd toss this out here to see pictures of others setups and see if there were any nice ideas I could pull from.
09-20-2017, 06:08 PM
#4
Launching!
Join Date: Sep 2005
Posts: 270
Likes: 0
Received 0 Likes
on
0 Posts
Not really looking to move the stereo down as of now. This is more of a street car so I'm not wanting to hack it up by any means. The sleeker/more discrete the better in my case.
I know there's not many options other than where I currently have the stuff but figured i'd toss this out here to see pictures of others setups and see if there were any nice ideas I could pull from.
I know there's not many options other than where I currently have the stuff but figured i'd toss this out here to see pictures of others setups and see if there were any nice ideas I could pull from.
 09-22-2017, 07:19 AM
#7

I took my stock cluster out, cut the bezel so everything would sit straight up and made a sheet metal panel to mount my gagues into. Then I popped out my cigarette lighter, I'll relocate it to the glove box, and used that panel to mount two switches for my fan control and MSD box. The hole for the lighter socket fits a round toggle perfect. Then on the side I put another that controls the fuel pump. Granted I yanked the LT1 out and put in a genI SBC but, it's fairly discrete and cost me nothing but time. I'll post some pictures.
Trending Topics


 09-22-2017, 08:00 AM
#9

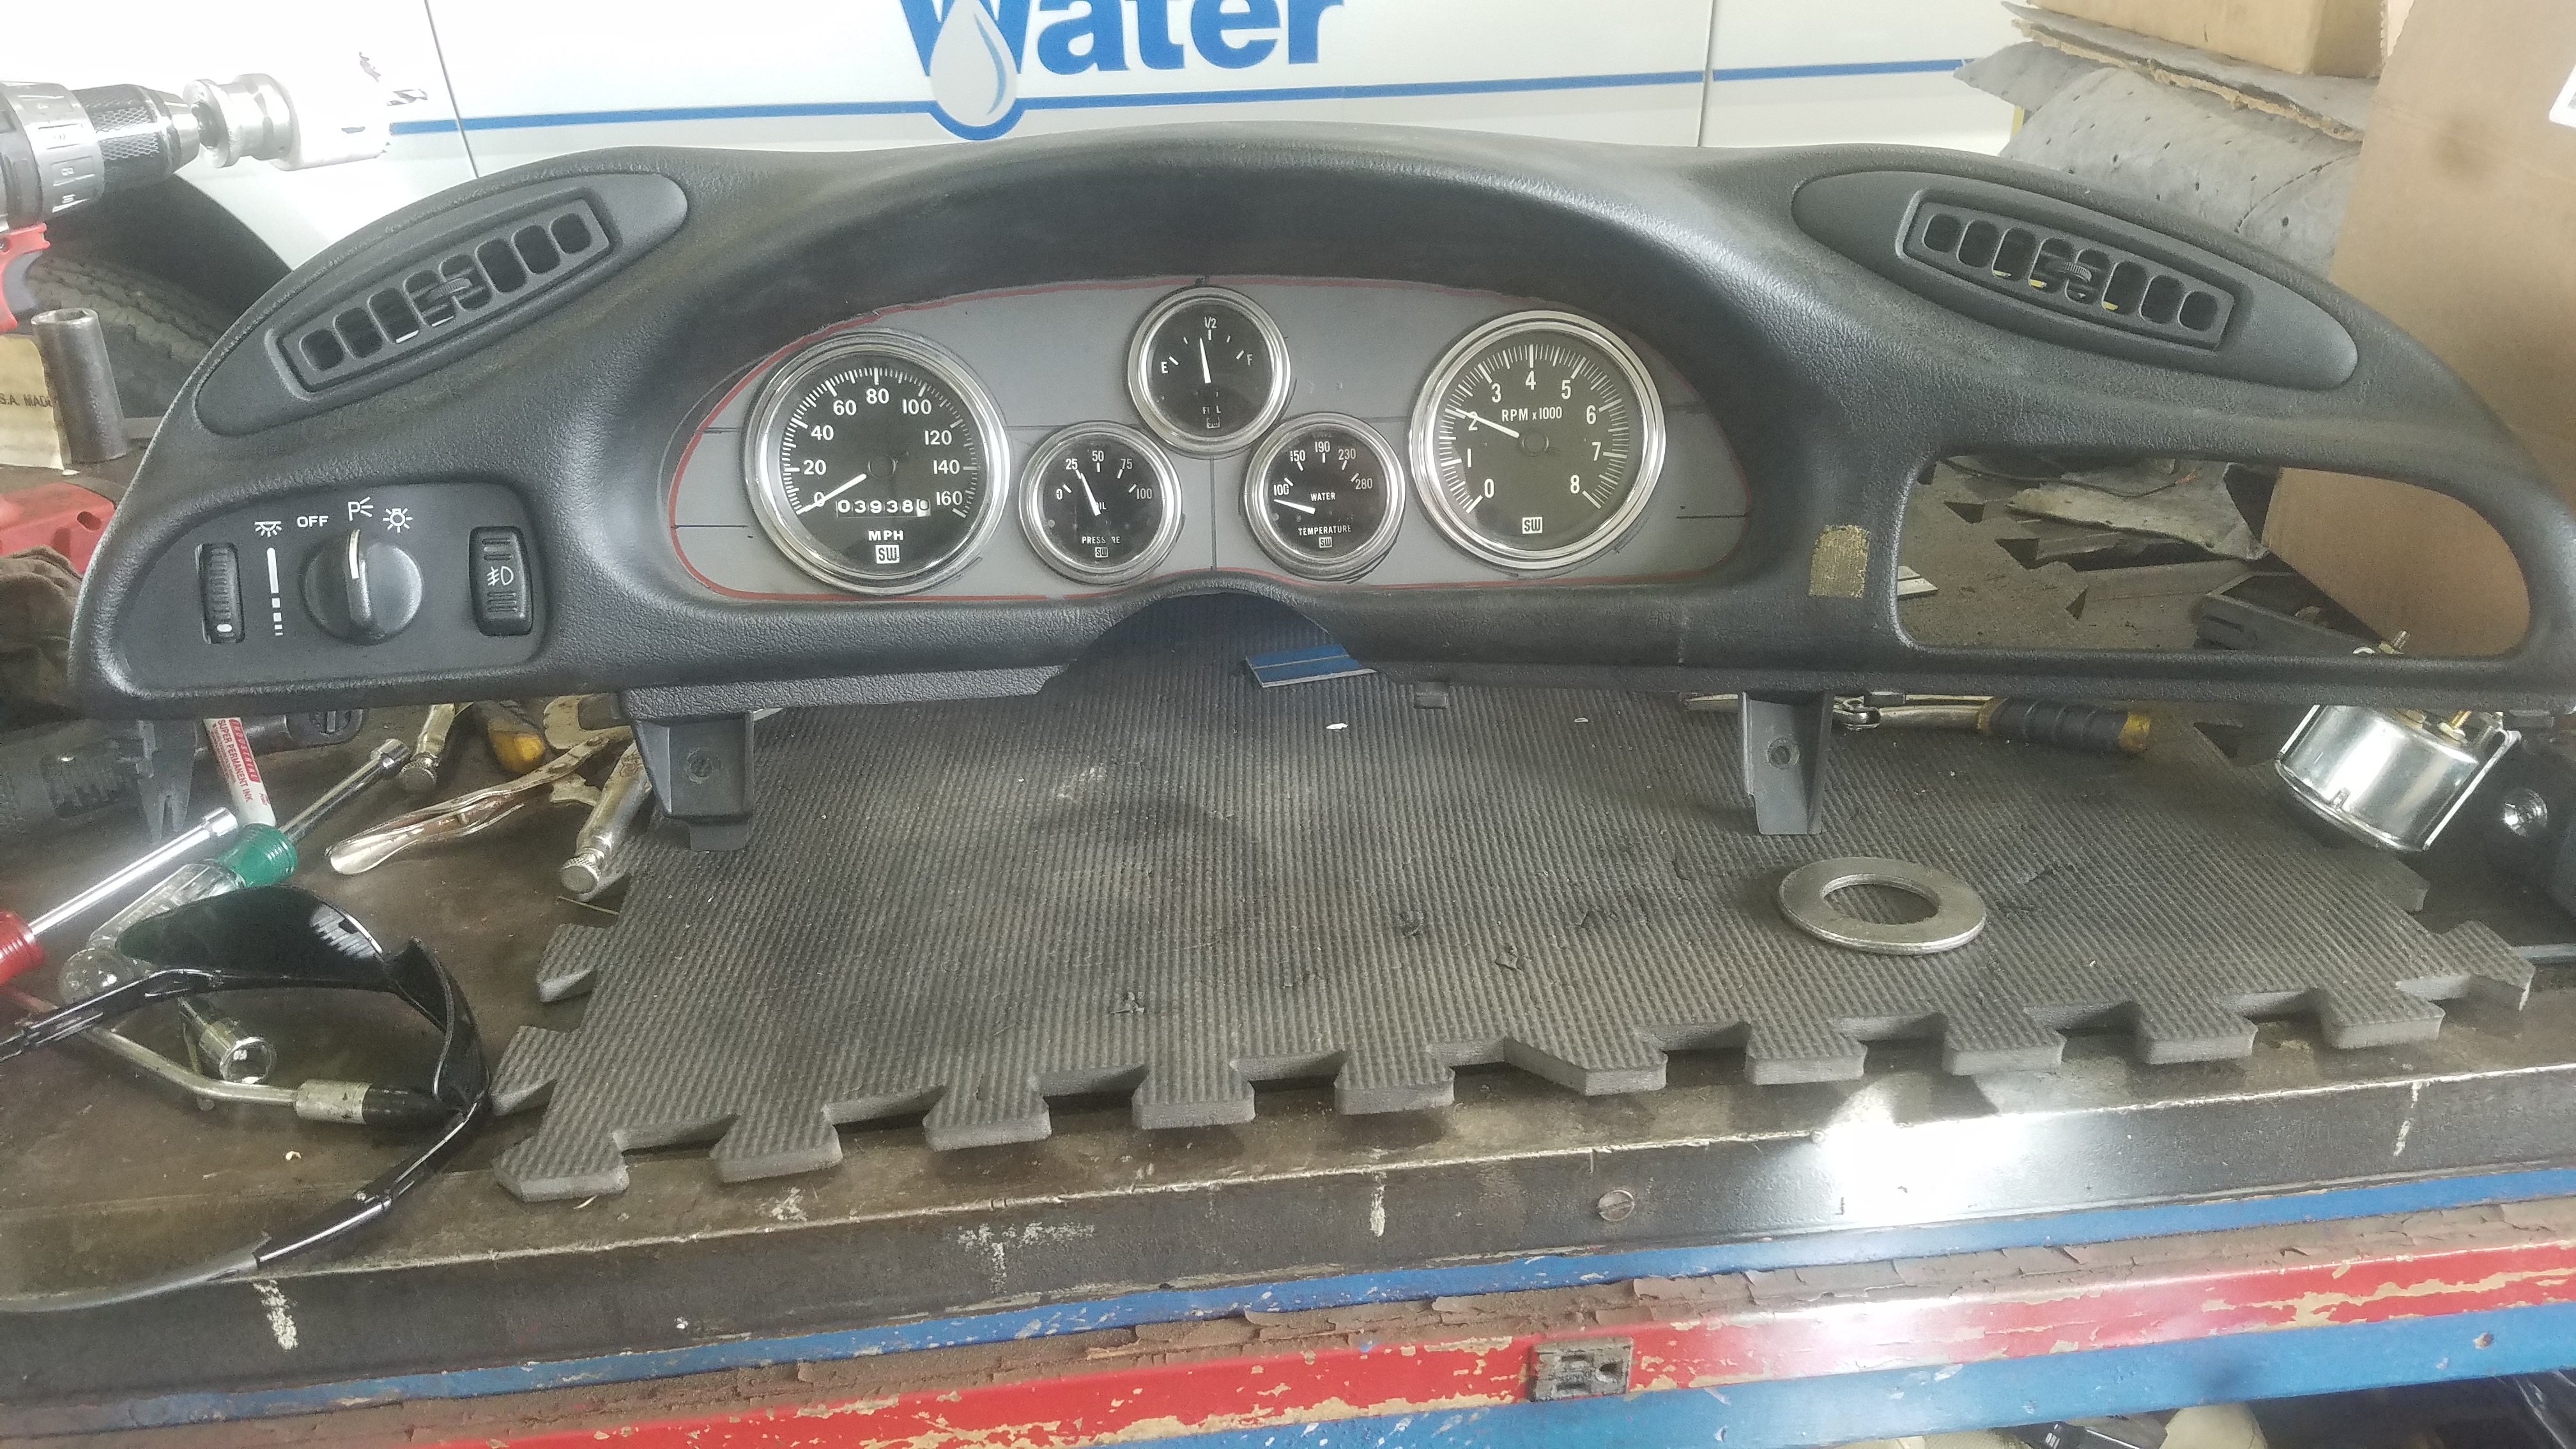
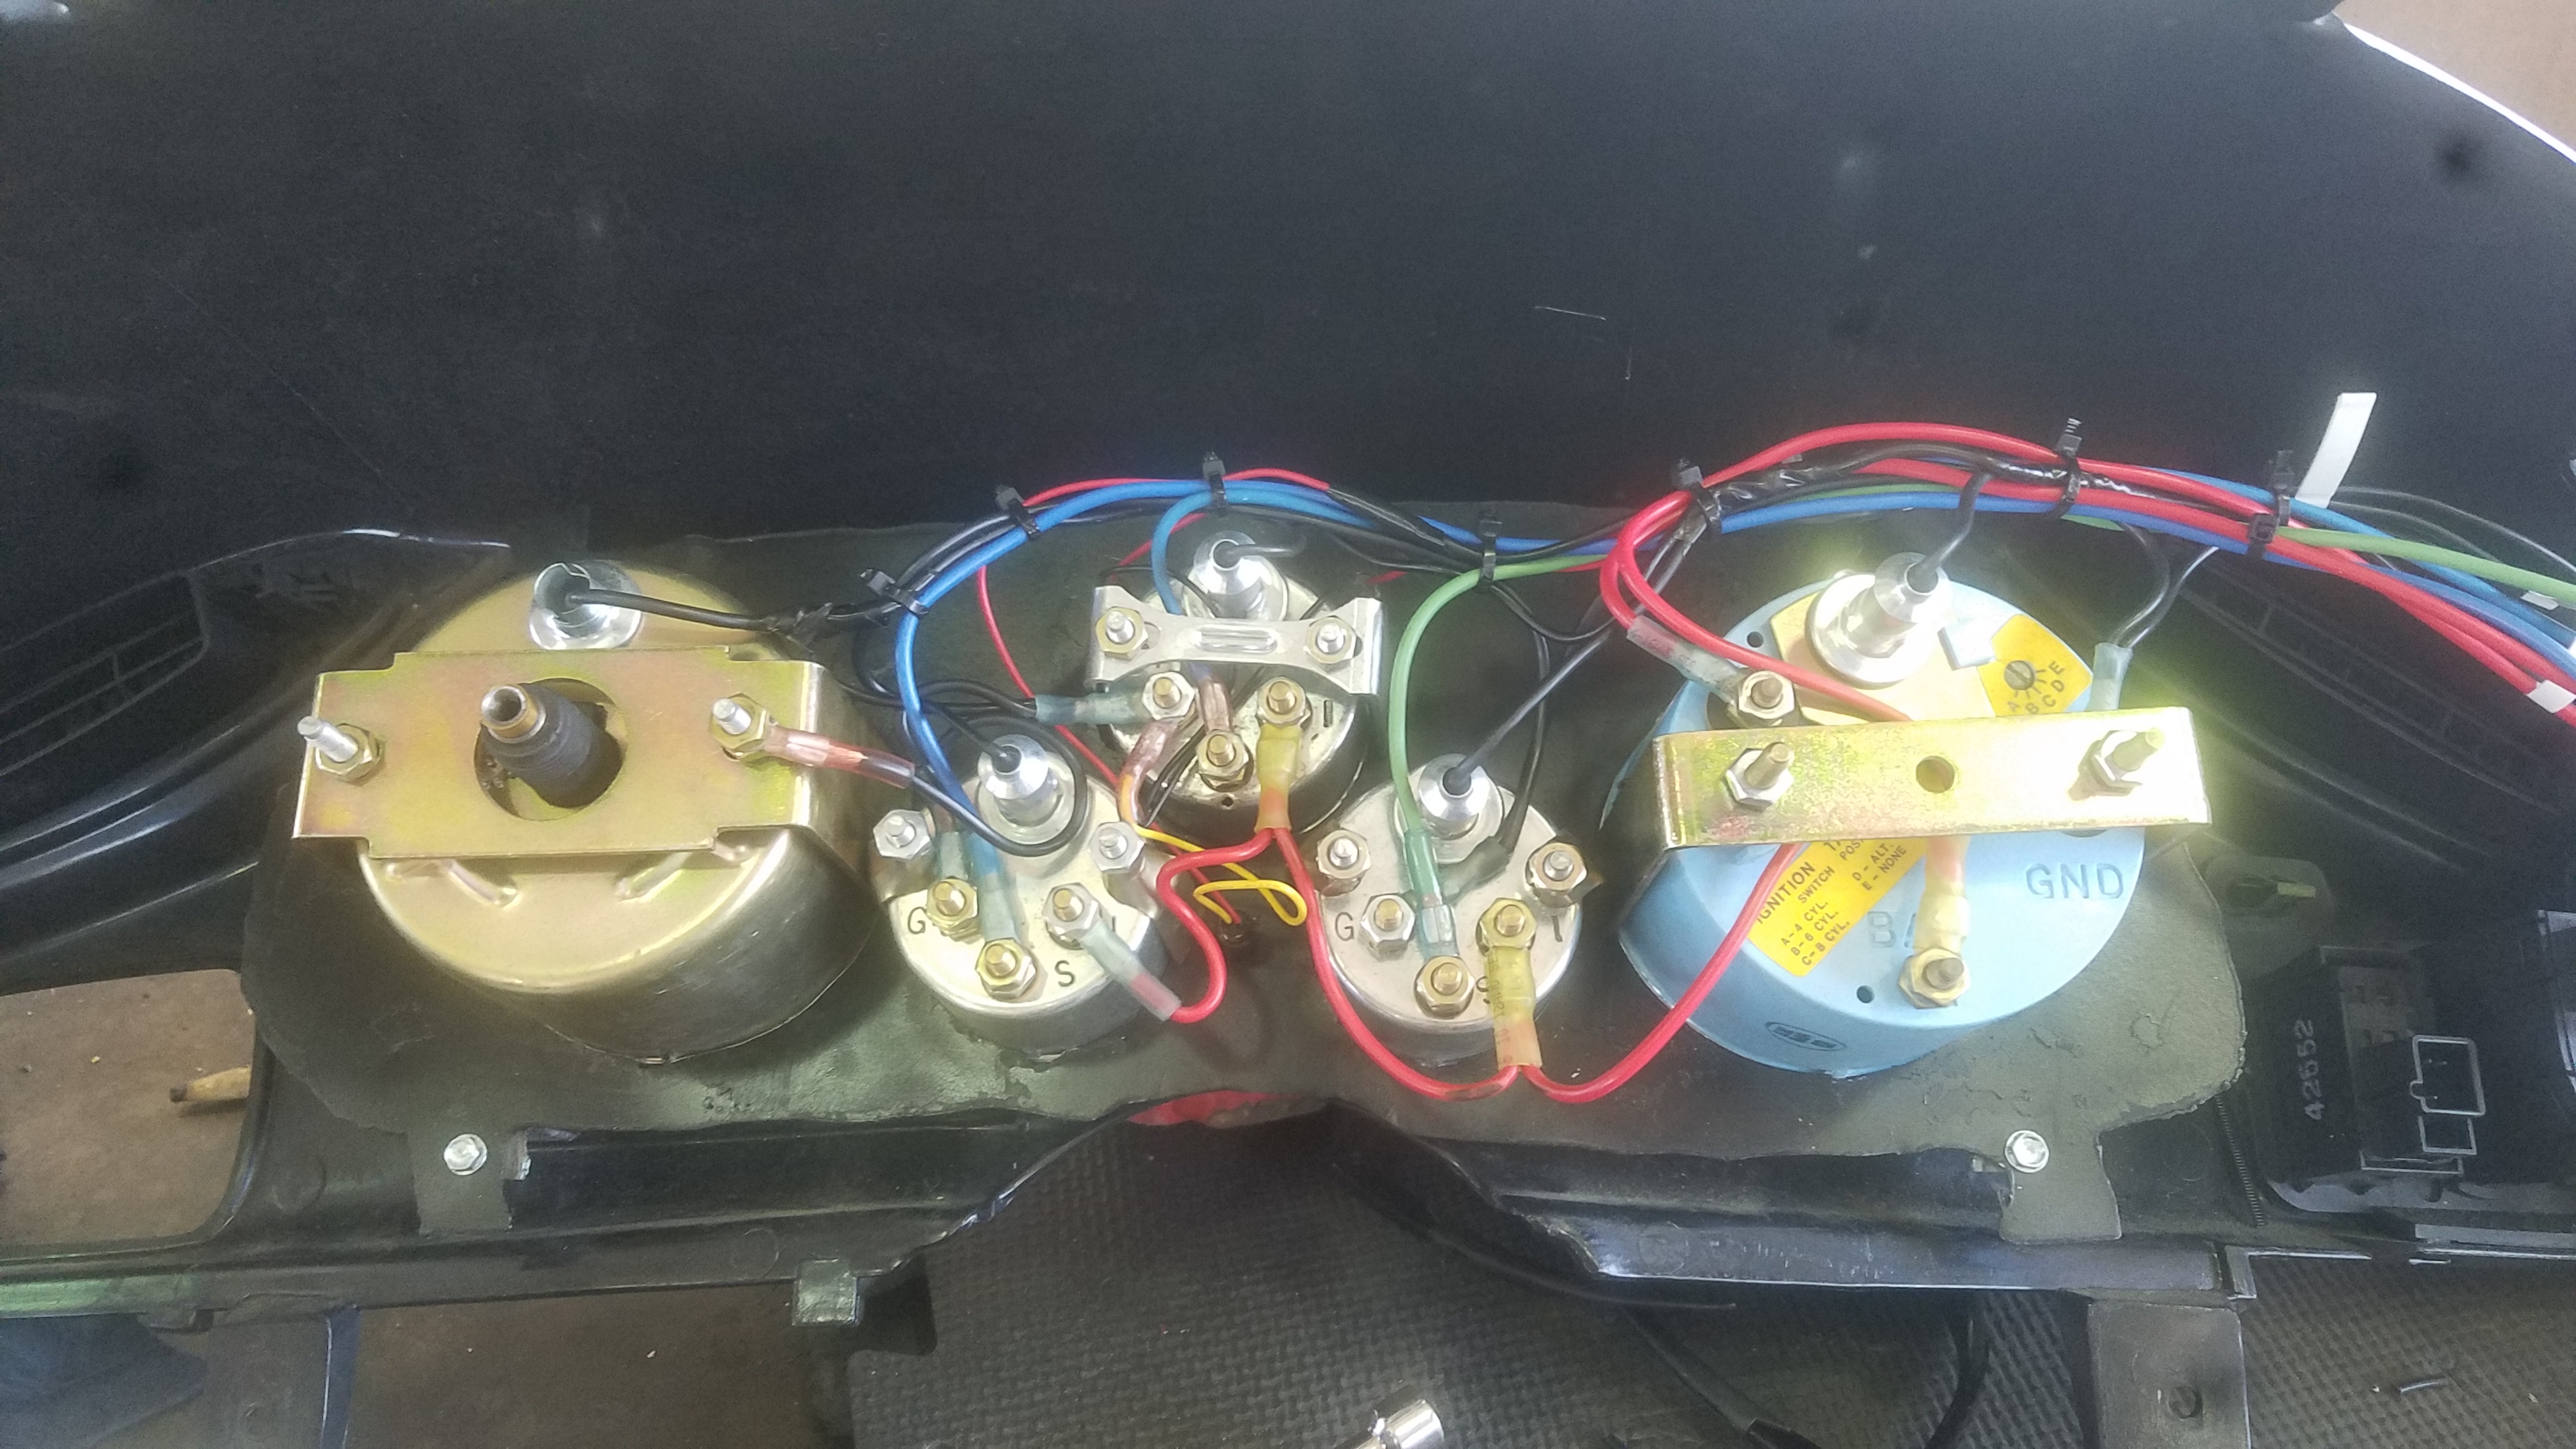

Click em to make em bigger.
Used safety wire to get a consistent arc for where to cut so it would be straight & level faced. Made some tabs and epoxied them to the stock bezel and traced the opening on some poster board, making spots for the tabs to attach it. once I was happy with the look, I cut it out of some sheet metal I had. Spent some time finding centers and laying out various gauge orientations. Hooked up the circle cutter and did some precision measuring and **** with the plasma and cut out the holes. Mounted and wired everything up hooked the power, ground, fuel level, illumination, turn signals and high beam indicator up to the factory harness. Ran signal wires for the tach, oil, and water temp into the engine bay.