LT1-LT4 Modifications 1993-97 Gen II Small Block V8

2pc Seal Main Adaptor Removal Problem

Thread Tools
 
Search this Thread
 
Old Mar 5, 2018 | 12:07 AM
  #1  
Snorkelface's Avatar
Thread Starter
Launching!
 
Joined: Jul 2003
Posts: 258
Likes: 0
From: Rancho Cucamonga, CA
Default 2pc Seal Main Adaptor Removal Problem

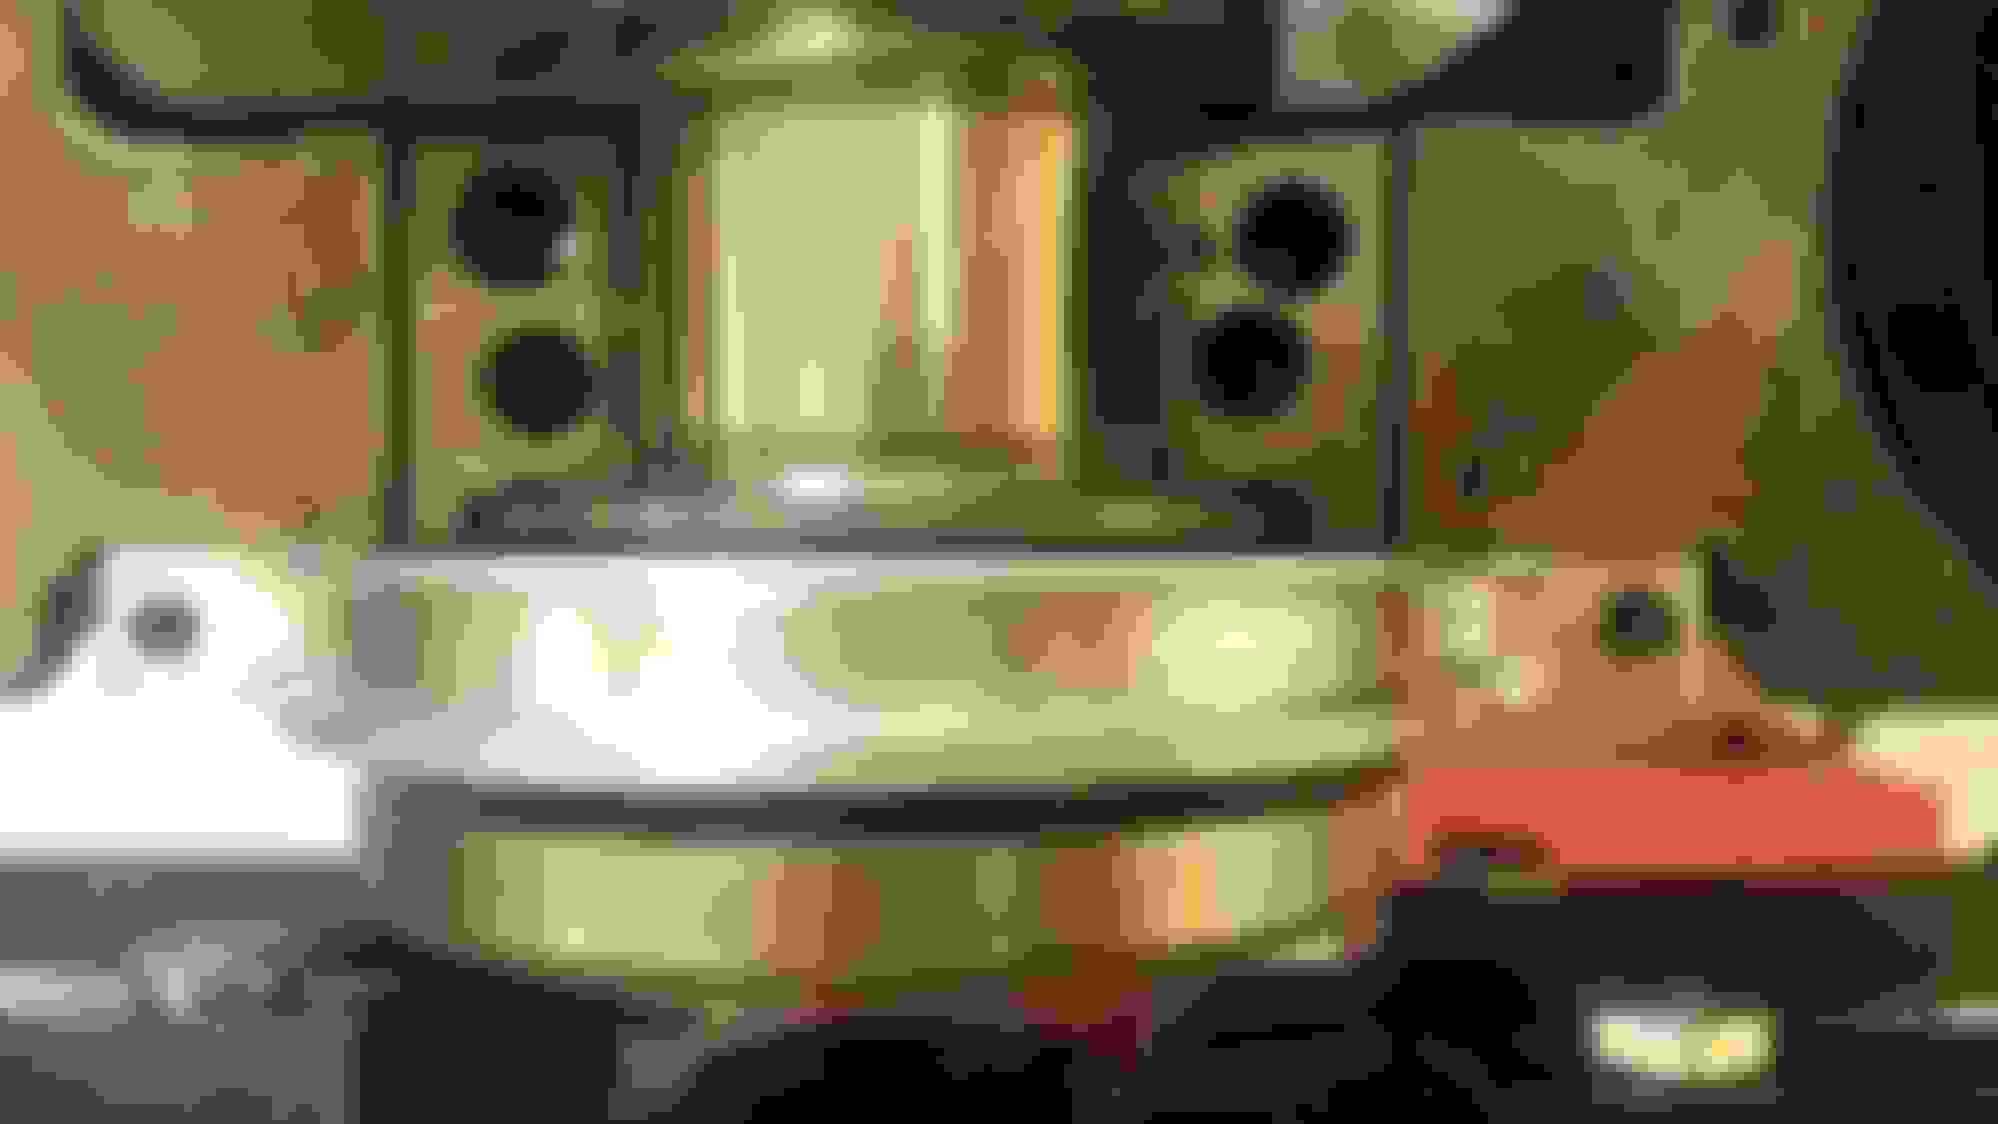
So when this motor was built, they used a Lunati crank that I guess only came in a 2pc rear main seal version. As I'm at the final parts of tearing down the motor, I cannot get the cap off so I can remove the crank and rear seal. I know RTV was put all across the entire length of the split as I wiped the excess off with my finger. I'm guessing this is too much.


I've tried banging away with my rubber hammer, and even a little prying which you can see already left marks on the stud soft aluminum. I'm really at a loss here on how to separate this top cap without damaging it or the crank. I really need help here...
Reply
Old Mar 5, 2018 | 02:46 AM
  #2  
LLLosingit's Avatar
TECH Junkie
10 Year Member
Liked
Loved
Community Favorite
iTrader: (4)
 
Joined: Aug 2013
Posts: 3,845
Likes: 487
From: Iowa
Default

If you have the crank unbolted try lifting the crankshaft or prying that end of the crankshaft up to dislodge it.
Reply
Old Mar 5, 2018 | 02:50 AM
  #3  
Snorkelface's Avatar
Thread Starter
Launching!
 
Joined: Jul 2003
Posts: 258
Likes: 0
From: Rancho Cucamonga, CA
Default

Originally Posted by LLLosingit
If you have the crank unbolted try lifting the crankshaft or prying that end of the crankshaft up to dislodge it.
I do have it unbolted. I was worried about using the crank to put pressure on that.
Reply
Old Mar 5, 2018 | 03:40 AM
  #4  
LLLosingit's Avatar
TECH Junkie
10 Year Member
Liked
Loved
Community Favorite
iTrader: (4)
 
Joined: Aug 2013
Posts: 3,845
Likes: 487
From: Iowa
Default

My thinking is you're going to put pressure over a wider area of the aluminum to get it to separate, Rather than just a corner. Looks like you could put a pry bar in the crankshaft flange and the engine stand to gently put pressure on it. It shouldn't take much pressure.
Reply
Old Mar 5, 2018 | 09:28 AM
  #5  
SS RRR's Avatar
Village Troll
20 Year Member
Liked
Loved
Community Favorite
iTrader: (2)
 
Joined: Oct 2002
Posts: 11,111
Likes: 598
From: Jackstandican
Default

Tap the side of that housing with a rubber mallet.
Reply
Old Mar 5, 2018 | 10:43 AM
  #6  
Snorkelface's Avatar
Thread Starter
Launching!
 
Joined: Jul 2003
Posts: 258
Likes: 0
From: Rancho Cucamonga, CA
Default

Originally Posted by LLLosingit
My thinking is you're going to put pressure over a wider area of the aluminum to get it to separate, Rather than just a corner. Looks like you could put a pry bar in the crankshaft flange and the engine stand to gently put pressure on it. It shouldn't take much pressure.
Yeah, that's what I was thinking to try, but I wasn't sure if that surface was sensitive to balancing. Maybe I'll have to say "f" it and just do it.

Originally Posted by SS RRR
Tap the side of that housing with a rubber mallet.
I've been trying that...a lot. Whacking the **** out of that it hadn't budged at all...
Reply
Old Mar 5, 2018 | 10:50 AM
  #7  
LLLosingit's Avatar
TECH Junkie
10 Year Member
Liked
Loved
Community Favorite
iTrader: (4)
 
Joined: Aug 2013
Posts: 3,845
Likes: 487
From: Iowa
Default

Your not going to harm the crankshaft easily, It would take a hell of a lot of force to damage a crank by prying on the end of it, More than you would be able to apply with a small pry bar.
Reply
Old Mar 5, 2018 | 11:40 AM
  #8  
SS RRR's Avatar
Village Troll
20 Year Member
Liked
Loved
Community Favorite
iTrader: (2)
 
Joined: Oct 2002
Posts: 11,111
Likes: 598
From: Jackstandican
Default

Originally Posted by Snorkelface
I've been trying that...a lot. Whacking the **** out of that it hadn't budged at all...
Sharpen a small pry bar and put it on the edge of the seam and tap it using a regular hammer.
Reply
LS1 Tech Stories

The Best V8 Stories One Small Block at Time

story-0

Amazing '71 Camaro Restomod Is Modern Muscle Car Under the Skin

 Verdad Gallardo
story-1

6 Common C5 Corvette Failures and What's Involved In Repairing Them

 Pouria Savadkouei
story-2

Retro Modern Bandit Pontiac Trans AM Comes With Burt Reynolds' Autograph

 Verdad Gallardo
story-3

Top 10 Greatest Cadillac V Series Performance Models Ever, Ranked

 Pouria Savadkouei
story-4

Top 10 Most Powerful Chevy Trucks Ever Made!

 
story-5

Hennessey's New Supercharged Silverado ZR2 Has 700 HP

 Verdad Gallardo
story-6

Coachbuilt N2A Anteros Is an LS2-Powered C6 Corvette In Italian Clothes

 Verdad Gallardo
story-7

Awesome K5 Blazer Restomod Comes With C7 Corvette Power

 Verdad Gallardo
story-8

10 Camaros You Should Never Buy

 
story-9

10 LS Engine Myths That Refuse to Die

 Verdad Gallardo
Old Mar 5, 2018 | 11:52 AM
  #9  
Snorkelface's Avatar
Thread Starter
Launching!
 
Joined: Jul 2003
Posts: 258
Likes: 0
From: Rancho Cucamonga, CA
Default

Originally Posted by SS RRR
Sharpen a small pry bar and put it on the edge of the seam and tap it using a regular hammer.
This bitch isn't coming off. It looks like there's only an alignment dowel on one side, so I'm going to just unbolt it and lift the crank up while rotating it. I'll let the machine shop pop it off. I'll update when I get it there and checked out. Thanks all for chiming in!
Reply
Old Mar 5, 2018 | 12:18 PM
  #10  
MuhThugga's Avatar
TECH Fanatic
15 Year Member
Photogenic
 
Joined: Jul 2007
Posts: 1,802
Likes: 332
From: Wilmington, De
Default

Rubber won't do ****. Get a brass hammer.
Reply
Old Mar 6, 2018 | 08:03 PM
  #11  
97Z28SS's Avatar
TECH Fanatic
iTrader: (5)
 
Joined: May 2009
Posts: 1,290
Likes: 3
Default

In the picture I see a button head bolt in the back of the housing seal did you remove those?
Reply
Old Mar 6, 2018 | 08:09 PM
  #12  
Snorkelface's Avatar
Thread Starter
Launching!
 
Joined: Jul 2003
Posts: 258
Likes: 0
From: Rancho Cucamonga, CA
Default

Originally Posted by 97Z28SS
In the picture I see a button head bolt in the back of the housing seal did you remove those?
A brass hammer would damage the crap out of it as it's made of aluminum.

Those button head bolts are on the lower portion. I need to pop off the top of the cap to remove it. They should separate but I think they put so much rtv on it it just won't dislodge
​​​​
Reply
Old Mar 6, 2018 | 11:25 PM
  #13  
LLLosingit's Avatar
TECH Junkie
10 Year Member
Liked
Loved
Community Favorite
iTrader: (4)
 
Joined: Aug 2013
Posts: 3,845
Likes: 487
From: Iowa
Default

Have you tried adding some heat to it?
Reply
Old Mar 6, 2018 | 11:33 PM
  #14  
pdxmotorhead's Avatar
TECH Addict
5 Year Member
 
Joined: Oct 2016
Posts: 2,513
Likes: 480
From: PDX-OR-USA
Default

Its been a long time but I thought you had to unbolt top and bottom to release the two pieces,, The seal itself will glue the halves together.. I recall helping pop one off and I remember swearing a lot but don't remember what the trick was, It may have been pure brute force..
Reply
Old Mar 6, 2018 | 11:38 PM
  #15  
Snorkelface's Avatar
Thread Starter
Launching!
 
Joined: Jul 2003
Posts: 258
Likes: 0
From: Rancho Cucamonga, CA
Default

Originally Posted by pdxmotorhead
Its been a long time but I thought you had to unbolt top and bottom to release the two pieces,, The seal itself will glue the halves together.. I recall helping pop one off and I remember swearing a lot but don't remember what the trick was, It may have been pure brute force..
Oh yeah, the two bolts the are vertical that join the top and the bottom are removed.

Haha, at least I'm not alone then! I wish these were cheaper so I didn't care about ruining it .
Reply
Old Mar 6, 2018 | 11:43 PM
  #16  
pdxmotorhead's Avatar
TECH Addict
5 Year Member
 
Joined: Oct 2016
Posts: 2,513
Likes: 480
From: PDX-OR-USA
Default

But isn't there a bolt on each side of the top or block side from the rear into the block?

Best I can remember the one I helped on had 4 bolts, 2 held the collar together and 2 held the collar to the block...

They say memory is the first thing to go.. LOL
Reply
Old Mar 6, 2018 | 11:48 PM
  #17  
Snorkelface's Avatar
Thread Starter
Launching!
 
Joined: Jul 2003
Posts: 258
Likes: 0
From: Rancho Cucamonga, CA
Default

Originally Posted by pdxmotorhead
But isn't there a bolt on each side of the top or block side from the rear into the block?

Best I can remember the one I helped on had 4 bolts, 2 held the collar together and 2 held the collar to the block...

They say memory is the first thing to go.. LOL
I'll try looking again, but those 4 bolts all seemed to attach the bottom to the block...
Reply
Old Mar 6, 2018 | 11:53 PM
  #18  
pdxmotorhead's Avatar
TECH Addict
5 Year Member
 
Joined: Oct 2016
Posts: 2,513
Likes: 480
From: PDX-OR-USA
Default

Wait a second,, check real careful that there are not 2 dowel pins at 4 and 6 o'clock with the block sitting head side down.. You may not be able to see them from the external side.. Dental mirror might do it,,
Reply
Old Mar 7, 2018 | 12:46 AM
  #19  
Snorkelface's Avatar
Thread Starter
Launching!
 
Joined: Jul 2003
Posts: 258
Likes: 0
From: Rancho Cucamonga, CA
Default

Originally Posted by pdxmotorhead
Wait a second,, check real careful that there are not 2 dowel pins at 4 and 6 o'clock with the block sitting head side down.. You may not be able to see them from the external side.. Dental mirror might do it,,
So now I feel real dumb...I found two additional vertical button head bolts that are exposed in the top (heads side). I didn't see these since the engine is on the stand and crank-side up. Man, this would be a nightmare to change with the motor in the car as those would be damn hard to get to.

Although this isn't the first dumb thread I've started, thank you very much for the replies. Without them, especially PDX's, I would have stayed frustrated.
Reply
Old Mar 7, 2018 | 01:20 AM
  #20  
LLLosingit's Avatar
TECH Junkie
10 Year Member
Liked
Loved
Community Favorite
iTrader: (4)
 
Joined: Aug 2013
Posts: 3,845
Likes: 487
From: Iowa
Default

It happens lol, I just spent a week trying to fire an engine on the run stand only to find out I had replaced one bad crank sensor with second bad sensor.
I was pulling my hair out, I checked all the wires and even pulled the Holley Dominator out of my truck (about 2 hours to get it out) and tried it and still no go. In the end I tried yet another sensor and it fired right up.
Reply


All times are GMT -5. The time now is 05:27 PM.

story-0
Amazing '71 Camaro Restomod Is Modern Muscle Car Under the Skin

Slideshow: This heavily modified 1971 Camaro mixes classic muscle car styling with a fifth-generation Camaro interior and modern LS3 power.

By Verdad Gallardo | 2026-05-12 18:06:42


VIEW MORE
story-1
6 Common C5 Corvette Failures and What's Involved In Repairing Them

Slideshow: From wobbling harmonic balancers to failed EBCMs, these are the issues that define long-term C5 ownership and what repairs typically involve.

By Pouria Savadkouei | 2026-05-07 18:44:57


VIEW MORE
story-2
Retro Modern Bandit Pontiac Trans AM Comes With Burt Reynolds' Autograph

Slideshow: A modern Camaro transformed into a retro icon, this limited-run "Bandit" build blends nostalgia with brute force in a way few revivals manage.

By Verdad Gallardo | 2026-04-21 13:57:02


VIEW MORE
story-3
Top 10 Greatest Cadillac V Series Performance Models Ever, Ranked

Slideshow: Cadillac didn't just crash the high-performance luxury vehicle party, it showed up loud, supercharged, and occasionally a little unhinged...

By Pouria Savadkouei | 2026-04-16 10:05:15


VIEW MORE
story-4
Top 10 Most Powerful Chevy Trucks Ever Made!

Slideshow: Top ten most powerful Chevy trucks ever made

By | 2026-03-25 09:22:26


VIEW MORE
story-5
Hennessey's New Supercharged Silverado ZR2 Has 700 HP

Slideshow: Hennessey has turned the Silverado ZR2 into a 700-hp off-road monster with supercharged V8 power and a limited production run.

By Verdad Gallardo | 2026-03-24 18:57:52


VIEW MORE
story-6
Coachbuilt N2A Anteros Is an LS2-Powered C6 Corvette In Italian Clothes

Slideshow: A one-off sports car that looks like a vintage Italian exotic-but hides a C6 Corvette underneath-just sold for the price of a new mid-engine Corvette.

By Verdad Gallardo | 2026-03-23 18:53:41


VIEW MORE
story-7
Awesome K5 Blazer Restomod Comes With C7 Corvette Power

Slideshow: A heavily reworked 1972 K5 Blazer swaps its off-road roots for a low-slung street-focused build with modern V8 power.

By Verdad Gallardo | 2026-03-09 18:08:45


VIEW MORE
story-8
10 Camaros You Should Never Buy

Slideshow: There are thousands of used Camaros on the market but we think you should avoid these 10

By | 2026-02-17 17:09:30


VIEW MORE
story-9
10 LS Engine Myths That Refuse to Die

Slideshows: Which one of these myths do you believe?

By Verdad Gallardo | 2026-01-28 18:10:11


VIEW MORE