








SHOOT: $200 Point-and-Shoot Session Walk Thru

Thread Starter
Sold The Fun Stuff :(
iTrader: (1)
Joined: Nov 2001
Posts: 2,371
Likes: 0
From: Nashville, TN
 SHOOT: $200 Point-and-Shoot Session Walk Thru
 Reader's Digest Version: A photoshoot walk-thru with an affordable camera to hopefully inform and encourage others interested in photography that don't want to spend big money on camera equipment but do want to take better pictures. Details section for more info, otherwise see pics below.
Details: We all see guys post up shots from their expensive camera setups, but I know there are a lot of people out there that have a $200 point-and-shoot that are also interested in photography, but get discouraged because they think it's impossible to get good shots with one (which couldn't be further from the truth). I wish someone would have done something like this when I was working with a point-and-shoot about four years back to push me further into taking more shots and maximizing my skill level earlier, which is why I'm doing this now that I have a point-and-shoot. If this is you please follow along and I'll walk you through this shoot...
I had to get a point-and-shoot camera first as I didn't have one. After some searching I picked up a $200 point and shoot on Amazon (went with Panasonic Lumix but have also seen good things from Canon's point-and-shoot cameras). I've been wanting to pick up a "pocketable camera" that I can carry with me everywhere I go instead of lugging around my D300 and camera bag. Once the camera came in I took an hour or so to flip through the manual, familiarize myself with the camera, and learn how to operate my new toy. Once I was comfortable with some basic adjustments on the camera it was time to go shooting.
First I needed a location, so I went to the nearest town and just drove around. I went behind businesses, drove through industrial sections, and just kept my eyes peeled for anywhere that I thought a car might look good in. When I found a spot I got out and took a few shots to see if it "worked." My first spot didn't turn out so well, so I had to move on, and it paid off (more in the notes for each shot).
When I started shooting I noticed that the shots were getting washed out some, so I played around with the white balance as it was set to auto. The shots looked to dull on auto white balance, but cycling through them it looked like "Cloudy" and "Shade" brought out the colors better, so after going back and forth between them a few times I settled on "Shade" to increase saturation and boost the warmer colors a little. Two hours later in the day and I might have needed a different white balance, so if there is only one adjustment you mess with let this be it, because it will pay off.
Once I had my white balance set I really started shooting. Camera was left in auto mode, as this camera doesn't have any sort of manual mode at all where I could select shutter and/or aperture (f-stop) values, so I didn't have a choice. In lower light I would have used a cheap tripod that you can pick up a Walmart for $10-20 bucks and put the camera on it, I would manually set the ISO setting at 100 or 200 instead of letting the camera decide, and then I would shoot. Since it was so bright outside I had plenty of light and was able to hand-hold all of these shots, so the tripod wasn't necessary.
Onto the shots. I'll provide commentary...
1 - Worst shot of the bunch IMO, bad exposure, location was behind a department store, I was in the sun and the car was in the shade (bad combo), I left this location after a few shots

2 - New location for the next few shots, found it driving down the road and pulled in, no idea what this place was, bright sun, I put the sun at my back to get even light on the car on the rest of these shots and started shooting

3 - On this shot I just tried to get everything level because nothing is worse than a straight on shot that is actually crooked

4

5

6

7
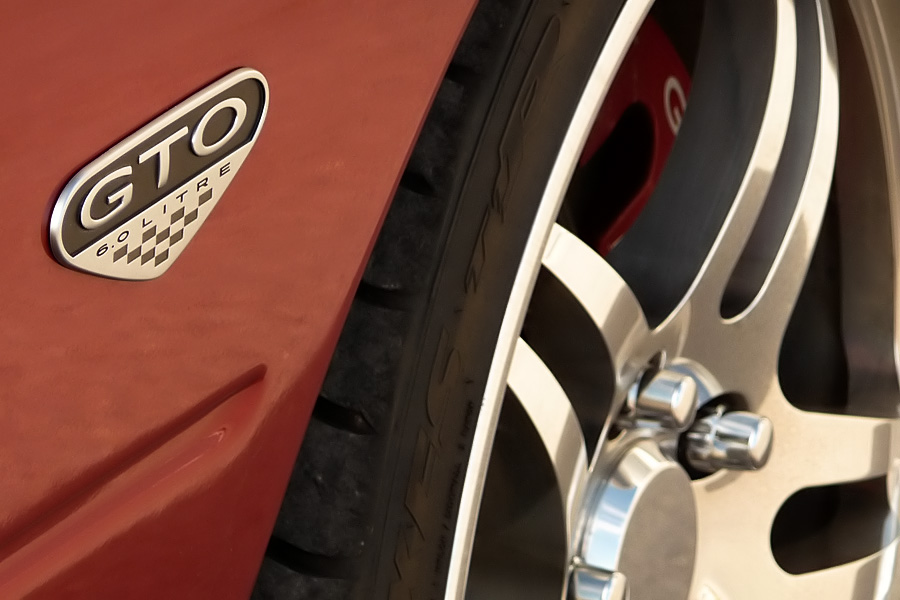
8 - On this shot I was shooting into the sun so it gave the window the blown out look, but the camera was focused on the center stack so it was metering and exposing for that, so it make it a good shot without distracting stuff in the windows and made it where I didn't have to resort to photoshop to blow out the window

9 - I took this shot in my driveway in the shade after I got back from the shoot. The shade keeps the light even on interior shots.

10 - Another "in the driveway" shot, it was daylight but I was in the shade, so I cut the lights on, got the camera up close, held it steady, and let her rip
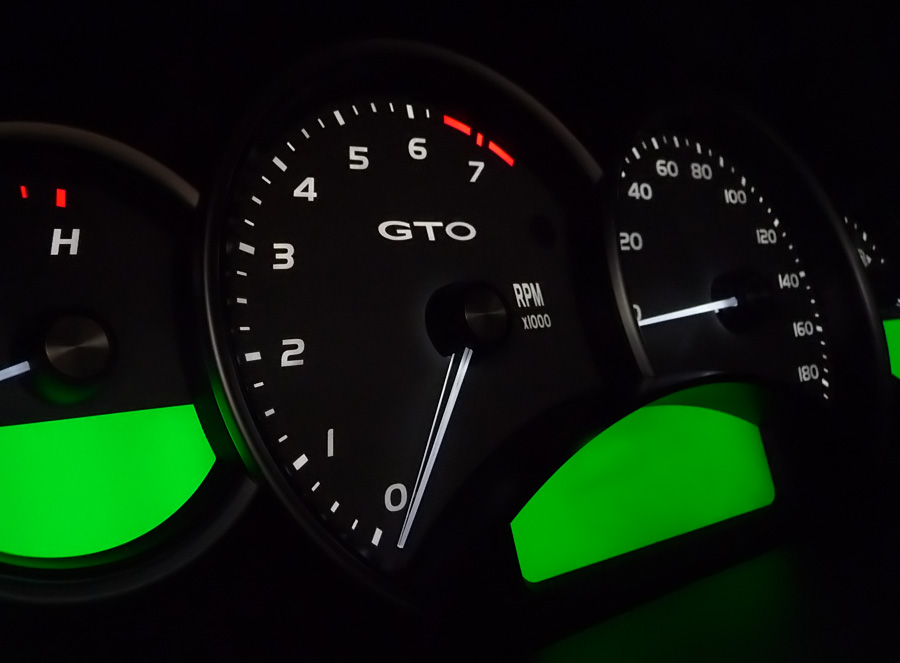
Sorry for the dirty car. It's not noticeable in some shots but it is pretty filthy...especially the wheels.
There was some post-processing on these shots, but I kept it minimal (as I always ascribe to the "less is more" philosophy). Basically a few steps, since pictures in-camera look great when printed, but when on computer lose some detail and sharpness, especially when resized for web use. Looking up a "curves tutorial" or "unsharp mask" tutorial will help you get started, but it's pretty easy to understand. Just remember not to overdo it.
Post-Processing Workflow: Crop/Resize > Curves > Unsharp Mask
This shoot was for me to put my new pocket camera through it's paces but it was also to show those interested in photography that you don't need $5000 worth of photo gear to go out, have fun, and take some decent pictures of your car or whatever else you want to. $200 in the camera and software from The Gimp is free (Google search) that you can use to crop your pictures, do curves adjustments, and resharpen them after downsizing them. Past that it's just experimenting with camera settings and working on the composition of your shots. So for those interested in photography, look at other people's pictures and find angles and styles you like, learn your camera a little, and get out there and start taking pictures. I love seeing other people's shots and love watching people progress, so I hope this helps some. Happy shooting guys.
Details: We all see guys post up shots from their expensive camera setups, but I know there are a lot of people out there that have a $200 point-and-shoot that are also interested in photography, but get discouraged because they think it's impossible to get good shots with one (which couldn't be further from the truth). I wish someone would have done something like this when I was working with a point-and-shoot about four years back to push me further into taking more shots and maximizing my skill level earlier, which is why I'm doing this now that I have a point-and-shoot. If this is you please follow along and I'll walk you through this shoot...
I had to get a point-and-shoot camera first as I didn't have one. After some searching I picked up a $200 point and shoot on Amazon (went with Panasonic Lumix but have also seen good things from Canon's point-and-shoot cameras). I've been wanting to pick up a "pocketable camera" that I can carry with me everywhere I go instead of lugging around my D300 and camera bag. Once the camera came in I took an hour or so to flip through the manual, familiarize myself with the camera, and learn how to operate my new toy. Once I was comfortable with some basic adjustments on the camera it was time to go shooting.
First I needed a location, so I went to the nearest town and just drove around. I went behind businesses, drove through industrial sections, and just kept my eyes peeled for anywhere that I thought a car might look good in. When I found a spot I got out and took a few shots to see if it "worked." My first spot didn't turn out so well, so I had to move on, and it paid off (more in the notes for each shot).
When I started shooting I noticed that the shots were getting washed out some, so I played around with the white balance as it was set to auto. The shots looked to dull on auto white balance, but cycling through them it looked like "Cloudy" and "Shade" brought out the colors better, so after going back and forth between them a few times I settled on "Shade" to increase saturation and boost the warmer colors a little. Two hours later in the day and I might have needed a different white balance, so if there is only one adjustment you mess with let this be it, because it will pay off.
Once I had my white balance set I really started shooting. Camera was left in auto mode, as this camera doesn't have any sort of manual mode at all where I could select shutter and/or aperture (f-stop) values, so I didn't have a choice. In lower light I would have used a cheap tripod that you can pick up a Walmart for $10-20 bucks and put the camera on it, I would manually set the ISO setting at 100 or 200 instead of letting the camera decide, and then I would shoot. Since it was so bright outside I had plenty of light and was able to hand-hold all of these shots, so the tripod wasn't necessary.
Onto the shots. I'll provide commentary...
1 - Worst shot of the bunch IMO, bad exposure, location was behind a department store, I was in the sun and the car was in the shade (bad combo), I left this location after a few shots
2 - New location for the next few shots, found it driving down the road and pulled in, no idea what this place was, bright sun, I put the sun at my back to get even light on the car on the rest of these shots and started shooting
3 - On this shot I just tried to get everything level because nothing is worse than a straight on shot that is actually crooked
4
5
6
7
8 - On this shot I was shooting into the sun so it gave the window the blown out look, but the camera was focused on the center stack so it was metering and exposing for that, so it make it a good shot without distracting stuff in the windows and made it where I didn't have to resort to photoshop to blow out the window
9 - I took this shot in my driveway in the shade after I got back from the shoot. The shade keeps the light even on interior shots.
10 - Another "in the driveway" shot, it was daylight but I was in the shade, so I cut the lights on, got the camera up close, held it steady, and let her rip
Sorry for the dirty car. It's not noticeable in some shots but it is pretty filthy...especially the wheels.
There was some post-processing on these shots, but I kept it minimal (as I always ascribe to the "less is more" philosophy). Basically a few steps, since pictures in-camera look great when printed, but when on computer lose some detail and sharpness, especially when resized for web use. Looking up a "curves tutorial" or "unsharp mask" tutorial will help you get started, but it's pretty easy to understand. Just remember not to overdo it.
Post-Processing Workflow: Crop/Resize > Curves > Unsharp Mask
This shoot was for me to put my new pocket camera through it's paces but it was also to show those interested in photography that you don't need $5000 worth of photo gear to go out, have fun, and take some decent pictures of your car or whatever else you want to. $200 in the camera and software from The Gimp is free (Google search) that you can use to crop your pictures, do curves adjustments, and resharpen them after downsizing them. Past that it's just experimenting with camera settings and working on the composition of your shots. So for those interested in photography, look at other people's pictures and find angles and styles you like, learn your camera a little, and get out there and start taking pictures. I love seeing other people's shots and love watching people progress, so I hope this helps some. Happy shooting guys.
Nice job!! Someone that knows what they're doing or at least tries to learn and then goes out and does it. Bravo. And look guys!! No HDR's!! Again, awesome shots of that GTO.
Here's some shots taken with a 4MP Canon A80 I bought off ebay used for $30.00

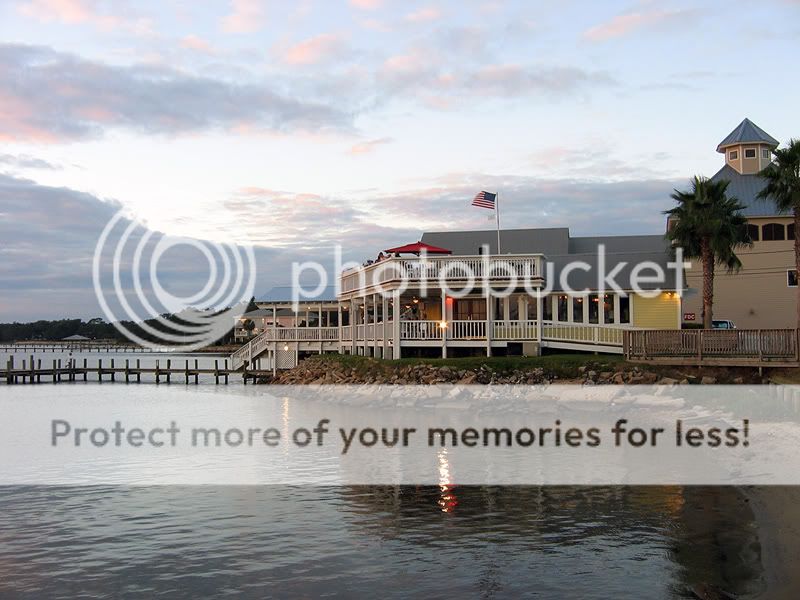
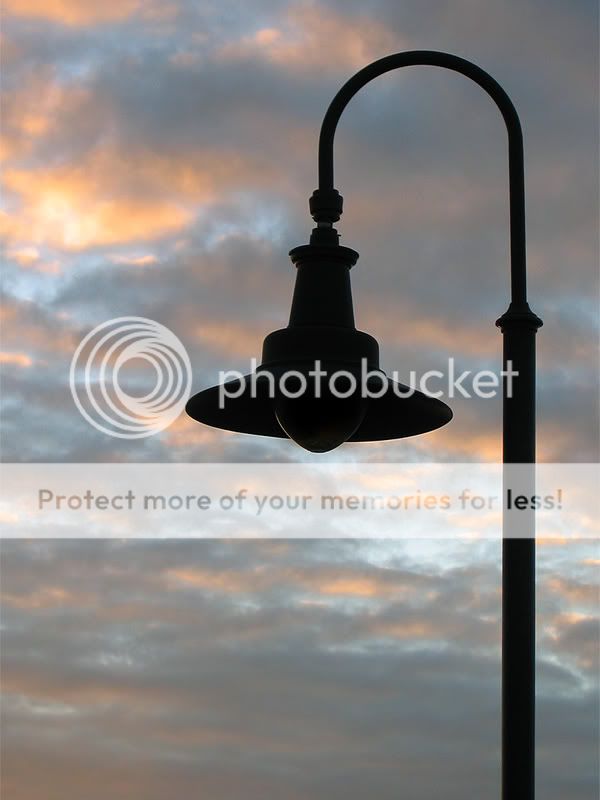
And a 3.2MP Sony DSC-P72 I had in 2003 while in the Navy



Here's some shots taken with a 4MP Canon A80 I bought off ebay used for $30.00
And a 3.2MP Sony DSC-P72 I had in 2003 while in the Navy

Teching In
Joined: Nov 2005
Posts: 25
Likes: 0
From: The Wild.
Awesome post man. This just goes to show you it's not always about the equipment. A good photographer can do good things with mediocre equipment.
I started shooting with a point and shoot Canon S3 IS. If you don't believe me you can check the EXIF data on these exposures.
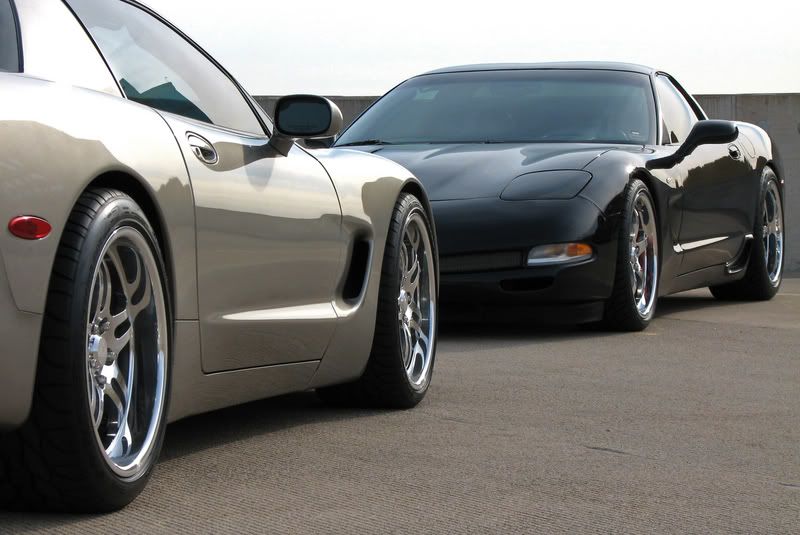
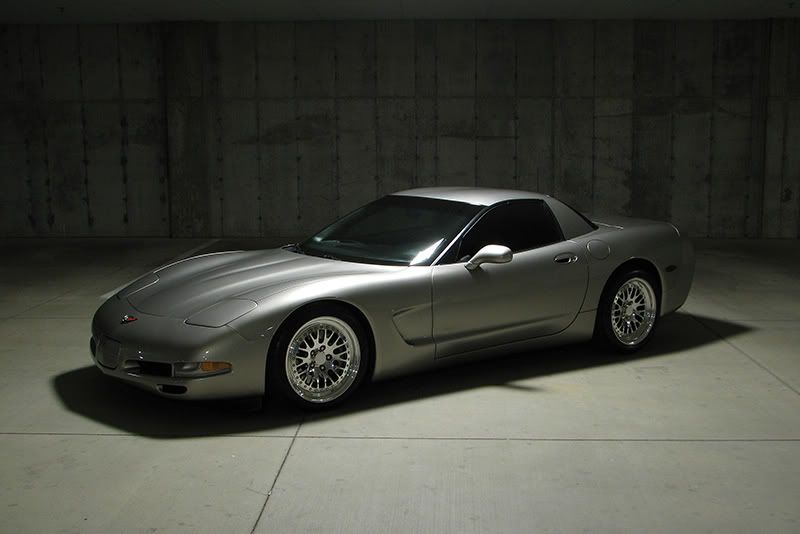
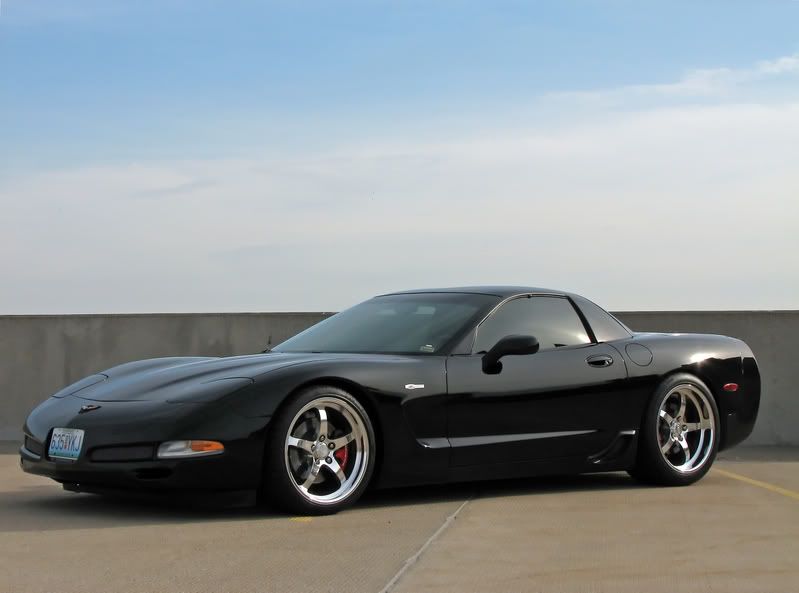
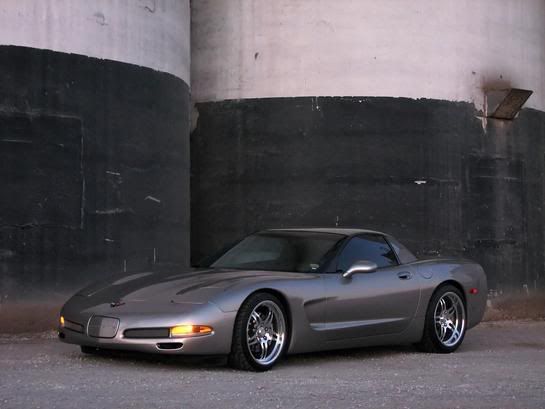
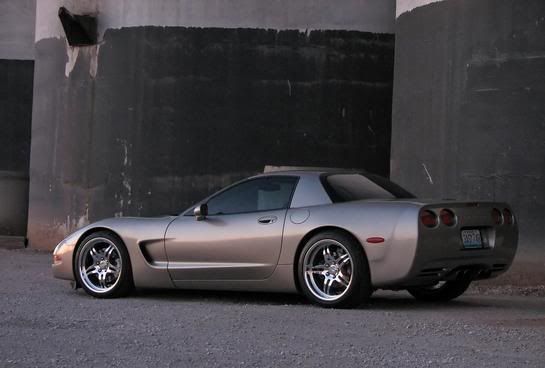
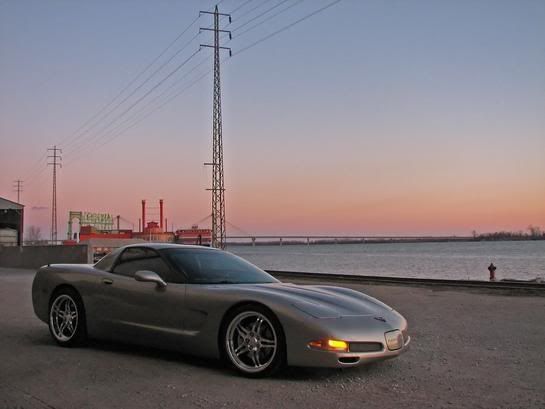
I started shooting with a point and shoot Canon S3 IS. If you don't believe me you can check the EXIF data on these exposures.
Trending Topics
LS1 Tech Stories
The Best V8 Stories One Small Block at Time

Gas Monkey Built a 6-Wheel Ferrari Testarossa With a Corvette LT4 Engine
Verdad Gallardo
7 Most Reliable High-Performance Engines GM Has Ever Built
Verdad Gallardo
Amazing '71 Camaro Restomod Is Modern Muscle Car Under the Skin
Verdad Gallardo
6 Common C5 Corvette Failures and What's Involved In Repairing Them
Pouria Savadkouei
Retro Modern Bandit Pontiac Trans AM Comes With Burt Reynolds' Autograph
Verdad Gallardo
Top 10 Greatest Cadillac V Series Performance Models Ever, Ranked
Pouria Savadkouei
Top 10 Most Powerful Chevy Trucks Ever Made!

Hennessey's New Supercharged Silverado ZR2 Has 700 HP
Verdad Gallardo
Coachbuilt N2A Anteros Is an LS2-Powered C6 Corvette In Italian Clothes
Verdad Gallardo
Great write up Josh. As always I appreciate your advice and pictures!
And like he said, the camera doesnt have to be a multi-thousand dollar setup to get decent shots. Here are two of my favorites Ive taken with my point-and-shoot Canon SD400. I would DEFF recommend the Canon SD line of cameras as they are small, great pic quality, durable (its my "party/road trip camera" and fairly inexpensive!


Get out there and shoot, its amazing what you can do when you spend some time learning the craft!
And like he said, the camera doesnt have to be a multi-thousand dollar setup to get decent shots. Here are two of my favorites Ive taken with my point-and-shoot Canon SD400. I would DEFF recommend the Canon SD line of cameras as they are small, great pic quality, durable (its my "party/road trip camera" and fairly inexpensive!
Get out there and shoot, its amazing what you can do when you spend some time learning the craft!
Last edited by F-117HWK; Nov 6, 2008 at 08:51 PM.



Thread Starter
Sold The Fun Stuff :(
iTrader: (1)
Joined: Nov 2001
Posts: 2,371
Likes: 0
From: Nashville, TN
Thanks guys, and to those that shared thank you. It's good to see people out there doing good work. Very good shots guys.
Also, it's worth noting that there is an incredible amount of CCW sexiness in this thread.
Also, it's worth noting that there is an incredible amount of CCW sexiness in this thread.
Thread Starter
Sold The Fun Stuff :(
iTrader: (1)
Joined: Nov 2001
Posts: 2,371
Likes: 0
From: Nashville, TN
Vndctr, I had a D80 for about a year and a half, and recently replaced it with the D300 back at the start of the summer. I'm loving it man. I miss how easy it was to get around with the D80, but that is the only thing. The D300 is a monster and a real chore to lug around sometimes, but it's just a spectacular piece of work.
Great shots. I hope this helps to get a lot more of those P&S guys out there more and taking photos! I love my two DSLR's, but I do have a Nikon Coolpix L5 that I use (as you say) as a pocketable camera. I don't really shoot stills with it (video mode only really), but it's nice to have just in case. 
Teching In
Joined: Nov 2005
Posts: 25
Likes: 0
From: The Wild.



Thread Starter
Sold The Fun Stuff :(
iTrader: (1)
Joined: Nov 2001
Posts: 2,371
Likes: 0
From: Nashville, TN
The front wheels are 19x8.5 with 245/35/19s and the rear wheels are 19x10 with 275/30/19s. They're a thinner 275 and I've since rolled the rear fenders, and I'm about due for new tires, so I'll most likely be going with a 275 that runs a little wider next time around.

Great shots! Photography is more about experience and creativity than it is equipment. Equipment doesn't hurt but you can still get great shots with an inexpensive point and shoot. Just have to know how to properly expose the shot Great job.
Great job.