


My nitrous install thread...!
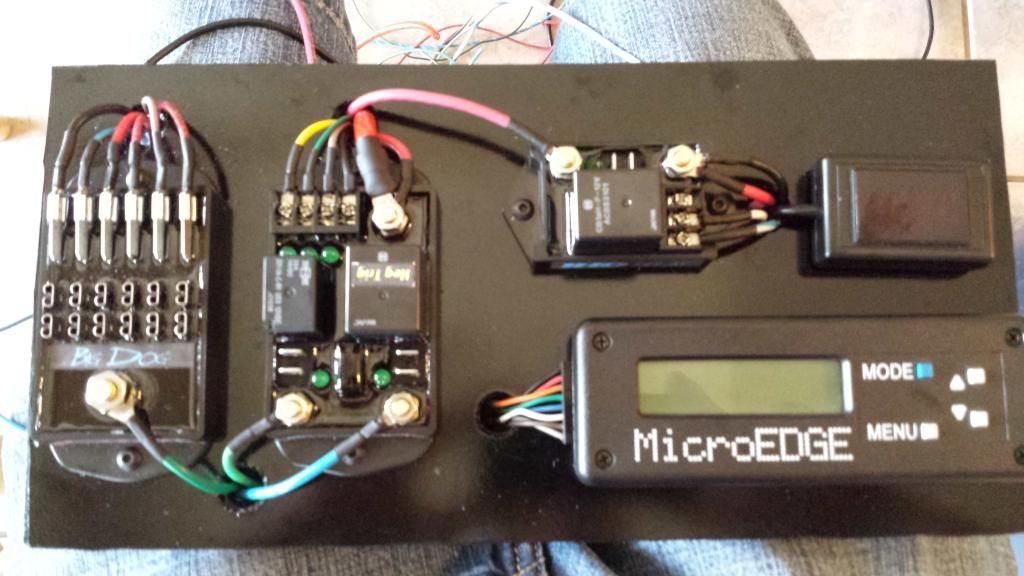
OK, now take the glove box back out and get rid of those UGLY plastic crimp on caps and put some heat shrink on the wires. It looks like a rainbow threw up on those things... LOL
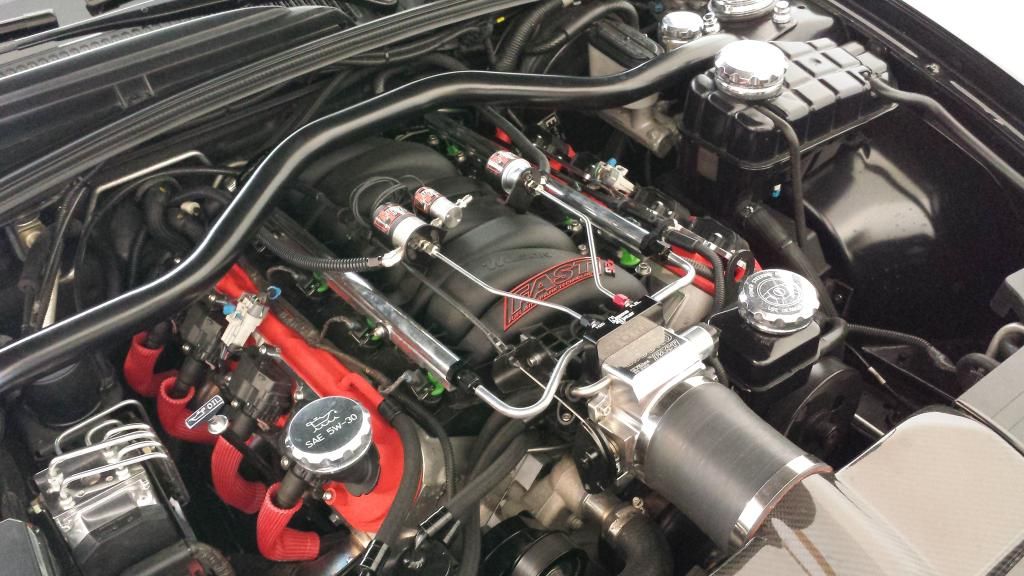
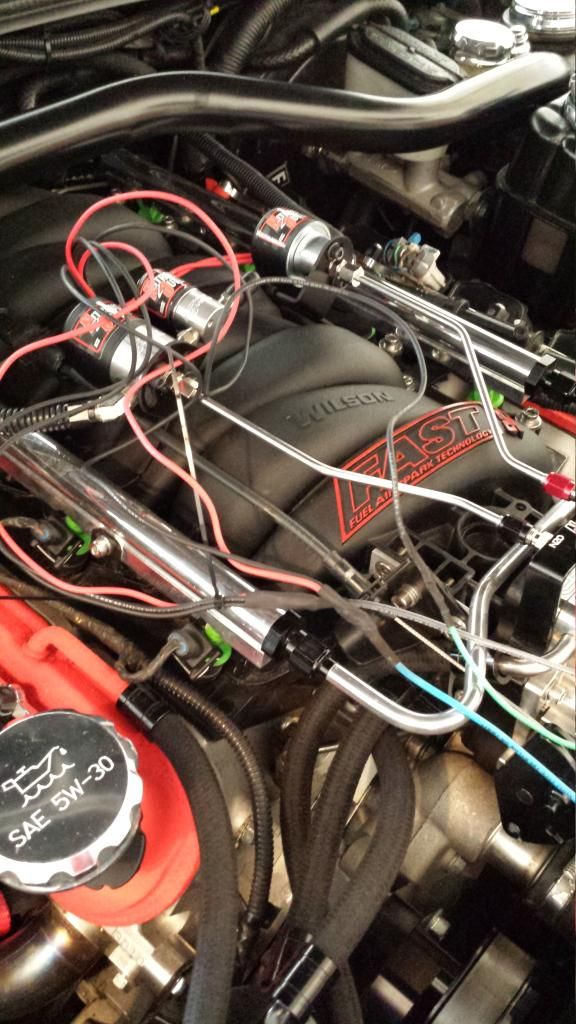
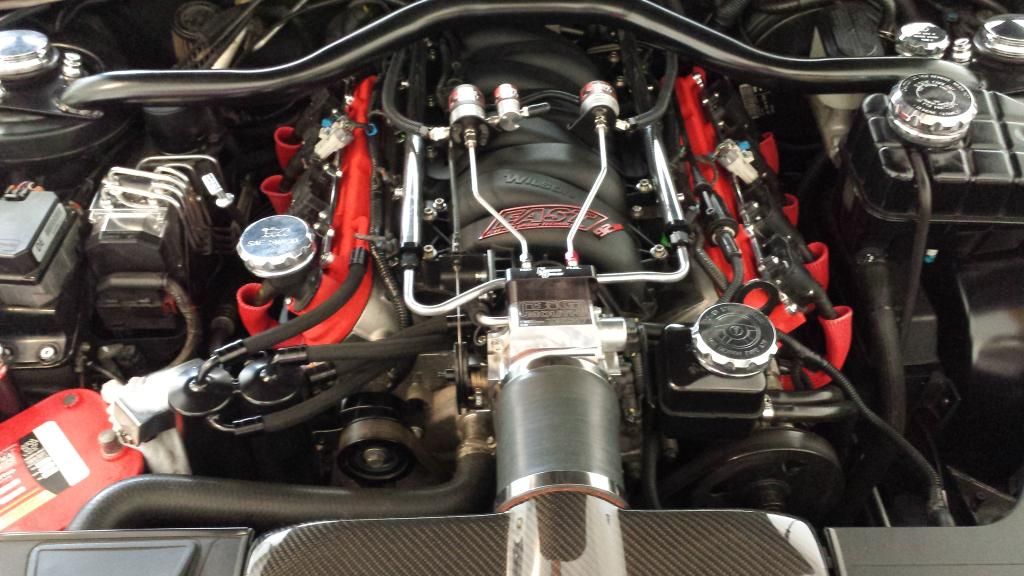
By the way, nice clean engine. I wish my S-10 engine was that clean on ANY part of it..
But, it wont be...
By the way, nice clean engine. I wish my S-10 engine was that clean on ANY part of it..
But, it wont be...

Thread Starter
TECH Apprentice
iTrader: (4)
Joined: Jan 2006
Posts: 374
Likes: 1
From: Rogersville, MO
OK, now take the glove box back out and get rid of those UGLY plastic crimp on caps and put some heat shrink on the wires. It looks like a rainbow threw up on those things... LOL
By the way, nice clean engine. I wish my S-10 engine was that clean on ANY part of it..
But, it wont be...
By the way, nice clean engine. I wish my S-10 engine was that clean on ANY part of it..
But, it wont be...
Thread Starter
TECH Apprentice
iTrader: (4)
Joined: Jan 2006
Posts: 374
Likes: 1
From: Rogersville, MO
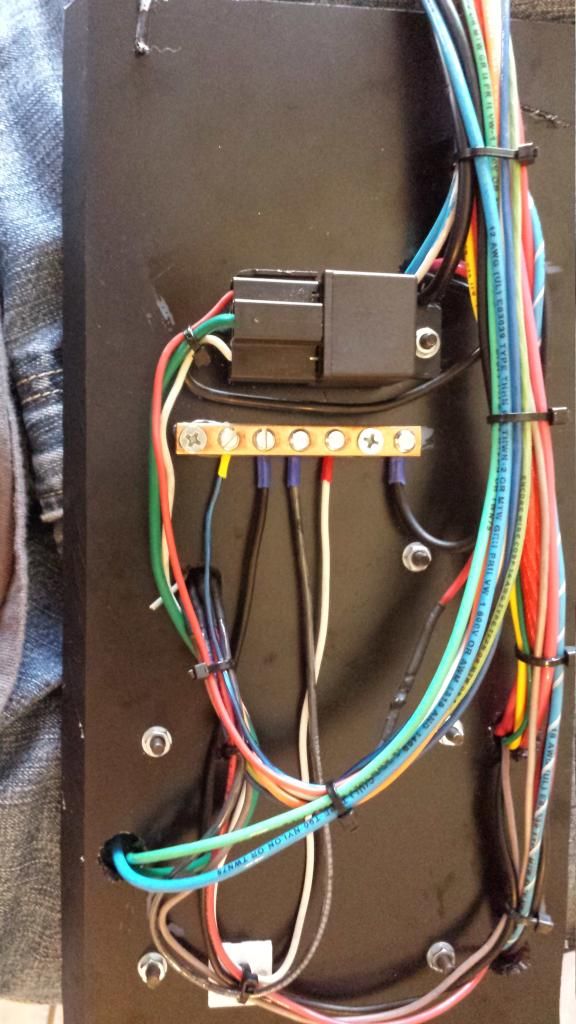
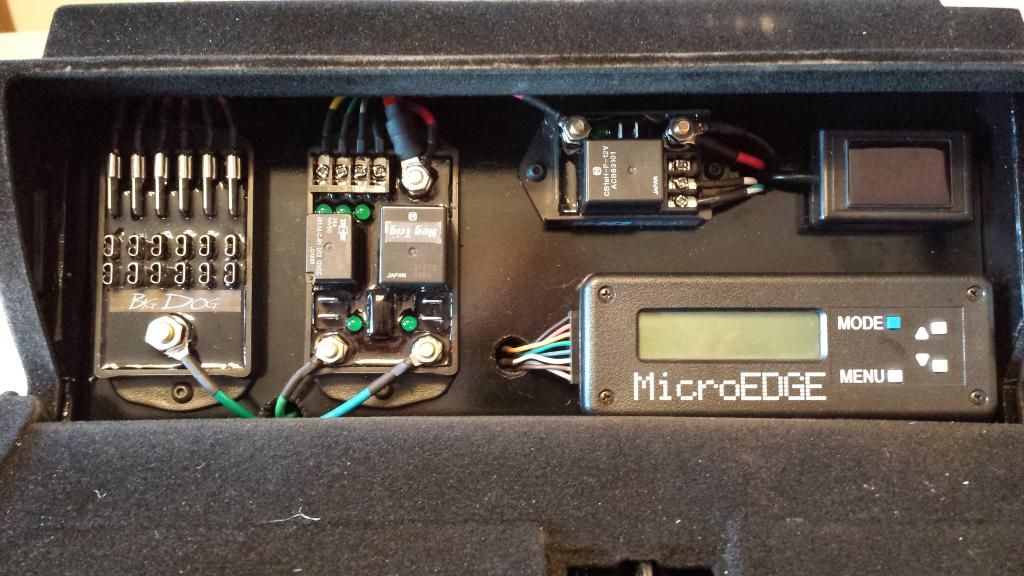
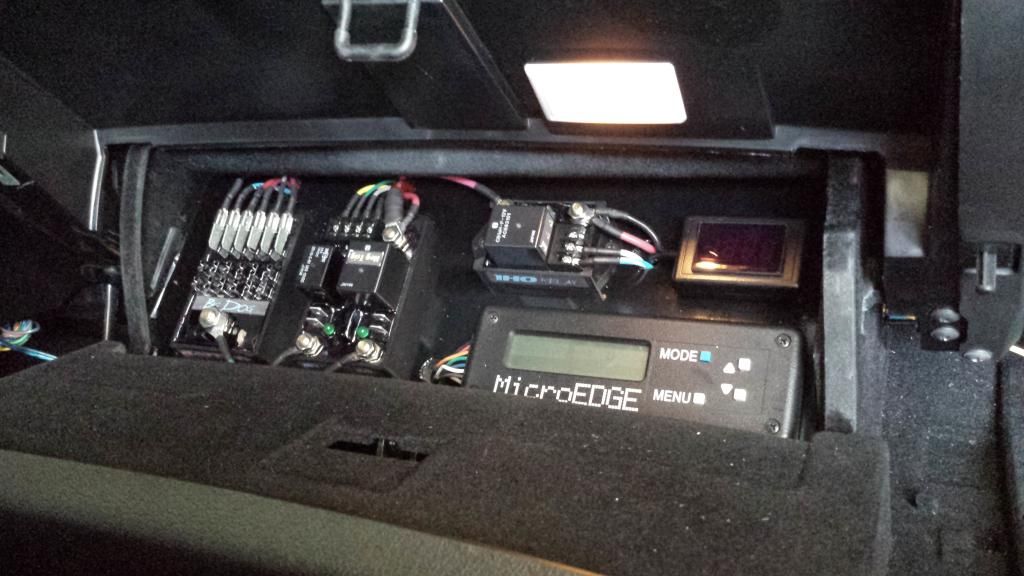
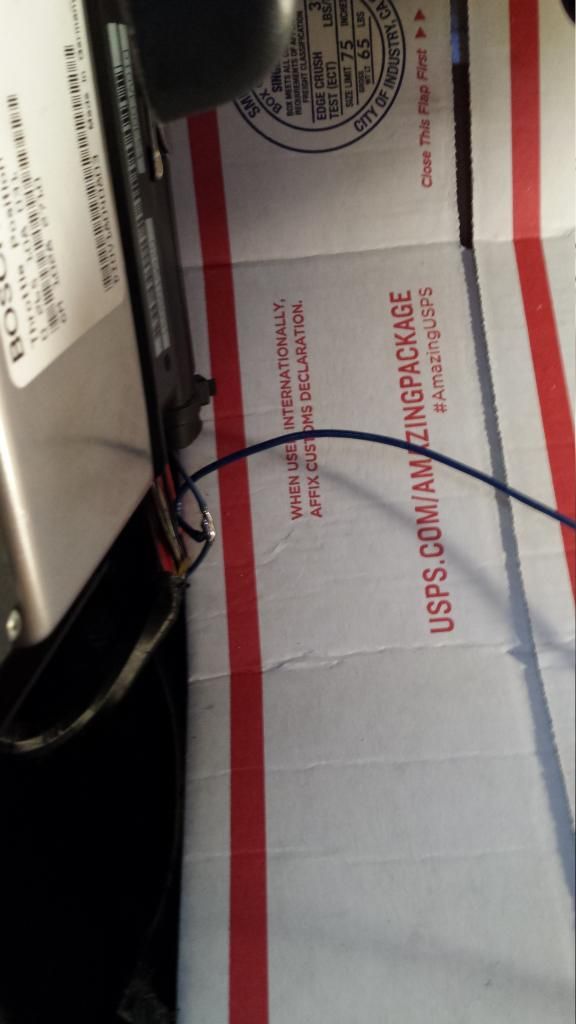
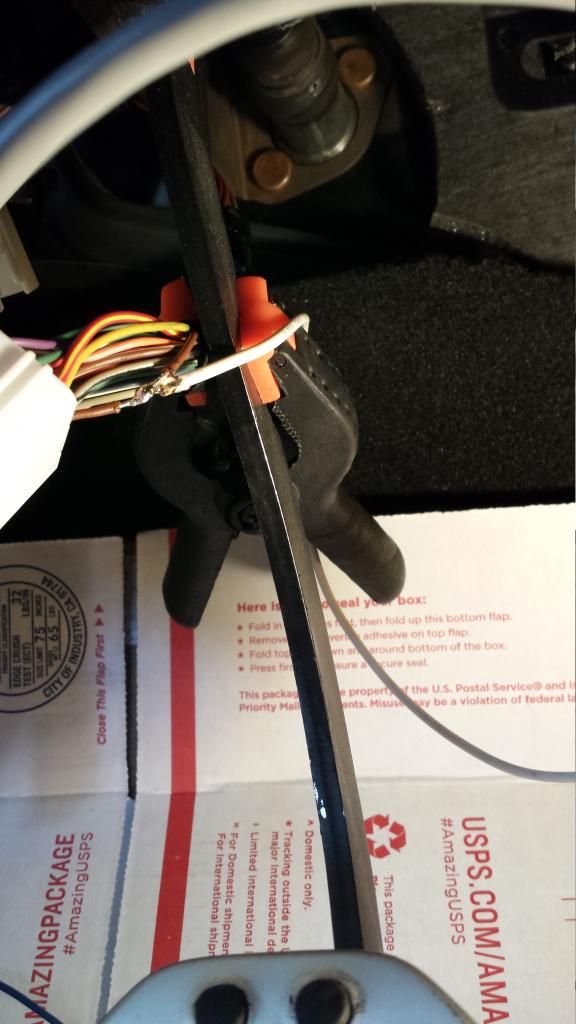
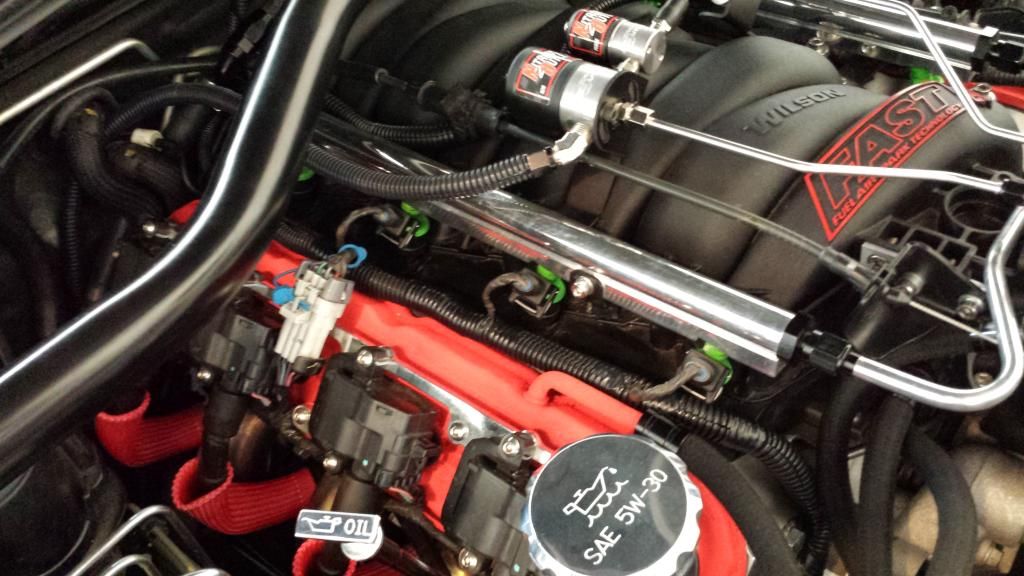
Made a little bit of progress the last few days. First I could not deal with what I created in the glovebox...all of the different color wire terminal ends. So I took it all apart and cut those off. I re crimped on the ends after removing the colored plastic crap. I then covered everything with heat shrink. The results speak for themselves.
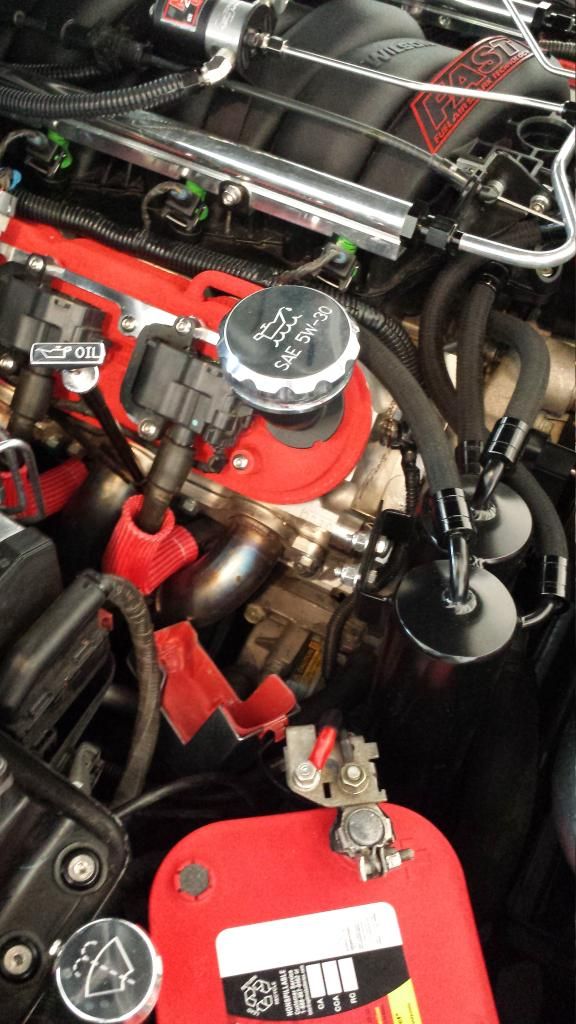
Now for the real progress. I got the mainline ran from the trunk to the nitrous solenoid. I also got the fuel line ran from the rail to the fuel solenoid.
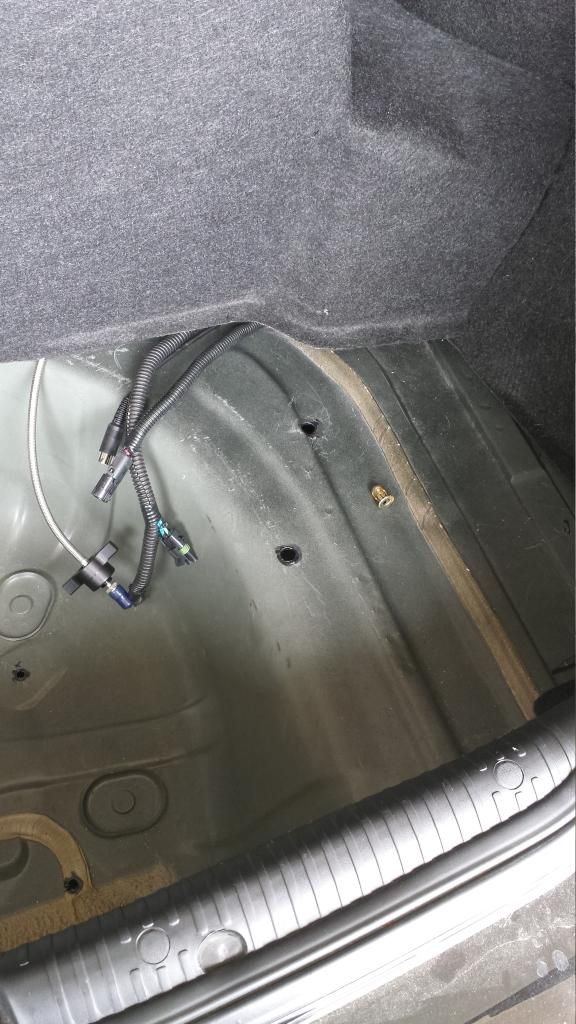
I then finished all of the wiring in the trunk. This includes the 3 quick connect terminals. Also got all of the wiring done on the bottle and heater. Made the trunk ground and covered it all with loom. And lastly I drilled the holes in the trunk for the bottle bracket/ heater combo. I decided to install jacknuts in the trunk so that I can use the same fender washers that I have under the hood. Unfortunately I only had one jacknut left but have more on the way.
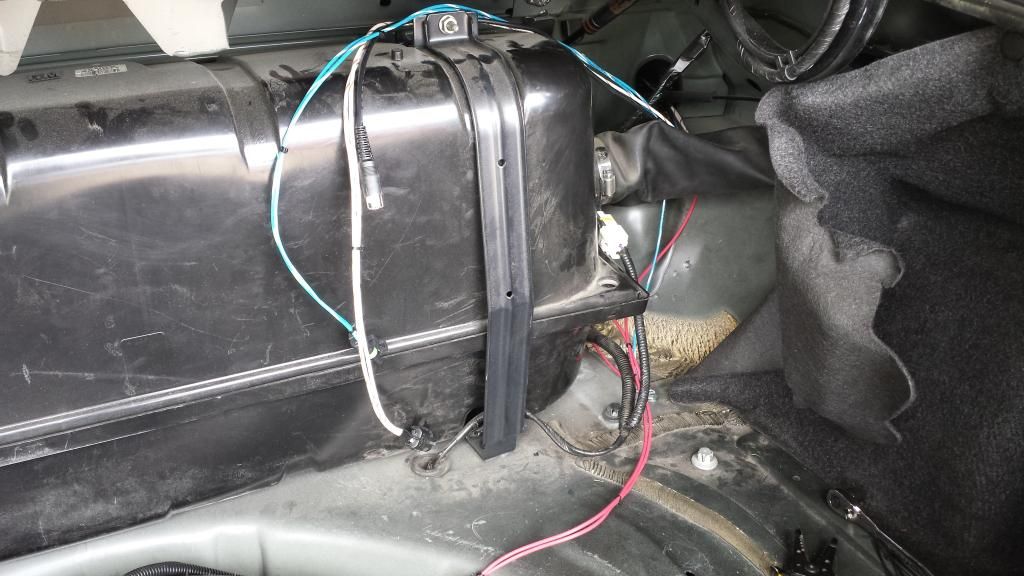

Oh, and I put in the 50hp jets.
What's left.
Spark plugs
Wire up everything under the dash to the terminal strips.
Run main power from battery.
Run leads to nitrous and fuel solenoid as well as purge...and figure out a ground under the hood.
Tap into tps and tack under the dash.
Install 2 more jacknuts.
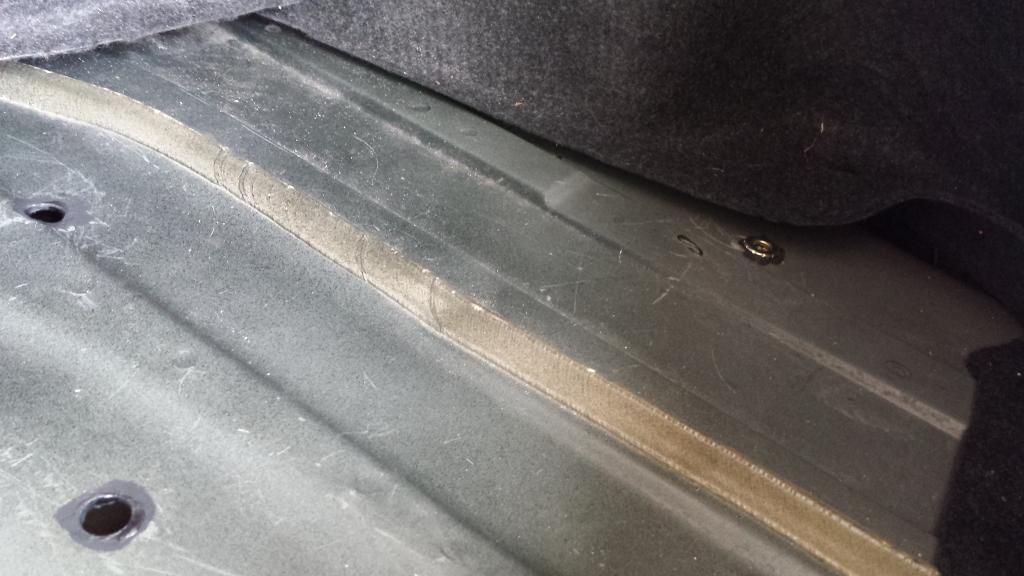
Cut out trunk carpet to have a clean bottle install.


Now for the real progress. I got the mainline ran from the trunk to the nitrous solenoid. I also got the fuel line ran from the rail to the fuel solenoid.

I then finished all of the wiring in the trunk. This includes the 3 quick connect terminals. Also got all of the wiring done on the bottle and heater. Made the trunk ground and covered it all with loom. And lastly I drilled the holes in the trunk for the bottle bracket/ heater combo. I decided to install jacknuts in the trunk so that I can use the same fender washers that I have under the hood. Unfortunately I only had one jacknut left but have more on the way.


Oh, and I put in the 50hp jets.
What's left.
Spark plugs
Wire up everything under the dash to the terminal strips.
Run main power from battery.
Run leads to nitrous and fuel solenoid as well as purge...and figure out a ground under the hood.
Tap into tps and tack under the dash.
Install 2 more jacknuts.
Cut out trunk carpet to have a clean bottle install.
LS1 Tech Stories
The Best V8 Stories One Small Block at Time

Amazing '71 Camaro Restomod Is Modern Muscle Car Under the Skin
Verdad Gallardo
6 Common C5 Corvette Failures and What's Involved In Repairing Them
Pouria Savadkouei
Retro Modern Bandit Pontiac Trans AM Comes With Burt Reynolds' Autograph
Verdad Gallardo
Top 10 Greatest Cadillac V Series Performance Models Ever, Ranked
Pouria Savadkouei
Top 10 Most Powerful Chevy Trucks Ever Made!

Hennessey's New Supercharged Silverado ZR2 Has 700 HP
Verdad Gallardo
Coachbuilt N2A Anteros Is an LS2-Powered C6 Corvette In Italian Clothes
Verdad Gallardo
Awesome K5 Blazer Restomod Comes With C7 Corvette Power
Verdad Gallardo
10 Camaros You Should Never Buy
Thread Starter
TECH Apprentice
iTrader: (4)
Joined: Jan 2006
Posts: 374
Likes: 1
From: Rogersville, MO
On spray if I cannot get into the 10's something went wrong.
Ultimate goal is 135 traps.

Thread Starter
TECH Apprentice
iTrader: (4)
Joined: Jan 2006
Posts: 374
Likes: 1
From: Rogersville, MO
Spend a few more hours on it this morning. Got the br7 plugs gaped to .35 and installed.
Tapped into the tps and tach in the drivers kick panel...most of the guys just pull this from under the hood.
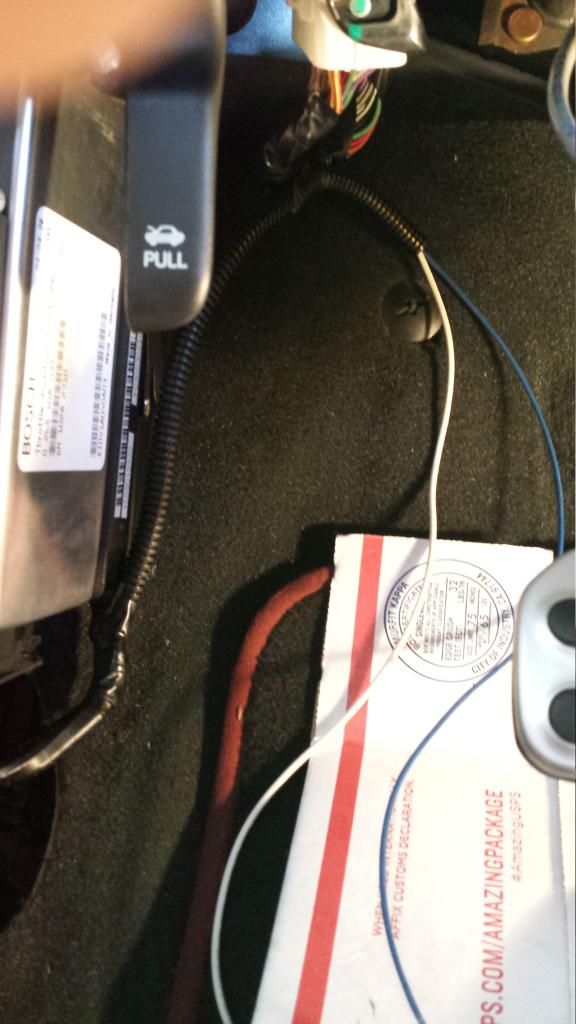
Also got the wiring under the hood done. I installed loom on the passengers side injector harness and ran the solenoid(s) ground inside of that upto the passengers side head. Ran all of the wires into the cabin on the passengers side firewall. Also installed main power to the battery ran into the cabin.
At this point all that is left is to install 2 jacknuts in the trunk to mount the bottle, cut the carpet out in the trunk to fit around the bottle mount. Wire everything upto terminal strips in the passengers side floor board, and figure out my purge.
Puttin in the 50 shot jets yesterday really motivated me to get this bitch done. The end is in sight.
Tapped into the tps and tach in the drivers kick panel...most of the guys just pull this from under the hood.


Also got the wiring under the hood done. I installed loom on the passengers side injector harness and ran the solenoid(s) ground inside of that upto the passengers side head. Ran all of the wires into the cabin on the passengers side firewall. Also installed main power to the battery ran into the cabin.


At this point all that is left is to install 2 jacknuts in the trunk to mount the bottle, cut the carpet out in the trunk to fit around the bottle mount. Wire everything upto terminal strips in the passengers side floor board, and figure out my purge.
Puttin in the 50 shot jets yesterday really motivated me to get this bitch done. The end is in sight.

Thread Starter
TECH Apprentice
iTrader: (4)
Joined: Jan 2006
Posts: 374
Likes: 1
From: Rogersville, MO
Yep
I would like to think that 120 traps are achievable on motor with the head swap and gears.
Thank you. I set out to do something that I have not seen done before on several levels...so far I have achieved it.
Thank you. I set out to do something that I have not seen done before on several levels...so far I have achieved it.
Thread Starter
TECH Apprentice
iTrader: (4)
Joined: Jan 2006
Posts: 374
Likes: 1
From: Rogersville, MO
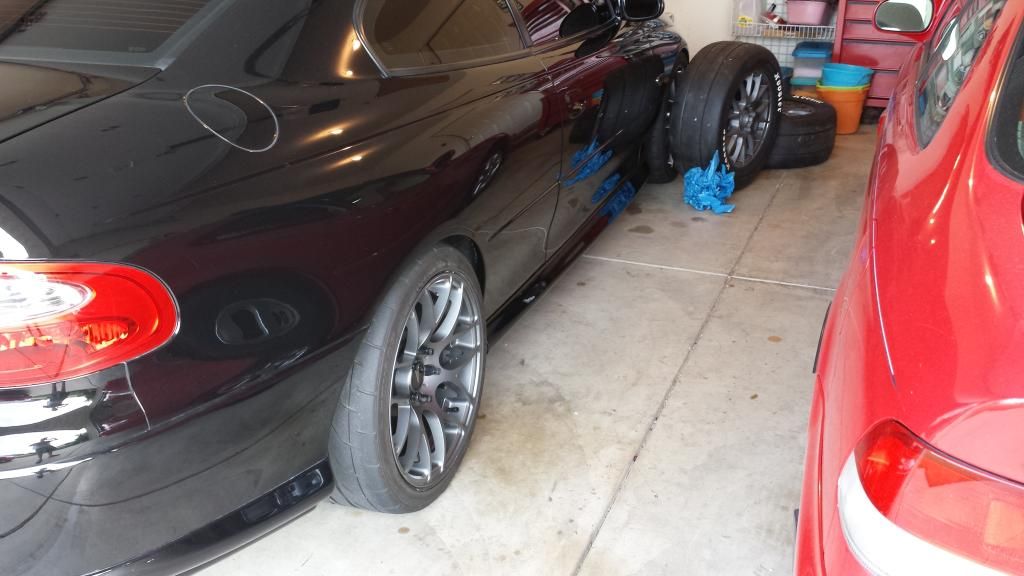
I also came up with a cheap approach to traction...that should look good as well.
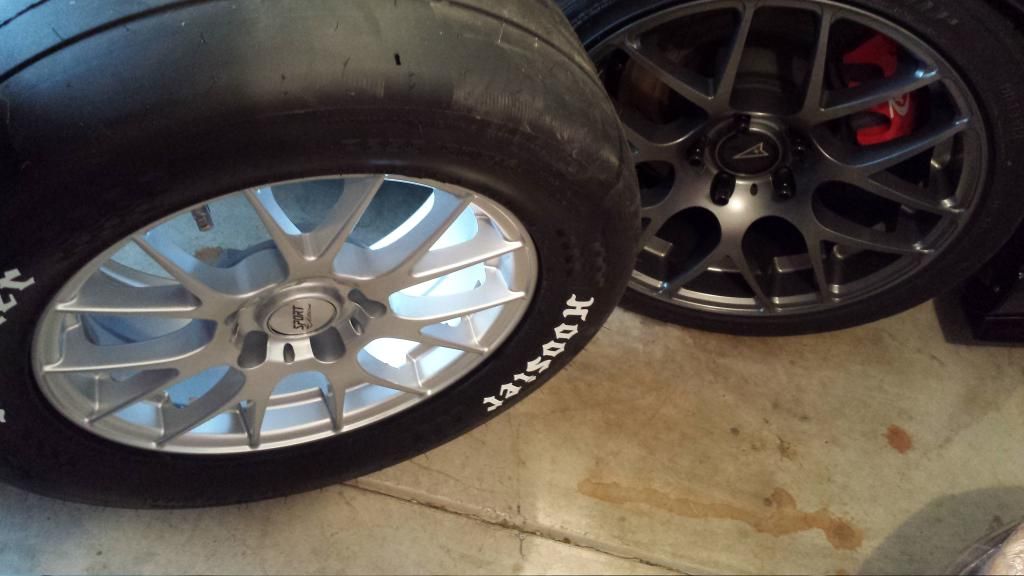
Notice how they look similar to the vmr's. I also painted them to get them to match a little better.
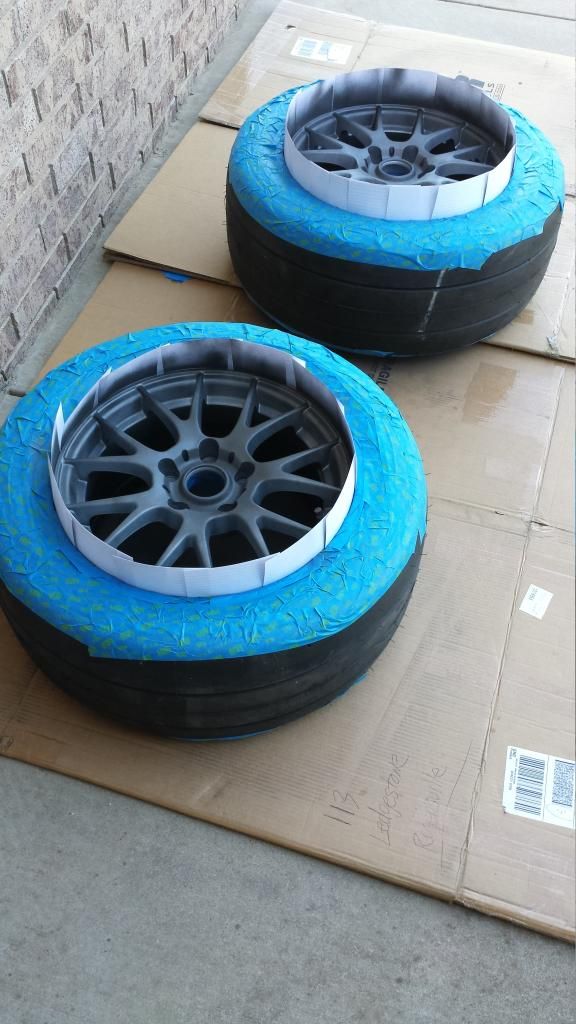
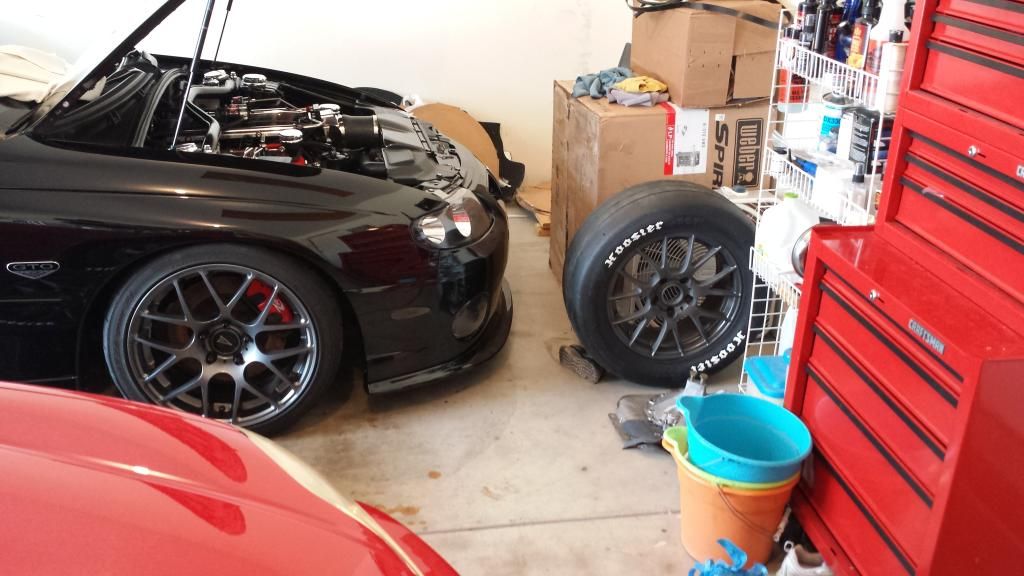
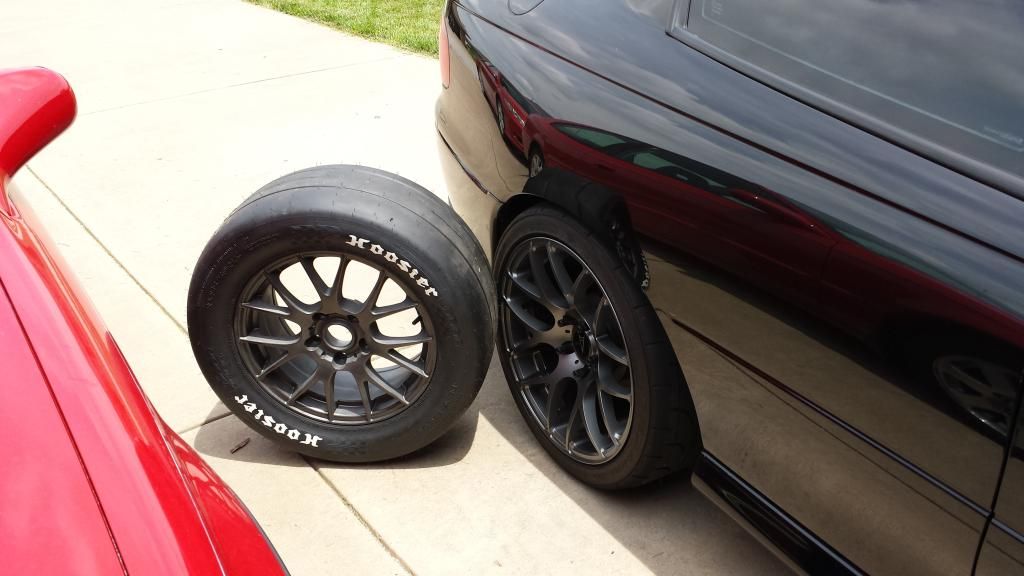
The color match isn't perfect but when you get some distance between them it is acceptable.

Notice how they look similar to the vmr's. I also painted them to get them to match a little better.


The color match isn't perfect but when you get some distance between them it is acceptable.


Thread Starter
TECH Apprentice
iTrader: (4)
Joined: Jan 2006
Posts: 374
Likes: 1
From: Rogersville, MO
Got bottle in...super happy with how this came out.
Make template.
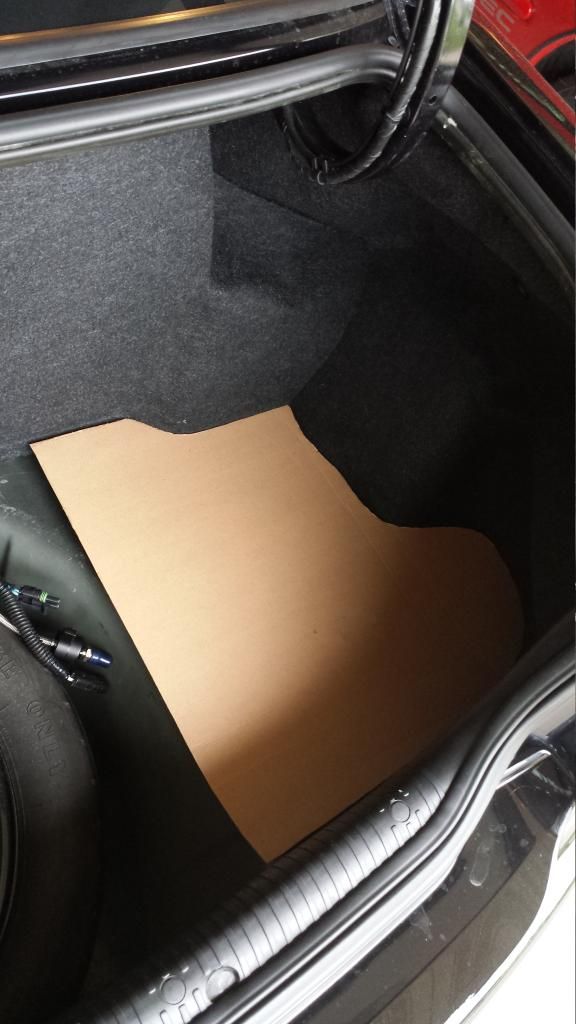
Cut holes in template.
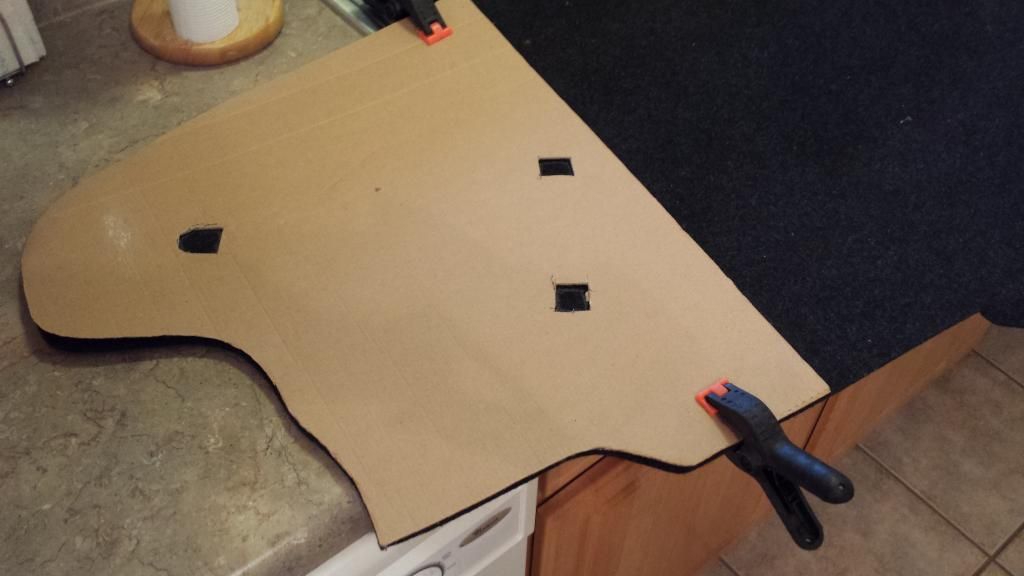
Transfer holes to bottom carpet...make removable.
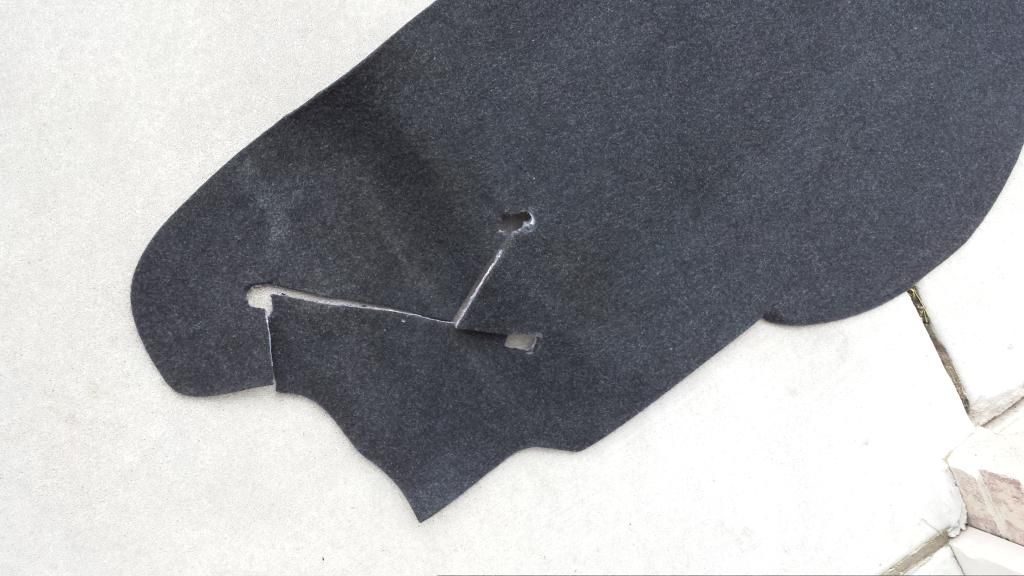
Install bracket.
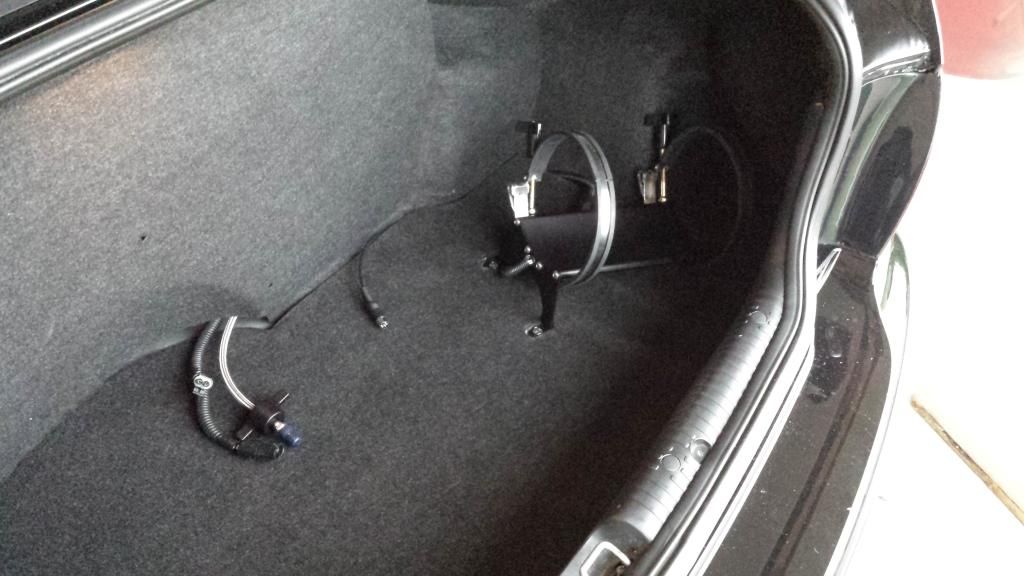
Install bottle.
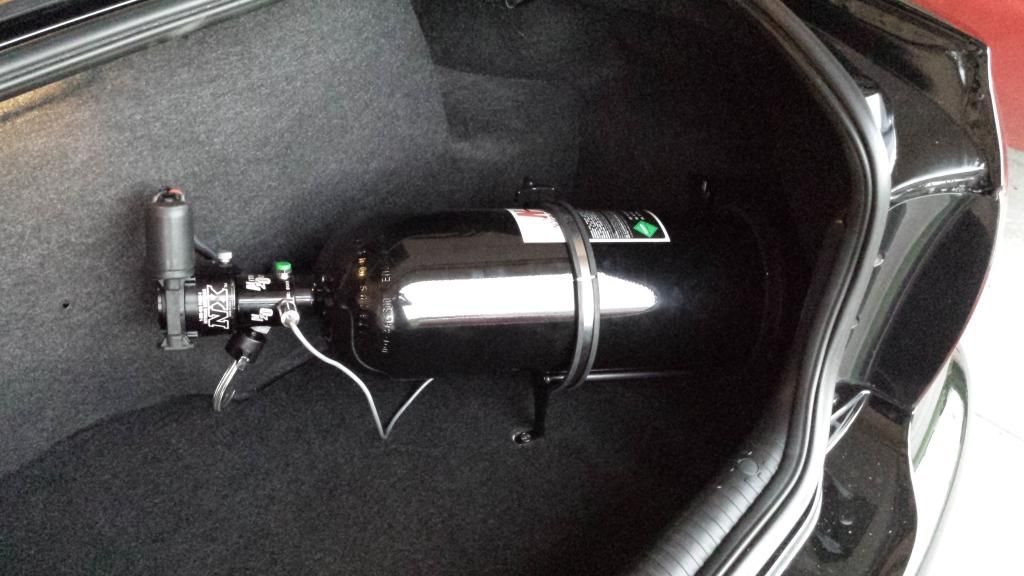
Stand back and take picture.
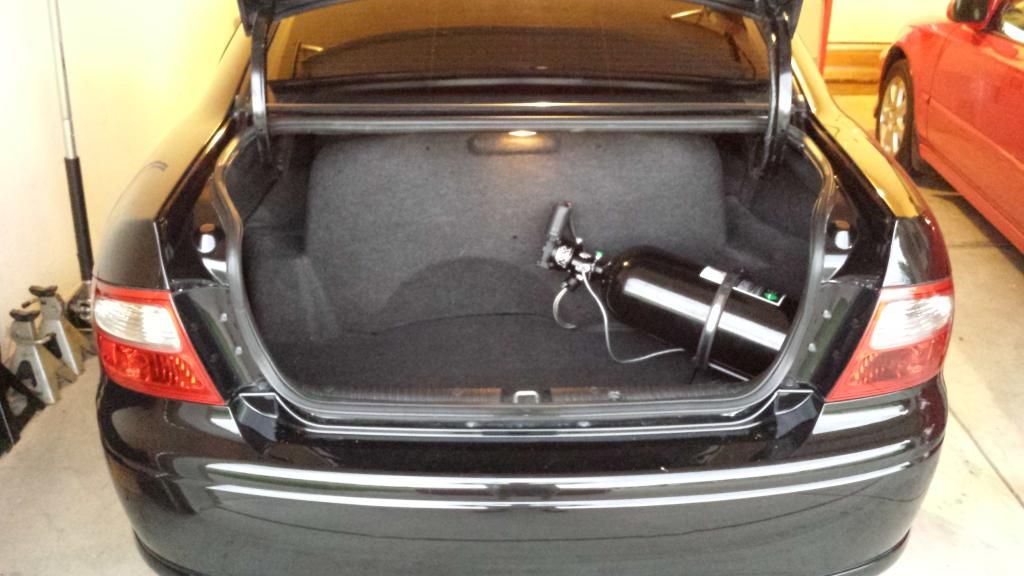
I am going to tweak the wires back there a bit but for now it is good.
All thats left is to wire everything to terminal strips under the dash. Then cross my fingers that I got all the wiring right. Nothing has been tested along the way.