
6 Point Rollbar Install Pics


 02-12-2010, 04:15 PM
#23
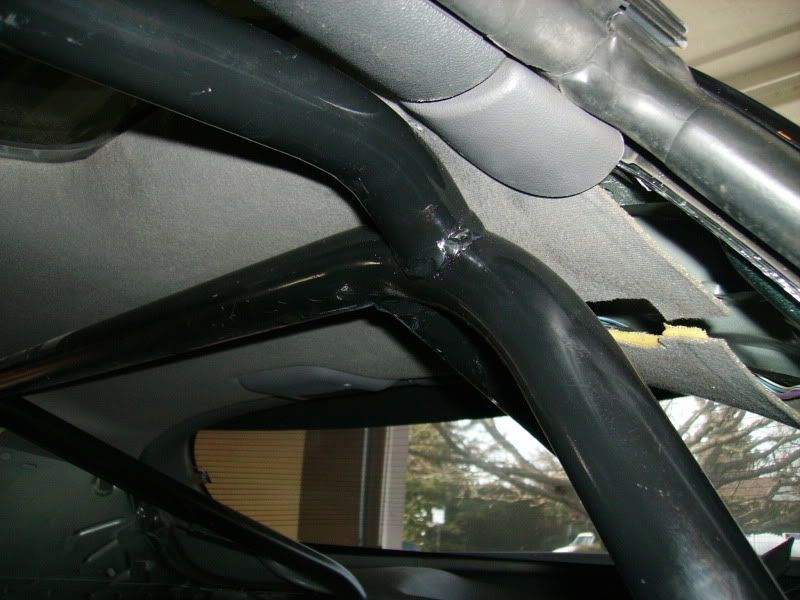
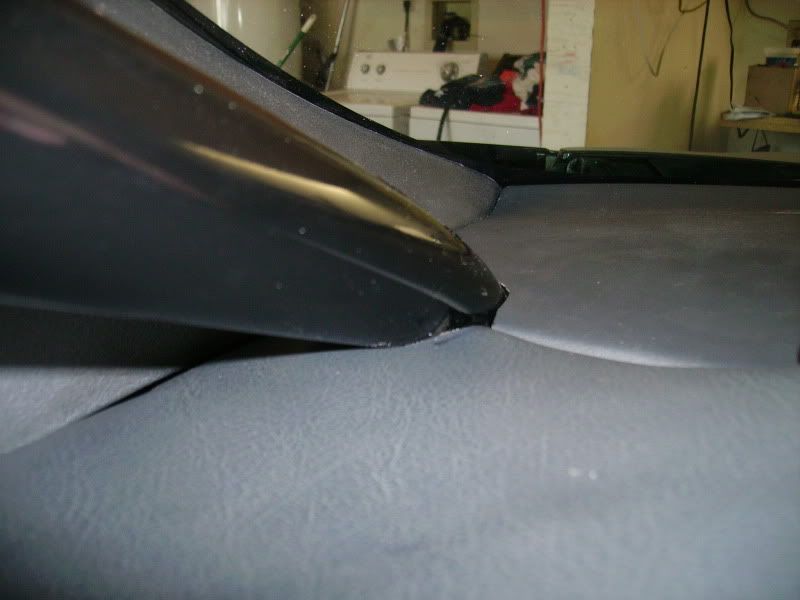
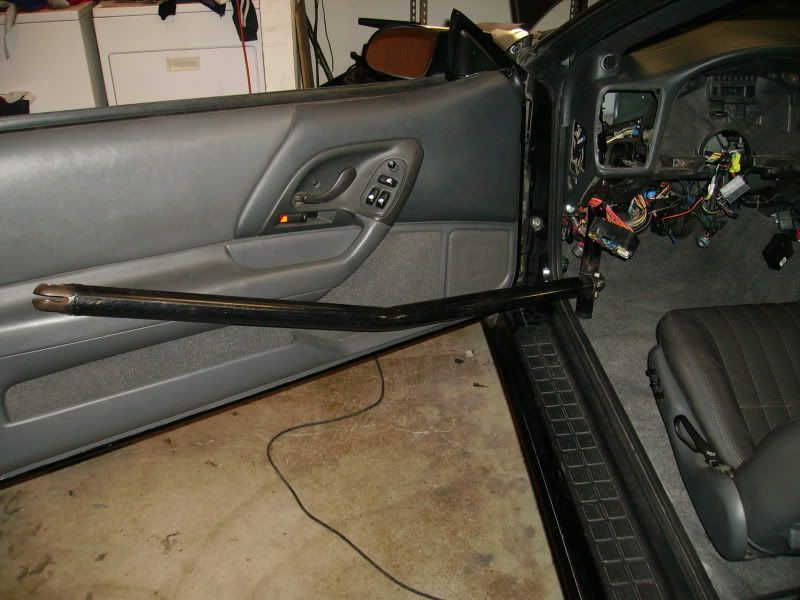
Thanks man. I've made some more progress on the cage and got the other forward bar on the other side fixed/fitting good. Now I need to work on fitting the crossbar above the windshield. After that, it's time to prep the bars for paint and melt some metal. 
Mike
Mike
 02-25-2010, 03:59 PM
#25
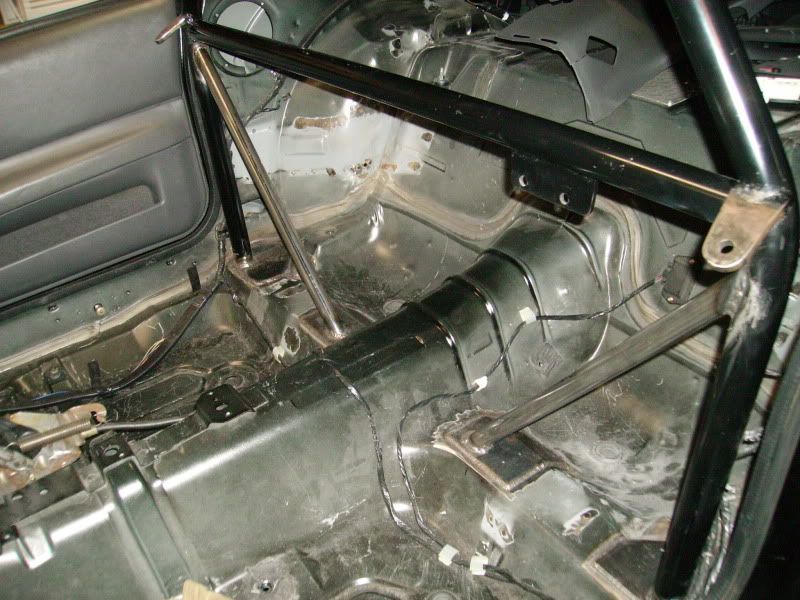
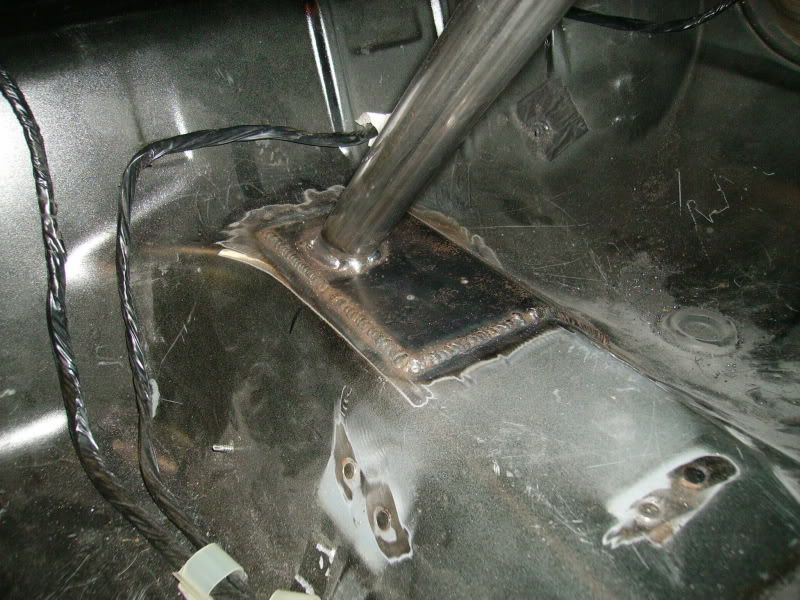
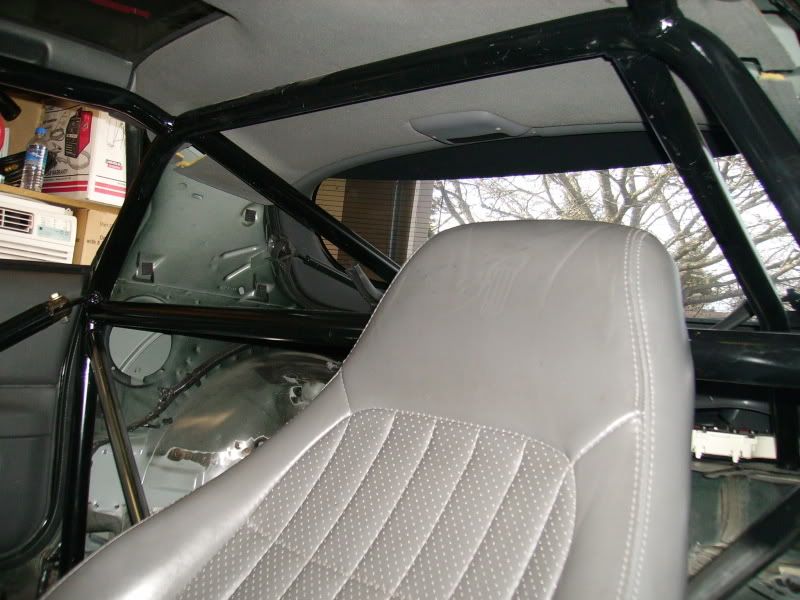
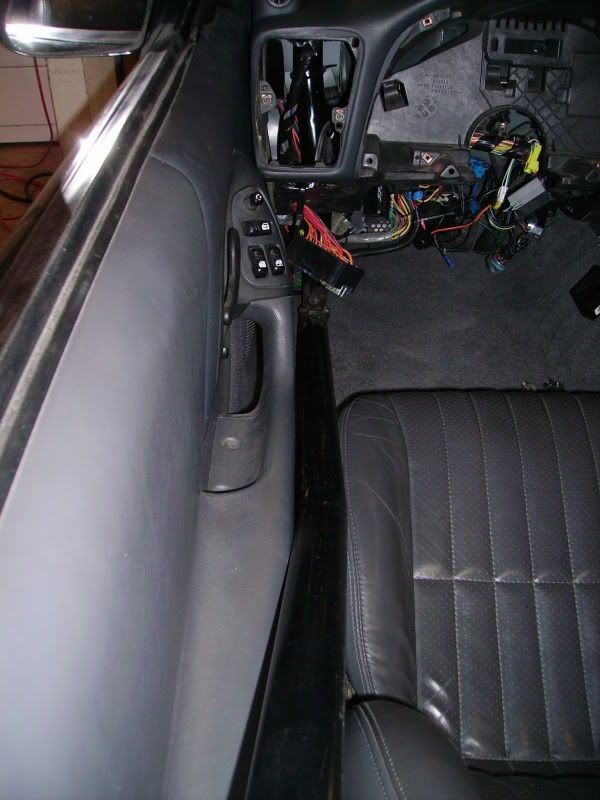
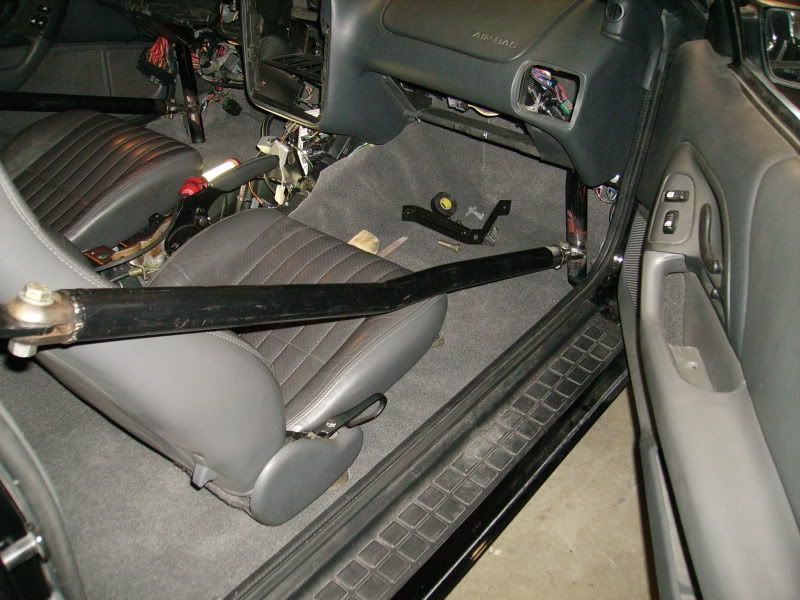
Made some more progress on the 10pt conversion these past couple of weeks. It's nearly finished except for the sidebars need a tab welded to the front bars now.
[img width=576 height=768]http://i34.photobucket.com/albums/d136/Bowties4evr/8%20point%20rollcage%20install/02-25-10/002.jpg[/img]
[img width=576 height=768]http://i34.photobucket.com/albums/d136/Bowties4evr/8%20point%20rollcage%20install/02-25-10/004.jpg[/img]
[img width=576 height=768]http://i34.photobucket.com/albums/d136/Bowties4evr/8%20point%20rollcage%20install/02-25-10/009.jpg[/img]
Mike
02-28-2010, 04:11 PM
#27
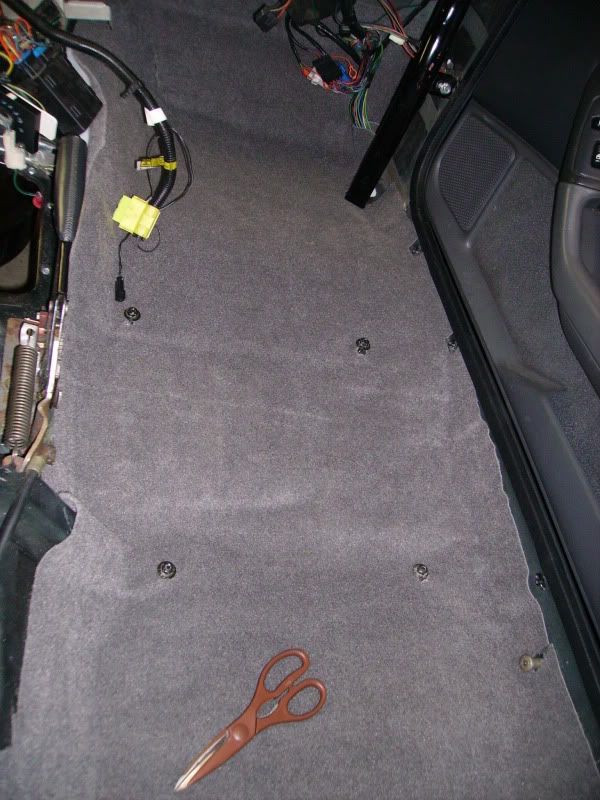
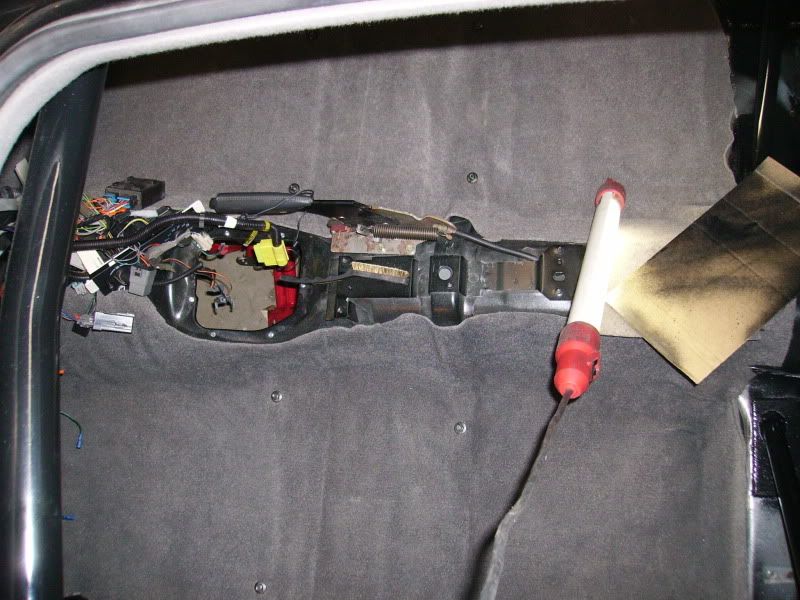
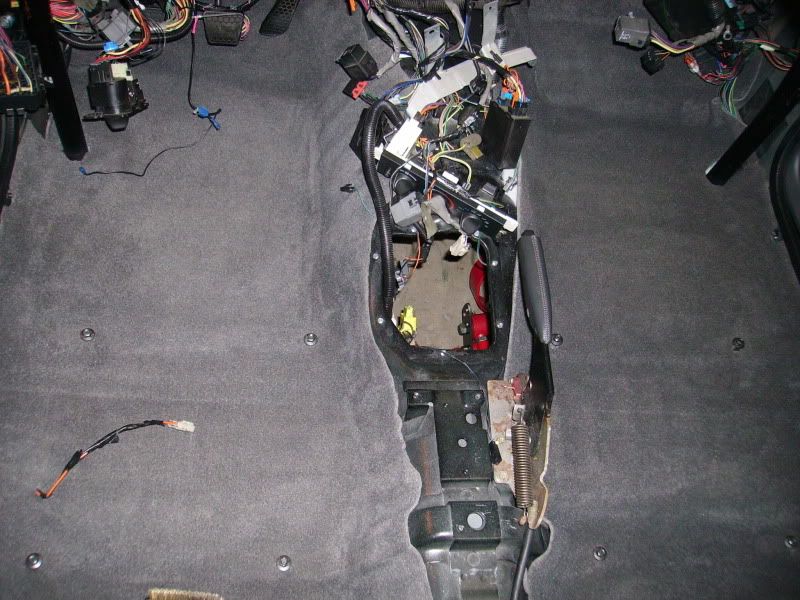
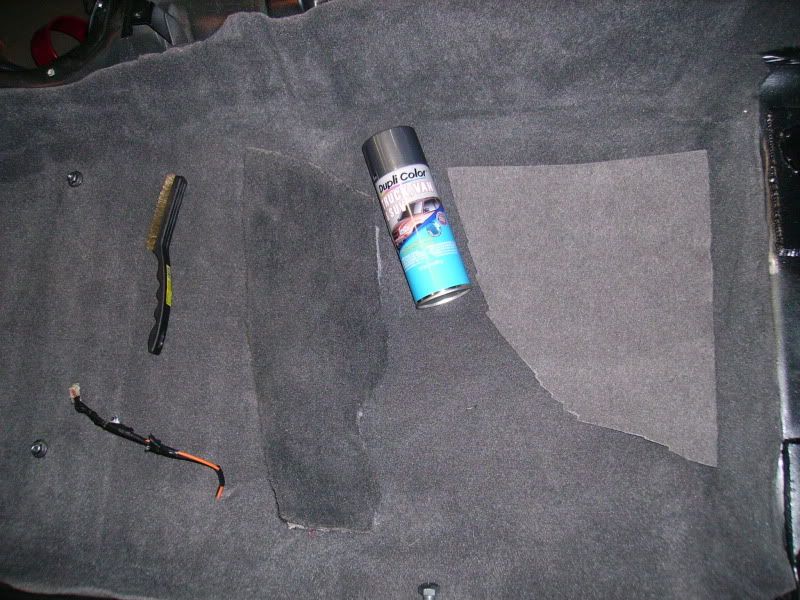
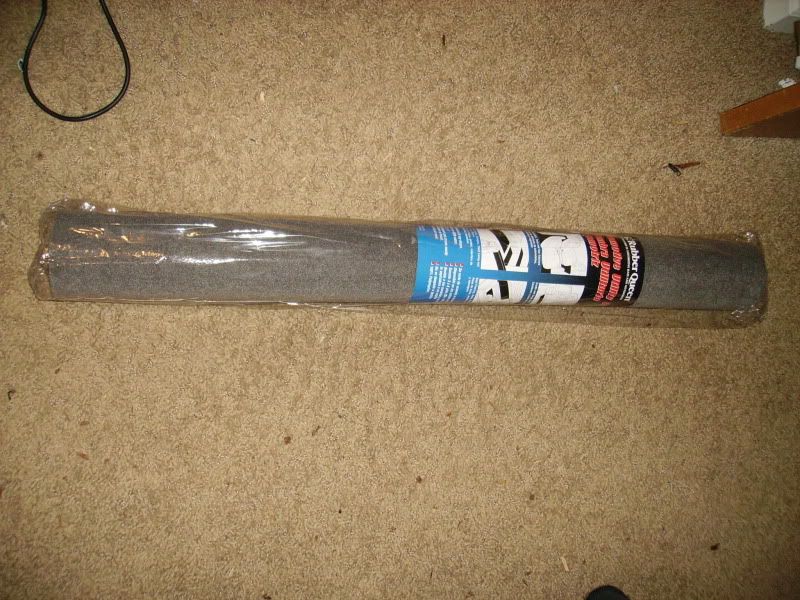
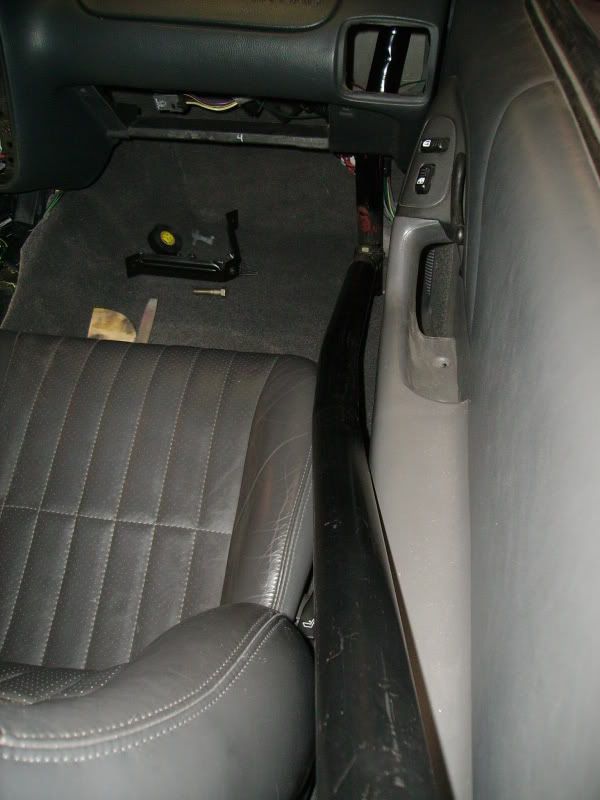
Here's some pics of the lightweight carpet install. I found this carpet at a local auto parts store. It comes in 3'x6' rolls and each roll weighs 2lbs. So far I've got the front passenger side and front driver side complete. The stock color of the new carpet is a medium gray, which was a bit lighter gray than I wanted. After installing it in the car I decided to color match it with some spray paint and it turned out waaaay better than I expected. I just used some paint I had in my garage and it turned out to be a really great match to the factory charcoal color. I used two light coats to get a nice even coverage, and used a wire brush on the carpet after each coat to get rid of the stiffness of the carpet (after it dried) and make it soft again. Also used some lightweight foam to fill in the valleys of the floor to make it smoother and easier to install the carpet. Kept everything in place using 3M Super 74 Foam Fast adhesive and it's worked pretty well.
Here's some pics of the carpet install so far.
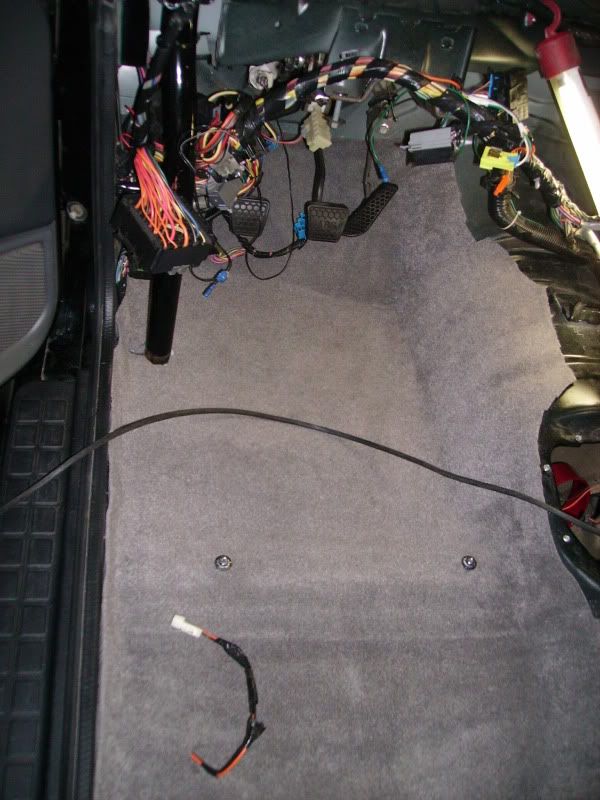
I completely filled in the passenger side footwell with foam since this car will rarely, if ever have a passenger. Sure made the carpet install easier.
This next pic shows the bottom part of the pic after being painted and top is the normal color of the carpet as purchased.
Here is the whole thing painted/brushed out.
Here's a pic showing the carpet after being painted, with some samples. The light gray was how the carpet came in the roll. The other sample is the factory carpet I pulled out of the car.
Here's the carpet as purchased. These rolls were $11.00/each and I've used two of them for the front of the car.
Mike

 Here's a few pics of the progress I made today.
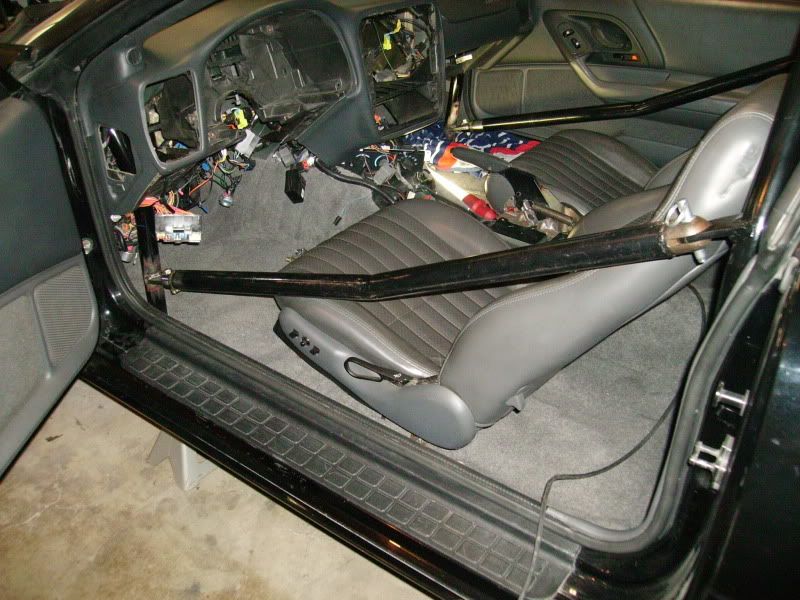
 03-14-2010, 12:01 AM
#31
On The Tree
iTrader: (4)
Join Date: Jul 2008
Location: St. Helens, Oregon
Posts: 171
Likes: 0
Received 0 Likes
on
0 Posts

Looks pretty good. Those must be nice to have, that's the only way I would ever be ok with a roll bar in an f-body. It's hard enough to get in these things as it is, lol