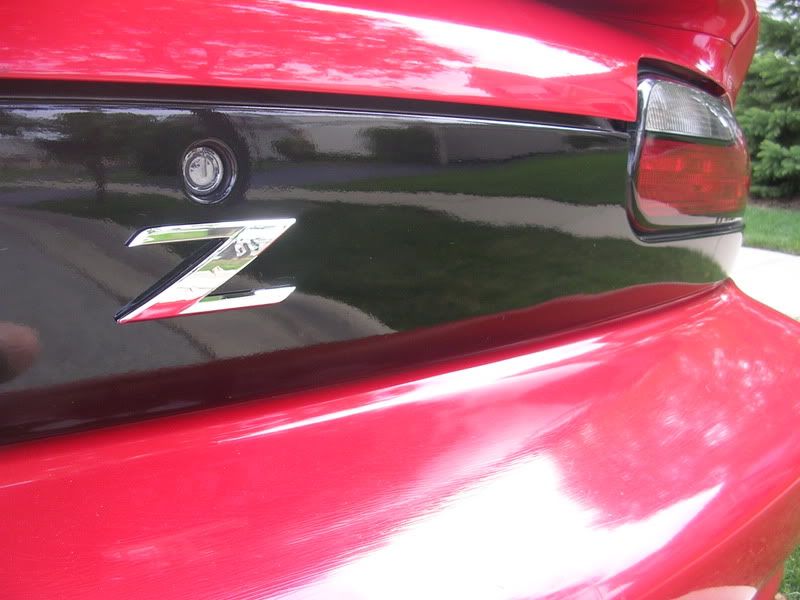
Filled in berger panel
 06-03-2009, 09:35 AM
#21

body filler will bond to fiberglass without any problem what so ever when done right, drilling holes isnt just a waste of time but i good way to make the glass start to crack and spread over time, just scratch the glass up, clean and prep it and there will be no issues, with that said you can actually buy fiberglass filler, id recommend using it then a body filler to smooth it up, as body filler isnt intended for a thick layer. also bondo is a cheap brand, that isnt worth the container its in. for those who care to do the job right.
This just takes some time, I now know for the future patience and a taller work bench, I am 6'6 and working on this hurts my back something fierce, damn workbench is like half my size so when I was bent over to sand and for paint I must tweaked something.
I will get installed pics up soon. Thanks for those of you with you thoughts/compliments/constructive criticism.


 06-03-2009, 01:19 PM
#26
Joser if you want help or anything or you want some bondo let me know I still have that can of it at my place and you can have it if you want.


 06-05-2009, 01:10 AM
#32
what i did was sand the letters really good with some 120 made sure there was no shiny left then i used some very strong expensive plastic panal bond/fill and filled the letters as much as i could. sanded it down with 120-220 then applyed an even coat of body filler, then block sanded it with 220 and i did that twice before i got it straight, primered the **** out of it then blocked it again with 320 grit. then i painted it and color sanded and buffed it and it looks like glass
06-05-2009, 08:59 AM
#33
Yeah my process was not as extensive I may take it to a paint shop for paint, but yeah i used body filler did a couple layers sanded down then did one last fill, sanded down with 60 grit then I hit it with a few layers of primer, then painted it and just after first layer of clear I did a wet sand then cleared the rest. It really is not 100% I have some rough spots but for now it looks ****, I will most likely sand it all down again get the body filler perfect, it is about 98% there then take it to a paint place cause I am really not that good with paint, I can have all the patience when tearing into the engine tras or rear but none for painting.
06-07-2009, 08:17 AM
#34
10 Second Club
Join Date: Jun 2009
Location: se mich(pluto)
Posts: 399
Likes: 0
Received 0 Likes
on
0 Posts
bondo is the wrong way to fill letters.it will work somtimes but will always sooner or later crack/letters come back it just depends on how hot it gets.you need to use the 3m two part stuff.bondo has way different propertys then your rear pnl that make them expend at different rates.they are dis-similer metierls.
06-19-2009, 03:52 PM
#35
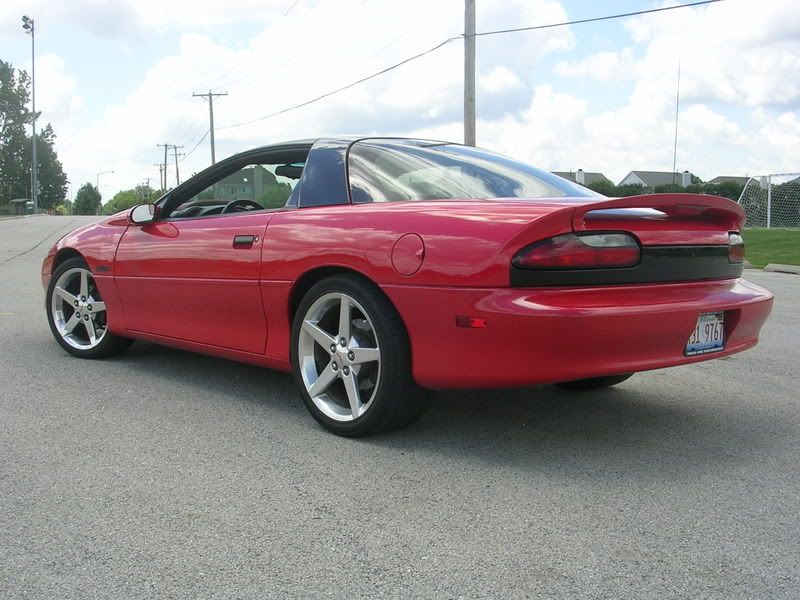
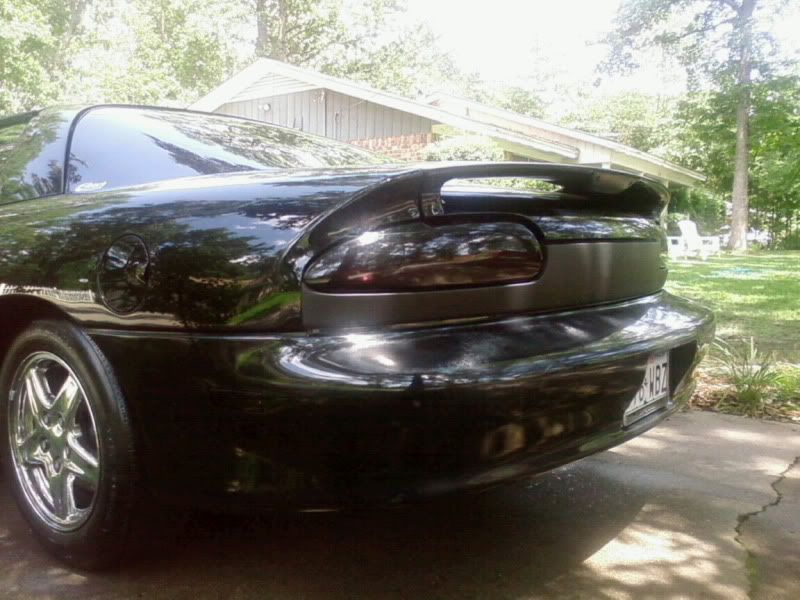
well i finally finished my completely filled Berger panel..
i decided to go with a satin black to add some contrast to the otherwise all gloss rear end on my car.
i filled in the camaro letters, and the key hole!
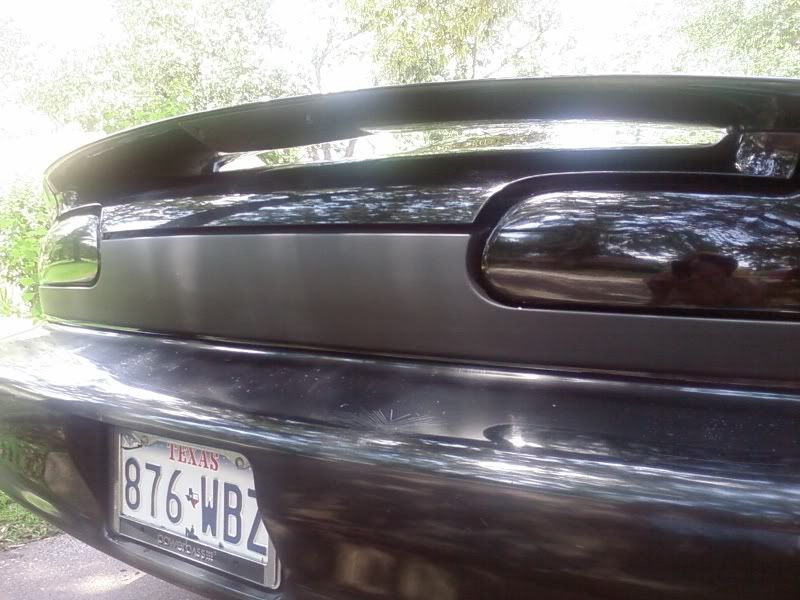
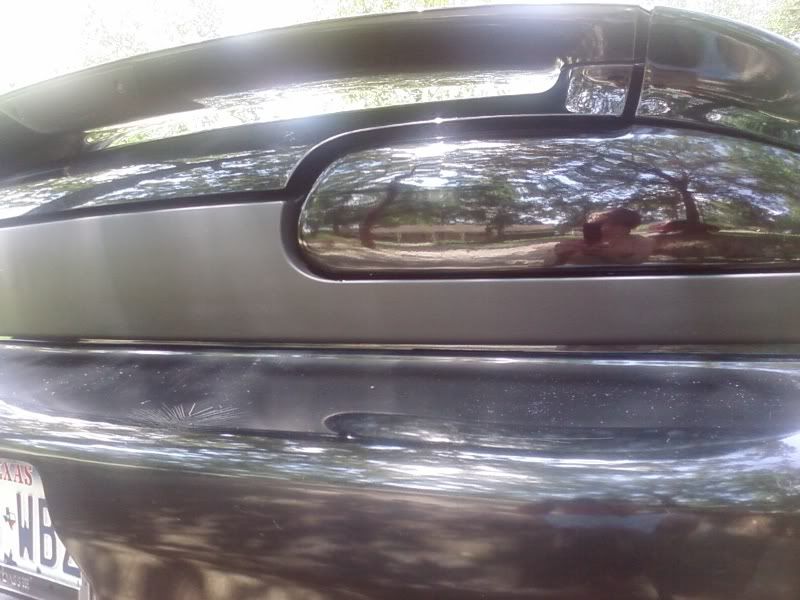
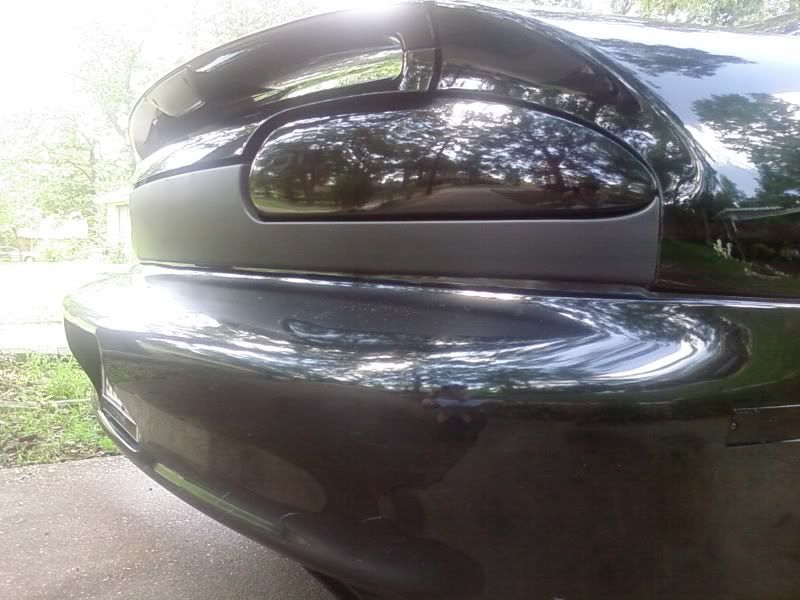
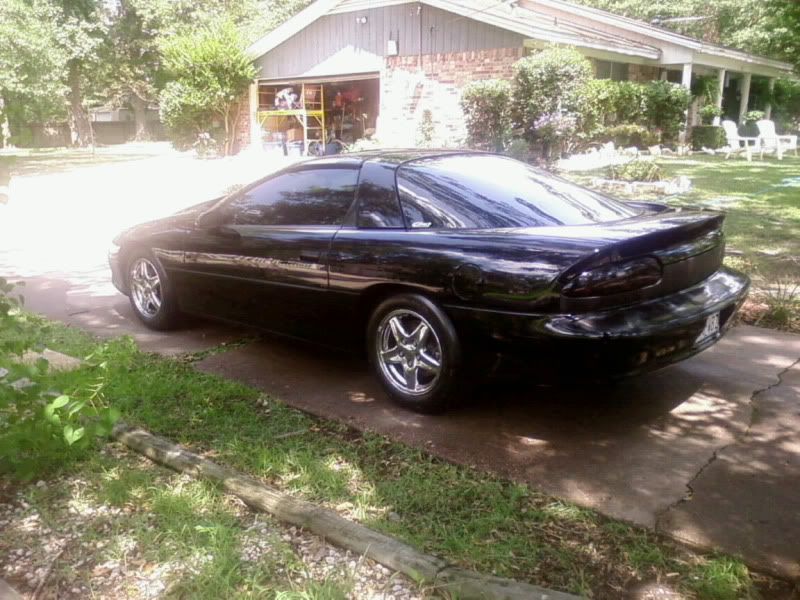
sorrry for the semi crappy pictures, all i have is my cell phone.
oh, and don't worry about the rear bumper, i know it's shitty looking, thats how i bought it. it's going into paint next week or so.
i decided to go with a satin black to add some contrast to the otherwise all gloss rear end on my car.
i filled in the camaro letters, and the key hole!
sorrry for the semi crappy pictures, all i have is my cell phone.
oh, and don't worry about the rear bumper, i know it's shitty looking, thats how i bought it. it's going into paint next week or so.
06-19-2009, 10:41 PM
#36
11 Second Club
iTrader: (13)
Join Date: Apr 2008
Location: From NorCal...Stationed in SoCal
Posts: 276
Likes: 0
Received 0 Likes
on
0 Posts
http://eastnc.craigslist.org/pts/1197495794.html
Here's the link for my boy is does them... I've seen them in person and they look good!!
Here's the link for my boy is does them... I've seen them in person and they look good!!
11-16-2010, 08:26 PM
#38
bondo is the wrong way to fill letters.it will work somtimes but will always sooner or later crack/letters come back it just depends on how hot it gets.you need to use the 3m two part stuff.bondo has way different propertys then your rear pnl that make them expend at different rates.they are dis-similer metierls.
Well I live in Southern California, we range from 100 degrees in the summer to ~ 50/60 degrees in the winter, No issues with my panel at all. It is the process in which you do this, if you use one huge glob of bondo and do not layer it, then i can see a problem. So far over a year on this panel and no issues. I get compliments on it still.