
My Complete Paint Job **LOTSA PICS**
 07-21-2011, 06:45 AM
#61
On The Tree
Thread Starter
iTrader: (5)

Join Date: Mar 2009
Posts: 102
Likes: 0
Received 0 Likes
on
0 Posts
Like completely opened or just popped with it half way latched? ive always just left it half latched otherwise you wont get the edges just gotta make sure you mask up the engine bay good and under hood otherwise you get alot of over spray which is a bitch to clean... ive painted many doors off the car never had a problem with the paint laying different as long as the air pressure and the gun is set up the same as before def paint everything that shows on the outside all at the same time if its a Metallic color to make sure your gun is set the same and the temp is the same.. solid colors not so much you can paint them at different times as long as you use the same process (same number of coats same color sealer if you use one on your job etc).. hope that helped
On my car, just using a pry bar a going to town. It still took several hours to do.
On the donor car, since the entire roof assembly was off the car, I hammered in the portion that connects to the quarter panel so I could see the glue on that bottom portion. Then I took a putty knife and hammered it through the glue all the way around the roof except for the top portion where the t-tops are because it has that overhanging portion so you can't get the knife it there. For that part I used a home-made wire saw with piano wire. It was an absolute b*tch to take off. Took two days I think. But just be patient and it will eventually come off.


 07-21-2011, 06:27 PM
#63
On The Tree
Thread Starter
iTrader: (5)
Join Date: Mar 2009
Posts: 102
Likes: 0
Received 0 Likes
on
0 Posts
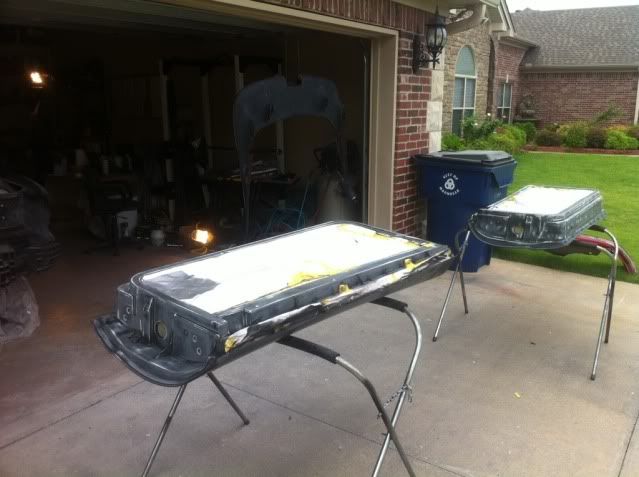
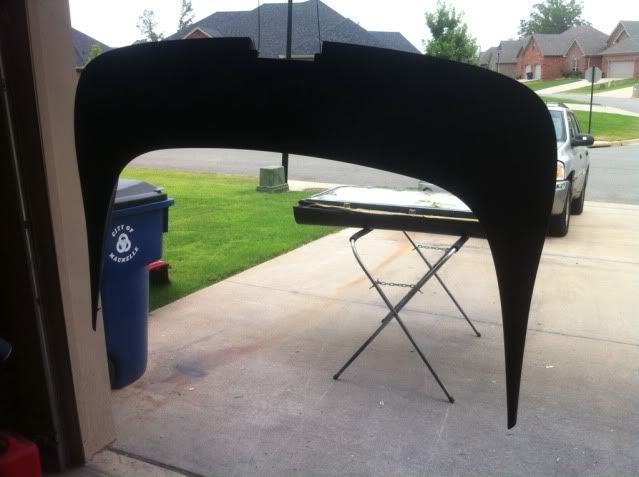
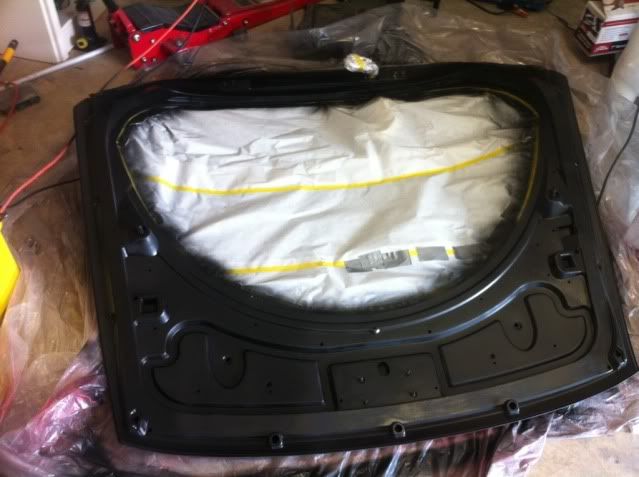
Some more pics for your viewing pleasure.
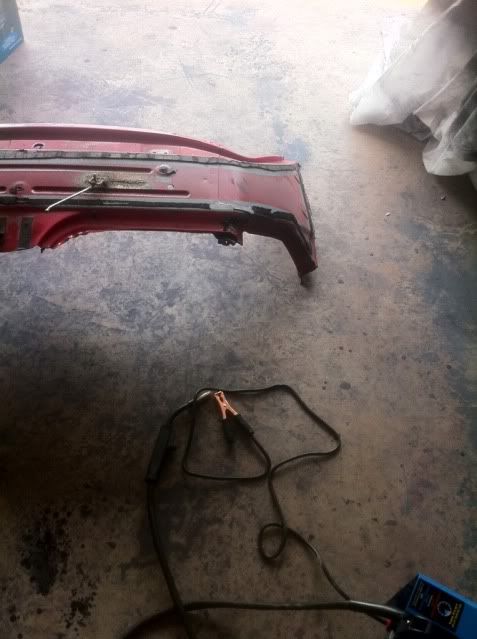
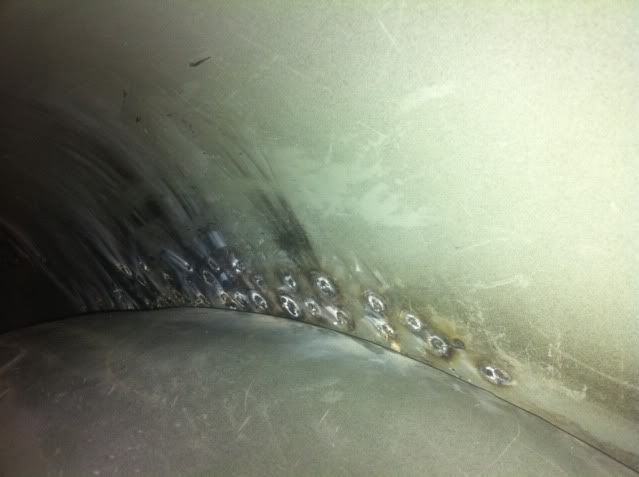
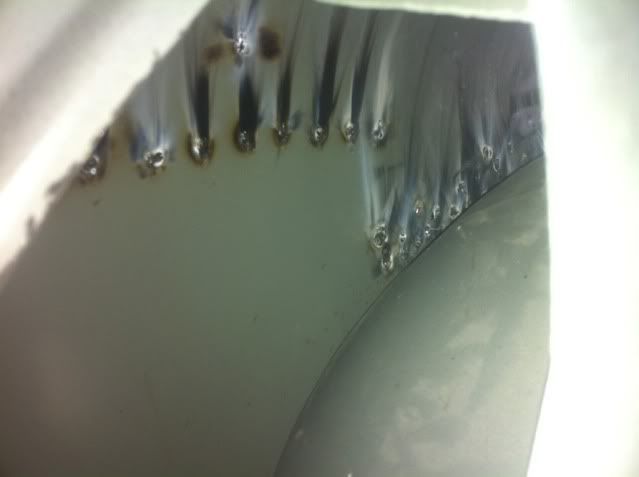
Practicing my welding on the old roof before I go to work on the quarter panel.
Alignment is getting better. FYI, bolts are not in so the gaps are not correct.
Stripped it back down for the 5th or 6th time... i've lost count. Looks like a cheese gratter lol.
Was using a flux welder (basically a mig) but it had lots of slag.
All welds grinded back down.
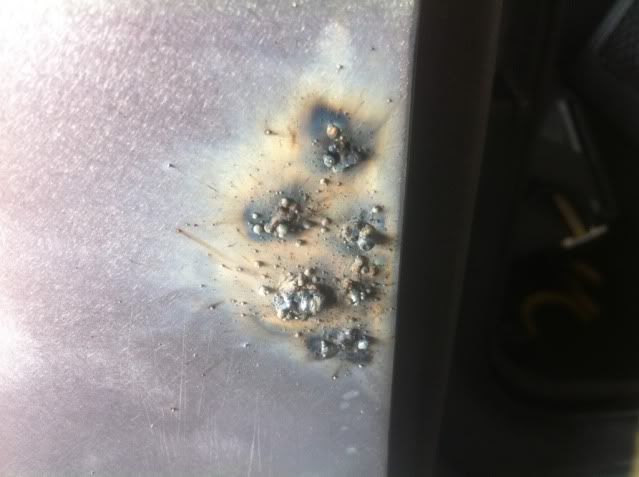
Some of them caught fire on the inside lol.
Advice: Don't wear tennis shoes while welding or this will happen.
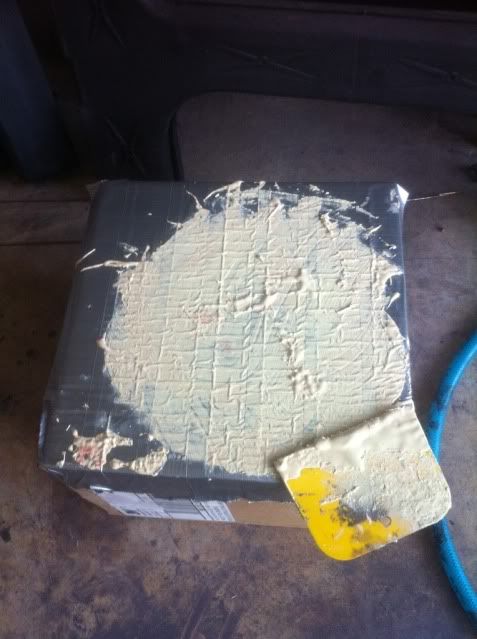
What I've used for mixing body filler... just a cardboard box with duct-tape on top of it lol.
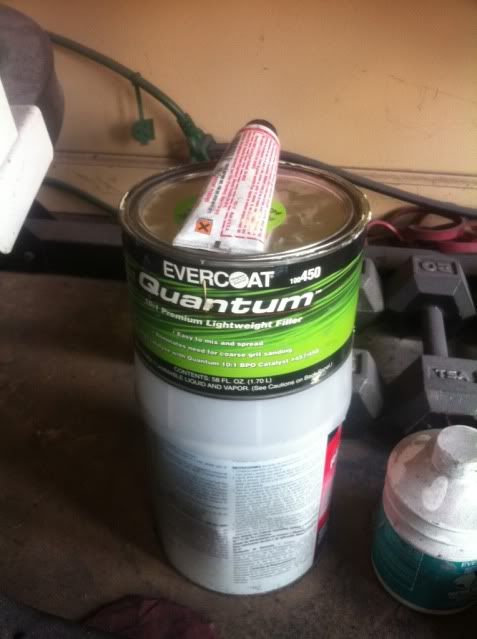
Was using Evercoat's Quantum filler. Tried it 4 times but could never get it to fully dry so I ended up using basic rage filler.
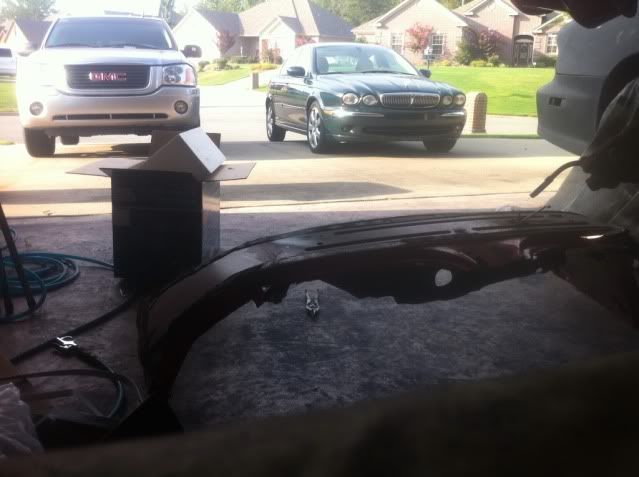
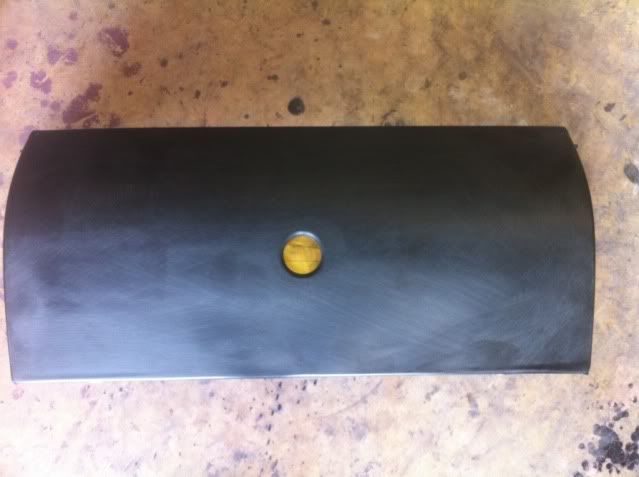
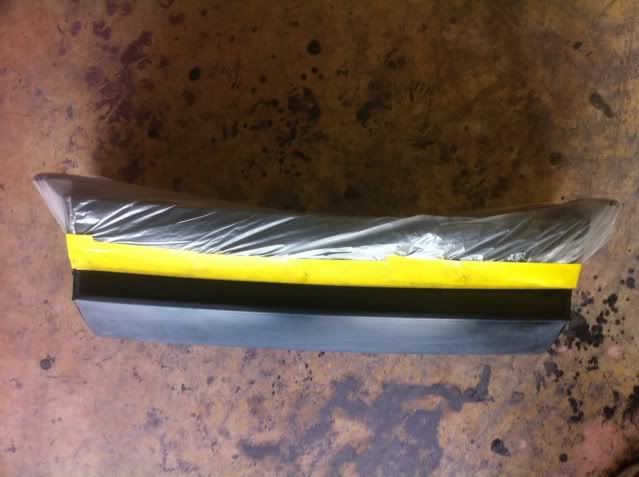
Rear taillight filler panel sanded.

Not too bad for my first time welding.
Used a pick hammer to flatten the high spots while sanding.
It looks uneven but that's just the lighting and different mixtures of filler.
Practicing my welding on the old roof before I go to work on the quarter panel.
Alignment is getting better. FYI, bolts are not in so the gaps are not correct.
Stripped it back down for the 5th or 6th time... i've lost count. Looks like a cheese gratter lol.
Was using a flux welder (basically a mig) but it had lots of slag.
All welds grinded back down.
Some of them caught fire on the inside lol.
Advice: Don't wear tennis shoes while welding or this will happen.
What I've used for mixing body filler... just a cardboard box with duct-tape on top of it lol.
Was using Evercoat's Quantum filler. Tried it 4 times but could never get it to fully dry
so I ended up using basic rage filler.Rear taillight filler panel sanded.
Not too bad for my first time welding.
Used a pick hammer to flatten the high spots while sanding.
It looks uneven but that's just the lighting and different mixtures of filler.
07-21-2011, 06:45 PM
#64
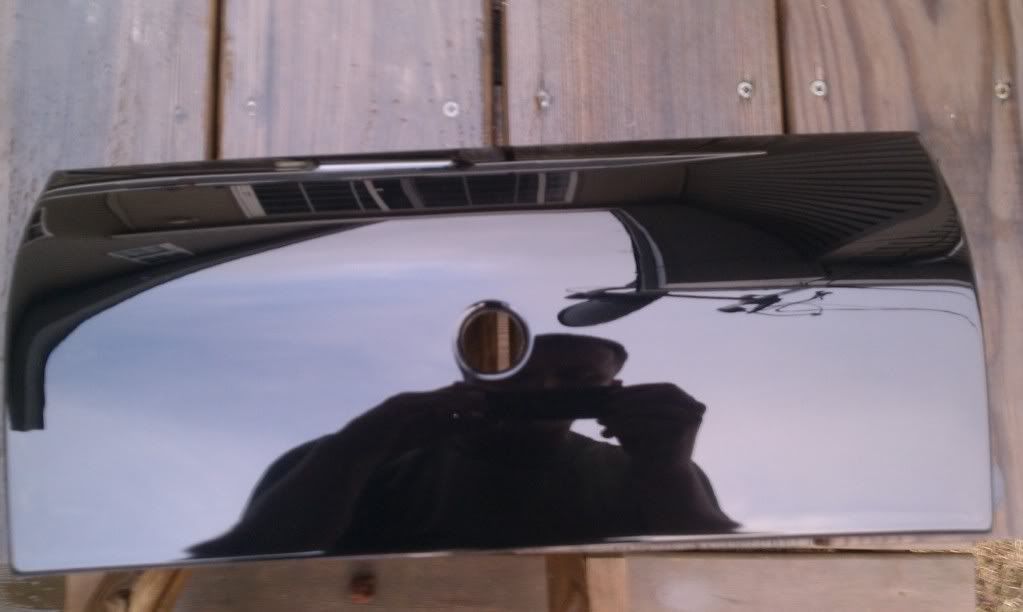
Here is one i did for a member on here, it use to have the "Trans AM' and bird on it.
Last edited by TransWS6Am; 07-21-2011 at 07:26 PM.
07-21-2011, 07:11 PM
#65
On The Tree
Thread Starter
iTrader: (5)
Join Date: Mar 2009
Posts: 102
Likes: 0
Received 0 Likes
on
0 Posts
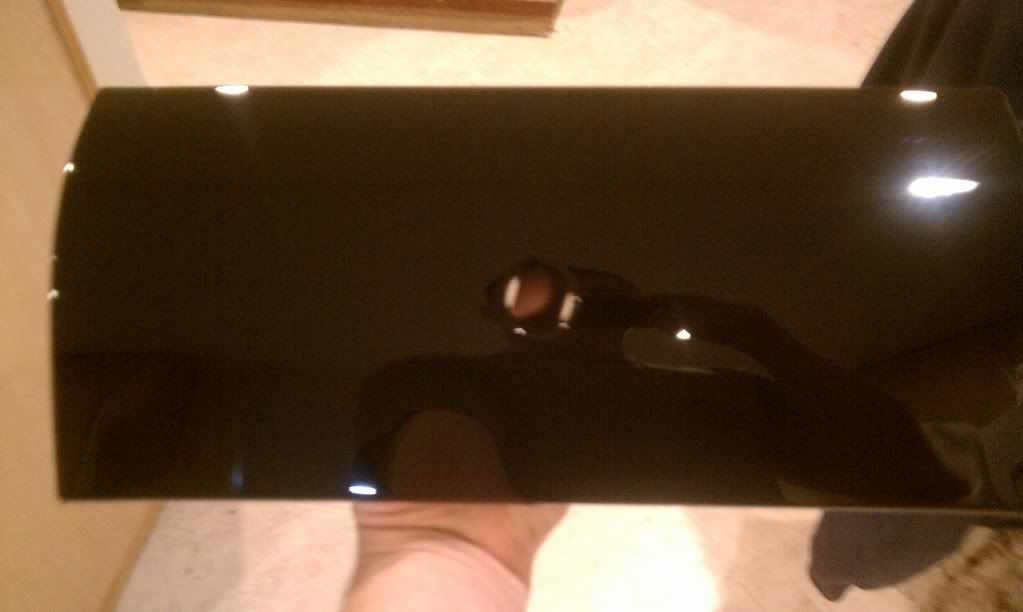
What are you doing with the filler panel? If you just want it black again, it buffs out really nice! It's not painted, I'm really not sure what it is. But you can sand the hell out of it, and give it a good wet sanding with 1000-1500-and then 2000, and it polishes out like brand new.


 07-22-2011, 01:26 PM
#73
On The Tree
Thread Starter
iTrader: (5)
Join Date: Mar 2009
Posts: 102
Likes: 0
Received 0 Likes
on
0 Posts
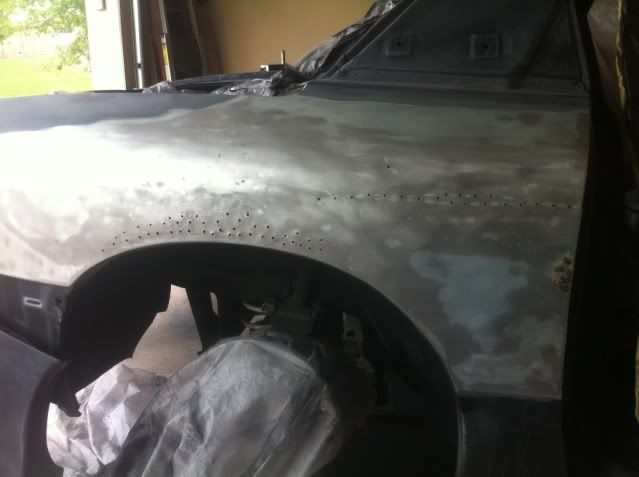
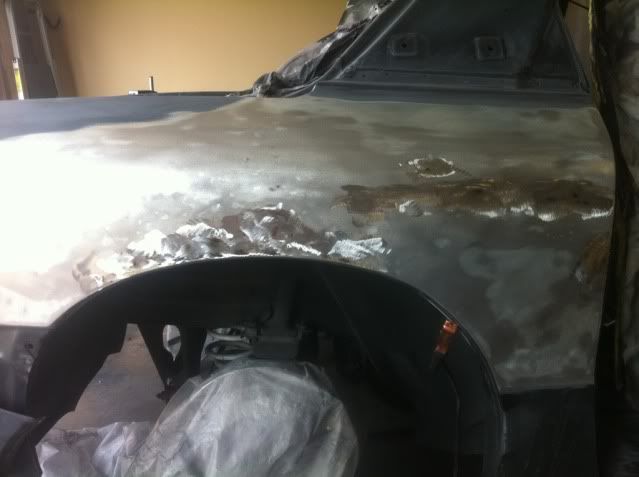
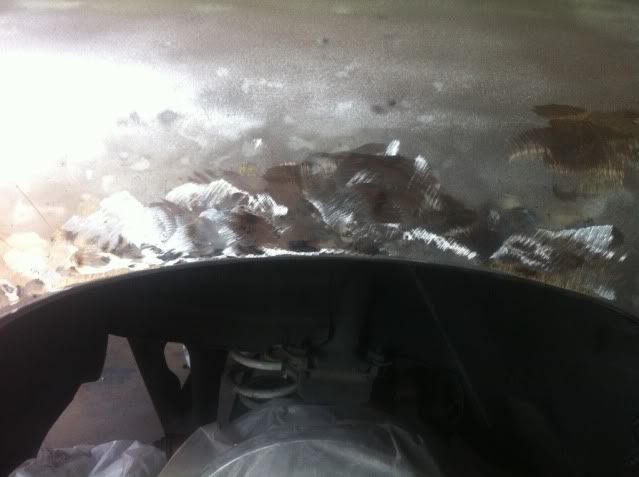
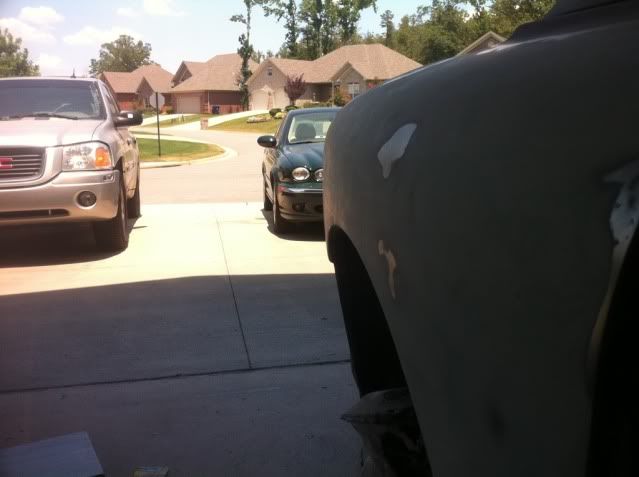
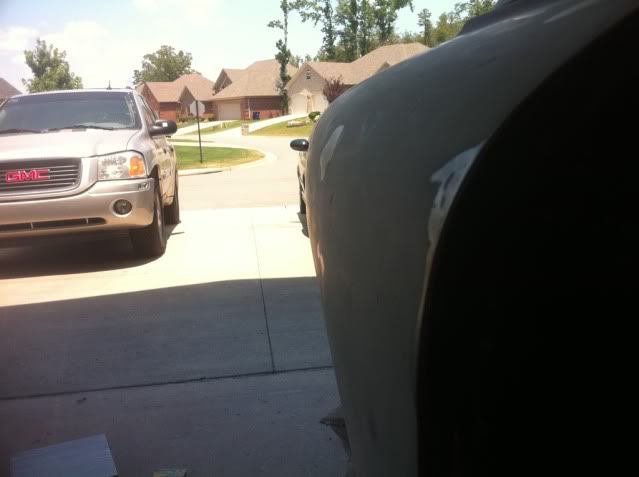
Some more...
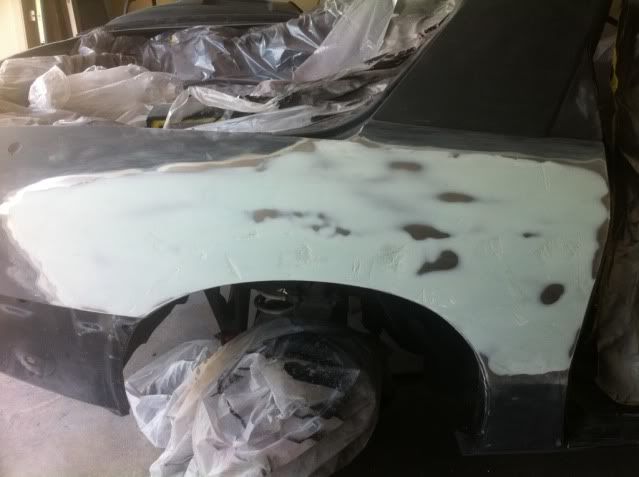
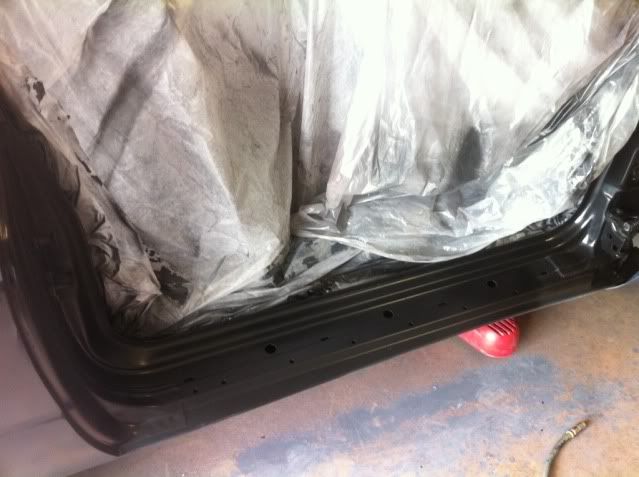
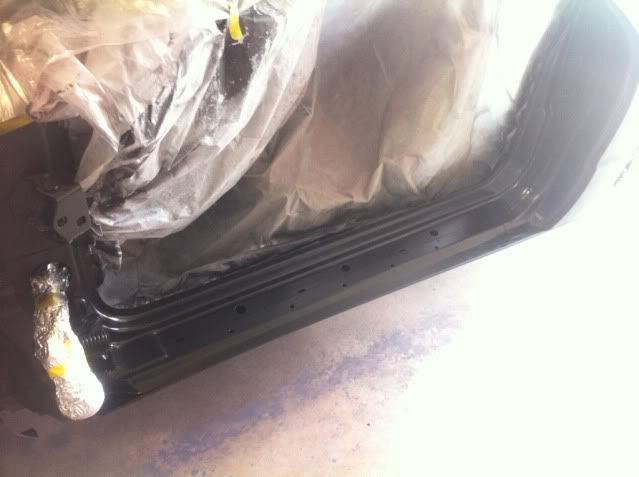
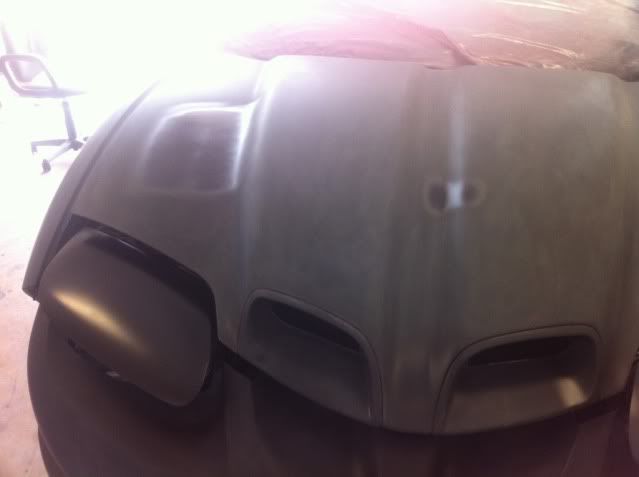
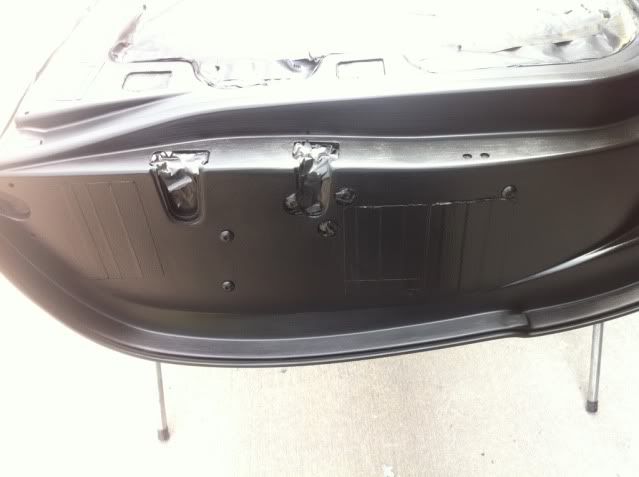
Prepping everything for priming/repriming.
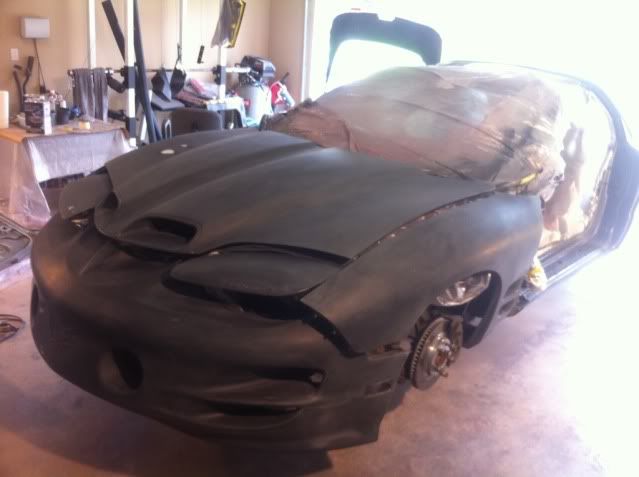
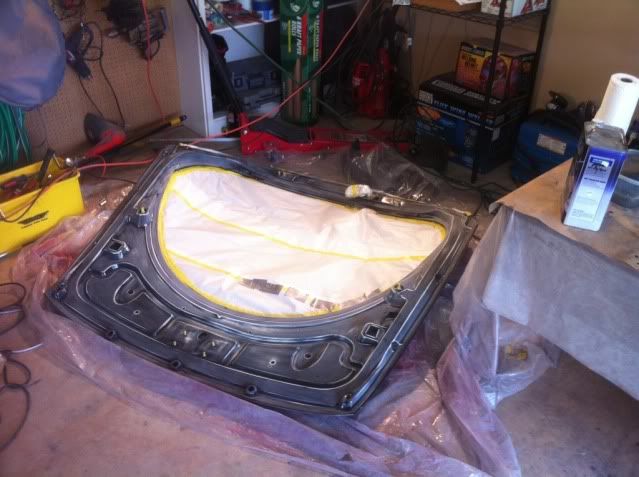
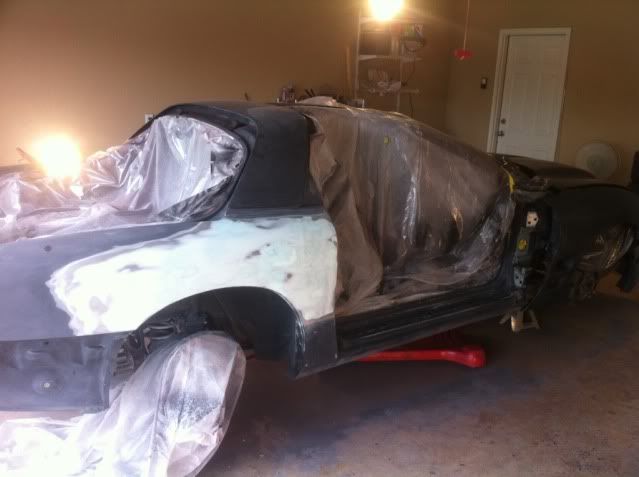
Had to do the jambs due to some deep sanding scratches.
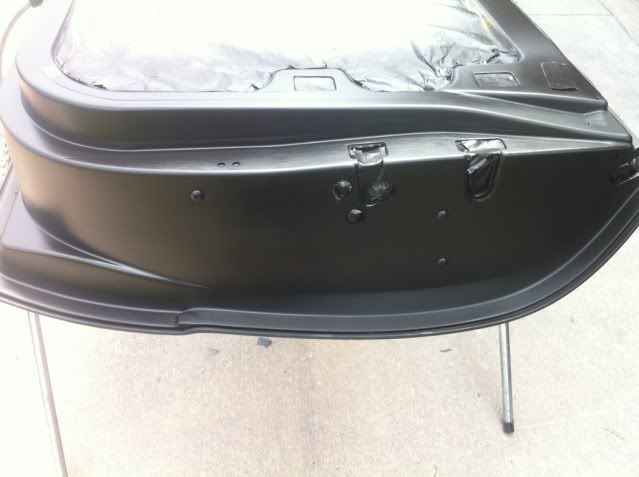
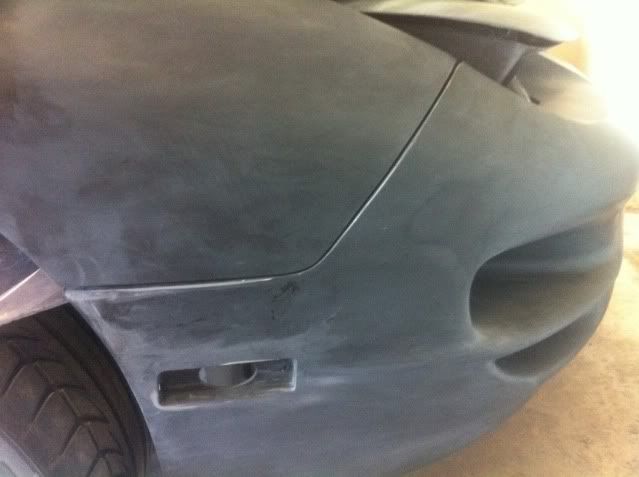
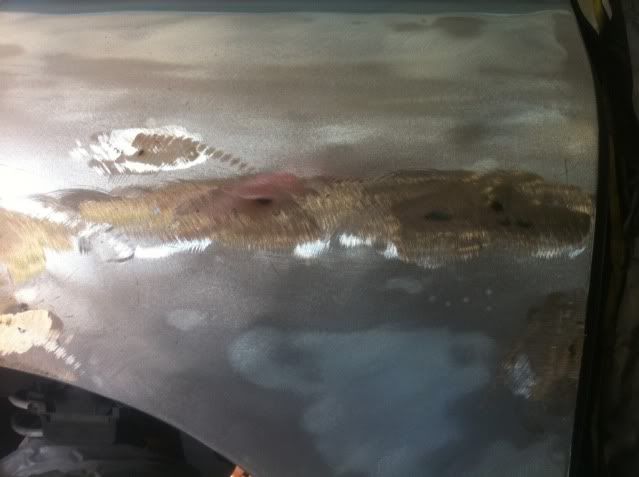
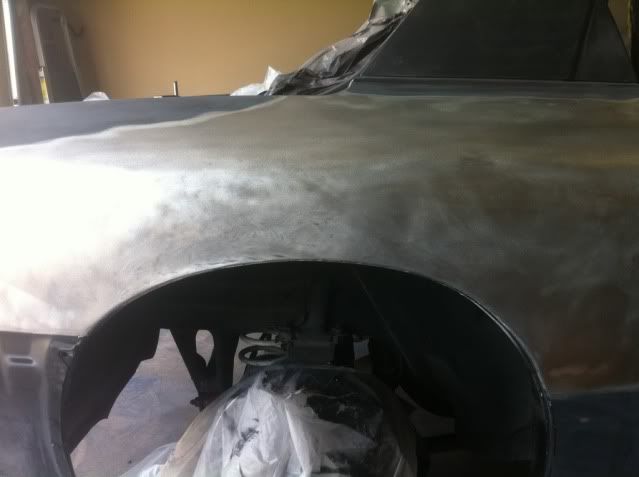
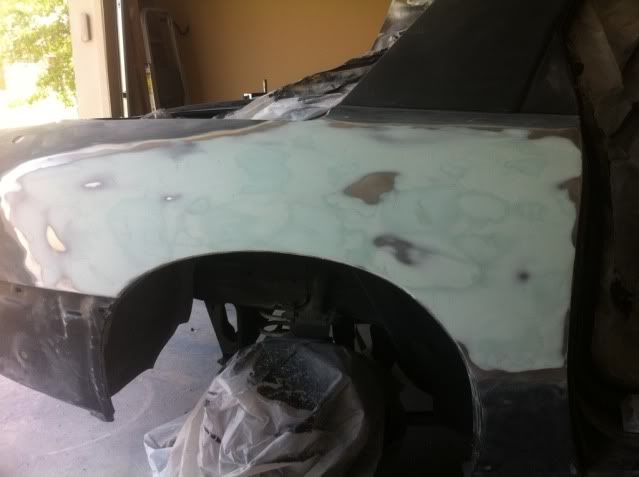
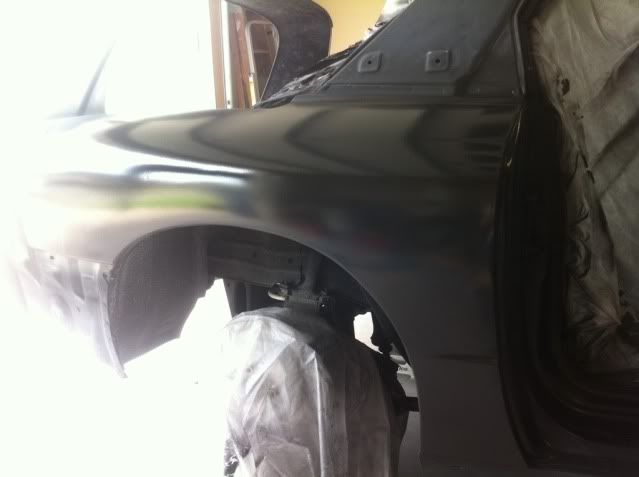
Wetted the quarter after sanding with 400 to see how it's going to turn out.
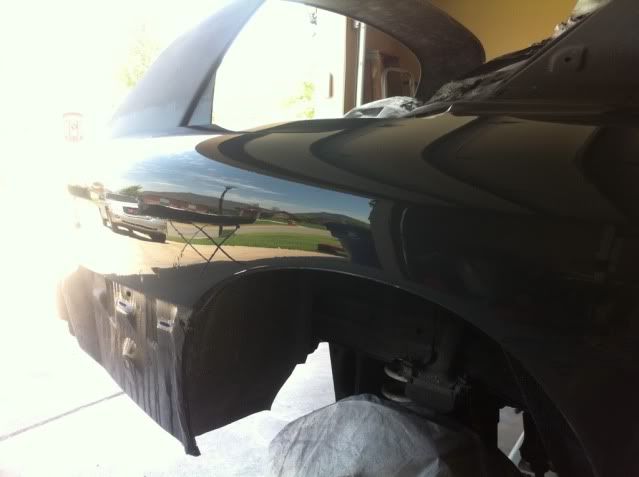
The money shot.
Prepping everything for priming/repriming.
Had to do the jambs due to some deep sanding scratches.
Wetted the quarter after sanding with 400 to see how it's going to turn out.
The money shot.

 07-22-2011, 04:25 PM
#80
The welds turned out pretty good, especially for a flux core welder. Now just make sure to put some rattle can primer on the backside of the welds to keep them from rusting.