
Spider Webbing
 07-14-2012, 02:02 PM
#21

Ok, well today, I got ALL of the spider webbing out. You can't see or feel them....
But now I'm left with 80 grit sanding marks, I followed it up with 180 and 320... it didn't take them away. So I tried 600.... 1000... nothing
Will the primer cover it up? How do I get rid of them? I will get pictures later.
But now I'm left with 80 grit sanding marks, I followed it up with 180 and 320... it didn't take them away. So I tried 600.... 1000... nothing
Will the primer cover it up? How do I get rid of them? I will get pictures later.
 07-14-2012, 04:47 PM
#23
TECH Resident
iTrader: (3)
Join Date: May 2011
Location: pa
Posts: 816
Likes: 0
Received 0 Likes
on
0 Posts
i'm not in any way shape or form even really experience in painting but i believe you could try priming a spot a lottle bit then giving it a good wet sand and see how that turns out just in a spot if not try sanding it again with some finer sand paper
07-15-2012, 07:49 PM
#25
TECH Apprentice
iTrader: (2)
Join Date: Jun 2009
Location: Knoxville, TN
Posts: 363
Likes: 0
Received 0 Likes
on
0 Posts
Sand with 180 til the 80 grit marks are out, then with 320 til the 180 marks are gone. At that point you should be ready for epoxy primer and then you will see any imperfections that are left.
07-16-2012, 04:39 PM
#27
http://www.automotivetouchup.com/auto_paint.asp
Ready To Spray Acrylic Lacquer Clearcoat
Use with spray gun and compressed air.

Use with spray gun and compressed air.
Automotive Clearcoat for use over basecoat color.
We carry two types of Clearcoat. Urethane Clearcoat and Acrylic Lacquer Clearcoat. Urethane clearcoat is a two component clearcoat which means 2 parts are mixed together. This product is more flexible, chemical resistant, has better gloss, and will last much longer than lacquer clearcoat. Once the 2 parts are mixed together the product cannot be reused later. Lacquer Clearcoat is a simpler product which is easy to use, easy to buff, extremely quick drying, and can be reused later. View Our Ready To Spray Paint Directions for more information on how to use our clearcoat products. Directions are included. Acrylic lacquer is much easier to apply and is an "air dry" clear. Breathing Respirators are required for these products.
We carry two types of Clearcoat. Urethane Clearcoat and Acrylic Lacquer Clearcoat. Urethane clearcoat is a two component clearcoat which means 2 parts are mixed together. This product is more flexible, chemical resistant, has better gloss, and will last much longer than lacquer clearcoat. Once the 2 parts are mixed together the product cannot be reused later. Lacquer Clearcoat is a simpler product which is easy to use, easy to buff, extremely quick drying, and can be reused later. View Our Ready To Spray Paint Directions for more information on how to use our clearcoat products. Directions are included. Acrylic lacquer is much easier to apply and is an "air dry" clear. Breathing Respirators are required for these products.
 07-29-2012, 09:53 AM
#30
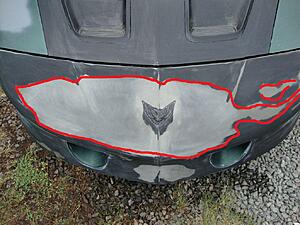
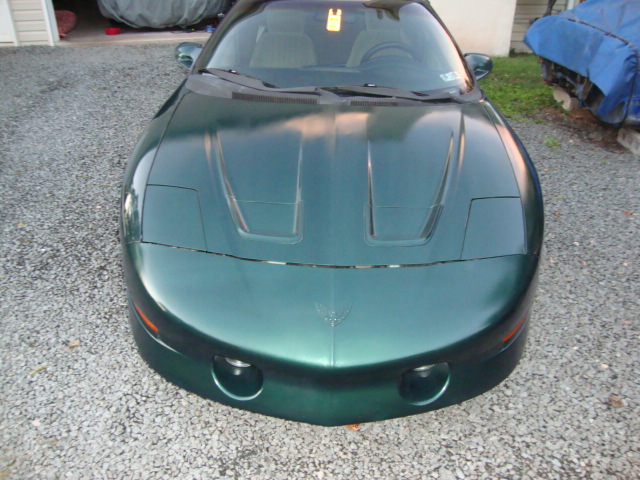
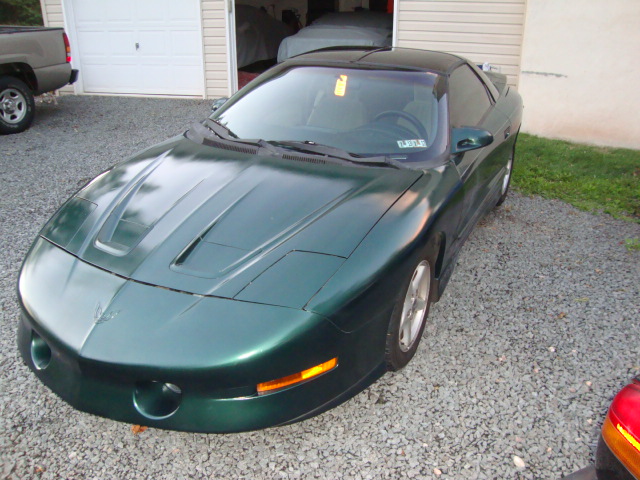
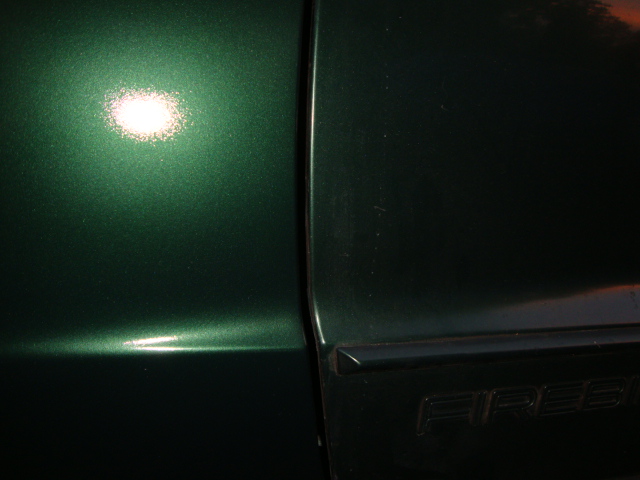
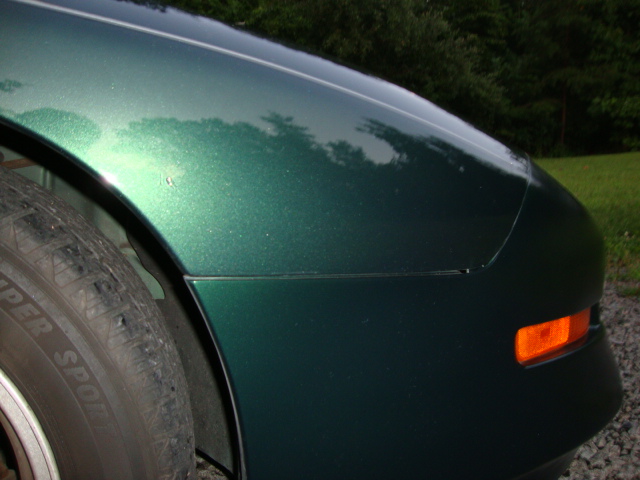
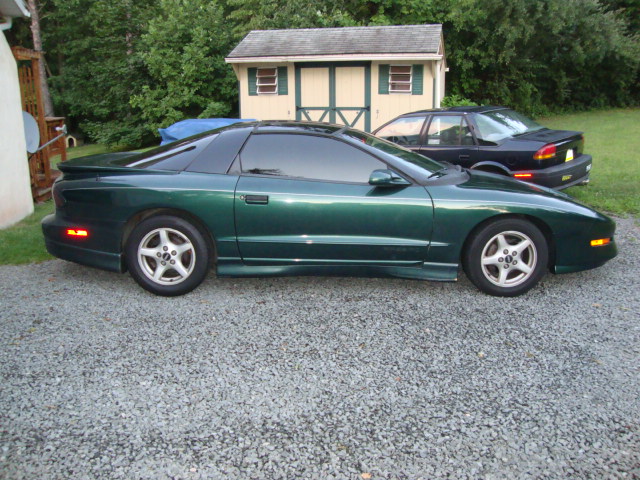
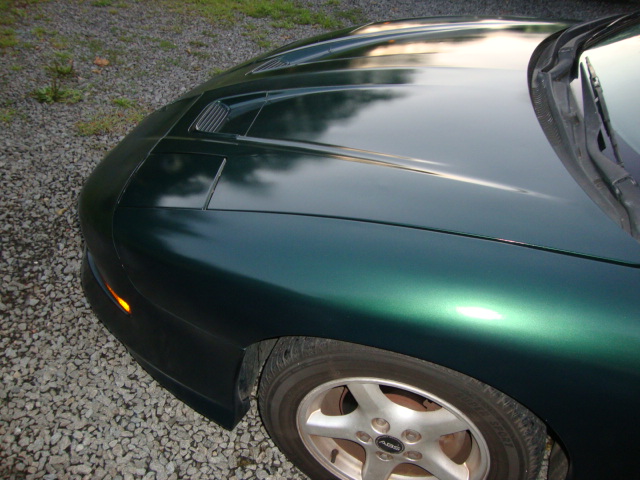
Got it painted... the bumper looks good, no cracking but... where I sanded to get rid of the spider webbing, you can see the marks. Everywhere I painted red, you can just see a little if you get all up on it. I'm picking it up this evening, how should I care for the paint? By that I mean, wet sanding, buffing, polishing, ect ect? Thanks

 08-10-2012, 08:41 PM
#32

For future reference a 2k high build primer after the 180 sanding would have leveled it out some. Then its all about hours upon hours of guide coat sanding and filling in the lowest spots with glaze. But it still looks good and Automotive Touchup sells a good product it will last for a long time!
08-11-2012, 10:25 PM
#33
For future reference a 2k high build primer after the 180 sanding would have leveled it out some. Then its all about hours upon hours of guide coat sanding and filling in the lowest spots with glaze. But it still looks good and Automotive Touchup sells a good product it will last for a long time!