
Repairing 'wrecked' fiberglass hood
 05-27-2008, 05:28 AM
#21
TECH Fanatic
Thread Starter
iTrader: (2)
Join Date: Aug 2003
Location: michigan; where even our licens plates rust
Posts: 1,712
Likes: 0
Received 0 Likes
on
0 Posts

especially when its down the back of your shirt!!! I took a couple of tyvak sutes from work to help cut down on the glass dust that gets all over you when you sand...
Thank you !
Its going along slower than I had hoped, but with some luck I can get some paint on it next weekend.
Thank you !
Its going along slower than I had hoped, but with some luck I can get some paint on it next weekend.
 05-28-2008, 05:35 AM
#23
TECH Fanatic
Thread Starter
iTrader: (2)
Join Date: Aug 2003
Location: michigan; where even our licens plates rust
Posts: 1,712
Likes: 0
Received 0 Likes
on
0 Posts
my justification at the time is the air box kit was going for $295 any how, so if I got the hood and it was too much of a project I could always pass it on, keep the air box and not loose out too badly.
06-01-2008, 02:54 PM
#24
TECH Fanatic
Thread Starter
iTrader: (2)
Join Date: Aug 2003
Location: michigan; where even our licens plates rust
Posts: 1,712
Likes: 0
Received 0 Likes
on
0 Posts
nice tight layer of body filler

lots... I mean LOTS of sanding later with some long boards and mandral I now have a nice level base.

did I menton lots of sanding?

well there are a bunch of pots and divits nothing too major but should be addressed before I hit it with some primer.

so I hit it up with some glazing putty pathces... Normally on smaller stuff I would do a skimcoat over the entire surface with glazing putty, but on this one I plan on doing alot of thick high build primer coats so Im not too worried about it.

lots... I mean LOTS of sanding later with some long boards and mandral I now have a nice level base.
did I menton lots of sanding?
well there are a bunch of pots and divits nothing too major but should be addressed before I hit it with some primer.
so I hit it up with some glazing putty pathces... Normally on smaller stuff I would do a skimcoat over the entire surface with glazing putty, but on this one I plan on doing alot of thick high build primer coats so Im not too worried about it.
06-01-2008, 05:20 PM
#25
TECH Fanatic
Thread Starter
iTrader: (2)
Join Date: Aug 2003
Location: michigan; where even our licens plates rust
Posts: 1,712
Likes: 0
Received 0 Likes
on
0 Posts
sanded down the glazing putty and threw some black primer on it.
It didnt turn out too bad. No low spots, no wrinkels.
it looks a little funkey because the body filler absorbed the primer diffrently than the glazing putty diffrently than the hood...
with some high build primer and paint it should look great.


It didnt turn out too bad. No low spots, no wrinkels.
it looks a little funkey because the body filler absorbed the primer diffrently than the glazing putty diffrently than the hood...
with some high build primer and paint it should look great.

 06-03-2008, 08:36 AM
#29
TECH Fanatic
Thread Starter
iTrader: (2)
Join Date: Aug 2003
Location: michigan; where even our licens plates rust
Posts: 1,712
Likes: 0
Received 0 Likes
on
0 Posts
hey thank you all!
Yeah fiberglass dust is fun!
hopefully I get some time to throw some primer on the top-side, and get to work smoothing out the bottom...
I just hope nothing changed between the test-fit and now. Knowing my luck it will be smooth and slick lookin but wayyyy out of wack.
we will see.
Yeah fiberglass dust is fun!
hopefully I get some time to throw some primer on the top-side, and get to work smoothing out the bottom...
I just hope nothing changed between the test-fit and now. Knowing my luck it will be smooth and slick lookin but wayyyy out of wack.
we will see.
06-03-2008, 06:43 PM
#30
TECH Fanatic
Thread Starter
iTrader: (2)
Join Date: Aug 2003
Location: michigan; where even our licens plates rust
Posts: 1,712
Likes: 0
Received 0 Likes
on
0 Posts
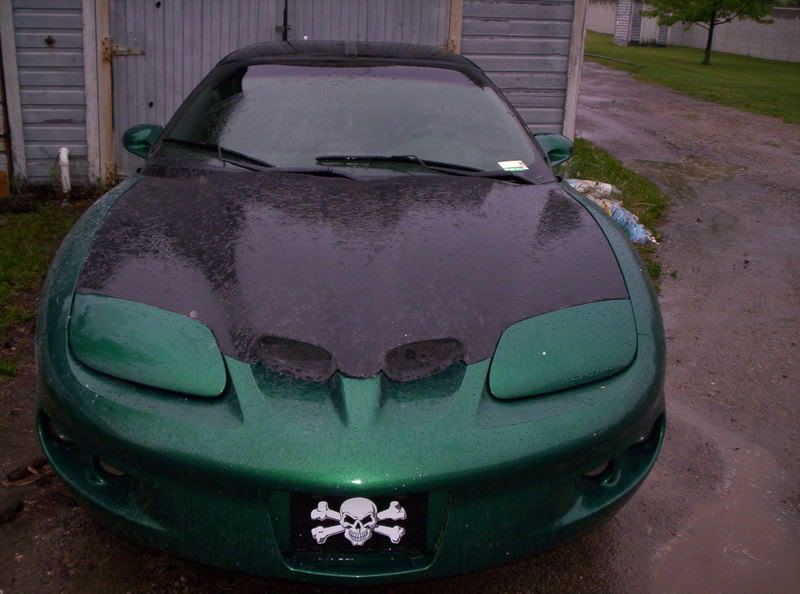
did the final fitting...
it looks good...
some high spots, but I can still do some sanding to fix that.
now I will start bringing in my sides. basically all it is is lining up the hood best I can, then lay a tape line where I think the gap should be, then grinding back the edge to that point.
After thats done, I will flip the hood over smooth out the bottom and start the priming sanding and painting process.
I cant wait, I think it looks sick!!!
Last edited by cudaeh; 06-04-2008 at 05:54 AM.
 06-04-2008, 05:52 AM
#32
TECH Fanatic
Thread Starter
iTrader: (2)
Join Date: Aug 2003
Location: michigan; where even our licens plates rust
Posts: 1,712
Likes: 0
Received 0 Likes
on
0 Posts
teaches me for trying to organize some files!!!! I found out how to make sub folders in photobucket.... apparently that changes some links!!
I am going to get the before and after pics working for now, and then when I have some time re-link every thing.
I am going to get the before and after pics working for now, and then when I have some time re-link every thing.
 06-04-2008, 11:53 AM
#34
TECH Fanatic
Thread Starter
iTrader: (2)
Join Date: Aug 2003
Location: michigan; where even our licens plates rust
Posts: 1,712
Likes: 0
Received 0 Likes
on
0 Posts
I finaly gave in, and sold it, and Im making a mold off of this one to make another one for my self... I might start making them and selling them off with some brackets for $150 ish each....
or start selling off sub boxes or something like that... this project was too much of a labor of love, but If I was doing it for some one it would be a big pain!!