When you click on links to various merchants on this site and make a purchase, this can result in this site earning a commission. Affiliate programs and affiliations include, but are not limited to, the eBay Partner Network.
i think I am going to use your directions, using the kit above. i wonder if I grind my white plastic peice to fit that "c-clip" in the video - if that will work.
I think I get your directions. Not that I am a better writer - but is this the gist of it all?
1. remove existing t handle
2. cut off 1/2" of METAL (no plastic)
3. notch both side of metal shaft far enough so 1/8" of shaft sticks up inside new shift handle
4. mark a line at that point to grind a groove for clip
5. trim existing clip to fit.
6. assemble handle to shaft.
7. trim button to fit existing white shaft
8. pop into place and voila
is that correct?
Yeah you are a better writer than me that's why I didn't post a how to. Lol
I have the clip but I did not use it for the button because it jams up inside the shaft when depressed. I just opted to have it pressed on. it was a quick install that's why I didn't take detailed pictures. I guess I would have took my time and been more detailed if I knew was going to get this many hits on it.
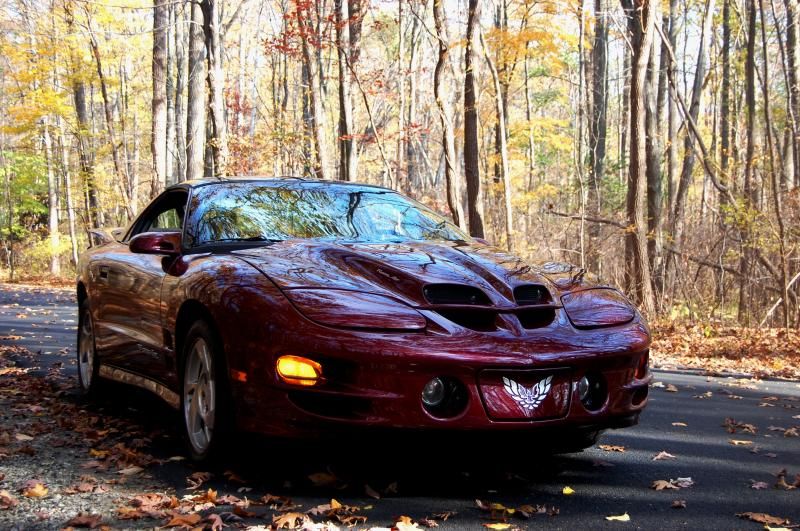
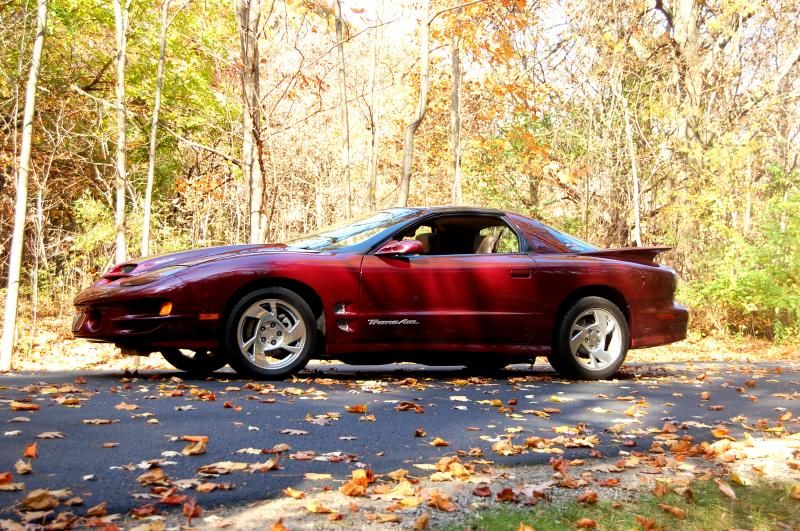
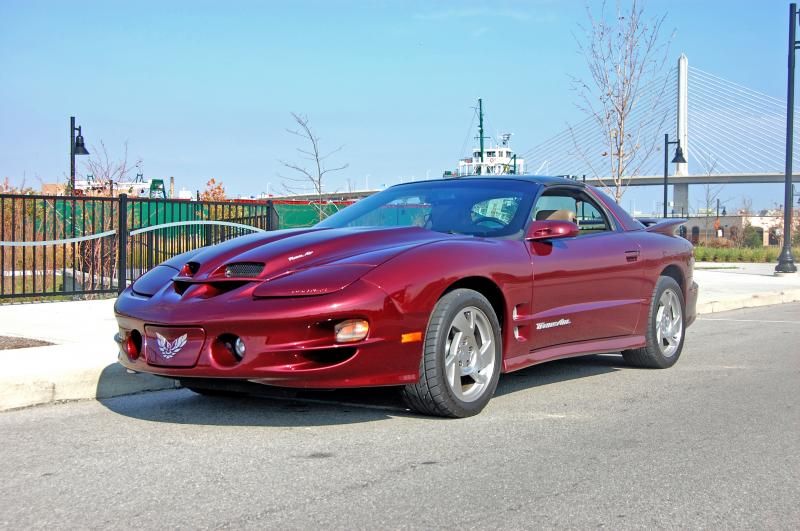
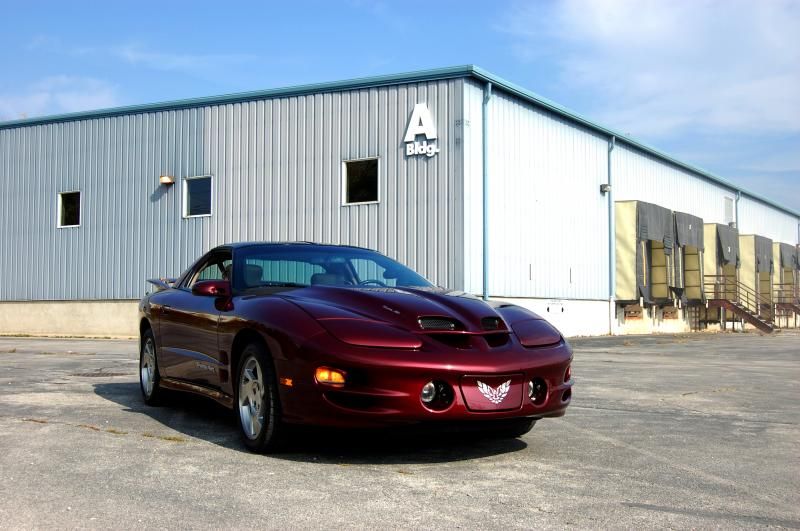
On vacation this week so drove around the city and country looking for some scenic shots. It's hard to find that "perfect" spot where you're not parking illegally or else people photobombing all over the place, especially downtown.
On vacation this week so drove around the city and country looking for some scenic shots. It's hard to find that "perfect" spot where you're not parking illegally or else people photobombing all over the place, especially downtown.
Love that color, not too hot on the wheels though. :/
I won't post any more pics but I cannot find any more dirt under my car.
The LG radiator and oil cooler, along with OEM power steering coolers have been removed. I'm waiting on new radiator mounts before dropping a new OEM radiator, hoses and cap in. Filled the engine with 6 quarts of Royal Purple 5w30, and finished cleaning the outside of the T56.
Next is to put the gauge cluster back in. When the POR15 gets here the rear end will be treated and installed.
I didn't know about checking the Quicktime bellhousing for center, so I have to source a dial indicator and figure that out.
Over a 2 week period (still have more things coming) I installed the 3rd led brake light. Pulled off the wheels and sanded and re painted them chrome. Installed new front rotors, and brakes. New alum power steering pulley. Installed new Caliper Guide Pin Boots on the front and rear. Installed Brake Pad/Caliper Hardware on front. New front Moog suspension ball joints, along with new sway bar energy suspensions ends. New bump stops.Installed new plugs and new wires. Just doing a little maint to keep the hawk running good.
3rd led brake light
sanded and painted chrome
New billet Power steering pulley Yes the belt is upside down. I fixed it.
New bump stops
sanded and painted chrome
New brakes and calipers
New plug wires, and spark plugs
New upper Moog ball joint. Along with new sway bar energy suspensions ends.
Waiting for local trans guru to come by and help measure / correct the bellhousing location relative to the block. A new pilot bearing is in the freezer.


 10-29-2014, 01:13 PM