When you click on links to various merchants on this site and make a purchase, this can result in this site earning a commission. Affiliate programs and affiliations include, but are not limited to, the eBay Partner Network.
Left was my earlier creating and on the right the new setup with the rubber boot missing.
Had to enlarge a little more the hole inside with Dremel where you mount the headlight for the rubber boot to fit in.
Sealed the headlight and mounted it. Still needs final alignment.
Had to buy a different wire harness for the Hi/Low to work. Got that off Ebay also. I love the factory look. However light output is not as good as I expected.
Not sure if the glass lens is a restriction or my $11 for 2 H1 bulbs are too cheap to provide a good beam or the Matchbox are just too small?
I changed the driver side headlight actuator on my '99 TA Firehawk today, and thought I would pass on a few tips and observations.
The actuator is part 19207405 (driver or left side) or 19207406 (passenger or right side). Some websites and the GM parts counter show that this actuator may require a connector (part PT284). I did not need this for my application (this actuator is also used on the C5 Corvette and the Fiero, along with the 1998-2002 Firebird).
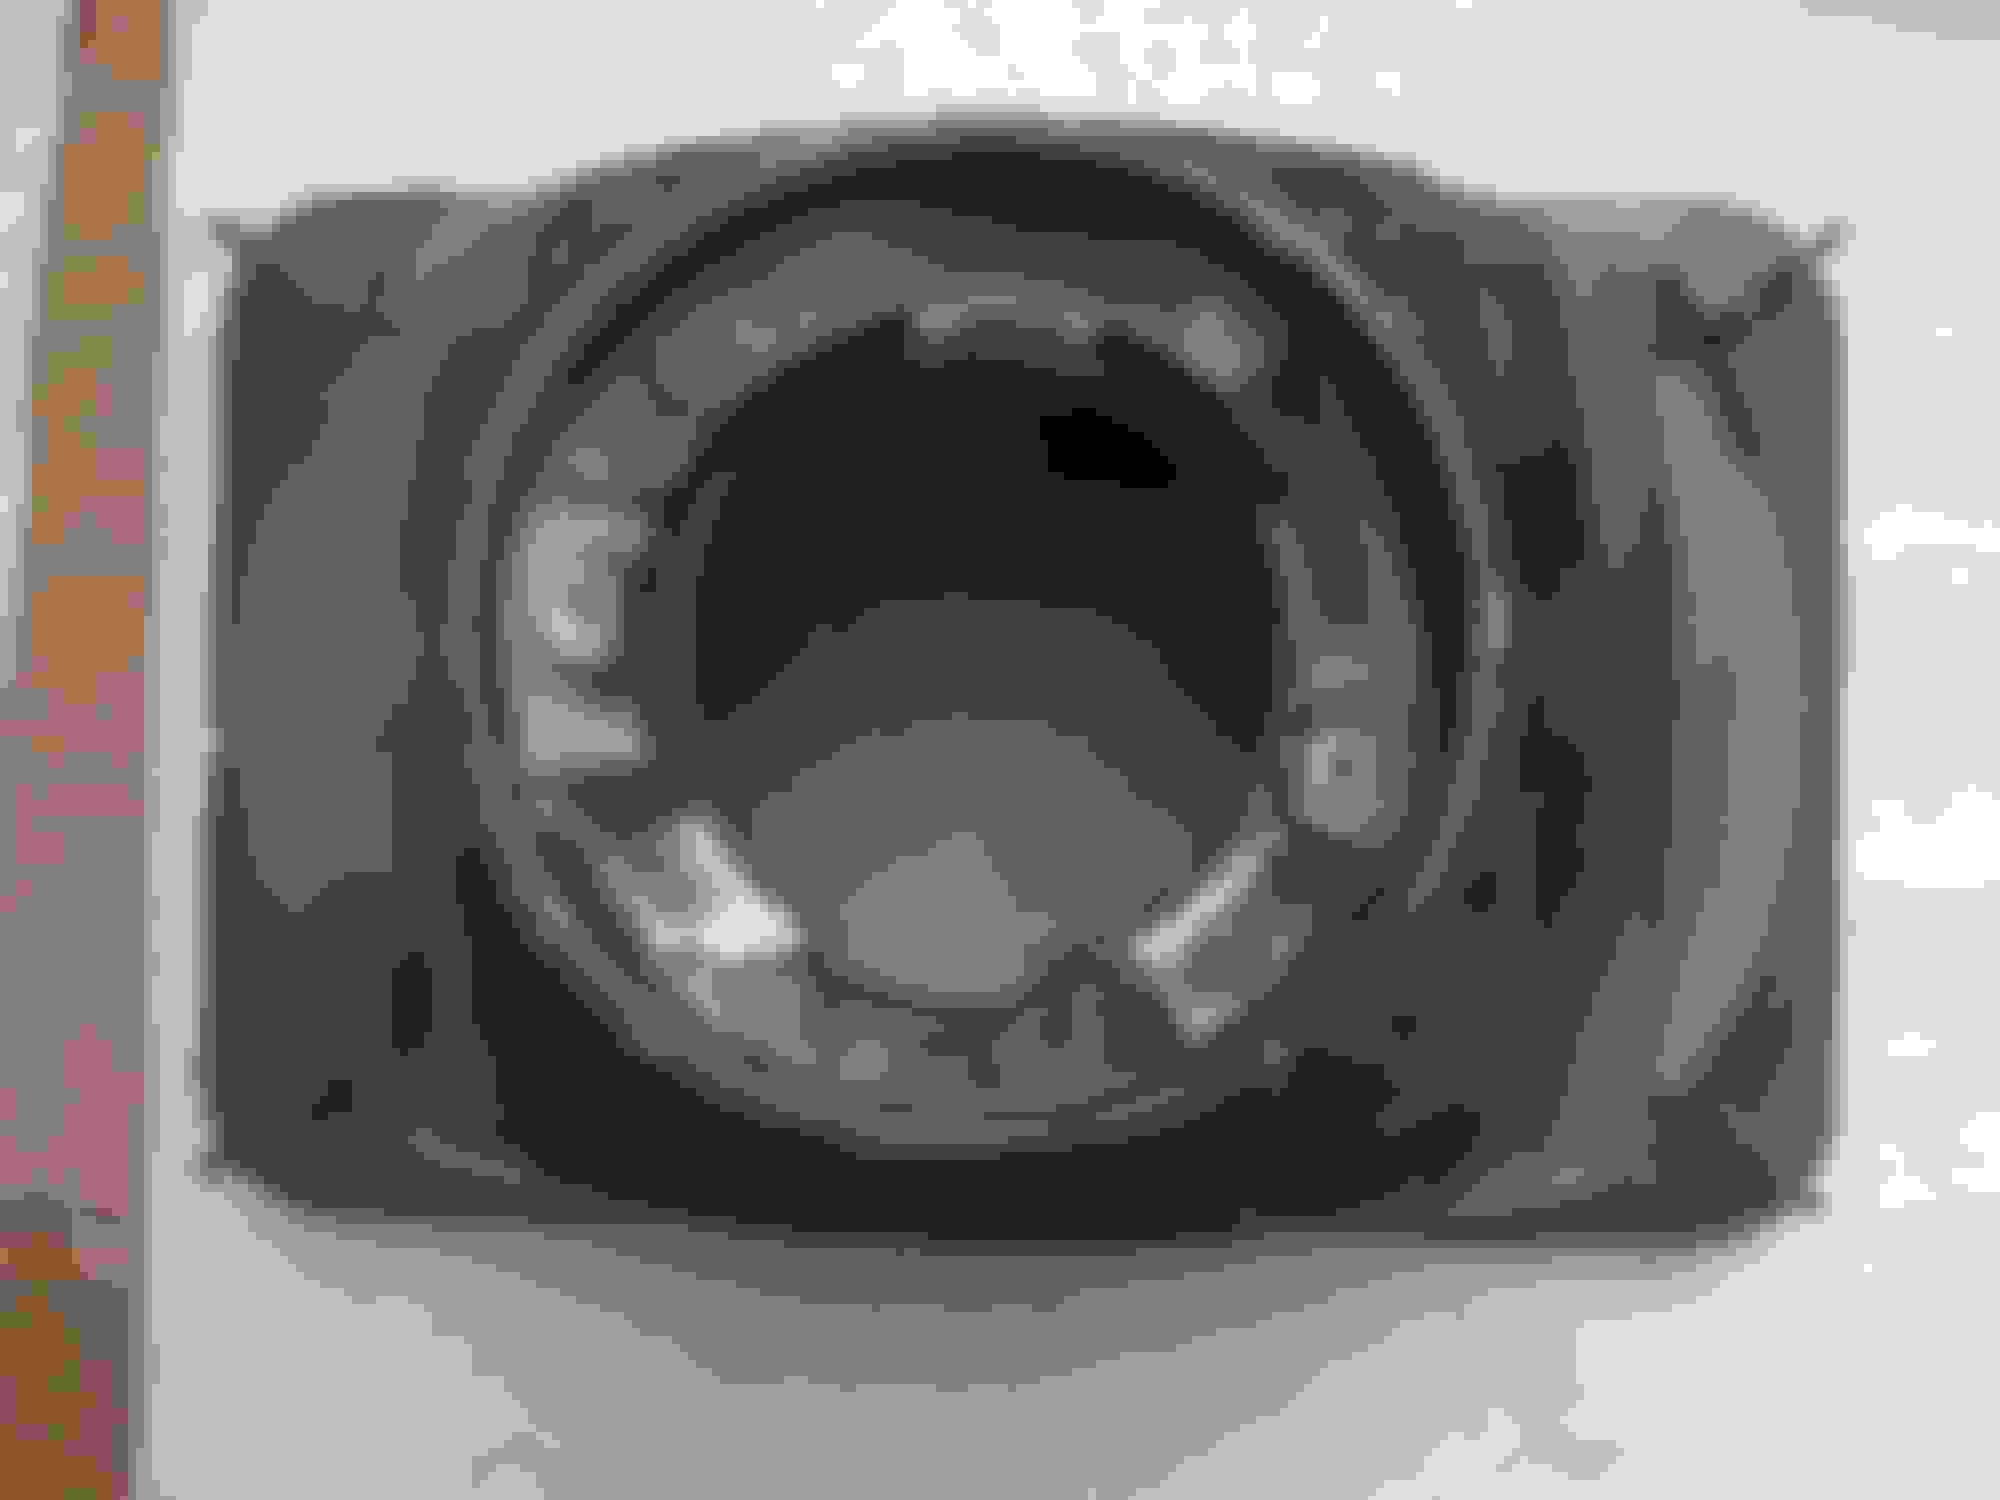
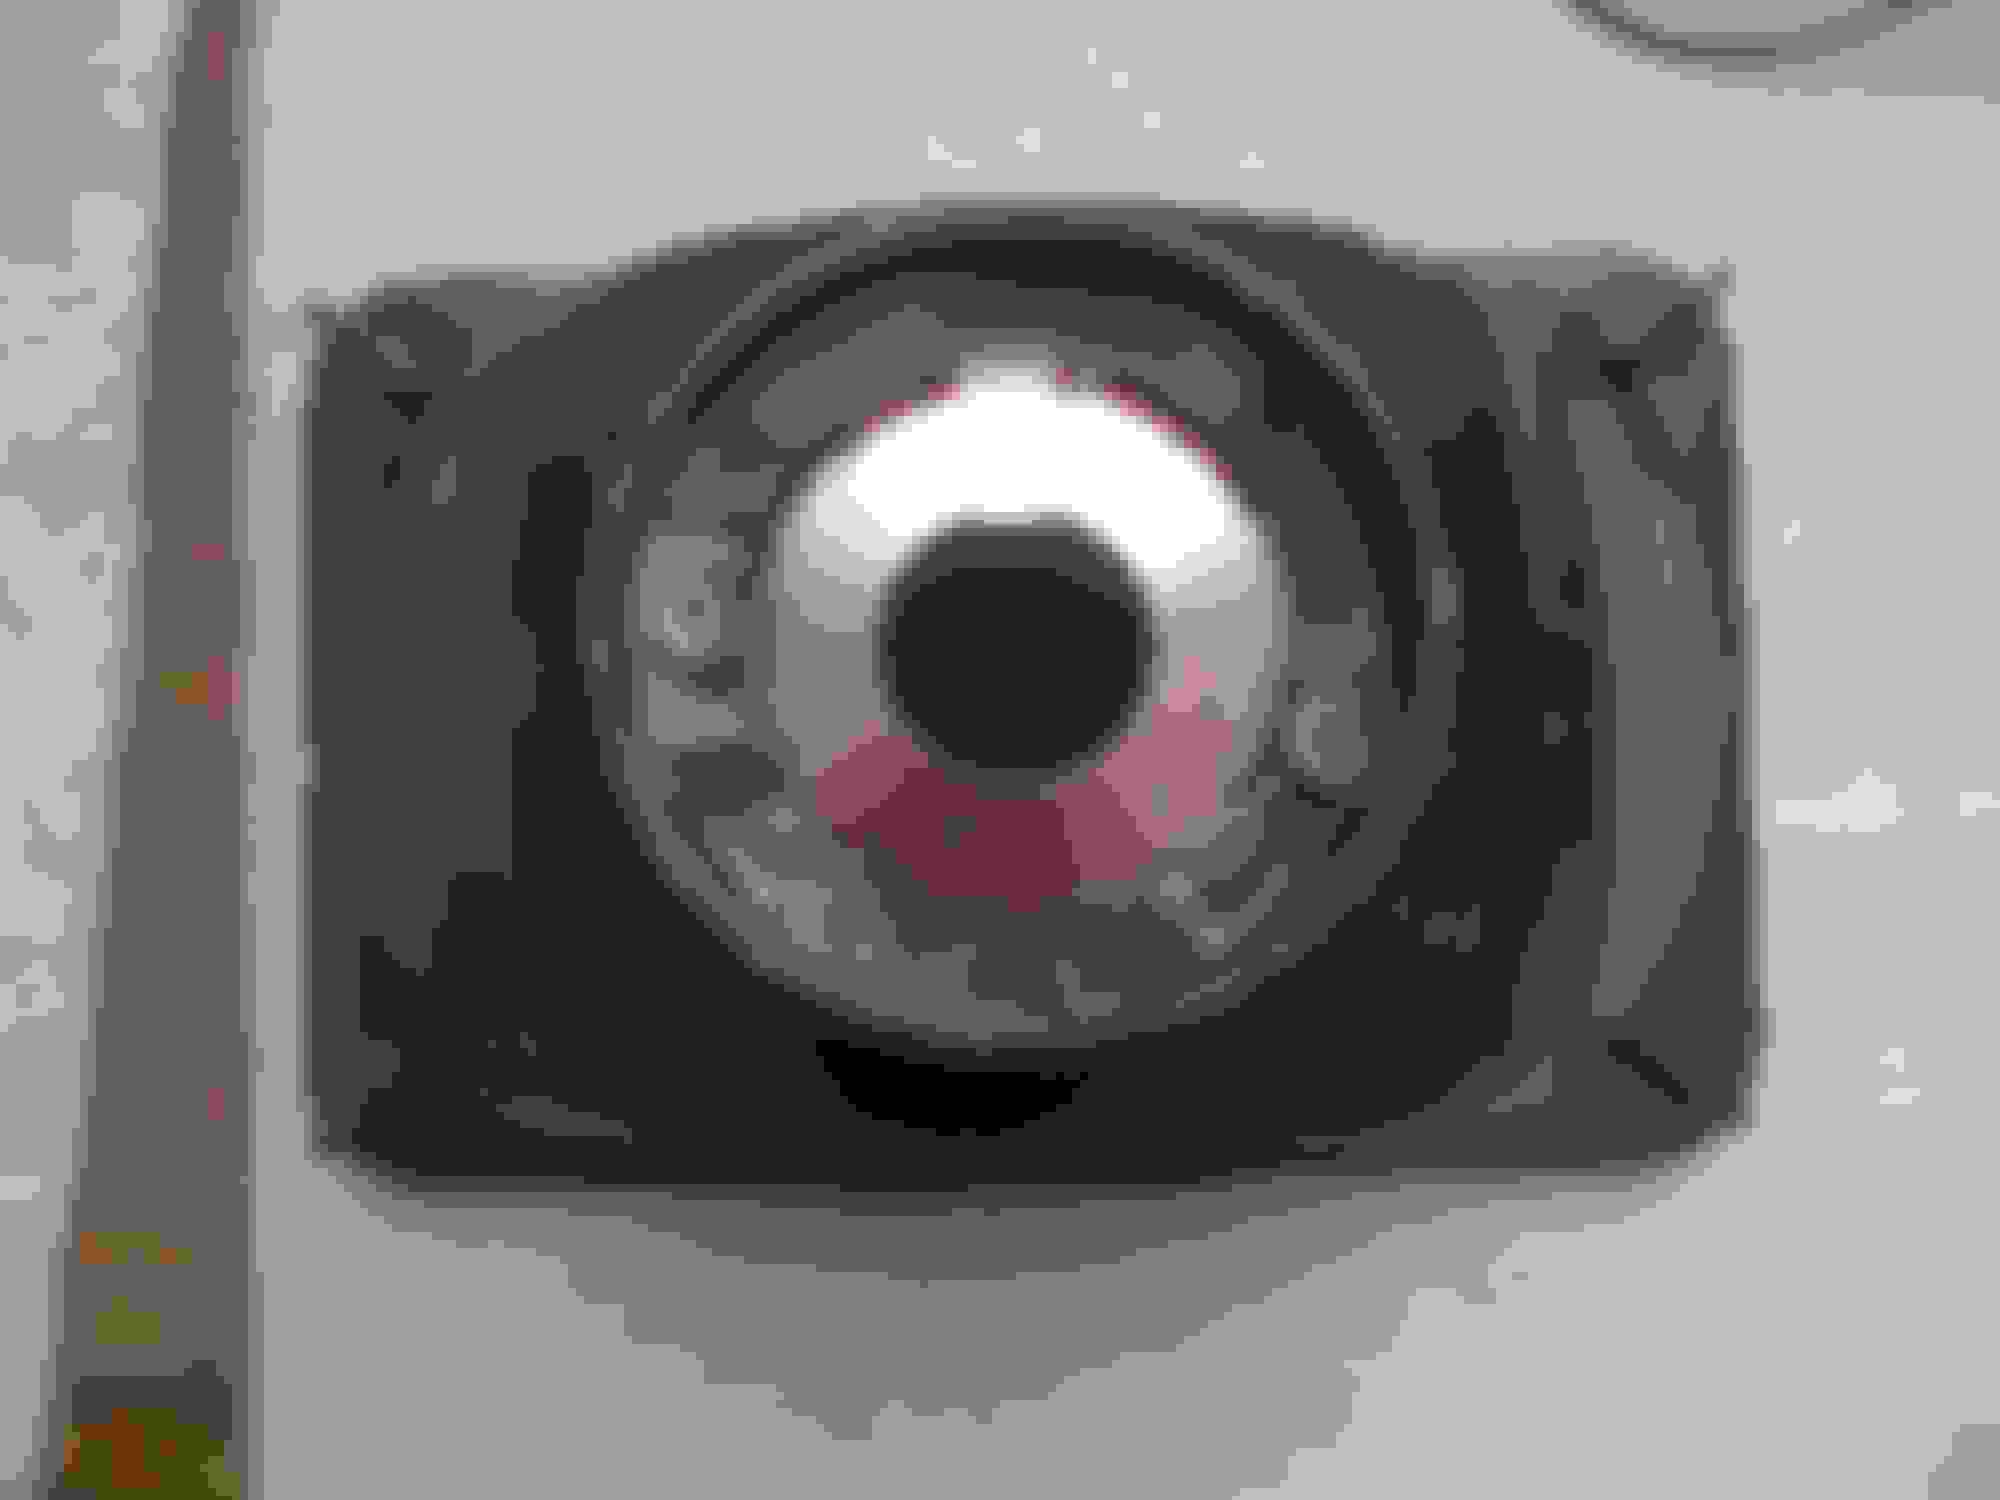
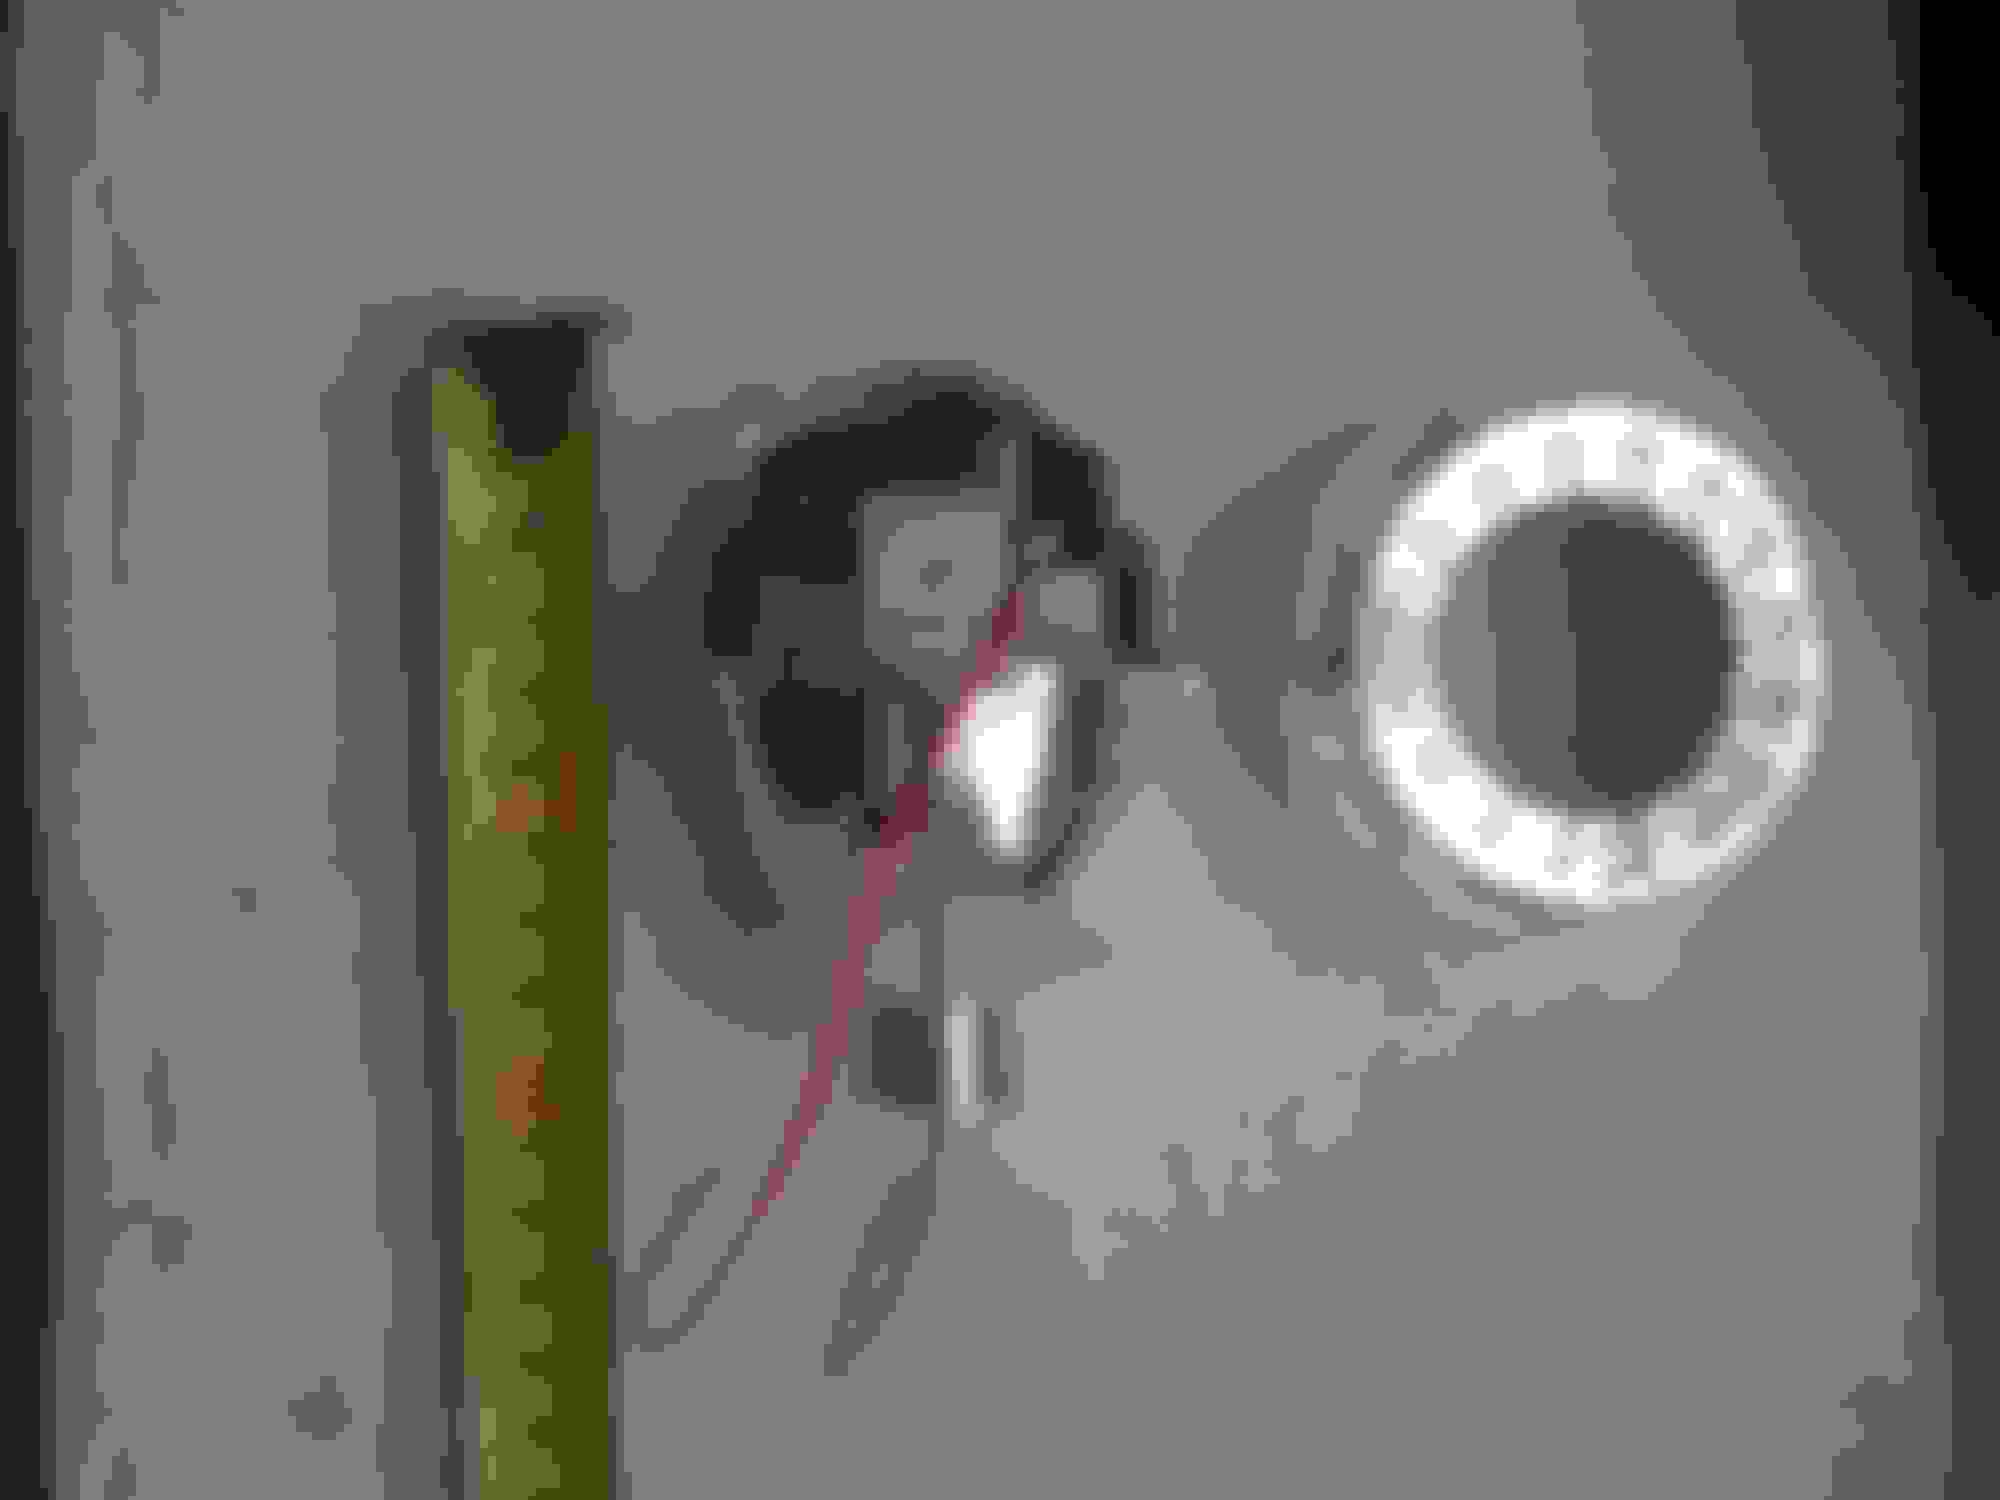
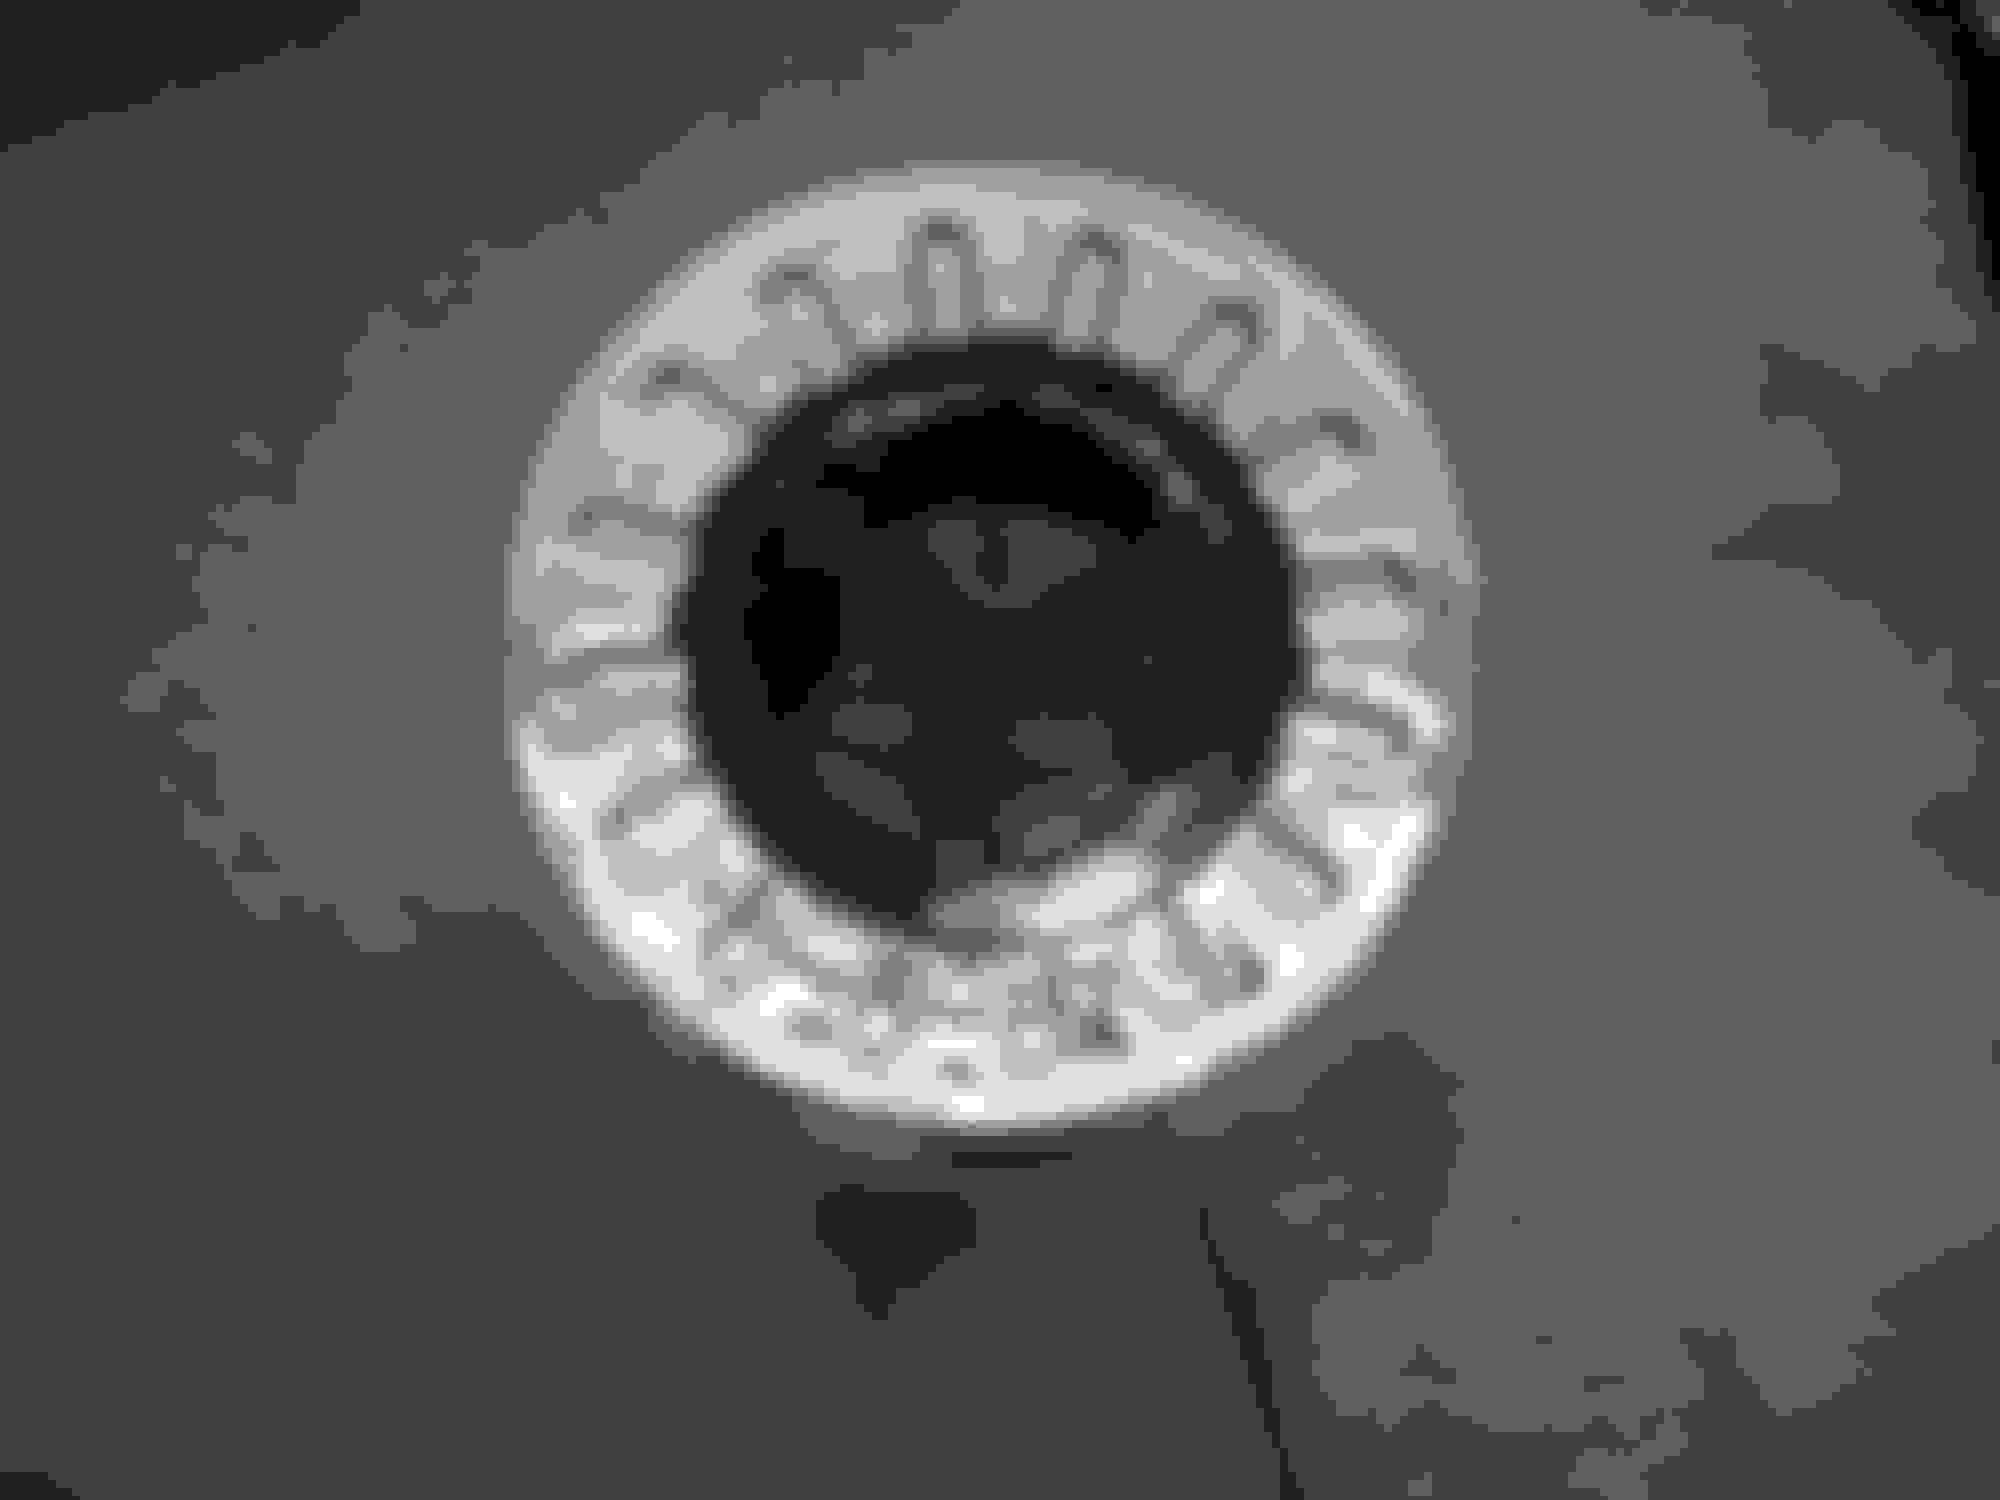
The new actuator is not exactly the same as the OEM factory part. I noticed the part number on my old one was different (16524229LH 2429). The new one has screws securing the cover over the gear. The shape of the "barrel" or "cylinder" (not sure what else to call it) is different too. The old one has two square sides, while the new one is completely round. This has an impact on fit of the protective cap (more on that in a minute).
I watched a couple of uTube videos, which I found useful, on the procedure of removing and reinstalling these actuators. I also found it helpful to refer to the passenger side headlight assembly, to ensure I was putting things back together properly. I left the headlights up, and disconnected the negative terminal on the battery while working. A tip: Protect the painted area in front of the headlight with a towel to ensure it doesn't get scratched.
I followed the procedure from one video, which showed them removing the "eyelid" (that's what the workers in Ste. Terese called them apparently), and then unbolting the headlight assembly, so I could lift it up out of the way. This certainly gives you lots of room to get to the actuator.
I used some penetrating oil, and then gently pried the arm off the actuator bolt against the nut, which I left in place, to protect the threads. I used a set of Vicegrips.
Make sure you install the bolts as you found them (the bottom one must have the nut toward the left side, so it does not impede the headlight closing.
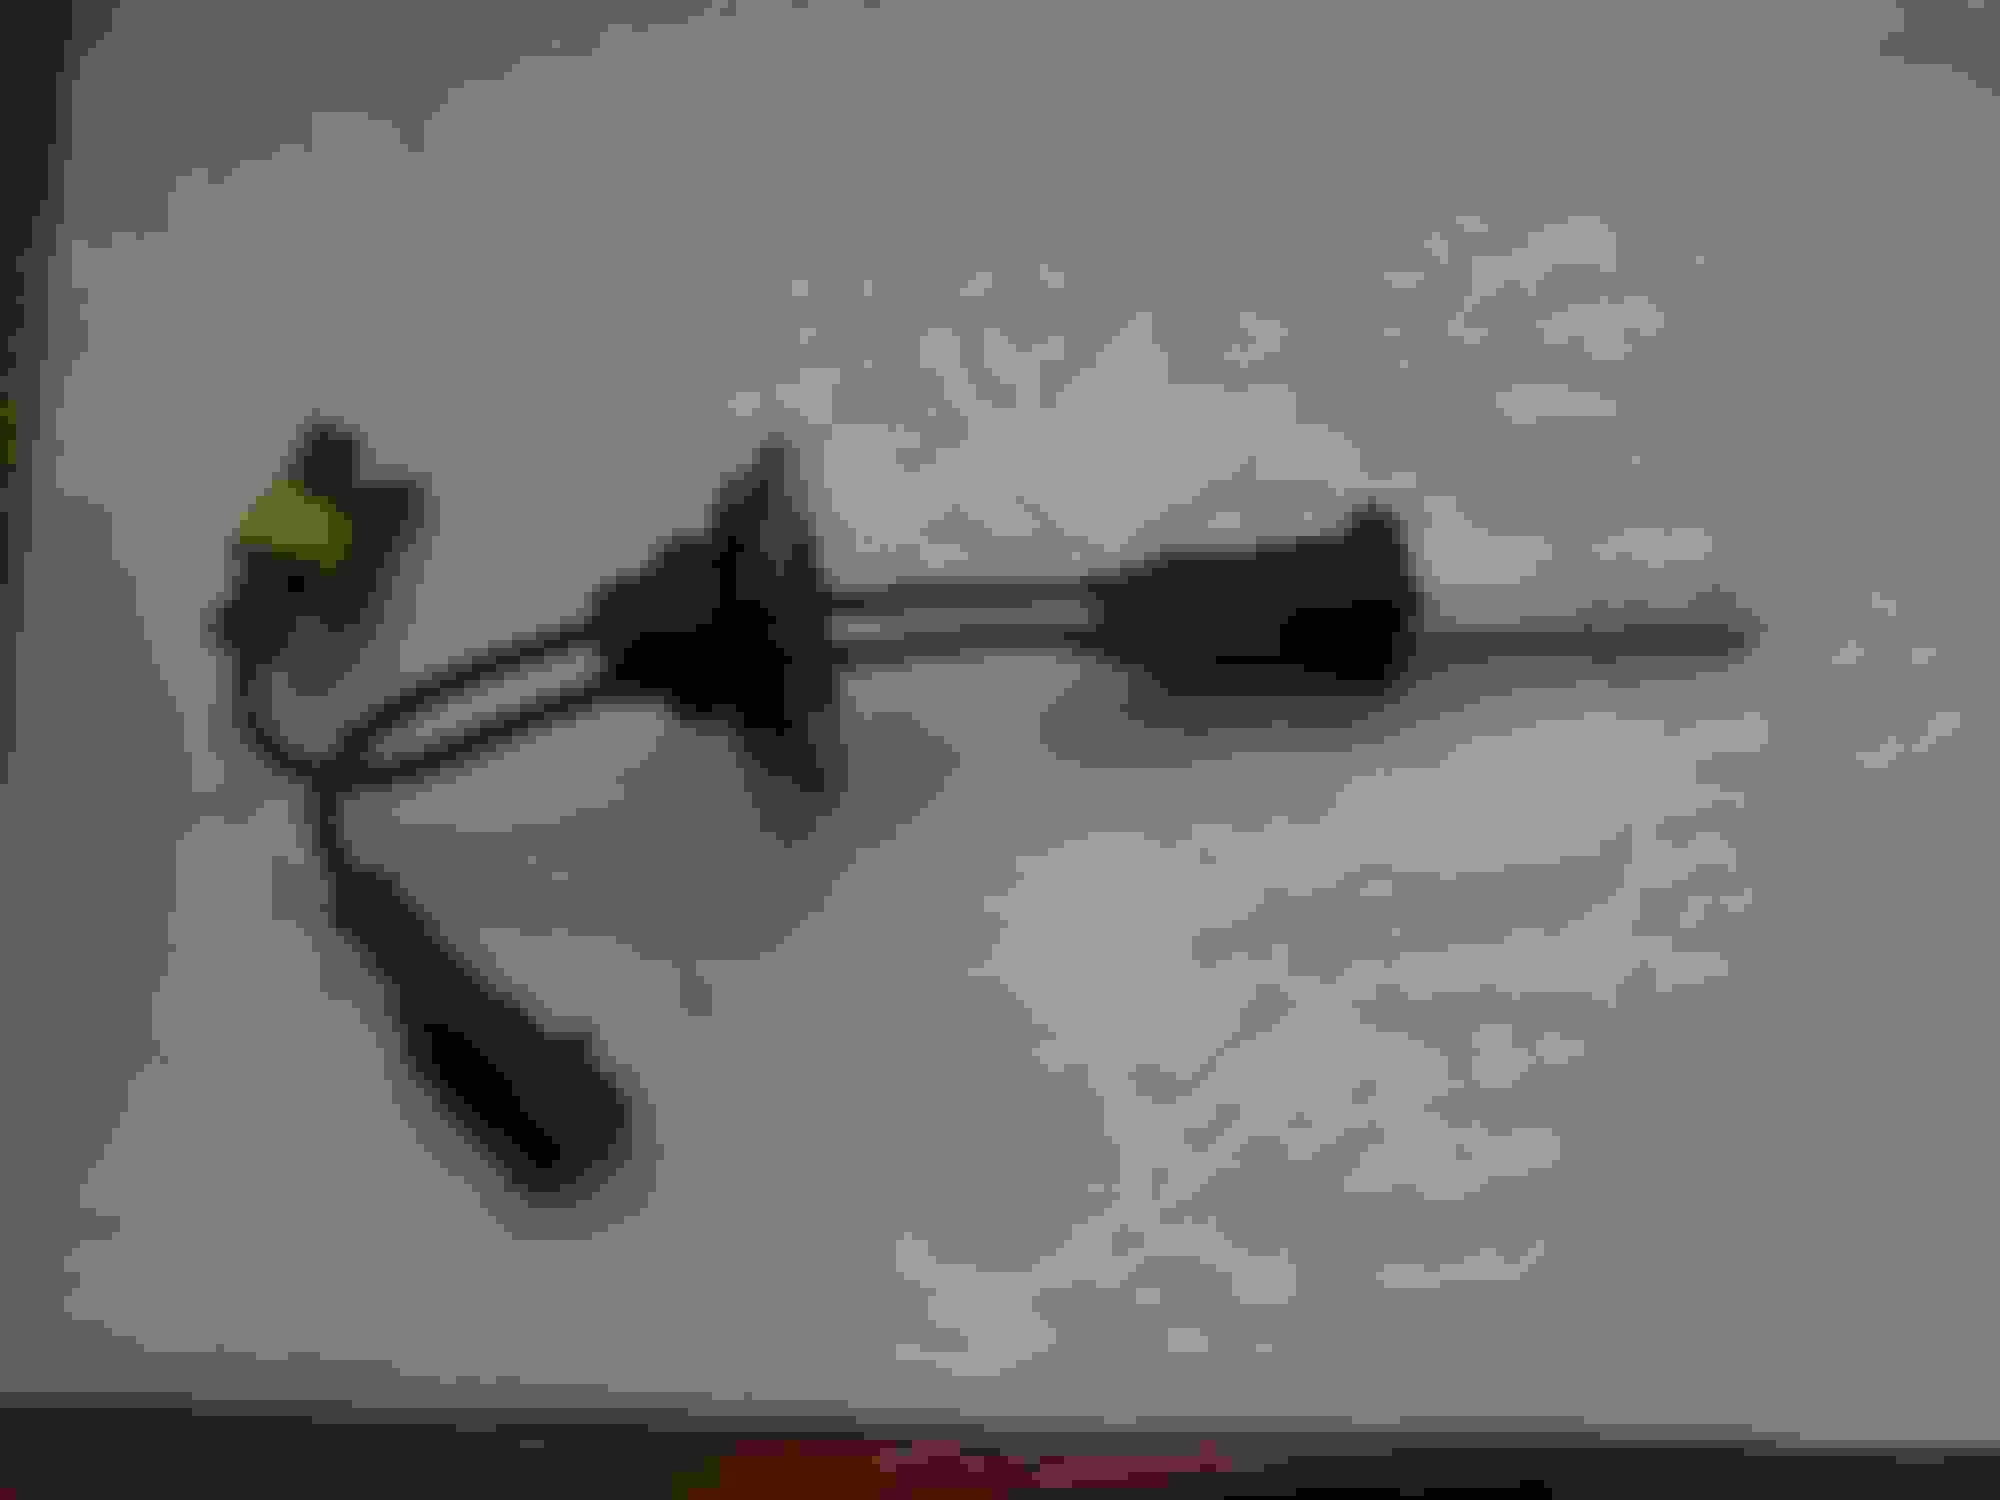
I cut the two wires (grey and green) as close as possible from the old actuator, to give myself extra wire for the future. The new actuator came with crimp-style connectors, which I used, and then protected with electrical tape.
I discovered that the old dust cap does not fit the new actuator well, owing to its different shape. After struggling with it for a while (it was preventing the headlight from fully opening) I decided to leave it off. I will look into this issue in the future, but its fine for now.
I discovered that one of the screws holding the trim piece around the headlight had disappeared. Luckily I had a box of spares. The part number is 11515893. Useful to have these on hand.
I reinstalled the "eyelid" and then carefully aligned it to the hood and fender. Its best to install all screws loose, then tighten them when you are happy with the fit.
I should be able to do this job in the future in a lot less time, now that I know how to do it. Just like replacing the window motors!
The actuator is part 19207405 (driver or left side) or 19207406 (passenger or right side). Some websites and the GM parts counter show that this actuator may require a connector (part PT284). I did not need this for my application (this actuator is also used on the C5 Corvette and the Fiero, along with the 1998-2002 Firebird).
The new actuator is not exactly the same as the OEM factory part.
Very nice! It looks like this design aims to solve the common issue with the motor separating from the gear case, which causes gear stripping. I wish this option was out there when I got my replacements. ... They are just twice the price of the original design.
Originally Posted by wu6fiend
I cut the two wires (grey and green) as close as possible from the old actuator, to give myself extra wire for the future. The new actuator came with crimp-style connectors, which I used, and then protected with electrical tape.
I assume that adapter, which you didn't get would eliminate the need for spicing?
Originally Posted by wu6fiend
I discovered that the old dust cap does not fit the new actuator well, owing to its different shape.
I wonder if the updated design is good enough to where a dust cap wouldn't serve any purpose?
I assume that adapter, which you didn't get would eliminate the need for spicing?
I wonder if the updated design is good enough to where a dust cap wouldn't serve any purpose?
The connector (which I have only seen in photos, as the dealer ordered it for me in case I needed it, but it hadn't come in by Friday) appears to be identical to the one already on the car from the factory (five wires in, grey in colour). I left everything as is, and simply connected the green and grey wires via the connectors attached to the wires coming from the new actuator. That appears to be the way they want you to do it. With regard to the dust cap, the original dust cap is discontinued, and the new actuators come without it, so it looks like the cap is unnecessary. Regardless, my original cap didn't fit the new actuator properly, and in fact impeded the headlight fully opening, so I'm not using it.
I checked with my contact at the dealership parts counter today, and he confirmed the original cap is no longer available. There was one apparently available from a vintage supplier, but he was pretty sure it would be identical to the original cap, namely with two round, and two square sides. So, it likely wouldn't fit the new actuator, which has a totally round "cylinder". The part number for the cap, in case anyone is wondering is #16525377 and it is called "headlight motor actuator cap". Since the new actuators are being shipped without a cap, and there is no cap readily available from GM, I'm guessing the cap is no longer a requirement.
I went through the first 10 pages and did the Google ls1tech search (thanks for the tip on that trick to so many people ) and the post I found with pictures to help with my issues no longer displays the pictures. Not sure if it is an issue with my phones browser. Anywho, on my formula the driver side headlight cover isn't lining up when closed. I think I know which screws adjust the cover but I don't want to do ANYTHING to these headlights without being certain on what I'm adjusting. Can someone post a pic pointing to the adjustment screws please? I replaced both motors in Feb and put in brass gears before install. Passenger works flawlessly. Reason I suspect it's just the cover is one plastic screw retainer is missing on what I think is one of the cover adjustment.
I went through the first 10 pages and did the Google ls1tech search (thanks for the tip on that trick to so many people ) and the post I found with pictures to help with my issues no longer displays the pictures. Not sure if it is an issue with my phones browser. Anywho, on my formula the driver side headlight cover isn't lining up when closed. I think I know which screws adjust the cover but I don't want to do ANYTHING to these headlights without being certain on what I'm adjusting. Can someone post a pic pointing to the adjustment screws please? I replaced both motors in Feb and put in brass gears before install. Passenger works flawlessly. Reason I suspect it's just the cover is one plastic screw retainer is missing on what I think is one of the cover adjustment.
There seems to be a tab missing. Is this an adjuster?
I'm not sure what you are pointing out. A picture of the misalignment with the hood shut and the lights off, should be telling. (I'm thinking you could have a bent arm stop or the sheet metal cover could be off.)
You might compare the two sides of the car to find the tab you are after.
I was pointing to a screw that goes into nothing but on the otherside goes into a plastic tab of some kind. I found the adjuster screws and aligned the eyelid as best I could but it still has about a 3/16" more gap to the bumper than the other light has. I'll try a new arm, I know for sure I saw the pn for that in the first 10 pages. The off-white plastic tabs near the control arm is what everyone refers to as the stop for the control arm correct? If so I have a pretty chewed up looking one compared to the passenger side. Anyone have a pn for that?
Had to buy a different wire harness for the Hi/Low to work. Got that off Ebay also. I love the factory look. However light output is not as good as I expected.
Not sure if the glass lens is a restriction or my $11 for 2 H1 bulbs are too cheap to provide a good beam or the Matchbox are just too small?
What do you think?
Nice project but yes, the matchbox projectors are just very tiny and won't push a ton of light. You can't expect much from them. Better lamps will help a bit but honestly, no sense putting extra $$ into the setup as is.
I was pointing to a screw that goes into nothing but on the otherside goes into a plastic tab of some kind. I found the adjuster screws and aligned the eyelid as best I could but it still has about a 3/16" more gap to the bumper than the other light has. I'll try a new arm, I know for sure I saw the pn for that in the first 10 pages. The off-white plastic tabs near the control arm is what everyone refers to as the stop for the control arm correct? If so I have a pretty chewed up looking one compared to the passenger side. Anyone have a pn for that?
That screw is a stand-off and the plastic head should be in contact with the sheet metal. It holds the metal the appropriate distance away from the light assembly.
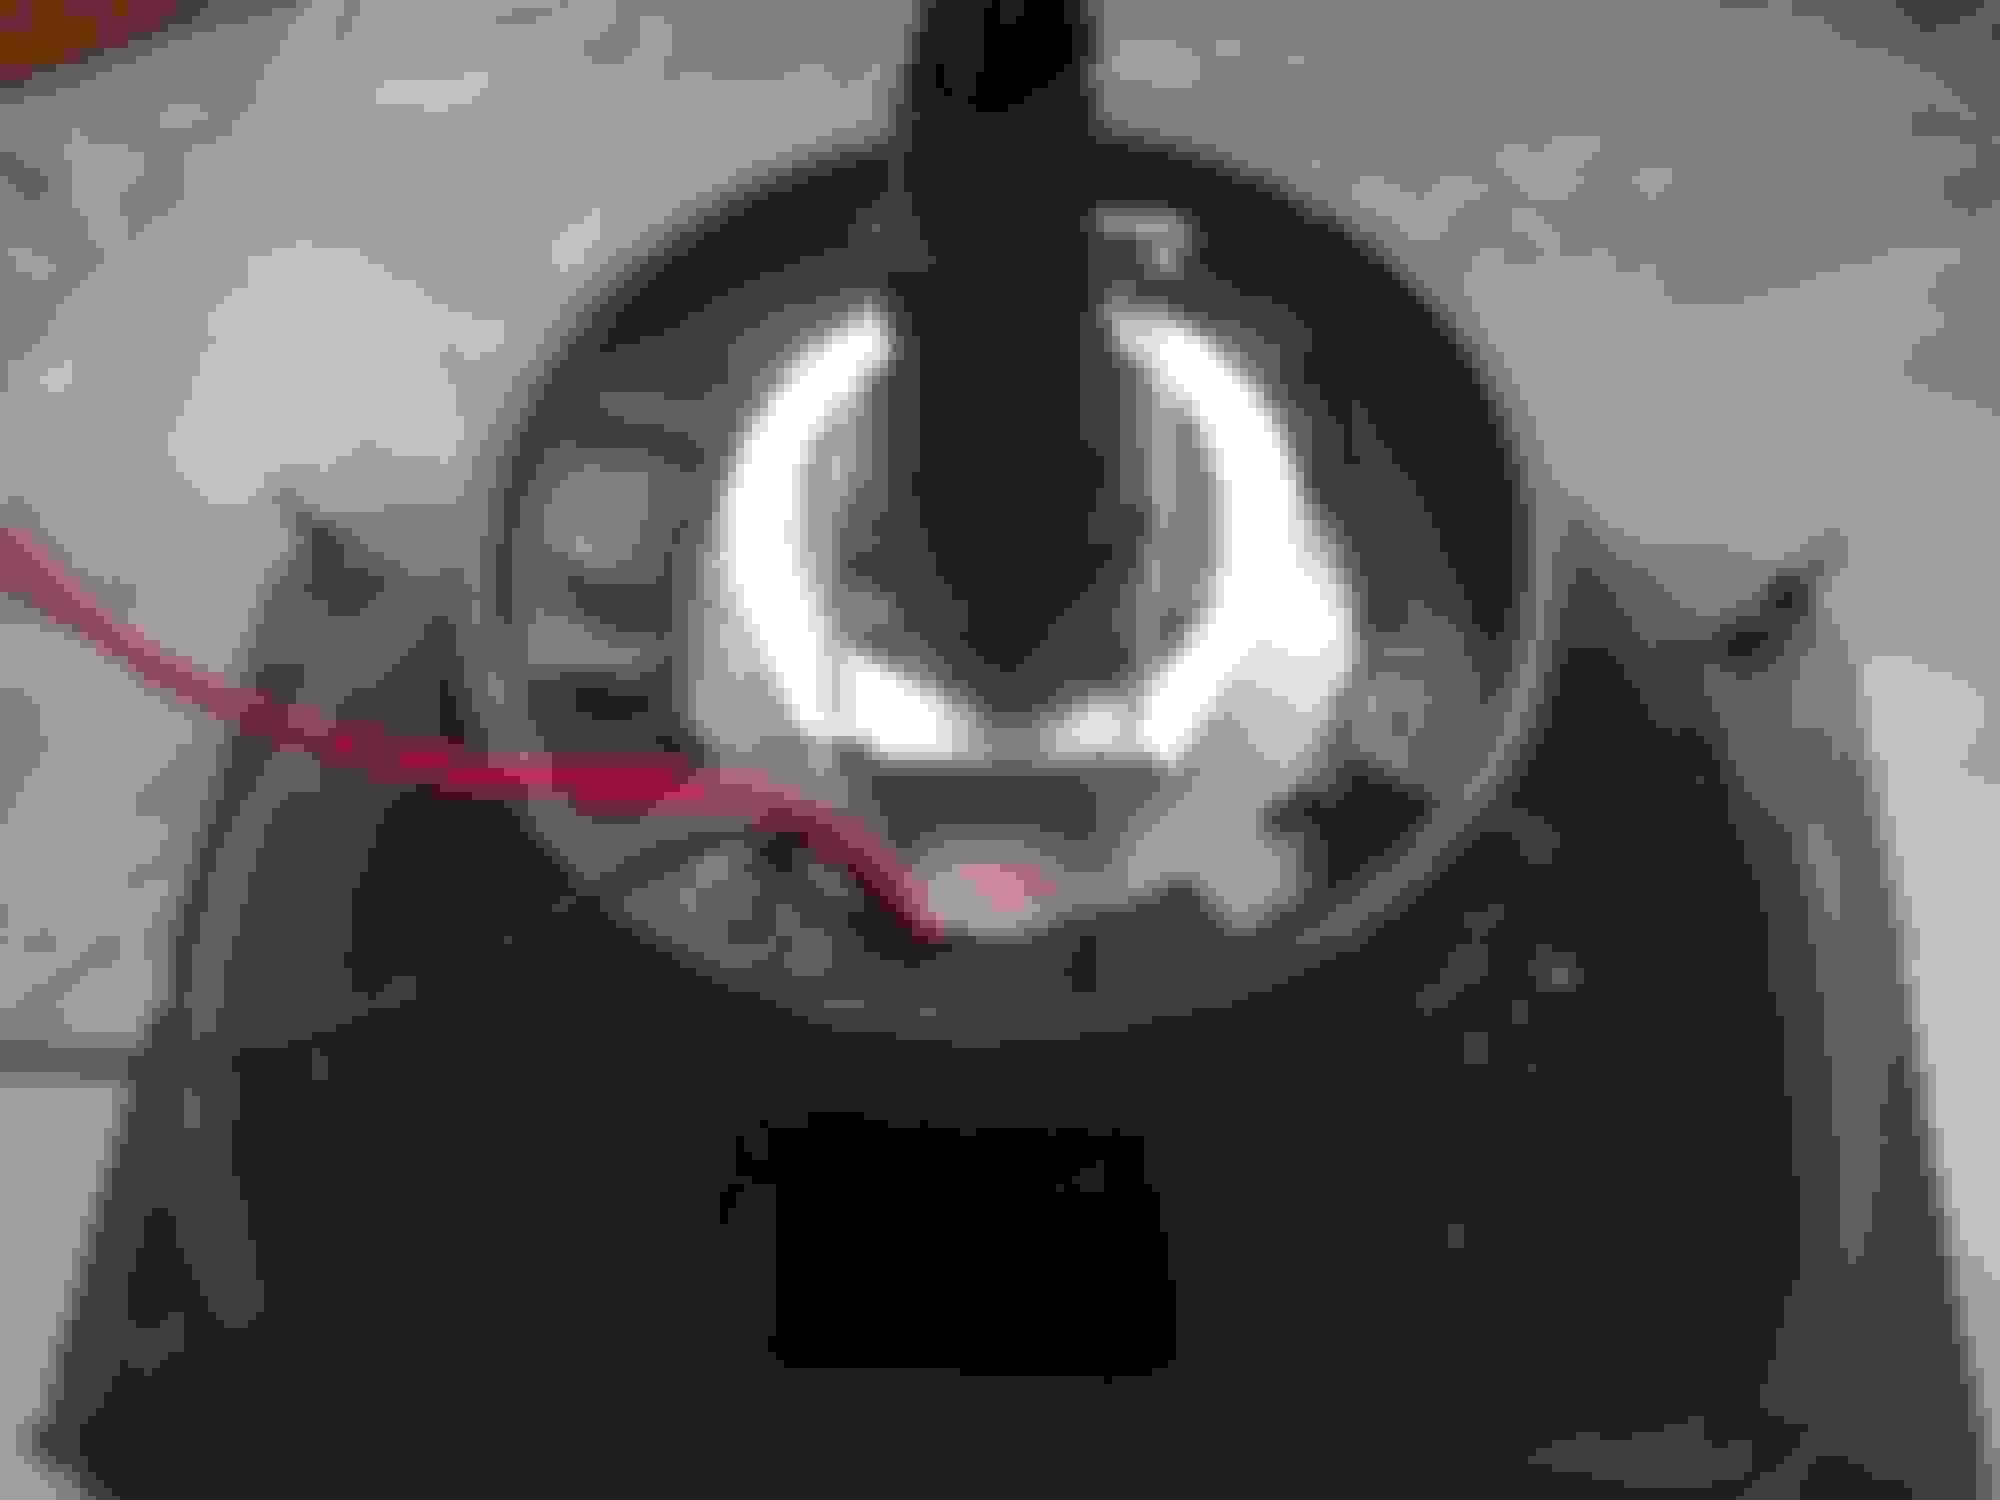
Yes, they are the little rubber seals that fill the part of the large connector body where the terminals slide in. In this picture, they are the red rubber pieces crimped to the connector where the wire attaches to the terminal:
If you look down the wire to where it goes in the connector body, those seals should be tight to the cylinder cavity that the terminal and wire slide in to.
So not even a year later, the connections are corroded to the point that they no longer work. I just contacted them about the warranty process, but my time is limited as my inspection is already a couple weeks past due (including registration)...
So not even a year later, the connections are corroded to the point that they no longer work. I just contacted them about the warranty process, but my time is limited as my inspection is already a couple weeks past due (including registration)...
Did you end up replacing your seals or going with the ones that came with the motor?
Even though, I replaced mine, I'm afraid to look. I'm not sure this type of connector was ever a good choice for the wet location. If I have corrosion again next time I'm messing with the motors, I might go to something different.
Hey fellas my car is a 98 trans an and I was wondering if a headlight motor from a 93-97 lt1 car will fit my 98? Or atleast will the gear inside the motor interchange? Thanks in advance
headlights don't open but the lights come on 00 firehawk
Help yesterday the headlights on my firehawk worked great and today I went to open them and the lights come on but the covers stay down the only thing I have done to the car since yesterday is wash it and they worked right after that

 04-18-2015, 06:54 PM


 ) and the post I found with pictures to help with my issues no longer displays the pictures. Not sure if it is an issue with my phones browser. Anywho, on my formula the driver side headlight cover isn't lining up when closed. I think I know which screws adjust the cover but I don't want to do ANYTHING to these headlights without being certain on what I'm adjusting. Can someone post a pic pointing to the adjustment screws please? I replaced both motors in Feb and put in brass gears before install. Passenger works flawlessly. Reason I suspect it's just the cover is one plastic screw retainer is missing on what I think is one of the cover adjustment.


