When you click on links to various merchants on this site and make a purchase, this can result in this site earning a commission. Affiliate programs and affiliations include, but are not limited to, the eBay Partner Network.
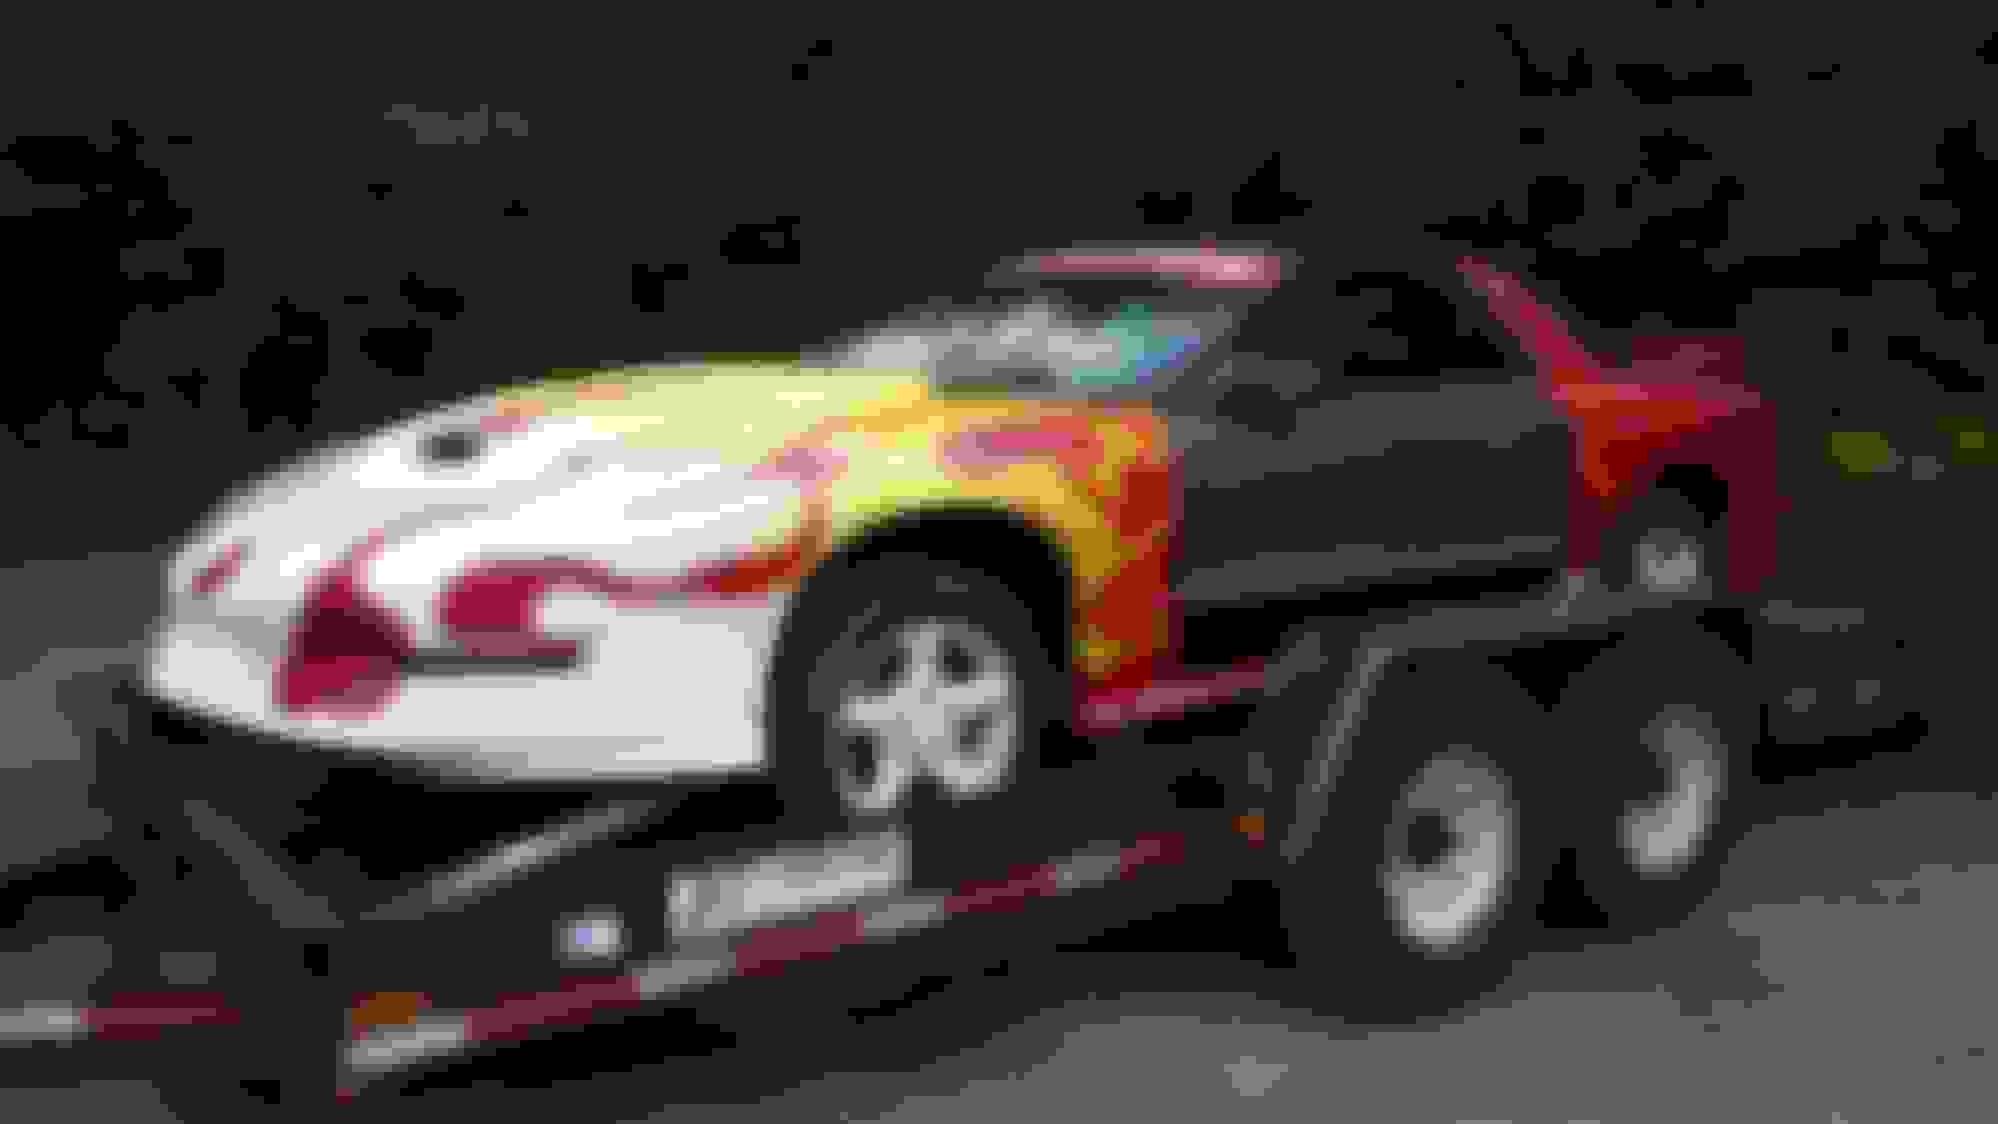
I started restoring a 95 trans am this past summer and decided I should start a build thread. I had a firebird back in high school so I've been wanting to restore one of these for a while. I eventually found a really good deal on a 6 speed car that had been in an accident and couldn't pass it up. If you look closely you can see that the quarter panel/door jam is damaged from being hit in the side.
After removing the dash I noticed that the previous owner had shorted out the wires going to the obd plug causing a huge part of the wiring harness to melt together and short out. Not a great start to the project but after a ton of soldering and shrink tube I corrected the problem. All fixed =)
There was some rust on the floor boards so I sand blasted them and did some rust repairs. The pictures only show one side but I had to fix the same spot on both sides
I also had to fix the quarter panel, this thing was pretty smacked up so I just cut it out, straightened it best i could, and welded it back together. It's not perfect but now it will just take a minimal wipe of mud.
I screwed tarps to the ceiling that draped all the way down around the car so I could sand blast the bottom and engine compartment without getting sand all over the garage. Unfortunately I didn't get a lot of pictures of this processes but that's probably because it was hell. If I could do it again I would have paid to have it professionally sandblasted.
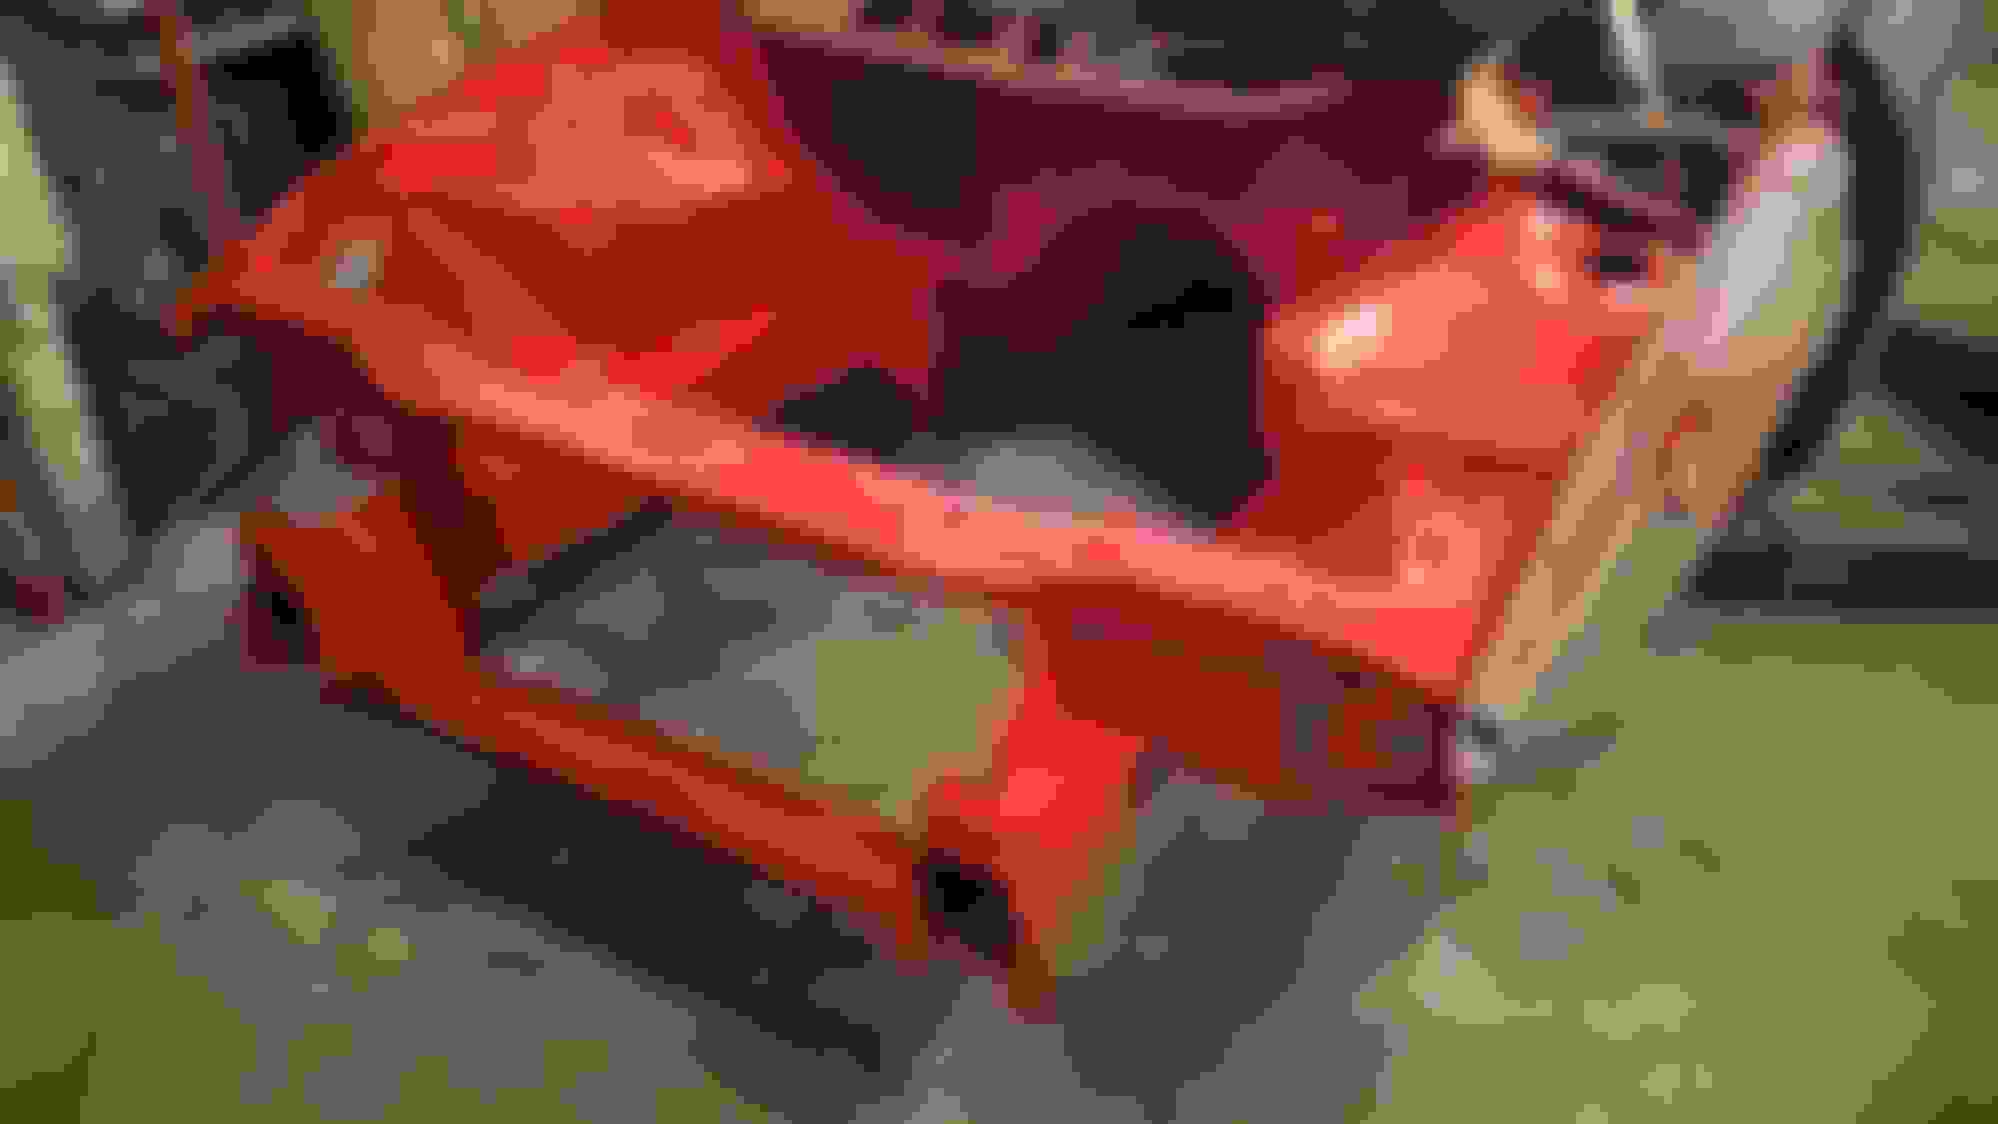
After cleaning sand out of every crevice imaginable, making some rust repairs, and several hours of painting, I had the bottom end restored to perfection. I decided to paint the whole bottom with a base code of POR15. Then, I painted the center and engine compartment with a single stage urethane "Flame Red" and used a raptor bed liner paint for the wheel wheels and along the rocker panels.
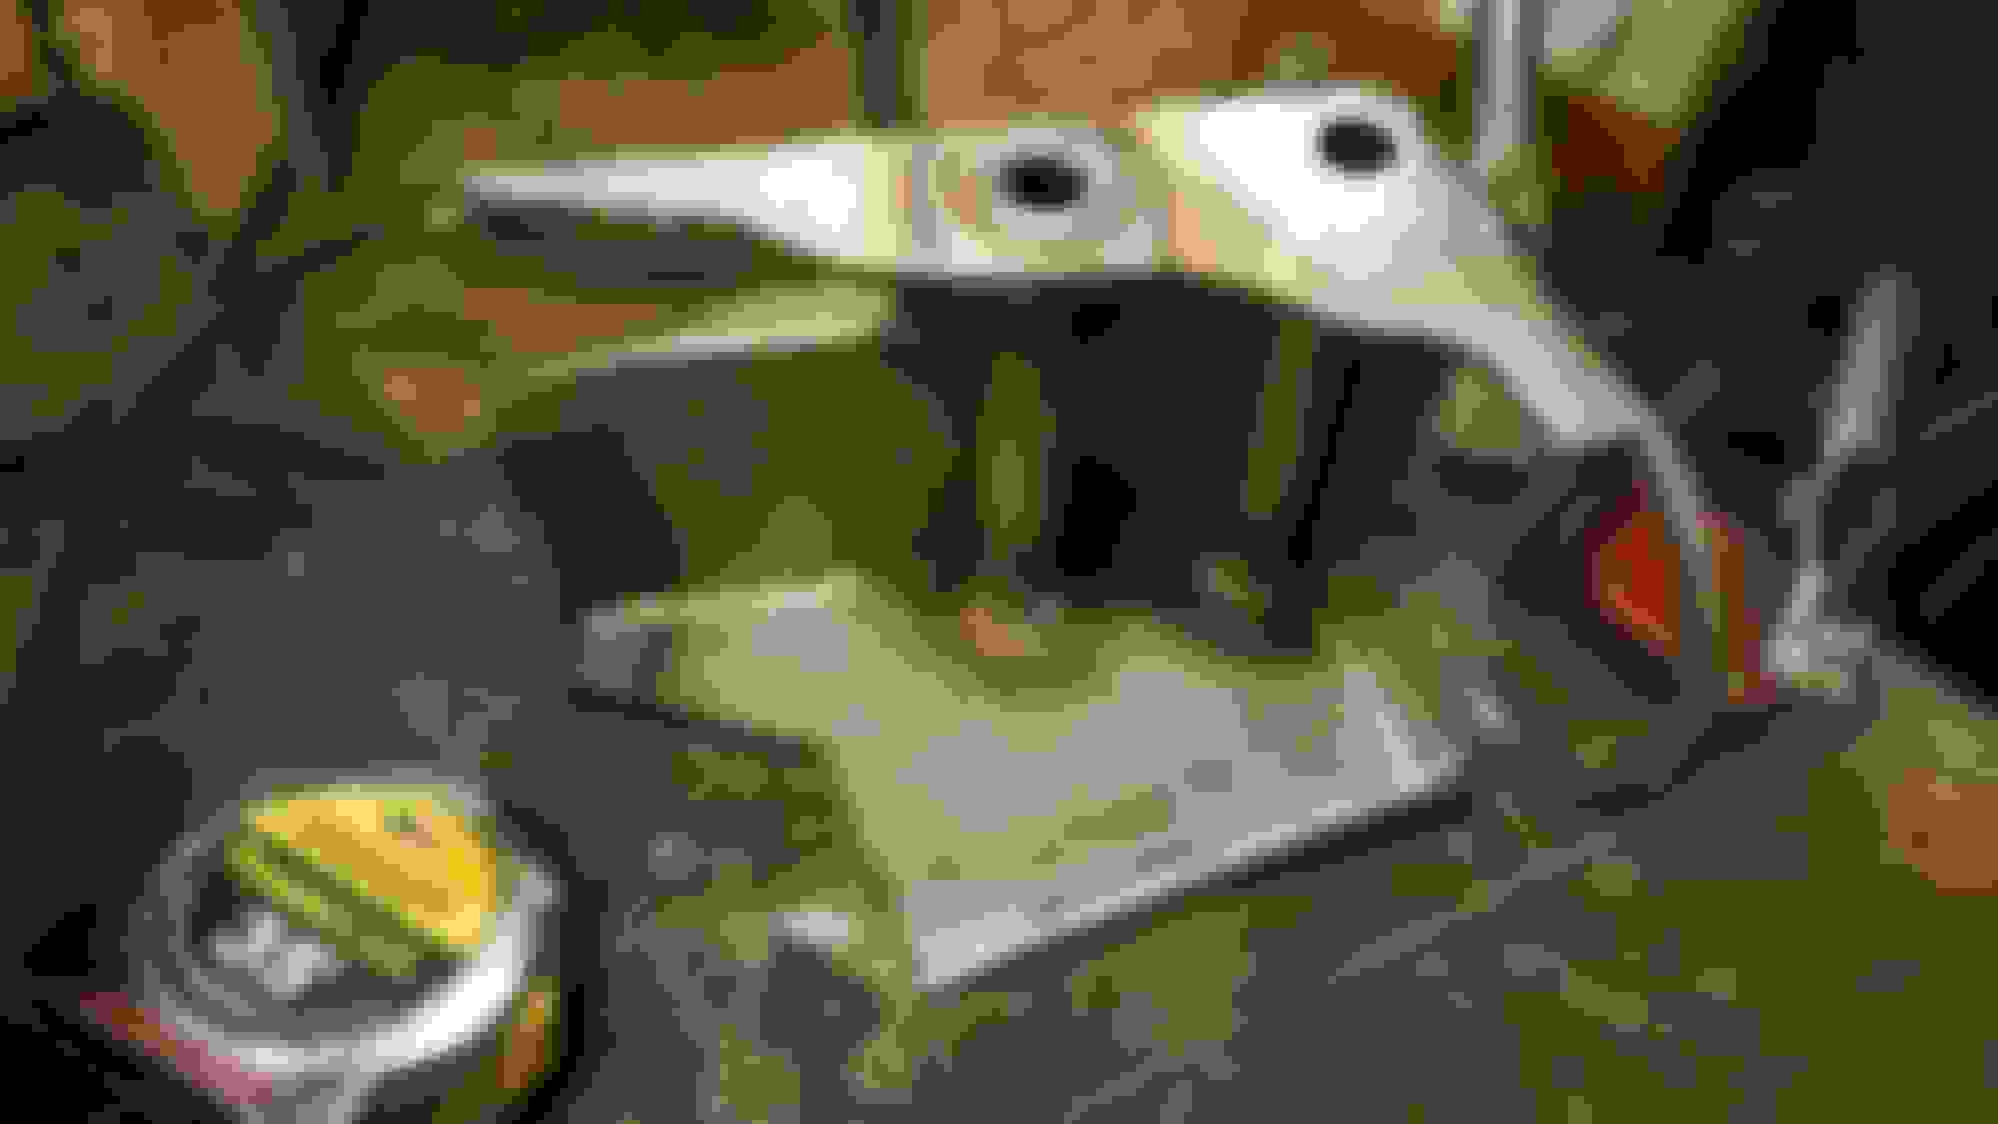
I decided that the stock 7.5'' rear axle wasn't going to cut it, I have a dyno'd 450hp LT1 that's going in the car and with the 6 speed I don't want to risk destroying the rear end. I got a steal on a dana 60 out of a 2005 E250 for $160 from of a local junk yard so I decided to build that for the car instead. Here's some pictures of the old and new rear ends and posi carriers side by side, what a huge difference.
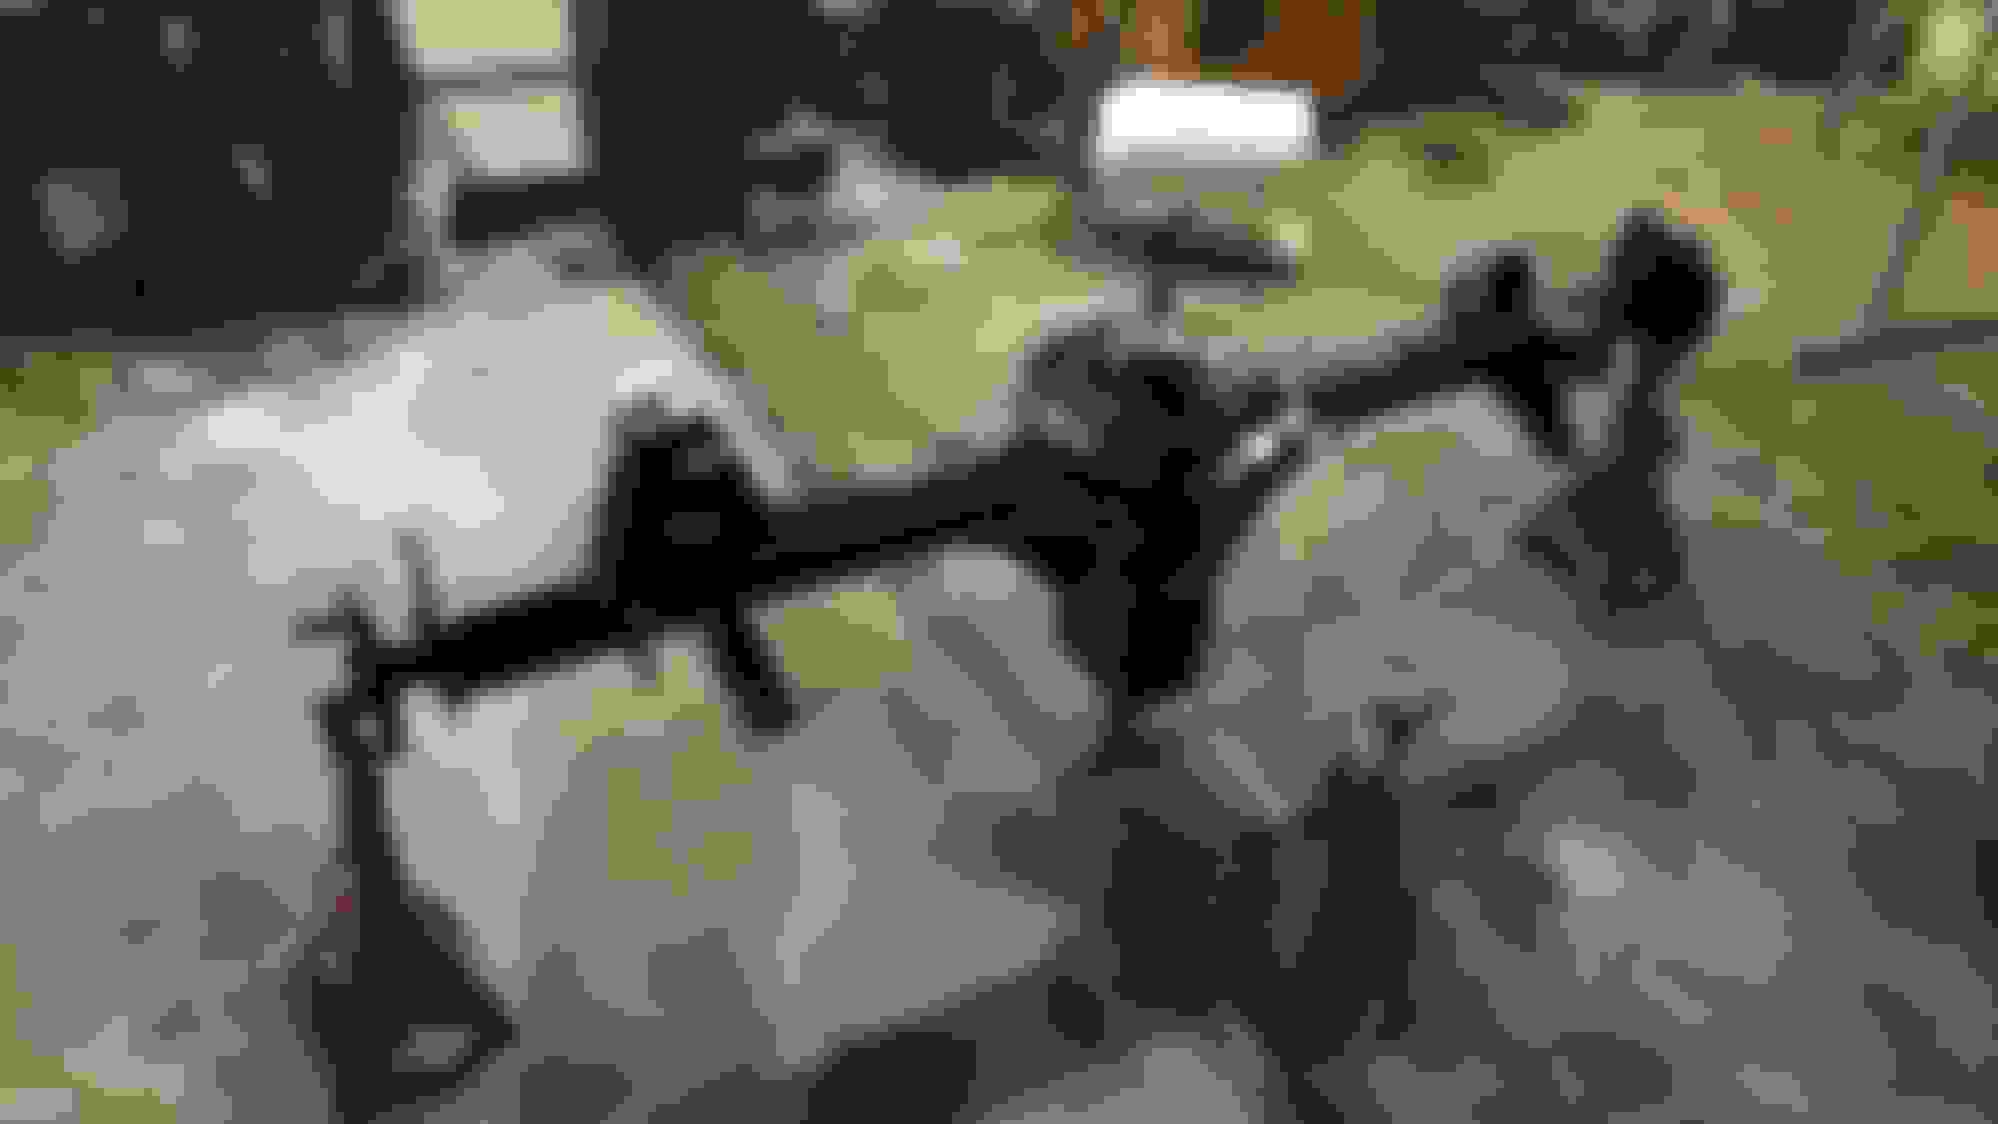
The new rear end is a semi float and I needed to shorten it by a couple inches so I had a machine shop set it up in their lathe and cut the bearing & seal surfaces in a couple inches then cut that much off the end of the tube.
This is a picture of the tube before it was shortened
I cut the mounting brackets off the old rear end, (I actually used a rear end out of a firebird since I got it for nothing and I had already painted the original trans am one), then I welded them to the new rear axle. This took ages of checking, double checking, and triple checking to make sure I had it right.
I had Dutchman make me a set of custom axles, they did an awesome job and are actually the only company that makes 35 spline c-clip axles. Then, I made a custom set of brake caliper brackets and welded them on so I can use all stock brakes in the rear.
Dutchman axles are really nice, I highly recommend using them for your custom axle needs.
The hardest part of this whole rear end setup was figuring out how to mount the torque arm. I wish I would have taken pictures of it but I made a cardboard template for a bracket which I could weld on the the housing. Then, I converted that to 1/4'' steel and welded it to the housing. Don't try this at home unless you know what you're doing. When welding to cast steel/iron it's highly prone to cracking if you don't control the heat. I had a professional welder buddy help me weld the bracket to the housing and the tubes to the housing.
After pressure washing out the whole rear end to get all metal and debris out I rebuilt it with all new bearings and 4.10 ring and pinion. Then, more sand blasting and paint and it's ready to go in. I haven't test fit it yet so I hope it's going to fit, it looks like it will be snug but should fit based on my rough measurements.
Sand blasted in -10 Fahrenheit, if you think sand blasting can't get any worse, try doing it in the Minnesota winter. And here it is with brake lines.
That's some impressive work right there. Great to see an LT1 kept out of the crusher. One thing you may want to consider while you have the front suspension out is a brake upgrade. Get some 98-02 spindles ,calipers and rotors before you bolt it all back together.
Thanks, what's better about the 98 calipers? Are they a better design or do they just have a little better stopping power? I've already bought all of my brake stuff so I probably won't upgrade unless it's a huge improvement.

 03-06-2019, 07:27 PM