When you click on links to various merchants on this site and make a purchase, this can result in this site earning a commission. Affiliate programs and affiliations include, but are not limited to, the eBay Partner Network.
I ran into this on a ls1 I was working on a few years ago. I had to heat it just to get the bolt to break loose. once that bolt was out while it was still hot I actually slid the pully off by hand.
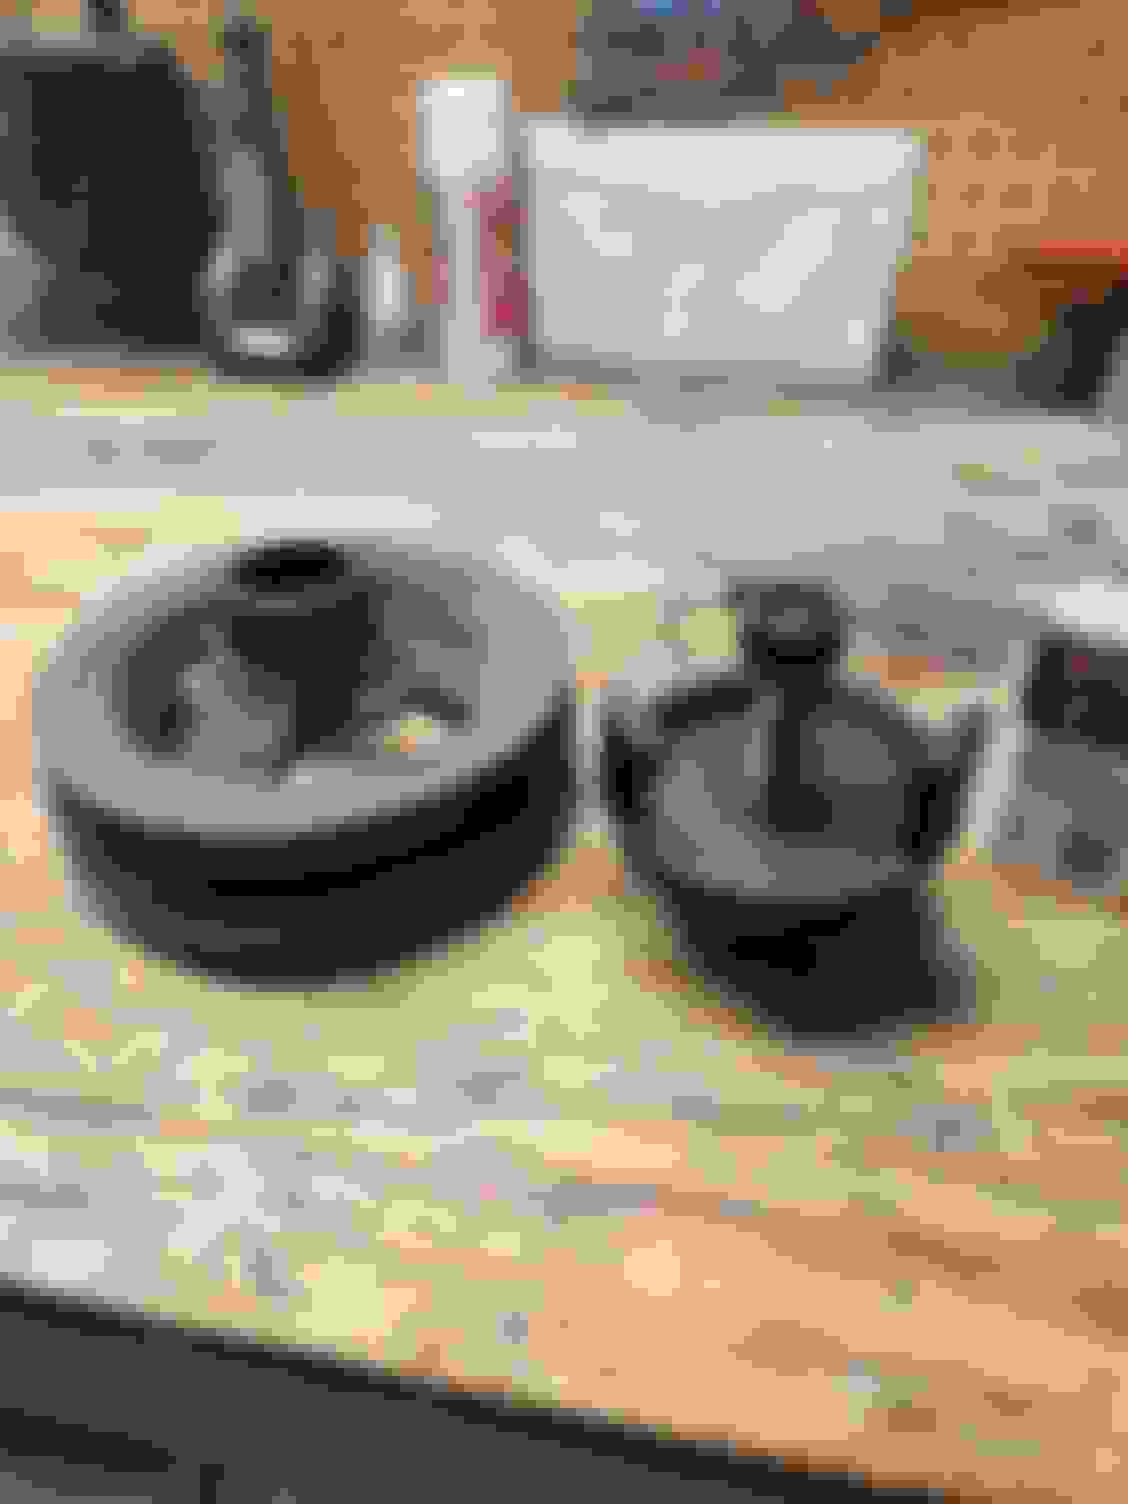
using the proper balancer puller makes life so much easier. Popped right off. Chain still nice and tight and it appears to have the holes for a chain damper. I bought a timing set.. should I just go ahead and remove pump and do it right? 😅
Dropping oil pan does not sound fun..
Doing away with the K&N CAI I installed 12 years ago. after reading up about the increased intake air temps I have opted to go back to a factory style setup. Noticed that Hawks Motorsports was having a 20% memorial day sale, and decided to pick up their high flow lid, Reproduction Ram Air style air box base, and a smooth bellow. should make better use of the Ram air hood.
Been a month and still no Head & Cam package in the mail
Is there anything else i should look into while I'm this deep into this project?
I will warn you about one thing using that balancer puller - It puts stress risers into the balancer as you take it off. These balancers aren't strong as it is, and mine actualy cracked when removing it. I see yours got the same marks mine did when I removed it. I would at least replace it with a new OEM style balancer, just to be safe. Next time I use that puller, I'm going to grind the sharp edges down so it doesn't bite into the balancer.
I will warn you about one thing using that balancer puller - It puts stress risers into the balancer as you take it off. These balancers aren't strong as it is, and mine actualy cracked when removing it. I see yours got the same marks mine did when I removed it. I would at least replace it with a new OEM style balancer, just to be safe. Next time I use that puller, I'm going to grind the sharp edges down so it doesn't bite into the balancer.
thanks for that info!!
Well we got hit by a tornado last night, that's gonna take a hit on my budget for a bit......my Beautiful oak tree yanked my water main right out of the ground, tree barely missed my house no power for maybe a week I heard.
Just got the email that TSP has finally shipped my stuff!
did a test fit of the reproduction Ram Air Box and the hawks high flow lid, and the hood does not fully close. Its a Ram air hood. Anyone else ever have similar problems?? Pointing at problem areas
How far off is the hood from closing? Any change in the hood latch position (new radiator install maybe change something?
hood closed fine before I put the bellow from MAF to TB on. There is currently no Radiator installed. Thinking I need to trim bellow and use heat gun to slightly flatten lid. I really dont want to cut hood lol
hood closed fine before I put the bellow from MAF to TB on. There is currently no Radiator installed. Thinking I need to trim bellow and use heat gun to slightly flatten lid. I really dont want to cut hood lol
Might be worth comparing the old airbox and new one side by side on a bench to see how much room you have to regain. Heat gun and flattening the lid might be the best bet as long as it won't impact the filter and you don't have to reduce that much in height. I'd be interested to see what those who went with larger intakes/TBs did.
Last edited by jybravo70; 05-31-2024 at 06:59 PM.
Reason: spelling
Might be worth comparing the old airbox and new one side by side on a bench to see how much room you have to regain. Heat gun and flattening the lid might be the best bet as long as it won't impact the filter and you don't have to reduce that much in height. I'd be interested to see what those who went with larger intakes/TBs did.
wellll about that. When I originally LS1 swapped the car, i didnt have a factory v8 box on hand and just ordered the K&N CAI. During this build i decided to switch to a factory style setup.
It looks like it's barely hitting on the lid, how does your hood line up? If there's some wiggle room, move your bump stops up slightly and adjust your hood latch for clearance.
After throwing in the radiator and reinstalling the box. Needed to trim the bellow for better fitment (that was painfull, $74.95). After a ton of heat gun use, and trying to slowly work the plastic. I now have a really ugly lid and hood closes, but still have contact. Laid piece of printer paper on top of lid and closed hood. Reach from underneath car and can't pull paper out. Guess it will be forever in contact.
Got some stuff done this weekend, heads are off and my tsp stuff arrived! Boy these heads look good, all lifters are out, still need to rebuild rockers with C.H.E Trunnion kit.
Hopefully those spacers you machined for the converter don't take up every bit of clearance from the converter to the flex plate. You want about an 1/8" of clearance before bolting the converter to the flex plate..you don't want to bottom out the converter on the pump, that'll damage the converter/trans.
Hopefully those spacers you machined for the converter don't take up every bit of clearance from the converter to the flex plate. You want about an 1/8" of clearance before bolting the converter to the flex plate..you don't want to bottom out the converter on the pump, that'll damage the converter/trans.
i had nearly 3/8 of gap, the spacers brought it within yanks spec sheet. should be fine.....
Got the old cam out and new cam in! Ran my finger over the bearing and the bottom felt good but the top towards intake felt rough. After using a mirror to look at it. Appears that the cam never wore into it. Assuming this is normal and why people say don't look while doing a cam lol. Just about have the C.H.E trunnion upgrades fully installed.
On the lid box, The previous owner of my car put a Volant Max Flow 5 on it. It was fine with the stock hood. When I swapped to the aftermarket SS hood, but wouldn't latch. I had to end up doing major cutting on it to make it work. I also removed the front bump stops and that helped.

 05-15-2024, 08:34 AM