6LE GTO Gauge Overlays
 12-31-2010, 09:24 PM
#1

What do you think? We've had these for over a year now but just decided today to post them up to see if there is any interest for the Goat crew. 
We've sold over 300 sets for Camaro's.... thought we'd let you in on the fun. Oh, and remember, these are FULLY customizable!
Enjoy....
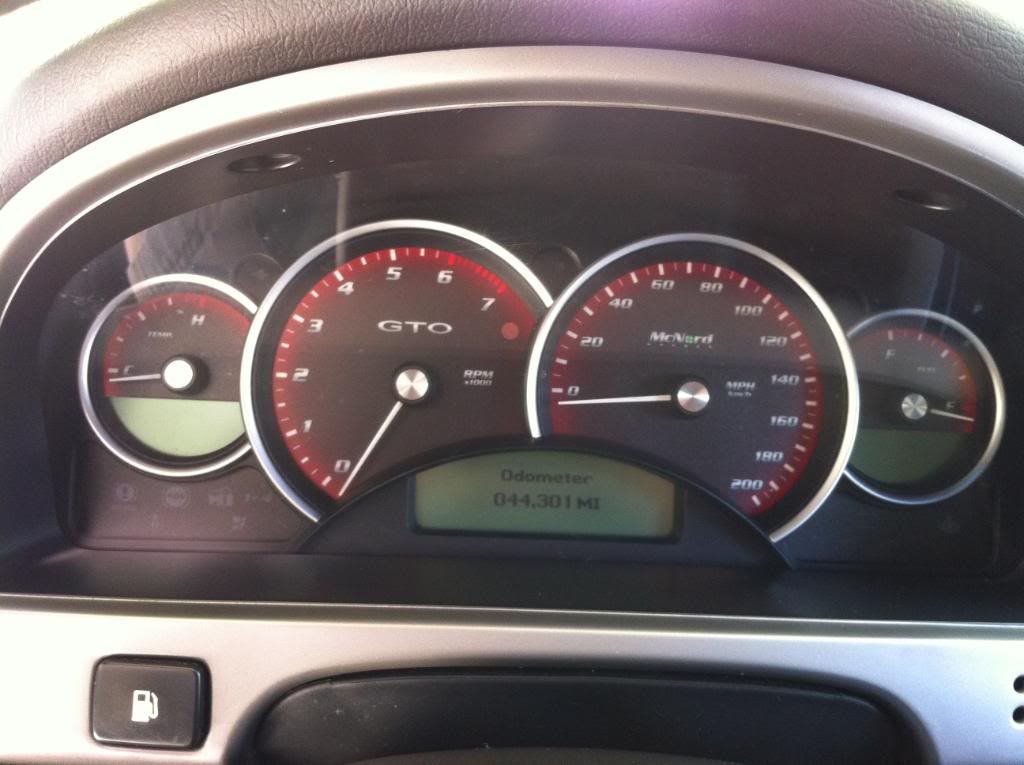
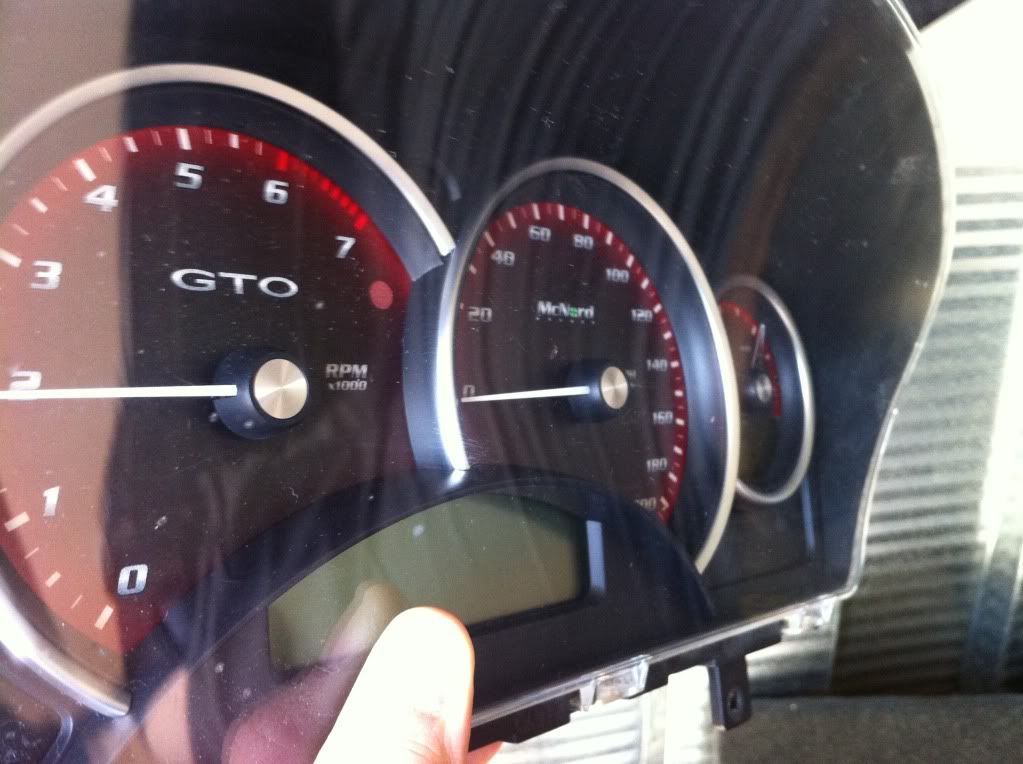
Stock:
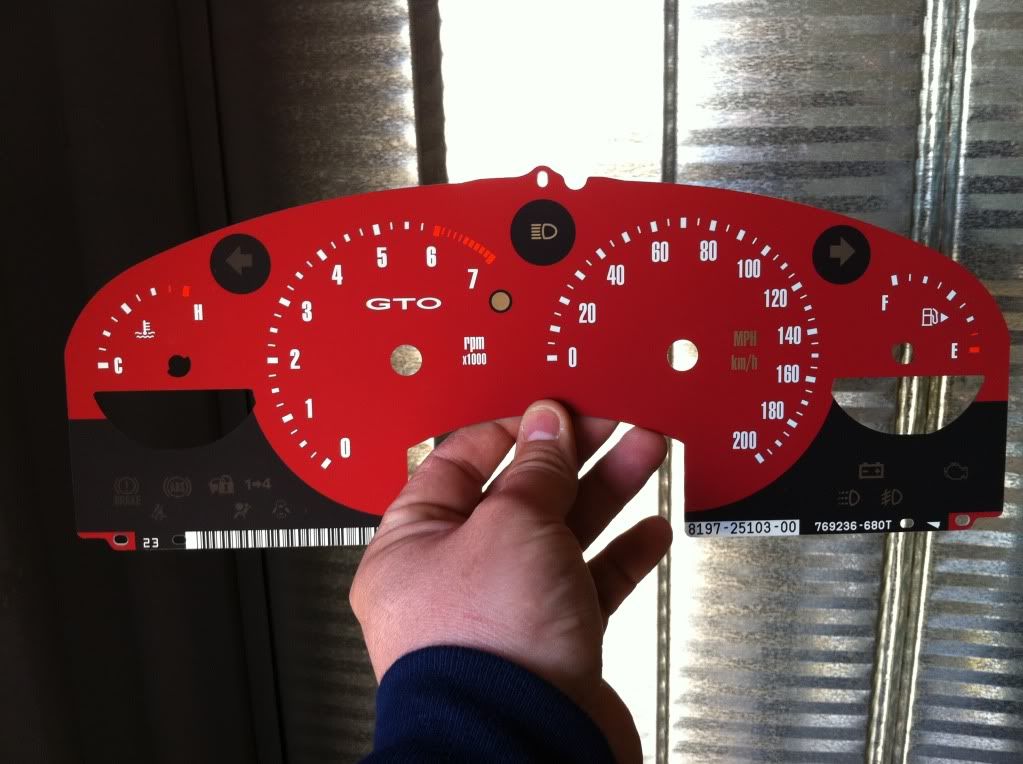
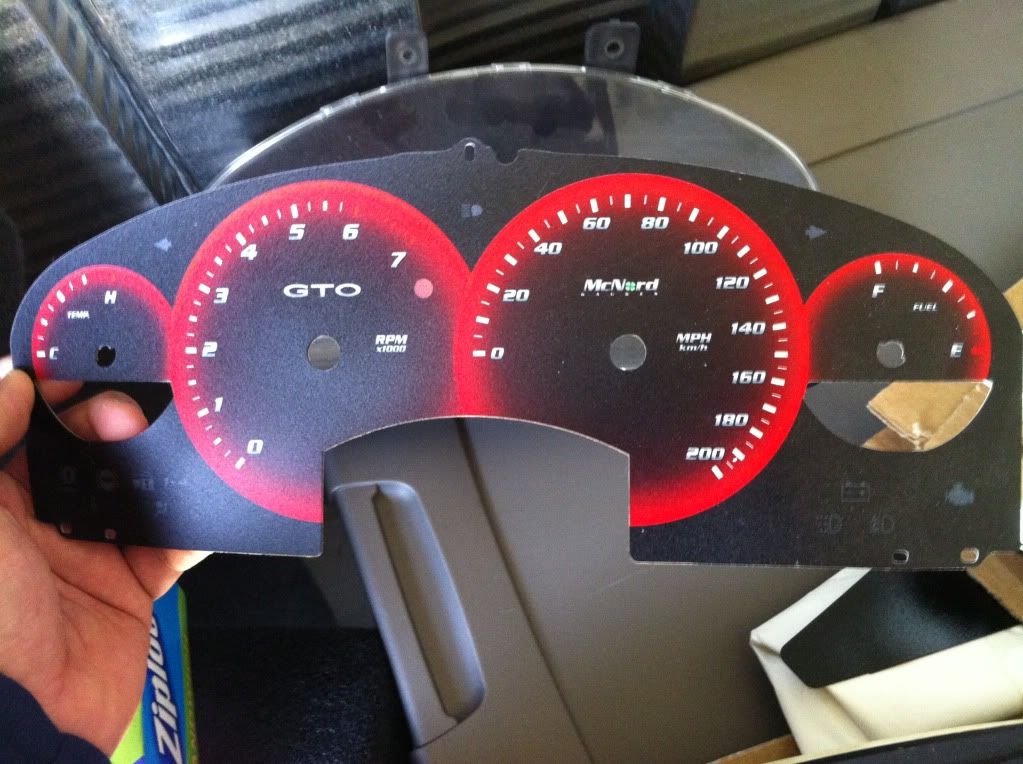
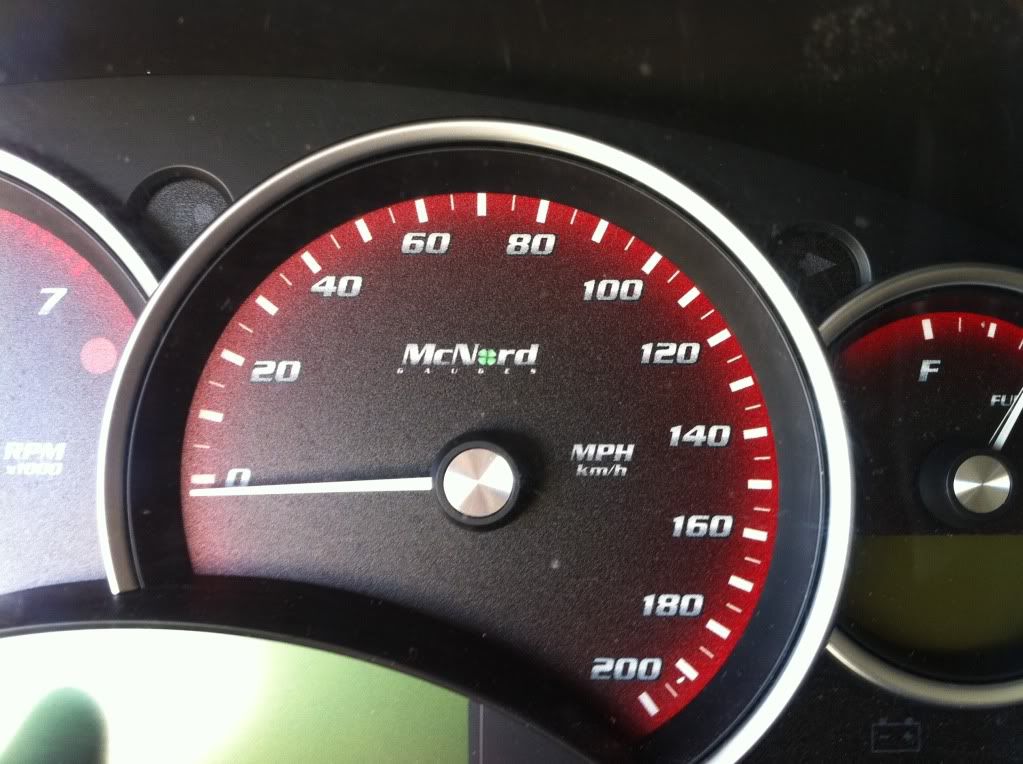
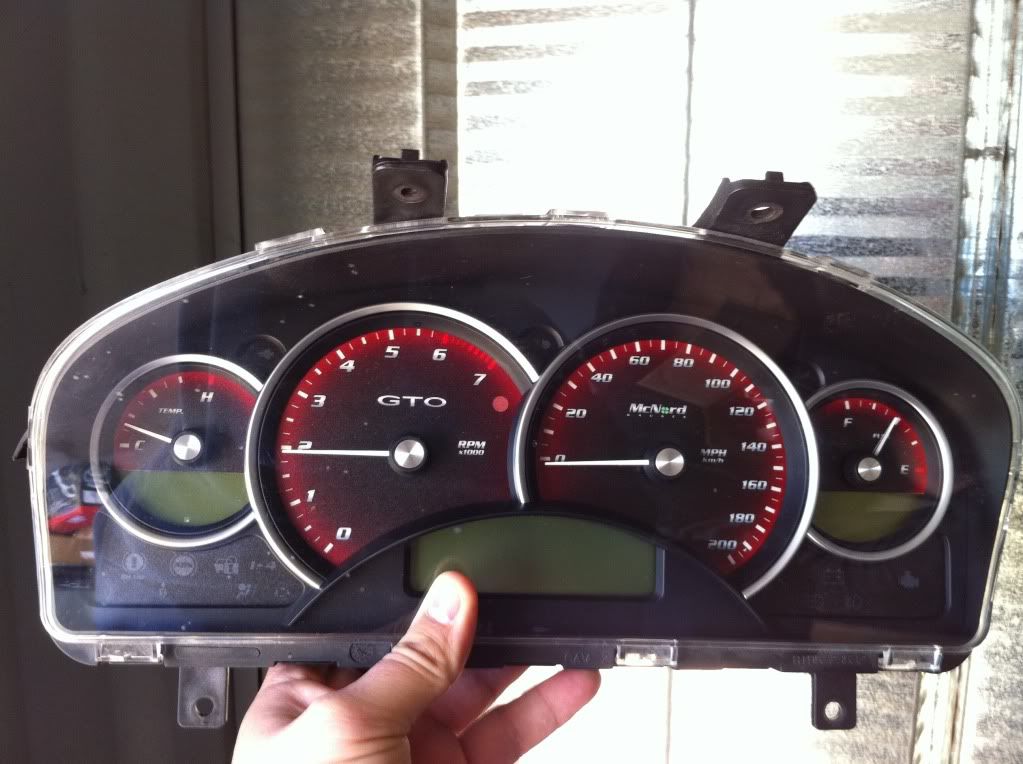
Ours:

We've sold over 300 sets for Camaro's.... thought we'd let you in on the fun. Oh, and remember, these are FULLY customizable!
Enjoy....
Stock:
Ours:
Last edited by Sommer86; 05-02-2011 at 05:37 PM.


 Thanks Mike for making me stop procrastinating, lol!
  01-23-2011, 09:37 AM
#7
On The Tree
iTrader: (7)

Join Date: Jun 2006
Location: Warminster PA
Posts: 147
Likes: 0
Received 0 Likes
on
0 Posts
How hard is it to change these out? Also is it possible to make a matching set for the JHP GTO gauges (http://www.jhp.com.au/jhpgto/Interio...GaugePod-h.jpg
http://www.jhp.com.au/jhpgto/Interio...innical2-h.jpg)
http://www.jhp.com.au/jhpgto/Interio...innical2-h.jpg)
Trending Topics
01-23-2011, 10:48 PM
#9
How hard is it to change these out? Also is it possible to make a matching set for the JHP GTO gauges (http://www.jhp.com.au/jhpgto/Interio...GaugePod-h.jpg
http://www.jhp.com.au/jhpgto/Interio...innical2-h.jpg)
http://www.jhp.com.au/jhpgto/Interio...innical2-h.jpg)
 05-02-2011, 05:02 PM
#14
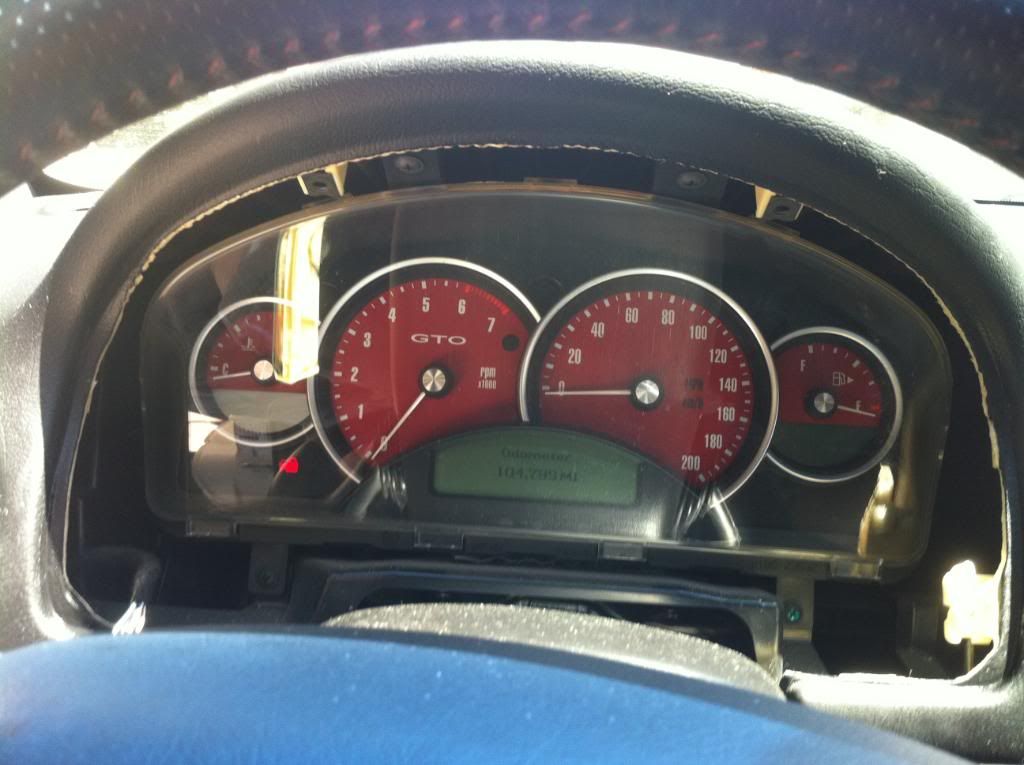
Here are installed pics and an install write up...
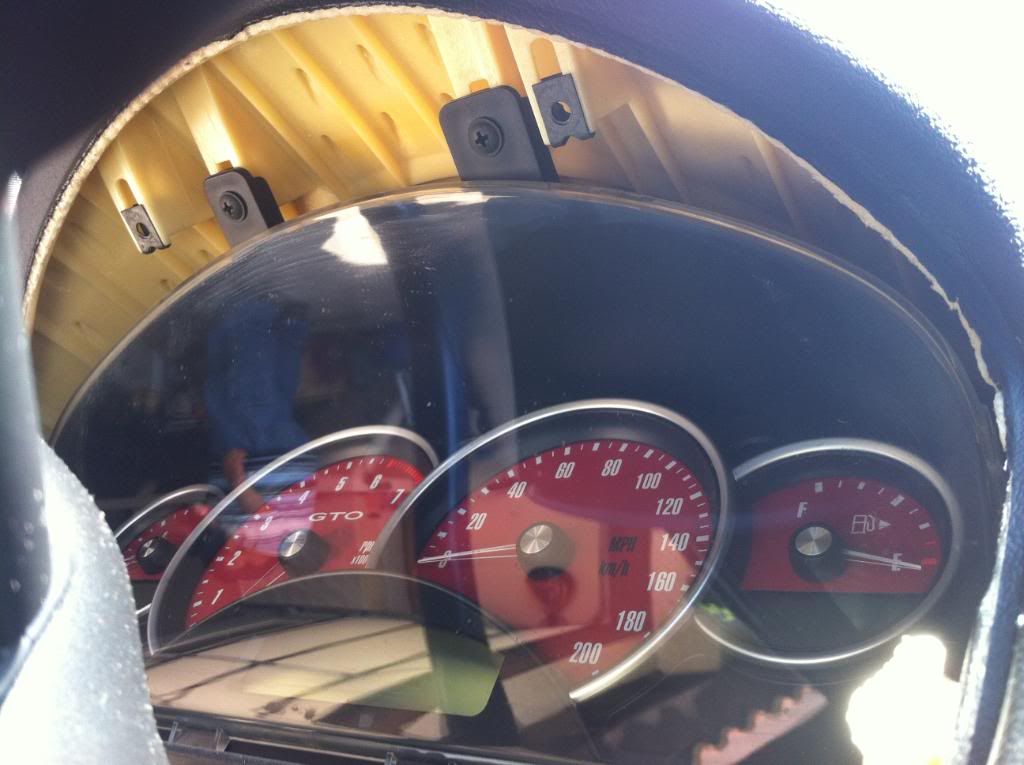
Remove the bezel. (remove the 2 screws at the top, and pull it forward carefully.
Don't forget to disconnect the fuel door release

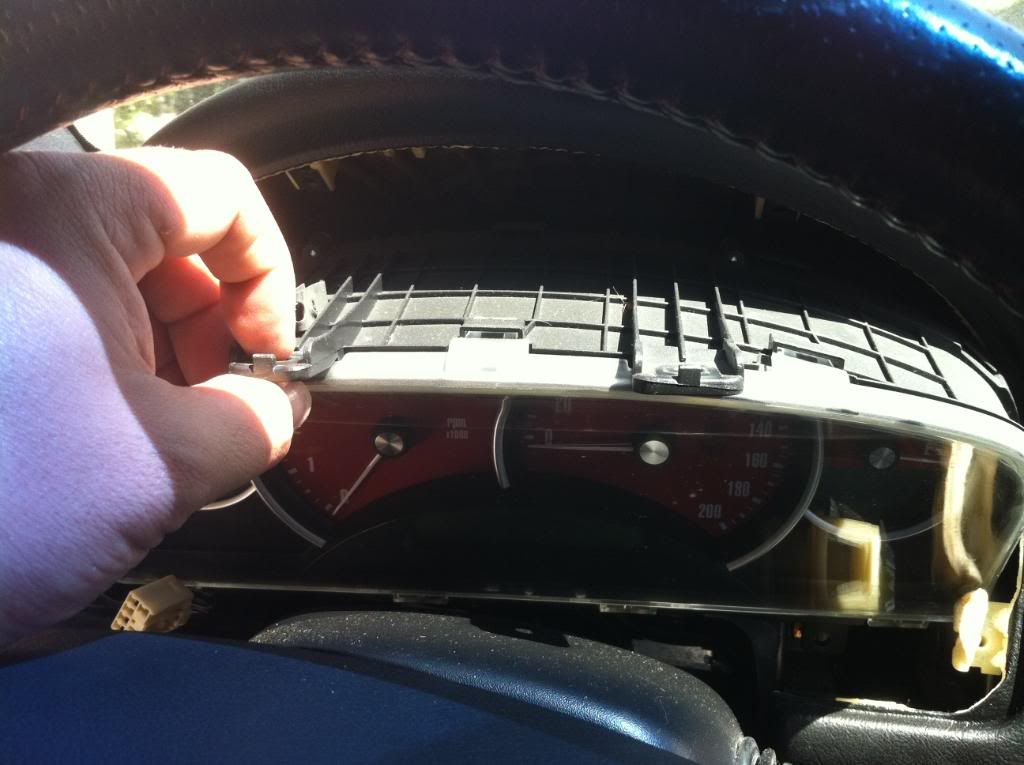
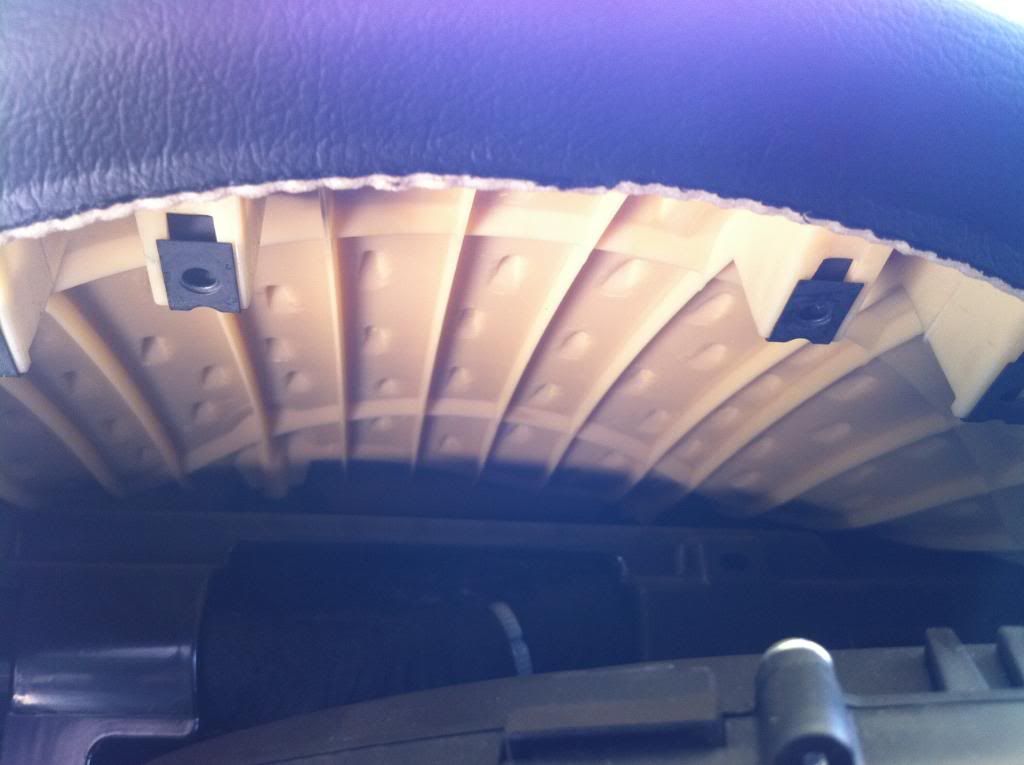
This shows the 2 screws holding in the speedo and the 2 for the bezel. BECAREFUL not to lose the clips these screw into. You'll need these again.
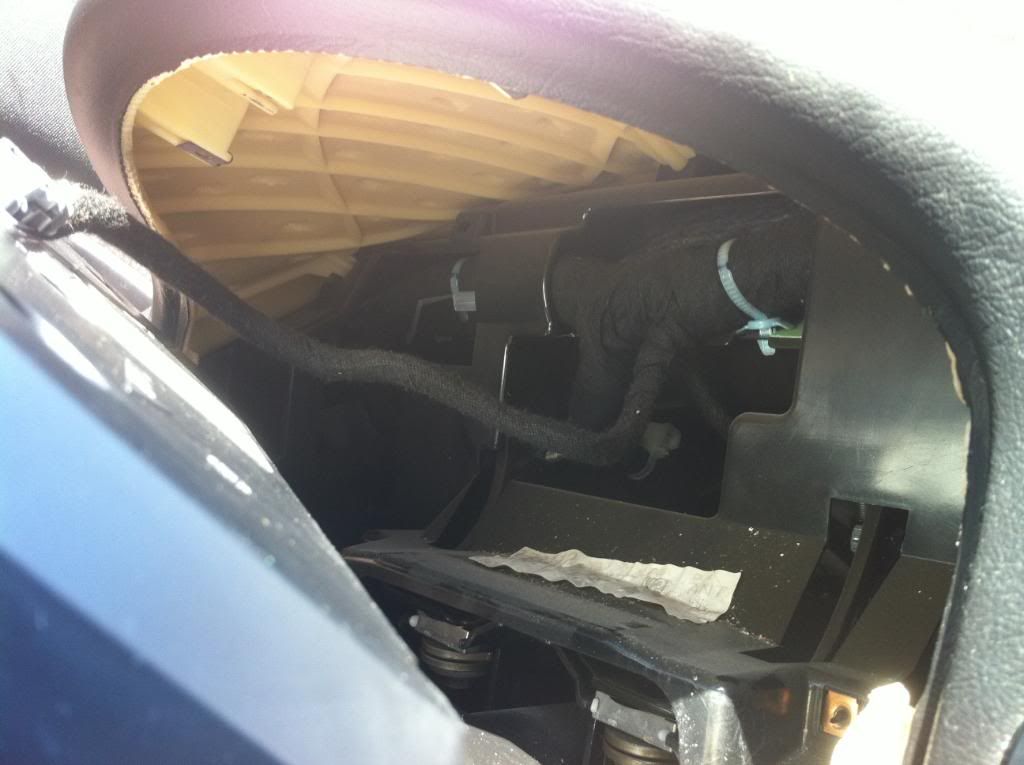
Remember, to get to this step you need to remove the 2 bolts at the bottom of the cluster as well.
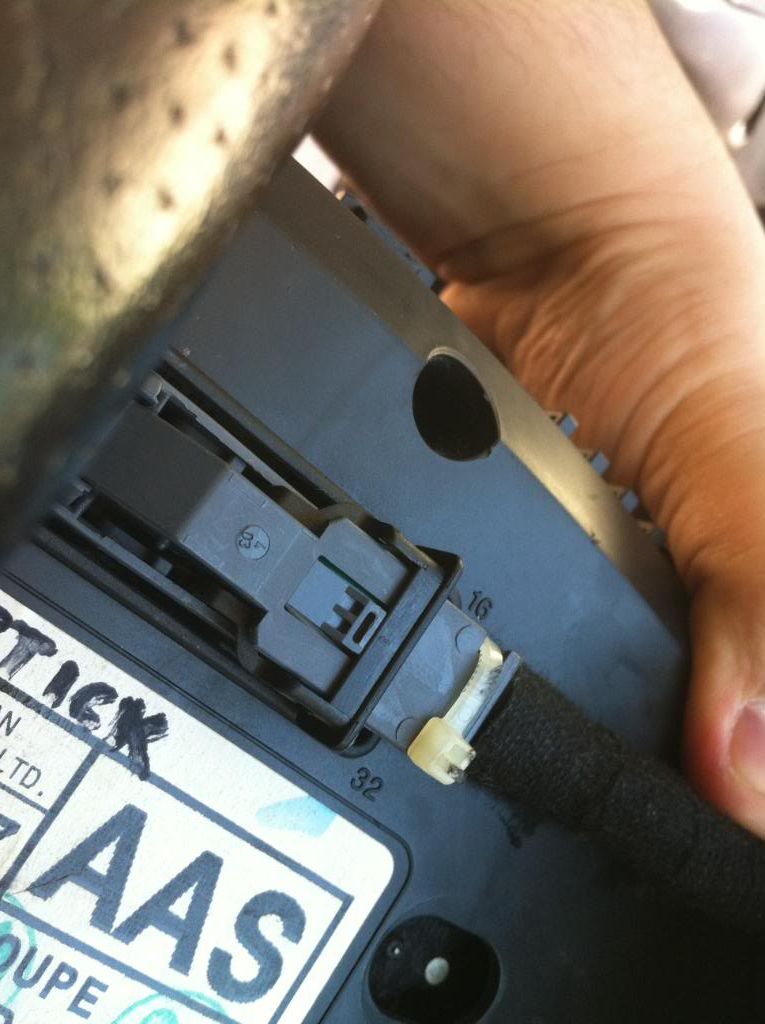
This is the wiring harness to the cluster.
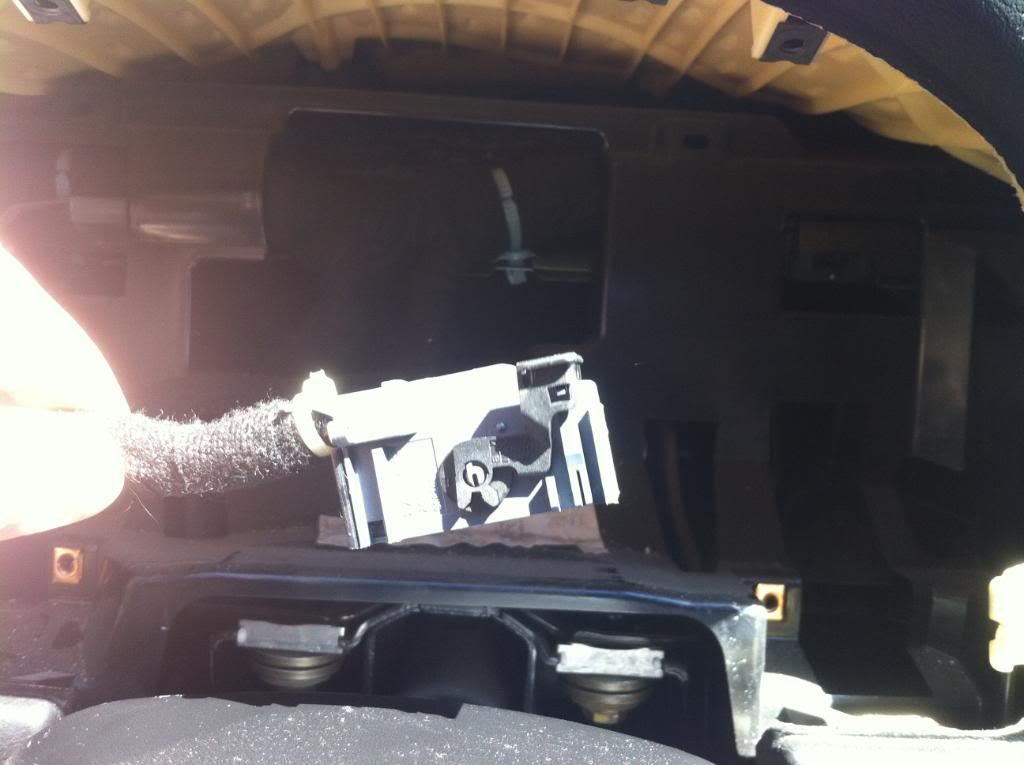
This is the clip that powers the cluster. Push the little tab in, and lift the lever. SUPER easy.
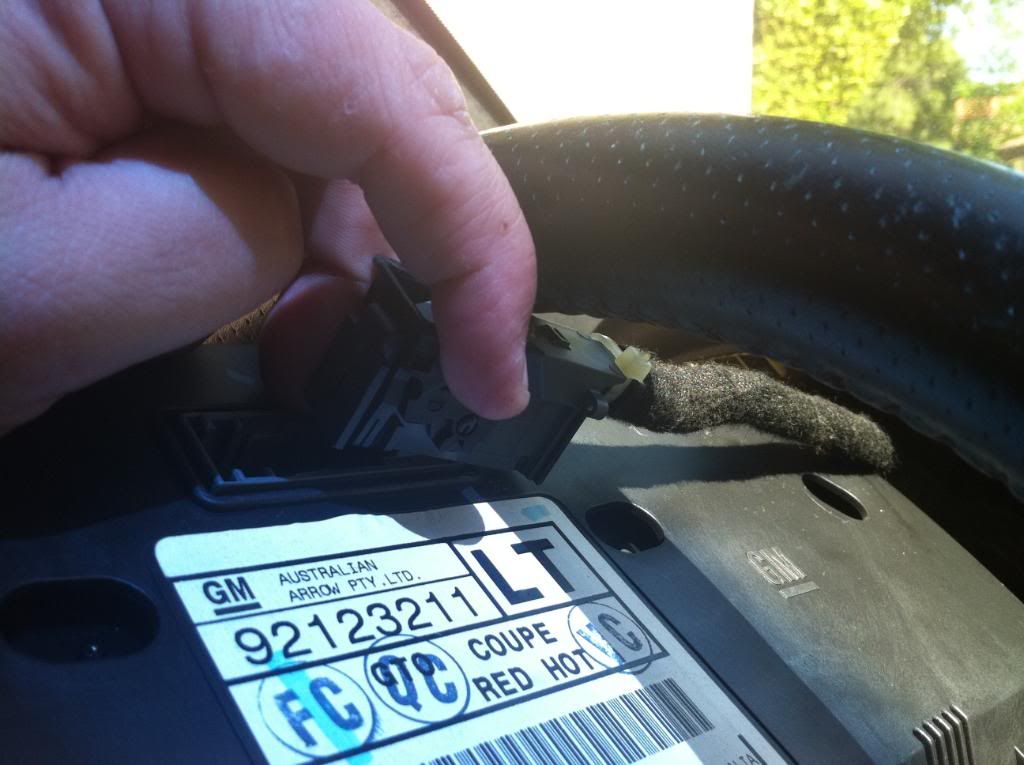
Here's a better shot: This is the black lever that pulls up. When it pulls, it releases the connector from the cluster.
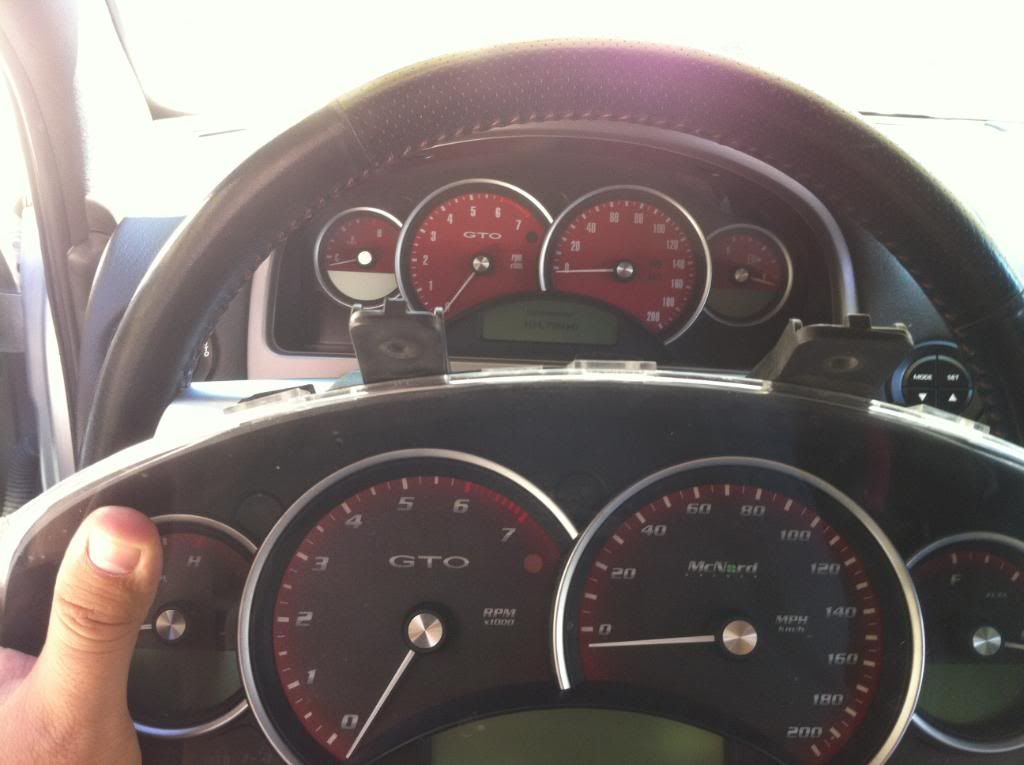
These are the gauge trim rings
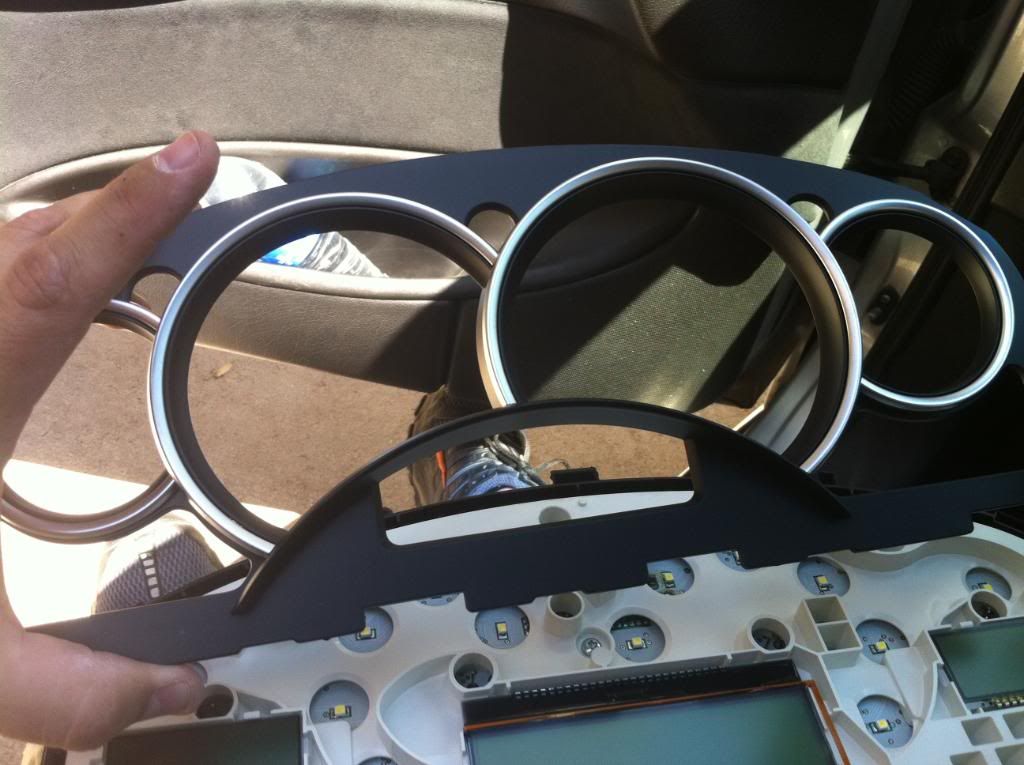
This is how the speedo looks with the stock face removed. (It's all LED's already)
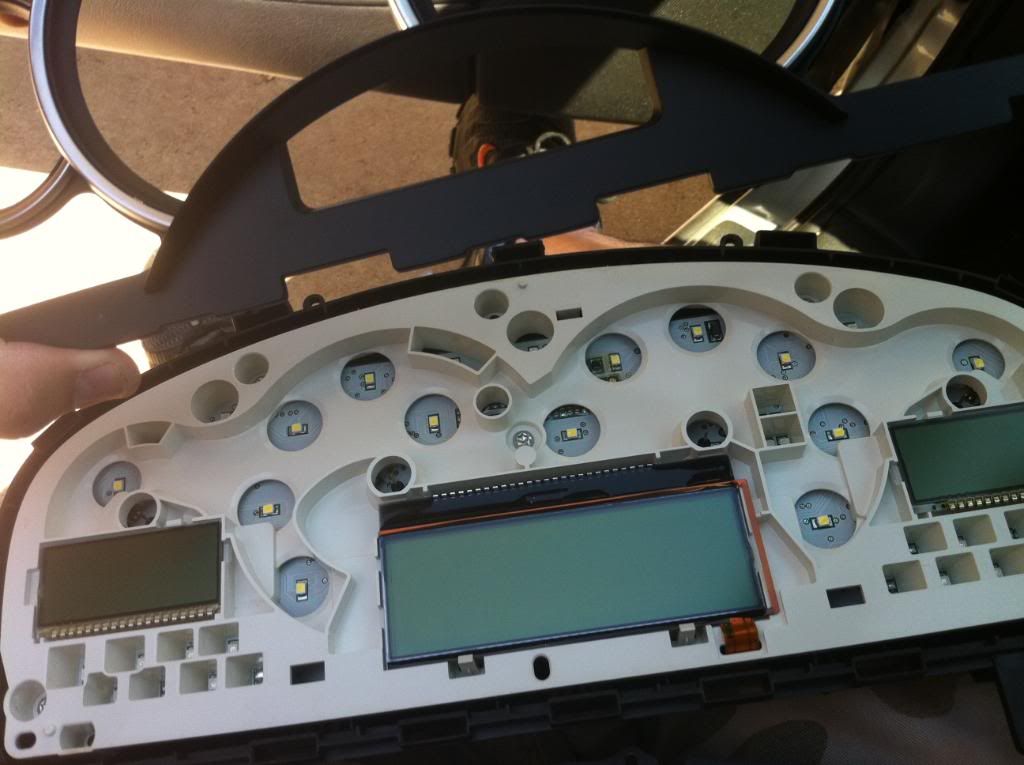
This is where the LED's shine. The trim ring is on to give you an idea.

Remove the bezel. (remove the 2 screws at the top, and pull it forward carefully.
Don't forget to disconnect the fuel door release
This shows the 2 screws holding in the speedo and the 2 for the bezel. BECAREFUL not to lose the clips these screw into. You'll need these again.
Remember, to get to this step you need to remove the 2 bolts at the bottom of the cluster as well.
This is the wiring harness to the cluster.
This is the clip that powers the cluster. Push the little tab in, and lift the lever. SUPER easy.
Here's a better shot: This is the black lever that pulls up. When it pulls, it releases the connector from the cluster.
These are the gauge trim rings
This is how the speedo looks with the stock face removed. (It's all LED's already)
This is where the LED's shine. The trim ring is on to give you an idea.
Last edited by Sommer86; 05-02-2011 at 05:18 PM.
05-02-2011, 05:02 PM
#15
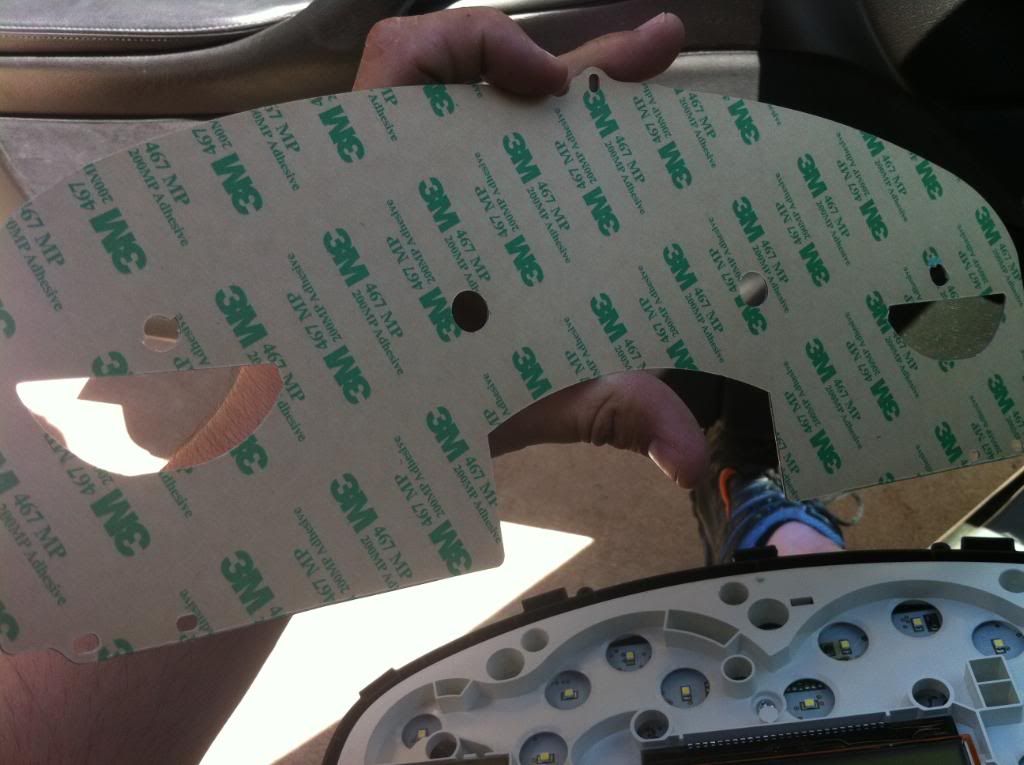
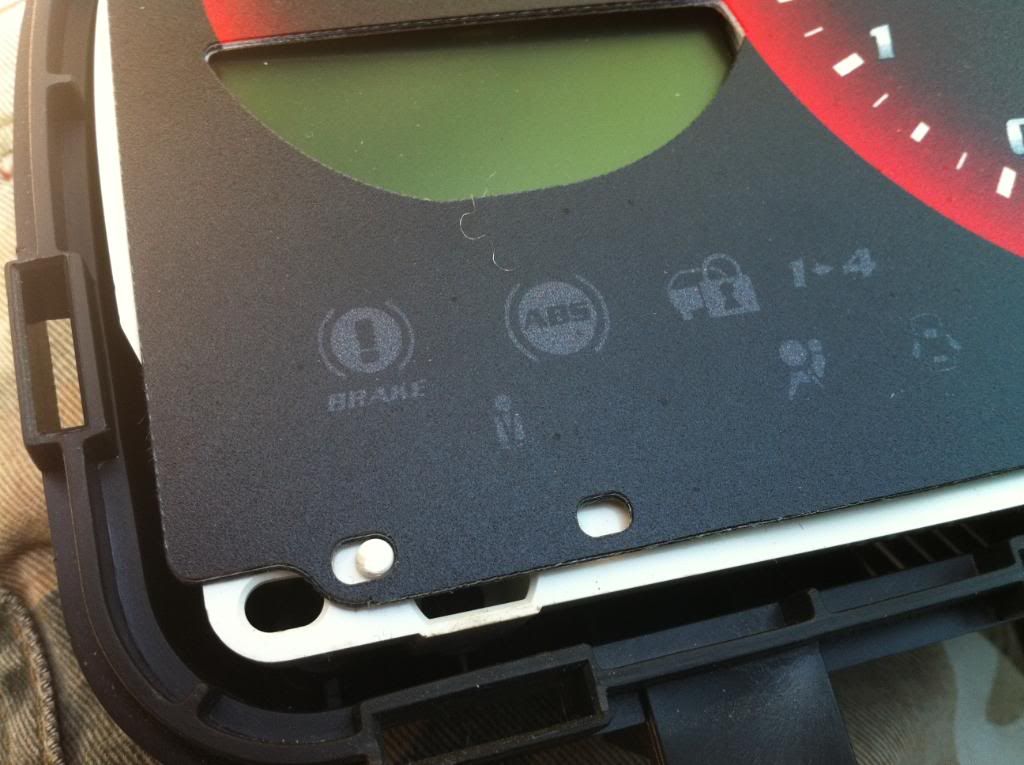
Here's the backing of the McNord overlays
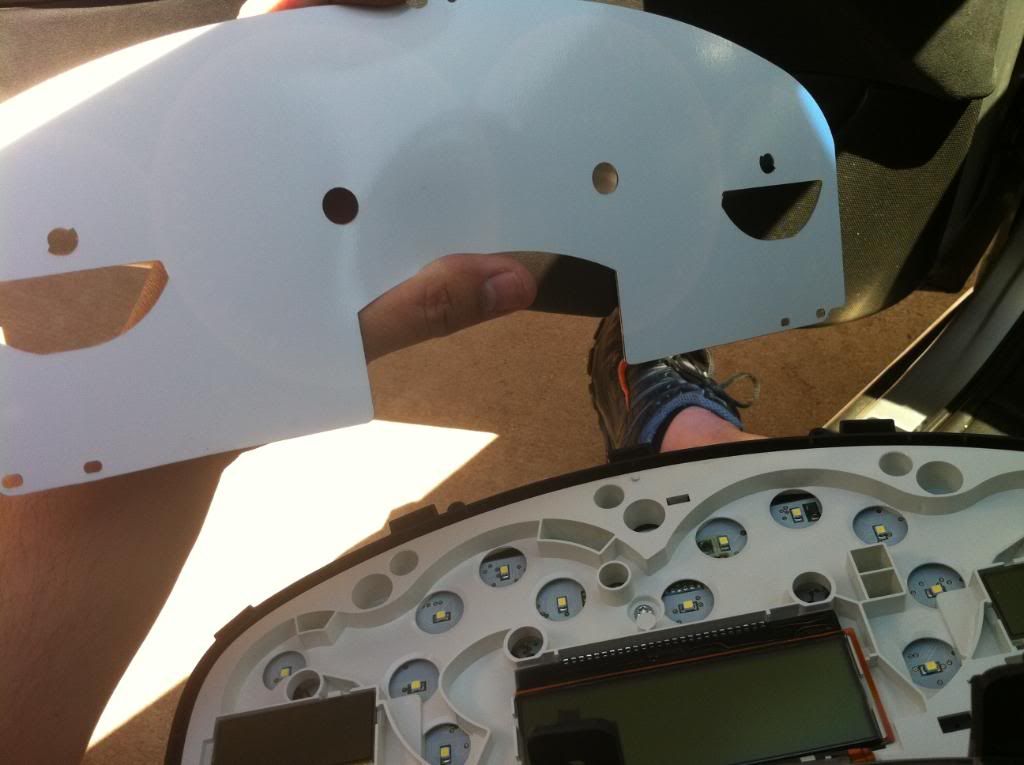
Here the overlay with the backing removed
Mounting tab on the bottom right
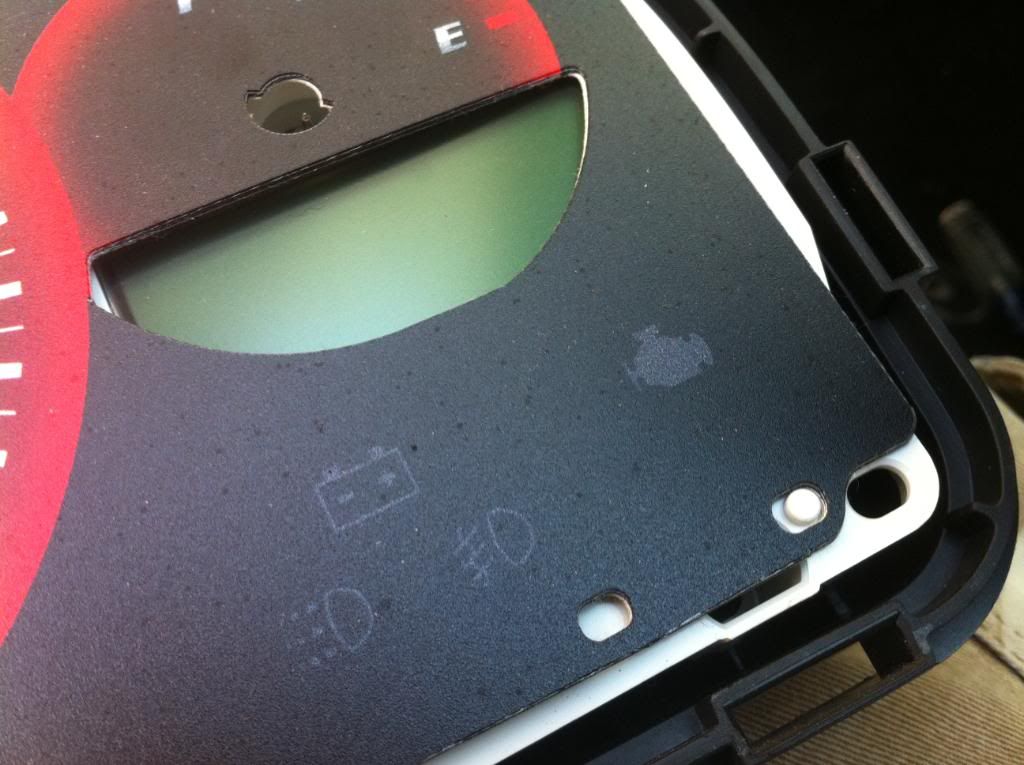
Mounting tab on the bottom left
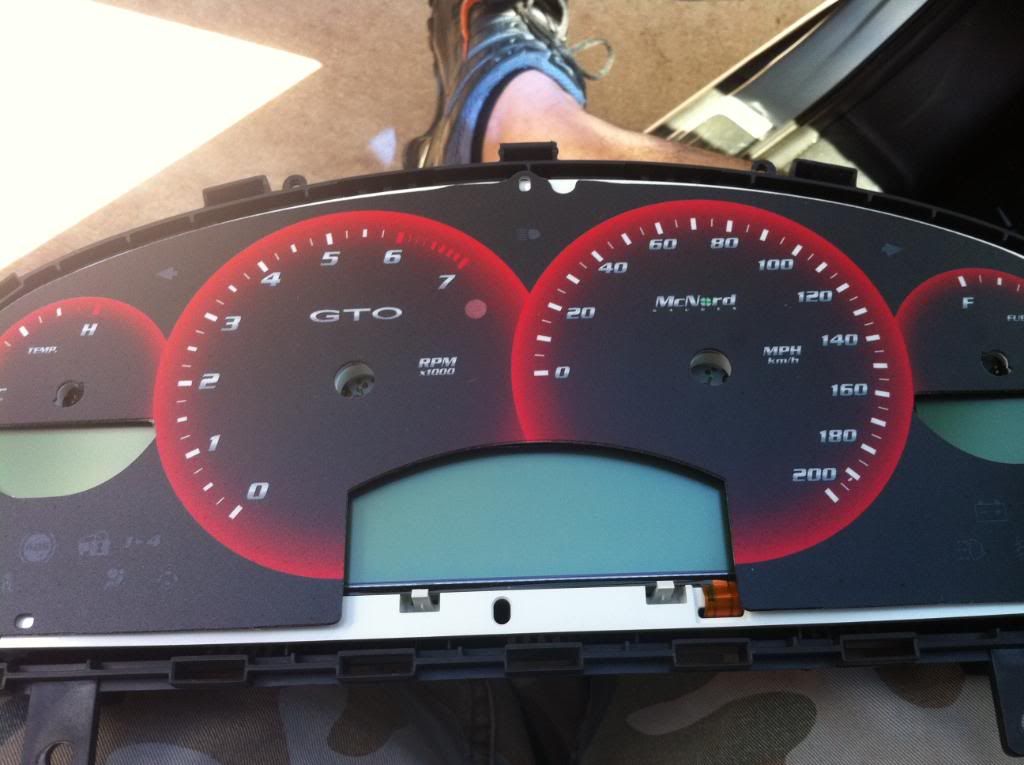
Overlay laid in place
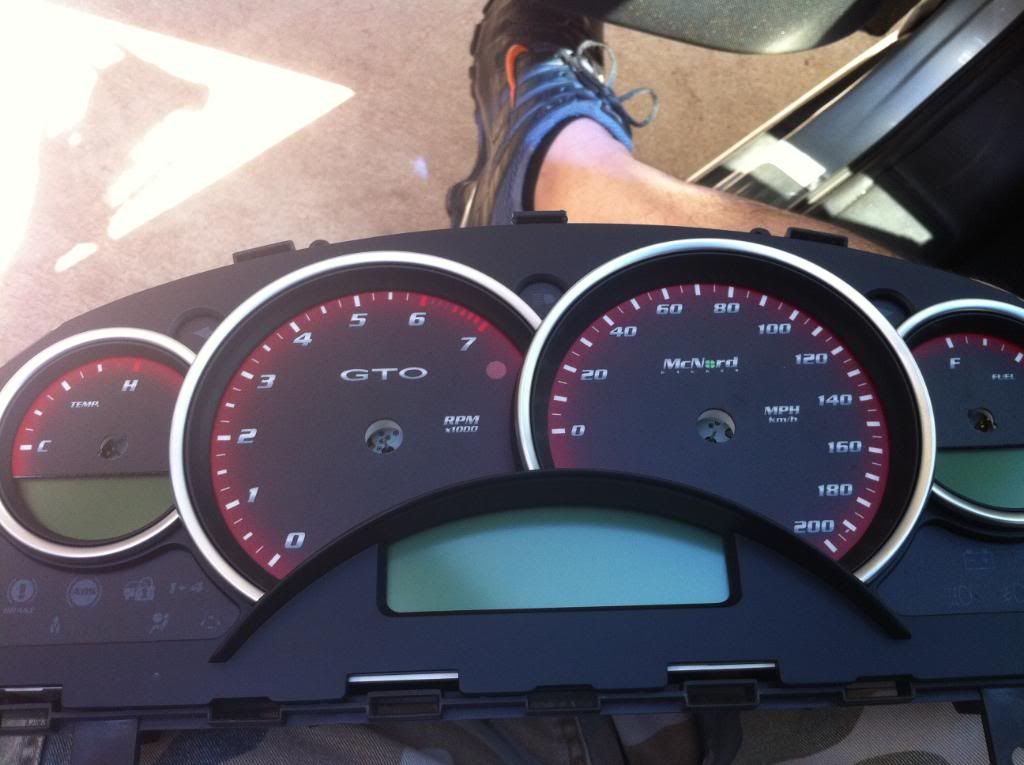
With trim ring installed - The trim ring just lays in place. There are no snaps or anything else to hold it.
The power clip back in
These are the clips I mentioned earlier. You need these to put the screws in.
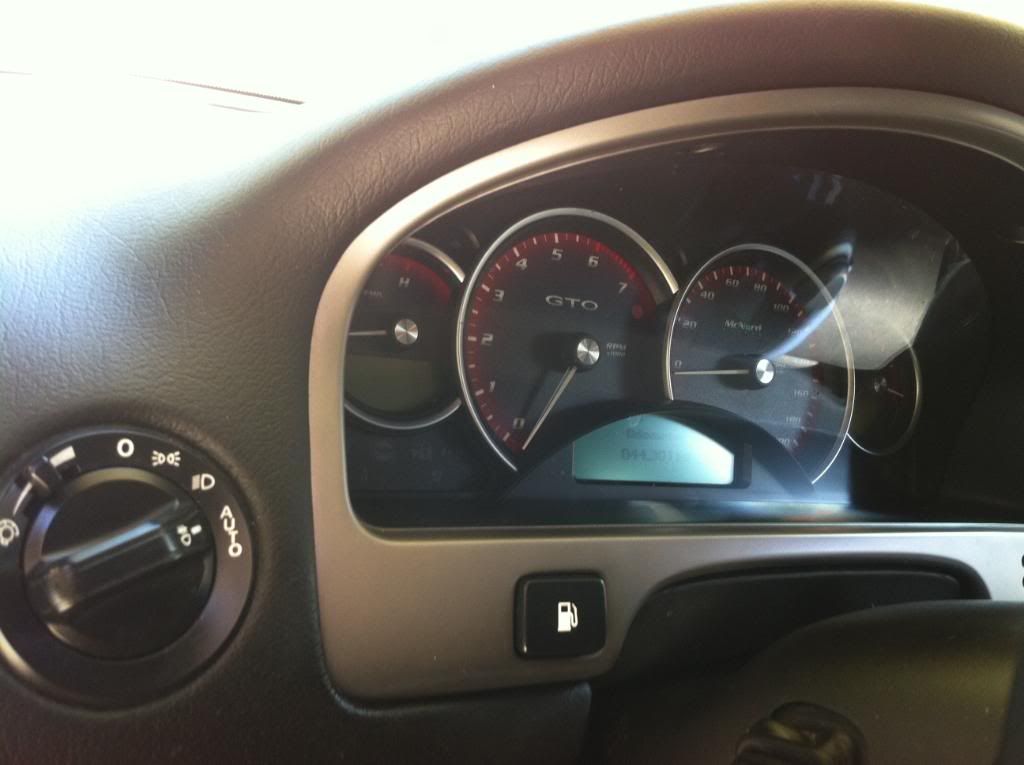
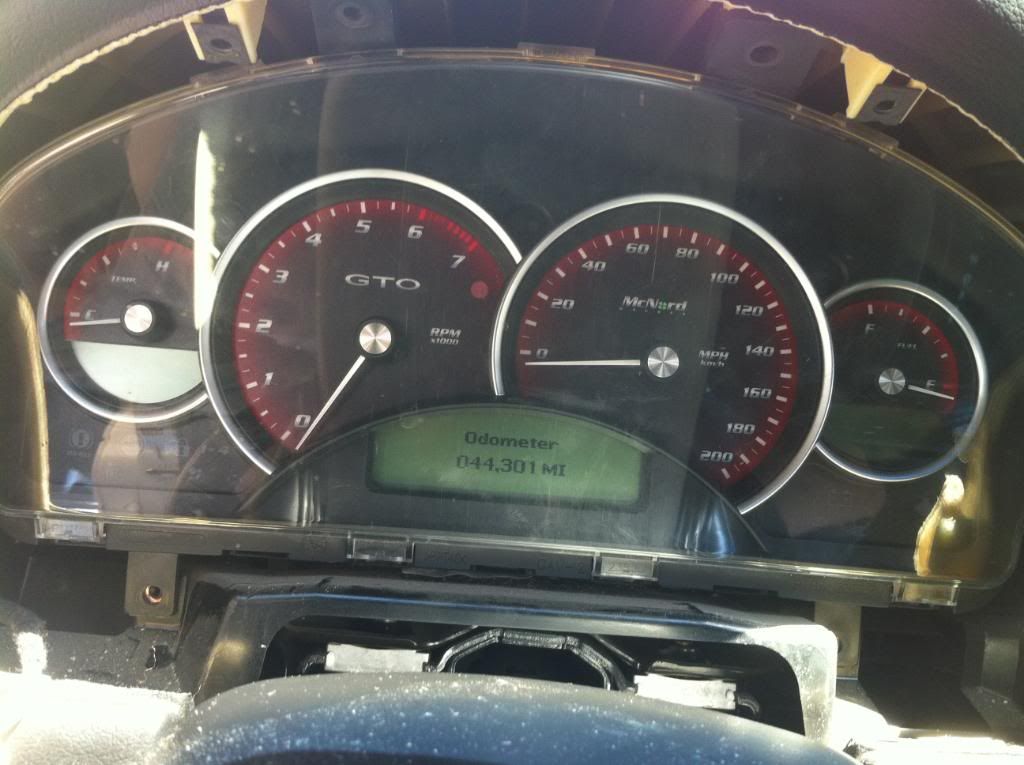
Test gauges with power on
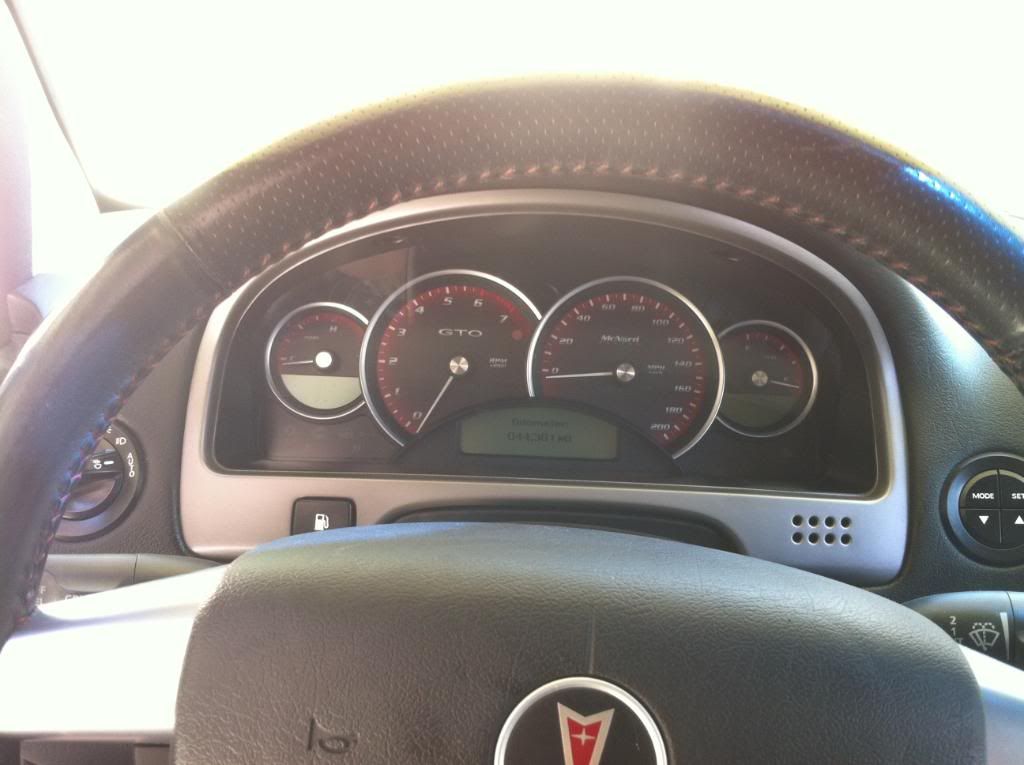
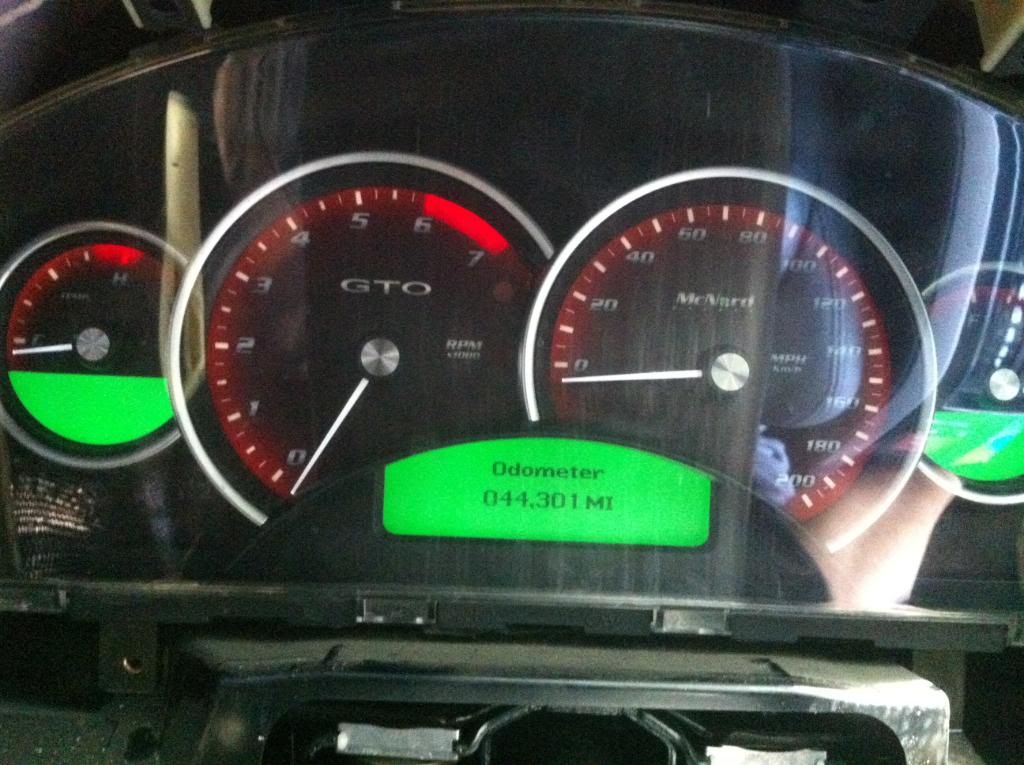
Test with lights.
Here the overlay with the backing removed
Mounting tab on the bottom right
Mounting tab on the bottom left
Overlay laid in place
With trim ring installed - The trim ring just lays in place. There are no snaps or anything else to hold it.
The power clip back in
These are the clips I mentioned earlier. You need these to put the screws in.
Test gauges with power on
Test with lights.
Last edited by Sommer86; 05-02-2011 at 05:24 PM.