

My Pro-Touring Project - 1969 Camaro LSX427 TT

 09-05-2016, 06:26 PM
#202

Should still look ok.
Sadly no. Friends are in their "trollvo" but my car isn't close enough to be worth the trip.
Thanks guys. Hope it makes its maiden voyage around the street maybe this week or next.


 Not even finished yet, but this is one of my favorite '69 Camaros already. Great work.
09-10-2016, 03:31 PM
Not even finished yet, but this is one of my favorite '69 Camaros already. Great work.
09-10-2016, 03:31 PM
#204
Got it out again today. Clutch pedal adjusted. Diff leak fixed. And raised front so it can turn. Pretty close to first official drive.


It's ready to come out and play!
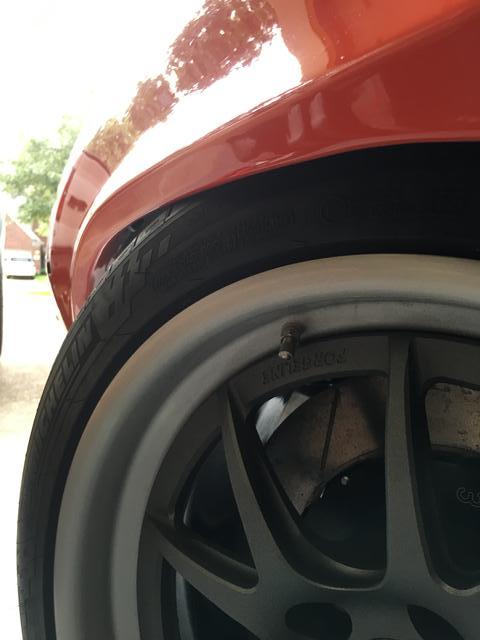
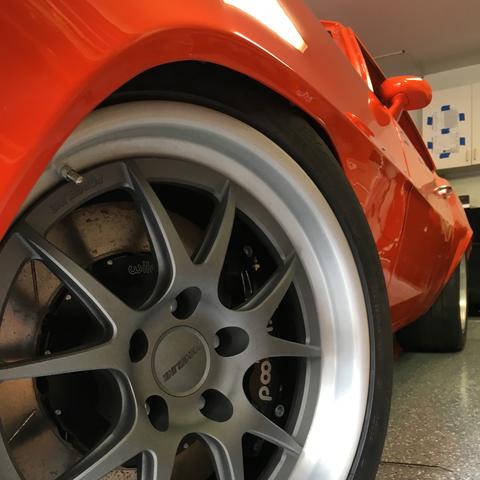
Stance is about as good as it'll get.
Got the cooling system bled also so it ran for 15 min and got to 190deg and stabilized. Pretty happy with that. We'll see how it does when it's driven.
It's ready to come out and play!
Stance is about as good as it'll get.


Got the cooling system bled also so it ran for 15 min and got to 190deg and stabilized. Pretty happy with that. We'll see how it does when it's driven.

 09-11-2016, 11:37 AM
#209
Staging Lane

Join Date: Dec 2015
Posts: 96
Likes: 0
Received 0 Likes
on
0 Posts
So am I, LOL. I have the same exact bulkhead and it looks like in the same exact spot. I'm going to use Old Air heater fittings under the dash part# 91-737H. They are a shorter radius 90 than Vintage Air 90's.
Last edited by DT69cam; 09-11-2016 at 11:44 AM.

 09-12-2016, 11:11 AM
#214
Yea trying to work it out. It's fully clear all but full lock. I have ride height adjustable shocks from JRi but not hooked the hydraulics up yet.
We'll see what I can get away with.
I don't know about all that but we'll see when it's done. Hope it gets decent exposure but really just want to enjoy the car!
We'll see what I can get away with.
I don't know about all that but we'll see when it's done. Hope it gets decent exposure but really just want to enjoy the car!
09-29-2016, 09:04 AM
#215
All things going well I'll take this car around the block on Saturday or Sunday.
We have some excellent weather and I've wrapped up the rear light wiring and should have the wires in the dash complete by then.
Toss the seats in and see what it acts like on the street.
We have some excellent weather and I've wrapped up the rear light wiring and should have the wires in the dash complete by then.
Toss the seats in and see what it acts like on the street.
10-18-2016, 07:57 AM
#217
It was a tough vacation out of the country after driving the car as all i could think about was getting back to work on it. After 8 days gone, i landed mid day Saturday and went right back into the garage to do some test fitting.
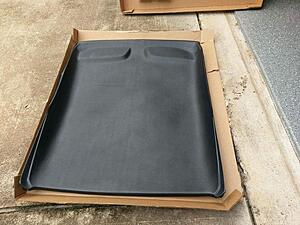
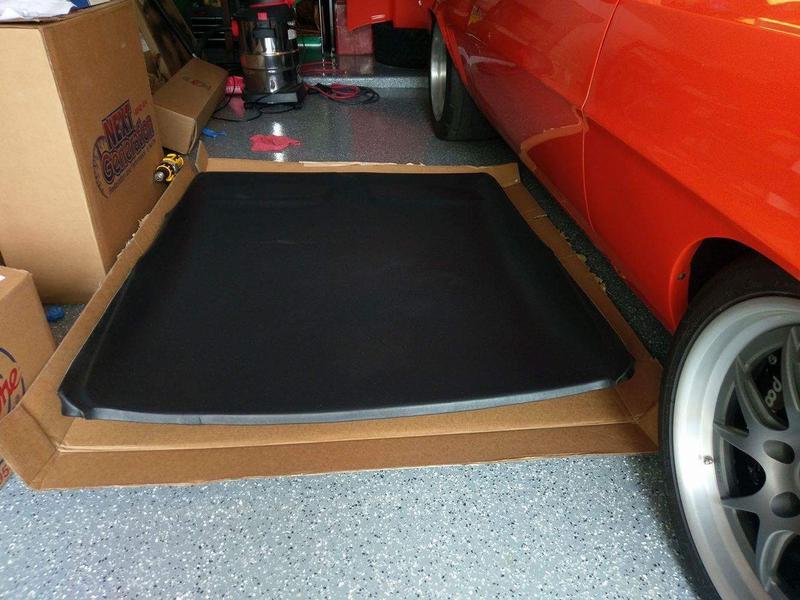
Headliner arrived while I was away so I had a friend put it in my garage and take it out of the box for some inspection. Looks good! (thanks MCB for rushing TMI to beat their 4-6 week lead time, and thanks TMI for making it happen!)
TMI One-piece in bedford grain vinyl.

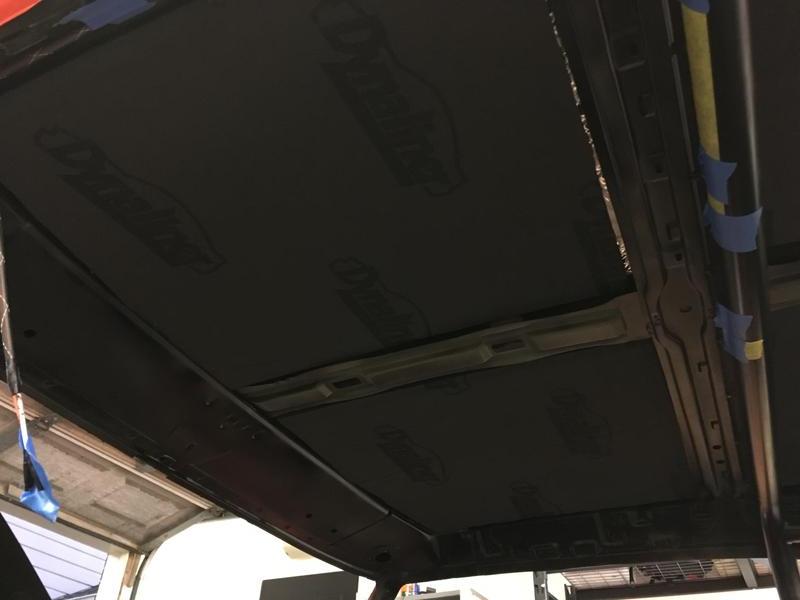
As soon as I got home, I went to put it in, to see if it would clear the cage.
Tough with one person but I got it over the main hoop which was my primary concern! Has some minor interference in the back but I think with a second set of hands, it'll be no major issue to get it past.

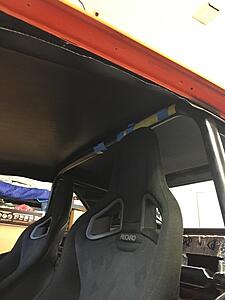
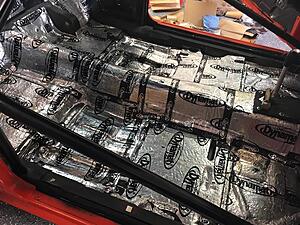
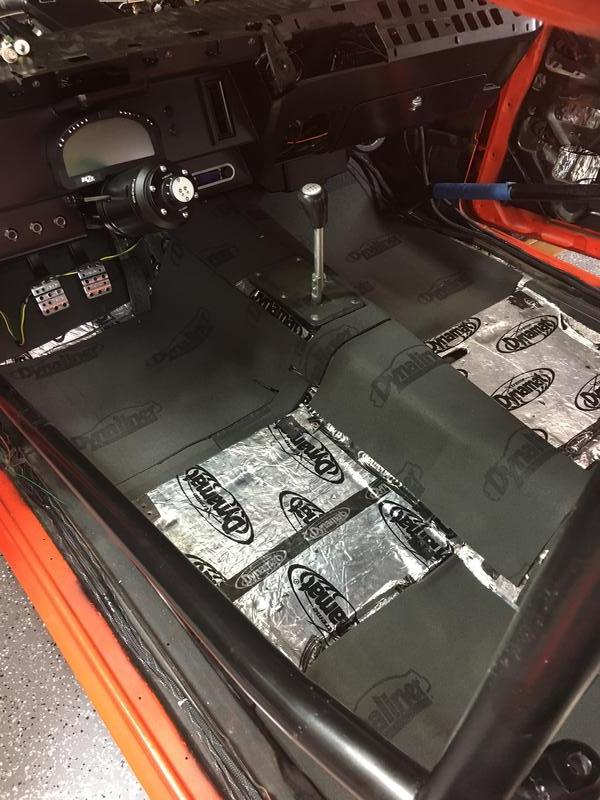
Headliner came back out and thermal insulation and finishing the dynamat became the objective. Seats came back out and will remain out till carpet is installed.

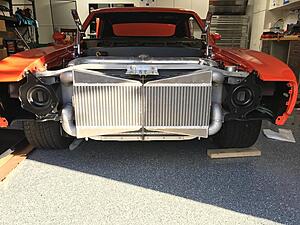
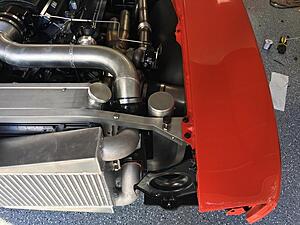
While waiting on the carpet to "relax" i took to the front end. Getting the headlight buckets mounted proved more difficult than just bolting them in, as the intercoolers occupy some shared space. Minor modifications and they're in.

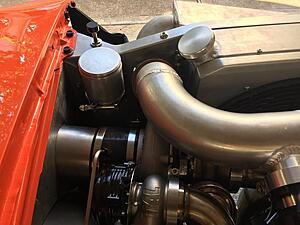
Since it shares some hardware I also installed the autorad coolant overflow. Moved slightly as the supplied bracket doesn't fit with the turbo kit. Using a mount from MightyMouse (catch can mount) I secured the overflow to it's new home.
I had some difficulty getting the lower fender extensions and the lower valence installed. Aftermarket valence and original extensions. Definitely was not fun, filing and cutting on a painted piece to make it line up correctly. Gotta love old cars and fit/finish!
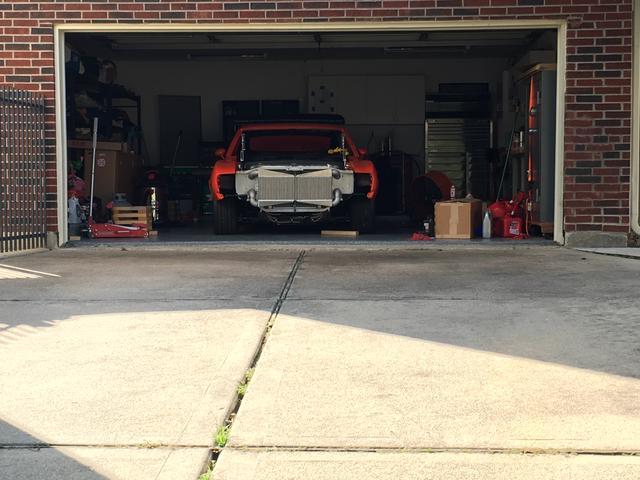
(Sorry for the bad pic, too much backlight in the garage for a good front shot with the front panels installed.
Headliner arrived while I was away so I had a friend put it in my garage and take it out of the box for some inspection. Looks good! (thanks MCB for rushing TMI to beat their 4-6 week lead time, and thanks TMI for making it happen!)
TMI One-piece in bedford grain vinyl.

As soon as I got home, I went to put it in, to see if it would clear the cage.
Tough with one person but I got it over the main hoop which was my primary concern! Has some minor interference in the back but I think with a second set of hands, it'll be no major issue to get it past.


Headliner came back out and thermal insulation and finishing the dynamat became the objective. Seats came back out and will remain out till carpet is installed.


While waiting on the carpet to "relax" i took to the front end. Getting the headlight buckets mounted proved more difficult than just bolting them in, as the intercoolers occupy some shared space. Minor modifications and they're in.
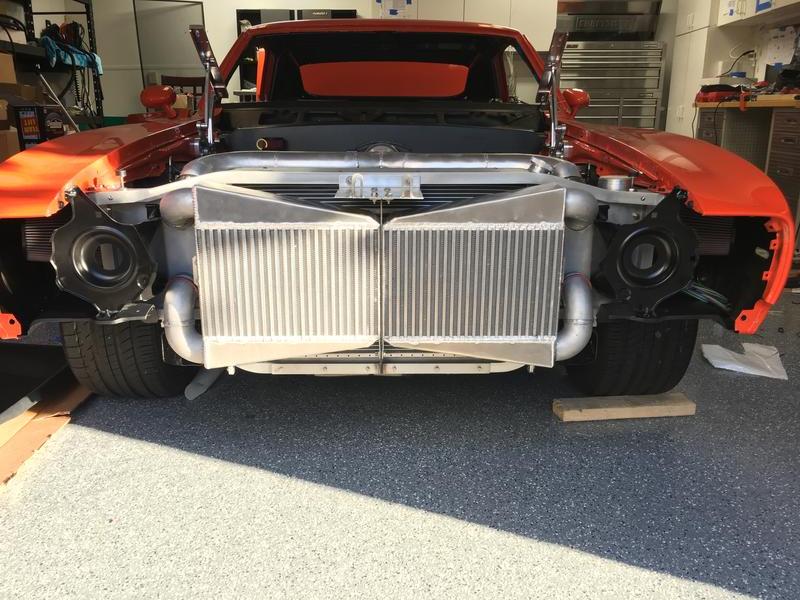

Since it shares some hardware I also installed the autorad coolant overflow. Moved slightly as the supplied bracket doesn't fit with the turbo kit. Using a mount from MightyMouse (catch can mount) I secured the overflow to it's new home.


I had some difficulty getting the lower fender extensions and the lower valence installed. Aftermarket valence and original extensions. Definitely was not fun, filing and cutting on a painted piece to make it line up correctly. Gotta love old cars and fit/finish!
(Sorry for the bad pic, too much backlight in the garage for a good front shot with the front panels installed.
 10-22-2016, 10:01 PM
#218
Small update. Got the headlights installed and wired up, horns wired up too. Need a hub puller so I can hook up the turn signal arm to ensure those work, and to hook up the horn button. May try to get that tomorrow, as well as a few other things.
Now to pics!
Headlights installed.
Attachment 720693
Horns Installed.
Attachment 720694
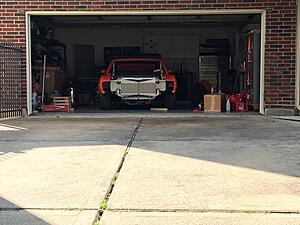
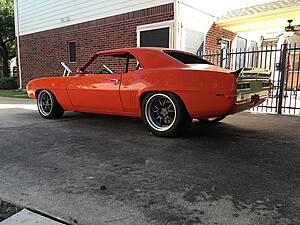
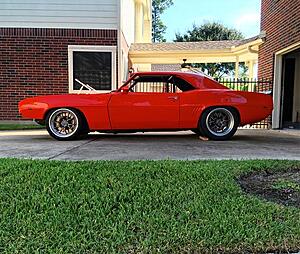
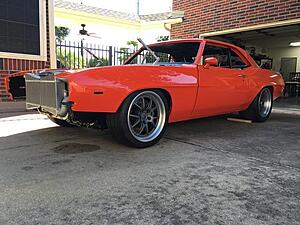
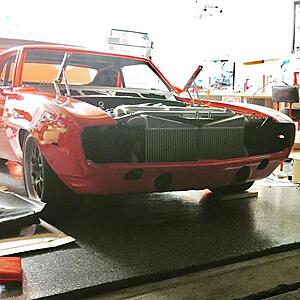
Wired up the lights and installed some front paneling (header panel). Pushed it out of the garage for a bit of sun, and to clean the garage as it has become a mess again!
Attachment 720695
Attachment 720696
Let there be light!
Attachment 720697
Attachment 720698
Attachment 720699
Light gives off a pretty decent pattern.
Off
Attachment 720700
Low Beam
Attachment 720701
High Beam
Attachment 720702
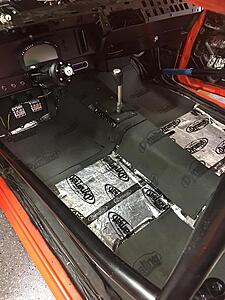
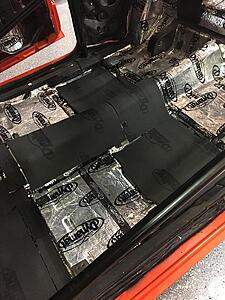
Started on the carpet also!
Attachment 720703
Attachment 720704
More to come tomorrow!
Now to pics!
Headlights installed.
Attachment 720693
Horns Installed.
Attachment 720694
Wired up the lights and installed some front paneling (header panel). Pushed it out of the garage for a bit of sun, and to clean the garage as it has become a mess again!
Attachment 720695
Attachment 720696
Let there be light!
Attachment 720697
Attachment 720698
Attachment 720699
Light gives off a pretty decent pattern.
Off
Attachment 720700
Low Beam
Attachment 720701
High Beam
Attachment 720702
Started on the carpet also!
Attachment 720703
Attachment 720704
More to come tomorrow!
10-23-2016, 08:55 AM
#219

Damn, those headlights light up things great. Which ones did you go with?