When you click on links to various merchants on this site and make a purchase, this can result in this site earning a commission. Affiliate programs and affiliations include, but are not limited to, the eBay Partner Network.
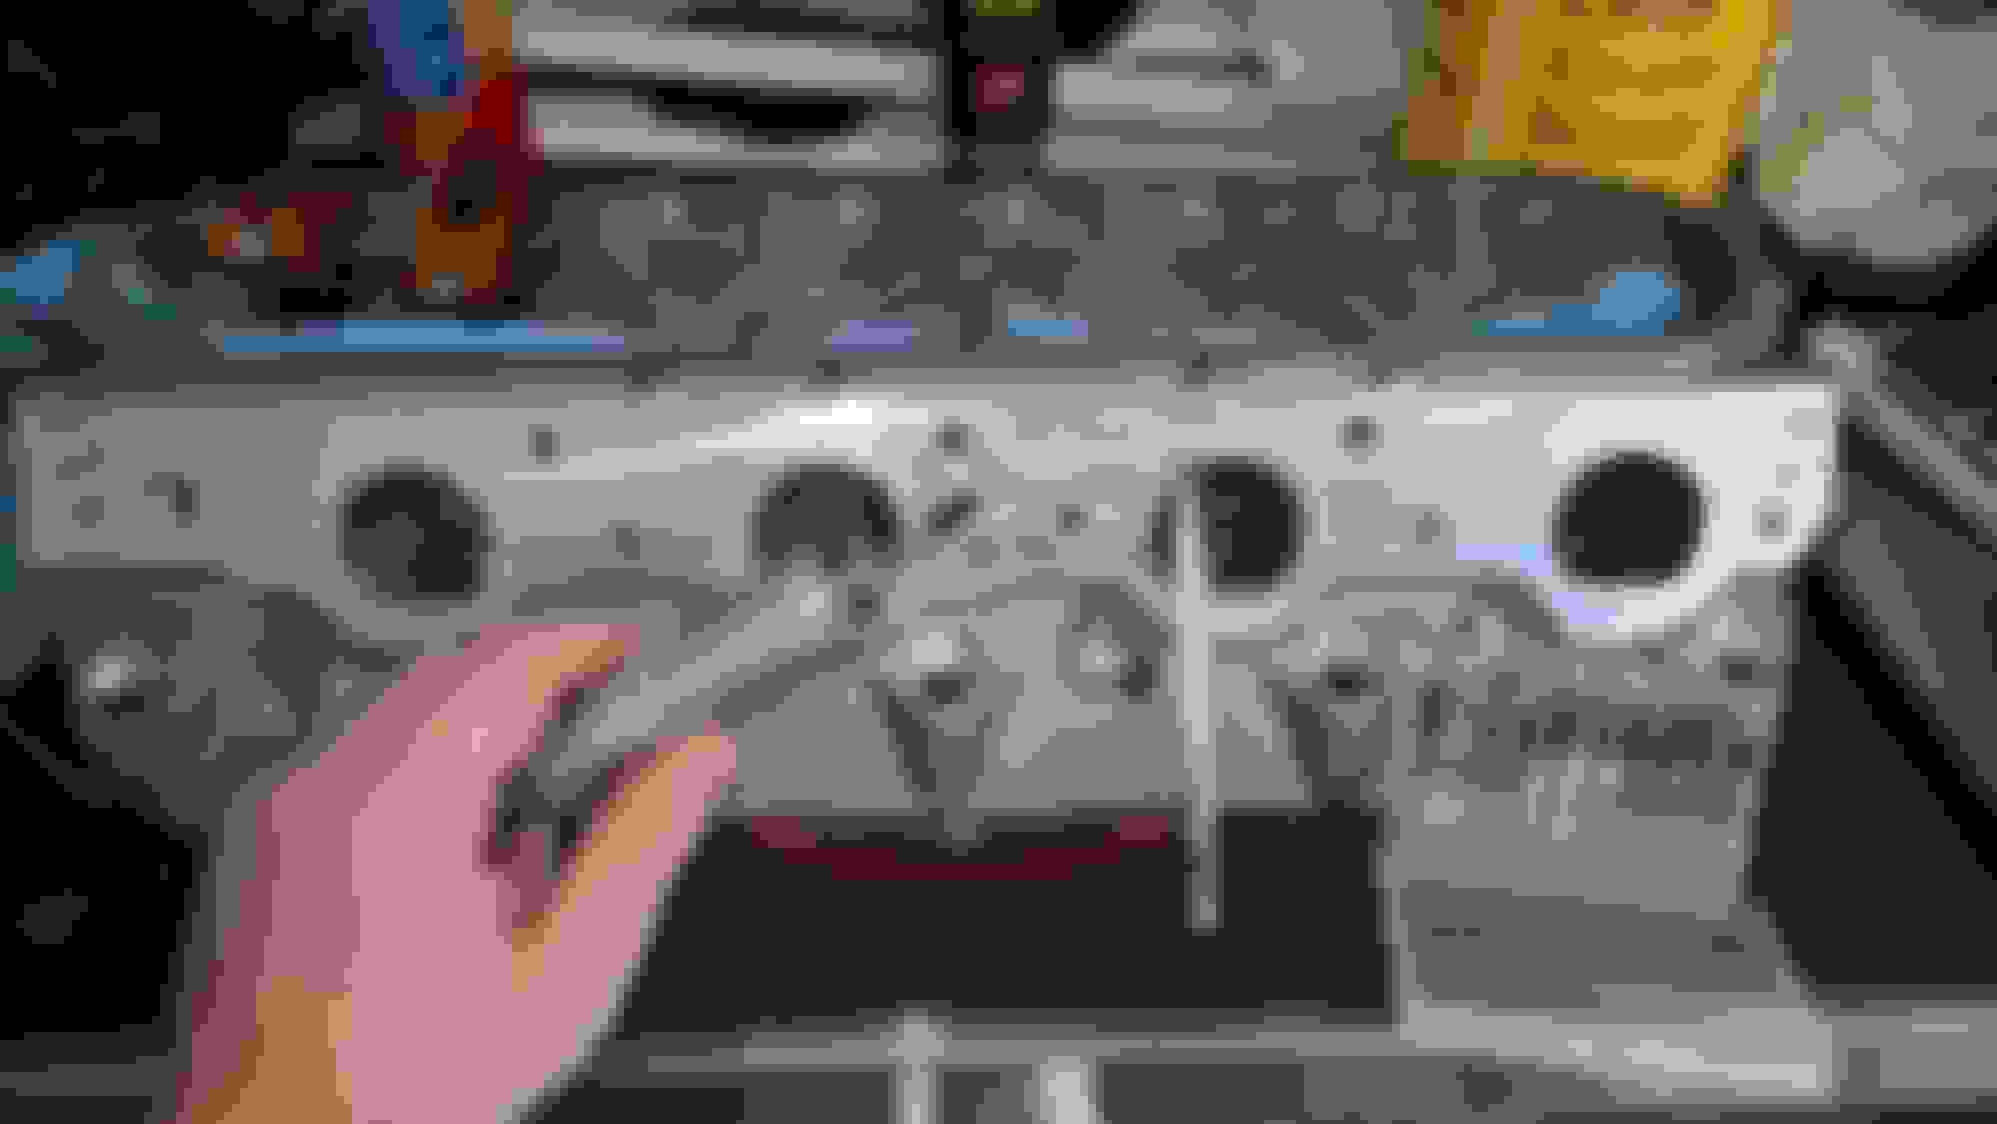
Heads back from machine shop(milled .025"). Deburring the chambers and outside edges from the mill. This is my fancy homemade deburring tool. I found it best to steer the tool like a rudder with my dominant hand and push the tool along at the contact point with my other thumb.
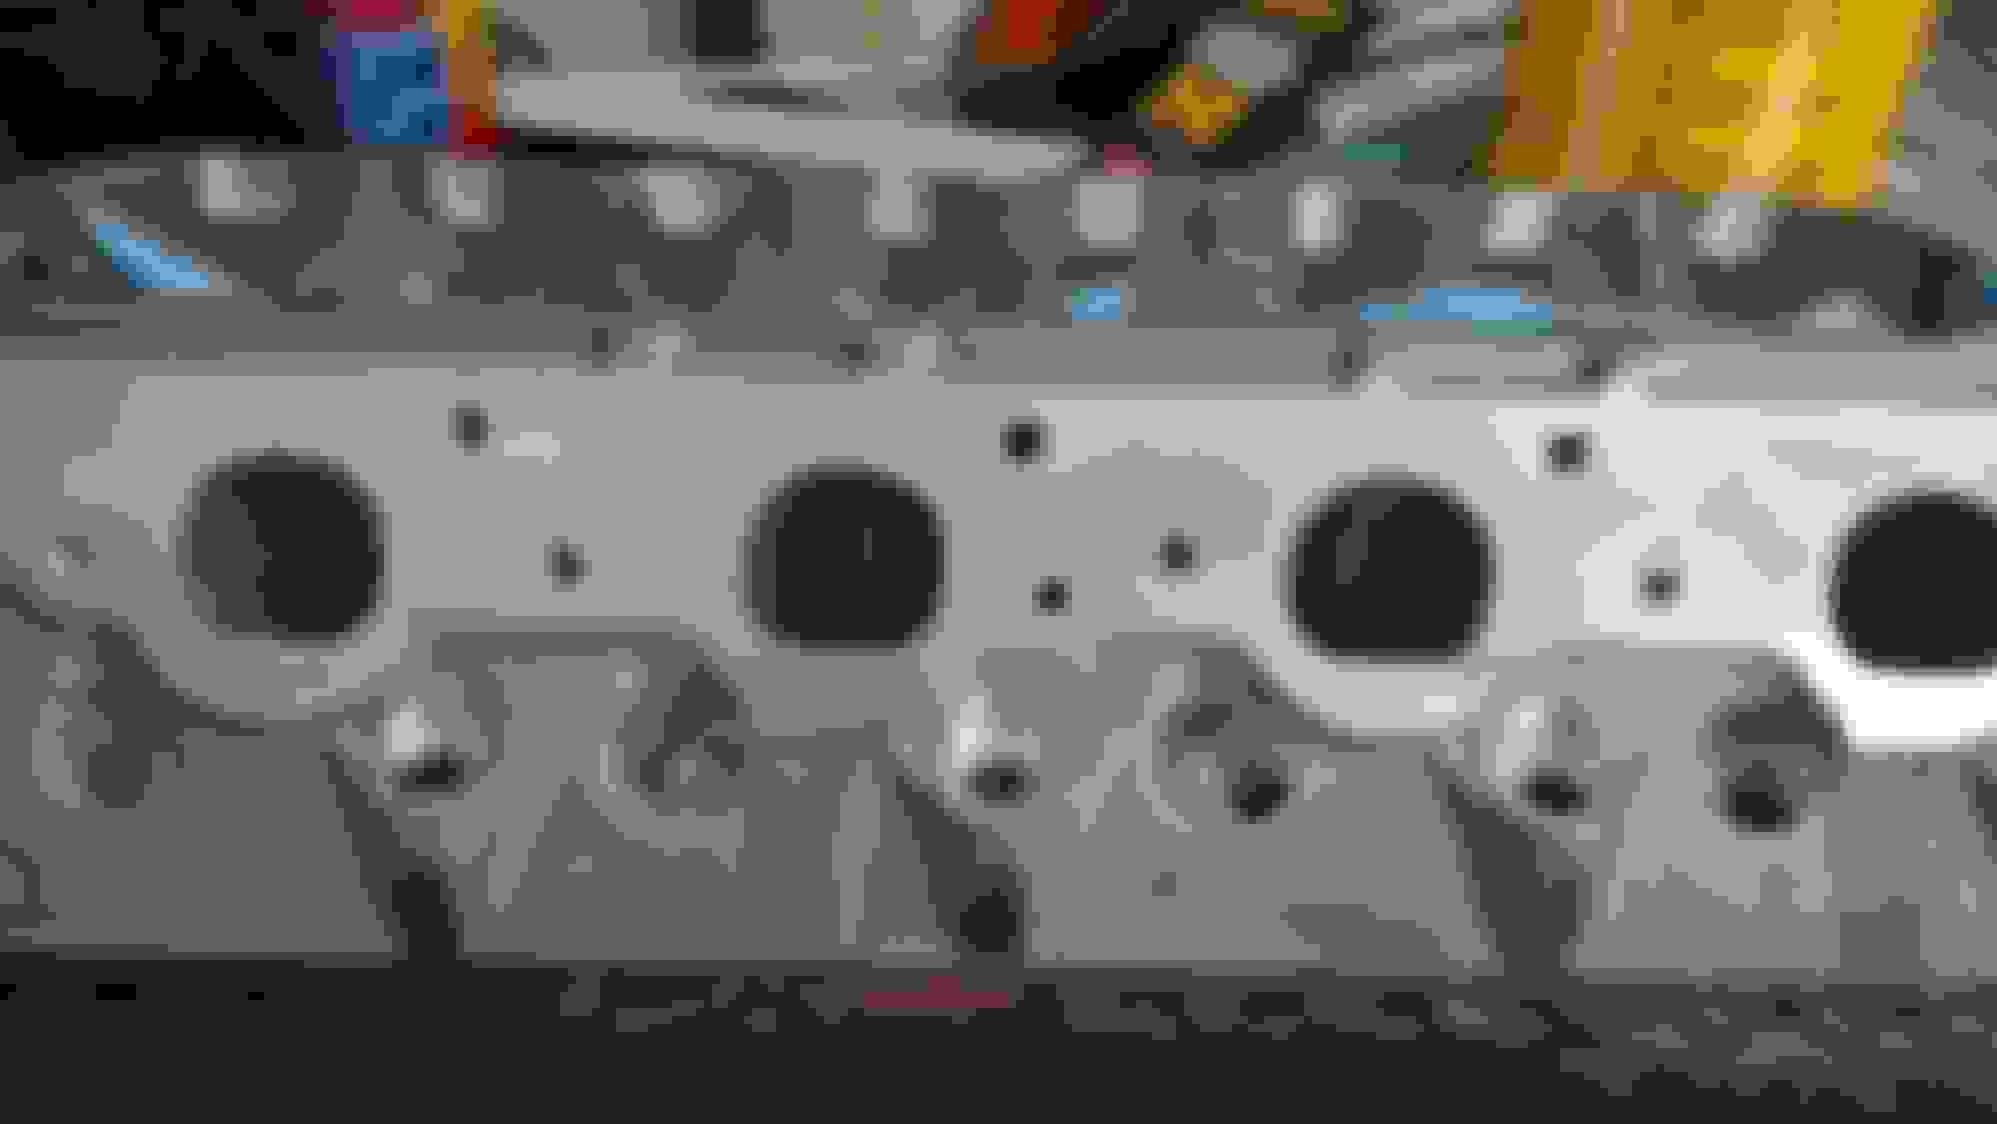
Clearanced the heads for the bigger rockers and knocked the little bit of aluminum out of the intake port at the bottom of the rocker bolt hole. The port wall is not much thicker than paper there and while some might say the bolt wouldn't tighten that far down with a rocker there, I preferred to put the bolt all the way down and knock it out to avoid that coming loose in the cylinder later after I've long forgotten about it. Obviously I'll run RTV on the intake rocker bolts.
For the clearancing, I used a cheapie set of tiny carbide cutters I got on Amazon and the hanging, foot-pedal-activated, shaft grinder from Harbor Freight. $39 after coupon. It got uncomfortably hot in the hand after prolonged grinding(like 4-5 spots at a time) but cooled quickly and never really missed a beat. Probably better out there but it did the job for this.
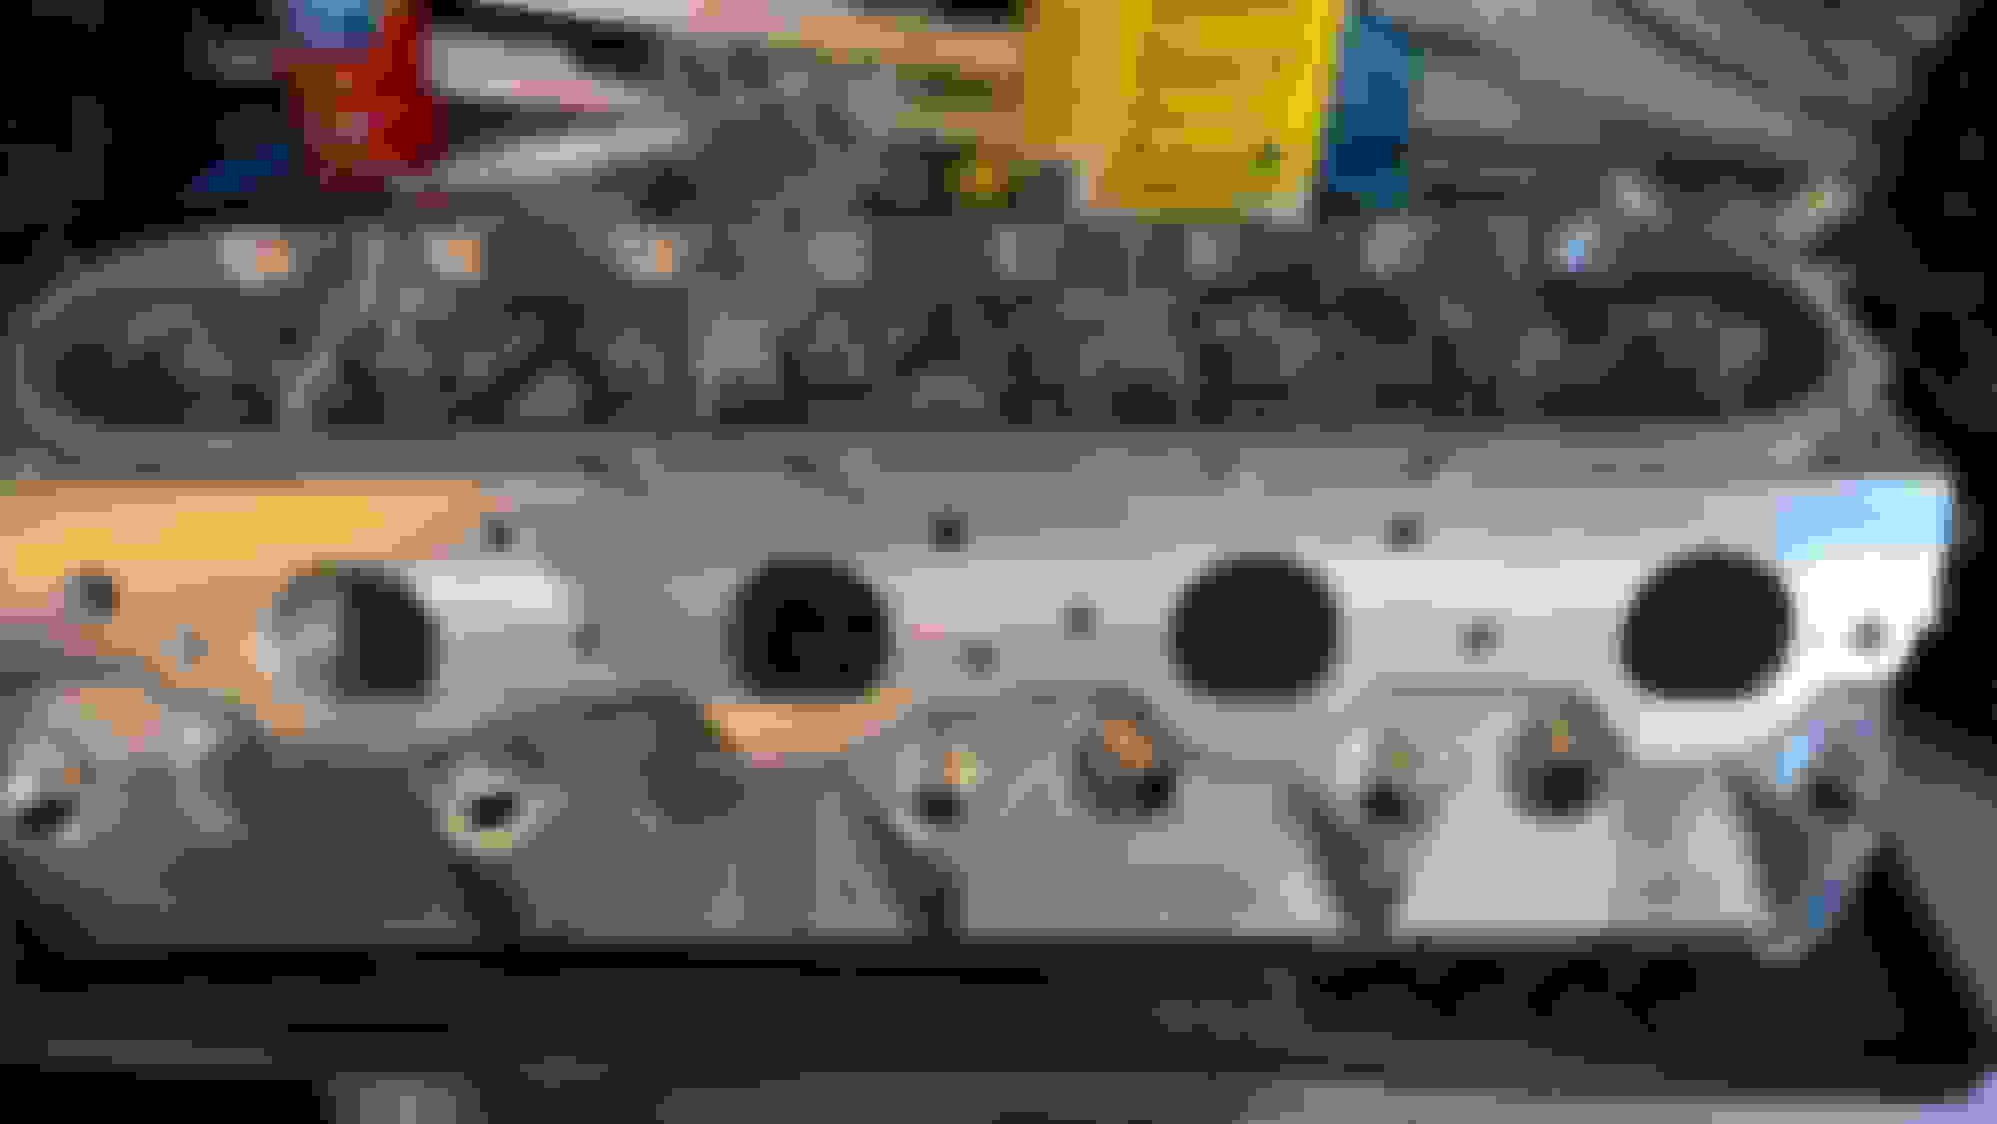
Reassembly. I use this stuff for the valve stems. I give a nice messy bead all the way around the tip of the valve and then a stripe about halfway down the length. The guides fit very tightly so not much actually makes it in there but I spin the valve a bit as I insert it to try to spread as much around in there as possible.
64cc on the nose!
We are ready for final PTV check and bolting them on for the last time for a little while hopefully.
Thanks for the kind words! Helps keep me going. Unfortunately I am down with a b!tch of a flu right now. I hope to have some more progress this weekend.
Im with Choppy_Idle this has probably be one of the best build threads I have read, here or on any forum. Thanks for the continuous updates and including pictures, cant wait to watch the first fire up video.
Trans is here along with flywheel, clutch, bell, etc. Just need to get the engine mounted in the car so I can see what crossmember requirements I'm up against. Then of course measuring for driveshaft. Planning to just loop the in/out of the fluid pump with no cooler while I get things mounted/sorted and then do the cooler later before I do any prolonged thrashing.
Hoping to ride this flu out tomorrow and Friday and actually get the gaskets and covers on this weekend. I had forgotten that the Morel 5452s are about an inch shorter than standard so I ordered the longer adjustable pushrod which just came in. Need to get my wipe pattern down and order pushrods but that should not stop me from dropping the engine in. Pushrods I think are going to be near 8.5" which is interesting.
Probably take a short break one day and do a little cleaning in the engine bay and then it's time to slap it in and pray that I can find all the bolts!
Probably take a short break one day and do a little cleaning in the engine bay and then it's time to slap it in and pray that I can find all the bolts!
If you need help finding something, let us know. I've replaced most of the bolts in the car with Class 12.9 zinc-aluminum ("armor coated"), 316SS, Grade 5 titanium, or Bumax 88/109. At some point I've gotta take my hand-written notes and put them in Excel to share.
While you're working in the engine bay, I can also show you where to plumb a 4.0" CAI through the sheetmetal behind the driver's side headlight, terminating in the biggest Amsoil air filter available + 6" velocity stack and pre-filter. Performance-wise, it's better than the Lingenfelter kit (which is the best prefab kit you can get for the V1), provides additional space around the engine, and is cheaper than any of the available kits. No worries about water ingestion either--you have to drive up to the wheel lugs in water before you run any risk of pulling water into the motor.
Before you put the radiator in the car, you might also want to consider replacing your brake MC and stock aluminum hardlines with a Wilwood unit, Earl's 3AN SS lines, and 2 lb residual valves. I've been through a couple of different sets of SS brake lines over the past few years (Goodridge and RacingBrake) and think they're overpriced crap. Earlier this week I ordered a dual 11" brake booster to replace the OEM dual 9". Once it gets too cold to wrench every weekend, I'll be creating Solidworks drawings for Z/28 caliper brackets so that I can use the RB Camaro 390/390mm rotor kit with my new wheels in the spring.
Last edited by FuzzyLog1c; 11-05-2016 at 04:09 PM.
What's the issue with the booster and the ss brake lines you run into eventually? Have ran them on a few different cars but they never saw a auto-x track but can't say I have ever had an issue with them
What's the issue with the booster and the ss brake lines you run into eventually? Have ran them on a few different cars but they never saw a auto-x track but can't say I have ever had an issue with them
Nothing's wrong with the booster. With disc brakes, you can never have enough boost. The fact that you can get 49% more boost (the ratio of the surface area of the diaphragms) with the dual 11" unit for $130 is highly tempting. Boosters are cheap as dirt because they're simple devices.
The Goodridge kit leaks from day 1 as a result of its design. The RacingBrake kit is better but it flexes a little more than I'd like. All of the kits are too expensive and rely on those stock hard lines and fittings. Earl's lines are tested to 4000 PSI and the last 15" segments cost $19.45 apiece on Summit. If I damage one or the environment starts to get to them, I can replace 7 individual lines for the cost of the Goodridge kit and 8 lines for the cost of the RacingBrake kit.
Well that's discouraging about the lines! Guess I can scratch that off the list. Have always liked the Russell's I have ran but that's the only brand and they don't make anything for the v!!
Any chance the lines from the camaros would be compatible? Same brake calipers
Well that's discouraging about the lines! Guess I can scratch that off the list. Have always liked the Russell's I have ran but that's the only brand and they don't make anything for the v!!
Russell makes some great products but their brake lines are rated for 2500 PSI as opposed to 4000 PSI like Earl's. You can run anything you want provided that buy the right 3AN adapter for your hard lines.
Last edited by FuzzyLog1c; 11-06-2016 at 07:04 AM.
If you need help finding something, let us know. I've replaced most of the bolts in the car with Class 12.9 zinc-aluminum ("armor coated"), 316SS, Grade 5 titanium, or Bumax 88/109. At some point I've gotta take my hand-written notes and put them in Excel to share.
While you're working in the engine bay, I can also show you where to plumb a 4.0" CAI through the sheetmetal behind the driver's side headlight, terminating in the biggest Amsoil air filter available + 6" velocity stack and pre-filter. Performance-wise, it's better than the Lingenfelter kit (which is the best prefab kit you can get for the V1), provides additional space around the engine, and is cheaper than any of the available kits. No worries about water ingestion either--you have to drive up to the wheel lugs in water before you run any risk of pulling water into the motor.
Before you put the radiator in the car, you might also want to consider replacing your brake MC and stock aluminum hardlines with a Wilwood unit, Earl's 3AN SS lines, and 2 lb residual valves. I've been through a couple of different sets of SS brake lines over the past few years (Goodridge and RacingBrake) and think they're overpriced crap. Earlier this week I ordered a dual 11" brake booster to replace the OEM dual 9". Once it gets too cold to wrench every weekend, I'll be creating Solidworks drawings for Z/28 caliper brackets so that I can use the RB Camaro 390/390mm rotor kit with my new wheels in the spring.
I like the idea of the brake booster and lines. I would really like to do hydroboost but I also want to get this thing rolling before I lose interest. Does a larger booster theoretically need more vacuum than a smaller unit? I ended up getting a steal on a Hardtop Hurricane ITB intake and am going to give it a whirl. It has all the right fittings on it but I worry about how much vacuum I will get from it. Also for the winter I'm probably just going to run a SD tune with 8x individual filters. Then build some boxes of some sort and figure out where to get cool air from then.
I will definitely be scratching my head over some of the bolts so will be hitting you up.
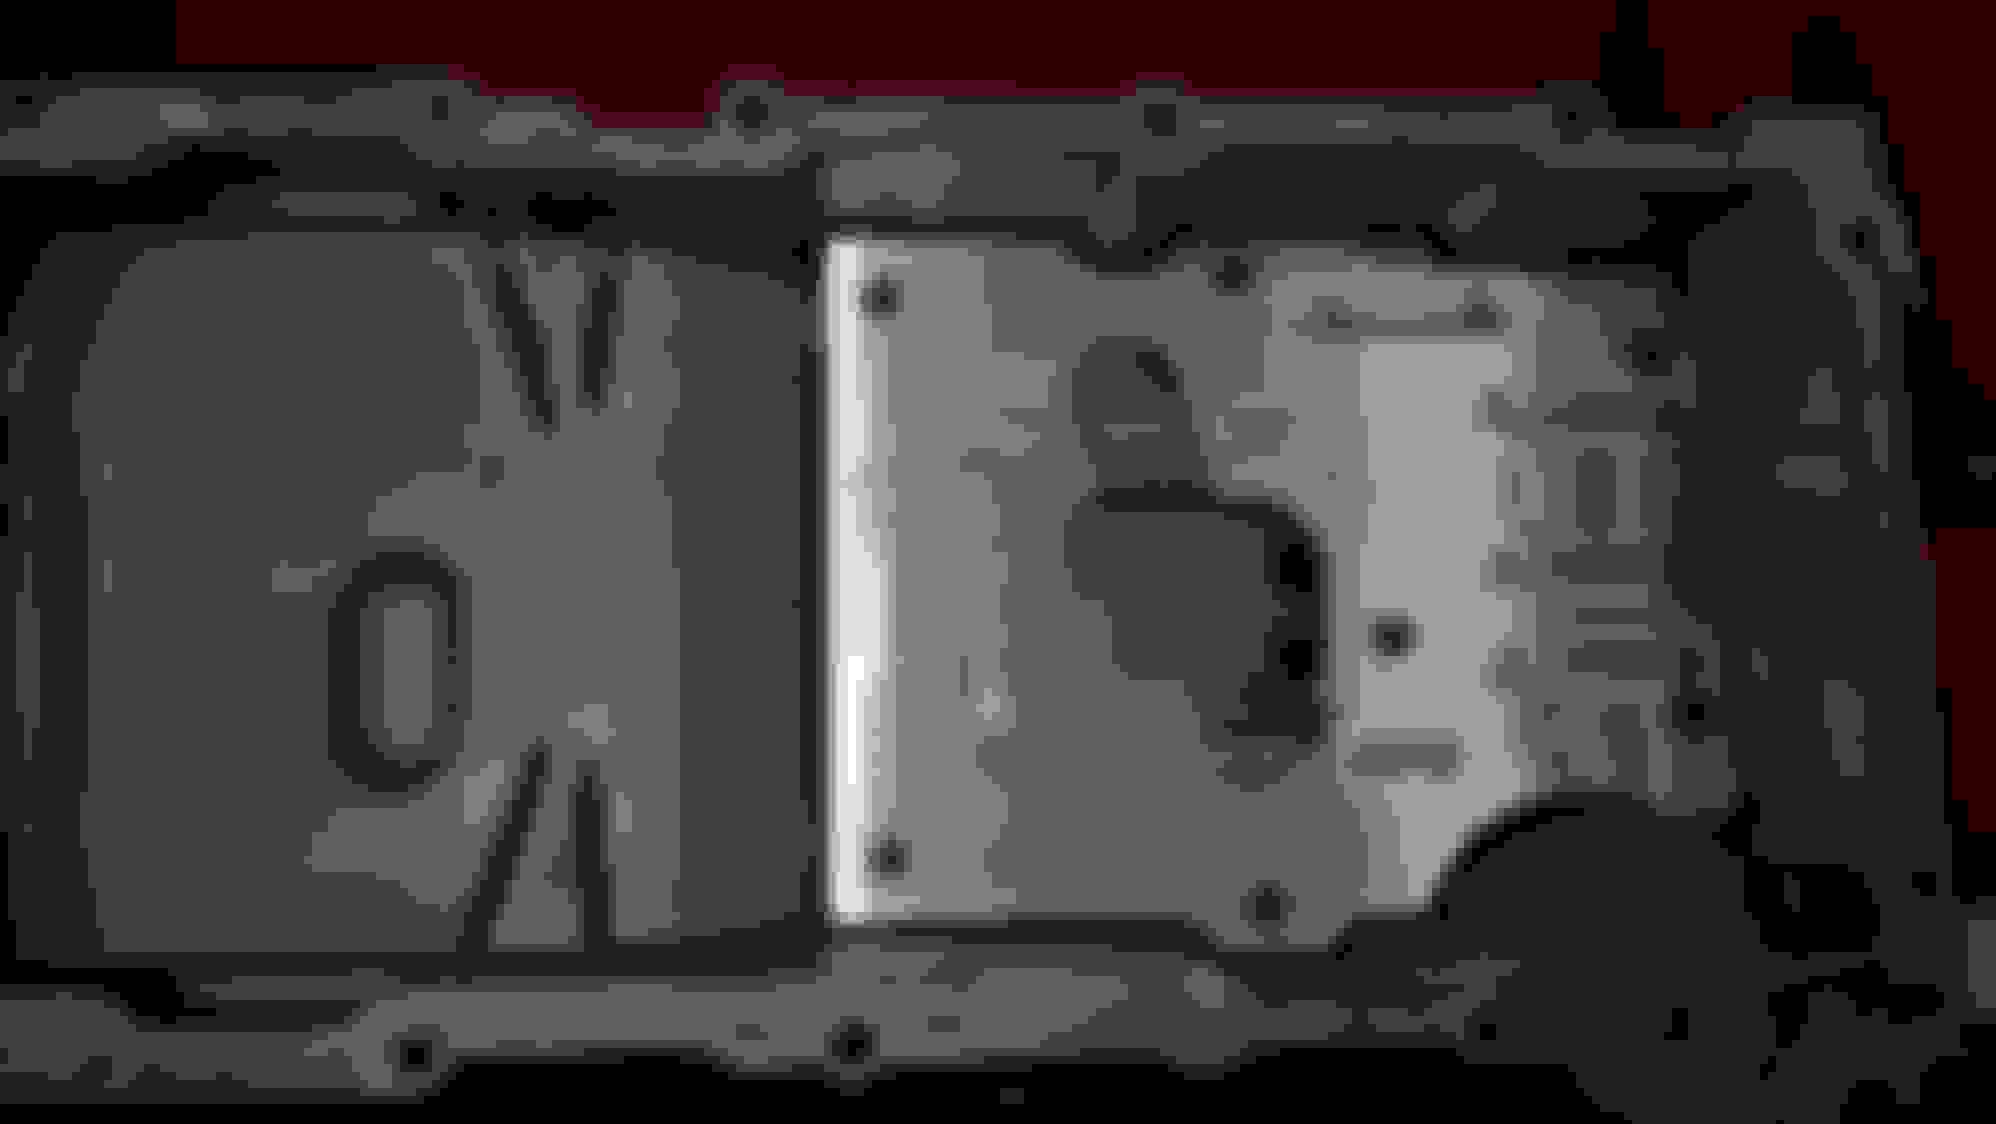
Factory windage tray and pickup after a light scrub. Factory baffle. Factory pan actually has some baffling cast in. IR baffle obviously more capable. Top, bottom. Put a little loctite on these bolts since the pan hopefully won't come off for a while. You can see in the peek-a-boo shot that the IR baffle works with the cast baffles.
Now to learn the stretch gauge on the rod bolts so I can get the scraper installed!
I like the idea of the brake booster and lines. I would really like to do hydroboost but I also want to get this thing rolling before I lose interest. Does a larger booster theoretically need more vacuum than a smaller unit?
More vacuum, no. More brake assist for a given amount of vacuum, yes. The tricky part about the Wilwood MC install is that you have to shim it using a full-face plate, or find a booster with an adjustable rod end. Using washers as shims won't do it because they compromise the structural integrity of the MC design. If you don't shim the MC or adjust the booster pushrod, you'll preload the MC and hold pressure on the calipers, which causes heating and fluid expansion, causing the calipers to clamp down even harder. In extreme cases, you can burn out your brakes or wheel bearings if you try to drive through that problem, so be careful.
For most people, the shim is going to be the preferred option since it's so simple, but when done properly, having a bigger, adjustable booster is better as it provides more assist for a given amount of pedal effort. Obviously, you don't want to overdo it and be unable to modulate the pedal, but in stock form, the V1 brake system has plenty of room to improve. This weekend I've been experimenting with residual valves on and off. Takes some driving time and an IR thermometer to really understand how much drag they're putting on the system.
Last edited by FuzzyLog1c; 11-06-2016 at 07:45 PM.
This weekend I've been experimenting with residual valves on and off. Takes some driving time and an IR thermometer to really understand how much drag they're putting on the system.
I think I am happy to finish the long list of things I am working on now and reap the benefits of your ongoing research once you're ready to declare a path. Thanks!
Before you put the radiator in the car, you might also want to consider replacing your brake MC and stock aluminum hardlines with a Wilwood unit, Earl's 3AN SS lines, and 2 lb residual valves.
Where do you think you've found aluminum hard lines on your car?
Originally Posted by FuzzyLog1c
Earlier this week I ordered a dual 11" brake booster to replace the OEM dual 9".
Originally Posted by FuzzyLog1c
Nothing's wrong with the booster.
So what are you trying to fix with more power assist?
Originally Posted by FuzzyLog1c
With disc brakes, you can never have enough boost.
Sure you can. Too much assist leads to a soft pedal that has no "feel" and is harder to modulate. Whether 49% more assist will get you to that point, I don't know, but it certainly seems like a move in the wrong direction.
Originally Posted by FuzzyLog1c
Obviously, you don't want to overdo it and be unable to modulate the pedal ...
Ahhhh, so it is possible to have too much boost.
Originally Posted by FuzzyLog1c
... but in stock form, the V1 brake system has plenty of room to improve.
I suppose pedal feel is a subjective thing, but I really can't see why anyone would think the V's brakes need more assist.
Originally Posted by Mercier
Found my Improved Racing box!
Factory windage tray and pickup after a light scrub. Factory baffle. Factory pan actually has some baffling cast in. IR baffle obviously more capable.
I wish that IR baffle had been available back when I was replacing my engine, but unfortunately they didn't release it until a while later.
 10-30-2016, 12:23 PM