Forced Induction Superchargers | Turbochargers | Intercoolers

2000 NBM M6 SS Turbo build

Thread Tools
 
Search this Thread
 
Old 06-02-2016, 10:52 PM
  #1  
11 Second Club
Thread Starter
iTrader: (2)
 
KyleLanter's Avatar
 
Join Date: Jul 2013
Location: Indiana
Posts: 556
Received 5 Likes on 5 Posts

Default 2000 NBM M6 SS Turbo build

A little back drop on the car I purchased the car in 2006 and it was a stock car with the exception of exhaust and a tune. I put some mild bolt ons some soft wall mickey thompsons and ran at the local track almost every weekend


Car in stock trim

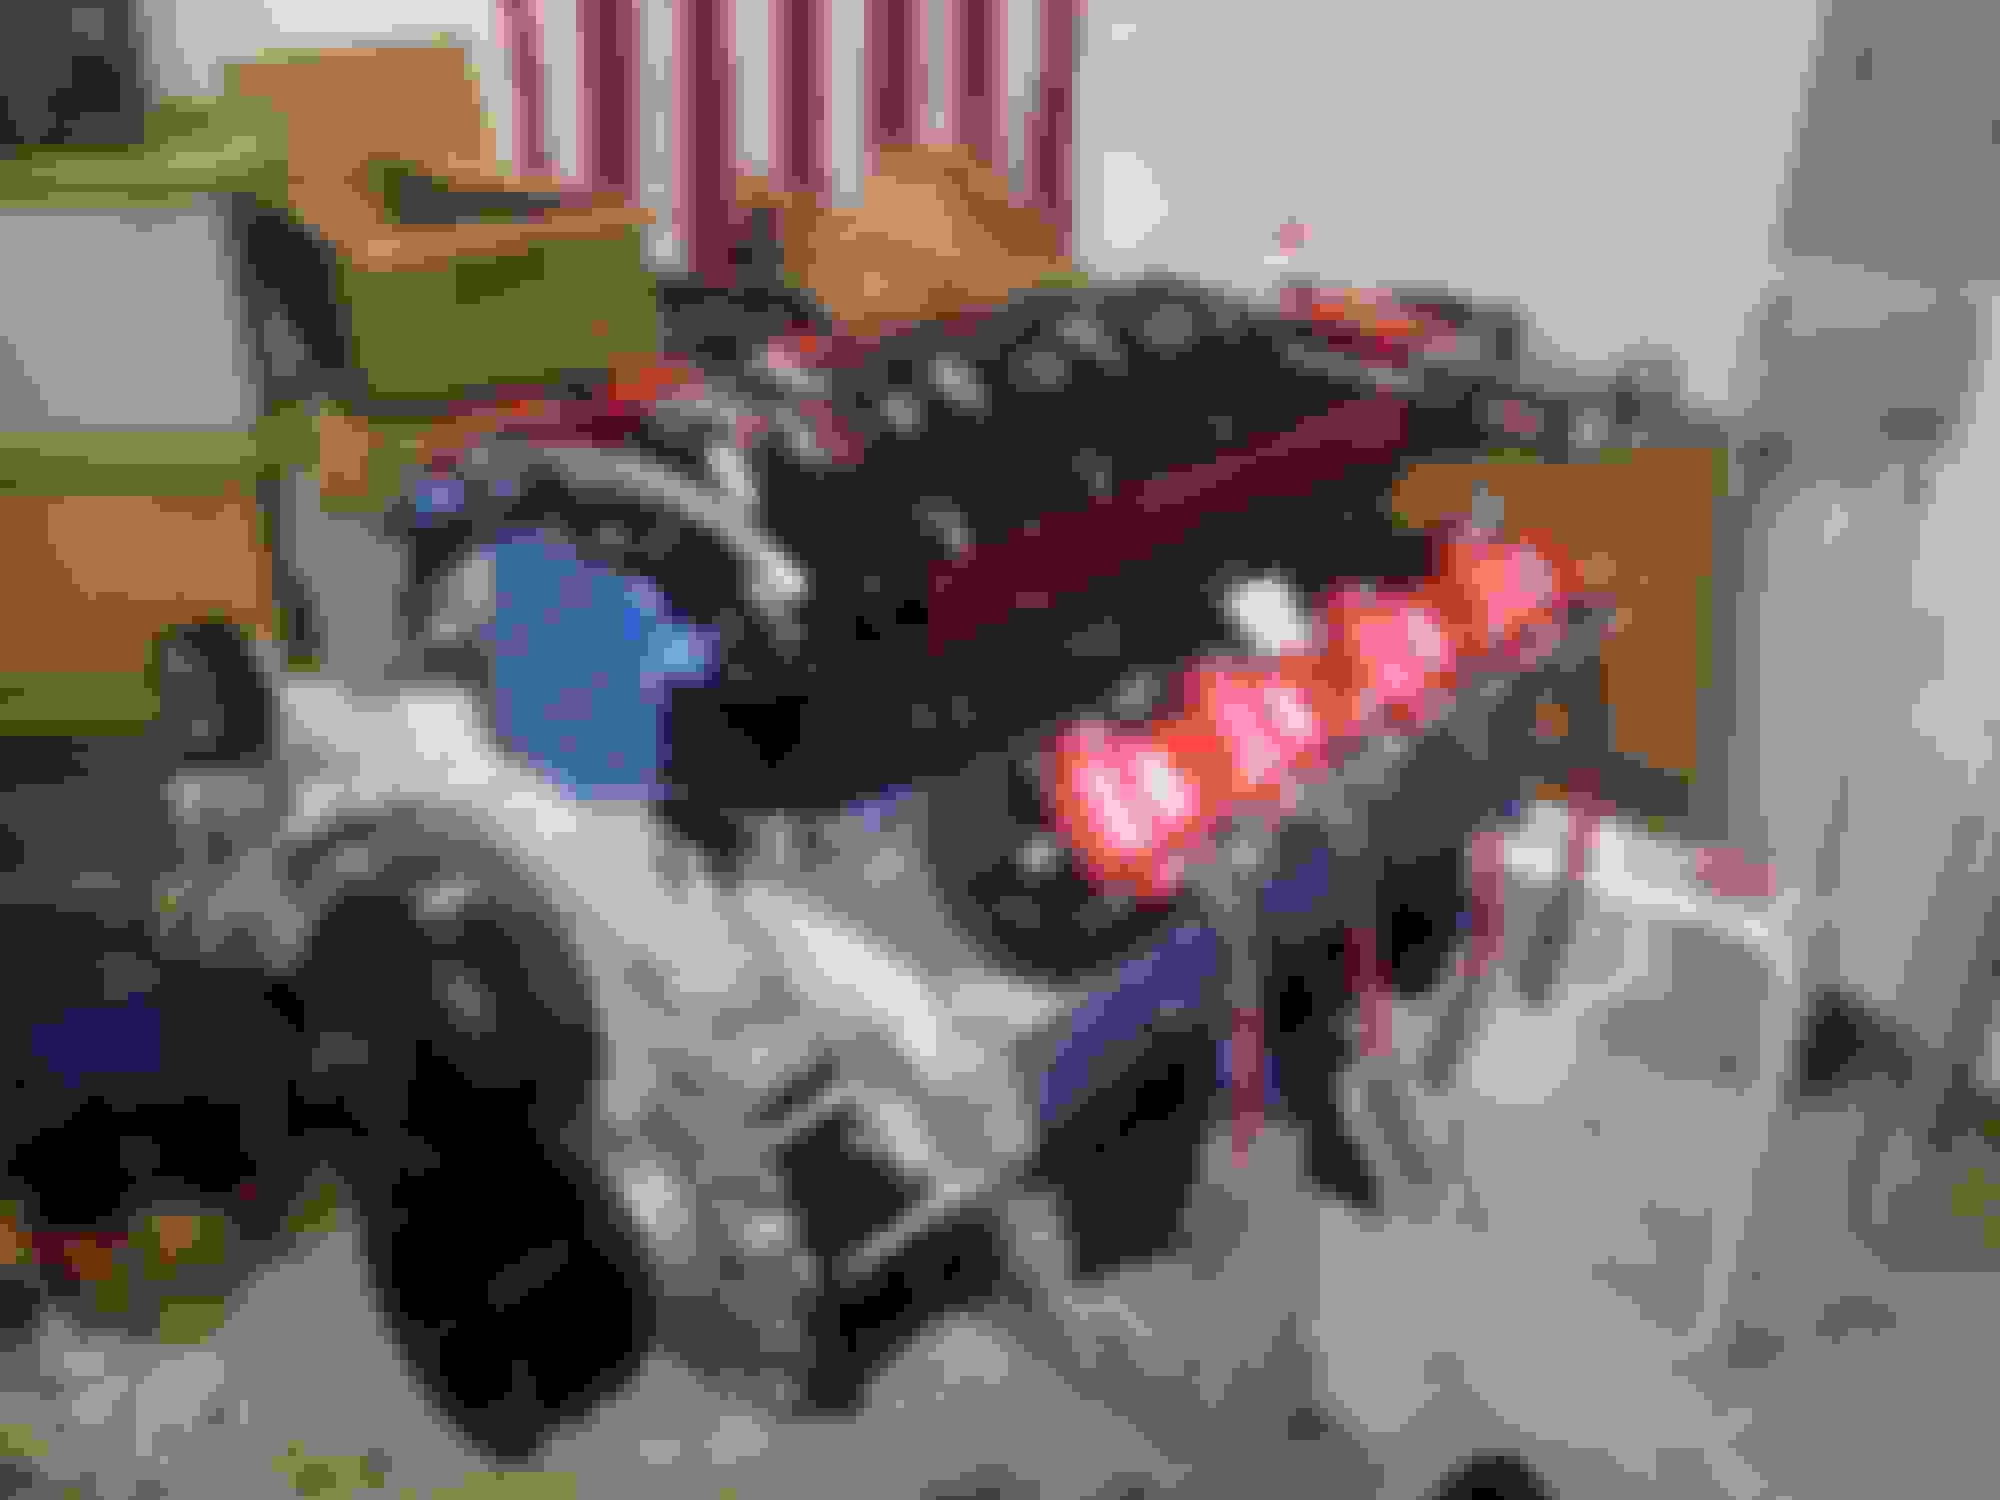
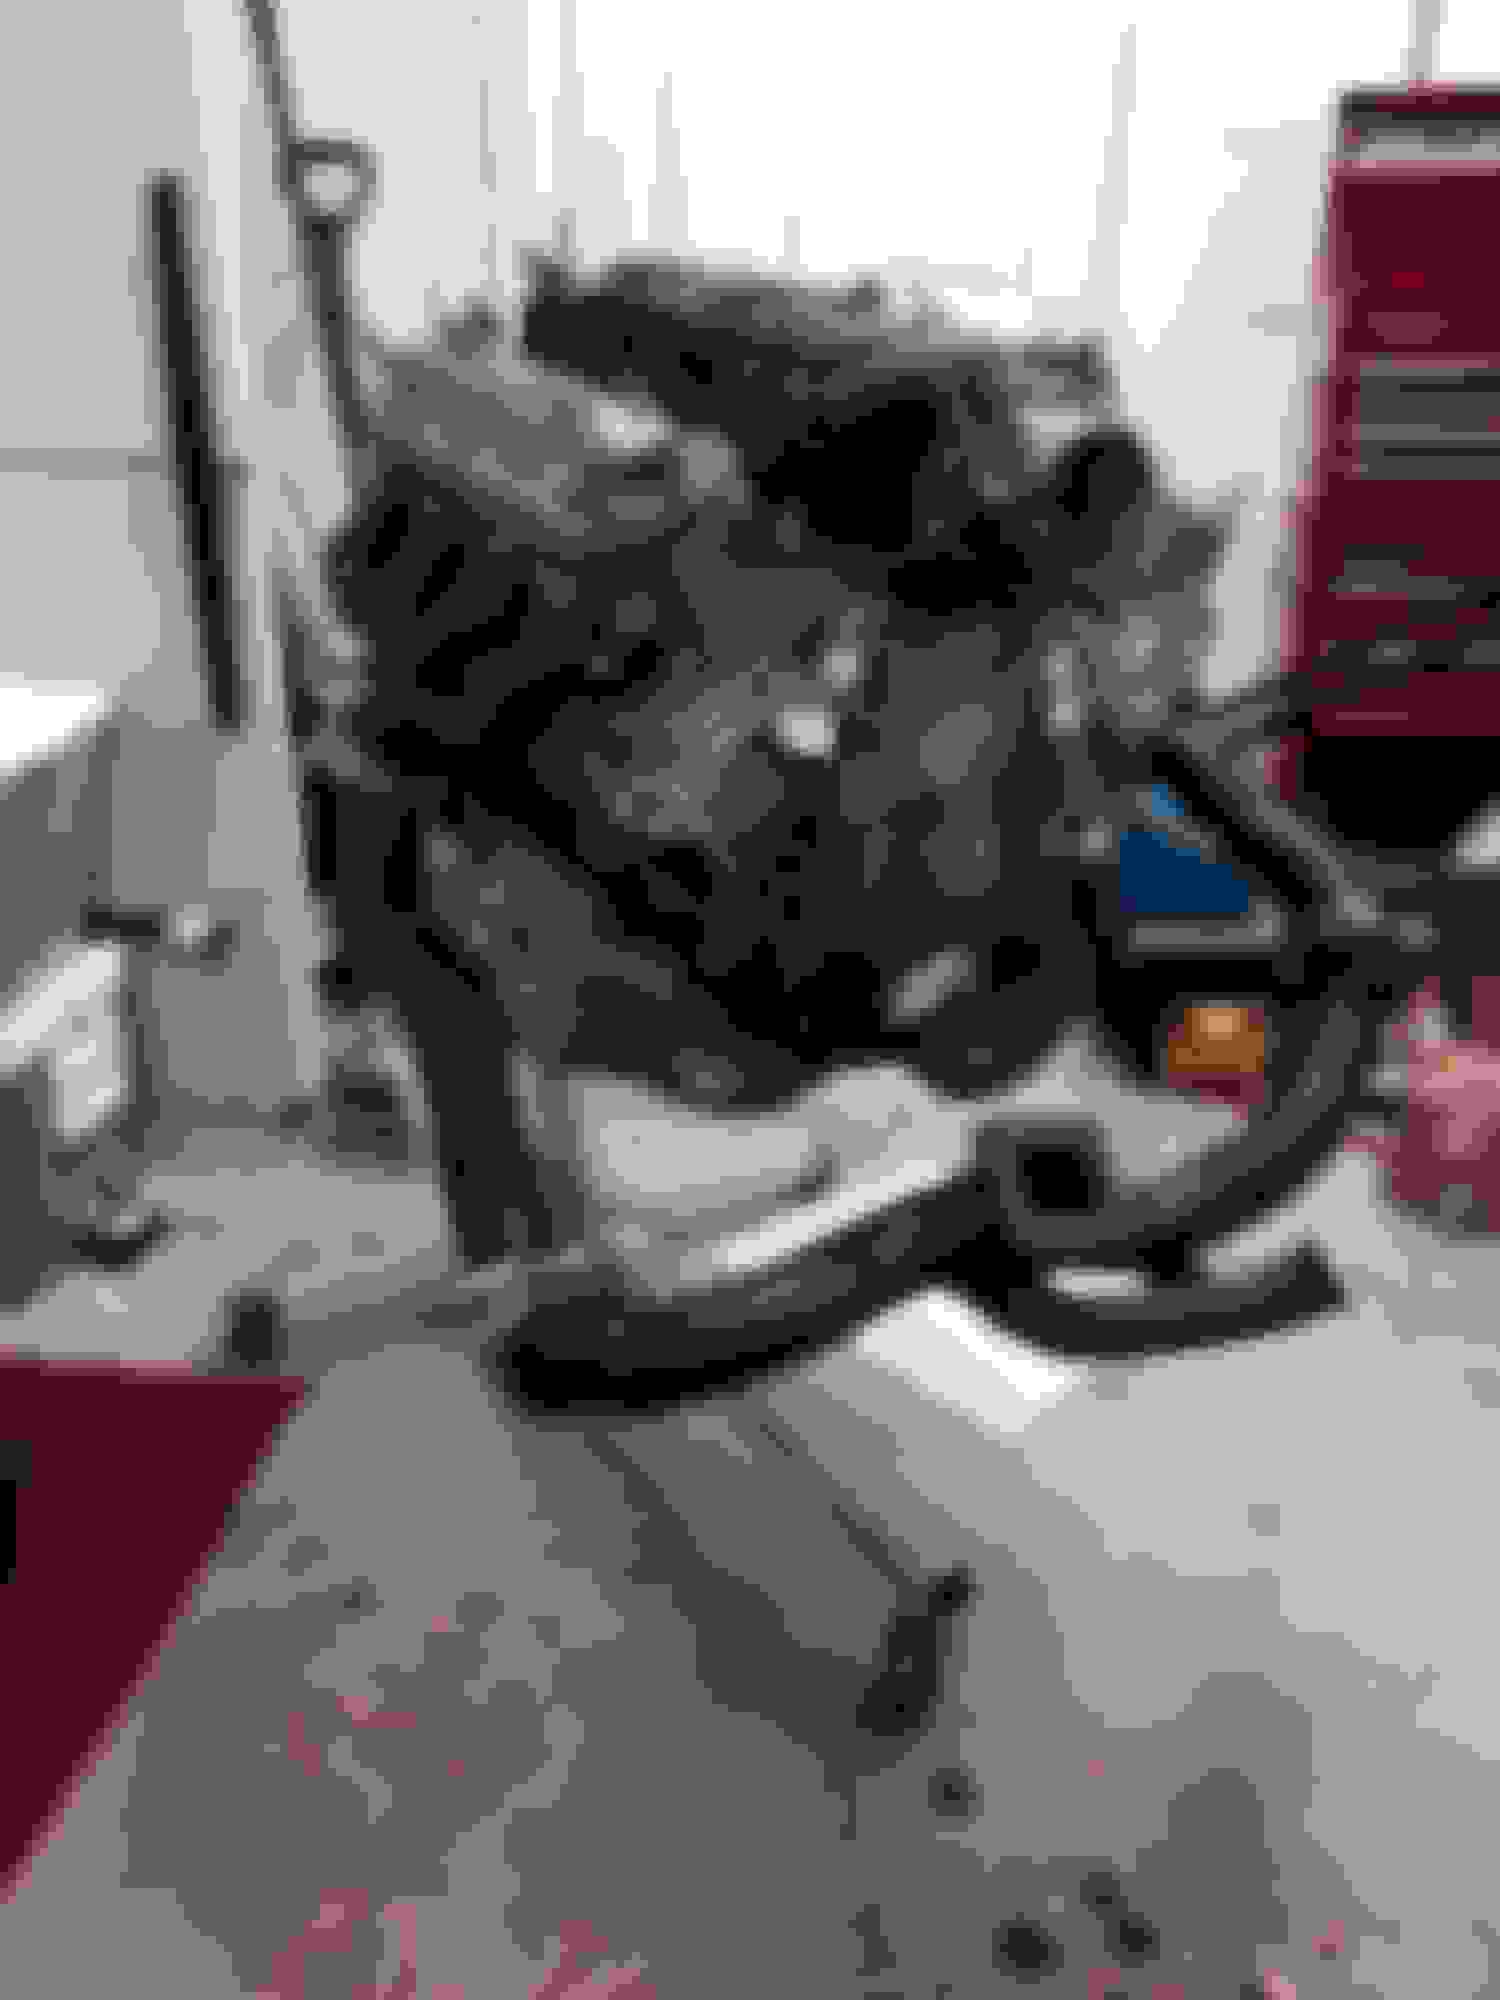
Fast forward to about a year and a half ago and I finally had the means to start my dream build. Since college was behind me and I finally started saving some money I sent off a 6.0 block to get built for the boost I've always wanted. Here is the motors breakdown

Block: lq4 machines, bored over, honed
Forged compstar crank
Callie's ultra H beam rods
Diamond -28cc dished turbo Pistons with nitro coated rings #11576
Comp custom grind cam
H-13 wrist pins
Ls2 adjustable timing set
Comp roller lifters
Slp underdrive pully
Arp main studs

Heads:
Ls3 Cnc heads
Competition valve job
Comp dual valve springs
Titanium retainers
Ferrera SS valves
Stock rockers with trunion upgrade
Arp head stud kit

Intake:
Fast 102 with 92 big mouth TB
Fast fuel rails with ls9 60# injectors
Ligenfelter 100m


Iron 408 9.1 compression 438hp/439tq at the wheels N/A

The cars suspension includes a BMR turbo K with UMI upper and lower a arms, founders rear control arms and phb. Umi tunnel mount torque arm, Moser 9" 35 spline axles with a spool and 3.89 gears (will change to 3.55s)
Old 06-02-2016, 10:58 PM
  #2  
11 Second Club
Thread Starter
iTrader: (2)
 
KyleLanter's Avatar
 
Join Date: Jul 2013
Location: Indiana
Posts: 556
Received 5 Likes on 5 Posts

Default

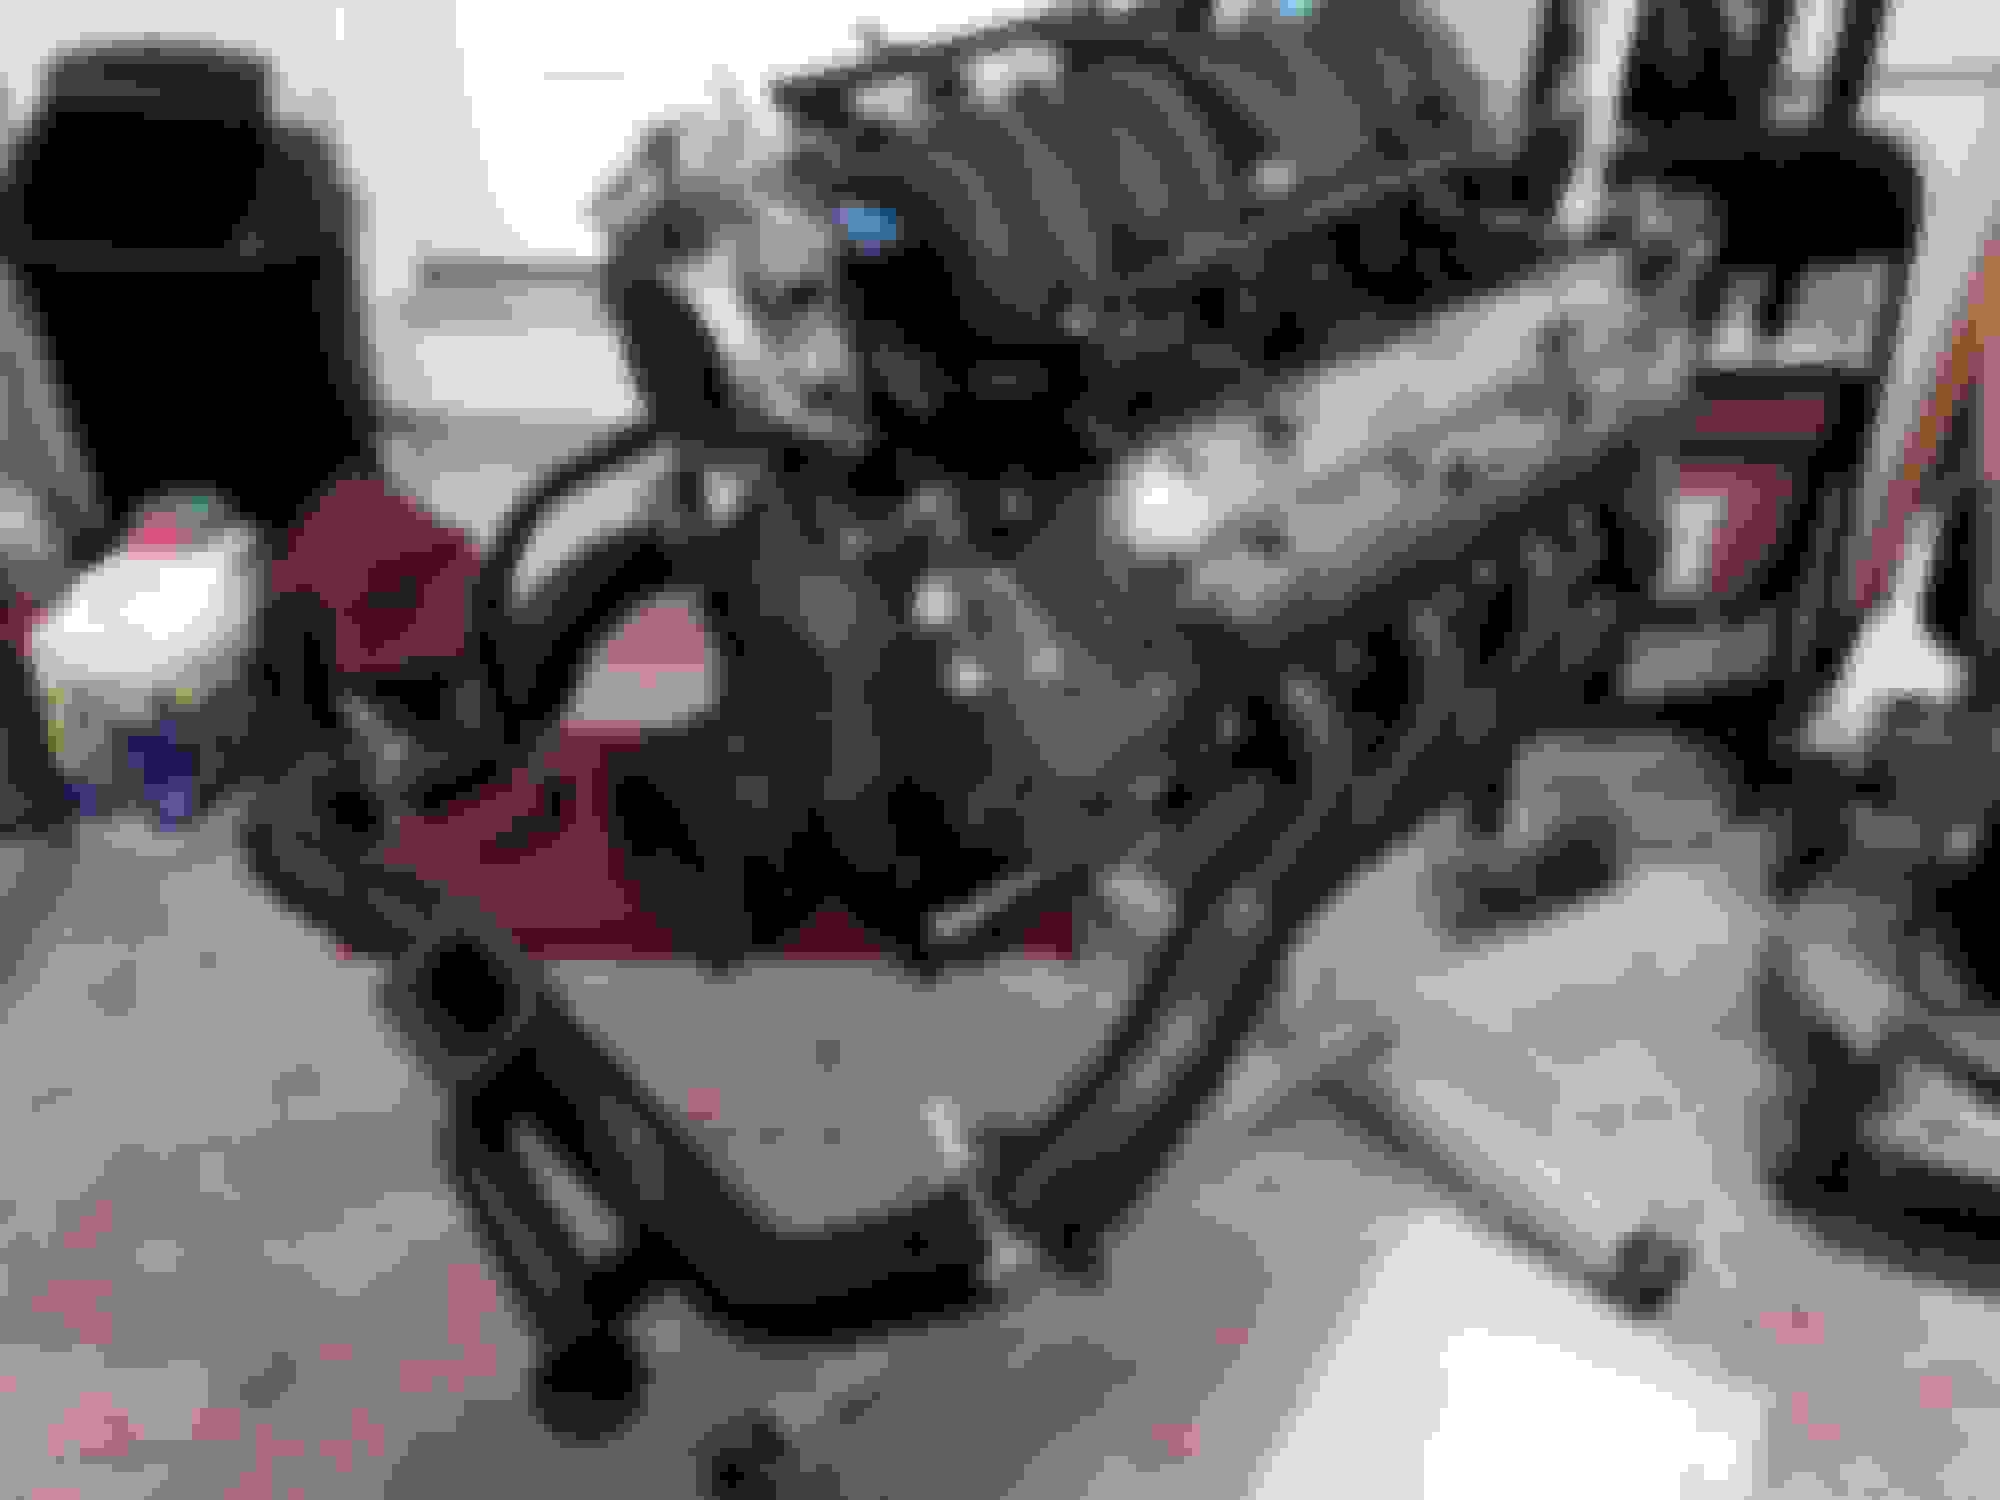
Now I've picked up a Huron V2 t4 AC kit with ceramic coated hot side and that is where the build sits. I have some decisions to make going forward like selecting a turbo to suit my needs. This will be a street car so I am not looking for a 1,000hp build. Looking for something between 650-700 to the tires.

As mentioned I have the V2 T4 AC kit with XS power BOV and WG


My son helping unpack


Huron Kit


BMR turbo k


Mocking up the hot side on my LS1 out of the car


Hot side mock up
Old 07-28-2016, 10:39 PM
  #3  
11 Second Club
Thread Starter
iTrader: (2)
 
KyleLanter's Avatar
 
Join Date: Jul 2013
Location: Indiana
Posts: 556
Received 5 Likes on 5 Posts

Default

Picked up a few more things to complete my build.


S480
Got a great deal on a Bw S480. The housing will be modified to work for my application.


Also grabbed a magnafuel boost reference regulator and a walbro 450 fuel pump.

So a few more odds and ends like fuel line and and oil lines for the turbo and I'll be getting closer to being boosted.

More to come
Old 07-28-2016, 11:51 PM
  #4  
Teching In
 
Spxredss's Avatar
 
Join Date: Jul 2016
Posts: 4
Likes: 0
Received 0 Likes on 0 Posts
Default

Bad *** build, almost exactly what I'm trying to do except I was going to go procharger rather than turbo
Old 07-31-2016, 02:13 PM
  #5  
TECH Resident
iTrader: (27)
 
evo462's Avatar
 
Join Date: Nov 2009
Posts: 914
Likes: 0
Received 0 Likes on 0 Posts

Default

Built 408 and you're only going for 650-700 RWHP? Crank up that boost some more
Old 07-31-2016, 03:38 PM
  #6  
11 Second Club
Thread Starter
iTrader: (2)
 
KyleLanter's Avatar
 
Join Date: Jul 2013
Location: Indiana
Posts: 556
Received 5 Likes on 5 Posts

Default

I'll see what she can put down safely and just utilize a boost controller for The street.
Old 11-11-2016, 08:01 PM
  #7  
11 Second Club
Thread Starter
iTrader: (2)
 
KyleLanter's Avatar
 
Join Date: Jul 2013
Location: Indiana
Posts: 556
Received 5 Likes on 5 Posts

Default

Colder weather is here so the tear down and build begins l.


Old 11-12-2016, 07:29 AM
  #8  
TECH Apprentice
iTrader: (1)
 
The Cartel's Avatar
 
Join Date: Feb 2004
Location: The 918!!
Posts: 305
Likes: 0
Received 3 Likes on 3 Posts

Default

nice! In for results
Old 11-23-2016, 10:31 PM
  #9  
11 Second Club
Thread Starter
iTrader: (2)
 
KyleLanter's Avatar
 
Join Date: Jul 2013
Location: Indiana
Posts: 556
Received 5 Likes on 5 Posts

Default

Originally Posted by The Cartel
nice! In for results
Thanks I have a ways to go.
Old 11-23-2016, 10:33 PM
  #10  
11 Second Club
Thread Starter
iTrader: (2)
 
KyleLanter's Avatar
 
Join Date: Jul 2013
Location: Indiana
Posts: 556
Received 5 Likes on 5 Posts

Default


Old 11-23-2016, 10:37 PM
  #11  
11 Second Club
Thread Starter
iTrader: (2)
 
KyleLanter's Avatar
 
Join Date: Jul 2013
Location: Indiana
Posts: 556
Received 5 Likes on 5 Posts

Default

Those who have used the Huron v2 t4 kit I have a few questions.

1) how did you keep/trim the plastic shield pieces to route the cold side around? Also does anyone have recommendations on how to move the fuse box around for the charge pipe?

2) I want to run a 4" down pipe but route the way Huron intended has anyone done that? Pointers or tips?

Super happy with fitment and finish of Hurons kit and the ceramic coating is top notch in my opinion. Would recommend Huron to anyone. Casey and Jon are awesome with answering my emails and questions so if you see this guys thanks again for the top notch customer service!!!
Old 11-24-2016, 05:04 PM
  #12  
11 Second Club
Thread Starter
iTrader: (2)
 
KyleLanter's Avatar
 
Join Date: Jul 2013
Location: Indiana
Posts: 556
Received 5 Likes on 5 Posts

Default


Got everything installed and trimmed up so that's a plus. Now to map out my downpipe since I really want a full length exhaust
Old 11-25-2016, 12:07 AM
  #13  
TECH Enthusiast
 
ScottyBG's Avatar
 
Join Date: Jan 2012
Location: Bowling Green KY
Posts: 557
Likes: 0
Received 6 Likes on 6 Posts

Default

I have a V1 kit, but the charge pipe goes through the area, and the fusebox needs trimmed the same way. You can see how I did it, pretty easy.

https://ls1tech.com/forums/forced-in...ld-thread.html
Old 11-25-2016, 12:05 PM
  #14  
TECH Enthusiast
 
SteenH's Avatar
 
Join Date: Jun 2013
Location: Moose Jaw SK, Canada
Posts: 513
Likes: 0
Received 1 Like on 1 Post

Default

Originally Posted by KyleLanter
Those who have used the Huron v2 t4 kit I have a few questions.

1) how did you keep/trim the plastic shield pieces to route the cold side around? Also does anyone have recommendations on how to move the fuse box around for the charge pipe?

2) I want to run a 4" down pipe but route the way Huron intended has anyone done that? Pointers or tips?

Super happy with fitment and finish of Hurons kit and the ceramic coating is top notch in my opinion. Would recommend Huron to anyone. Casey and Jon are awesome with answering my emails and questions so if you see this guys thanks again for the top notch customer service!!!
My fuse bracket is trimmed but also moved off to the side.
And depending on your motor mounts you will be able to route a 4" downpipe on the passengers side. I used one 4" U bend and that took me to basically where the supplied Huron one went.
When I was done I noticed they were both pretty much the same. (Not like there's room to do it any other way) if needed I can see if I can get some pictures.
Old 11-25-2016, 10:33 PM
  #15  
11 Second Club
Thread Starter
iTrader: (2)
 
KyleLanter's Avatar
 
Join Date: Jul 2013
Location: Indiana
Posts: 556
Received 5 Likes on 5 Posts

Default

Originally Posted by SteenH
My fuse bracket is trimmed but also moved off to the side.
And depending on your motor mounts you will be able to route a 4" downpipe on the passengers side. I used one 4" U bend and that took me to basically where the supplied Huron one went.
When I was done I noticed they were both pretty much the same. (Not like there's room to do it any other way) if needed I can see if I can get some pictures.
Man if you could get some pictures that would be awesome! I appreciate your comments and input
Old 11-25-2016, 10:37 PM
  #16  
11 Second Club
Thread Starter
iTrader: (2)
 
KyleLanter's Avatar
 
Join Date: Jul 2013
Location: Indiana
Posts: 556
Received 5 Likes on 5 Posts

Default

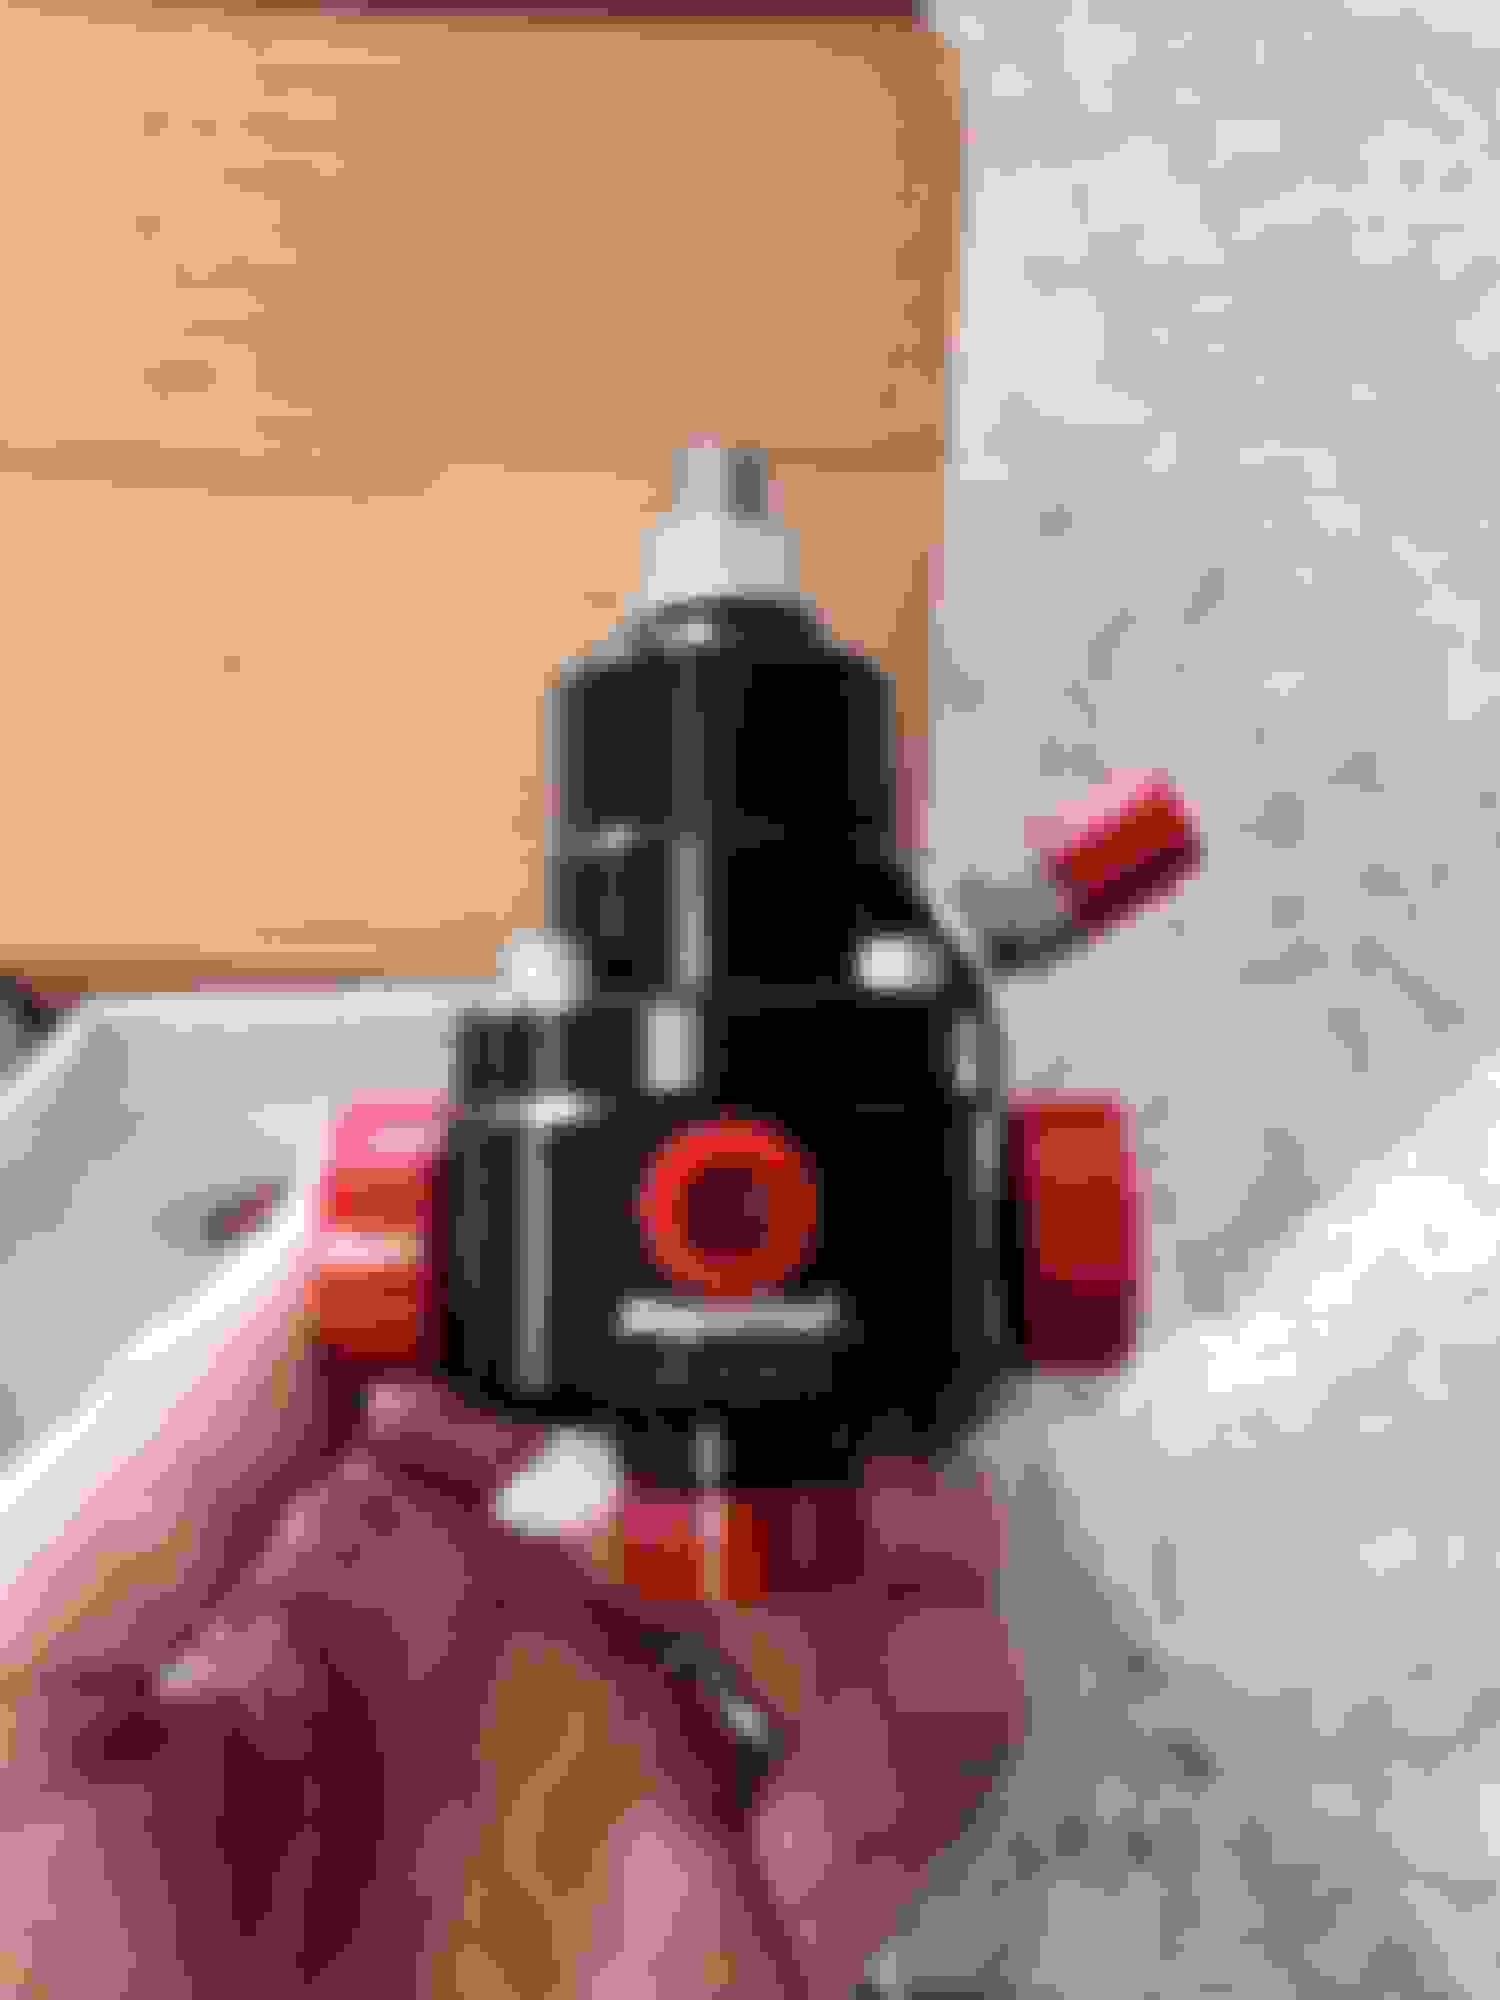
Tonight's adventures included taking out the fuel tank so I can install my walbro 450 and New return fuel system. Also upgraded to stainless brake lines to replace the rubber lines


Old 11-25-2016, 10:38 PM
  #17  
11 Second Club
Thread Starter
iTrader: (2)
 
KyleLanter's Avatar
 
Join Date: Jul 2013
Location: Indiana
Posts: 556
Received 5 Likes on 5 Posts

Default

Originally Posted by ScottyBG
I have a V1 kit, but the charge pipe goes through the area, and the fusebox needs trimmed the same way. You can see how I did it, pretty easy.

https://ls1tech.com/forums/forced-in...ld-thread.html
Thanks for the reply the way you did it seems to be the way I will. Thanks again for the help
Old 11-26-2016, 04:23 AM
  #18  
TECH Enthusiast
 
ScottyBG's Avatar
 
Join Date: Jan 2012
Location: Bowling Green KY
Posts: 557
Likes: 0
Received 6 Likes on 6 Posts

Default

Subscribed!
Old 11-26-2016, 07:57 AM
  #19  
TECH Apprentice
iTrader: (1)
 
The Cartel's Avatar
 
Join Date: Feb 2004
Location: The 918!!
Posts: 305
Likes: 0
Received 3 Likes on 3 Posts

Default

Looking good! When i pulled my tank, I used simple green (not diluted) sprayed it on with a squirt bottle, wiped a few heavily soiled areas then rinsed. After about 3 times it looked brand new. Also great for degreasing... love that stuff
Old 11-26-2016, 07:33 PM
  #20  
11 Second Club
Thread Starter
iTrader: (2)
 
KyleLanter's Avatar
 
Join Date: Jul 2013
Location: Indiana
Posts: 556
Received 5 Likes on 5 Posts

Default

Originally Posted by The Cartel
Looking good! When i pulled my tank, I used simple green (not diluted) sprayed it on with a squirt bottle, wiped a few heavily soiled areas then rinsed. After about 3 times it looked brand new. Also great for degreasing... love that stuff
Thanks for the tip I plan to give everything a good cleaning since it's all stripped.


Quick Reply: 2000 NBM M6 SS Turbo build


All times are GMT -5. The time now is 01:32 PM.