When you click on links to various merchants on this site and make a purchase, this can result in this site earning a commission. Affiliate programs and affiliations include, but are not limited to, the eBay Partner Network.
Ws6store was kind enough to send me a ls1 egr block off plate to try in my dorman ls2 intake. It works! Their design allows the o ring to sit inside a recess so it doesn't move around. Youll have to use the hardware that comes with the dorman intake including the blue dorman oring it seems to be just a hair thicker. Heres a picture. It looks so much better than the rubber expansion type plug.
That is a 615-901 intake? If so I'll need an egr blockoff for mine too I guess. Good thing I have a lathe, mill and a powder coat setup. Unless the blockoff is cheap it might just be easier to buy it lol
That is a 615-901 intake? If so I'll need an egr blockoff for mine too I guess. Good thing I have a lathe, mill and a powder coat setup. Unless the blockoff is cheap it might just be easier to buy it lol
Yes its the dorman ls2 intake. The ws6store sells the block offs cheap. Ive tried several other block offs and they wouldnt work. They'd bolt in but not seal. As i mentioned theirs uses a machined recess to hold the oring and thats why it works. My ICT billet block off wouldn't seal.
Heres the ws6store block off plate. Its billet and very well made.
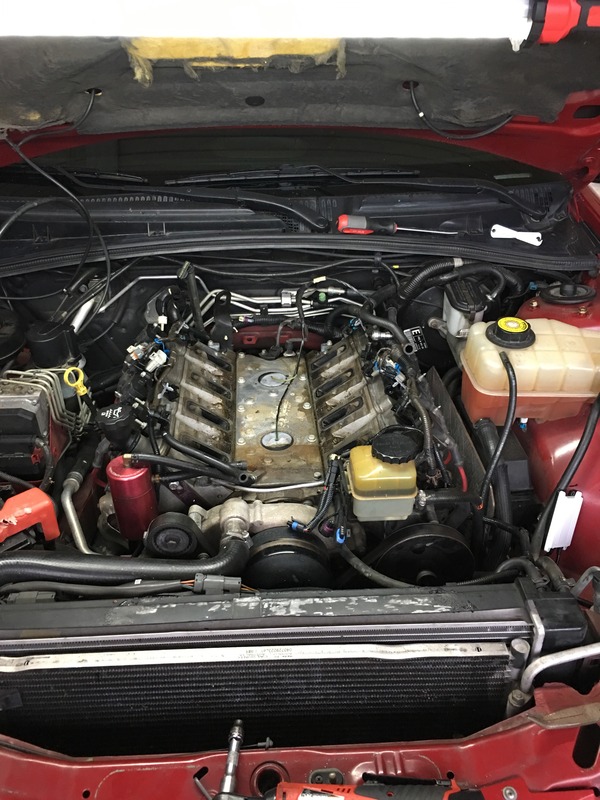
My intake made it a day early today. (615-901). I'm surprised it kept up with the tbss intake in the flow Department. It's pretty rough and mis matched out the box. To me that means there's hope. I'll clean mine up and install this weekend.
My intake made it a day early today. (615-901). I'm surprised it kept up with the tbss intake in the flow Department. It's pretty rough and mis matched out the box. To me that means there's hope. I'll clean mine up and install this weekend.
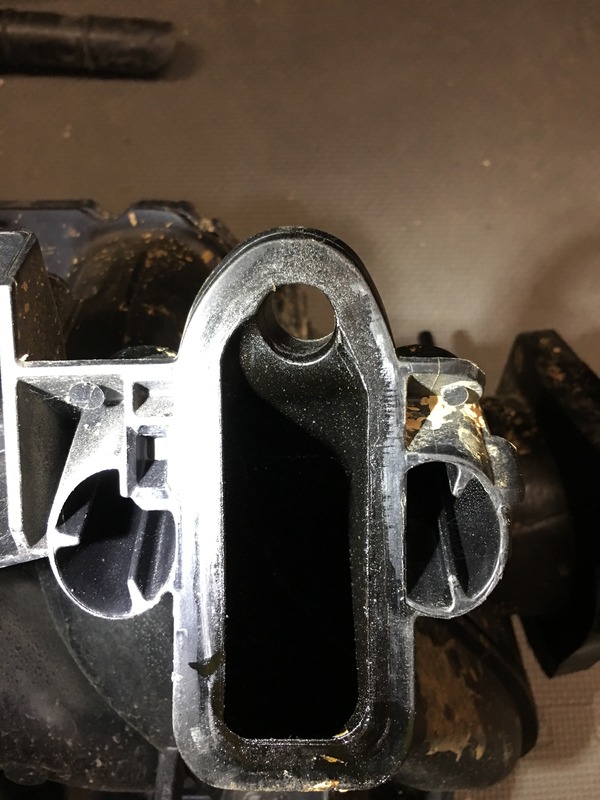
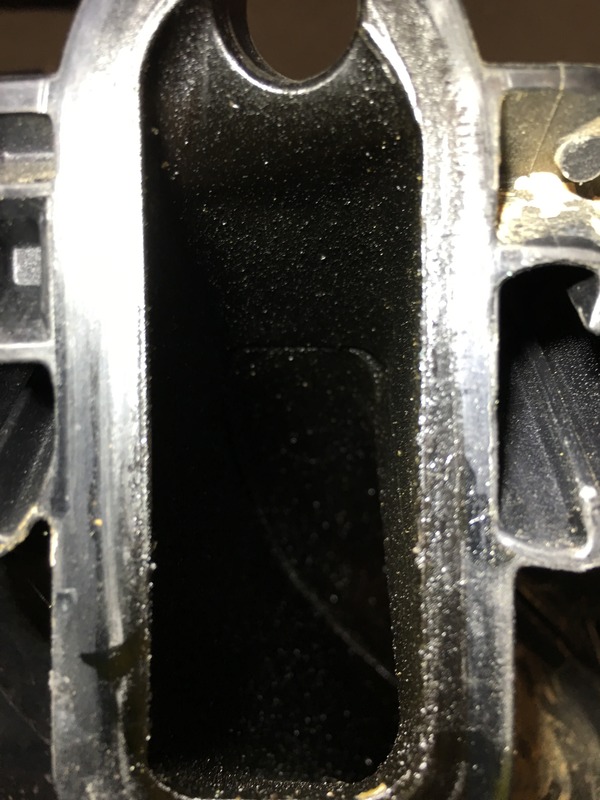
Ok. More input to add. I didn't get to really look at it earlier but now I just did. I also have a stock truck intake to compare to. My opinion is it looks like they mated two mis match halves together. Compared to a factory intake, it's not to great looking. I don't like the top transition in the port. I don't think there's enough material there to fix it either. If any of you guys have one of these not installed yet, look to see what revision you have. It's printed on the bottom. Mine is revision "j"
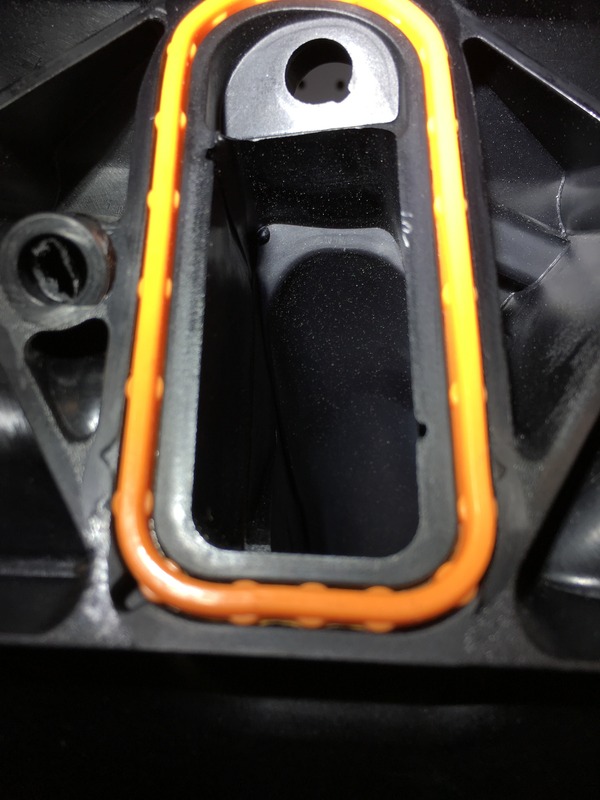
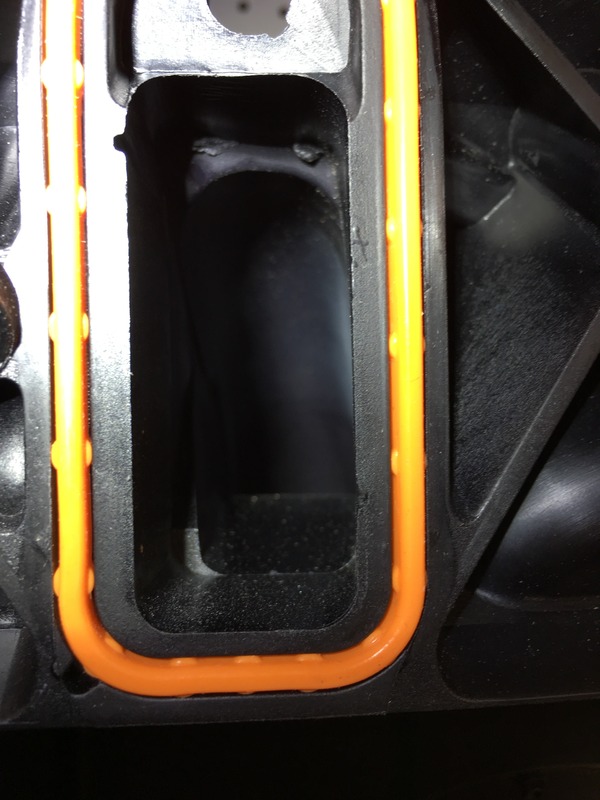
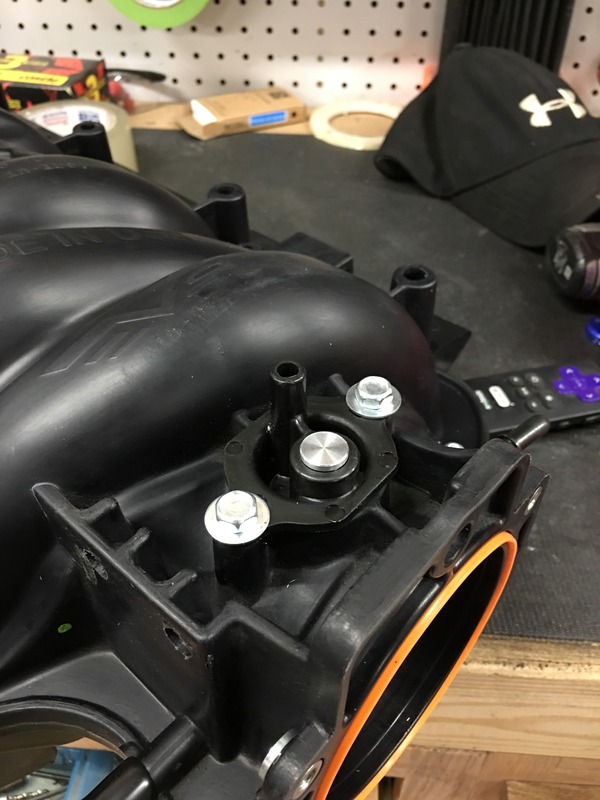
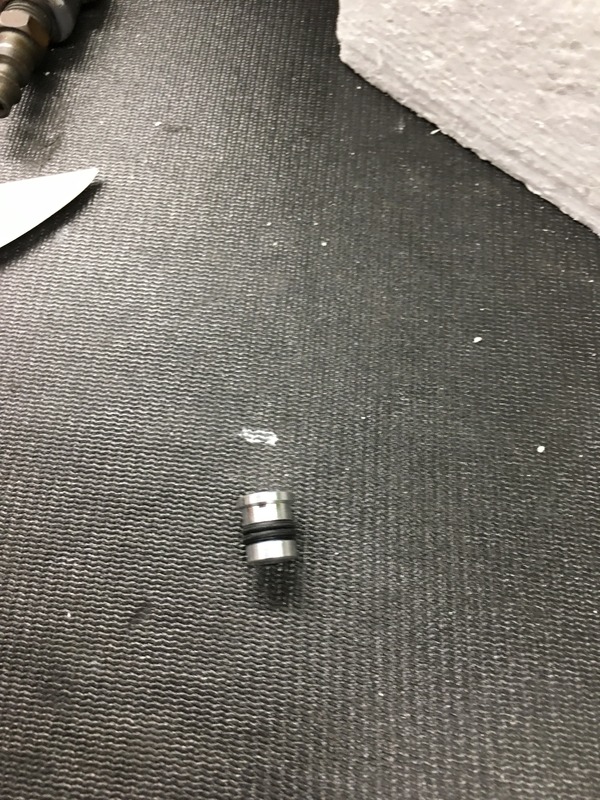
I didn't get to do it this weekend. I did end up mapping out the install first to make sure there's no fittings or hardware I need before install. The only thing I noticed was there is an extra port on top of the intake for the egr I guess? I had to plug it. My solution problem isn't that elegant but it'll do for now. I just machined a little plug with a couple o rings.
So I got around to it after work yesterday. Didn't really take too long although I had some issues. I'll elaborate.
First, there's a vacuum port on the rear of my ls6 intake that this one was lacking. I noticed there was a torx screw in the general vicinity that was sealed with sealed. I removed it and it went into the intake. Good, perfect spot for a fitting. Of course the auto parts store doesn't have a fitting with the small thread I needed so I machined a stainless nipple (ac vacuum hose is what goes here) and threaded it with a 10/24 die and tapped the intake for that. Voila. Instant vacuum port.
Next, so I set the intake on the motor for mockup. Well the map sensor wire didn't reach. Cut some tape off the harness to free up slack. No problem. The coolant crossover tube in the front sits up a touch too high. I was able to bend it down just a touch by hand and it cleared. Maybe this is why some people cracked intakes when putting them on for the first time. I could see that being an issue if left unnoticed.
The brake vacuum hose went on good. No issues there. The evap port on the front driver side by the throttle body was angled the wrong way (probably just gto related) because it was aimed at my power steering reservoir bracket. Slotted the homes, turned it a little.
Bolted throttle body on, wouldn't open. Damn. 92mm throttle body, looked like in preliminary checking that it ha clearance. Nope. I'm already done and at this point I'm not taking the damn thing back off. Out come the die grinder and a vacuum. Very carefully clearances it while vacuuming chips and dust. I know, the horror right? Well at least it's not aluminum! I kept it clean so I'm not worried about it. Time for a test drive. Of course my shift points and lockup are out of whack now. Engine fired right up like nothing ever happened. Made a few throttle adjustments to get my iac counts right and it's purring like normal. Back to the shifting. Yea it's shifting out early. Made some adjustments on hp tuners and got it better. When I got home I opened up the trans tool utility I downloaded and revamped the whole table for the bigger throttle body. After doing a few logs I noticed I'm only getting 80% throttle. I noticed that also when putting it together. Not sure what's up with that but I'll have to figure that out tonight. I can't comment on the power difference because the roads were wet last night. Supposed to rain all week so it may be a few days before I can get on it.
For those that dont have access to machine shop or would like a cleaner look without using a tap to tap the threads we do offer a bulkhead with 3/16" hose barb to work. Just drill a hole, screw bulkhead together, apply teflon sealer or silicone to threads and screw nipple in. Even comes with rubber washers to seal.
While it may cost a little more than a drill bit, tap, and brass or ss nipple, it is another option available for those scared to tap the nylon.
$25 for the kit.
We will be adding them to the intake as an option preinstalled as well.
Damnit. Wish I would have known, this would have saved me a bunch of time plus it's a nice solution. That's awesome you'll be offering it with the intake. All the services you offer with that intake makes it a much better option.
I wanted to add. The fuel rails fit like factory from the ls1/ls6 intake. It came with some adapter hardware for a ls2 intake. Makes me wonder which engine this was more geared towards.
Side note: the bracket that the evap valve is mounted on slips into the same sort of mount as the factory intake has. The vent on the front passenger side is there as well. JUST MAKE SURE YOU GUYS CLEARANCE FOR A 92mm throttle body blade!
Kfxguy, your coming from a ls6 intake to the dorman with a 92mm tb? Im really interested to see if you notice much of an improvement. I believe the Dls2 with the runners smoothed out to be a step above an ls6 but no one has done a back to back dyno yet.


 05-20-2017 | 02:24 PM