When you click on links to various merchants on this site and make a purchase, this can result in this site earning a commission. Affiliate programs and affiliations include, but are not limited to, the eBay Partner Network.
Hey everyone, back again. Got some new updates and such.
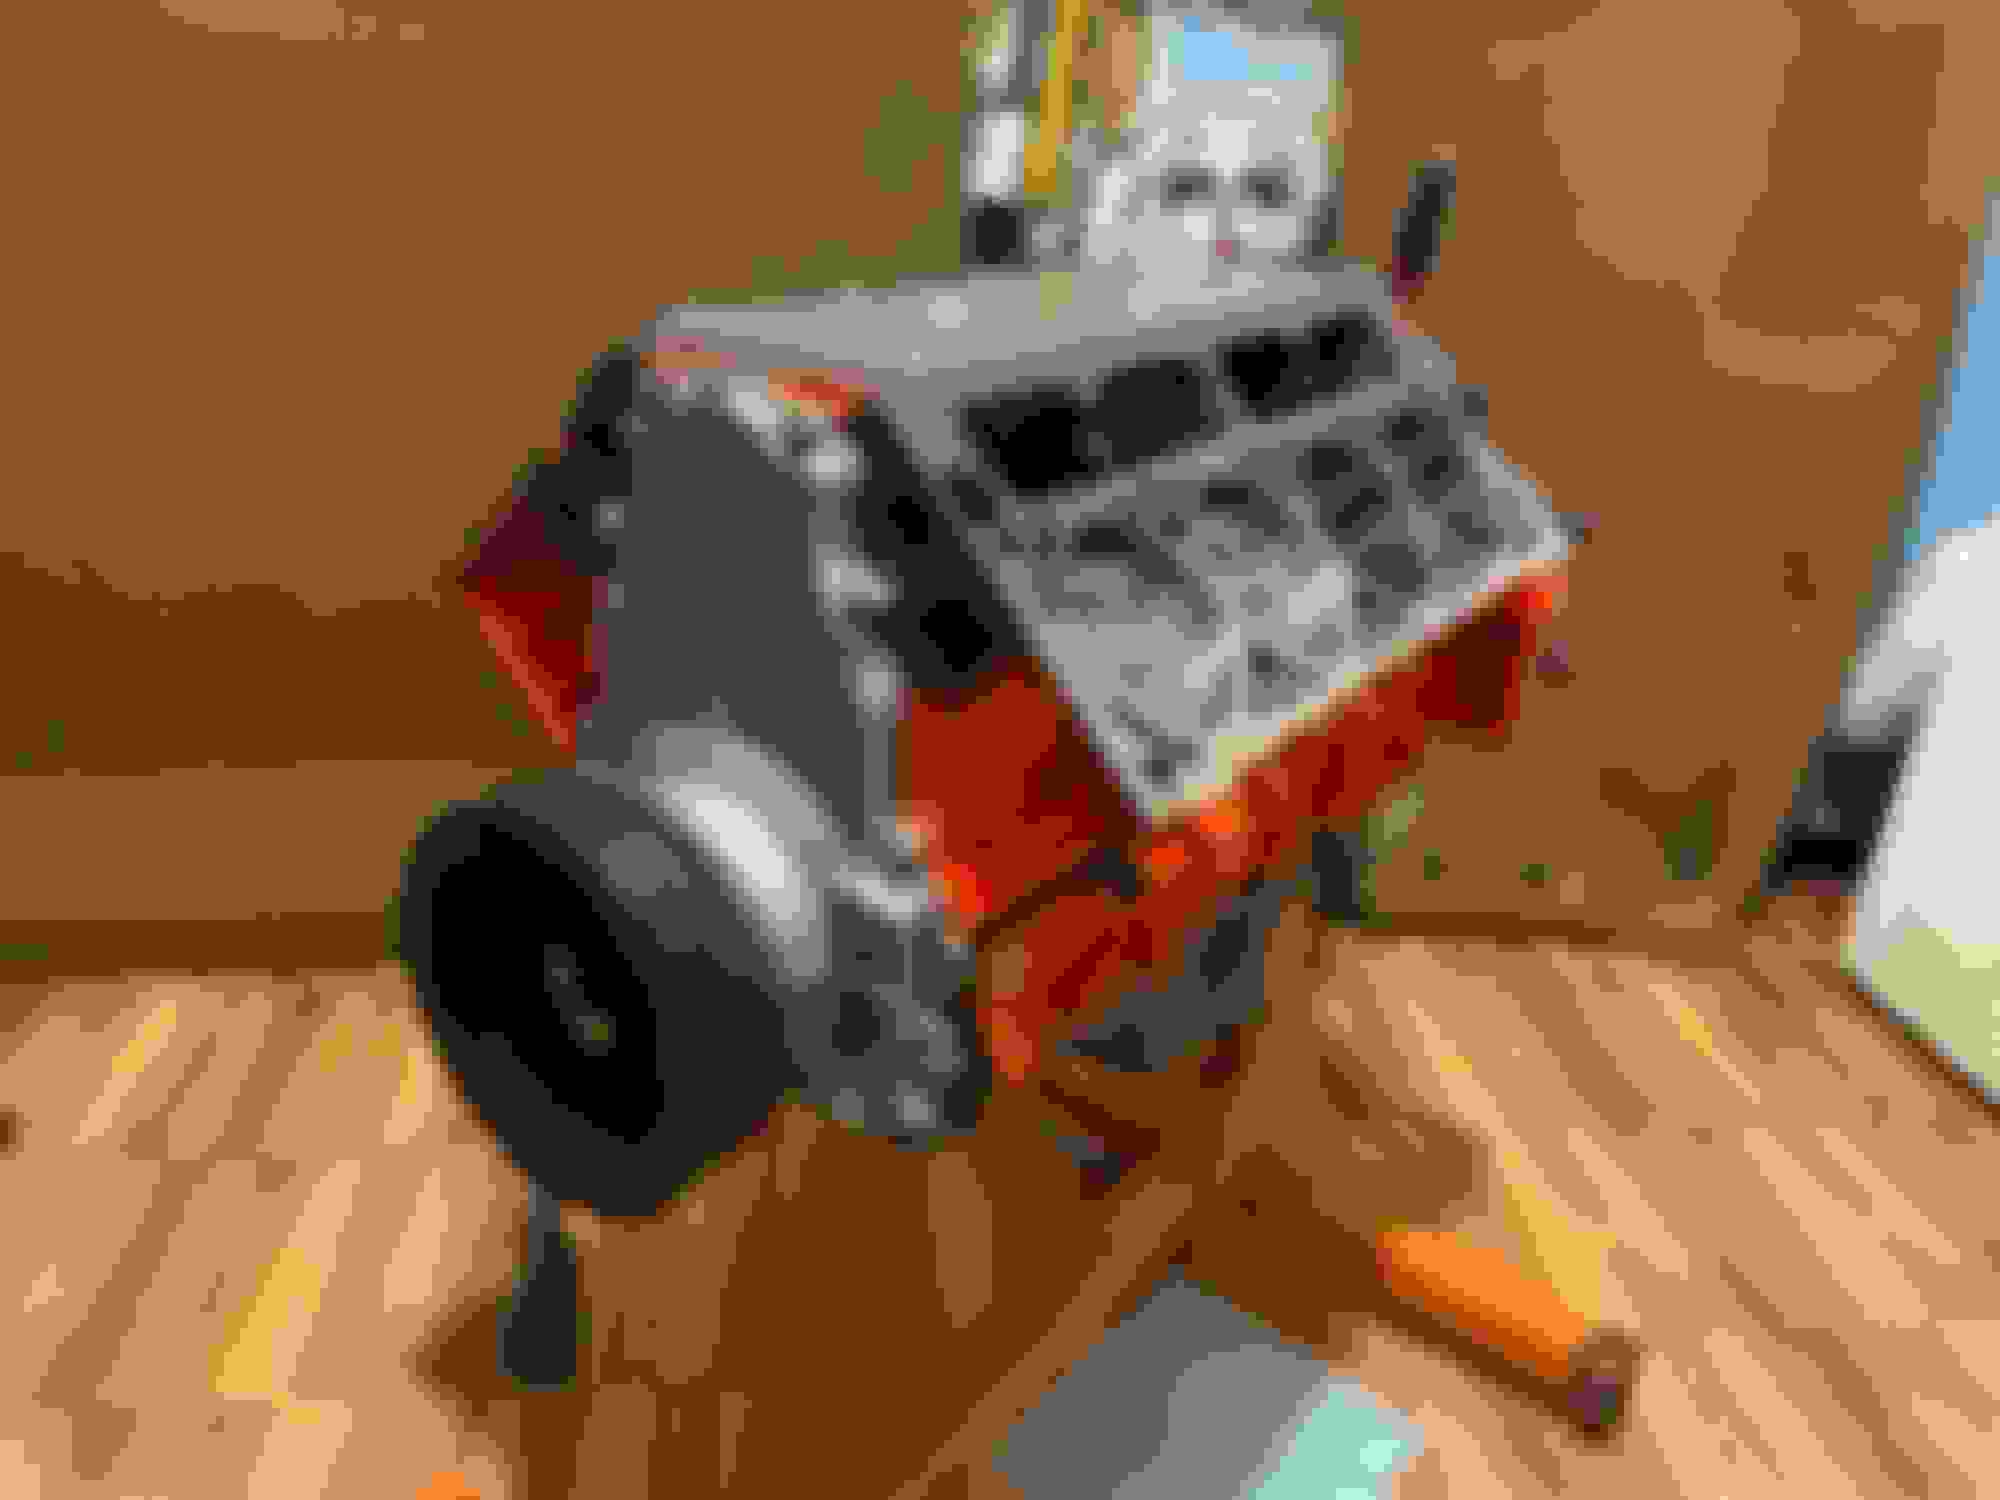
It�s close to a year already that I�ve been daily driving my wagon with my 6.0L LQ4/LS swap.
My impressions and expectations have been far exceeded!
This wagon just loves to cruse at 70MPH @ 2kRPM, with that said gas mileage on the highway is awesome, 28-32MPG. This is with a personal tune I did with HP Tuners JUST for drivability, I have yet to actually get a full dyno tune.
Now that a year has passed and some of us got our income tax returns (aka Car Project Stimulus Package LOL) its time for the 2nd and final stage of my build.
1st Stage was to just get the swap done and iron out any issues that may happen; Also it was to give the engine time to 'break-in' even though it takes actual less time, in my mind I wanted to give it a full year before I really start to give it the final upgrades.
So whats in Stage 2?
That means replacing that junky LS2 intake, swaping the stock 'upgraded' rockers for full rollers, getting a better transmission crossmember, new drive shaft, rear diff-girdle, lastly getting this thing tuned at the dyno!
So now is ordering....
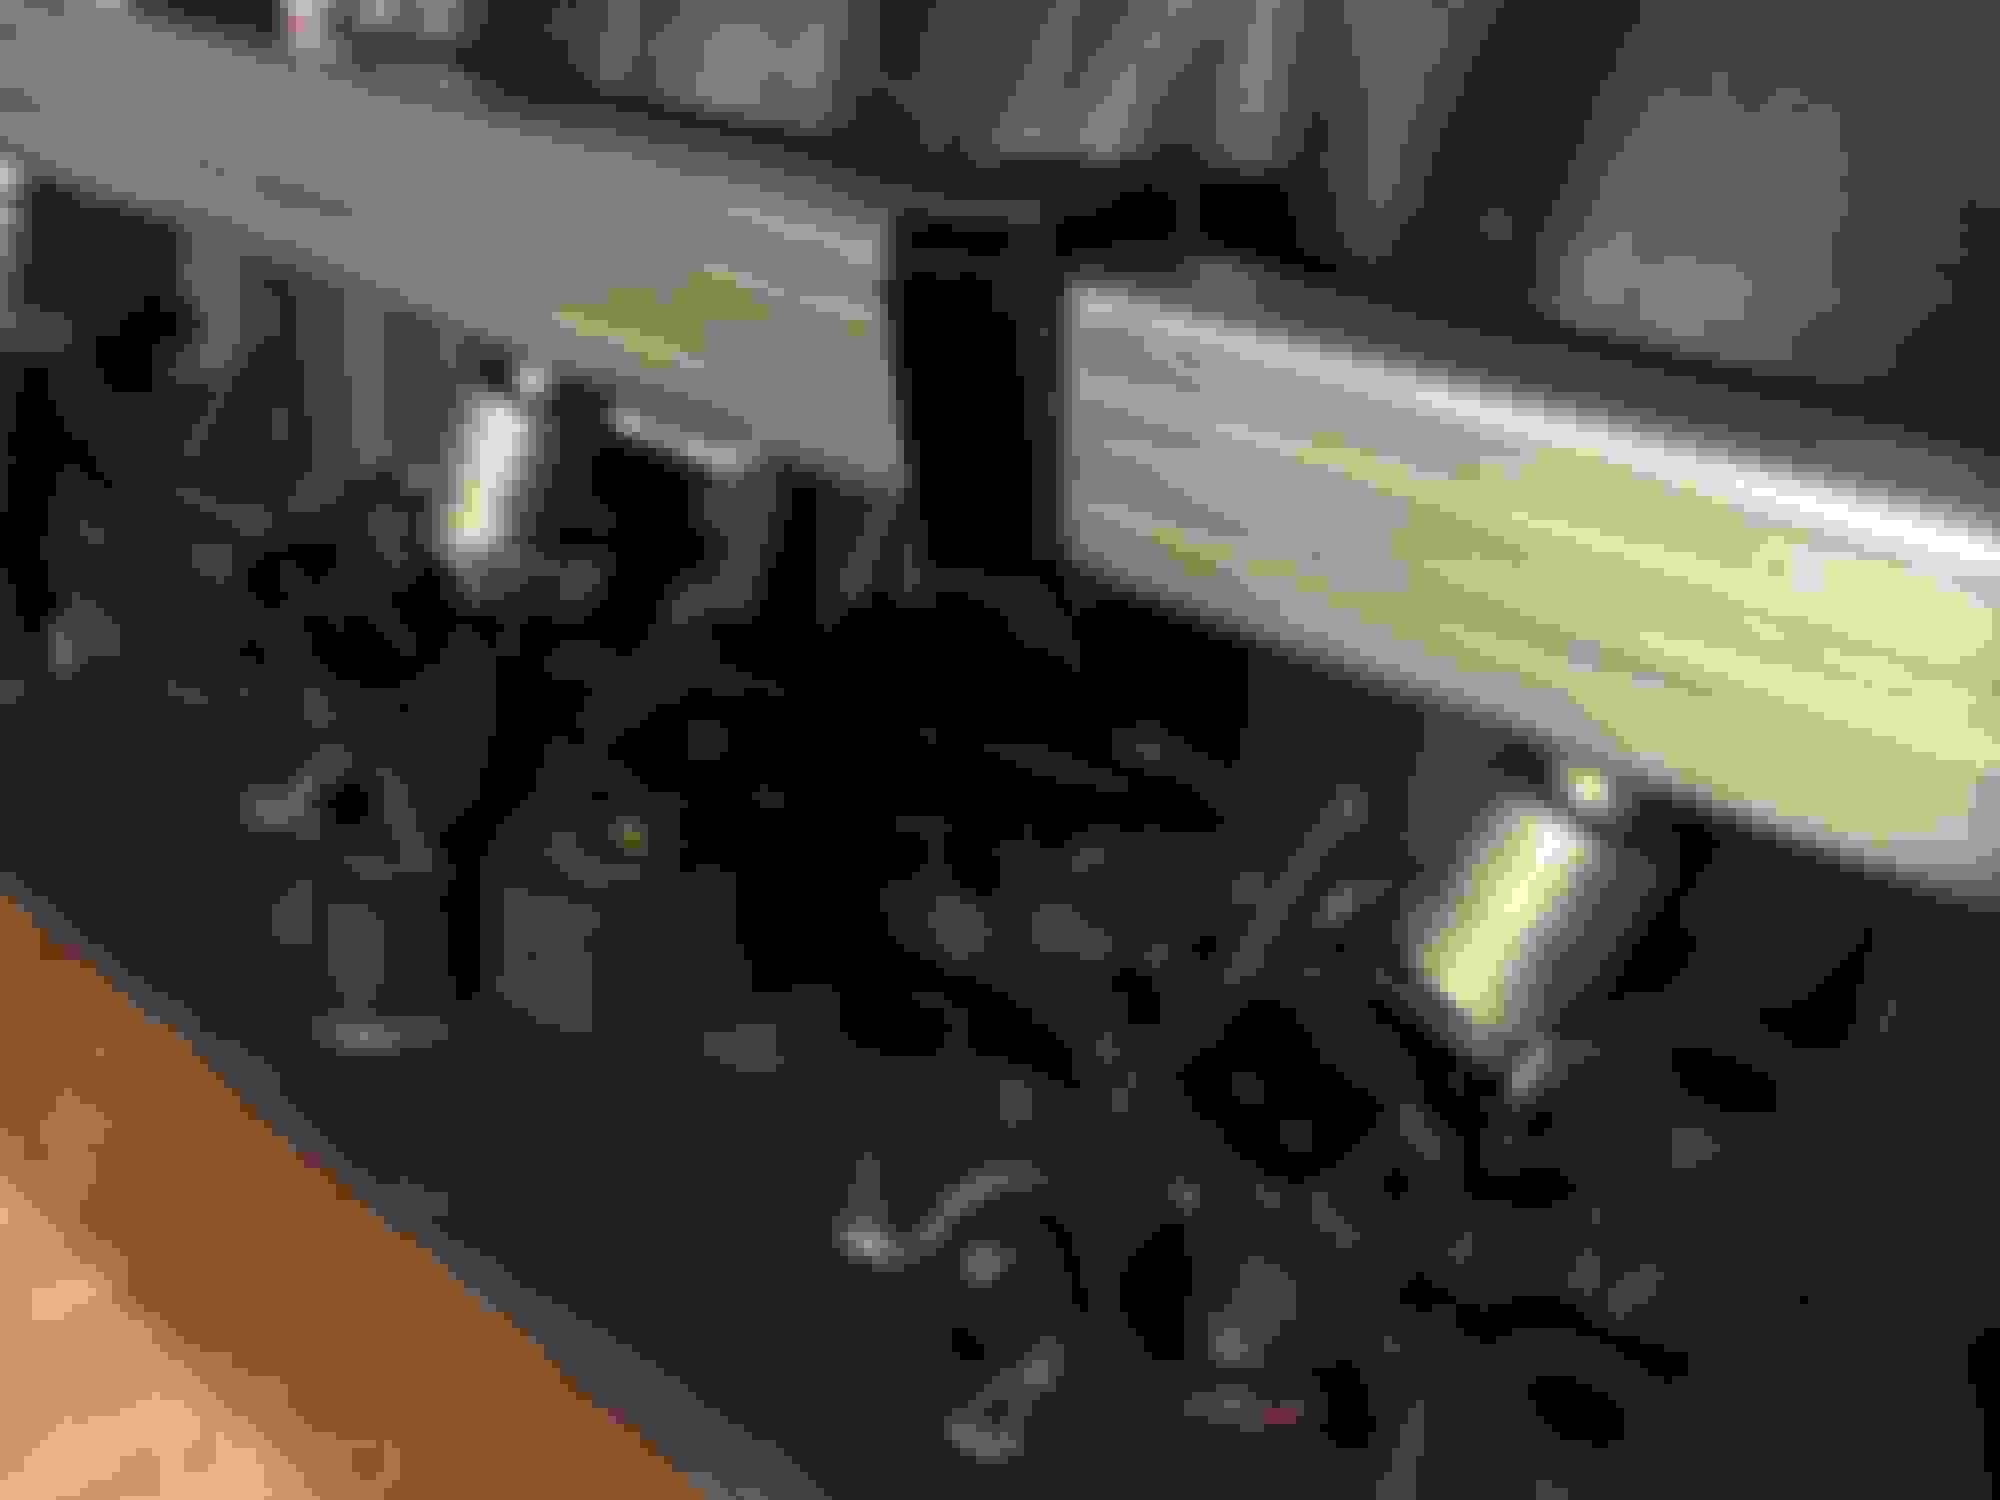
(no picture, yet) First order was ordering the crossmember for the transmisson. The original crossmember is large and bulky, plus it hides some mounting points on the transmisson that I wanna use to create a bracket to hold some exhaust hangers. Also its a tubular crossmember which is lighter and again, give more room for the exhaust as I plan to to add some electric exhaust cutouts in the future hehehe. I went with a Crossmember from Clear Image Automotive.
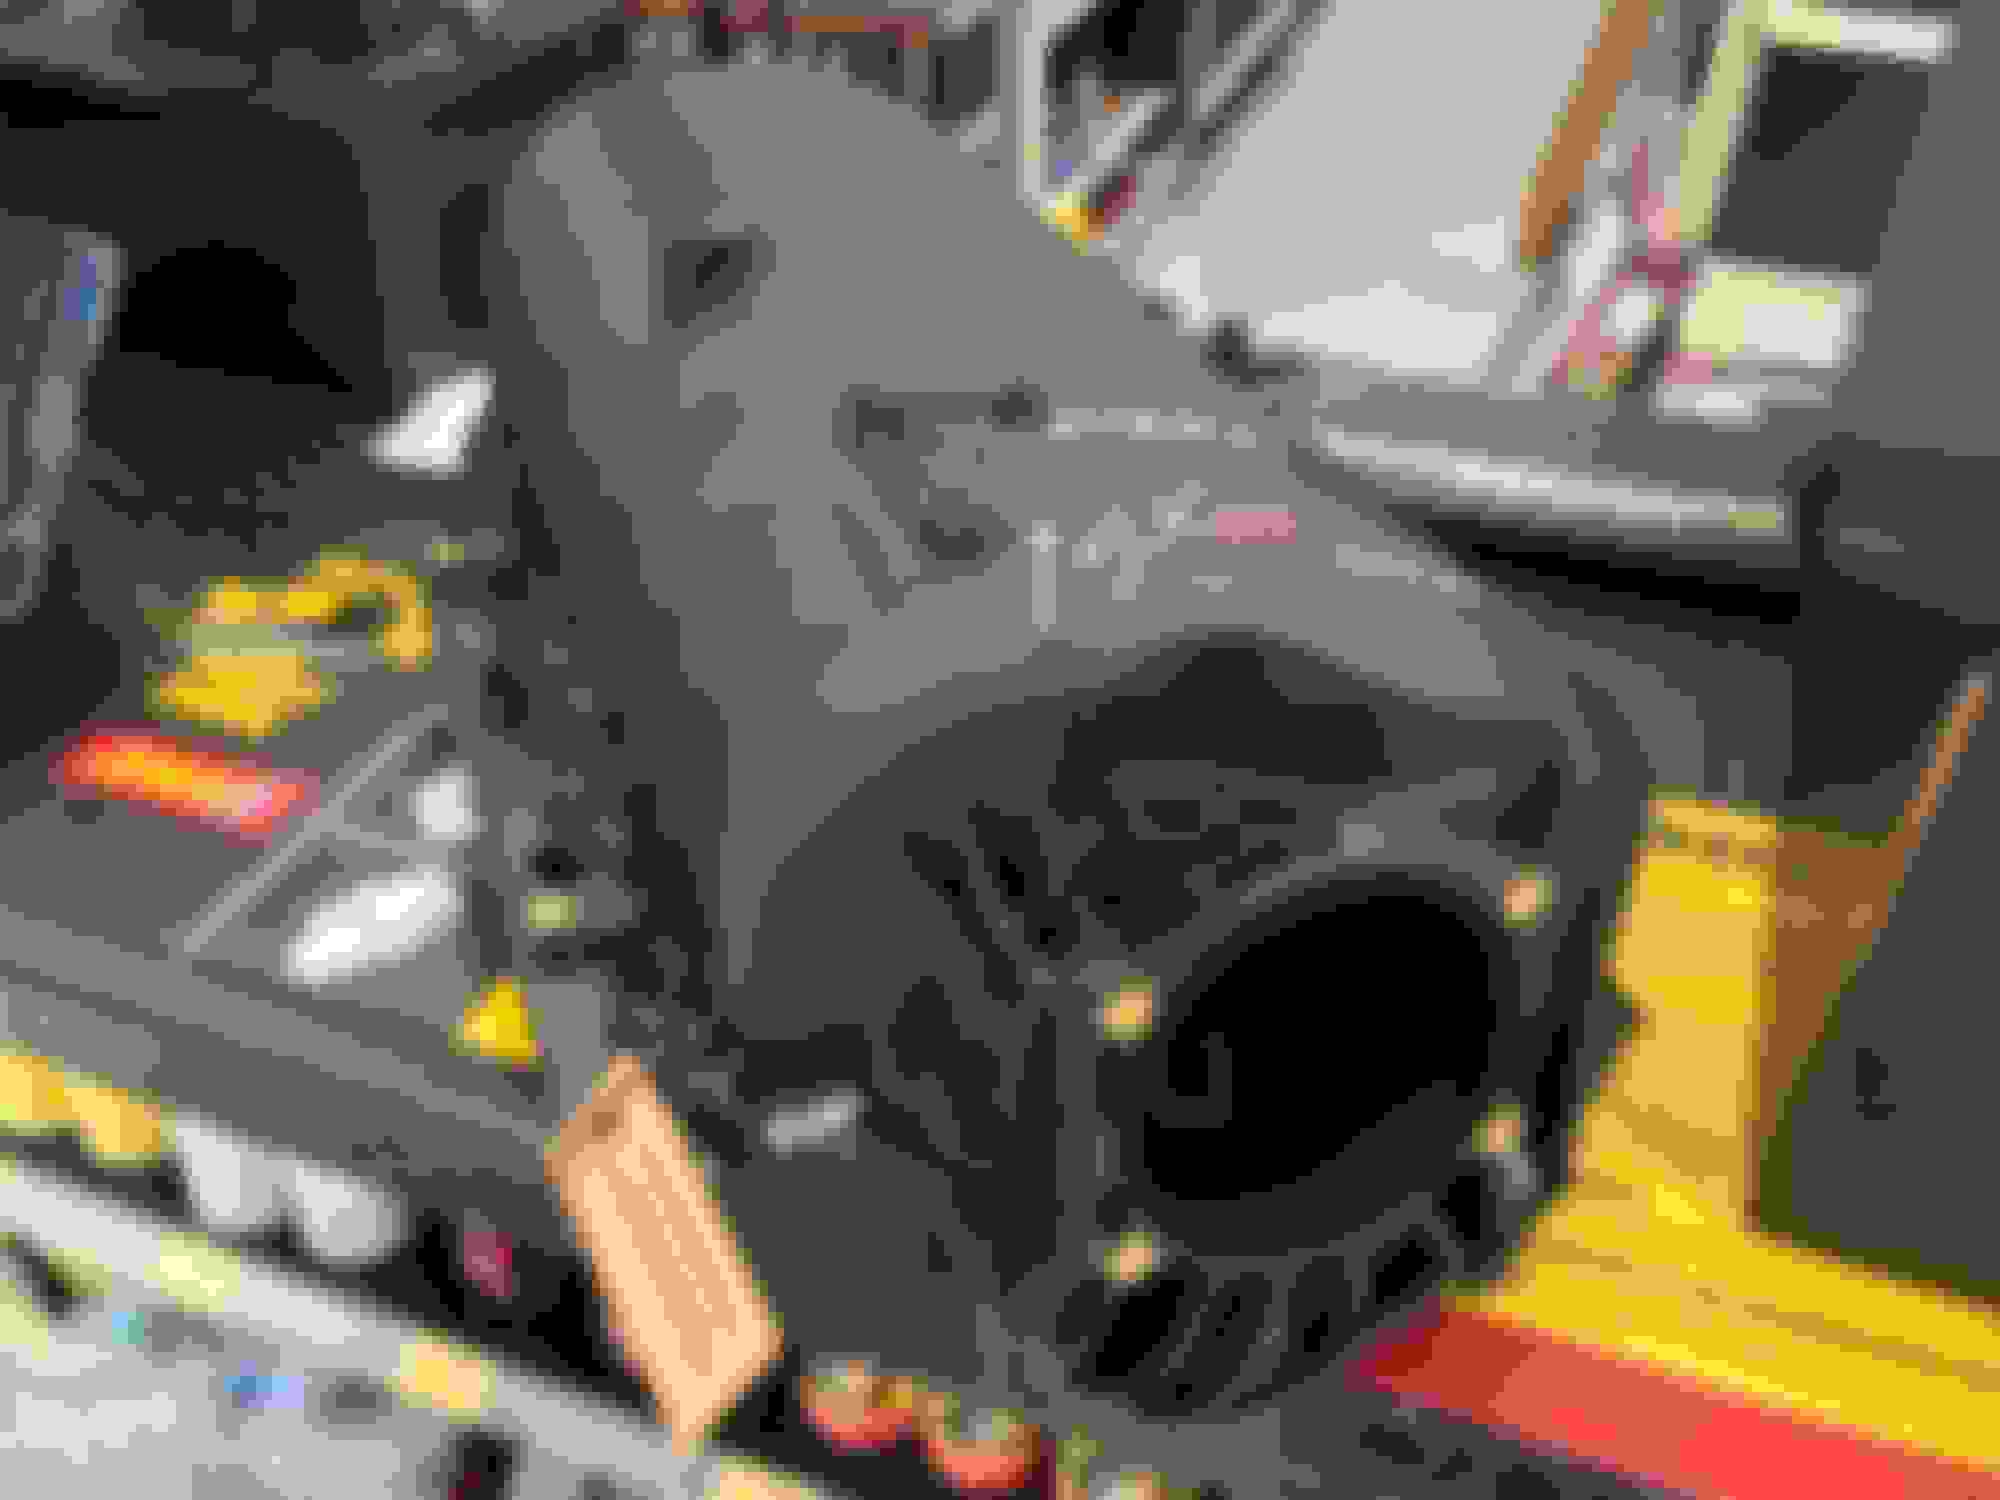
Next was was getting a new intake. I had options but i wanted something that was gonna be more or less a 'direct fit'.
My choice was a FAST LSXrt truck intake. looking at some of the numbers and air flow it looks like it will help (just a tad) low end torque. Also there is good amount of clearance under the hood of the wagon to actually use it. There are some out there who have 90's B-Body (Caprice, Impala, Roadmaster) use the stock truck intake in their LS swaps without any clearance issues so using the LSXrt is a good choice for me.
I did have to go find a new fuel rail off a 2010-14 Chevy truck. I found the square rail to be the best choice for me, with just one fuel line feed in and also with Flex fuel injectors give me what I needed. Personally, I like the look of the square rails, they look better than the plastic round fuel rails, also the flex fuel injectors are a good future option if i so choose to enable and run flex fuel in the future. Currently though I�ll keep it using just normal gasoline.
Third was ordering some new roller rockers. While the factory 'upgraded trunnion' rockers are good, I have some concerns about it clearing the double valve springs I have. To me they were just way too close to the edge, also I've been trying to pin-point a small 'clatter' in the valve train at cold startup. I've been reading and also been told that LS engines have a pretty bad tendency to have piston slap at cold start up and thats what I'm trying to pin-point.
Anyway, for roller rockers I didn't have much choices as one of my requirements that the rocker must be made out of steel or stainless steel and I did not want ANY aluminum rockers. This is my choice alone, as mentioned above, this is my daily driver and while aluminum rockers give out the best performance its weakness is longevity as some have had them split in two due to machining and other factors. I feel more confident in Steel or Stainless Steel, even though its heavier on the valve train I'm not going wide open throttle all the time.
Another requirement was I wanted them to be 'drop-in' rockers, I do not have the luxury of adding spacers or using bigger valve covers as on the passenger side of the wagon was already tight and adding different valve covers wont fit.
My choice was PRW's PQx Stainless Steel roller rockers as they are advertised as 'Drop-in' Sadly I was hoping they offered it in a 1.8 ratio as my camshaft would work well with higher ratio but the stock 1.7 will be good until an upgrade is available.
My next post will be me starting to install some of the stuff ordered. So stay tuned for that.
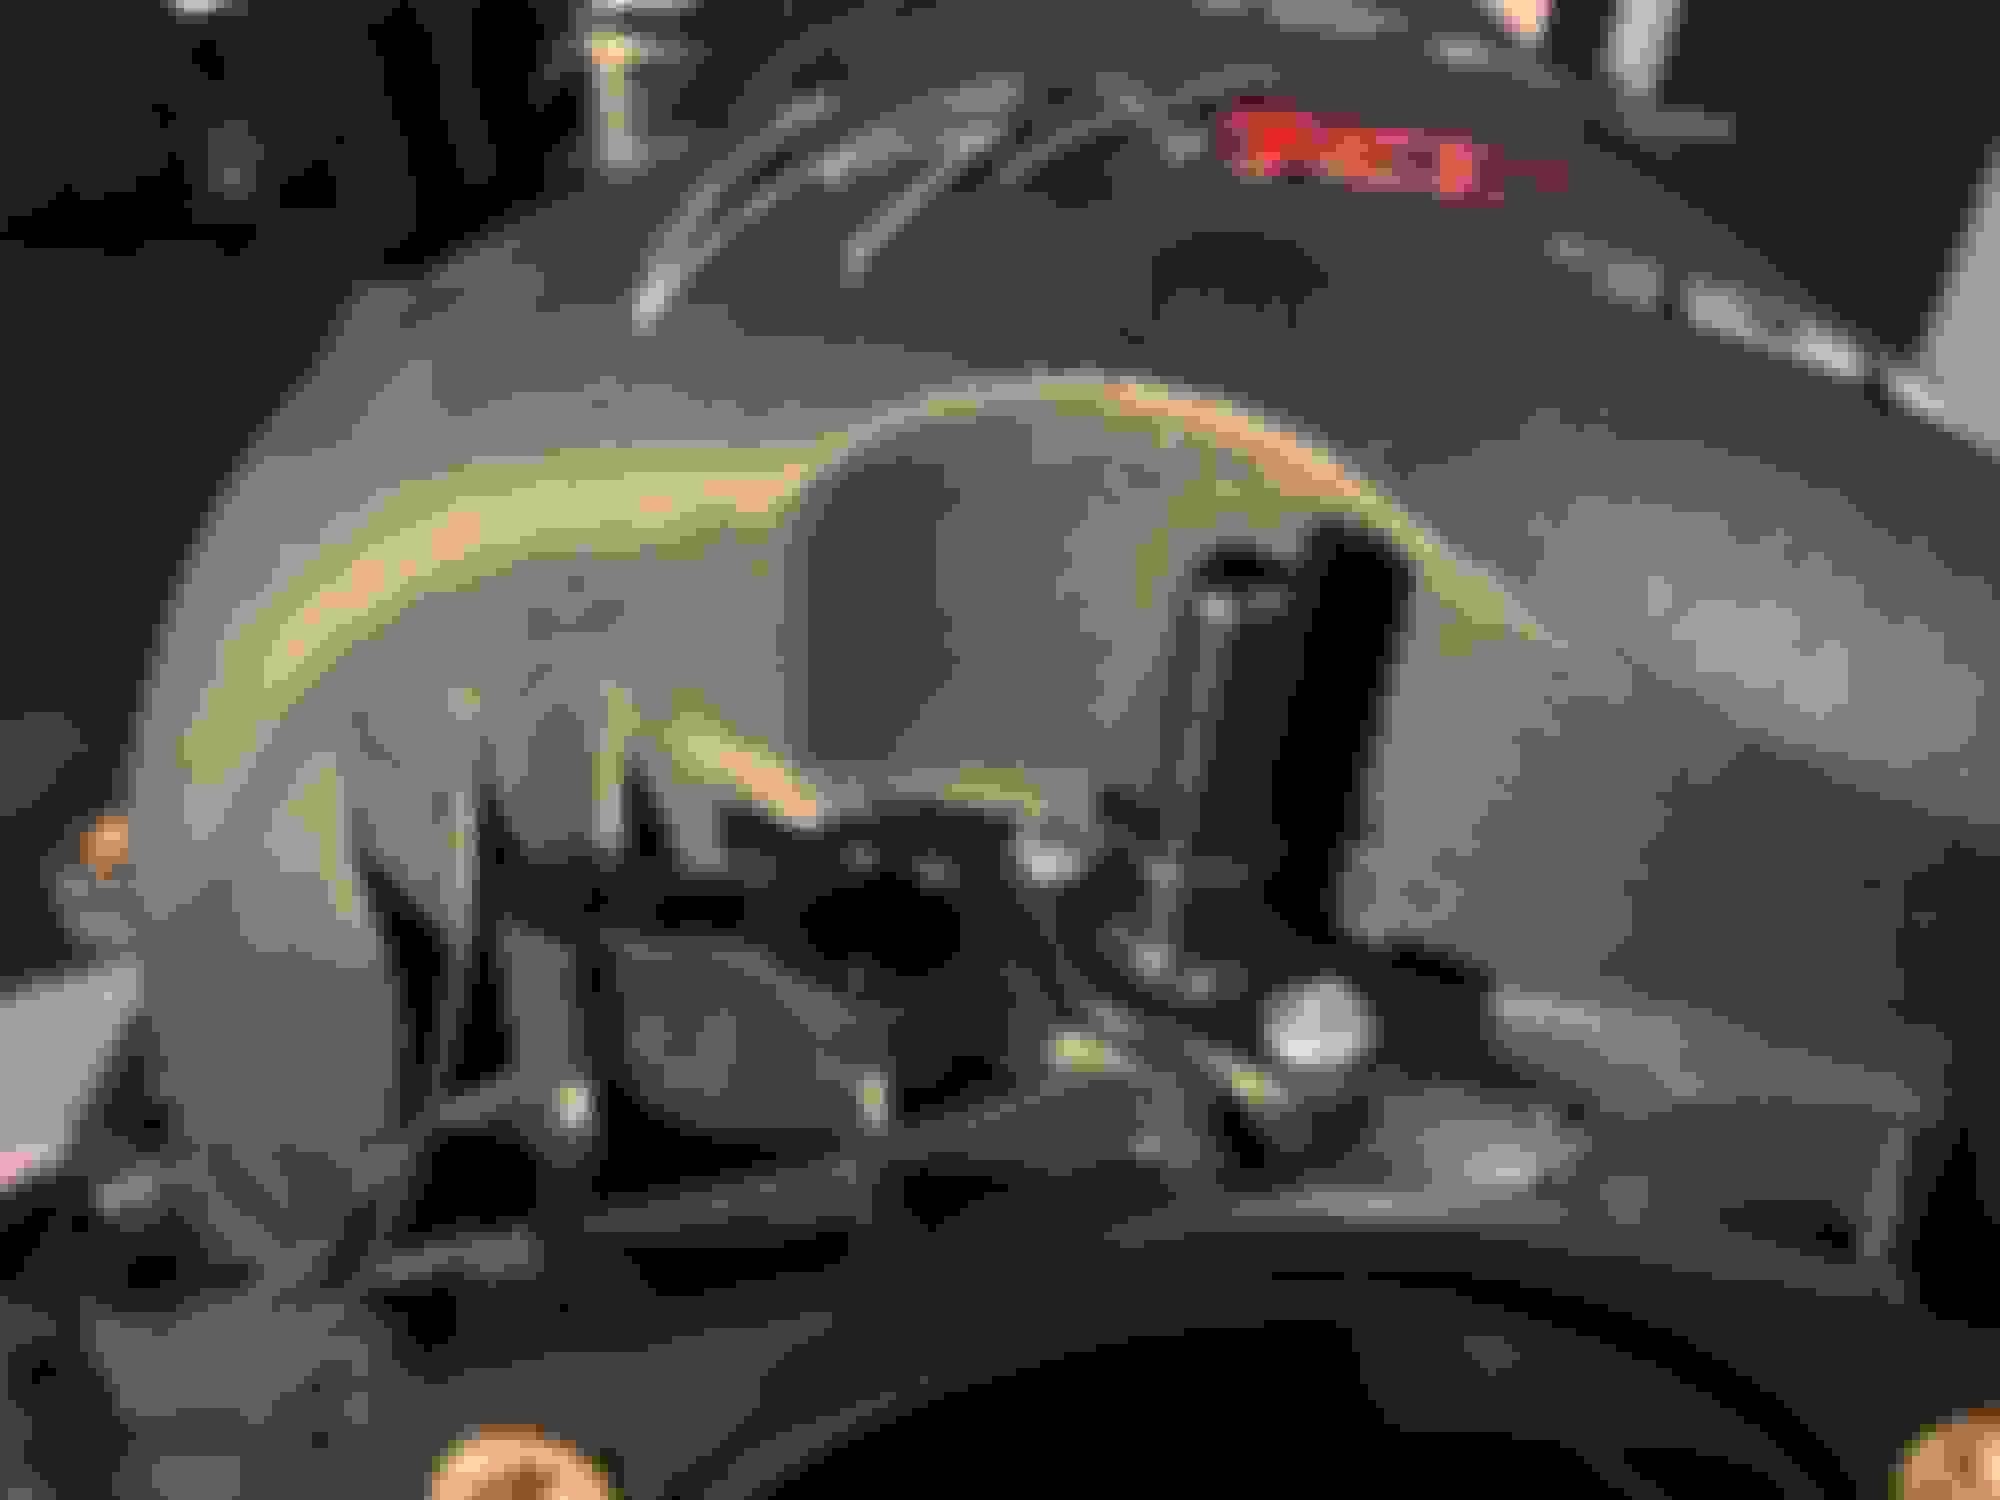
Been a busy few days but now installing some of the ordered parts.
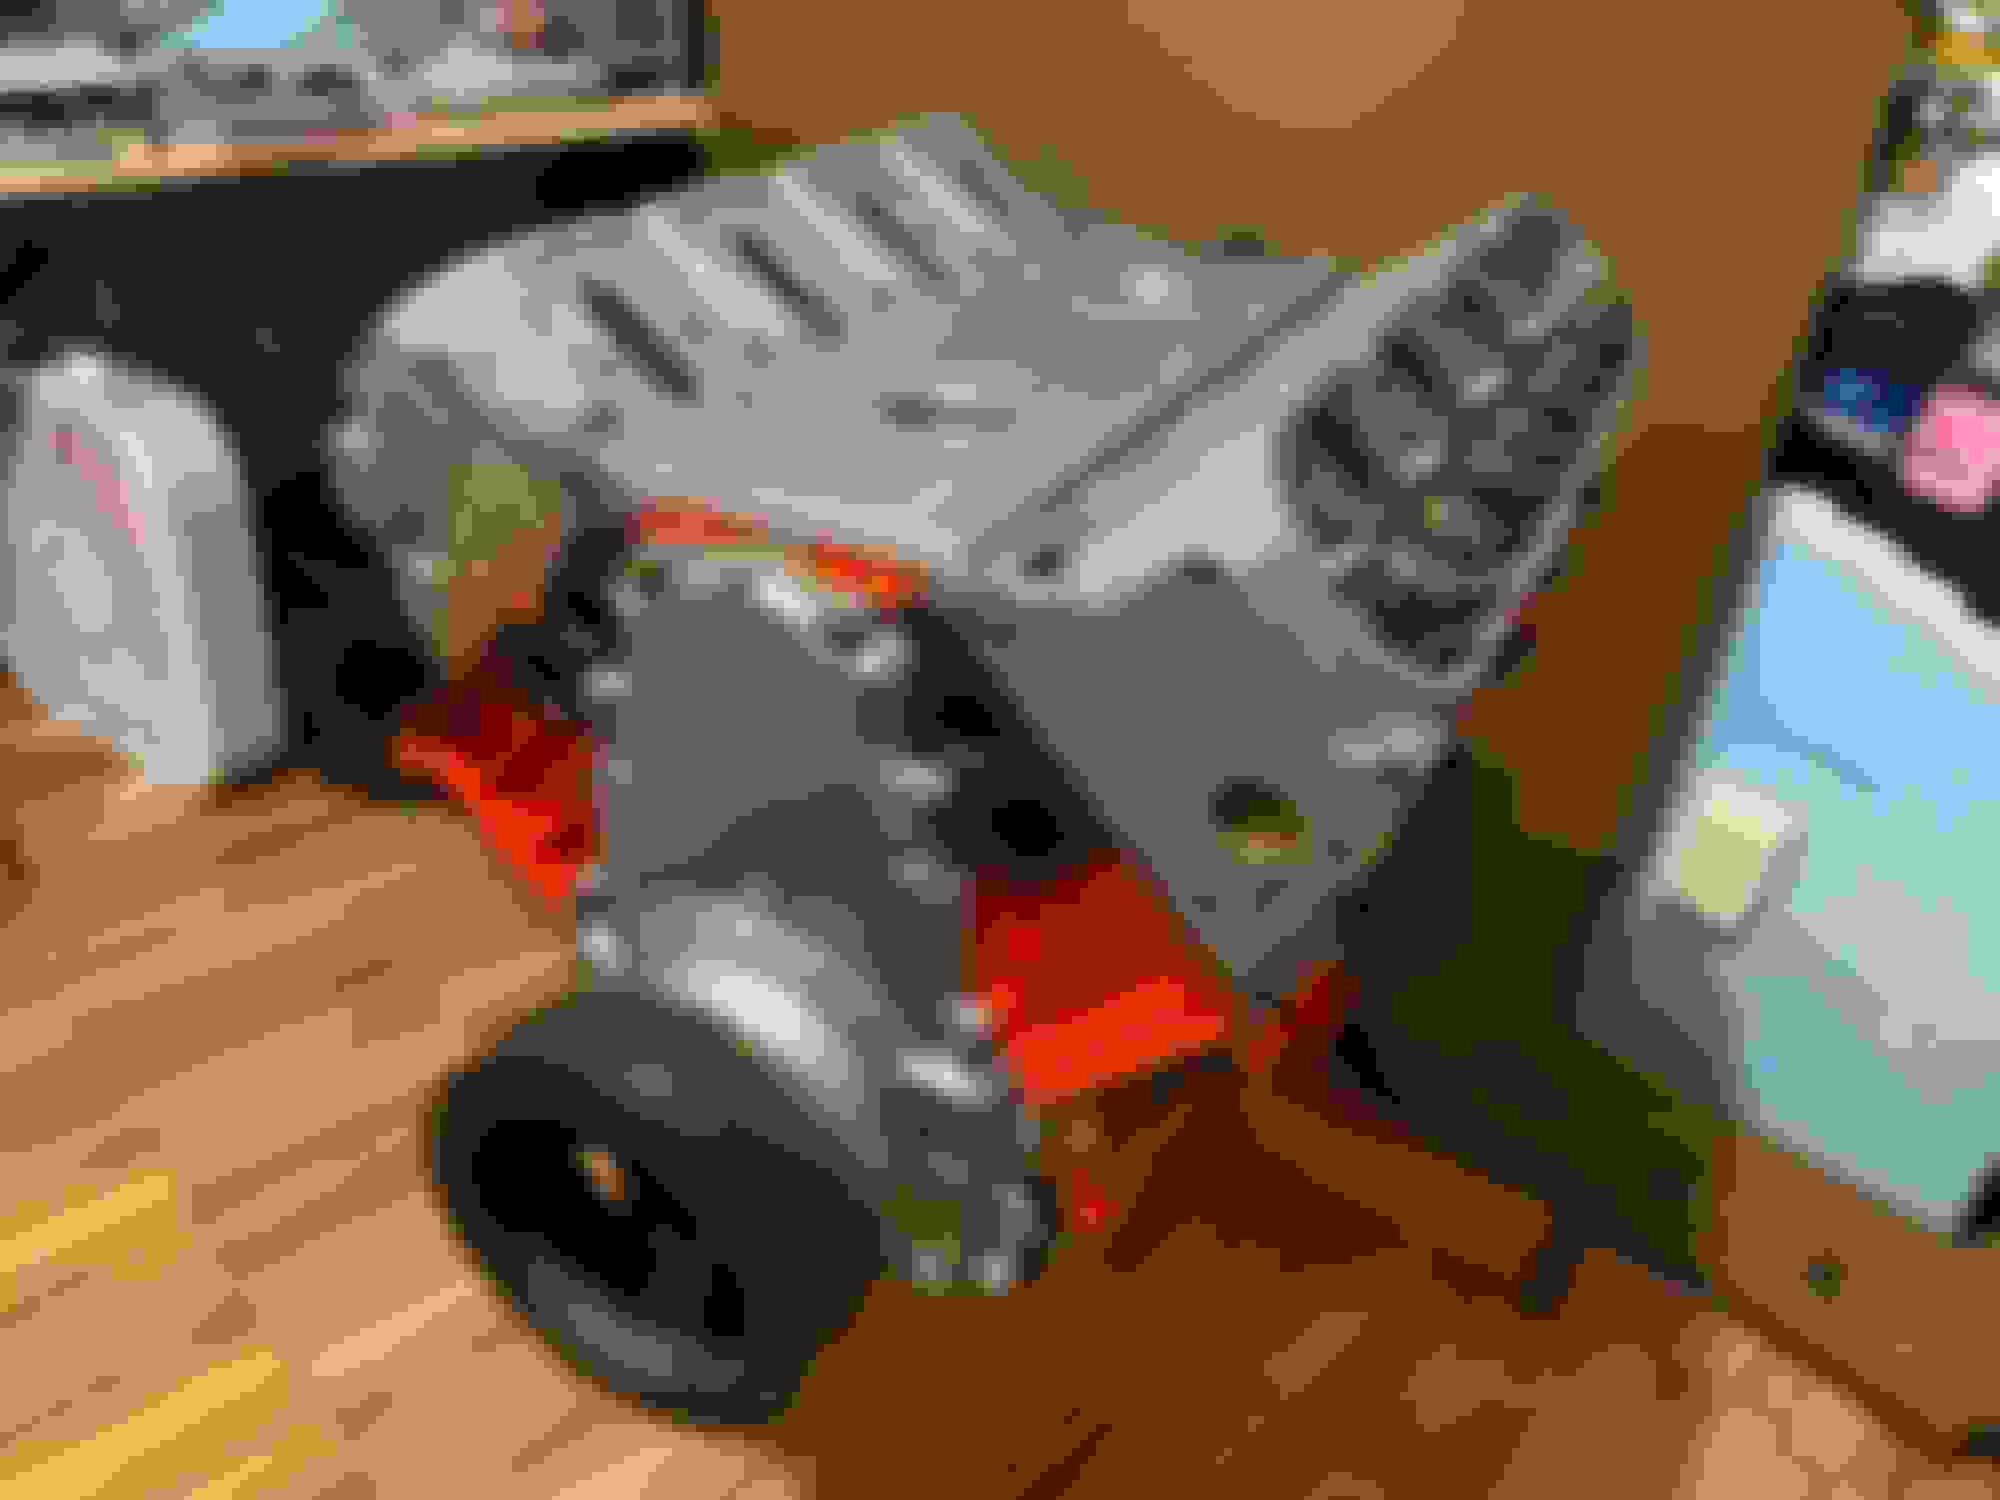
This will be installing the PRW full roller rockers.
Pretty much self explanatory but a few things to note and the reason why I'm doing this rocker swap.
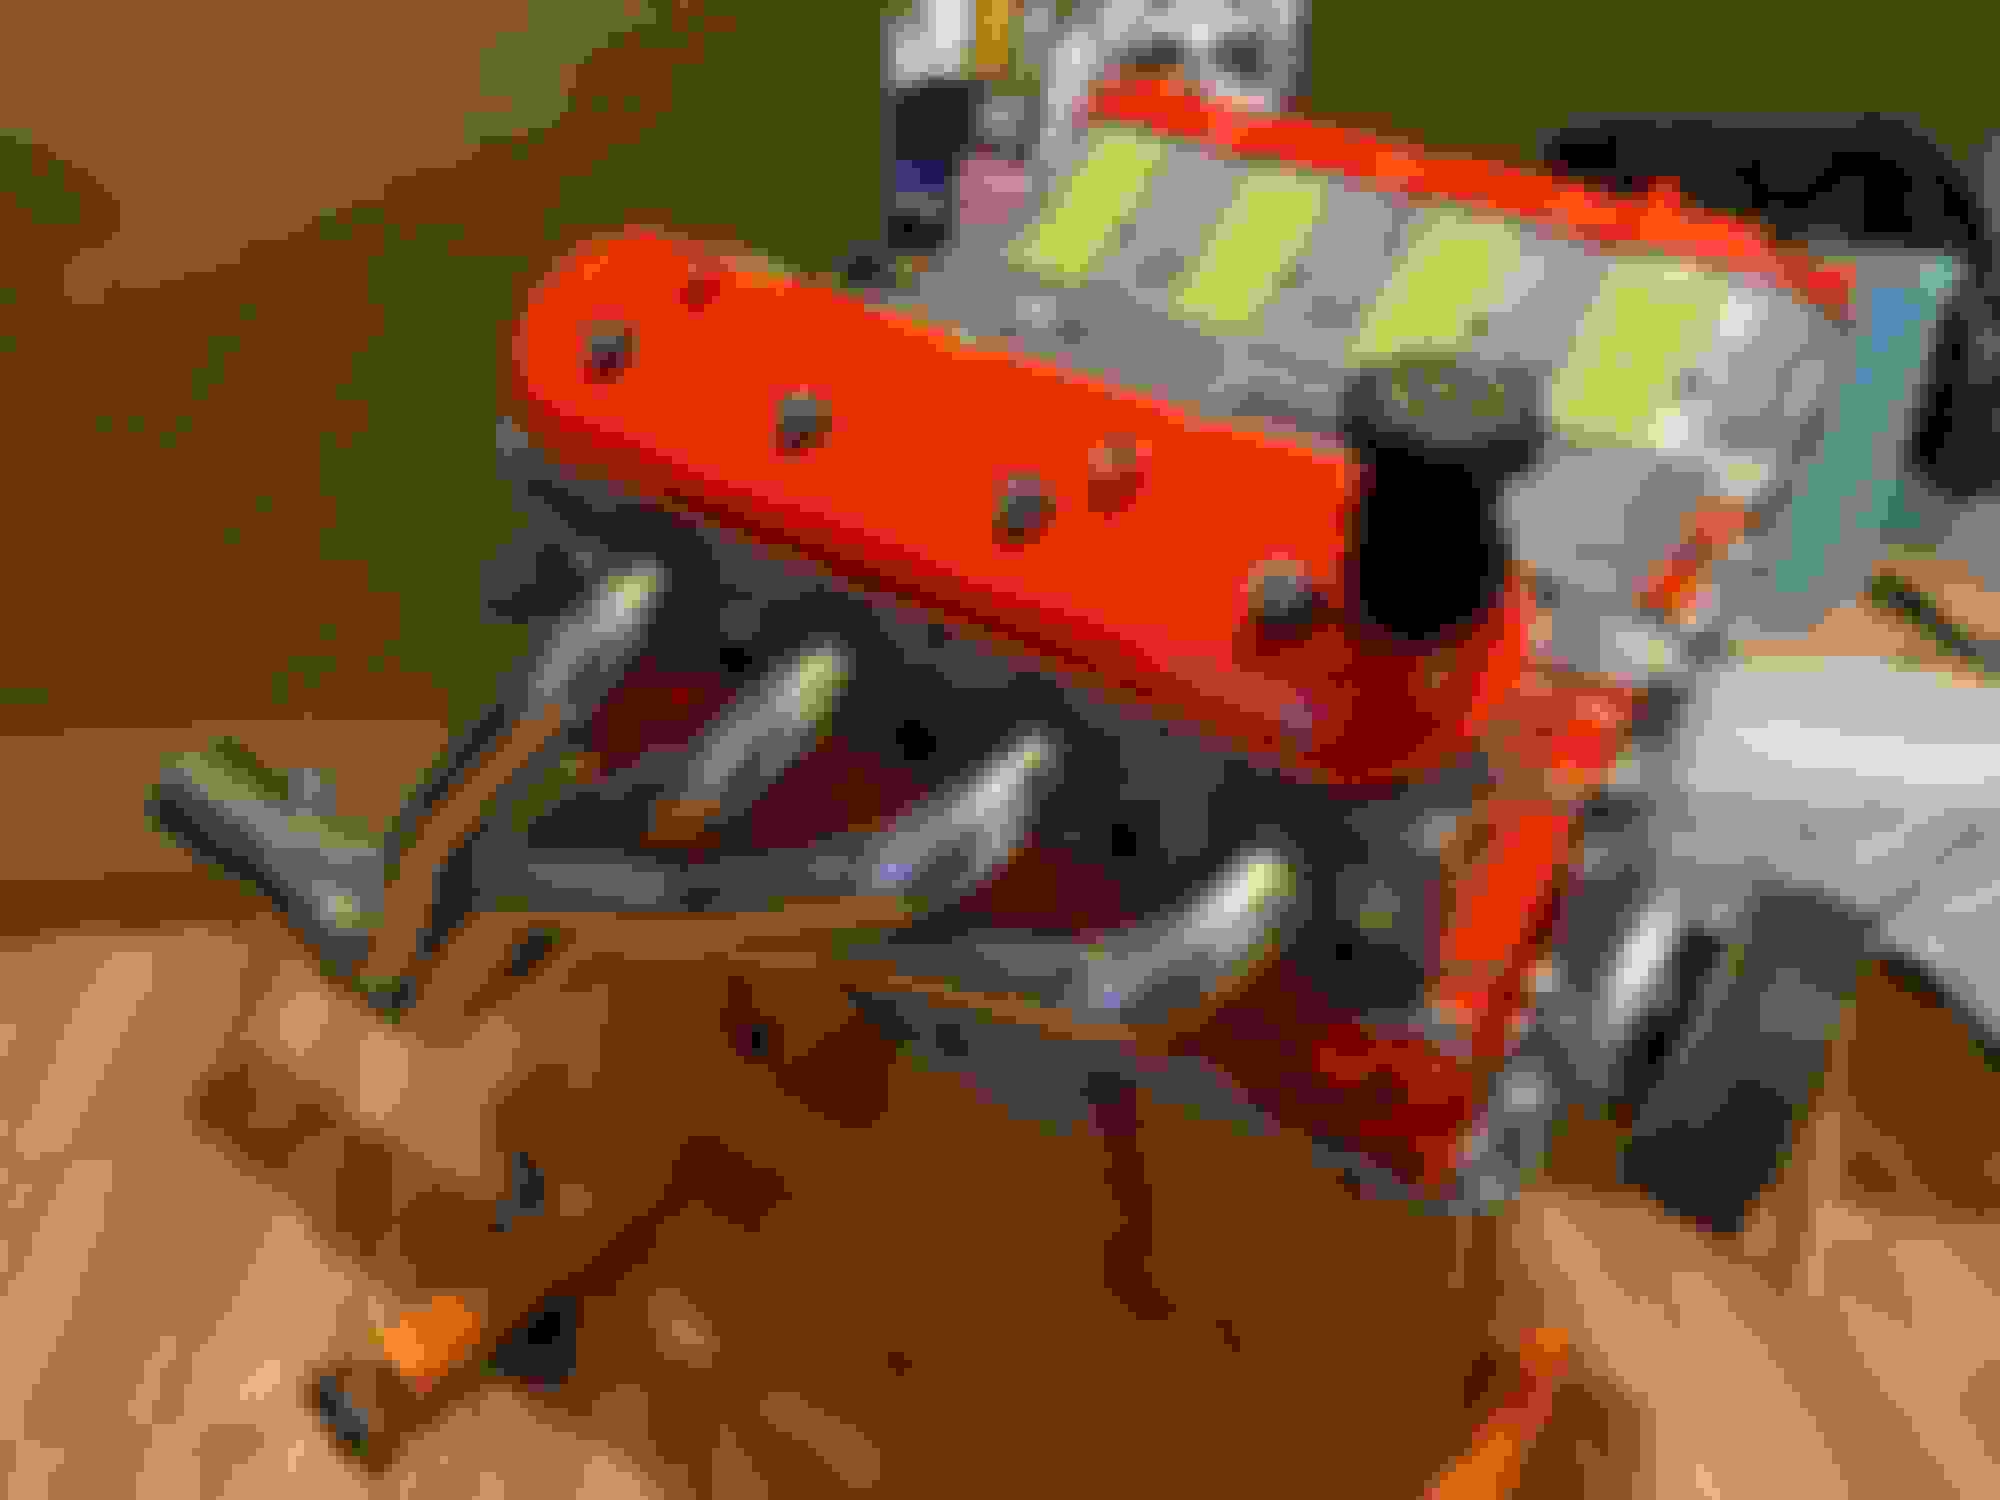
The PRW PQx (Platinum Series) Stainless Steel rockers are advertised as 'drop-in's (not really-ish, more on that later) part no. 0234631
I had previously installed some ARP rocker arm studs on my factory 'upgraded' rockers part no. 234-7207 so did not use the supplied fasteners within the rocker kit.
Upon installation I did have to back out the ARP stud a few turns as it looks like the mounting surface on the rocker was more higher.
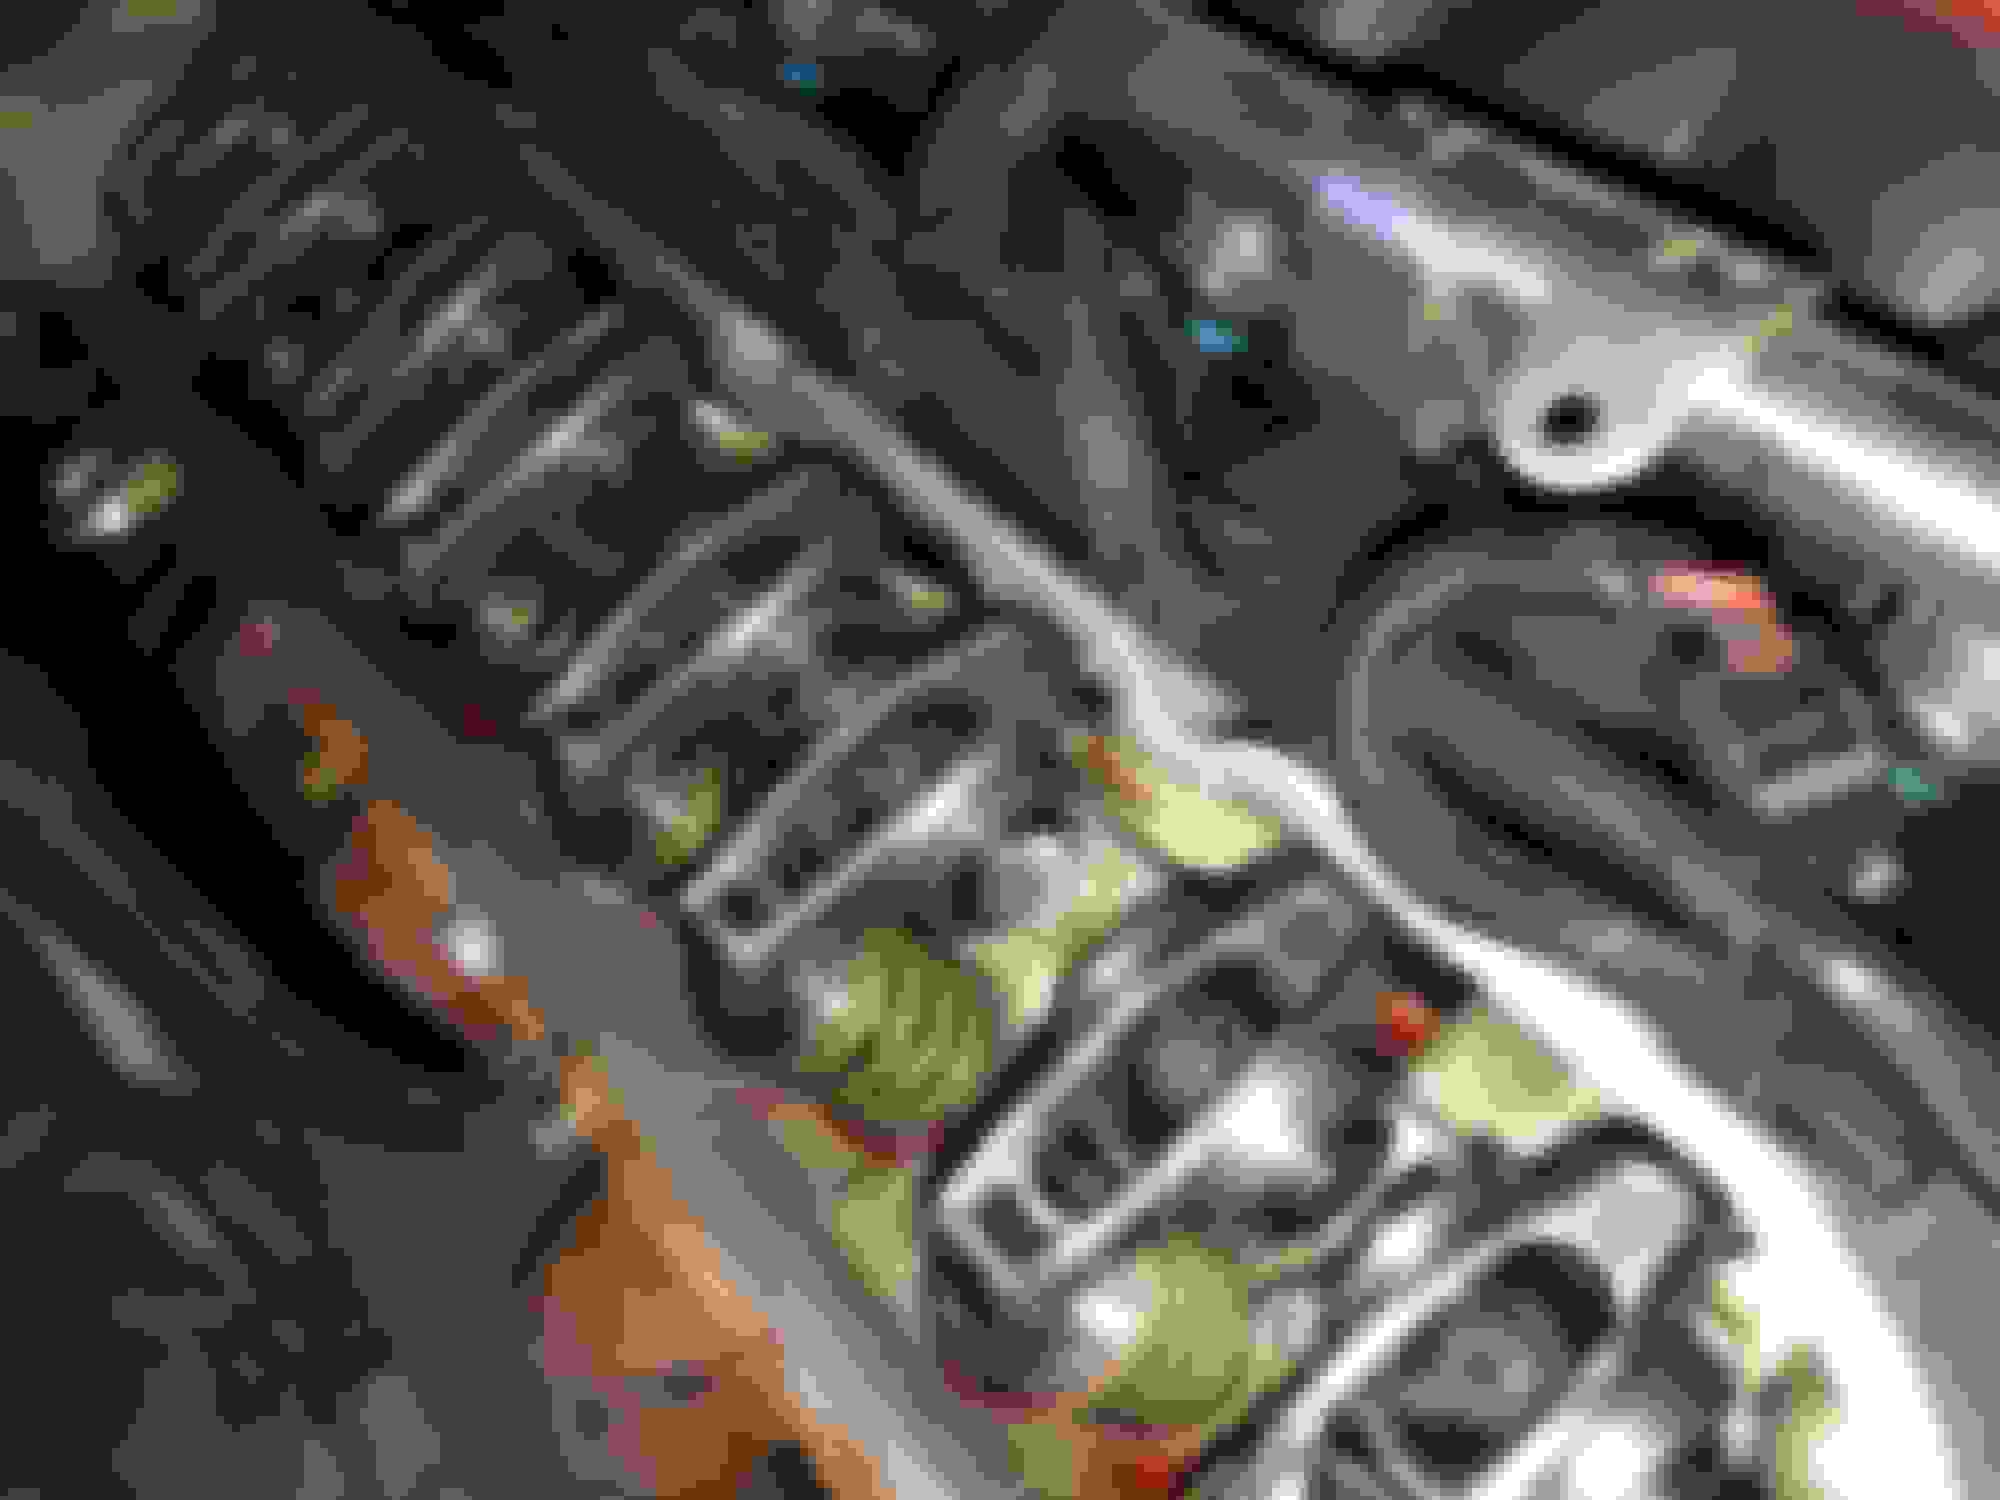
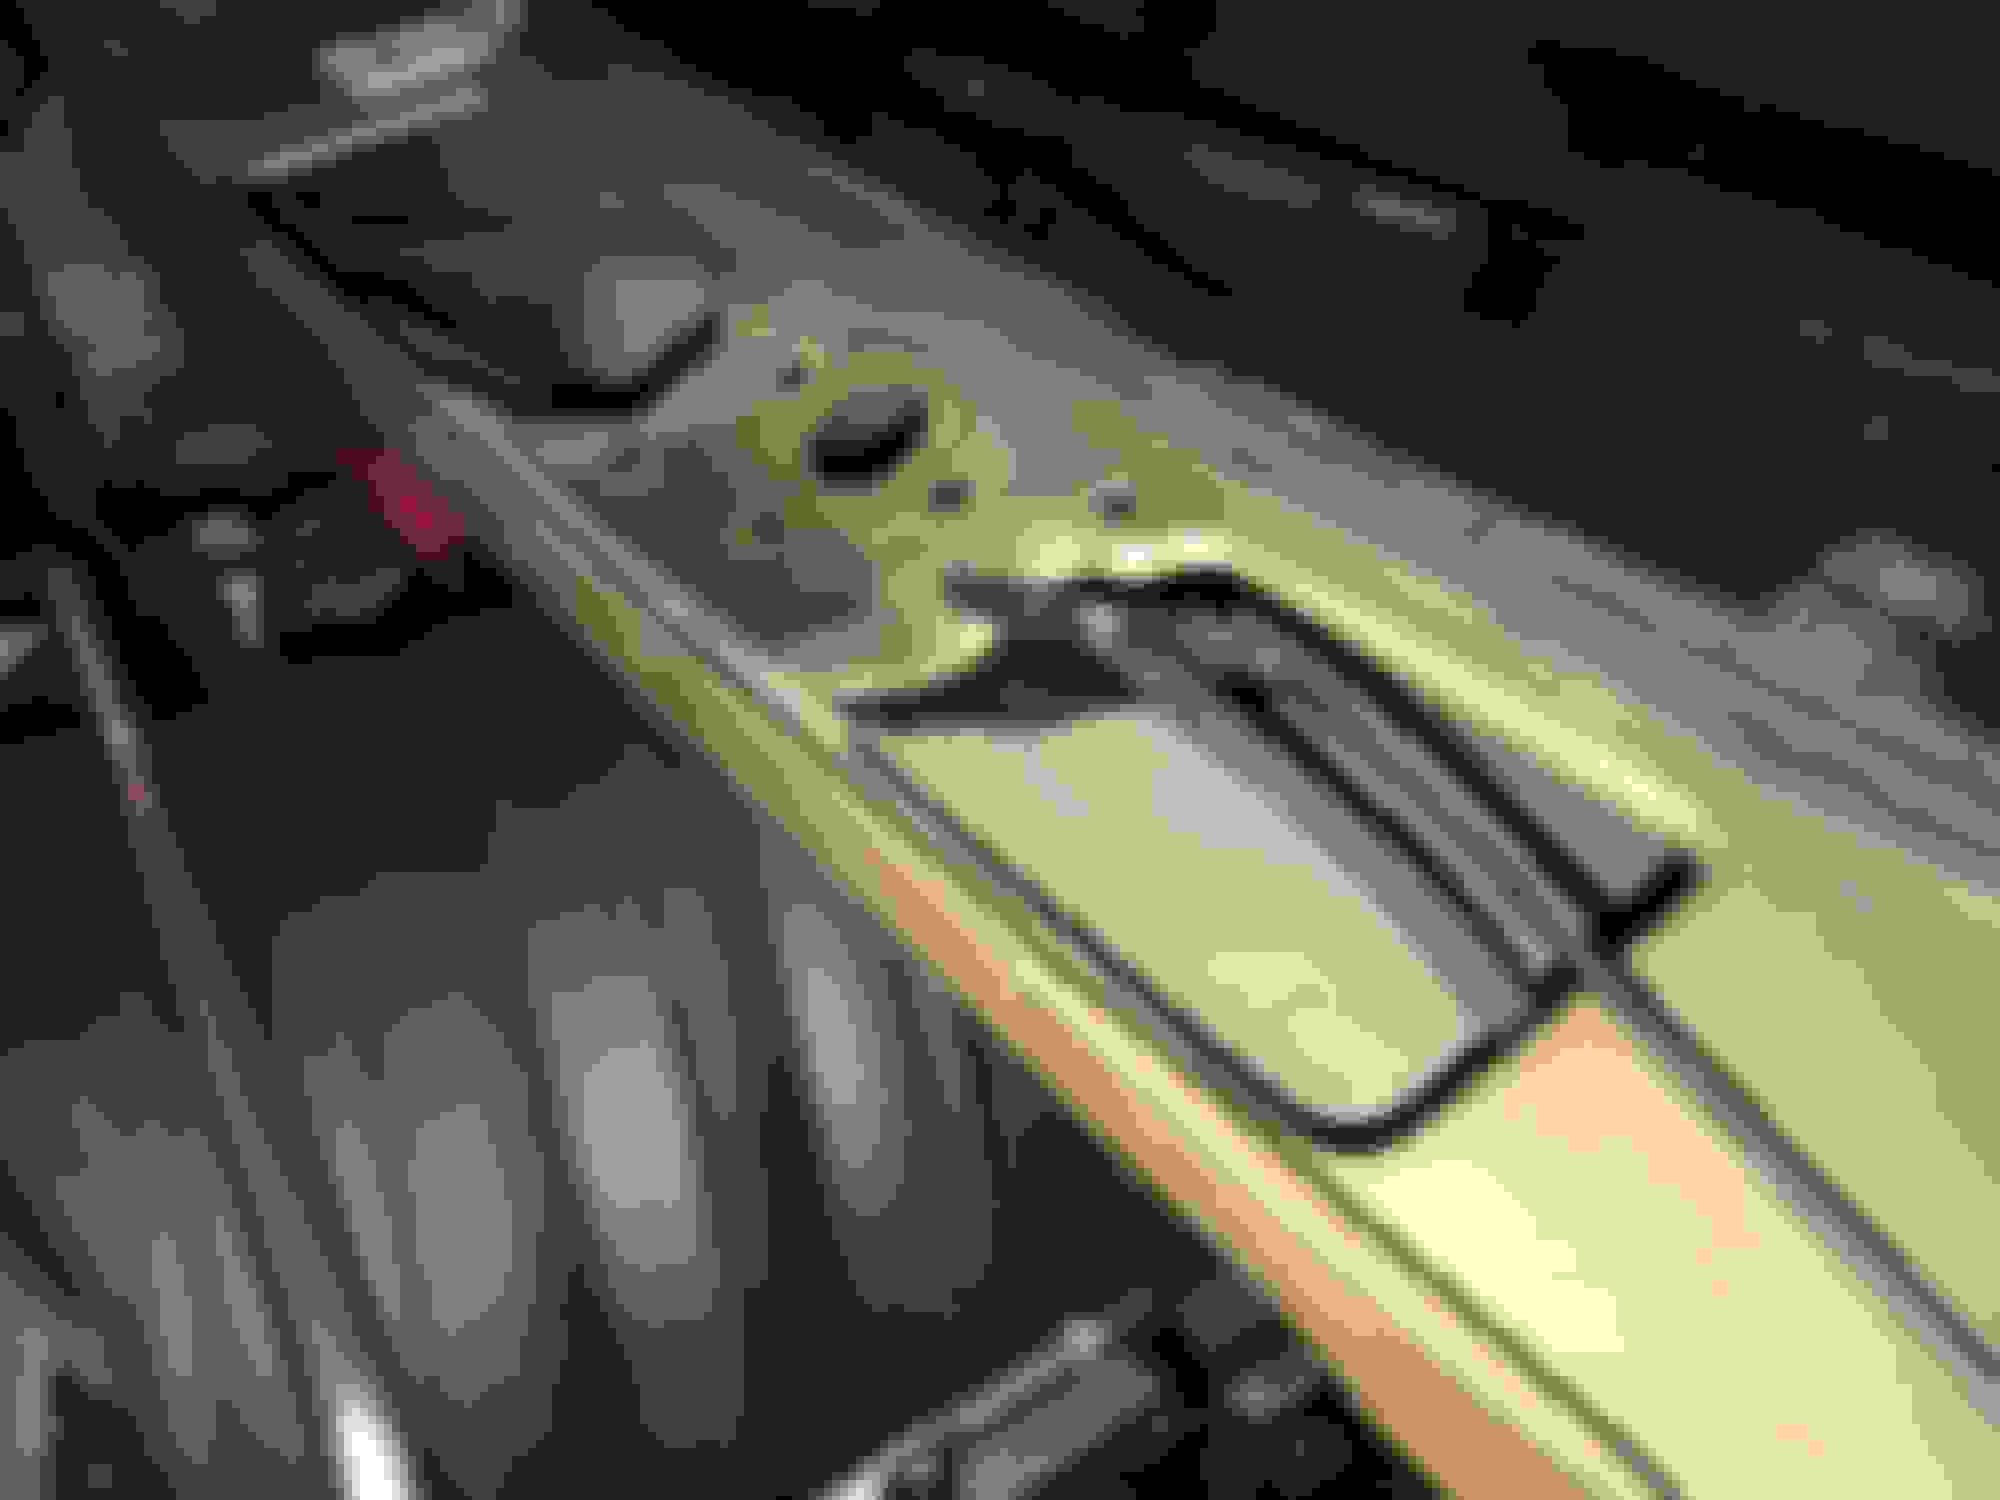
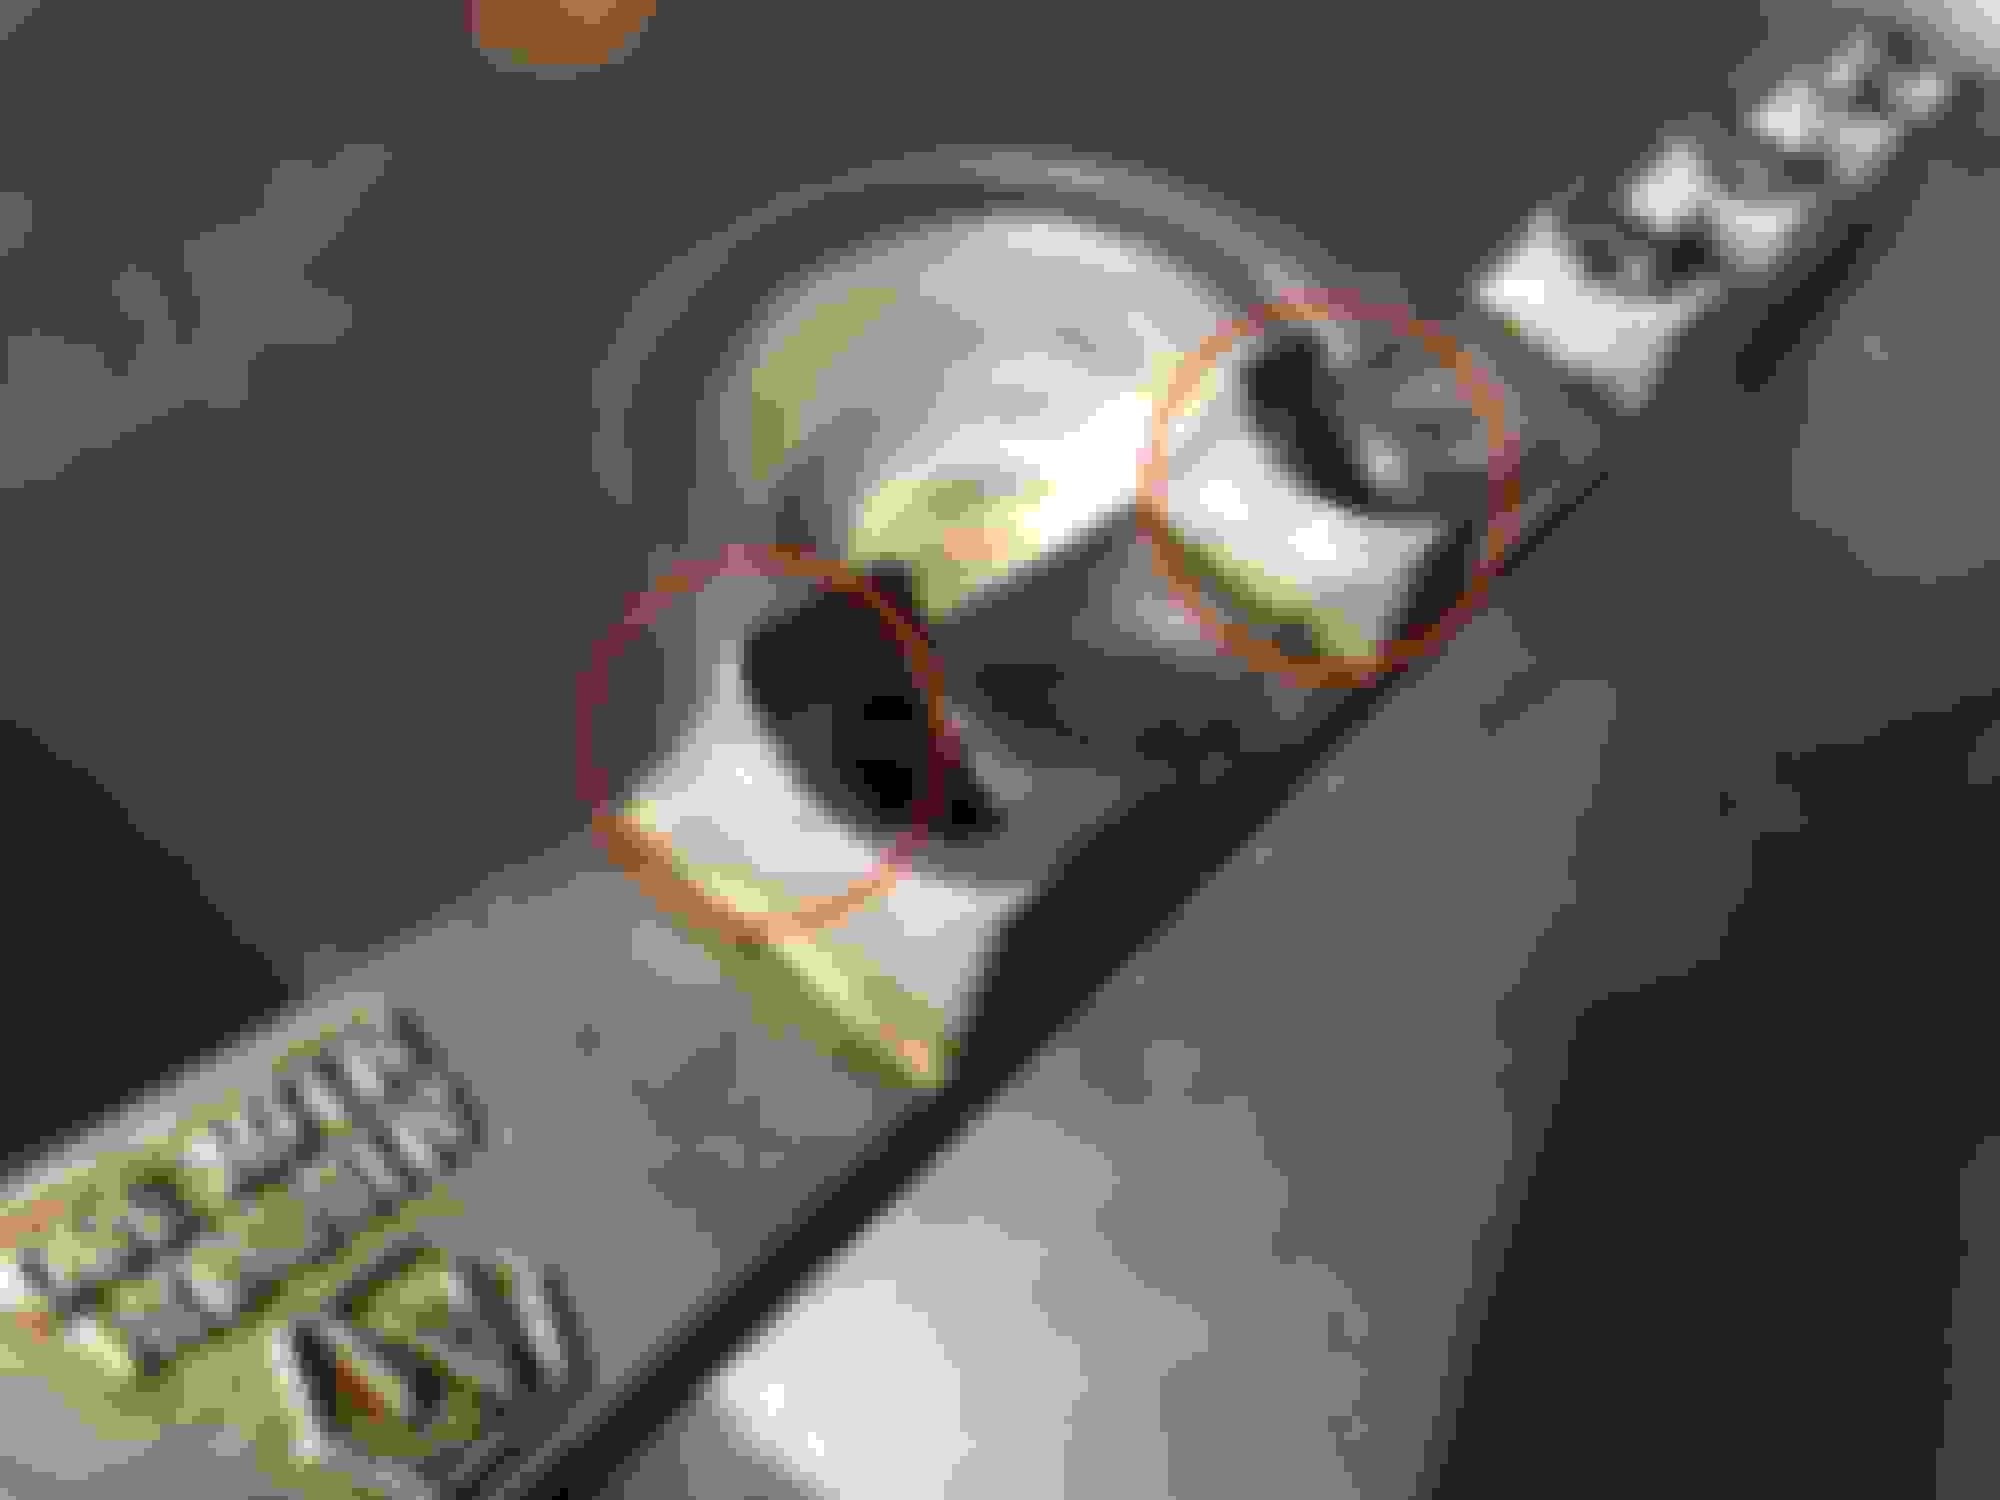
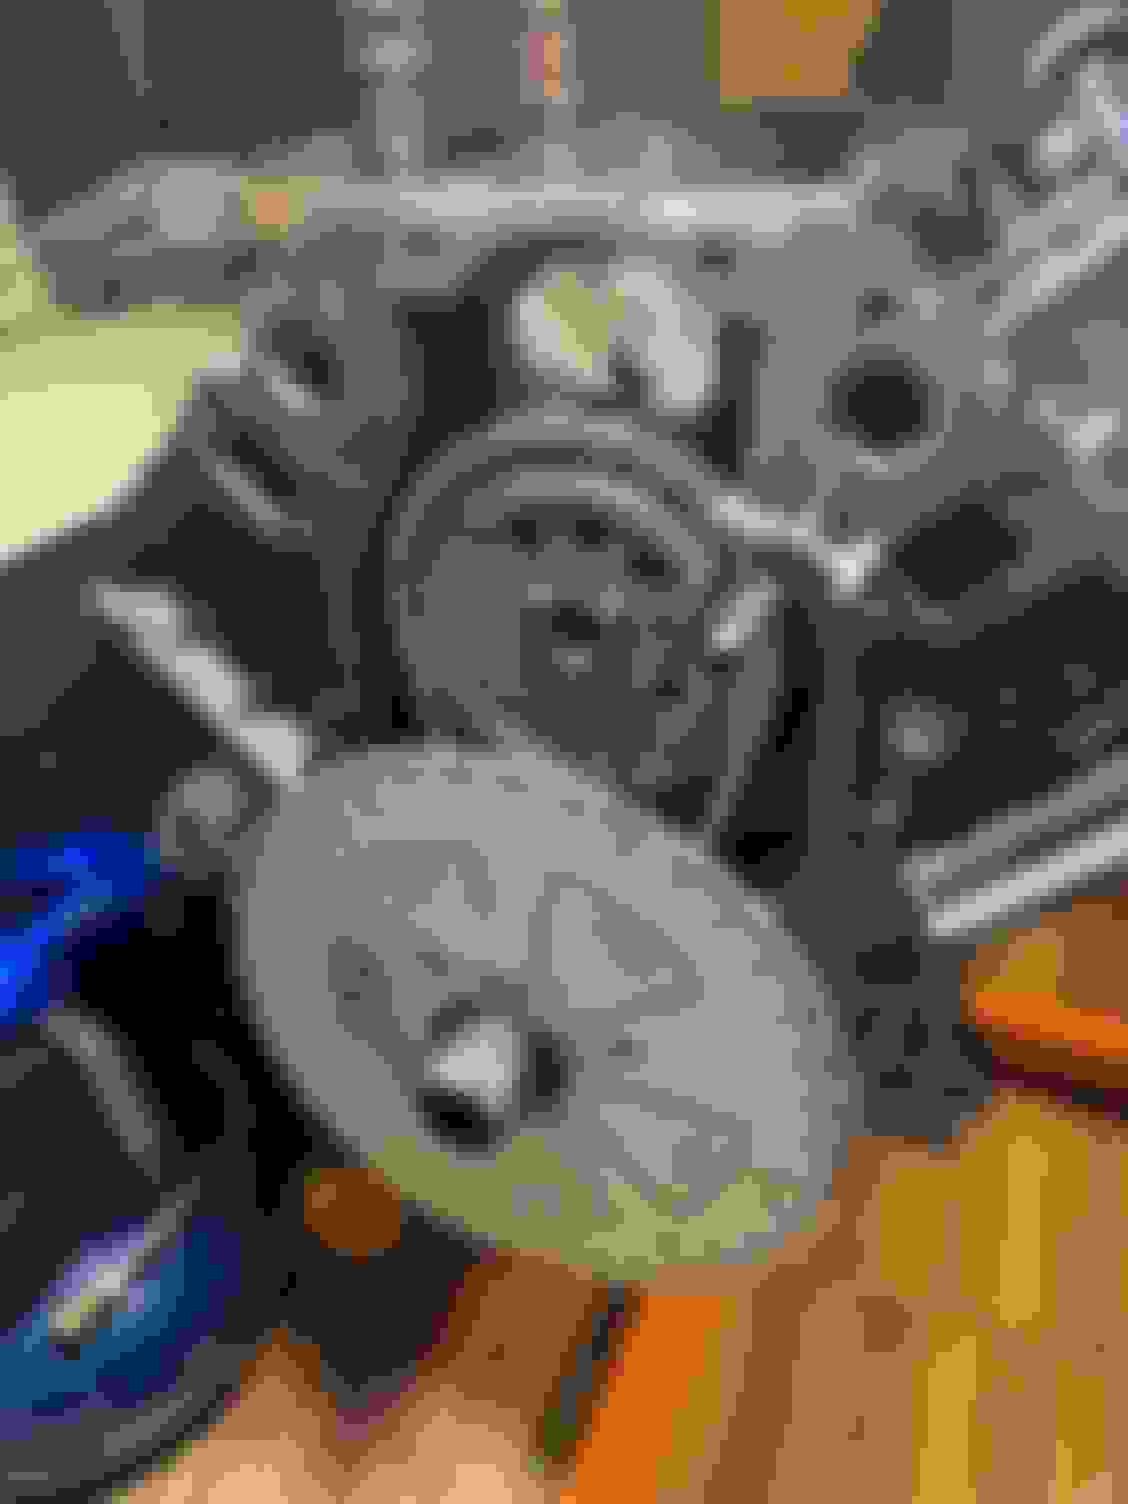
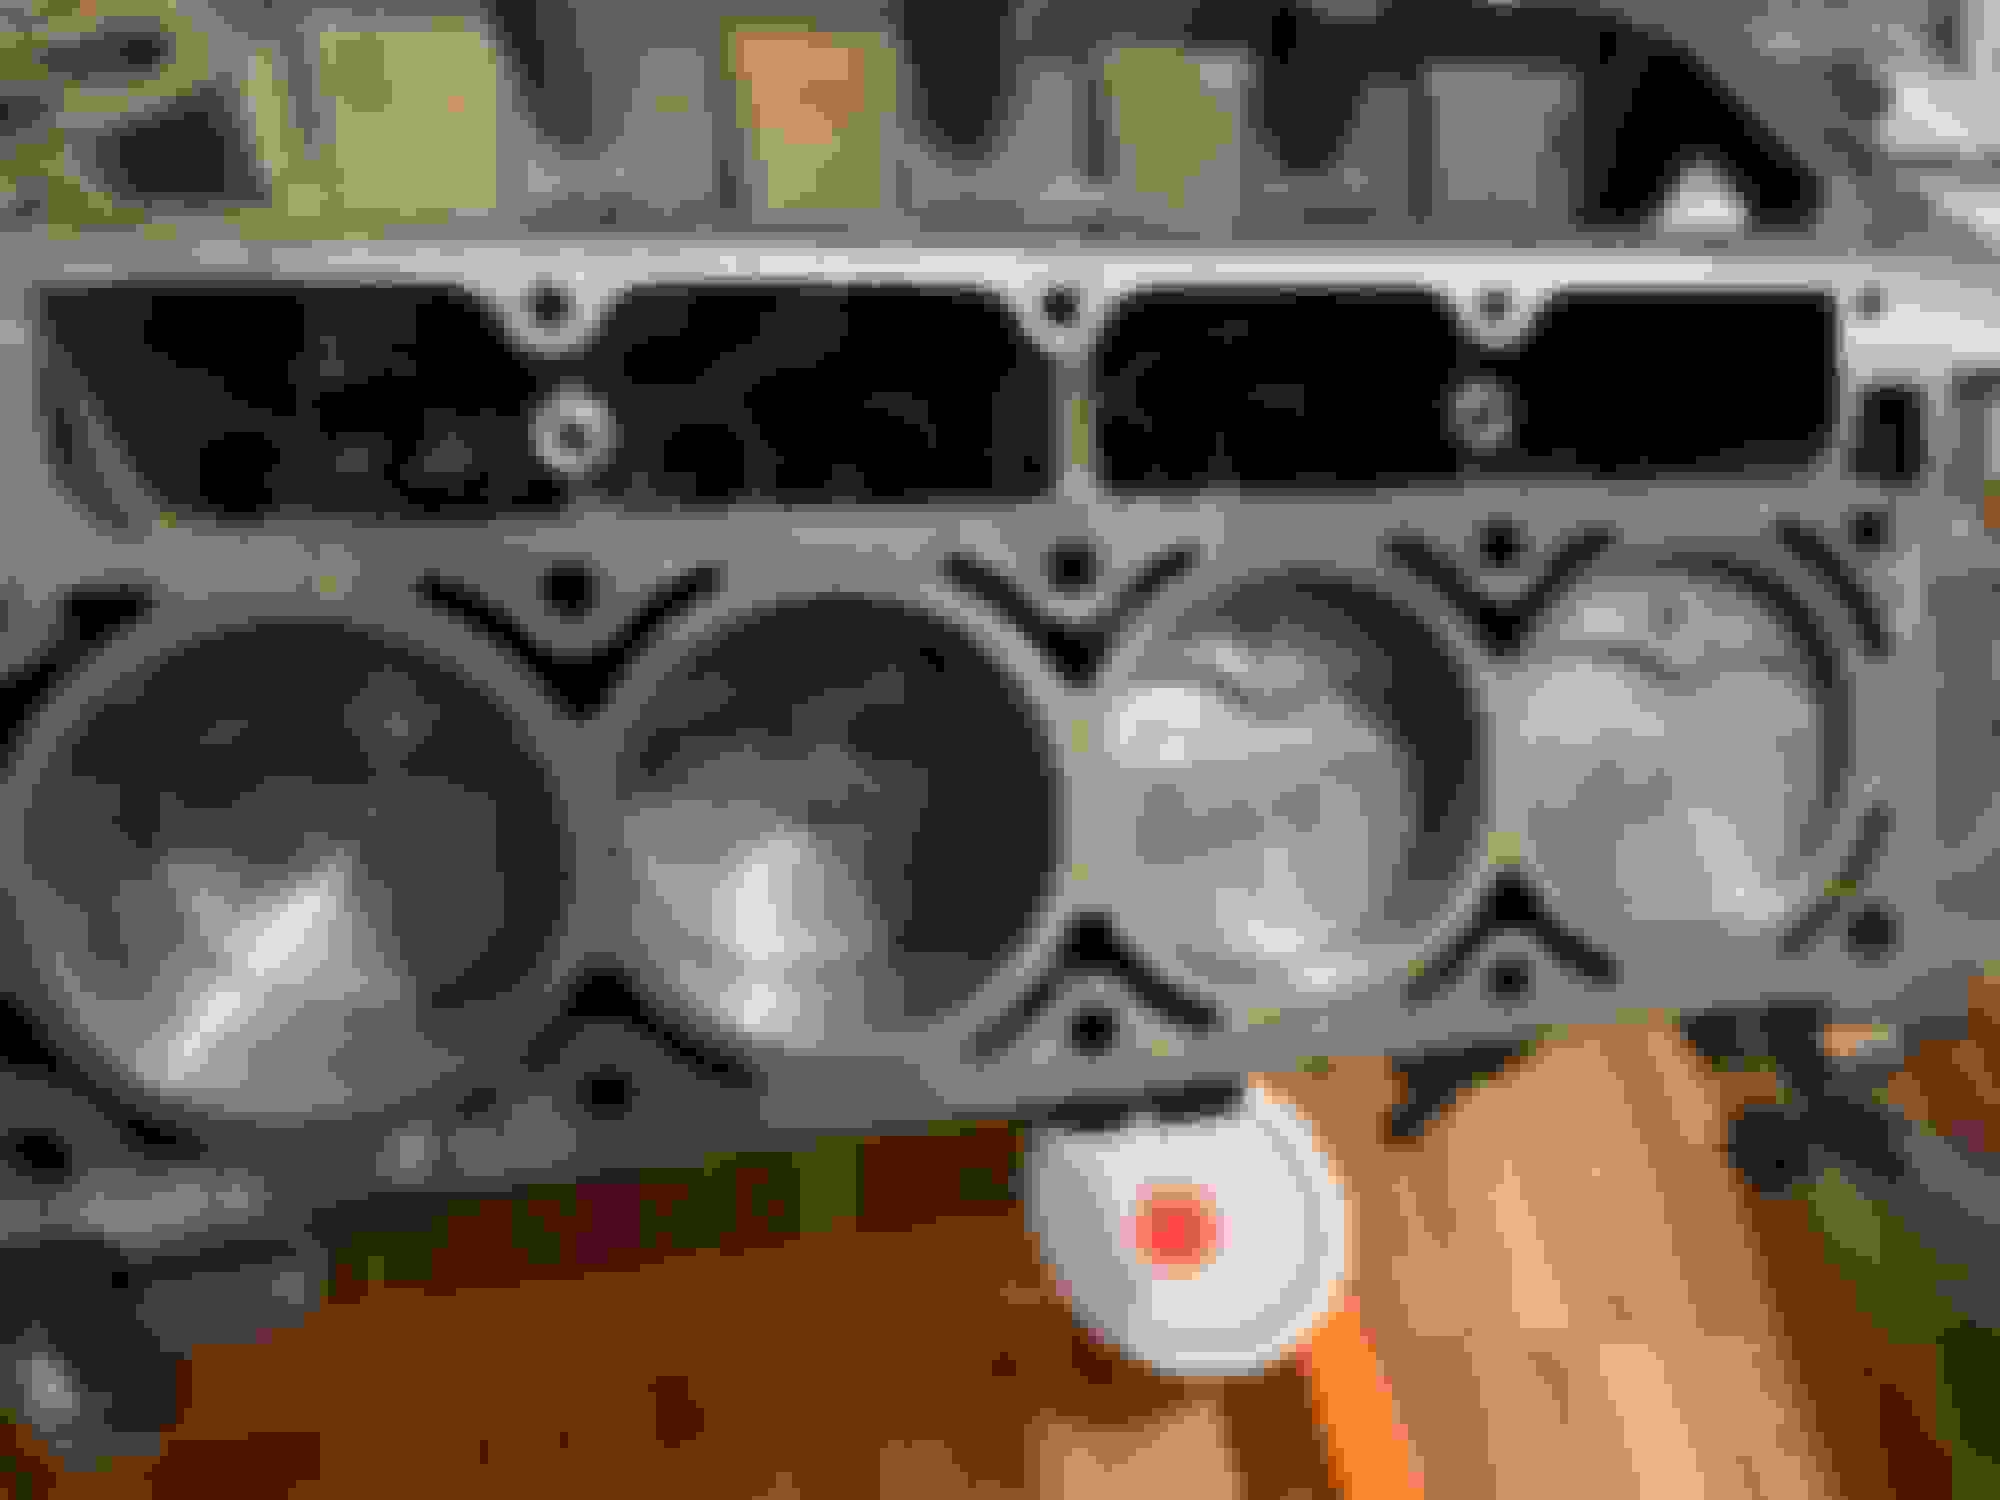
I personally like the clearance the arm has over the flat surface of the dual valve springs I have on my cylinder head. You can see how much clearance their is.
After all the rockers where done everything went straight forward. In my application I had the head CNC machined by Total Engine Airflow which meant that the intake runner where the boss of the rocker stud/bolt goes through was open, I had to remove the rocker stud and reapply some teflon to prevent oil seeping into the intake and also a vacuum leaks. I did this in the initial install of the studs but I didn't want to take any chances.
As you can see, I don't have much room on the passenger side of the engine to install any other branded roller rockers that uses poly-locks that will in turn make me use larger valve covers.
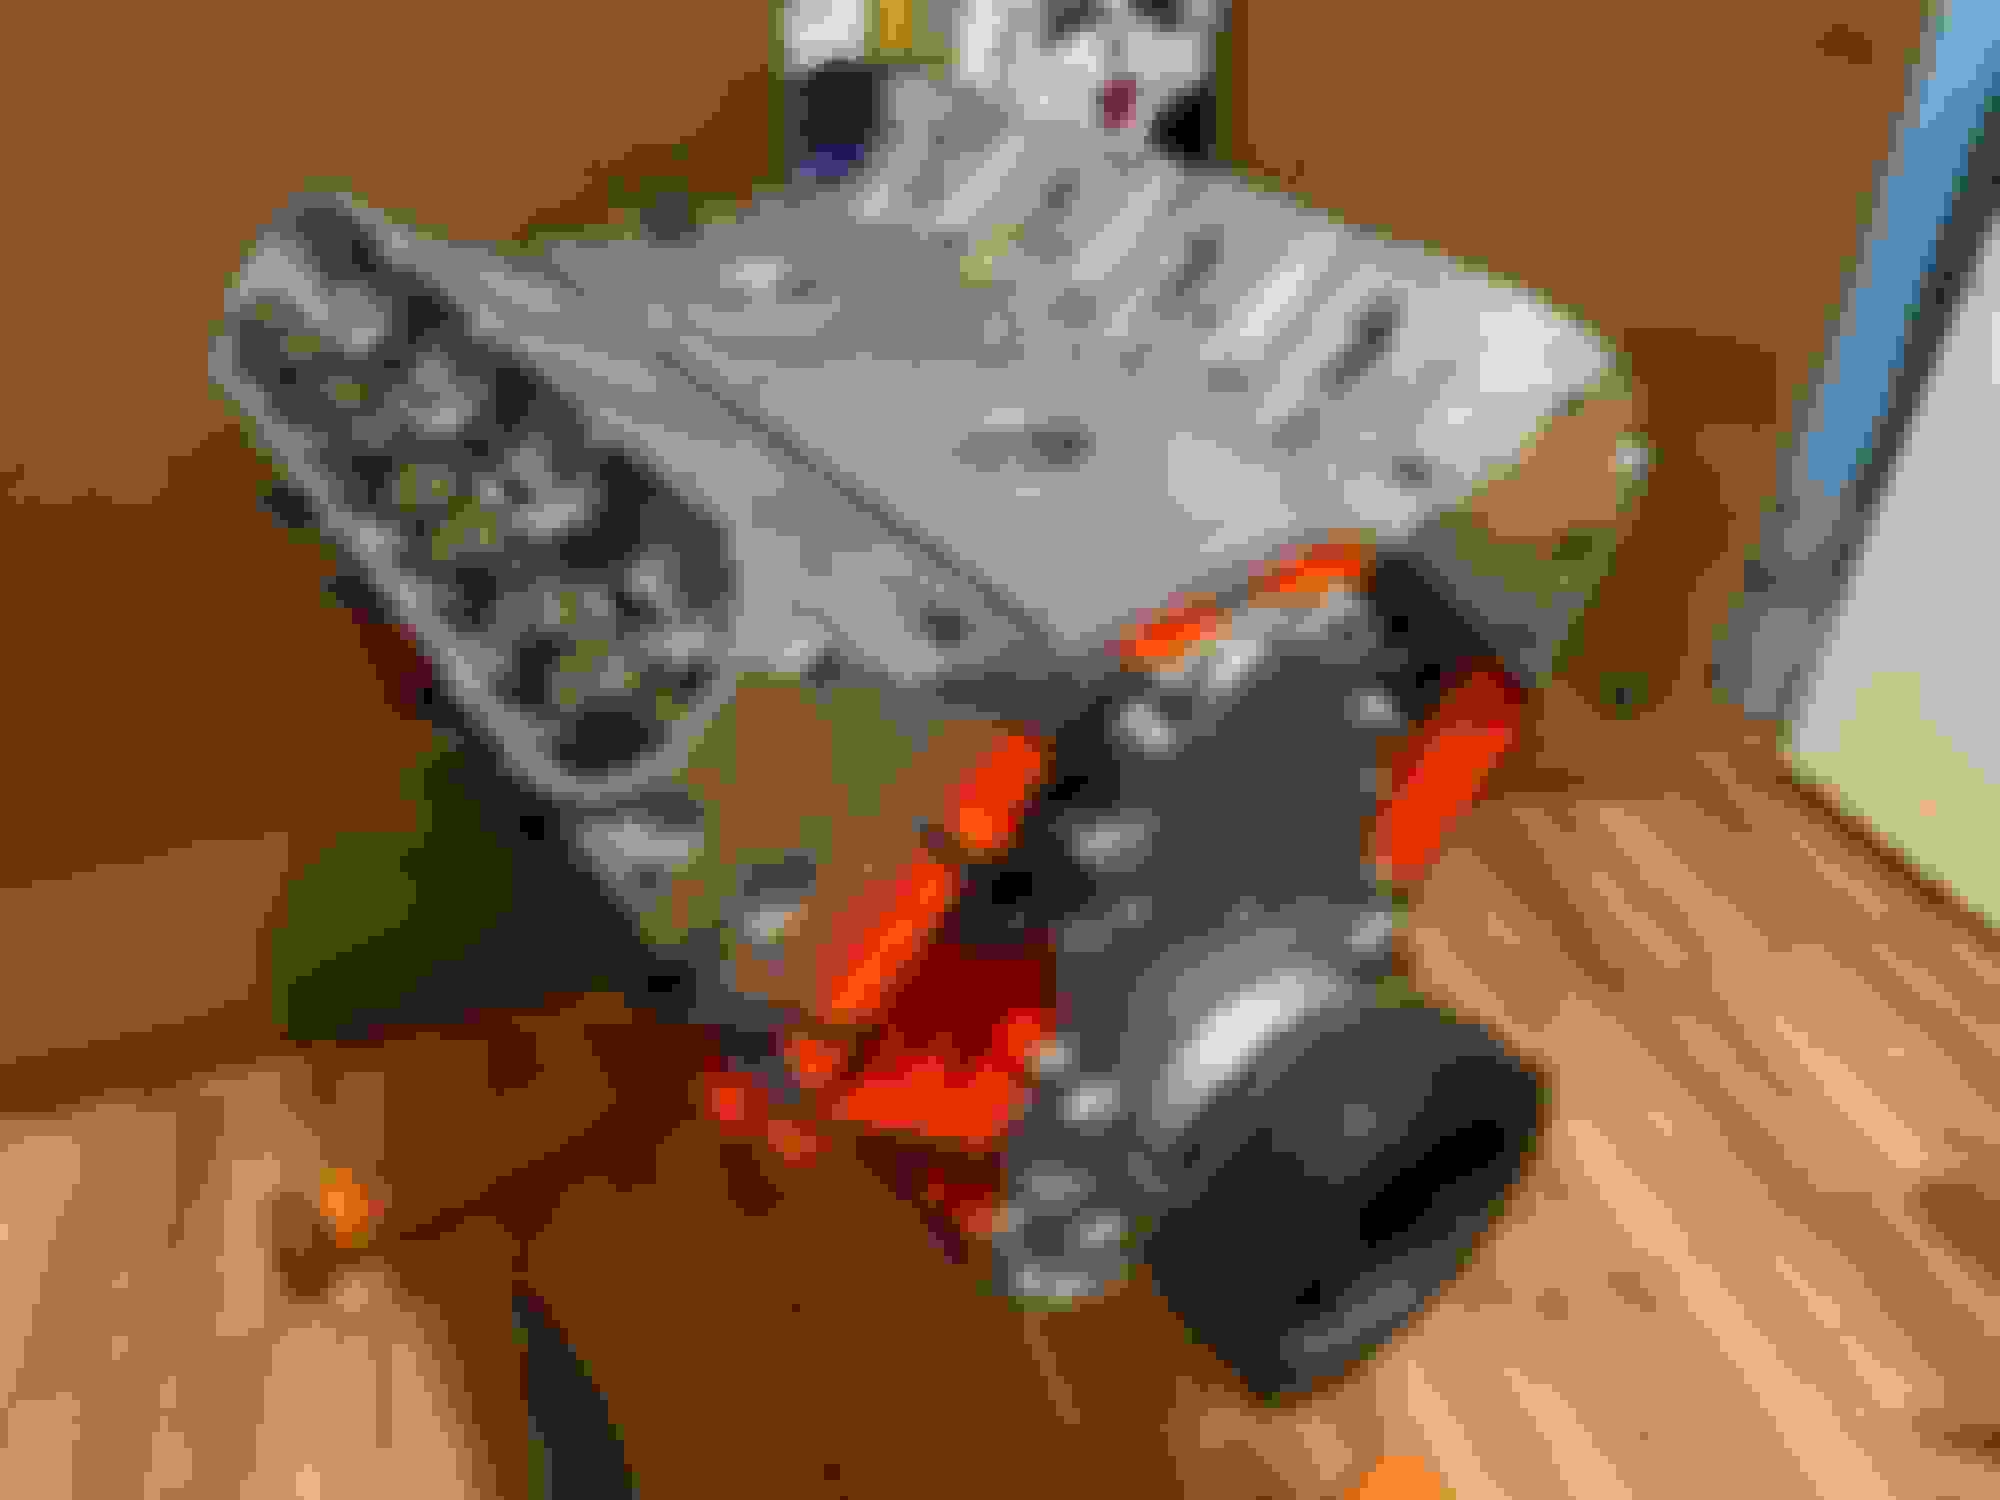
Everything set and torqued to spec, but this is where the 'drop-in' has its only issue.
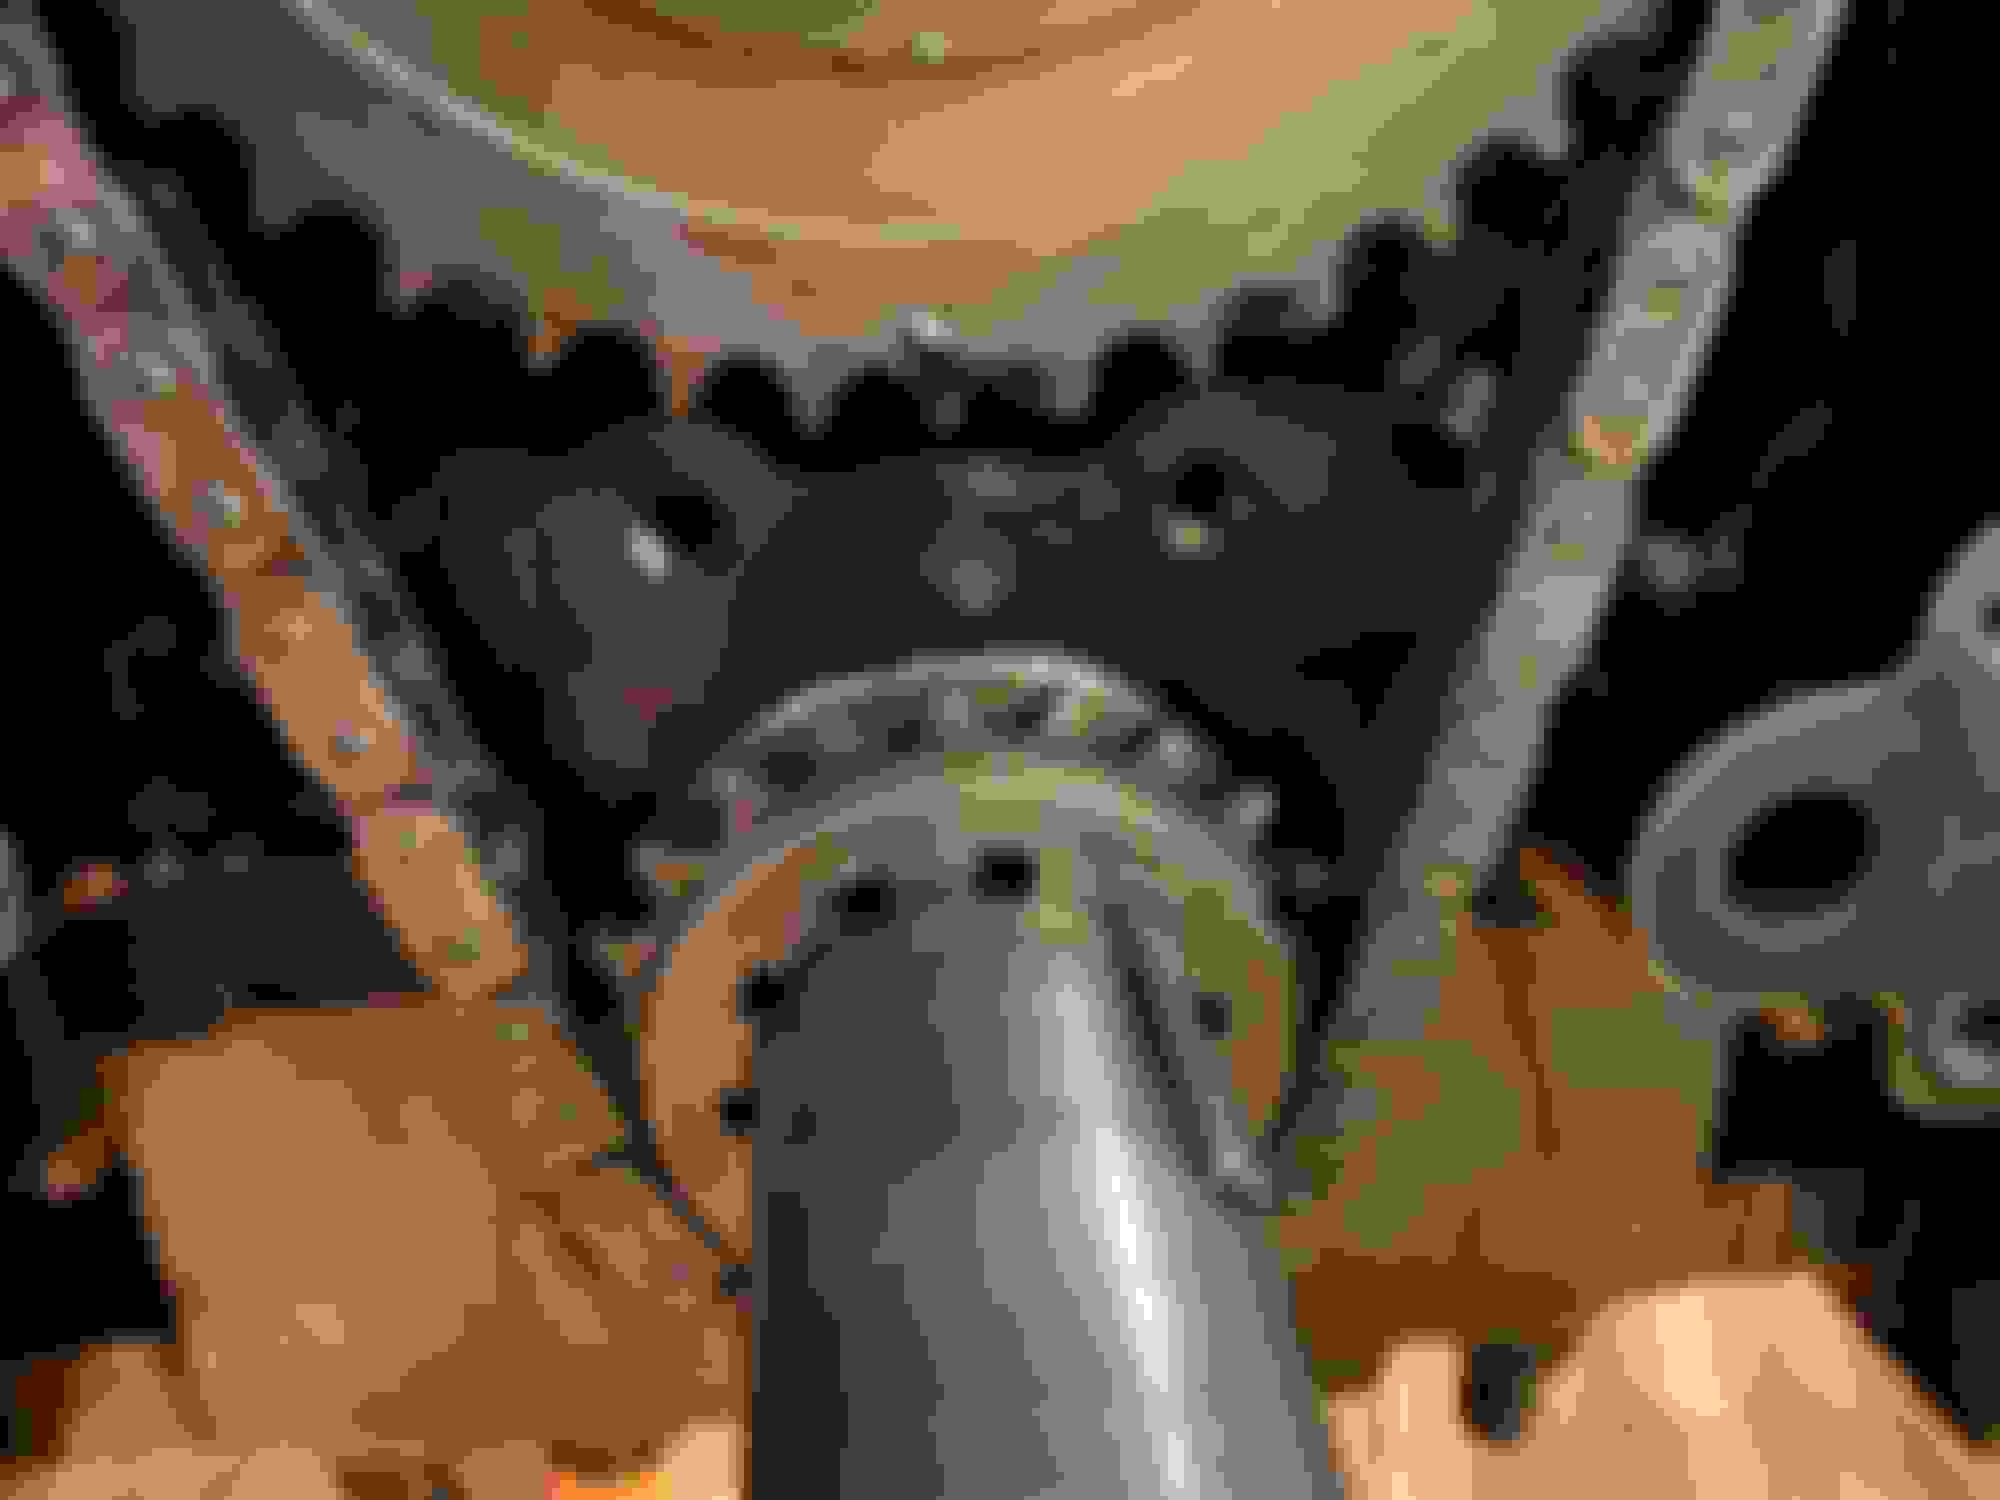
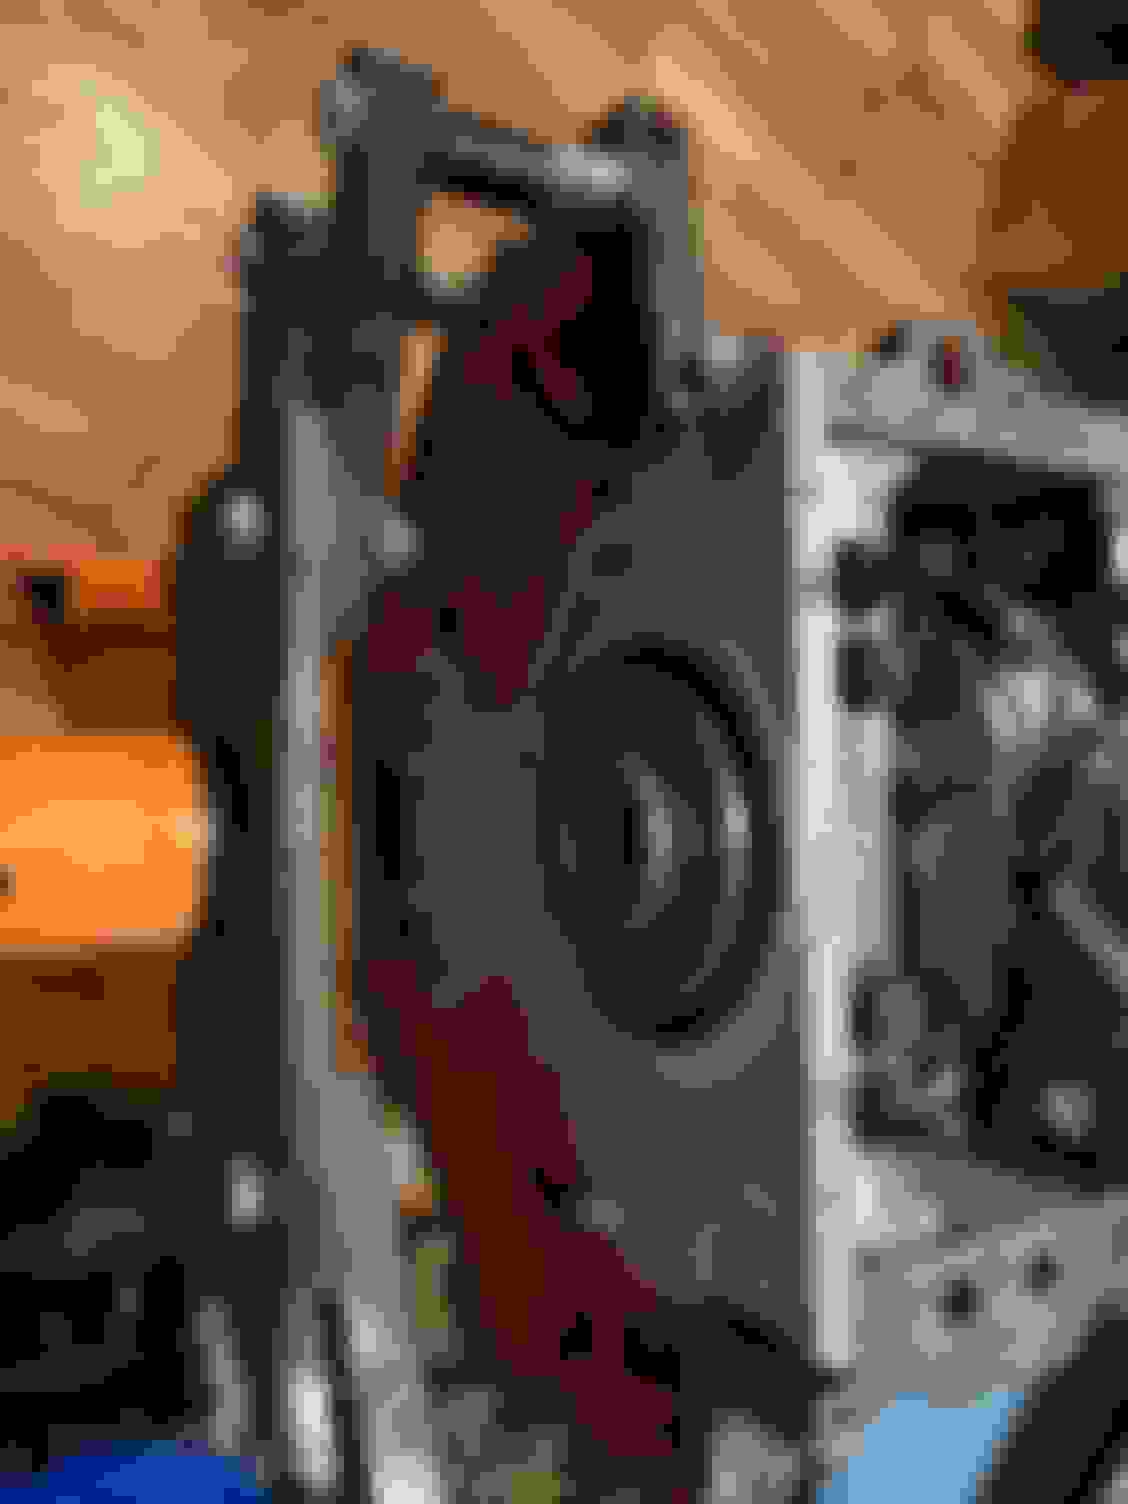
Upon starting up the engine I heard some odd noises from the valve-train, putting my hand and feeling the valve covers thats when I found out that the rockers were hitting it. Wonderful. You can starch off that 'drop-in' part or at least put an asterisk.
I had to remove the valve covers and grind off some of the material on the bosses where the bolts hold the coil bracket. I took my time grinding as I didn't know how much material was available before I reached the opening of the threads and I didn't want to go find a shop to weld it back up.
I used a marker to mark up the areas and put the valve cover on without the gasket and moved it around so that way the rockers can nick the marker area if it was still hitting. After a few times, looks like I got it. I did have to rotate the engine a few times as well so the rocker can move up and down to make sure it was fully cleared up. I did also have to get a small ball end hammer and just push in part of the PCV baffle on the back corner on the driver side but other than that. It was all good.
In ending, regardless of being 'drop-ins' their was just a small amount of mods that needed to be done on the valve cover.
Only time will tell if these were a good buy for the price. Set me back about $310 and yes it was a eBay store buy.
Next time it will be installing the transmission crossmember & preparing the LSXrt Intake for install.
Yes, but its not just limited to PRW's with valve-train issues when upgrading to full rollers.
Again time will tell how these will work out, I'm not full drag racing my daily, Its cursing at 2k-2.5k rpm about 99.5% of the time.
I wanted to see if the full rollers will help quite my valve-train as I was getting some clattering at cold startup. It's not at noticeable now as the noise I hear now is just piston slap.
This is solely my choice for the setup I have. If it works, great! It it doesn't well I put the factory 'upgraded' rockers back in.
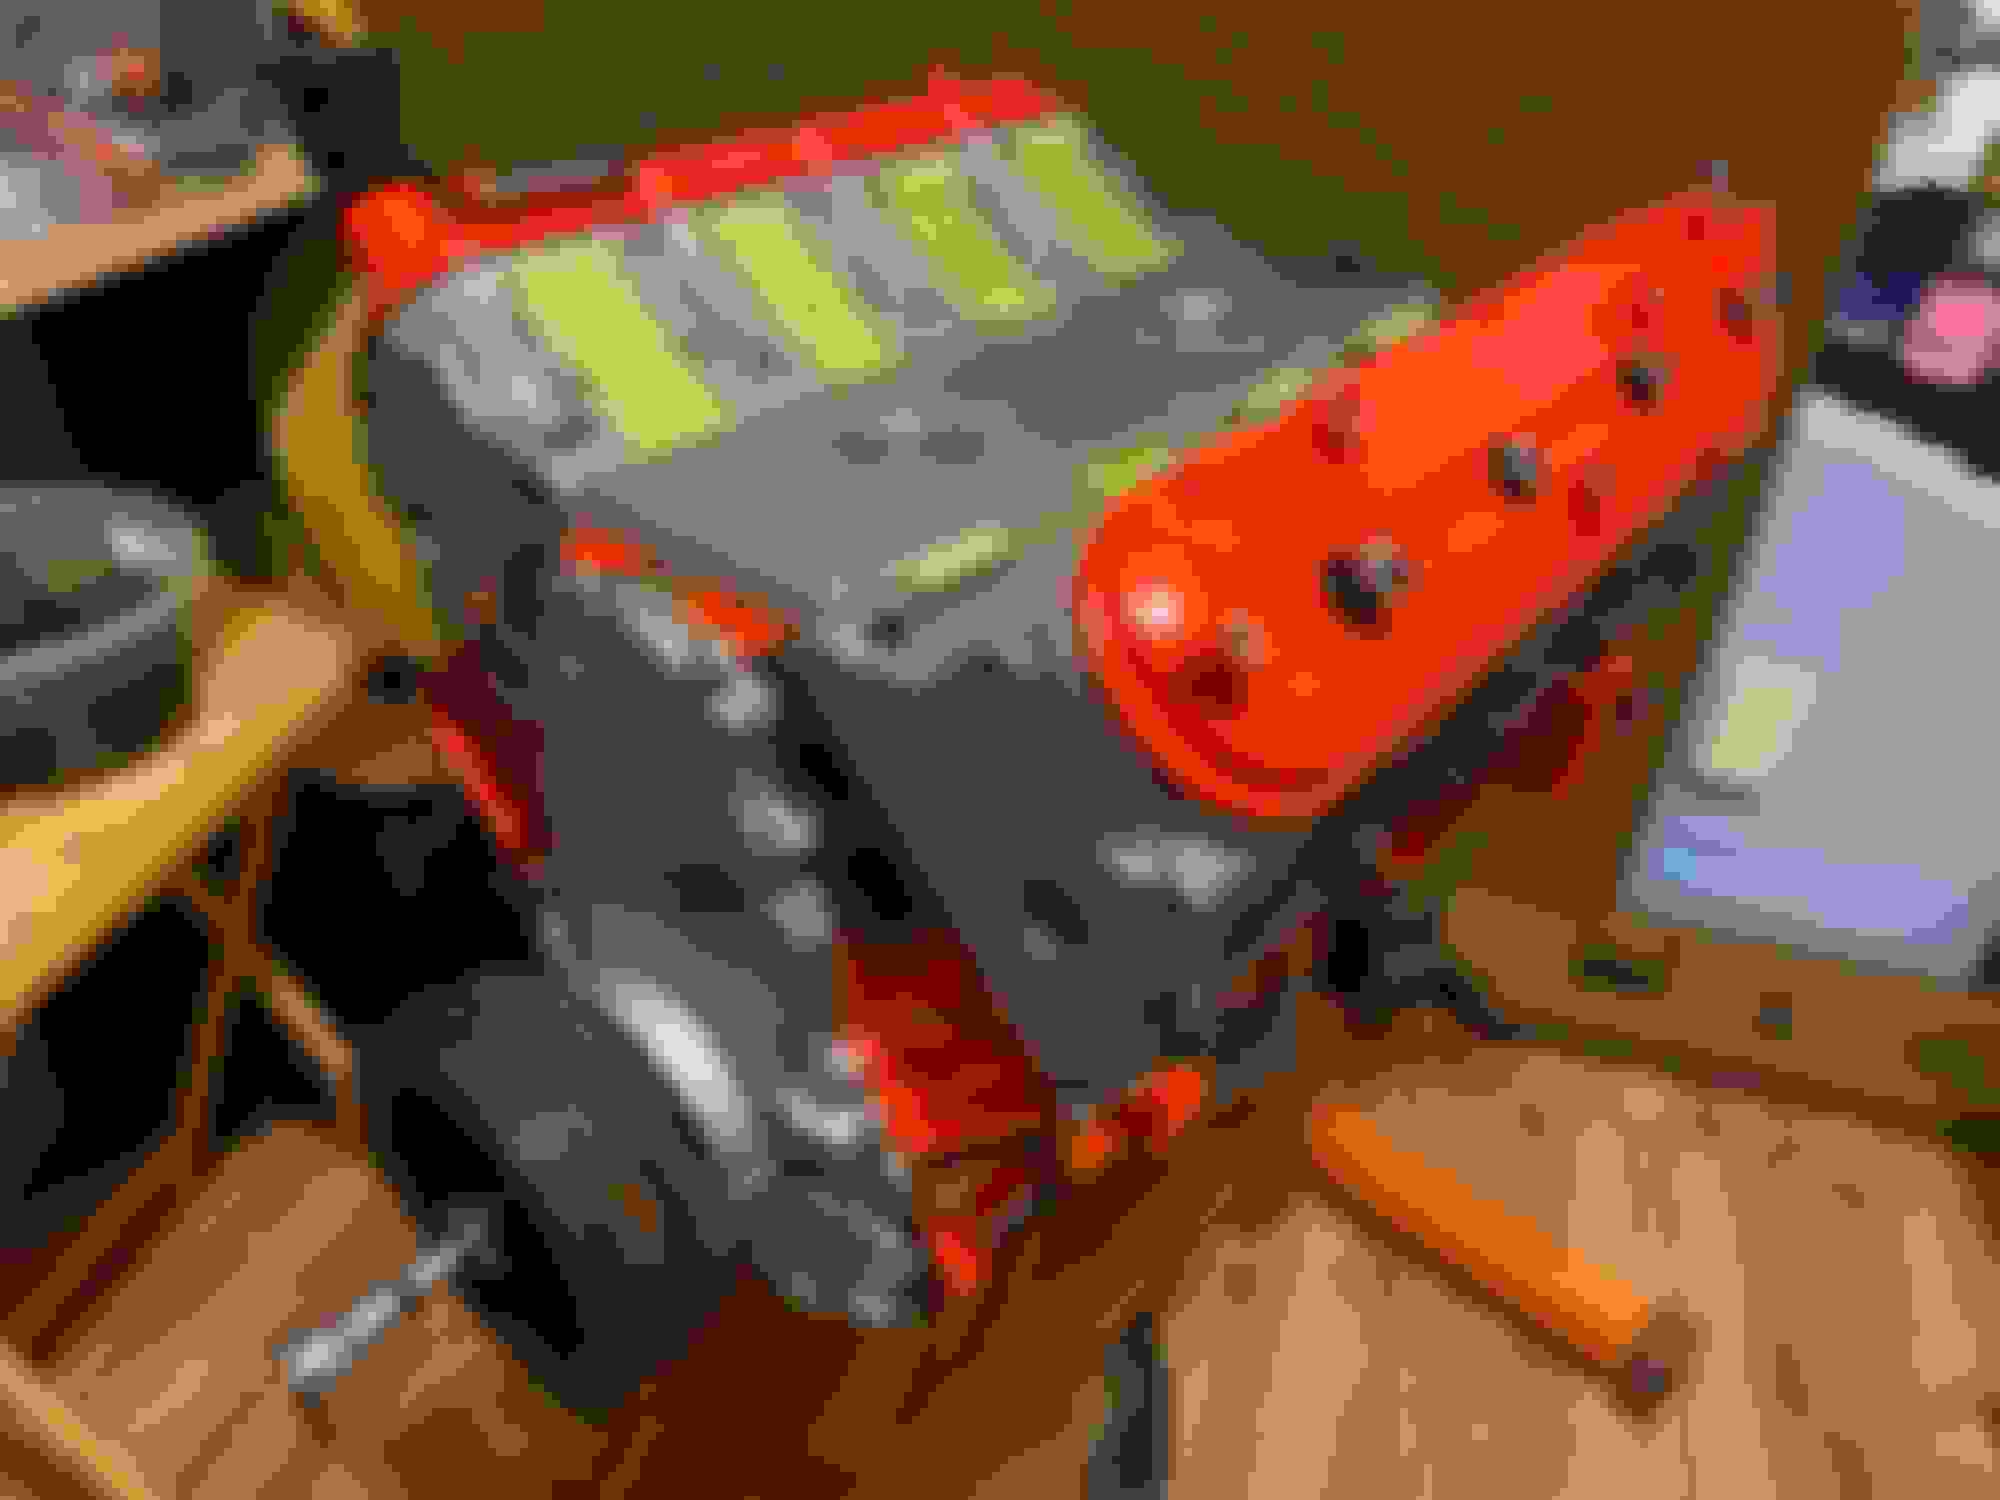
Got the time to install the tubular transmission crossmember from Clear Image Automotive for my roadmaster wagon. This ended up being a great install. Their was a few mods I had to do to the crossmember and the body. Lets get into it.
First off, WHY?
This is why...
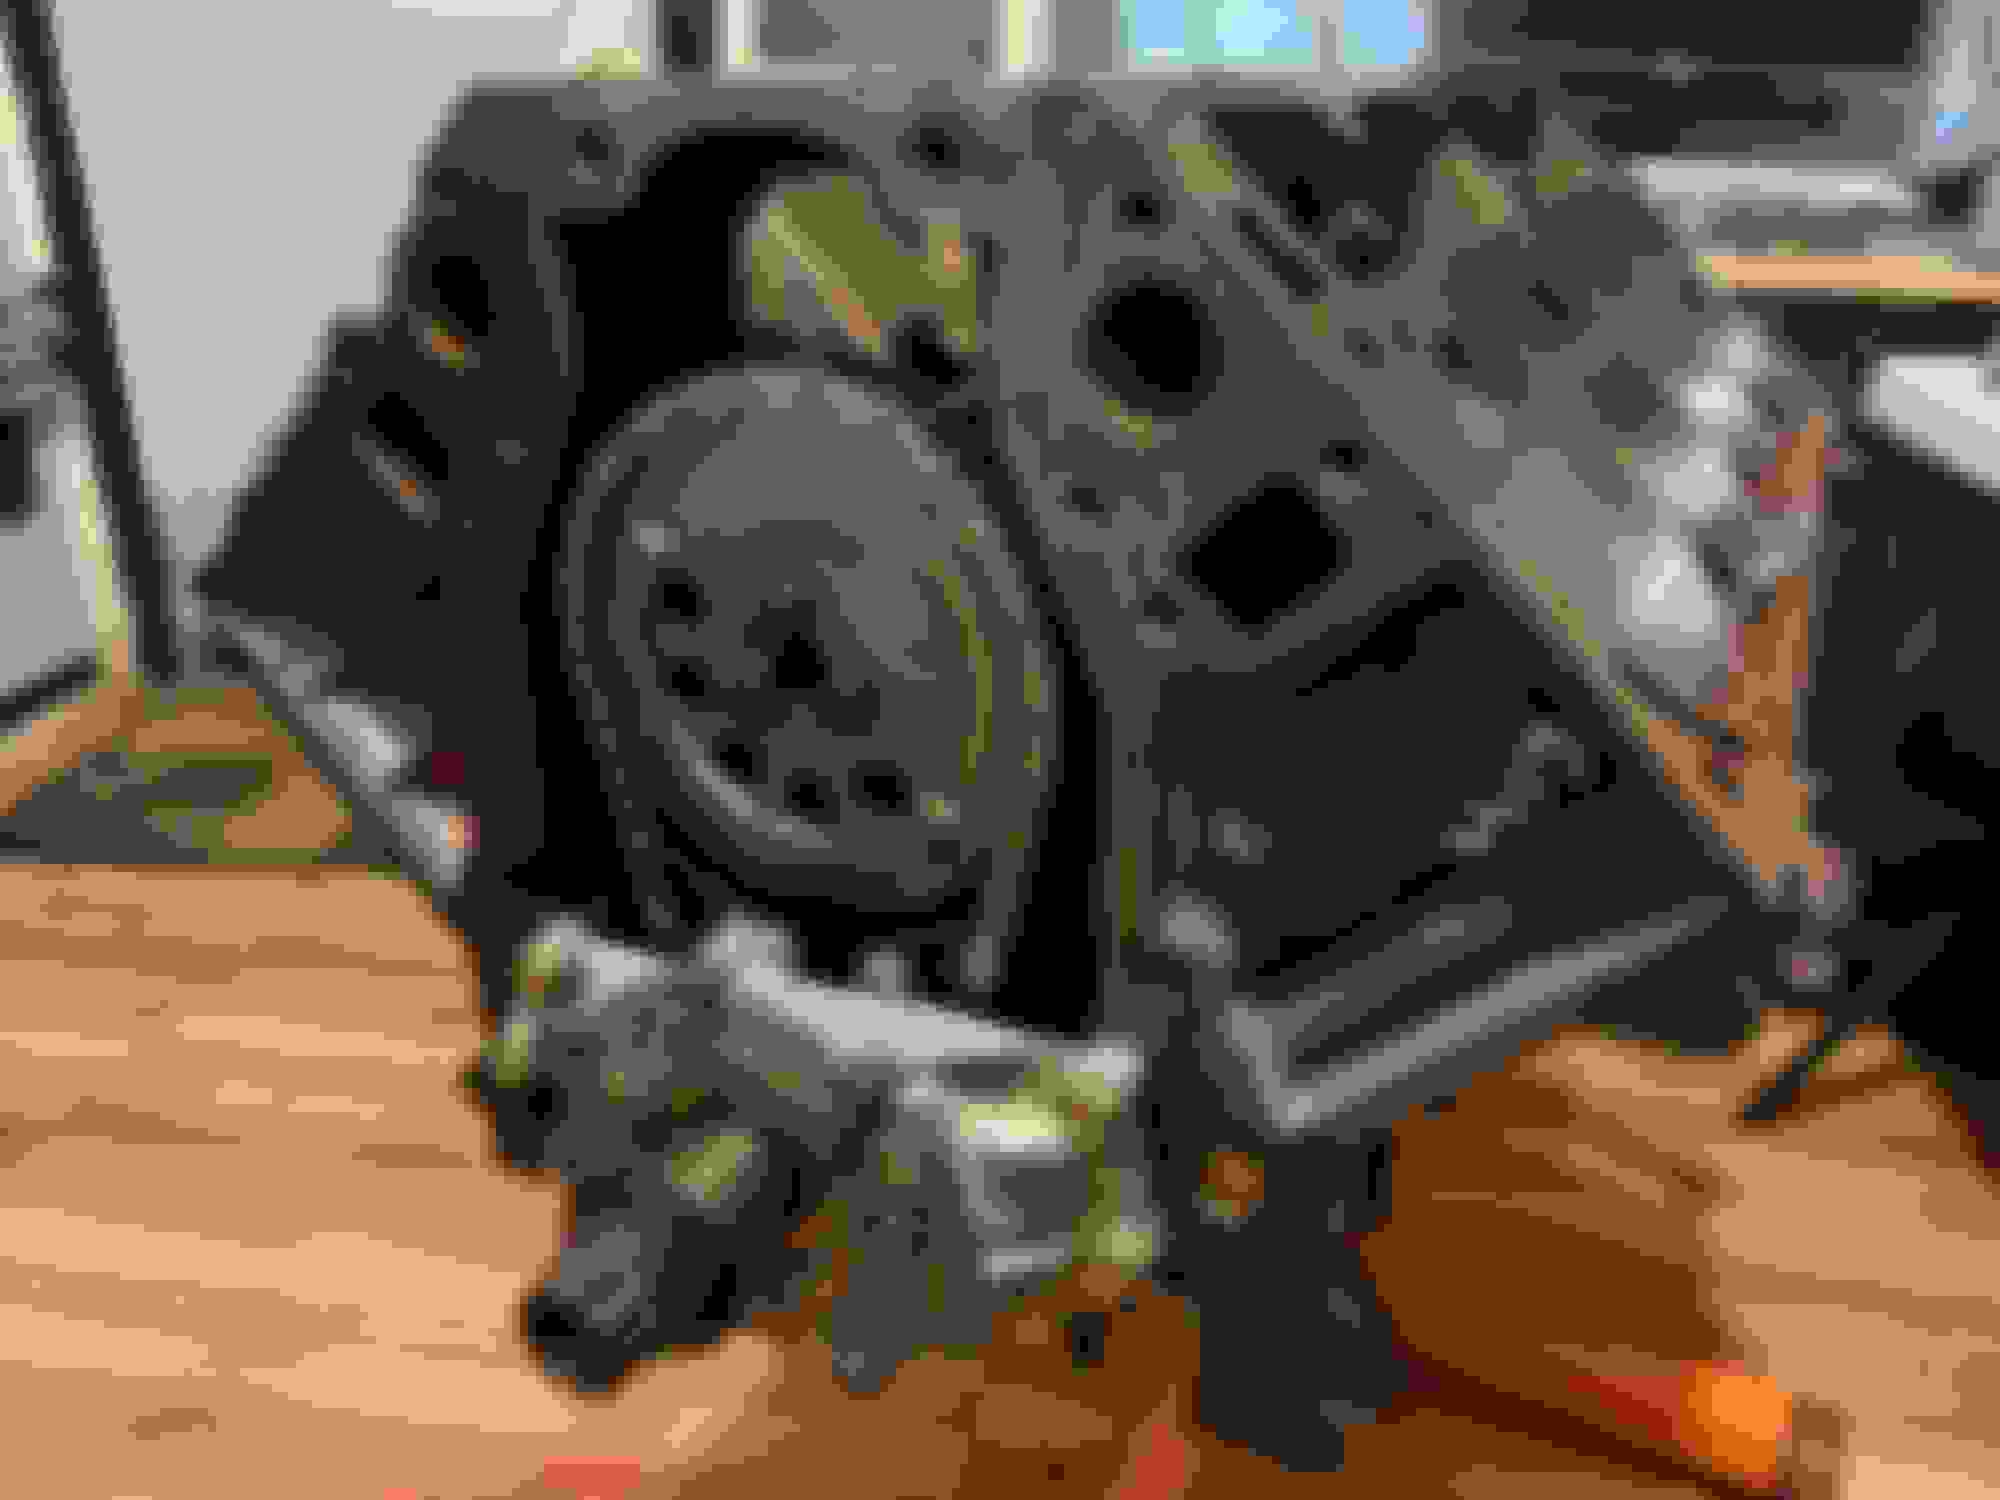
The current transmission crossmember is gaud awful and just takes up so much room. Also their is some additional mounting spots on the transmission tail housing I want to use for an exhaust hanger bracket.
I did have to cut a notch on the body, nothing important.
Also did have to notch part of the crossmember bracket to clear the parking brake cable. After notching the bracket I put some rubber hose over the cable just to protect it.
With this crossmember I had to use a Energy Suspension Transmission Mount as it was not designed for the original mount.
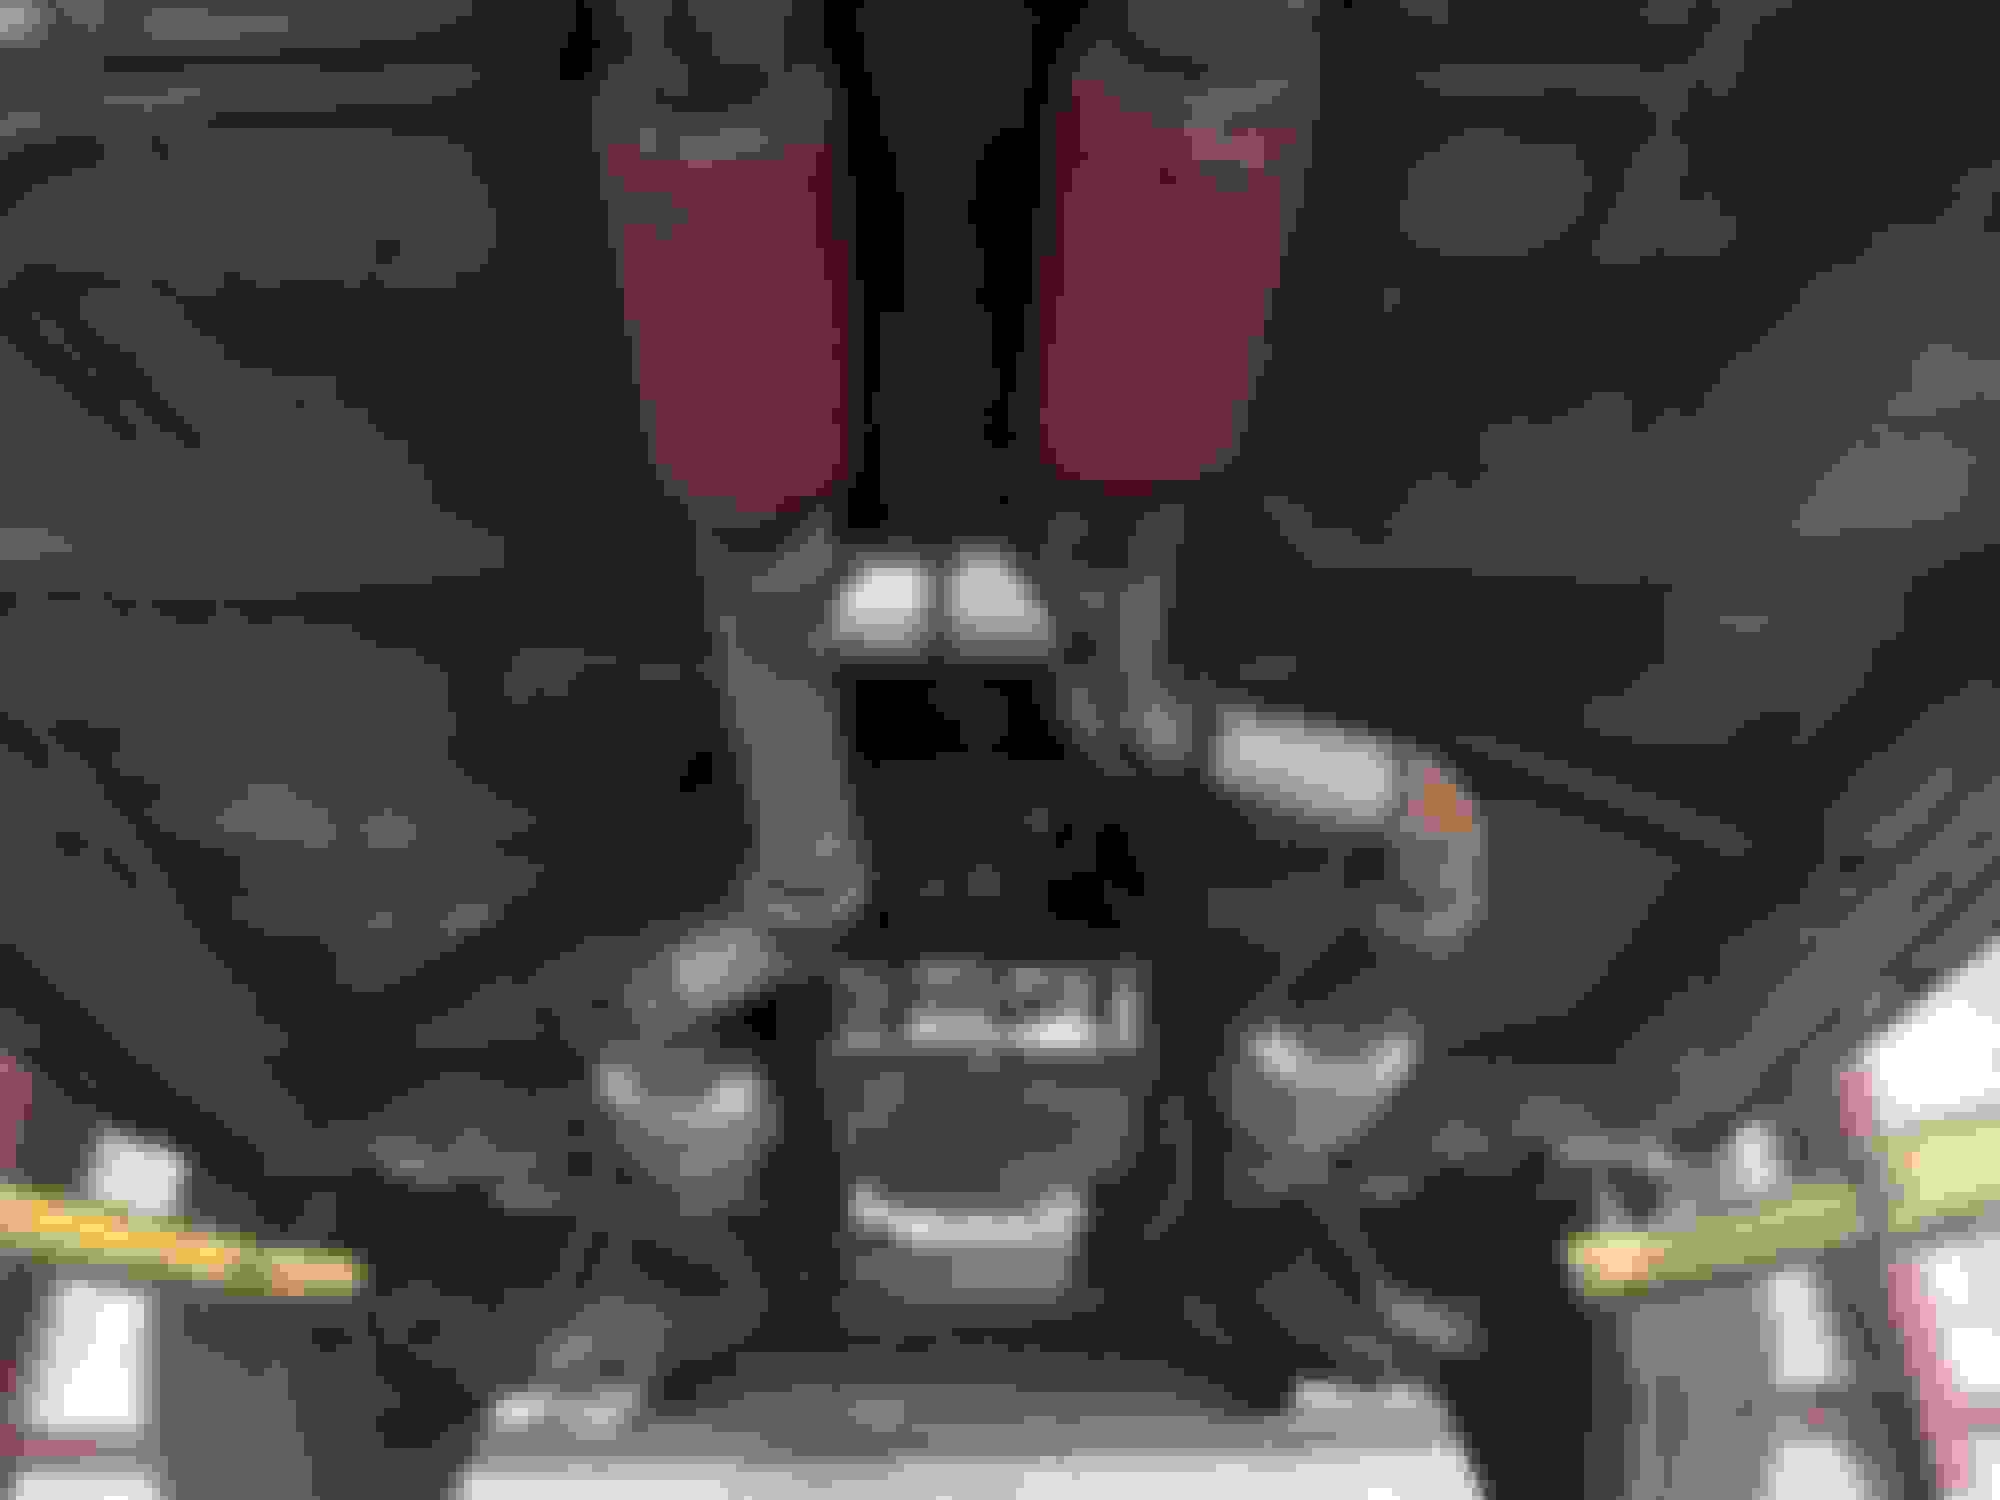
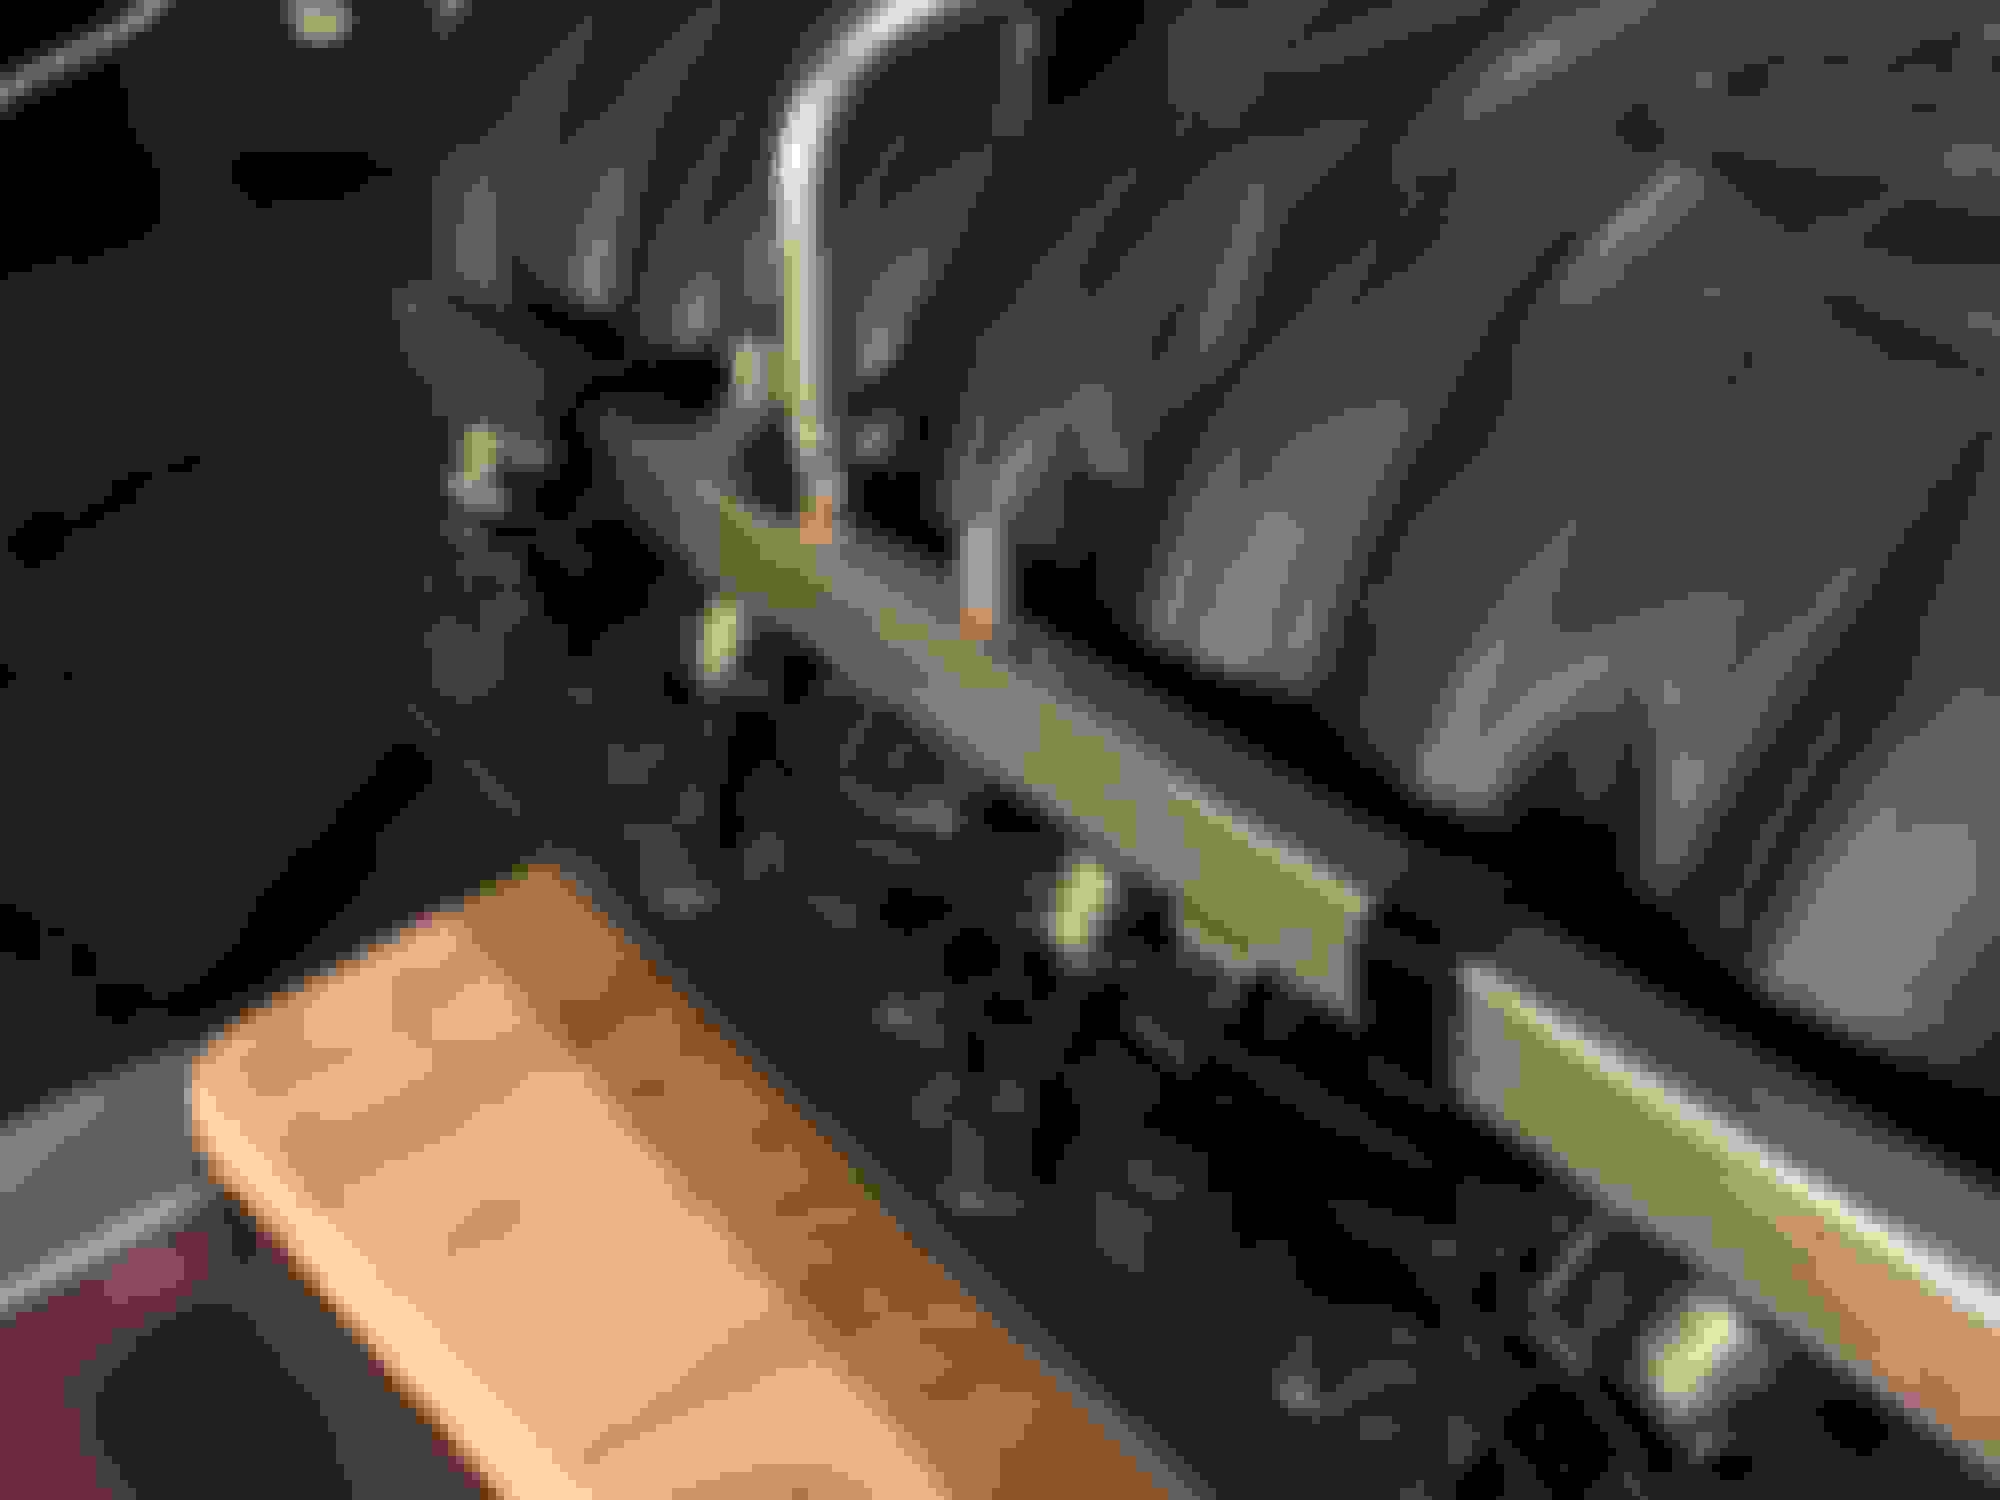
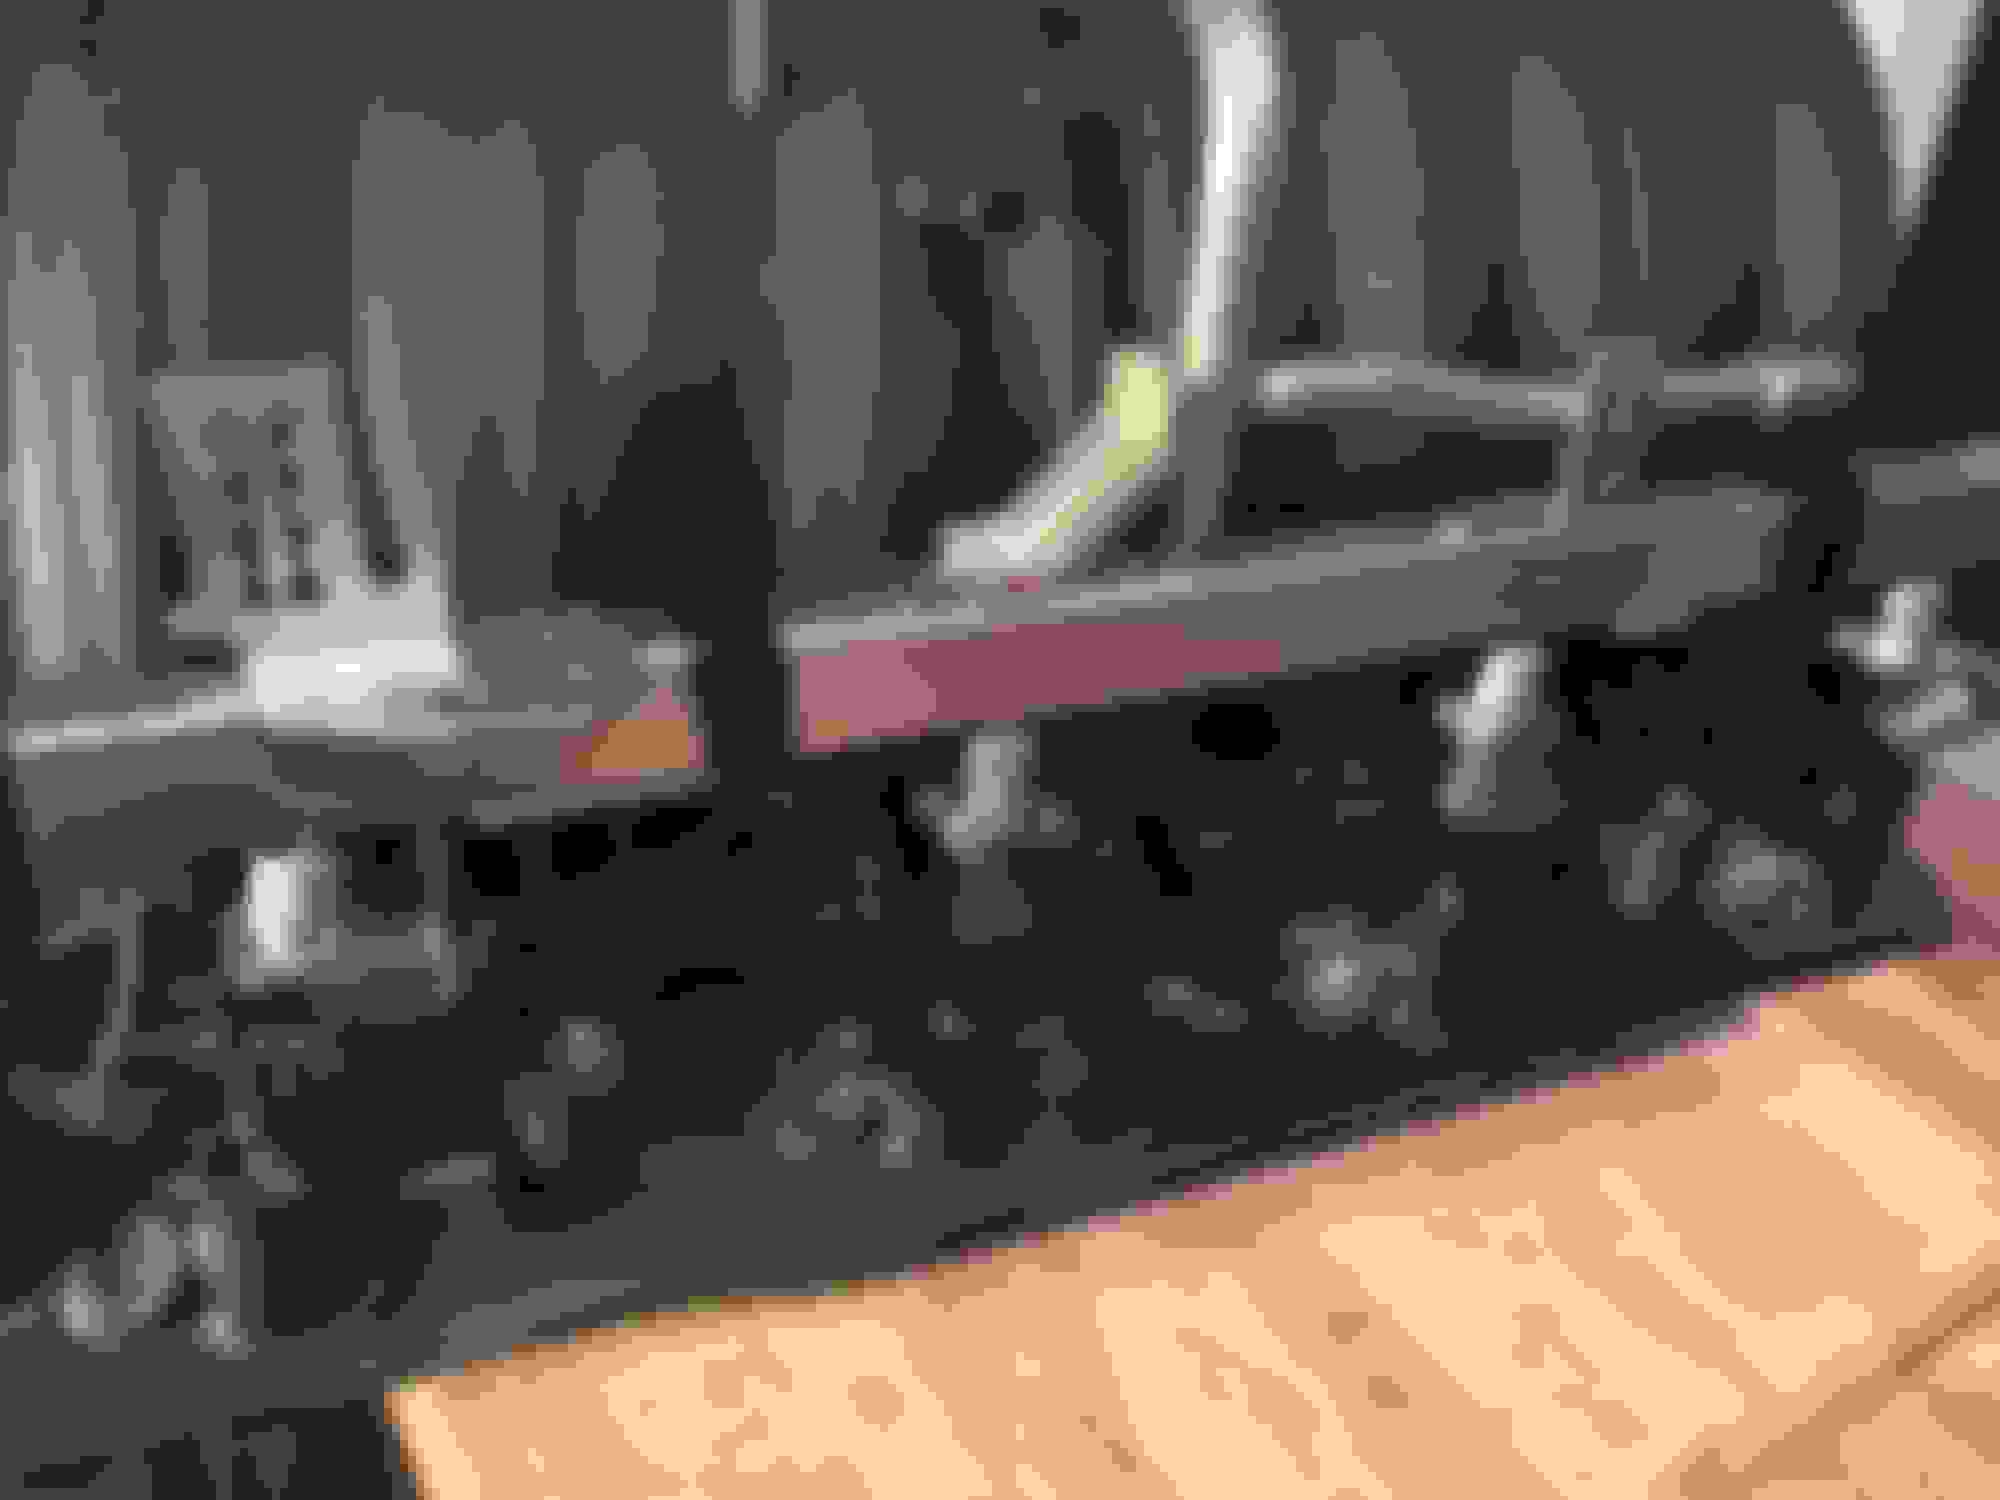
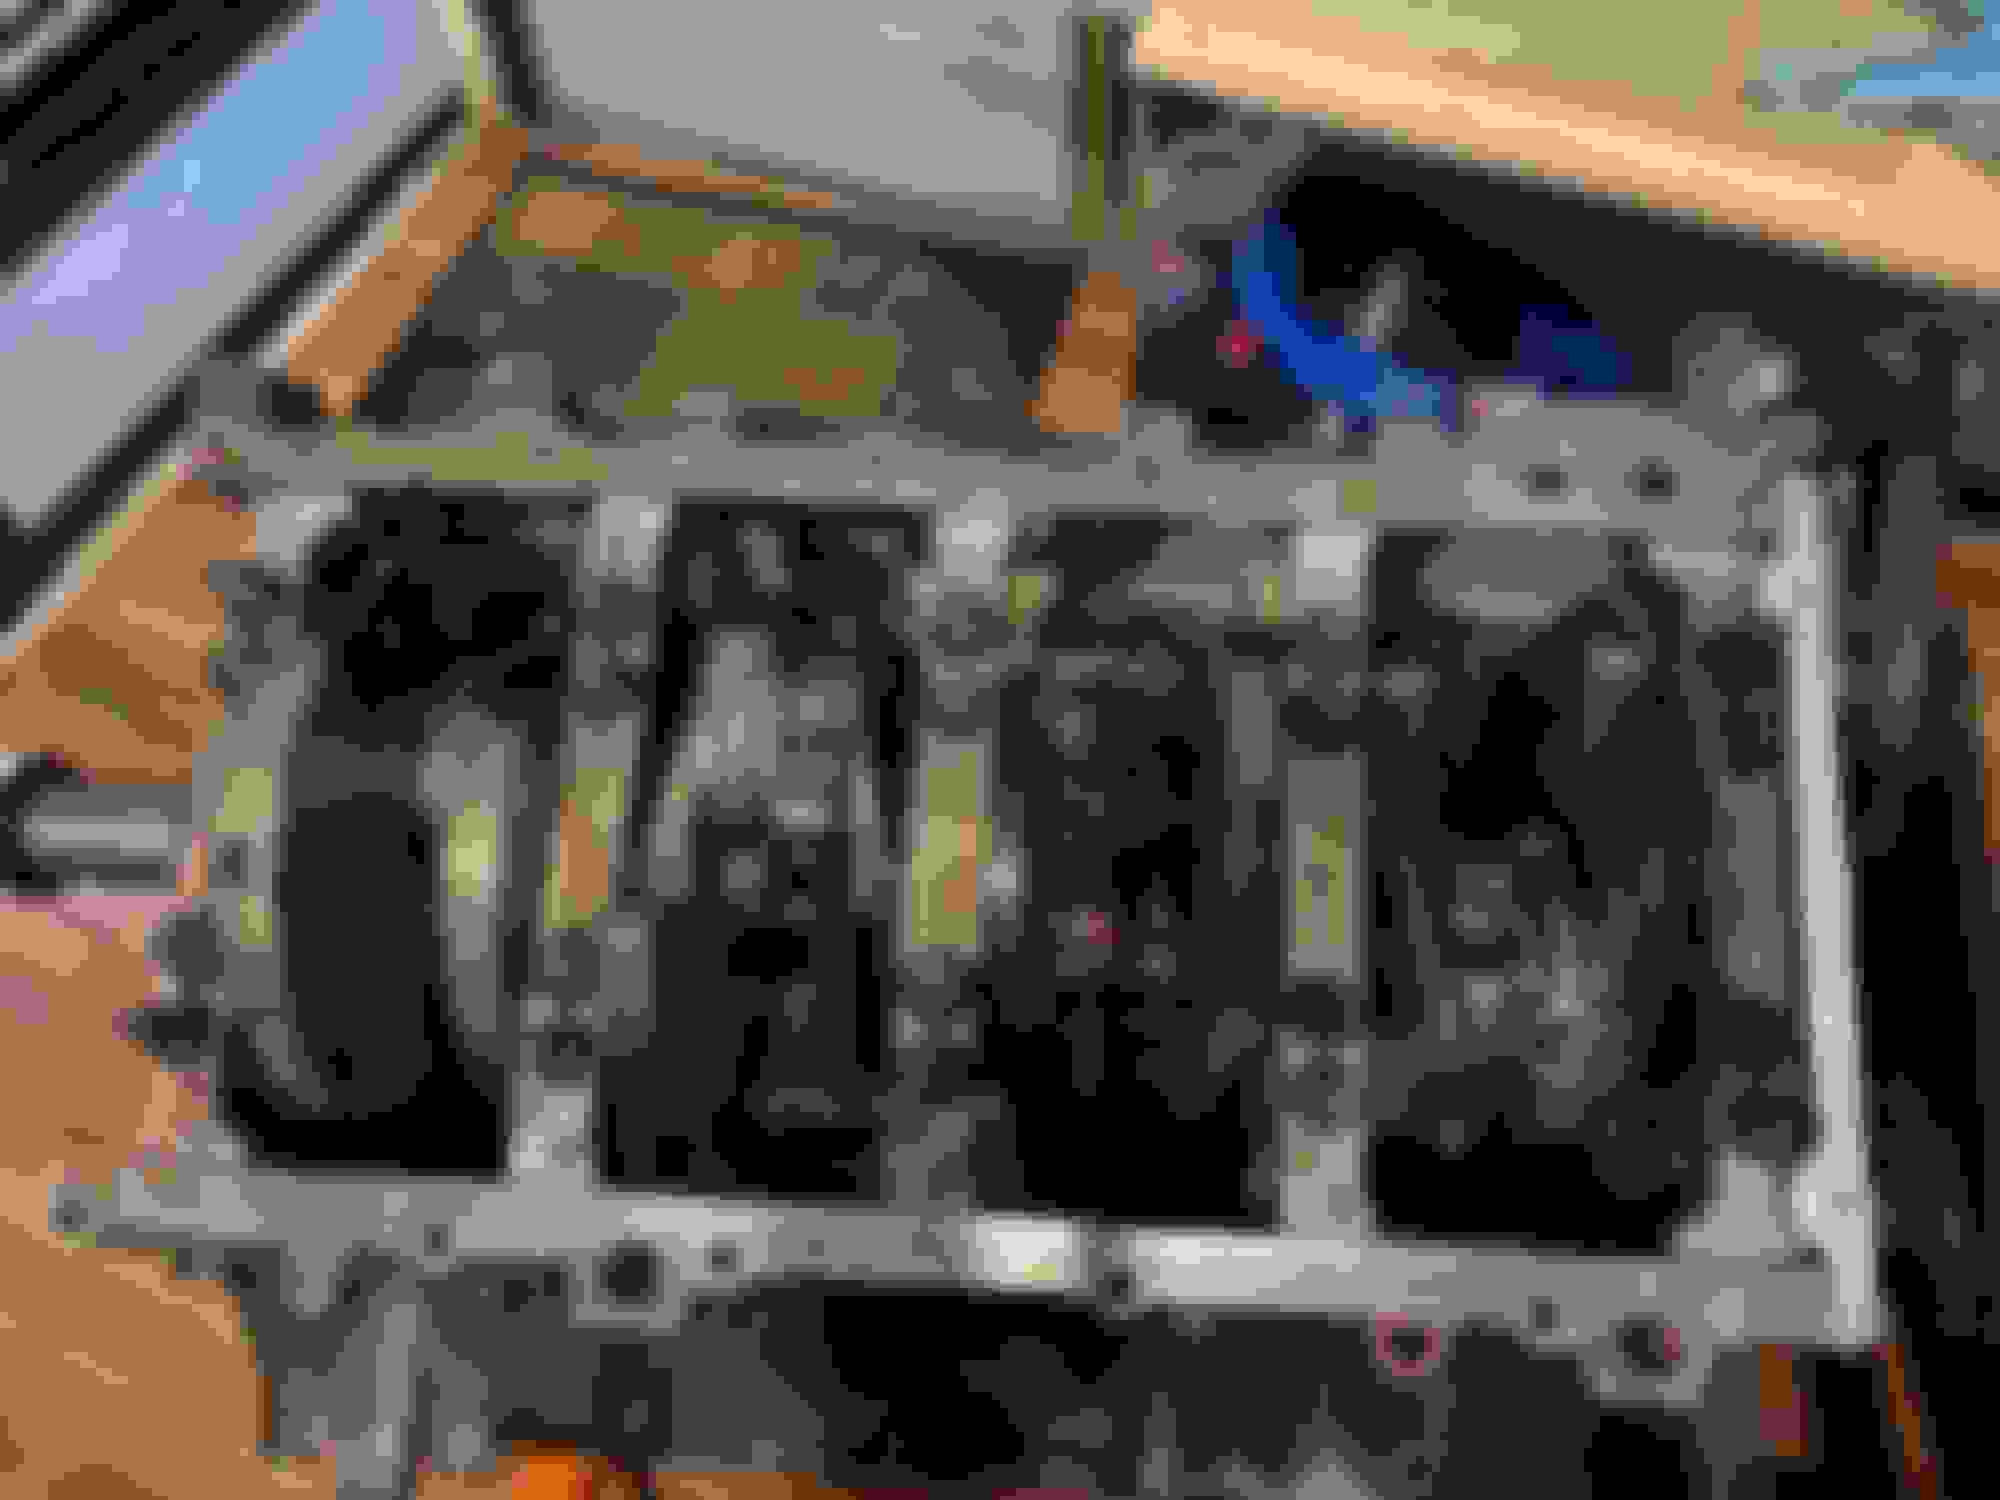
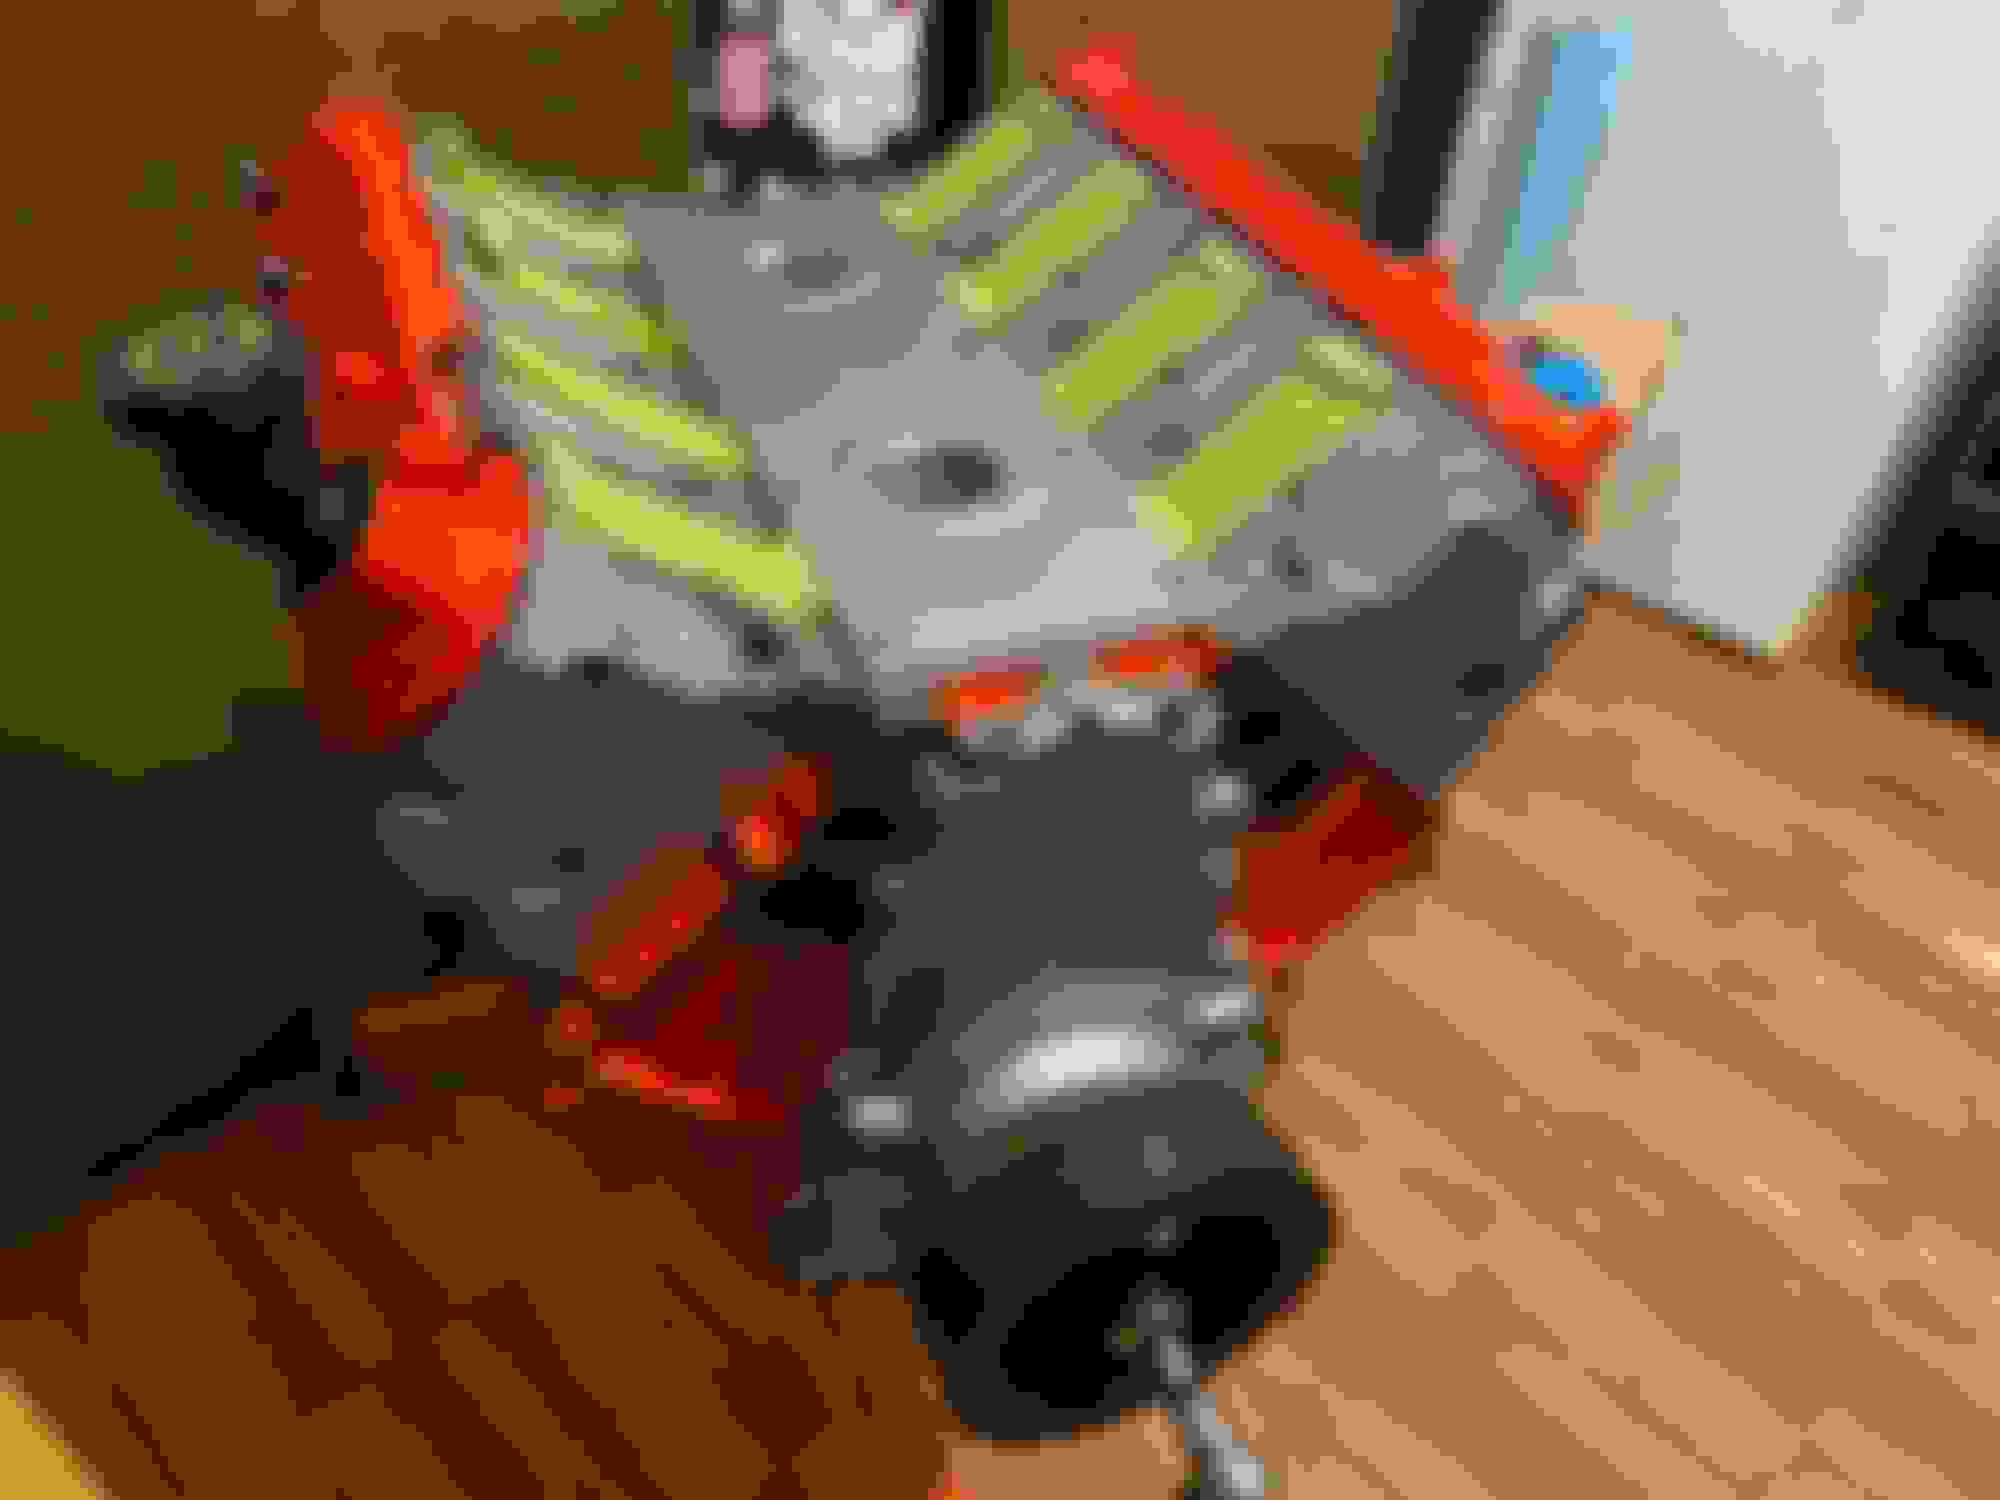
As you can see, with this crossmember it really clears up a lot of room for exhaust or anything really. You can see the two extra mounting holes after the pan that are cleared up and can be used for something, in this case I will be installing some electrical exhaust cutouts and I will be building a bracket that will hold them in place so that way the exhaust manifolds won't be under so much stress.
Another great thing about this crossmember is that it had mounting holes that were 1 1/4" long, so engines that have been set back, In my case its been set back about 3/8"; would mount up just fine. I didn't have to grind away at the trans mount or the crossmember because of the setback, it all bolted up just fine!
For the trans vent tube I just zip-tied it.
Lastly hooking up the exhaust I did encounter one issue. On the driver side exhaust the flex joint was rubbing up against the crossmember. I had to get a torch and heat up part of the exhaust and bend it down. I don't really care much as again, I'll be re-doing the exhaust sometime in the future. For now, its all good.
All in all, this is a great transmission crossmember from Clear Image Performance for any 90's B-Body LSx swap that is coupled with the KDS-Performance engine mounts. This is a great parts choice for ease of installation.
Next I'll be sharing a in-depth install of my FAST LSXrt Intake. I've been searching high and low for a good install guide and have yet to even find one specially on the LSXrt model so look forward to that.
Well, after several weeks it looks like I'm able to take a deep breath of relief.
Installing the FAST LSxrt intake felt like nightmare!
I have several issues with the installation of the intake manifold, while not so much the product itself but rather the fitment.
More on that later in this post.
So first things first was finding a fuel rail that is going to work with this intake.
I went with a square rail from a NNBS Silverado, I liked that rail more than the plastic version as this one was 'return-less' rail and it just looked better overall. The only hard part was trying to find one as this rail is pretty popular for that reason. I was able to locate one in-town, set me back about $150 just for the rail and injectors.
Now was preparing the rail for the mods required to make it work for the FAST Intake.
It was simple enough as all that was needed was to remove these four tabs that I marked on the rail.
Now the rail sits 'freely' on the intake.
I went ahead and painted the hold-down brackets gloss black that came on the fuel rail kit and mocked them into place.
Now reading the instructions for the Fast LSXrt intake (FAST-PN-146602-LSXrt-Intake-Instructions-rev-4-24-17.pdf) I had to swap out the lower injector o-rings with the ones supplied in the intake kit. The o-rings that are in the intake are GAWD awful tight to install onto the intake. I left it alone till I had the intake on the engine so that way I had more leverage but jesus... it felt almost like the injector was going to break off, and this was using plenty of assembly lube, grease and all kinds off lube to make them go in.
I also went ahead and replaced the upper o-rings on the fuel injector, I ordered a set from MAHLE that were 'OEM' but after getting them I realized that they were 'thinner' than the ones that came off, that being said I ordered some from ACDelco and they were the right ones.
Installed the throttle cable bracket, also painted that gloss black.
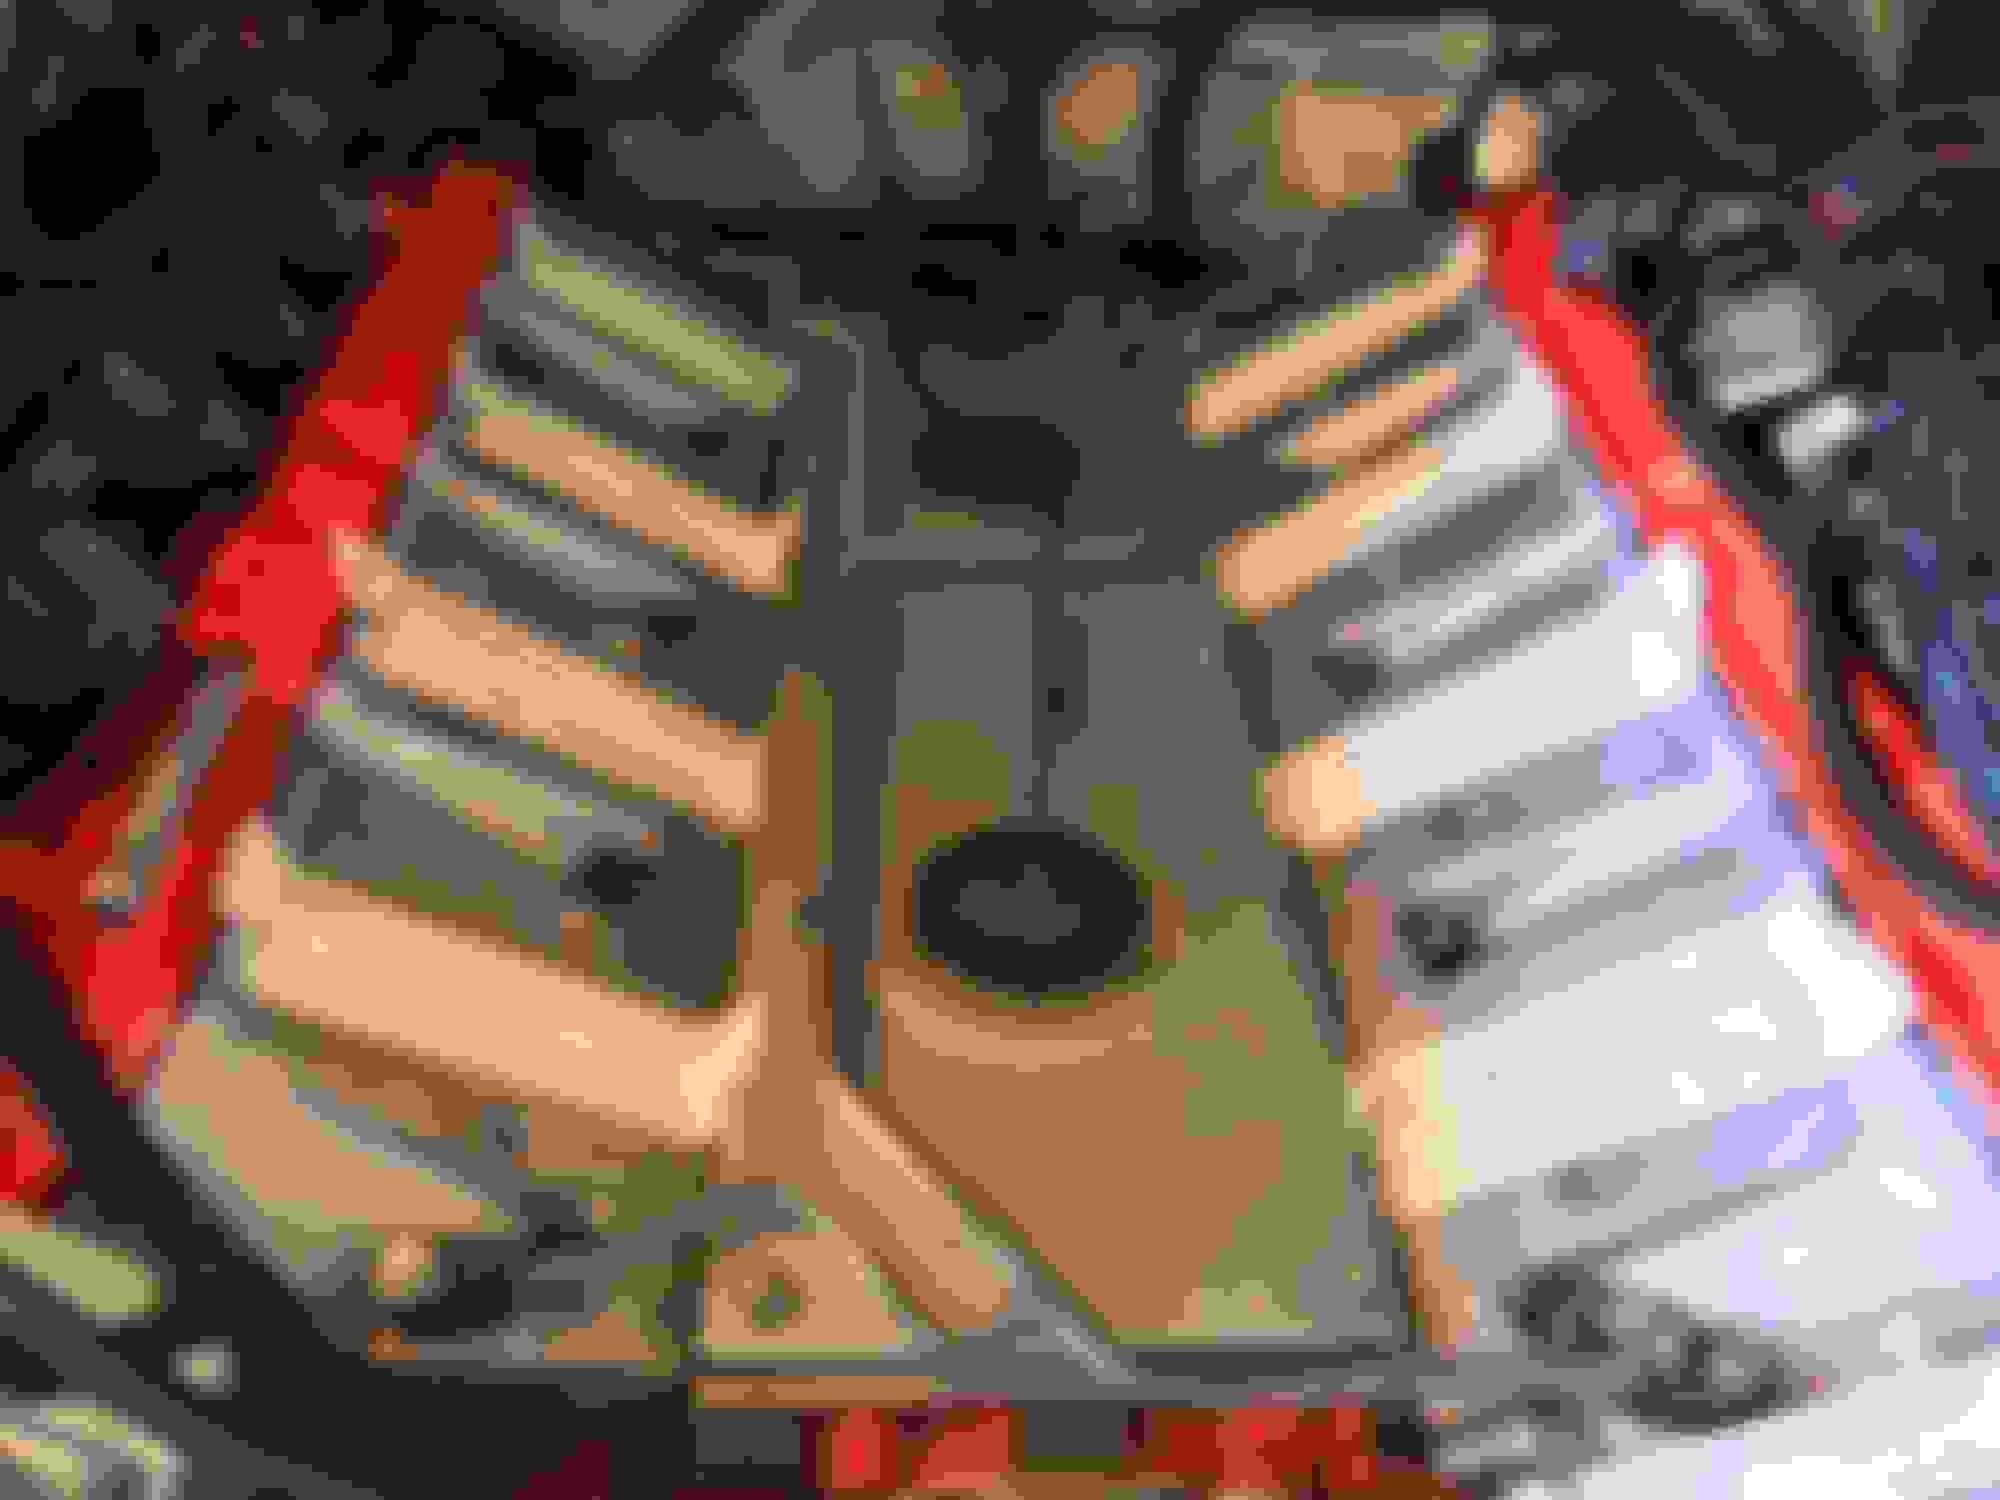
Next was installing and drilling the right holes for all the vents and sensors. This meant that I had to remove the upper shell of the intake.
Had to drill out the hole for the MAP sensor, and also the EVAP purge, all simple stuff.
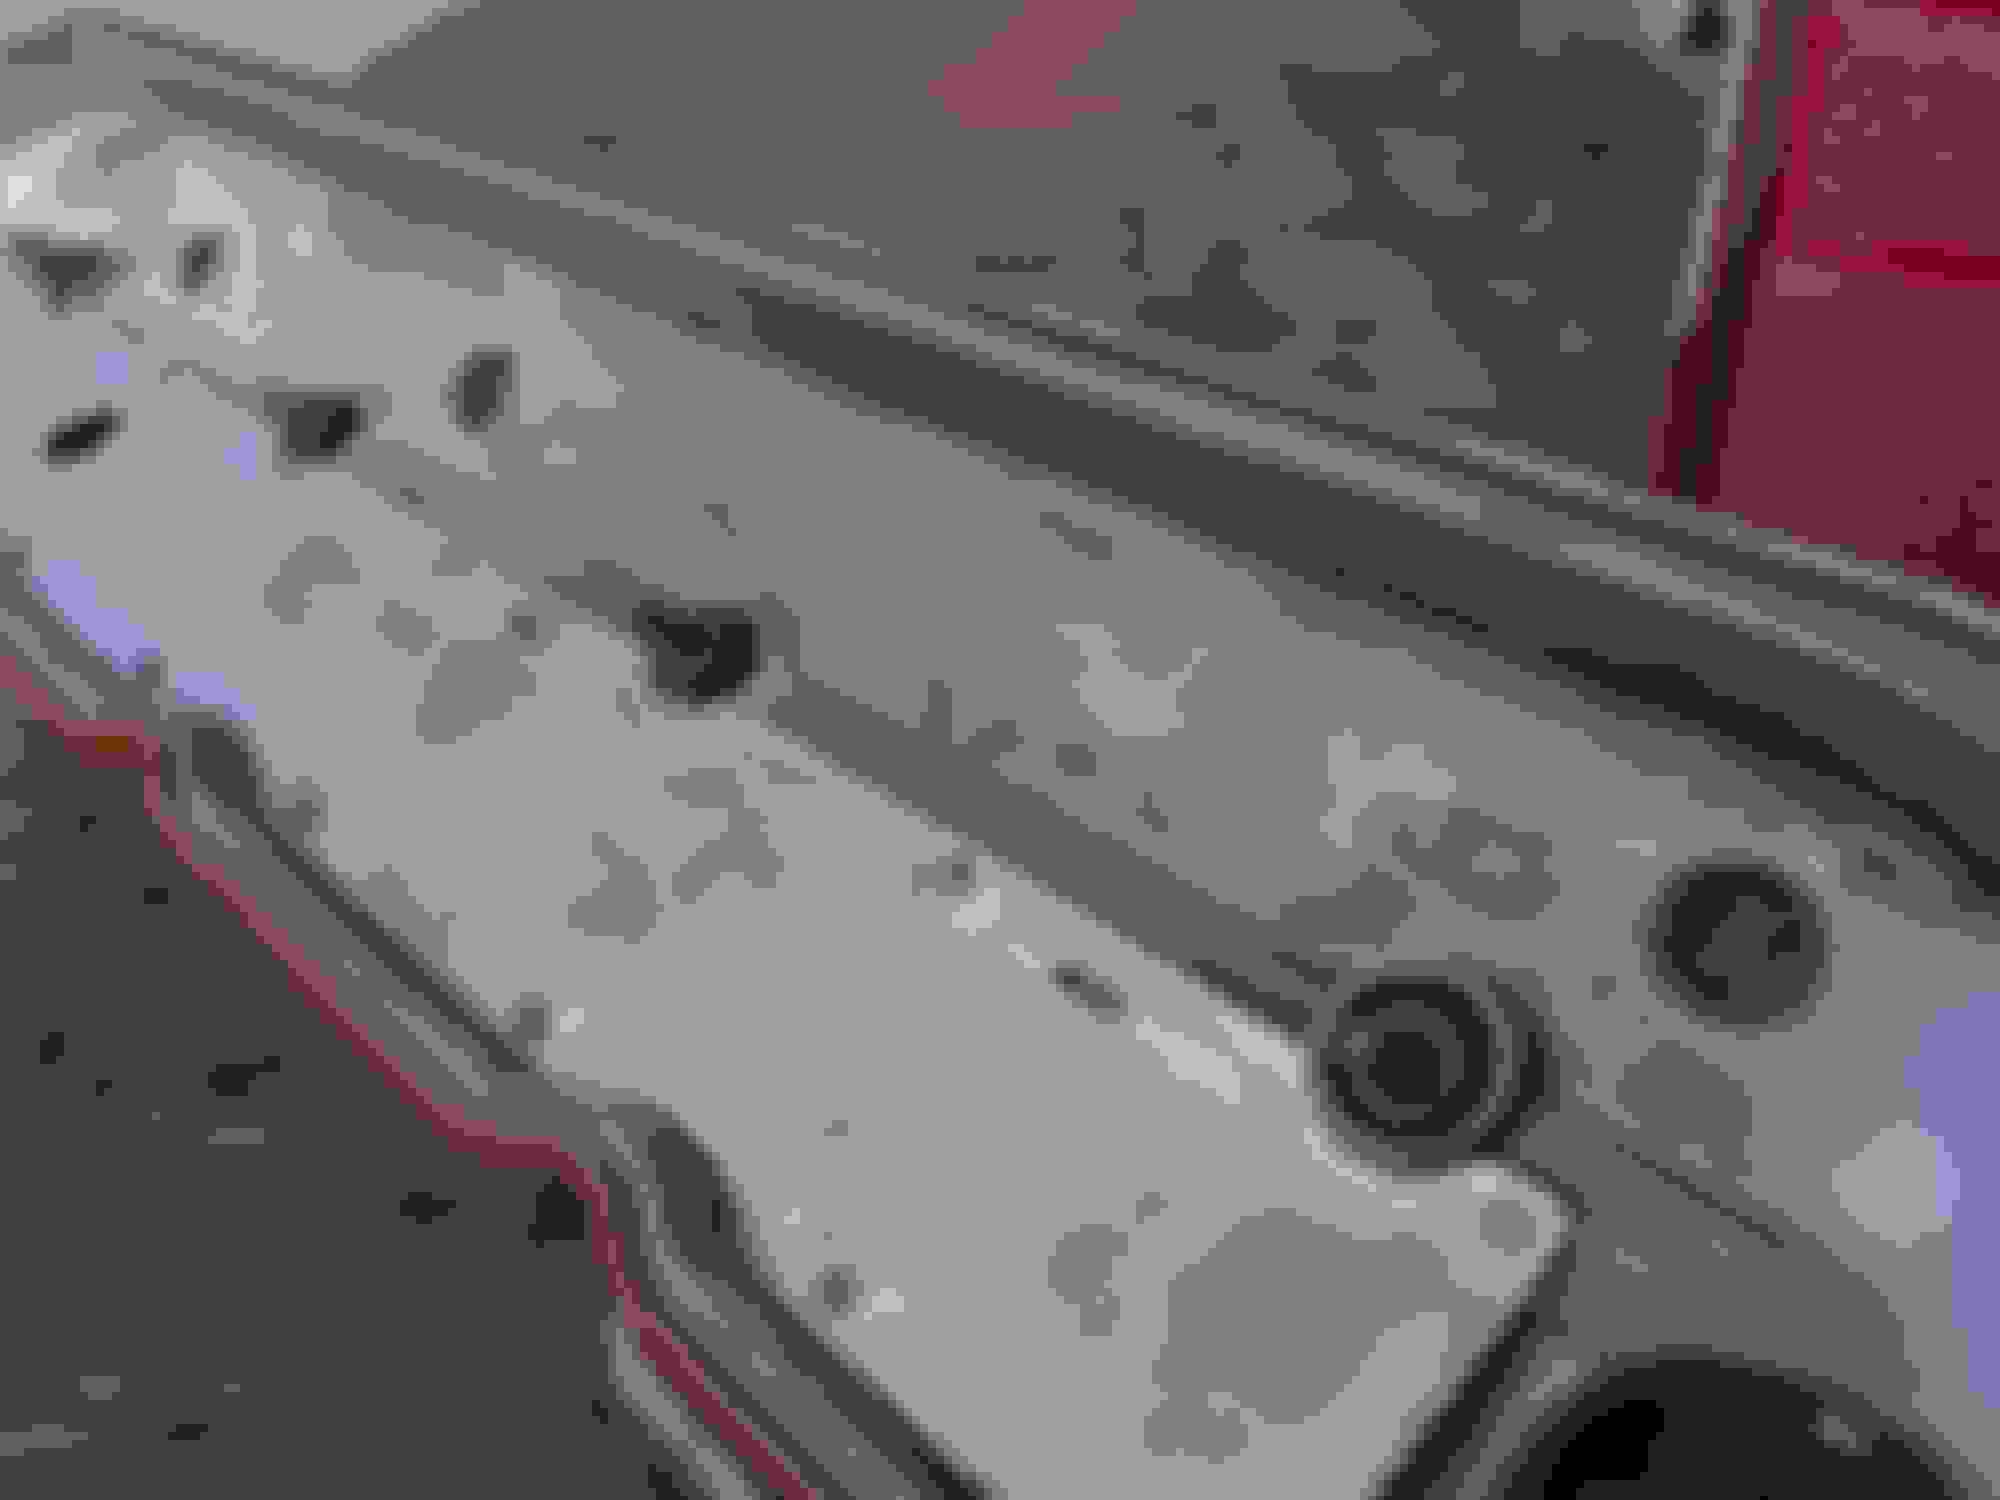
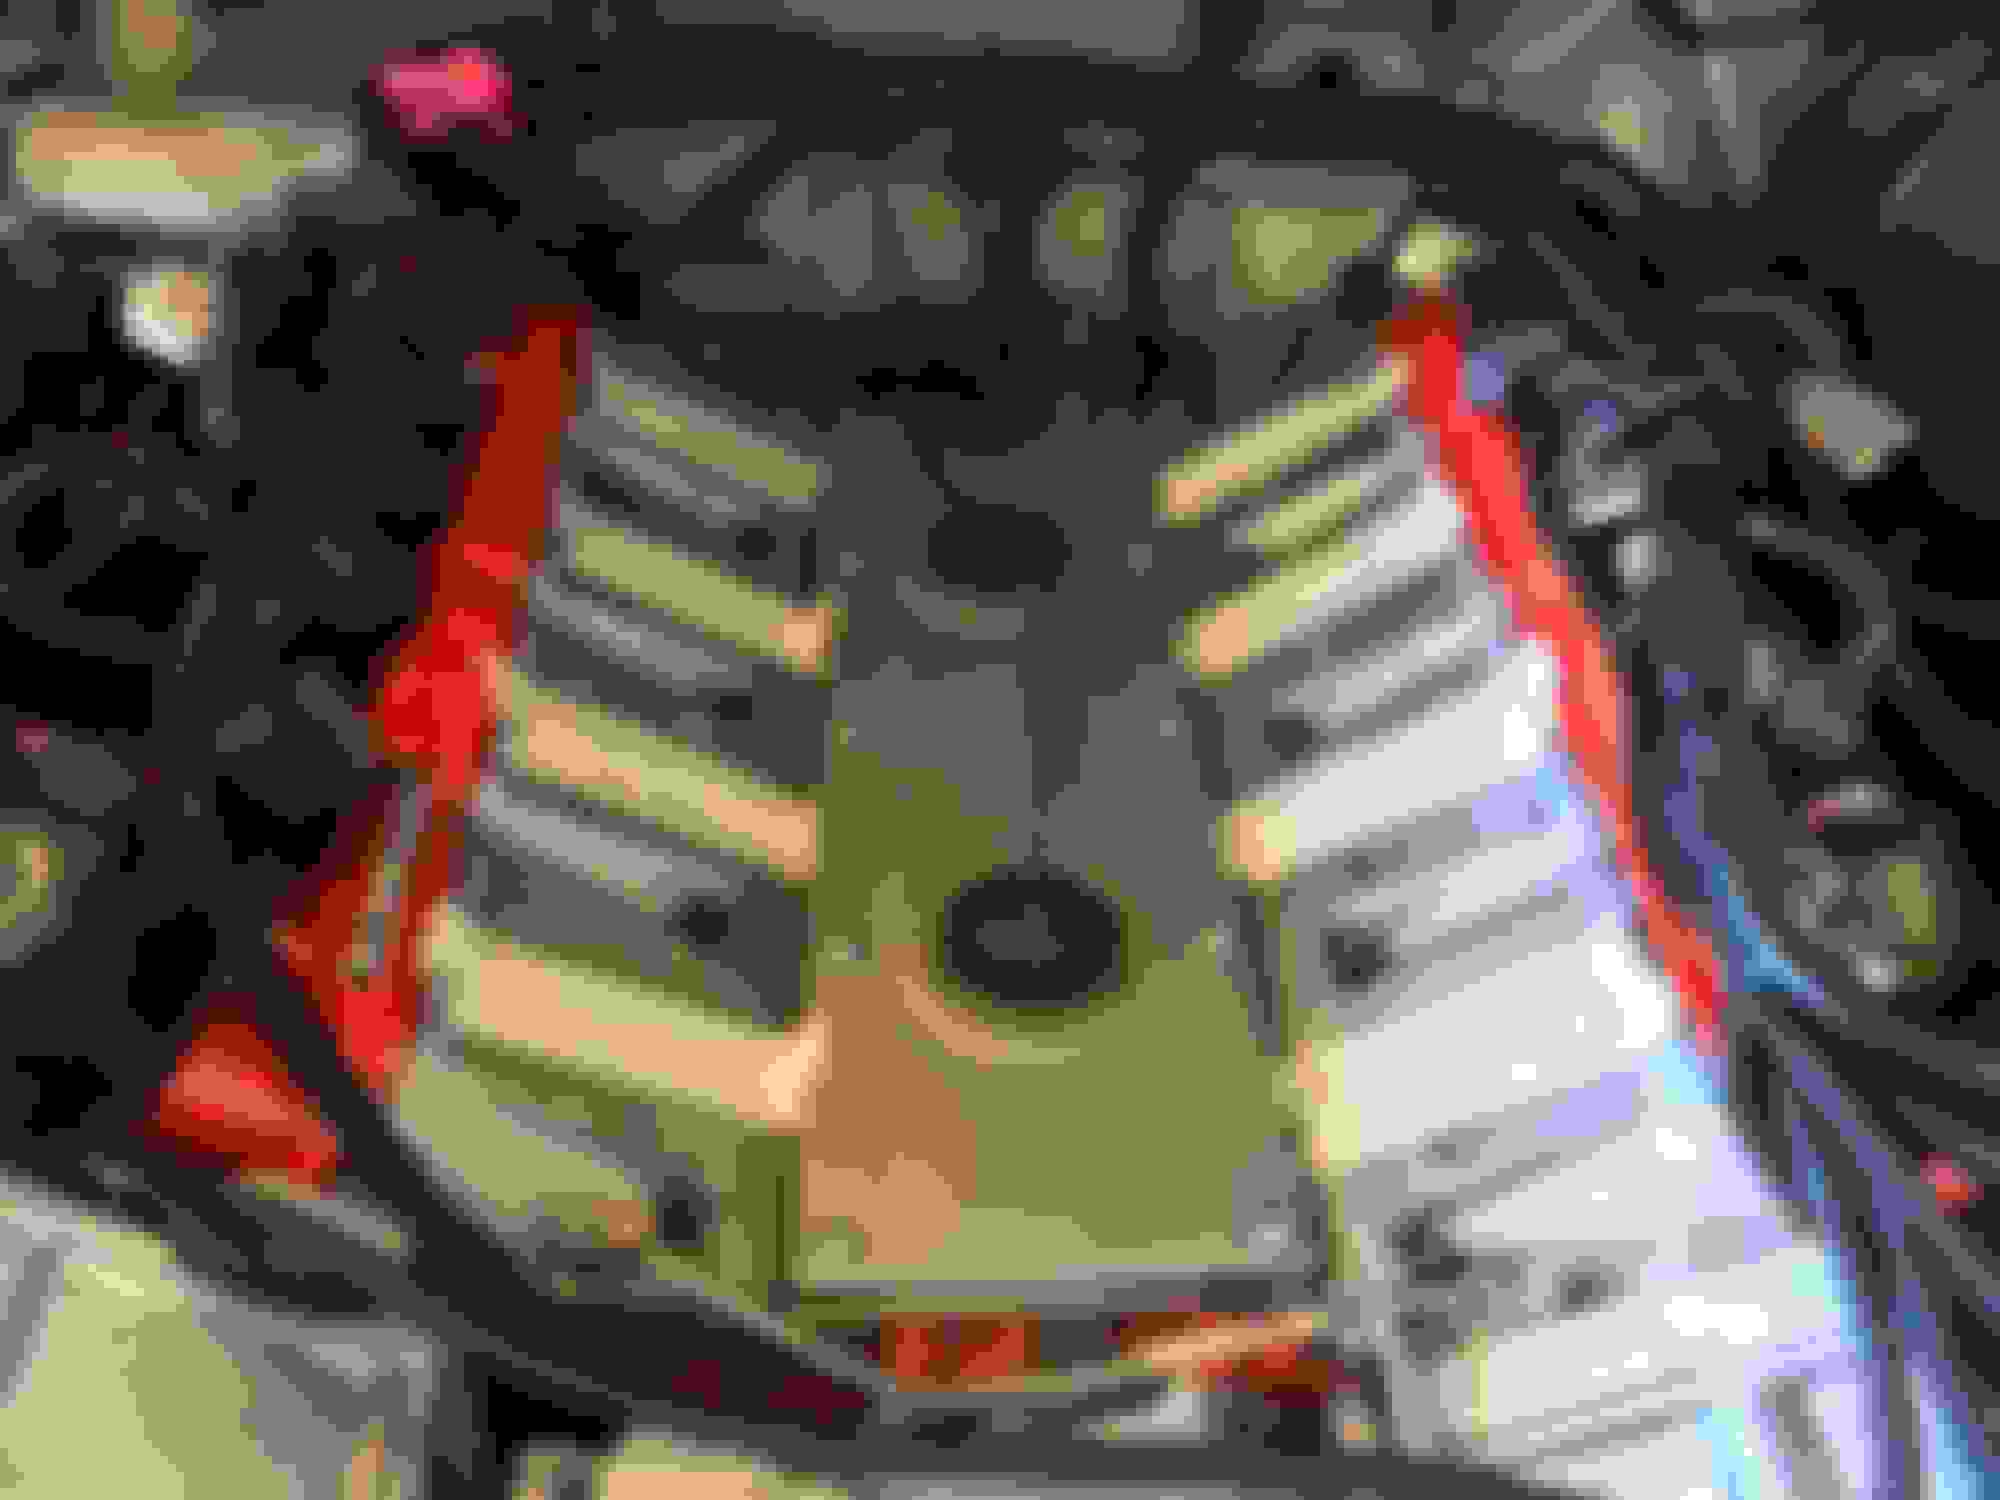
At this time I went ahead and decided to make a few mods to the intake runners, out of the box they are pretty good but I figured just a few tweaks to take care of some of the miss-lightment and also some of the molding flashing will really help with the air flow inside. You'll be able to tell the before and after with the photos.
Before sealing the upper and lower intake together I wanted to see how it was going to line-up with the actual cylinder head. Even though the head was CNC machined by TEA I just wanted to see, and sure enough its pretty damn close.
Now it was time to put everything back together and per-instructions it said to make sure to add some RTV sealer to back of the intake, this is why, the seal that is used is not a complete o-ring. I took some super glue and glued the ends and used RTV sealer at its location to prevent any vacuum leaks.
Now with the old LS2 intake off its time to start putting this thing in, or so I thought...
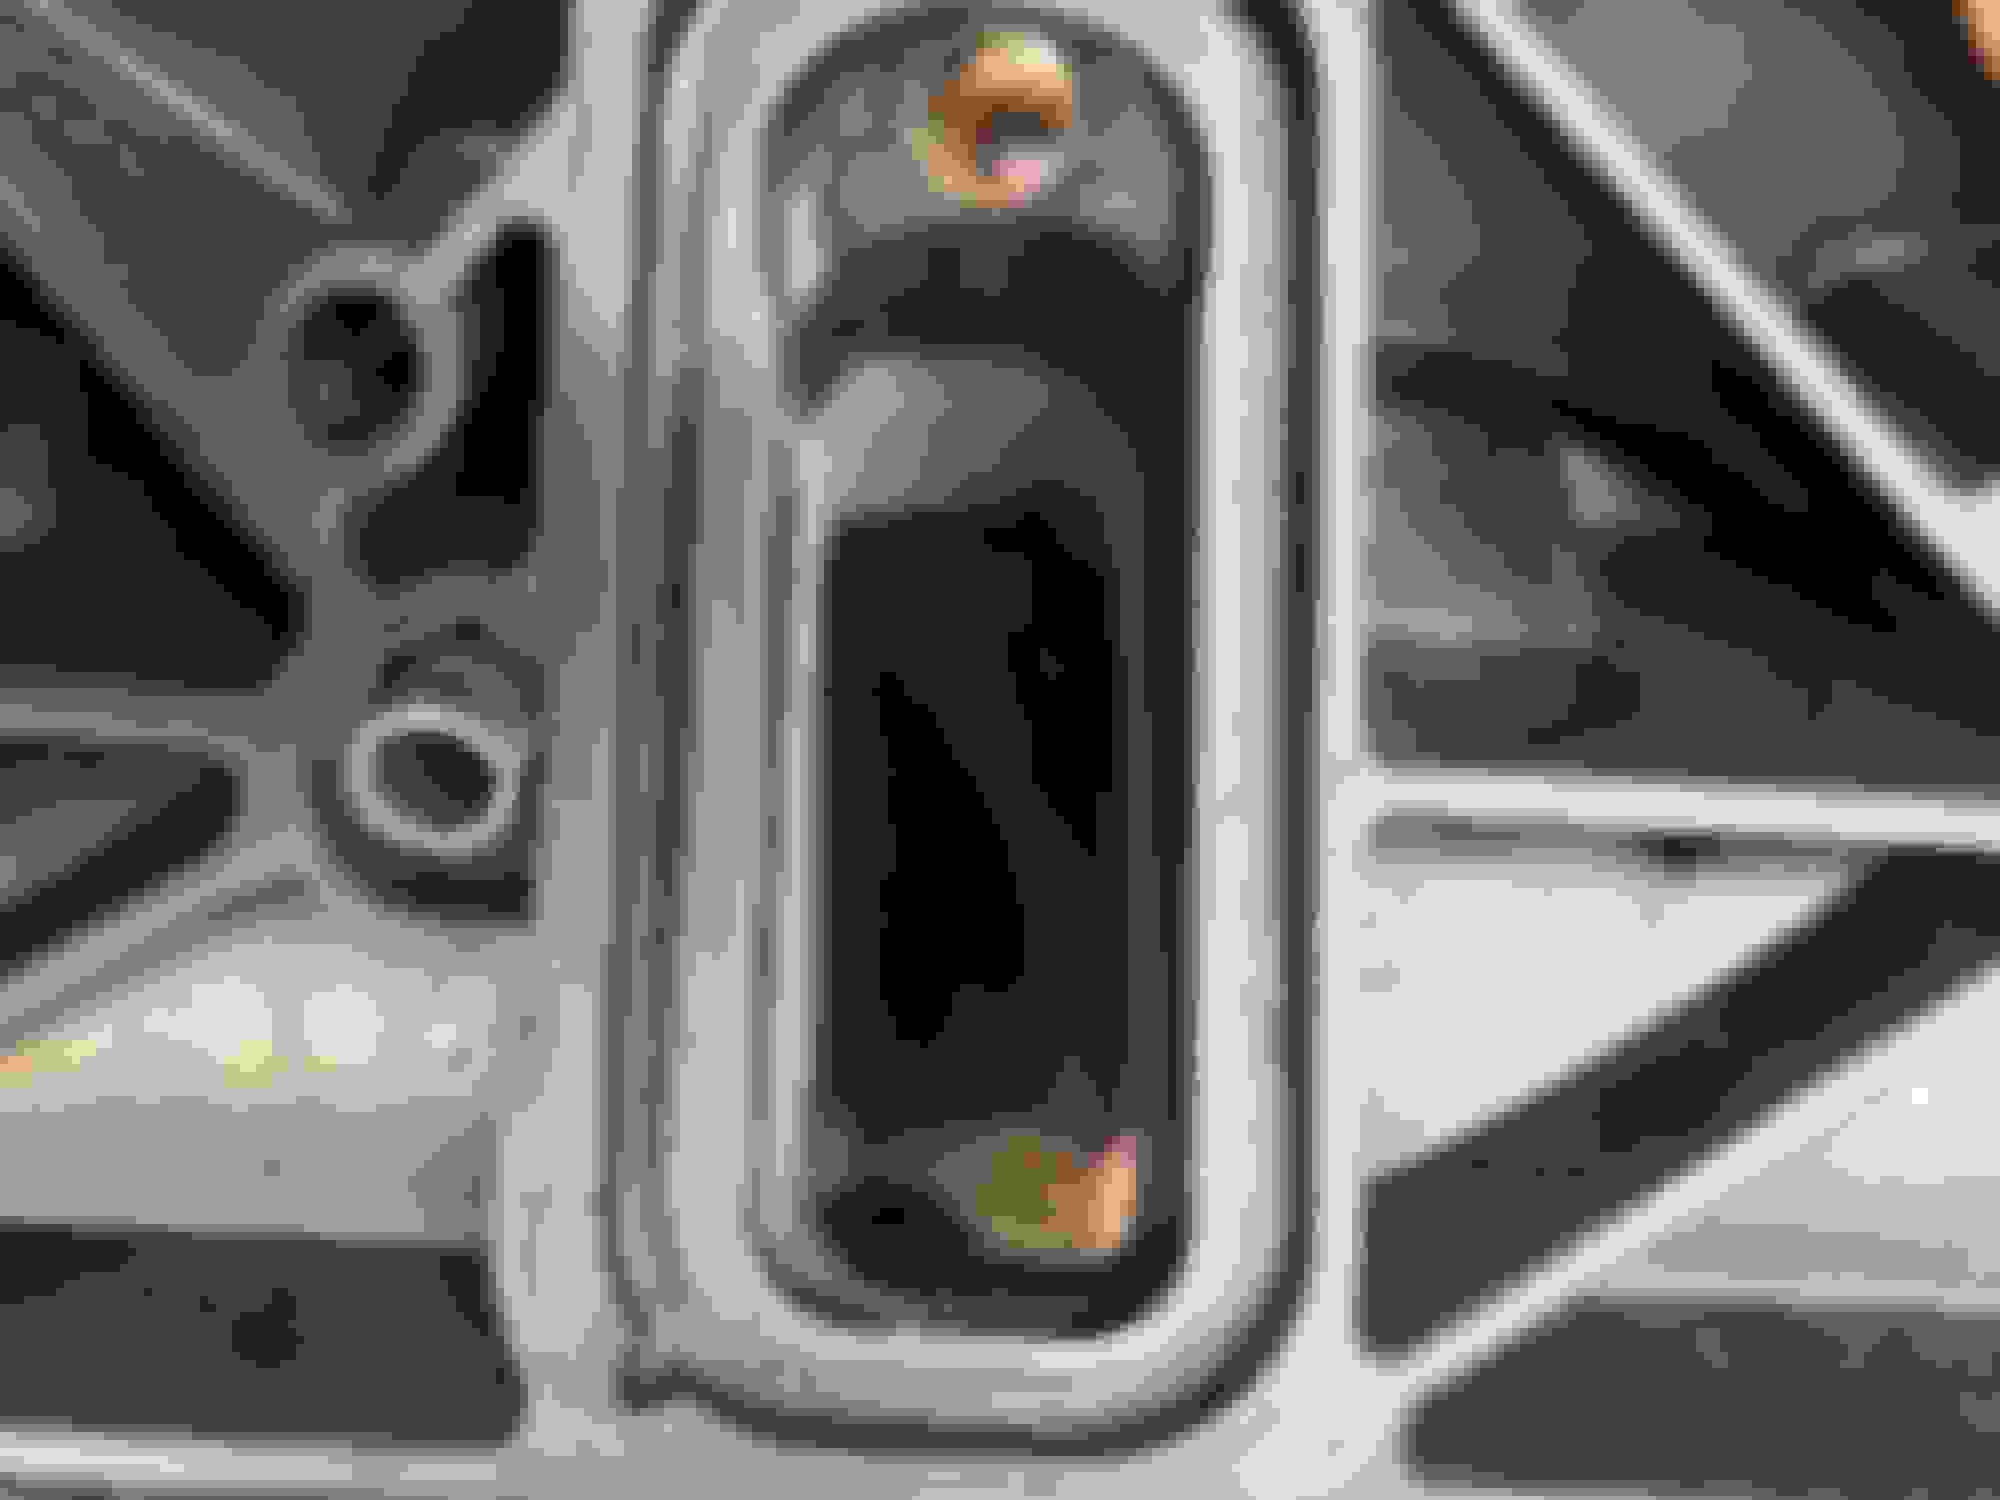
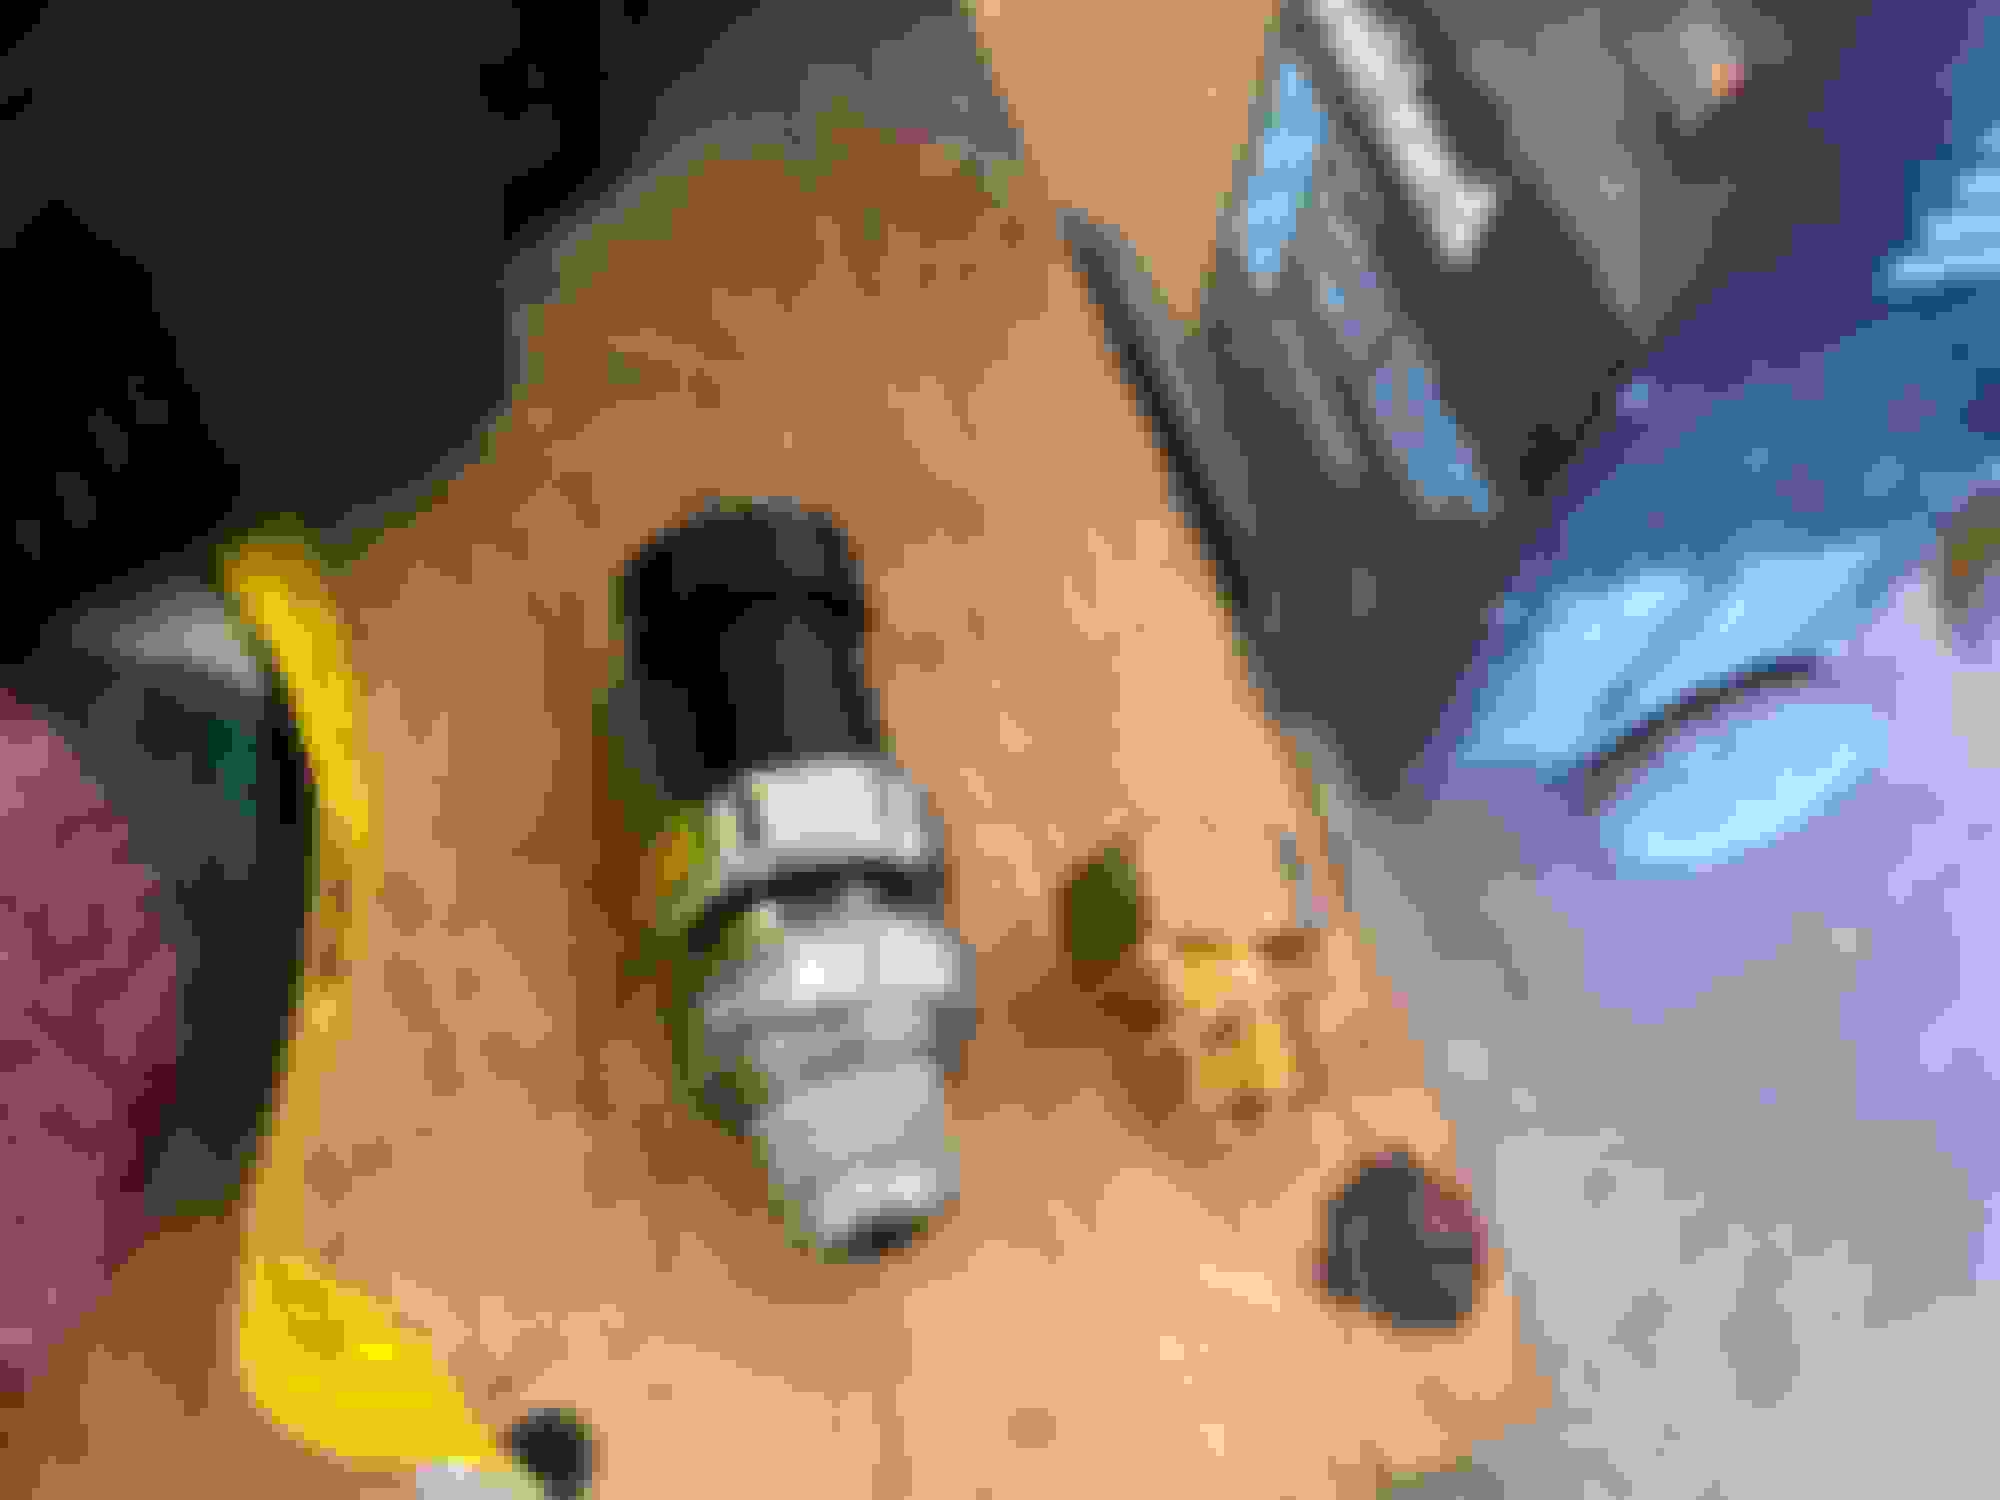
I wanted to take care of a patch job I did when I first installed the engine, I had gutted a old 5.3 oil sending unit and used it as an adaptor for my original LT1 oil sending unit, the LT1 unit used NPT thread while the LS's use metric, thankfully I was able to find a true adaptor for it and got rid of my patch job.
Now begins some issues I encountered...
Being that most LS-baised trucks used the larger steam vent, I thought I was able to use it in this case being that the intake meant for trucks. I installed it and everything, only to find out that instructions are very vague about the steam vents. "Coolant crossover tube modification (slightbending) and/or replacementmay be required, depending application"
So in a nut-shell, larger steam vent tubes wont work on the LSXrt intake. Per-Instructions also replaced the upper valley cover bolts with the button bolts.
Now to installing the intake! or so I thought... again...
After all that work done to the intake, I felt so defeated... I thought i was out well over 1k of intake and parts....
This is what I get for not measuring, but then again... the FAST website doesn't have any dimensions of any kind to give me a heads up on how high and wide the intake is nor does the instructions.
You can imagine I was very upset at myself so I left it alone for a few days to gather my thoughts.
I came to conclusion returning to the project that I would have to cut into the cowel area which in all honesty I didn't want to do. It was the last thing I wanted to do but it had to be done to get the intake to fit.
After several trials and cutting, Finally have the intake sitting on the engine, but a new problem. right where I made the cuts and where the intake sits, is where the passenger side wiper arm pivot sits at and now I had to go to the junk yard and look for a spare pivots. What I had to do is basically shorten the pivot joint down enough where it will clear the intake.
Thankfully it wasn't that hard but just time consuming.
Now with plenty of room for the intake with the wiper arm pivot and linkages installed... just had one more small problem.... the wire harness.
I had to tuck it really far back as with the old LS2 intake I had the wire harness running though the back of the intake but on top, I had to tuck it really close between the fire wall and the passenger side cylinder head. It has just enough room for some movement, sadly though I had to find some pigtails for the wiper motor as the new position of the harness meant that those wont connect anymore, with some pigtails from the junkyard I was able to extend them so that way I can connect everything back up.
So finally! The intake can go on for the final time! Oh wait.... what about the hood!? Seeing how the intake is so large... would the factory hood clear?!
A few days and even weeks after the install I've been trying to iron out some issues....
First was the idle...
then it would randomly shut off on me....
It would struggle to accelerate and also shudder when TCC locks up....
I have had HP Tuner for a while and i made sure the PCM was programmed with the correct set of injectors but even tuning it was a chore... I didn't know if I was running really lean and thats why she struggled.
I was really starting to give up and have second doubts about the intake install....
I figured what the hell... I'll buy a AEM Wideband O2 sensor and see what i'm really running and two I'll be able to use it with HP Tuners via the EGR/AC port method since I just had the base model HP Tuner and the only way I can see my wideband was to tap it into the PCM via the EGR/AC voltage...
This was the BEST purchase I made....
After a few nights of tuning..... VOLA! pretty much everything was working just fine! I found out that the PCM was just DUMPING fuel into the engine therefore it was running incredibly RICH, which makes sense since the injectors are much bigger since they are FlexFuel injectors but I'm not running on Flex.
So far.... I'm Happy! It has been a really head scratching several weeks trying to tame this beast but now that I have I can post this and hopefully it will help somebody in the future doing a project like mine... my advice out to all of this.... DON'T get the FAST LSXrt! just go with the LSxr, you wont have to cut up stuff like I did with mine!
Holley makes an angled spacer for the TB. It will probably increase your hood clearance.
Fortunately it was just the air inlet tube being nudged by the hood. All I had to do was shorten the rubber union sleeve that I got from the hardware depot so it was no loss.
Well this year has been pure garbage, not just with Covid-19. I've have to make a video about it, but long story short I had to remove the engine, refresh it, and currently its in my kitchen ready to be taken back to the shop to re-install.
.................I've have to make a video about it, but long story short I had to remove the engine, refresh it, and currently its in my kitchen ready to be taken back to the shop to re-install.
Did you ever get your torque 'issue' resolved?
What are the specs on your cam? What gears are you running?
What are the specs on your cam? What gears are you running?
KW
I like to think so, more on that soon.
Cam is a Compcams 54-416-11 XR273HR, Duration 273/277, Cam Lift .530/.537, 220/224 @.050
Rear diff is a 10.5 w/Eaton Truetrac, 3.23 gears.
Well since the Texas winter storm hit and I've been home for several days I'd thought I give a HUGE update on my 1994 Buick Roadmaster Wagon now that I have the time for it. lol.
First I'll go over all the problems I encountered...
So back in May of 2020 one of the "last" major upgrades I had planned was to install a set of CompCams 1.8 ratio rocker arms. Which will increase my lift from .530/.537 to .561/.569.
That upgrade went south though, no fault of the rocker arms themselves, but I will soon discover many issues leading me to have to actually remove the engine back out of the car and would spend close to 8 months (mostly due to COVID & finances) Lets get started.
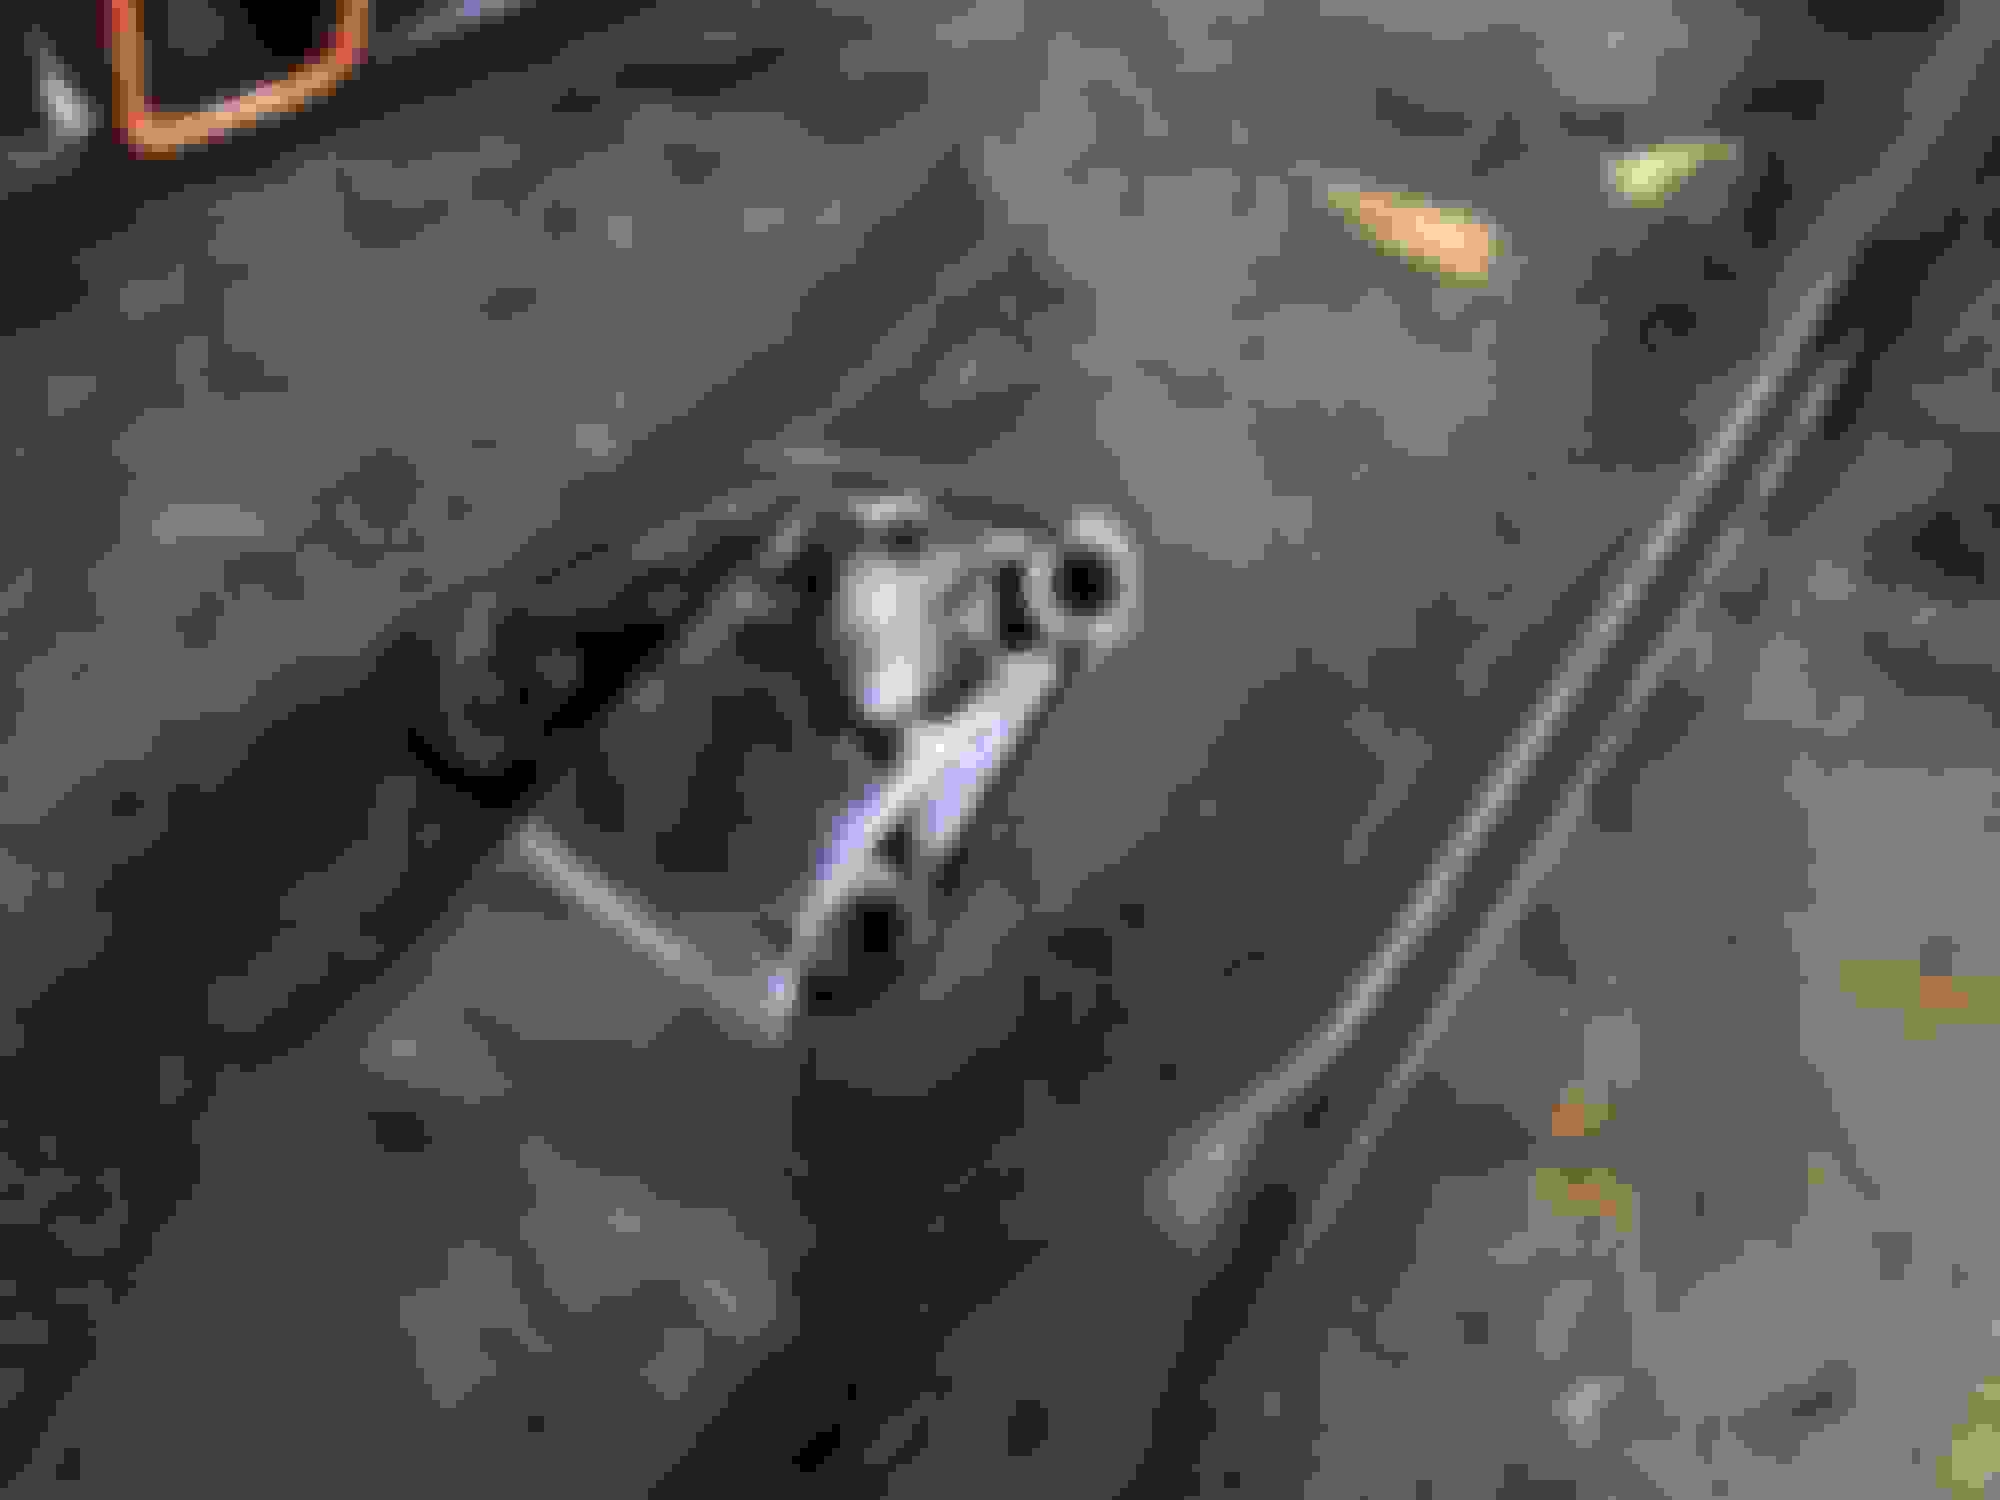
In March of 2018, I had installed a set of PRW roller rocker arm, the install theoretically went okay or so I thought until I began to install the new CompCams rockers. One thing I had noticed when I installed the PRW rockers is that the center pivot shaft seemed to be a larger diameter, but it seemed to fit on the factory pedestal just fine so I went with the installation, how I was so wrong. After removing the PRW rocker arms I noticed some severe cracks in the center of where the pivot shaft is supposed to sit on. That meant the pivot shaft PRW rockers were too big and split the saddle on which it was supposed to sit on.
This is Problem #1
The crack weren't on every saddle, but that meant I had to go to the junkyard and get some pedestals.
After getting some pedestals, I went ahead and ditched the ARP rocker arm studs that I had previously installed with the PRW's and used the supplied bolts that came with the CompCams rocker arms, this also allowed me to more accurately set the preload on the lifters. Installation went well, fired up and let it warm up. Everything was going well until I heard it.... the dreaded lifter 'Tick'.
This is problem #2
Mind you that the valve train on this engine has always been noisy, this 'tick' want there before and it had me scratching my head if it was a bad lifter or bad preload.
I checked all the preloads on the lifters and everything seemed fine, I even went as far is changing the oil out to 10w/40 and still after getting to running temp that 'tick' would not go away. I gritted my teeth and dreaded it, but I had no choice but to replace the lifters which meant that the cylinder heads will have to come out.
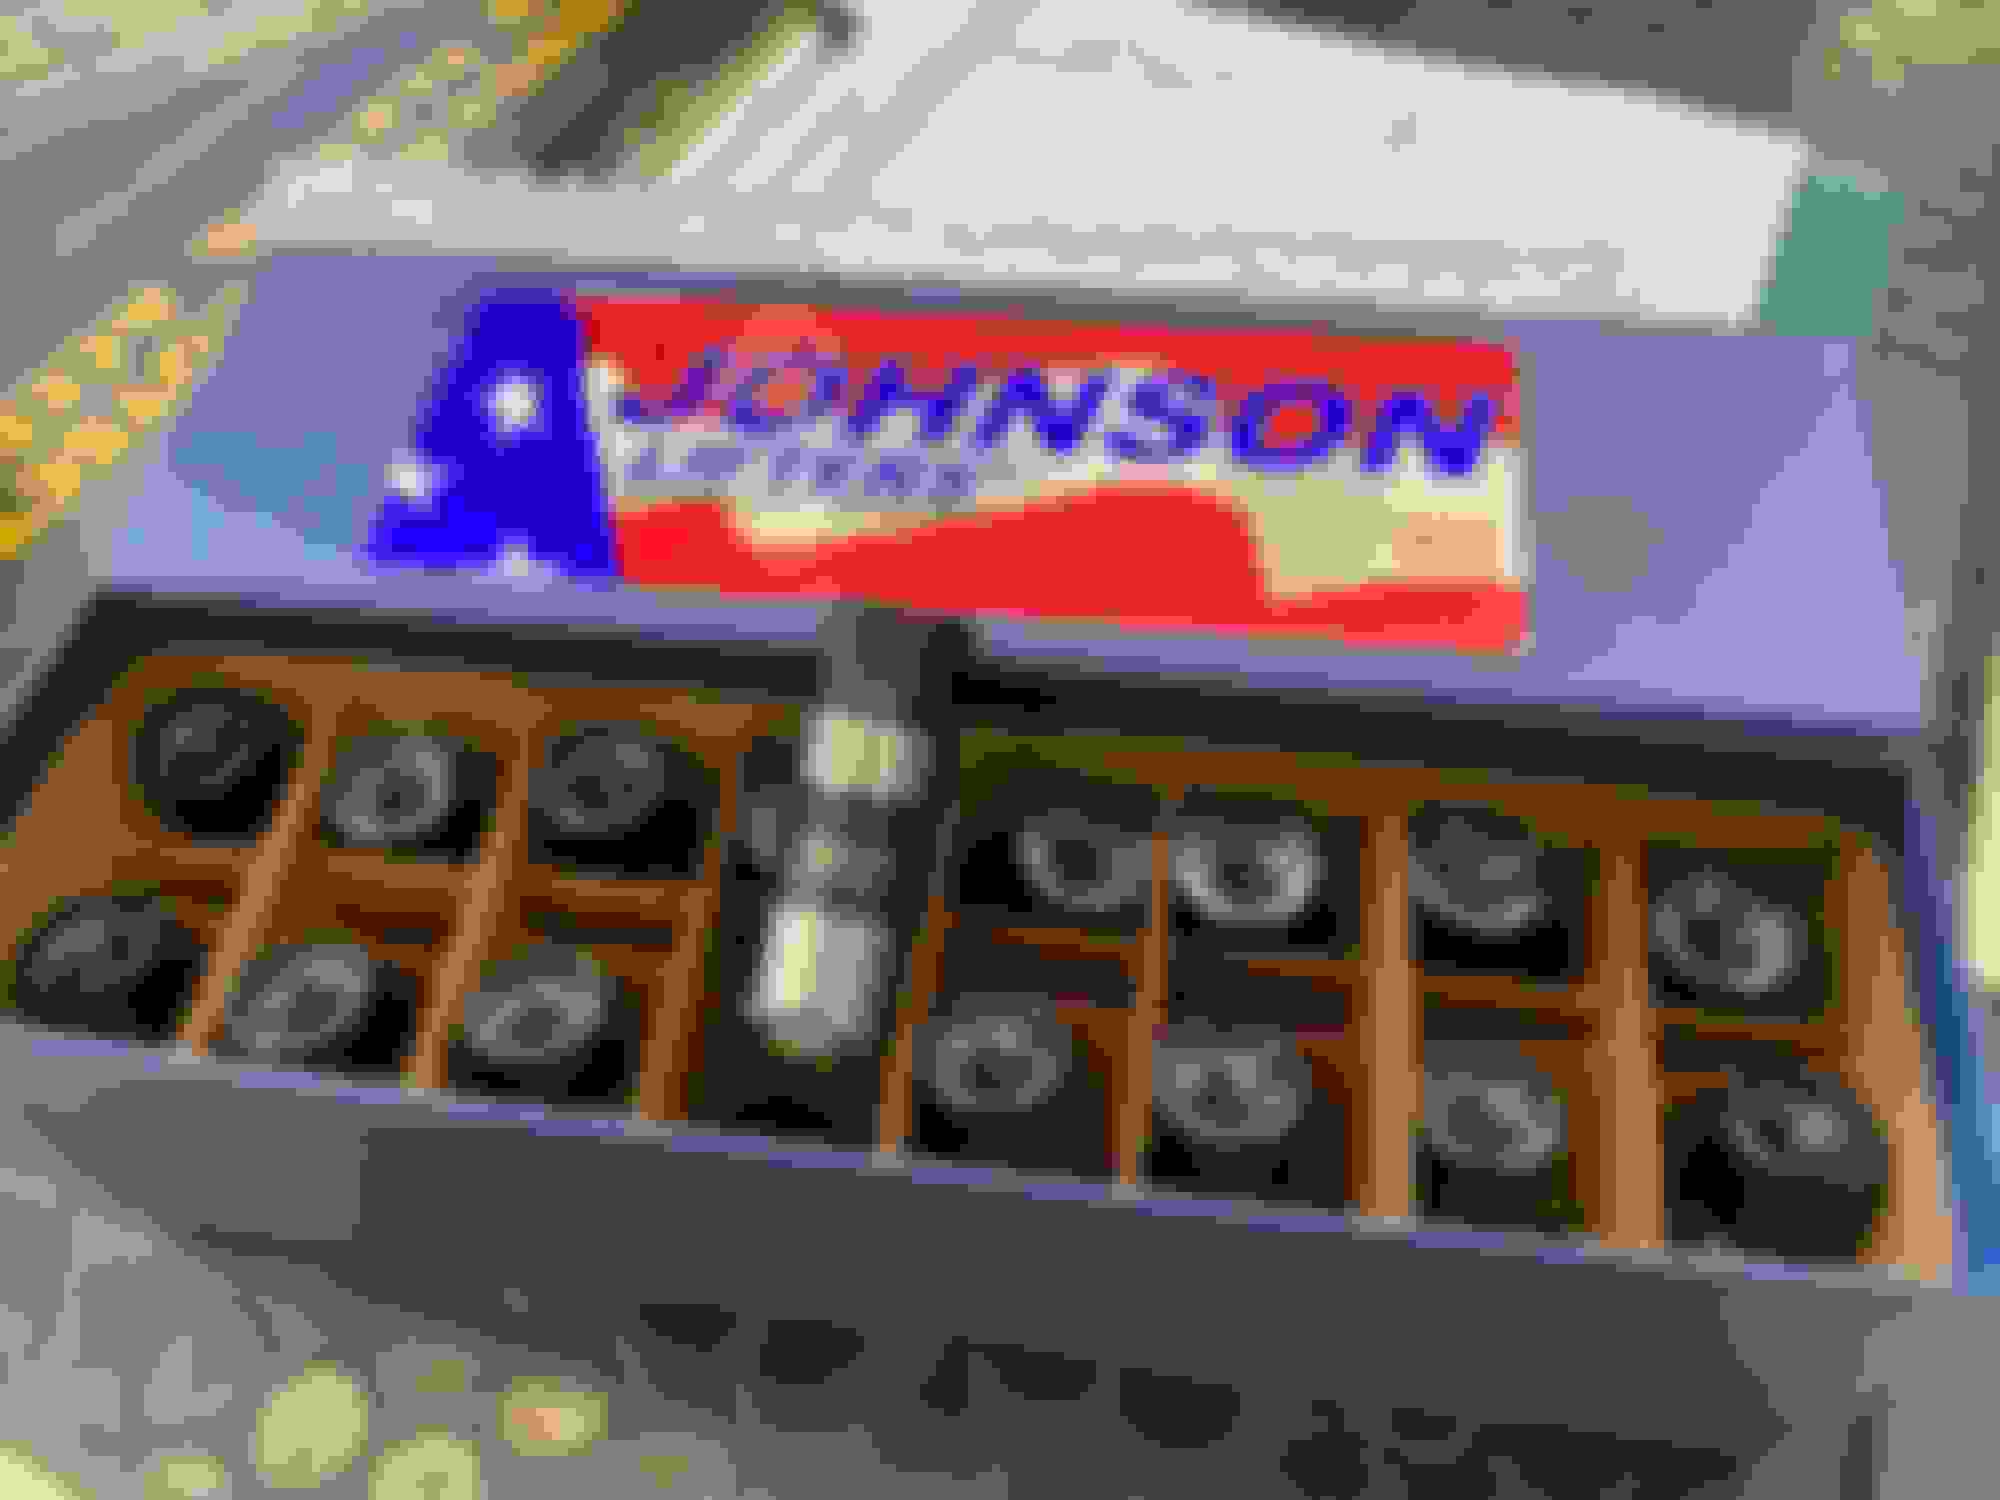
At this point the whole country was deep into the shutdown, so parts where getting hard to come by, plus the lifters that were recommenced to me where Johnson Lifters and they had shut down production. So either way I pulled the heads off, and inspected the lifers, rollers were in great shape and so was the camshaft. Also these lifters were Summit Branded lifters so no telling on how well they are made or the longevity of these lifters.
This is problem #3 shows its ugly hand.
Upon cleanup of parts I noticed something strange on my hands, aluminum flakes! I panicked in trying to find the source of these flakes as they were also inside the lifter tray so it had to have come from up top, but where?!
It wasn't until I looked back at some photos that I had taken of the broken pedestals that I saw the location of the problem! Maybe you missed it too when looking at the photos.
The PRW rocker arms had been also RUBBING up against the pedestal saddle!
Unfortunately I had already thrown away the broken pedestals to see if there were any more spots where they had been rubbing.
So I had a choice.
A. Take the engine out, take it apart, thoroughly clean and reassemble.
B. Just Send it.
Thankfully I chose the former and for good reason too. This leads me into my final problem.
Problem #4
At this point I had taken the wagon to my friends shop to remove the engine, take it apart, clean and reassemble.
Removing the engine was straightforward and easy. Call me what you will, but I am a believer of Christ and always believe that even though we don't like it sometimes that there is a Divine intervention in our lives. Upon tearing down the engine down to the rods I saw something very troubling. On ALL the rod bearings they have been wiped out facing the chamfer side of the rod!
This is why I believe in what I believe, It may seem like lots of problems but eventually those problems lead to something that if you didn't investigate, would have been catastrophic. I am grateful.
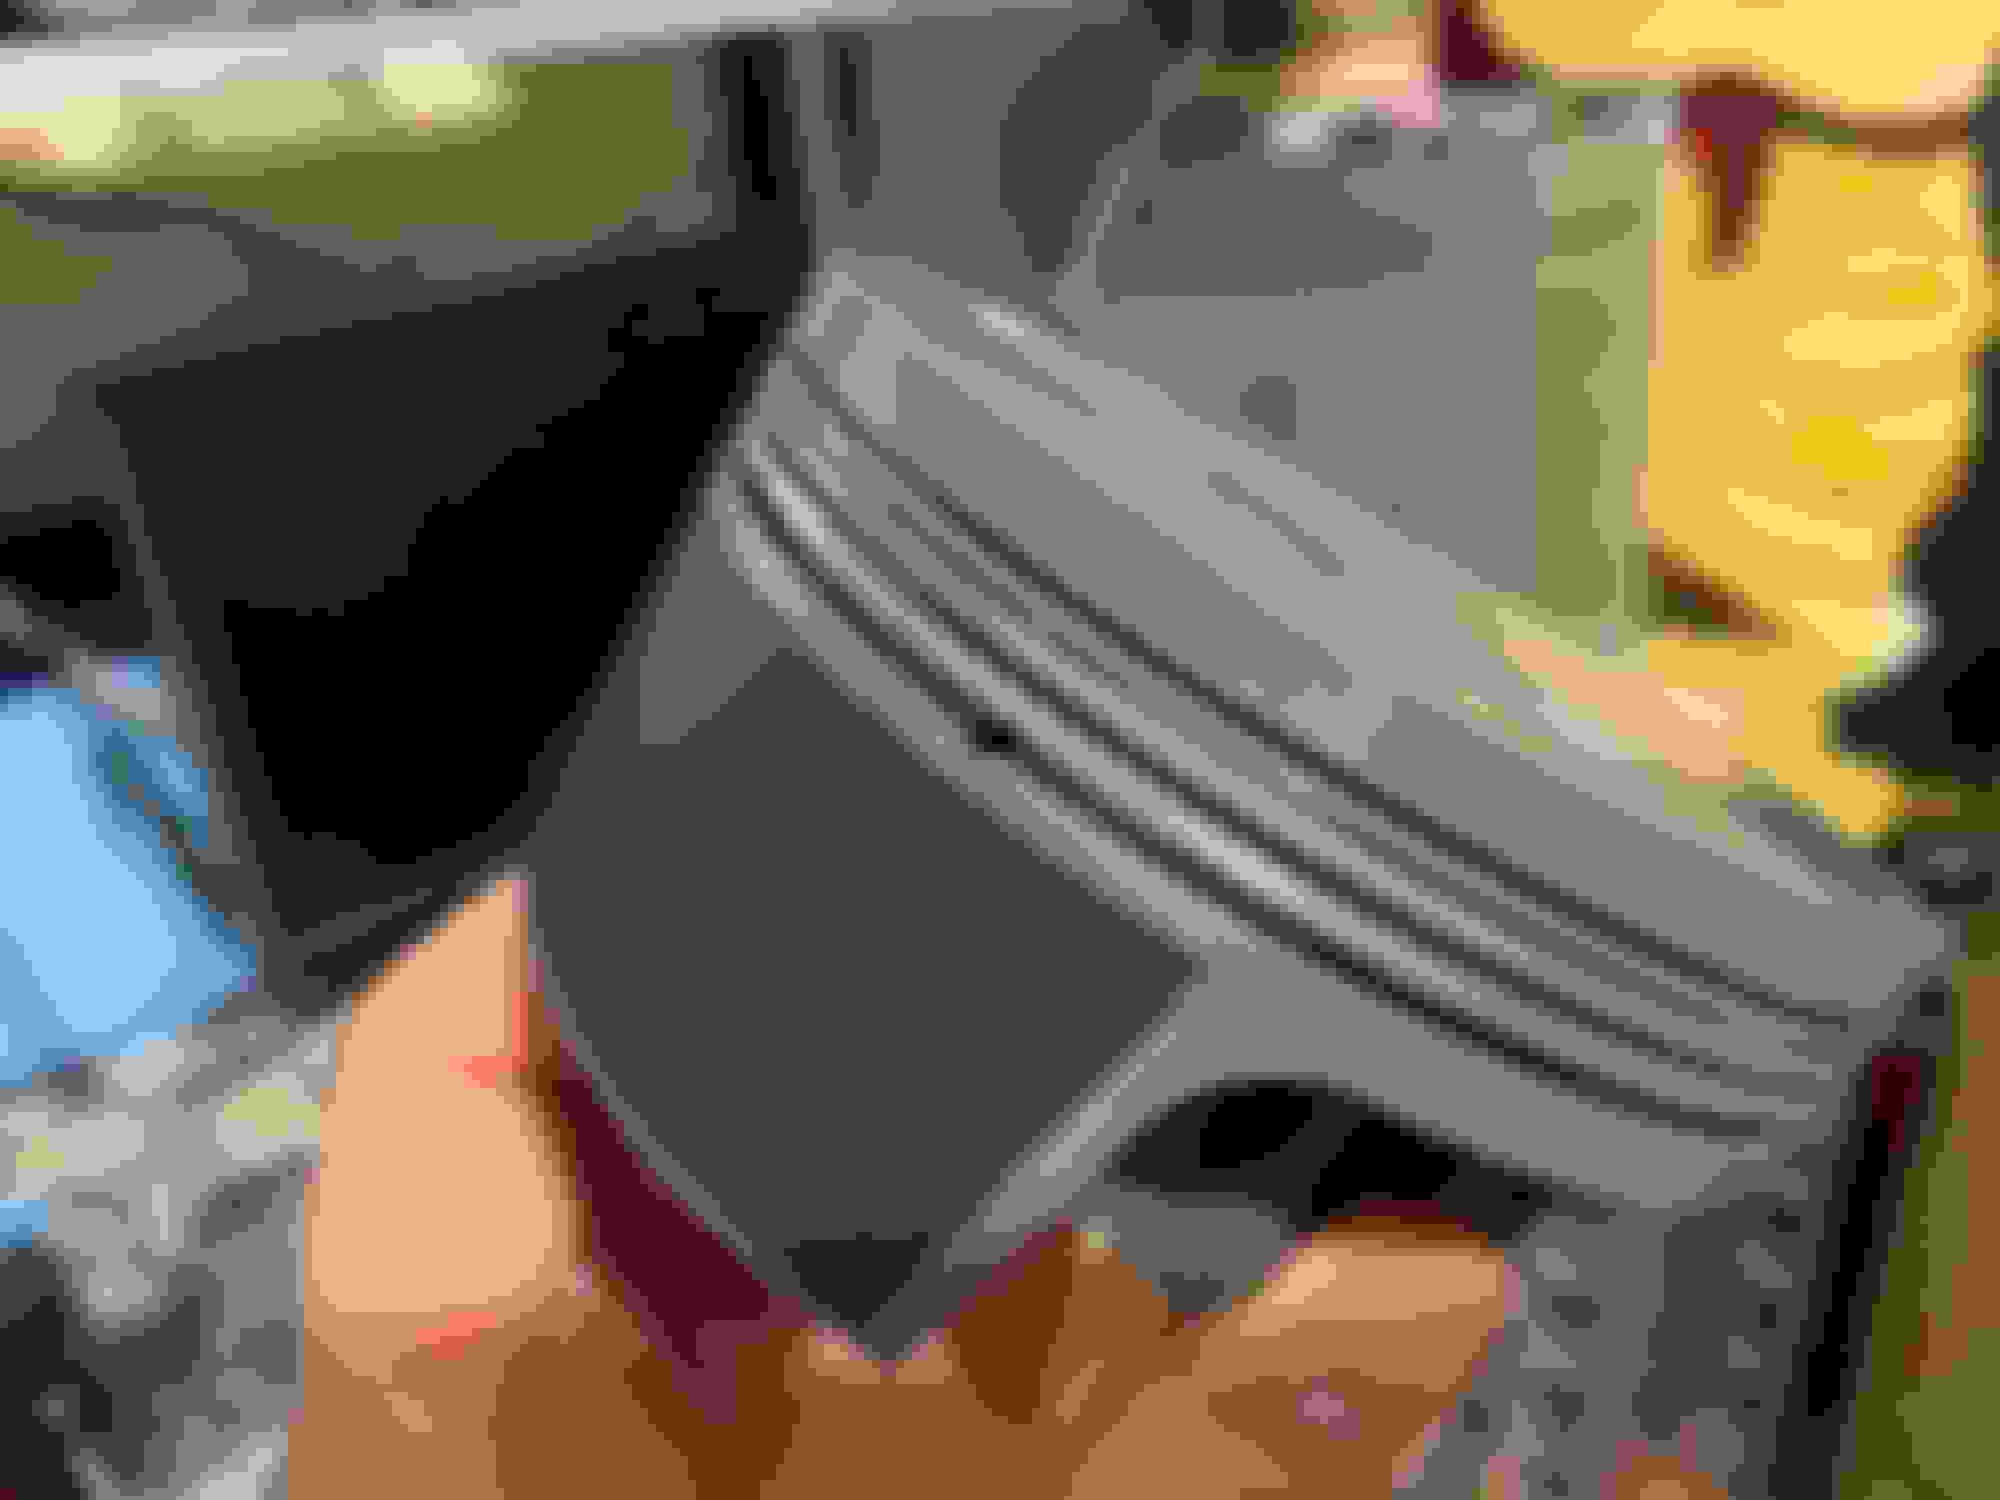
To close out this out and make a long story short, we found no issues with he crank or the rods. If you look closely, the bearings I used were not the correct ones. You can see by the photo how the lip of the bearing is just slightly extended out from the chamfer side of the rod. What I needed was a narrow bearing.
NEXT, I'll go over the reassembly and lastly startup!
After my discovery with the problems and also with the COVID shutdown, I dragged my feet on buying parts and working on the engine until I got a phone call in October of 2020 from my friend who lent me some of his shop space for the wagon. He was moving out from his shop in May of 2021. Which meant I had to get a move on on getting parts and engine assembled by at least December 2020/January 2021.
This got me moving things very quickly.
One Thing I had to choose is where was I gonna build the engine? I had two choices, 1. In my kitchen floor, or 2. my friends shop. I chose the former and for good reason, my friend who owns the shop is only there in the weekends, it would have taken me much longer to build the engine at his shop vs. at my kitchen where I can work on it as soon as I get home from work or any days off that I didn't have a weekend off.
Next, I was debating on either or not to replace the pistons with some new updated pistons from Mahle. I bit the bullet and went ahead and bough them. Main difference is the ring thickness, other than that, they are nearly identical.
However changing the pistons meant that I would have to potentially re-balance the crankshaft. I spoke with my machine shop about this and they said if your within 3 grams it should be fine. That being said, I was able to find the balance sheet for the crankshaft when I had the engine balanced with the previous pistons. I also bought a digital weight scale.
comparing the old balance with the new I was just at 3 grams, perfect!
This meant I can move forward with assembly. I had gotten the block & heads back from the machine shop, they honed, installed new cam bearings, and decked the block & heads. This time I didn't cheap out on the bearings too, I went King bearings for cam, rods & mains, made sure I had gotten narrow rod bearings this time.
Of course before assembly I dial bore gauged and measured all the tolerances, all A-OK!
Ring gaps I set the Top to .028 & bottom to .030, This will safely set me up for a 150hp shot of nitrous in the future.
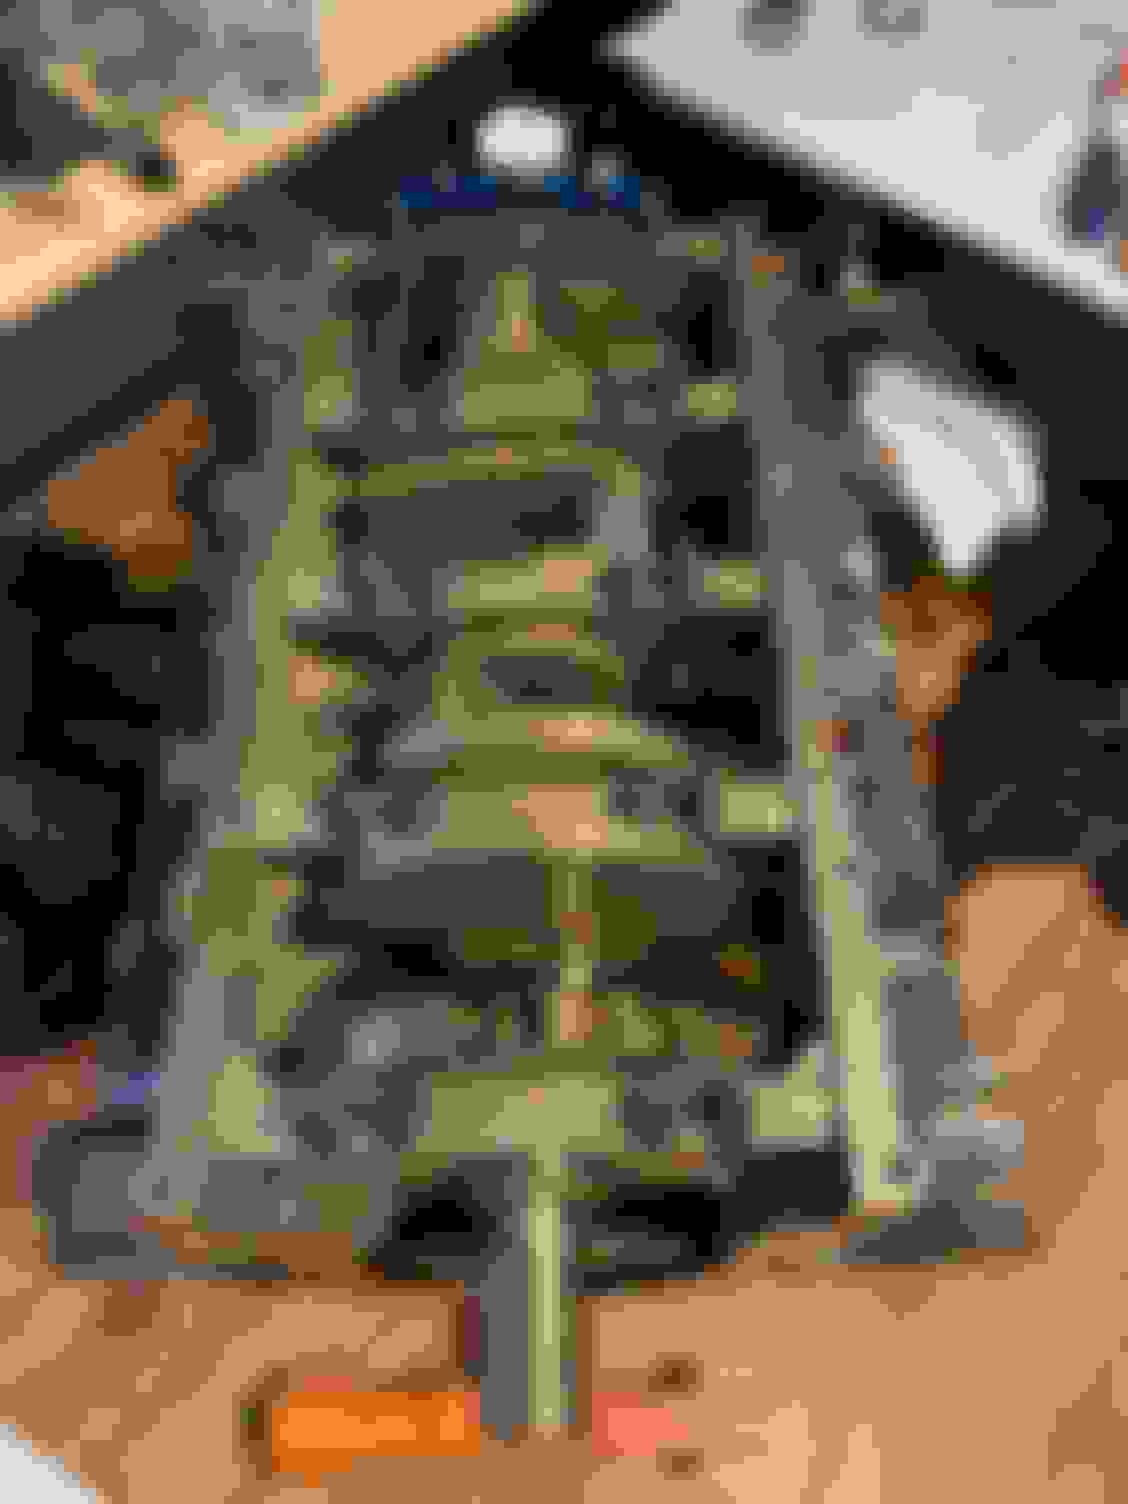
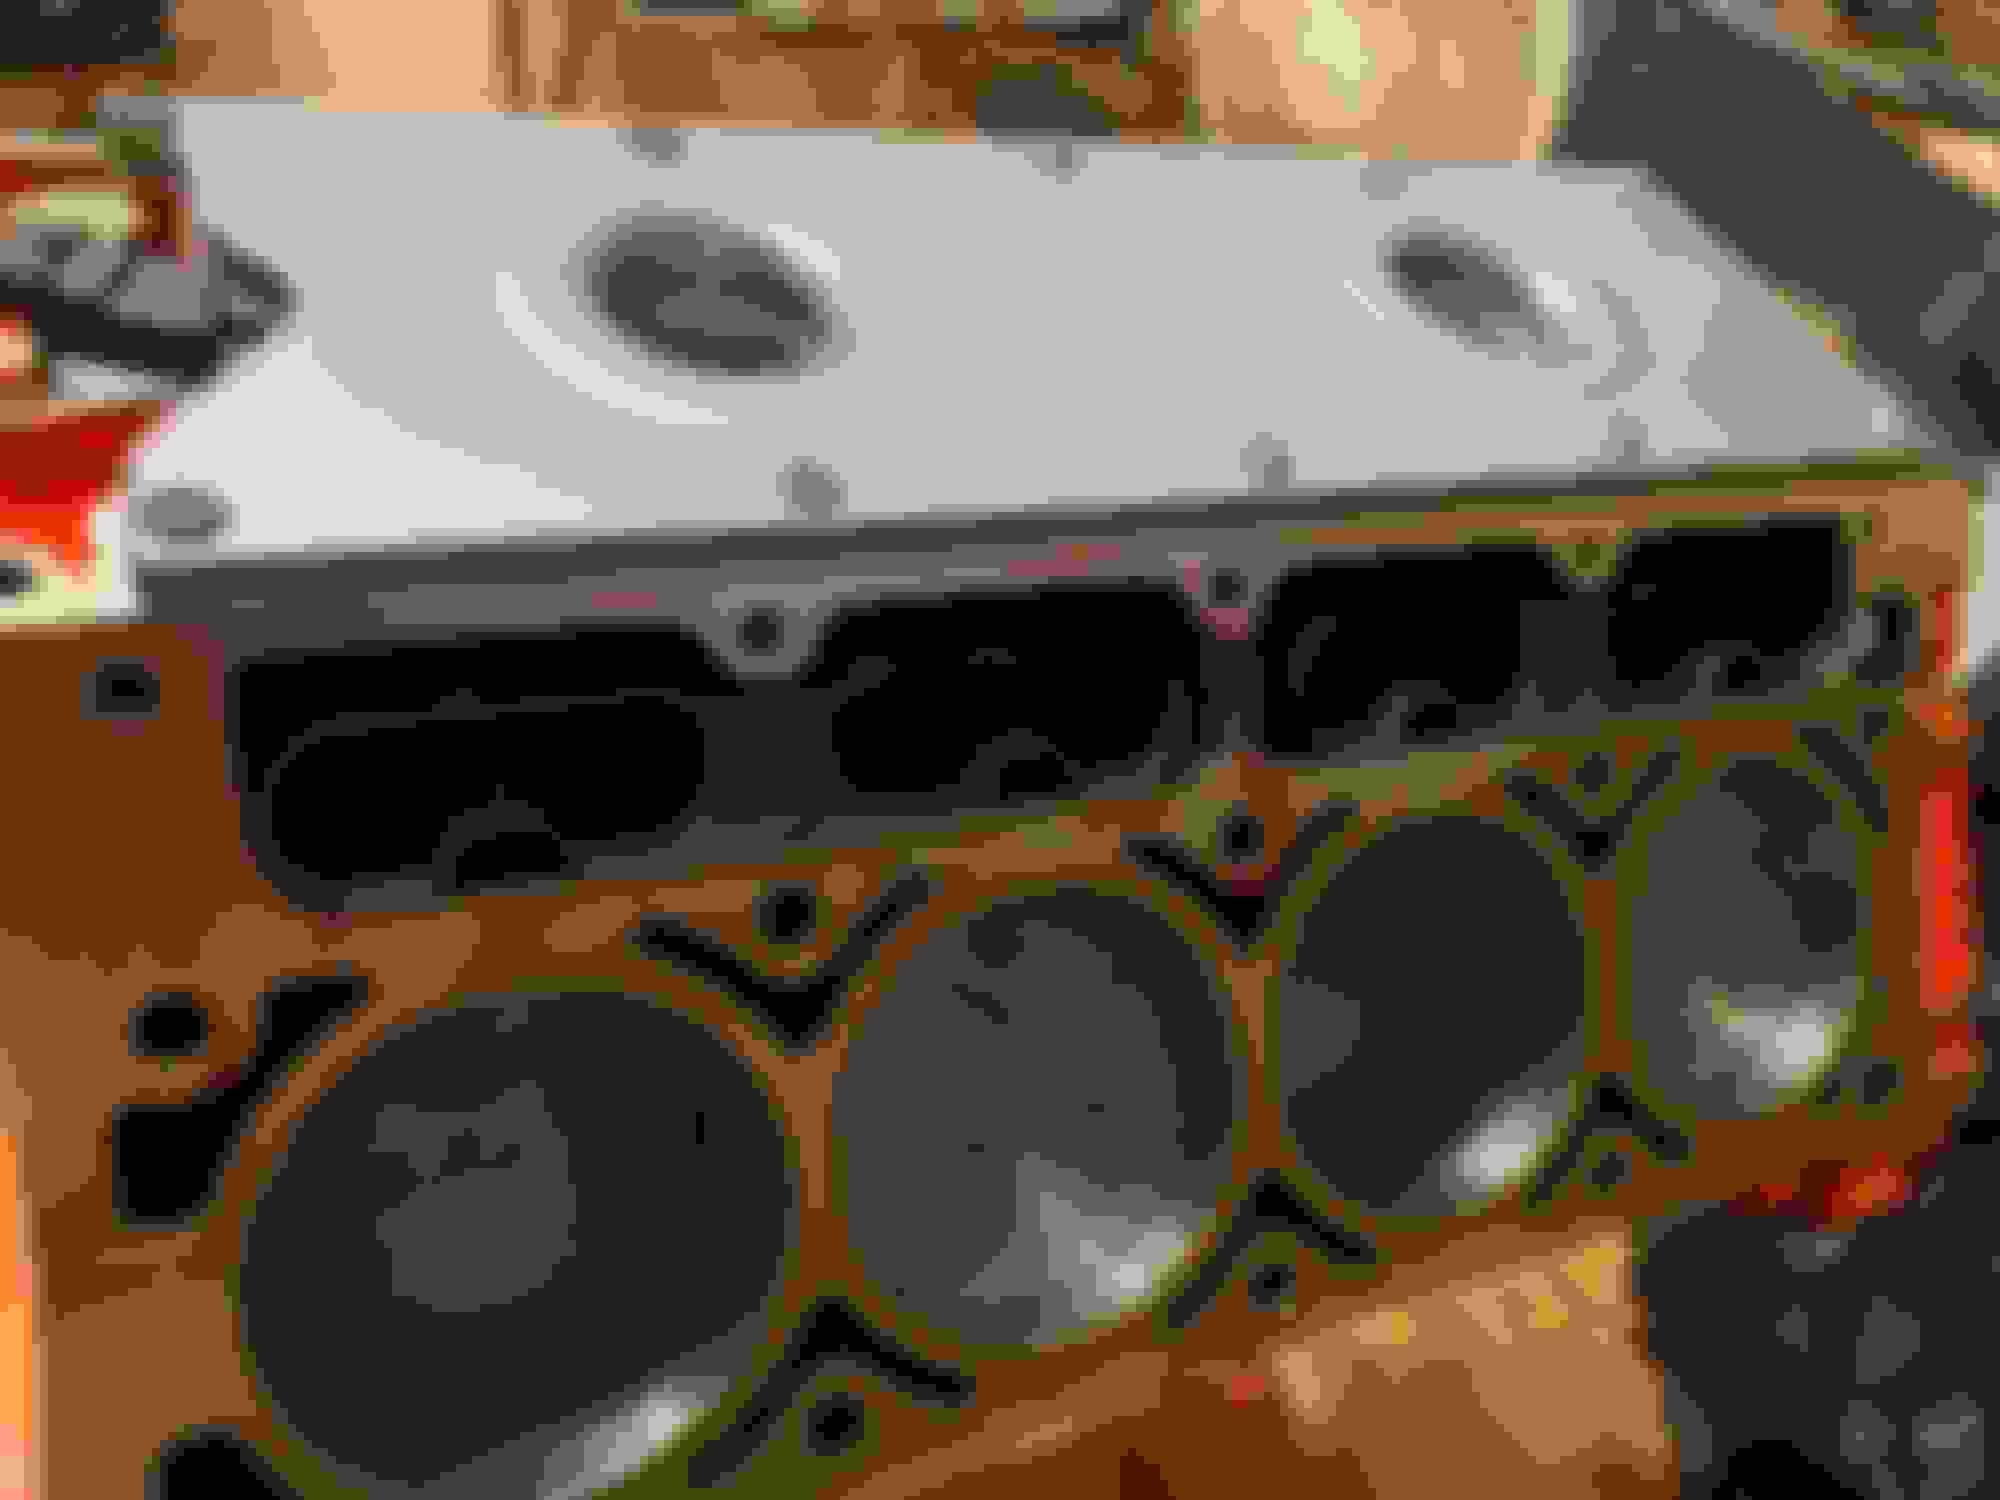
As you can see, using the narrow bearings for the rod works out vs the old bearings that had the bearing extended all the way just past the edge of the chamfer side of the rod.
With all the rods installed I can get the camshaft degreed. Why, if I'm still using the same camshaft?
Well, when I first had the engine assembled, I had the machine shop degree the camshaft for me, they asked me if I wanted more top end power or low end torque, at that time I wanted more top end power. So they had retarded the camshaft 4 degrees. The name of the game is if you retard the camshaft you'll lose some low end torque but gain top end power, if the opposite and advance the camshaft you'll gain low end torque but loose top end. I decided I wanted to just go 'Straight up' this time.
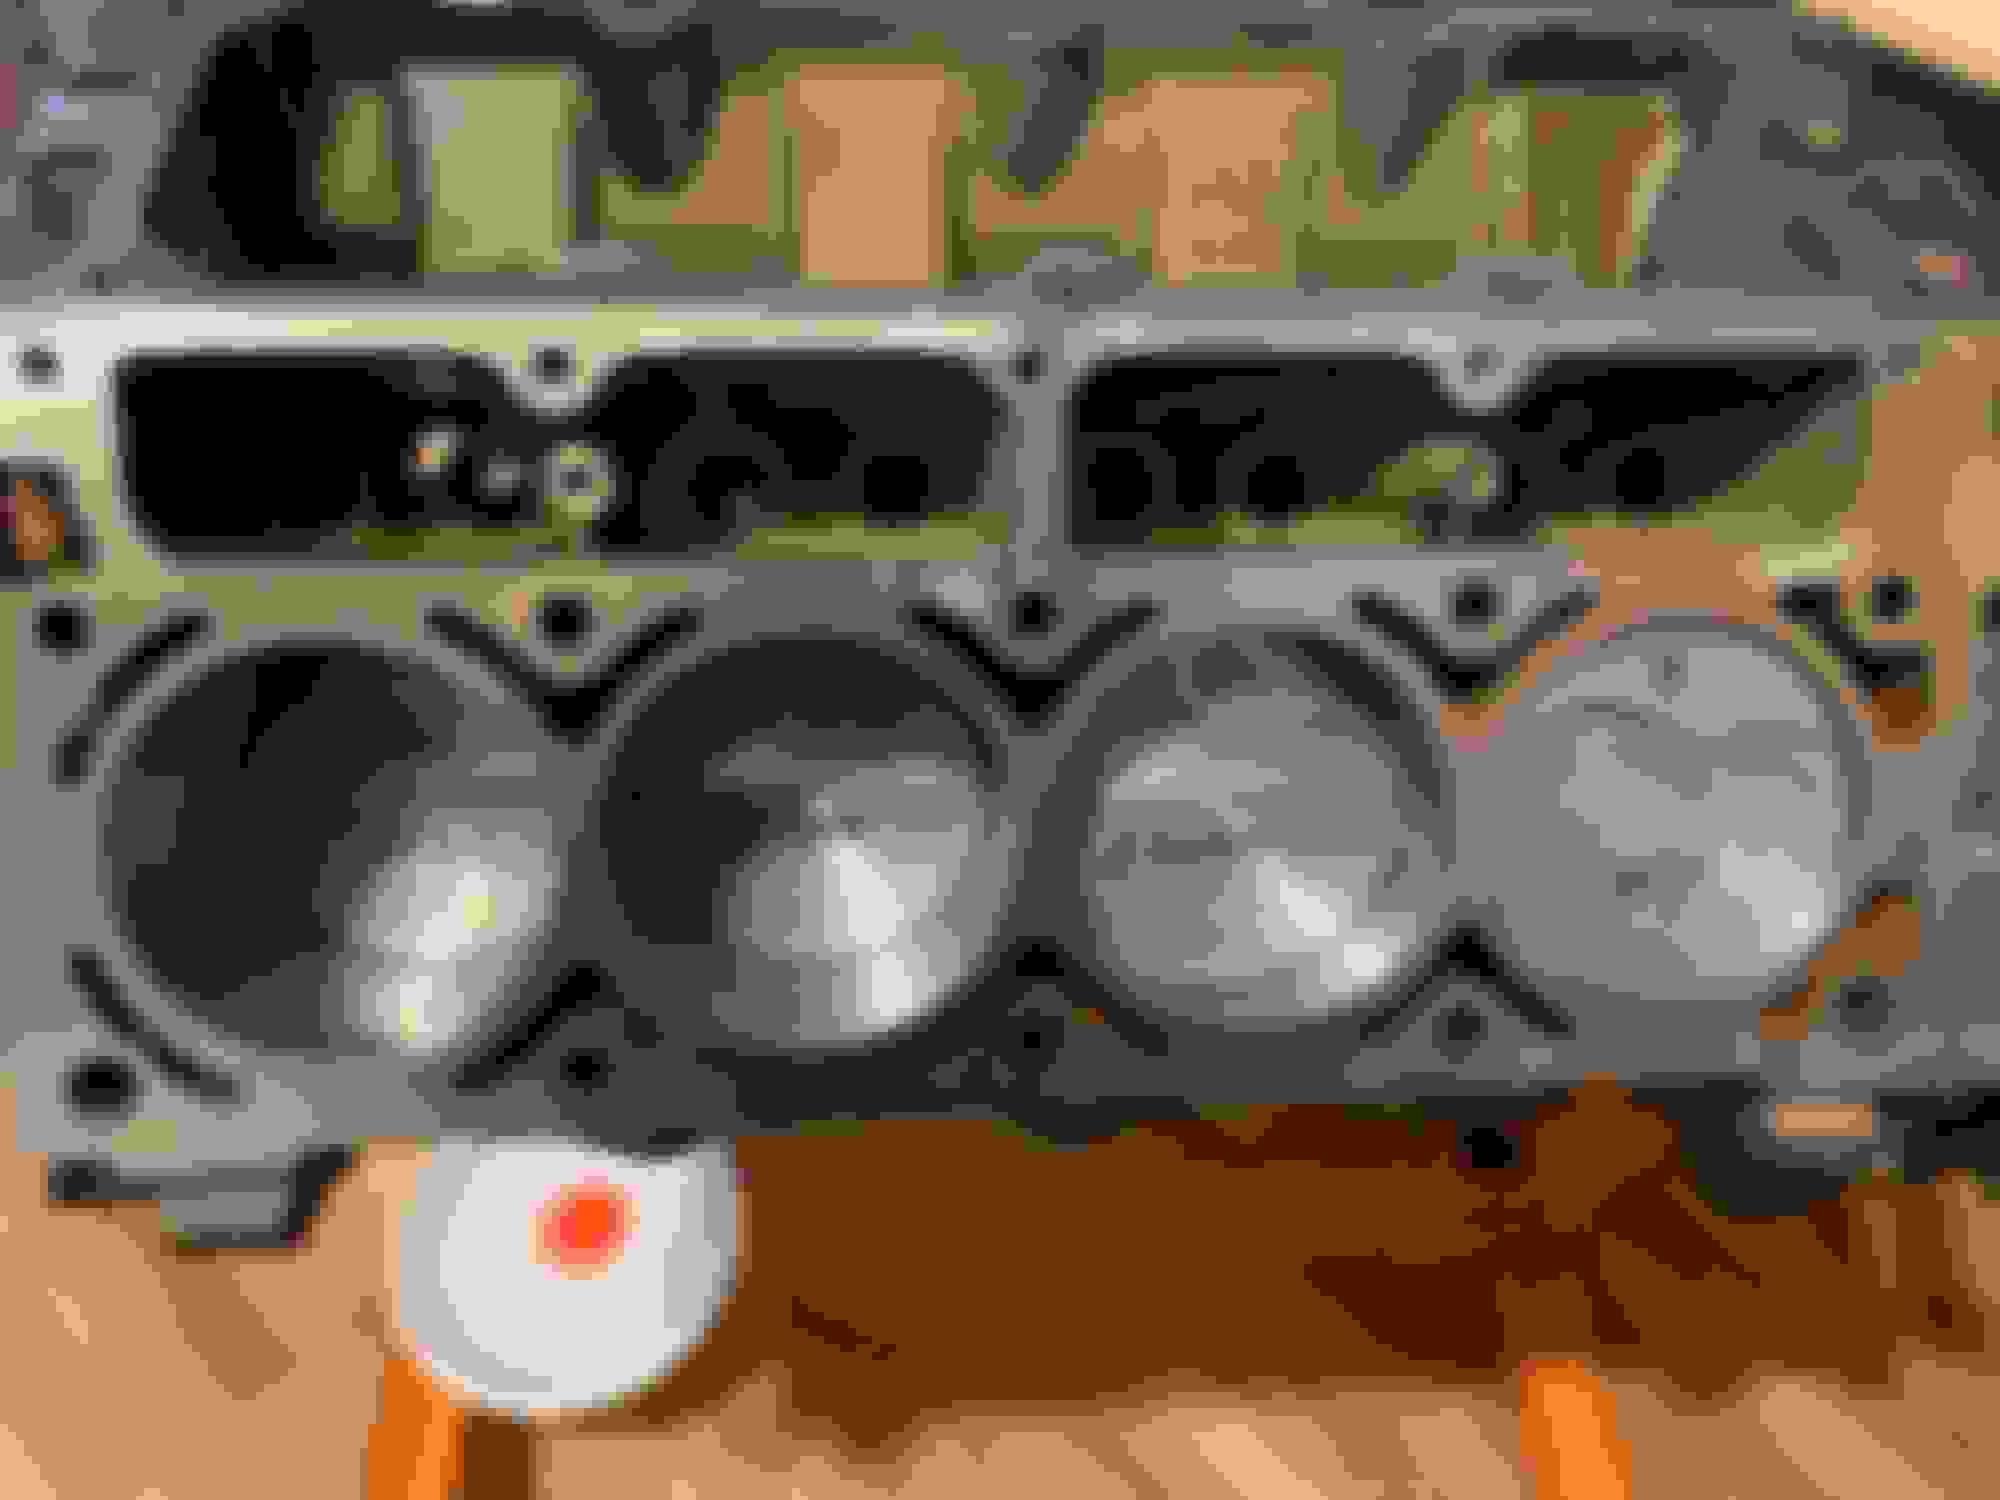
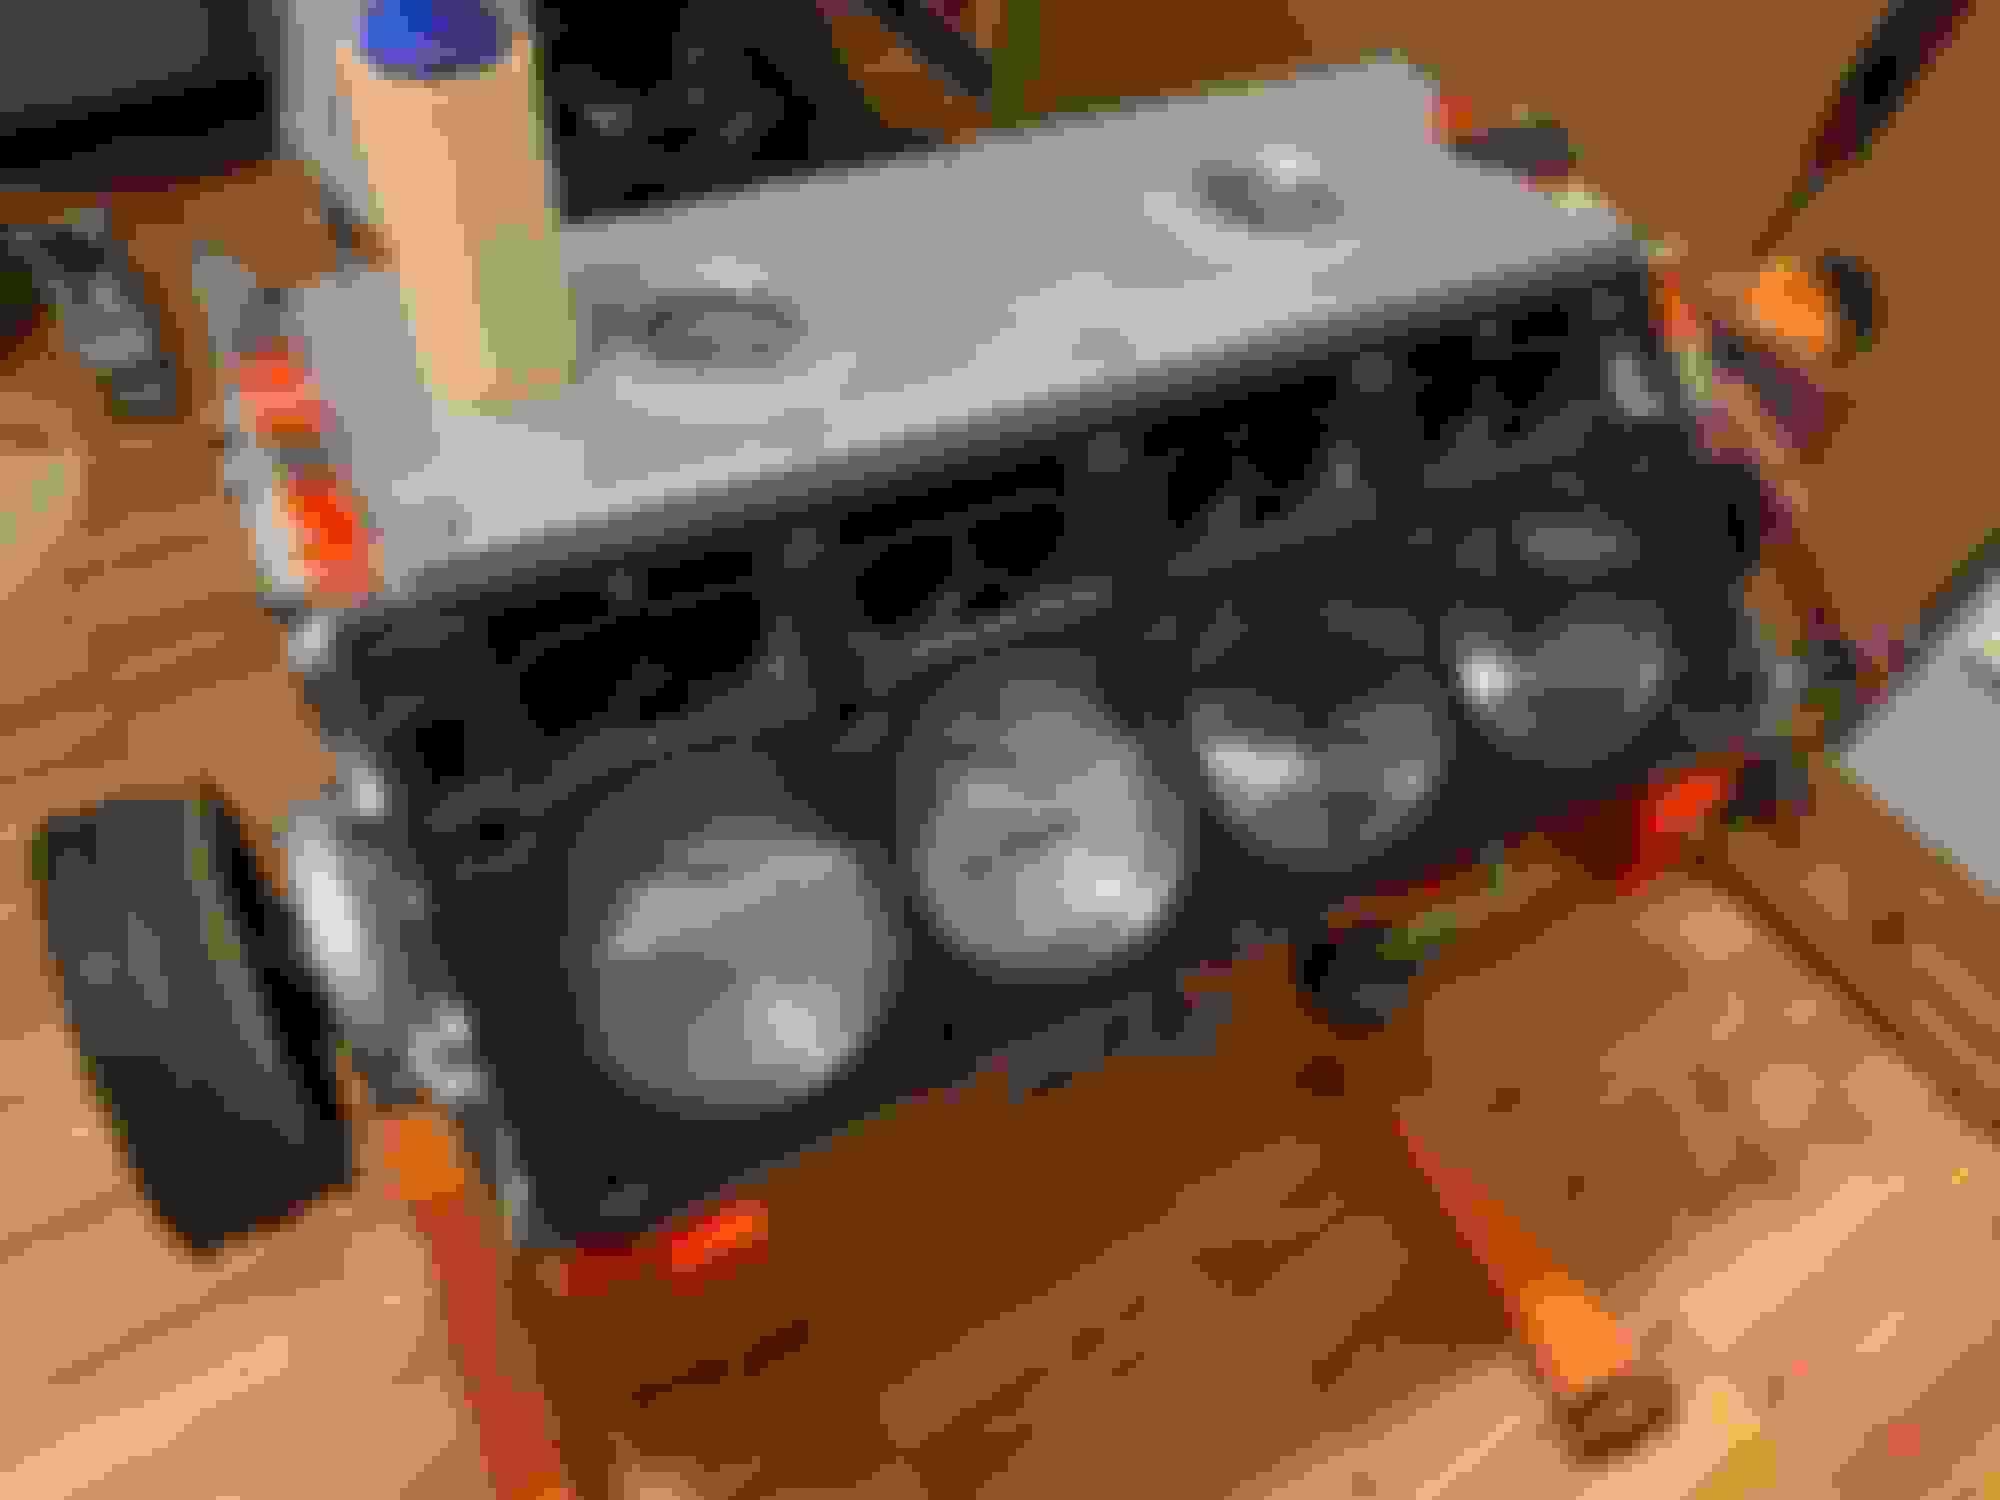
Now that the part of the short block is done, I had to check to make sure how much of the piston is coming out of the deck to get the compression ratio I was looking for plus to make sure I wasn't going to hit the cylinder head or valves.
Since the valve reliefs on the piston were the same I didn't have to worry about piston to valve clearance; however since the block and cylinder heads have been decked that meant I couldn't use the same head gaskets from GM, I had to get .080 thick gaskets as the piston is on average .042 out of the hole, and the only place I could get a .080 was from Cometic. Thankfully I was able to get some off of Amazon.
This also needs to be said, this will prolly be the last time this block will ever be able to be decked. Reason I say that is if you look at the photo below the center divider is pretty much flush with the deck surface, this also means that the lifter tray bolts only have a few thousands clearance before it begins to hit the head gasket and cylinder head.
With all that being said, now its time for paint and final assembly of the short block!
Now comes the long wait.... Johnson Lifters, I looked everywhere for these lifters and everyone was sold out. It wasn't till I saw an Ebay listing for a full set of Johnson lifters, taking a chance I ordered them.
After about 3 1/2 weeks... they came in!
I was never so happy to see a set a lifters! Now the long block can be done!
Don't worry! I didn't forget to install the lifter tray bolts!
Now after 8 months, she was back together in long block form!! At this point it's already December of 2020.
I wanted to spice her up a bit... So, after looking at other B-Body LS swaps i come to find out using a set of Speed Engineering/Ebay C10 long tube headers will fit LS swapped B-Body cars.... we'll see, they look so nice!
Now I will say the next few weeks went by really fast, too fast in fact to have photos taken but here are some medications I had to do in order to get the engine installed with the long tubes.
1. I installed some Energy Suspension engine mounts (no photos)
2. I had to cut off the ear on the passenger side bell housing on the transmission to clear the header. Not the cleanest cut, but no one will see it. lol
3. Had to heat shield the starter wiring.
4. Also had to heat shield the oil cooler hoses.
5. Had to slightly notch the cross beam going to the frame to the front crossmember on the drivers side.
Passenger side was fine.
6. Had to notch the factory heat shield to make room for the O2 Sensor.
One of my biggest concerns was the shift linkage.... Good news!! It clears just fine along with the added Wideband O2 Sensor.
Other than upgrading the transmission cooler hoses, installation was straightforward. I did manage before installing the engine, but took photos after installation, was I removed the ABS module and installed a line lock.
I had to re-make the exhaust (no photos, sorry) I had bought some electric exhaust cutouts and made a custom setup that has 3in exhaust all the way to the new Cherry Bomb Vortex, from there it down sizes to 2 1/2 over the axle pipe and just before exiting out the back bumper it goes though some shorty Cherry Bomb's. I haven't installed an H-Pipe as at first I was attempting to do a X-Pipe but that didn't work out. I might just keep it the way it is as accelerating from 2k to 3k it has a nice nasty rip. I'll share that soon. but for now, she's back on the road, needing new tires soon, but at least she's driving and moving now.
Nice job on the build, looks like you'll have to wait awhile to drive her though.
Stay warm, you guys are having it worse than I am right now in upstate NY, was stationed in Tx in the early '60's and it never did that crap.

 03-14-2018, 01:18 AM