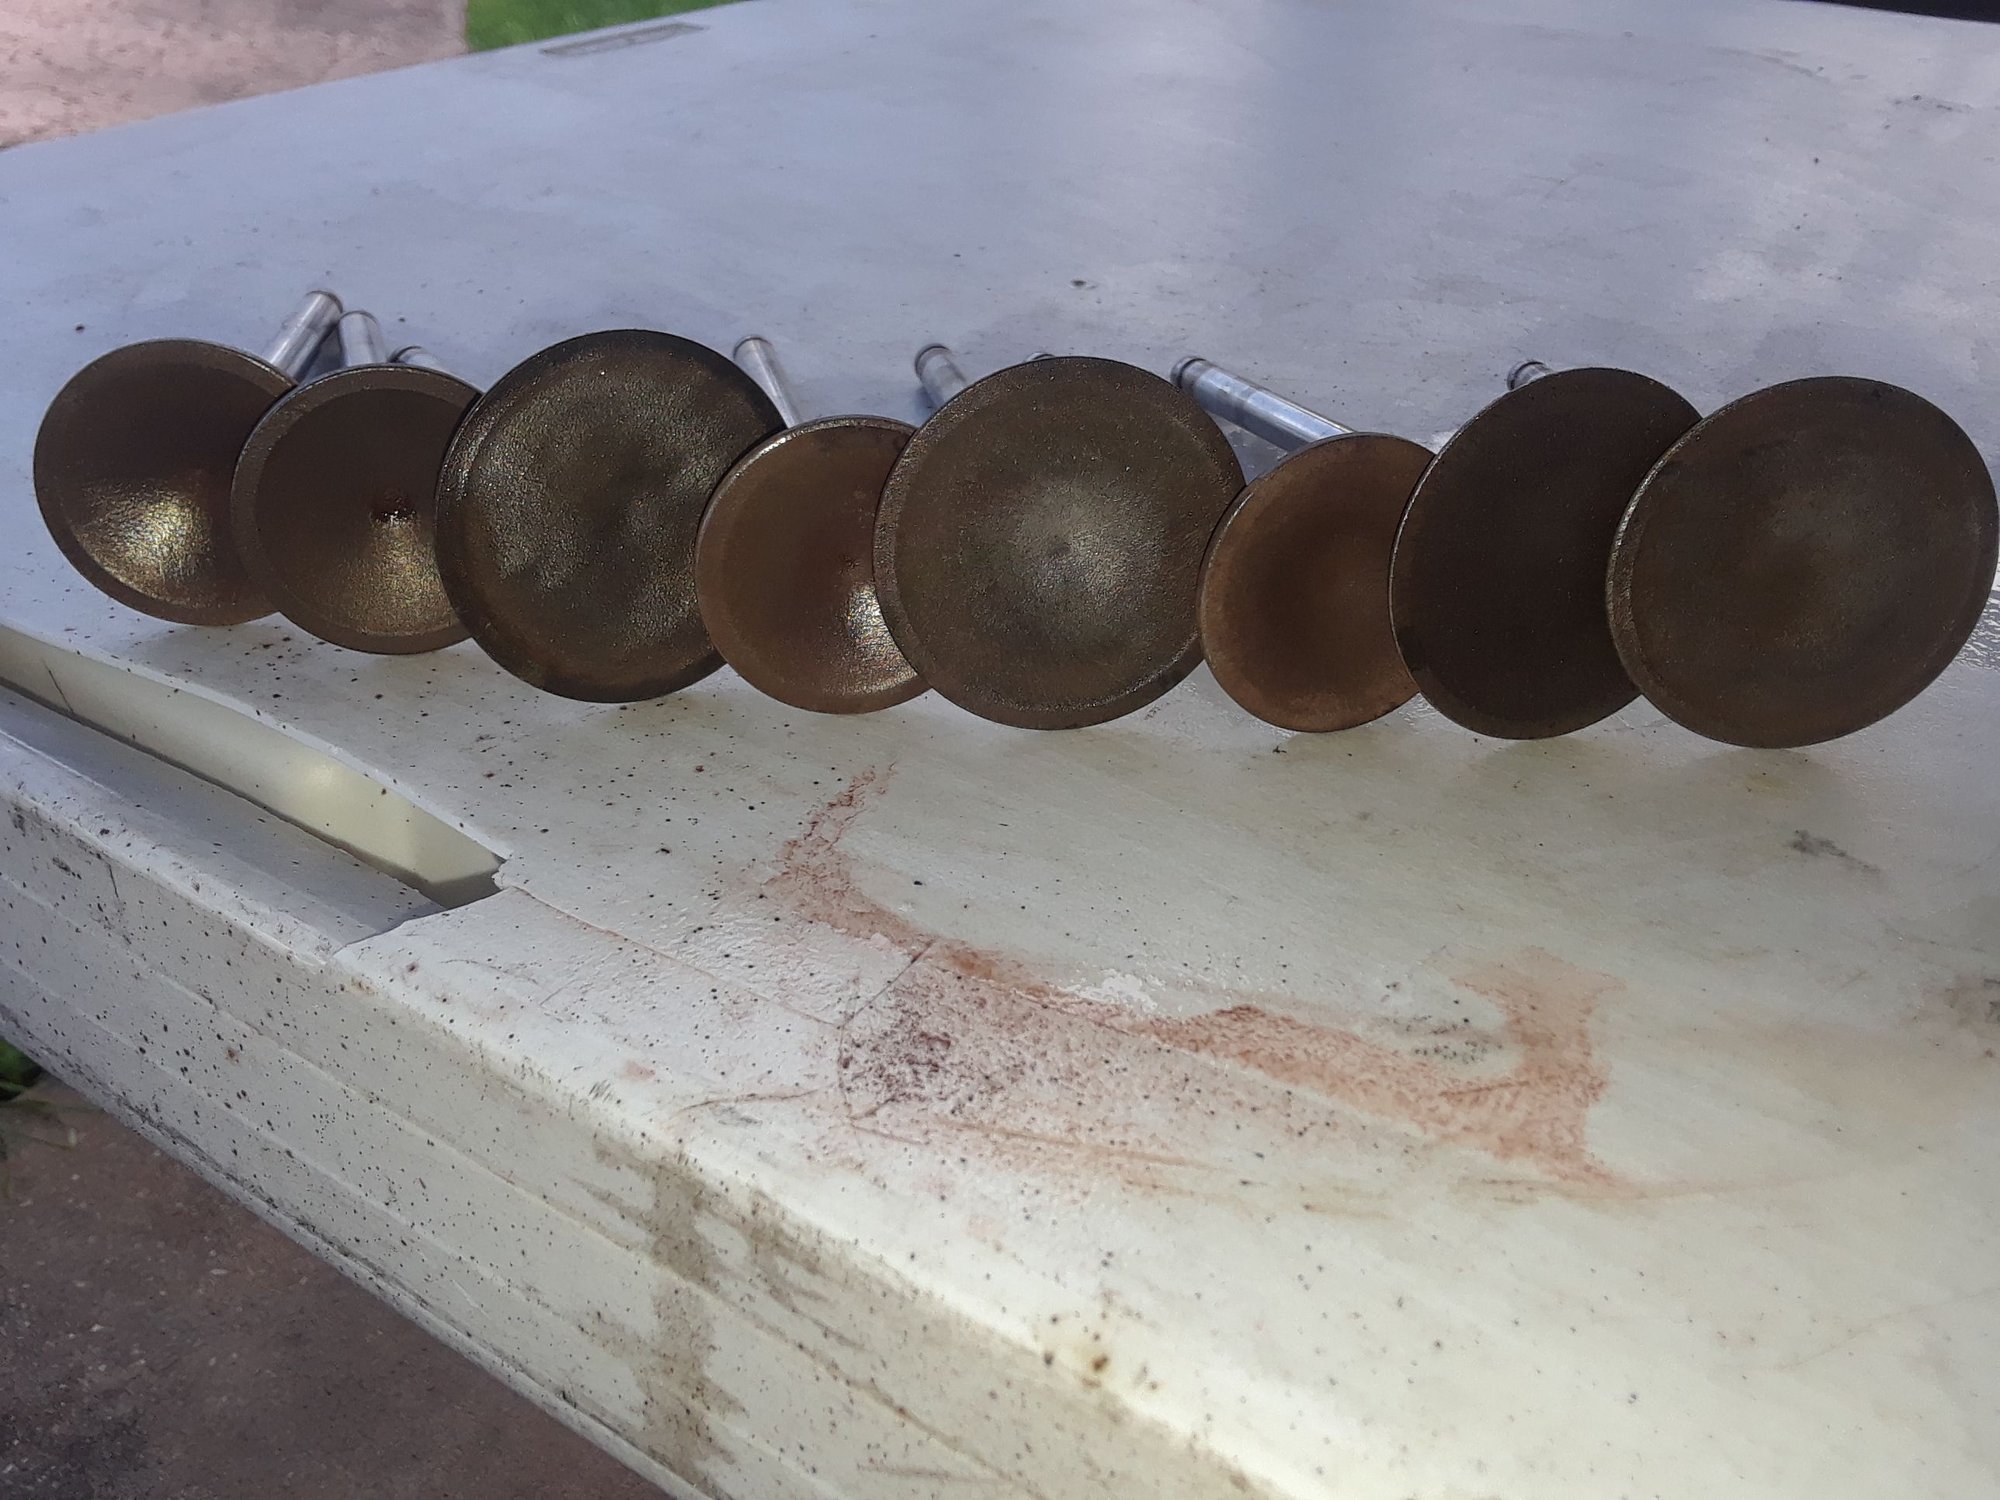
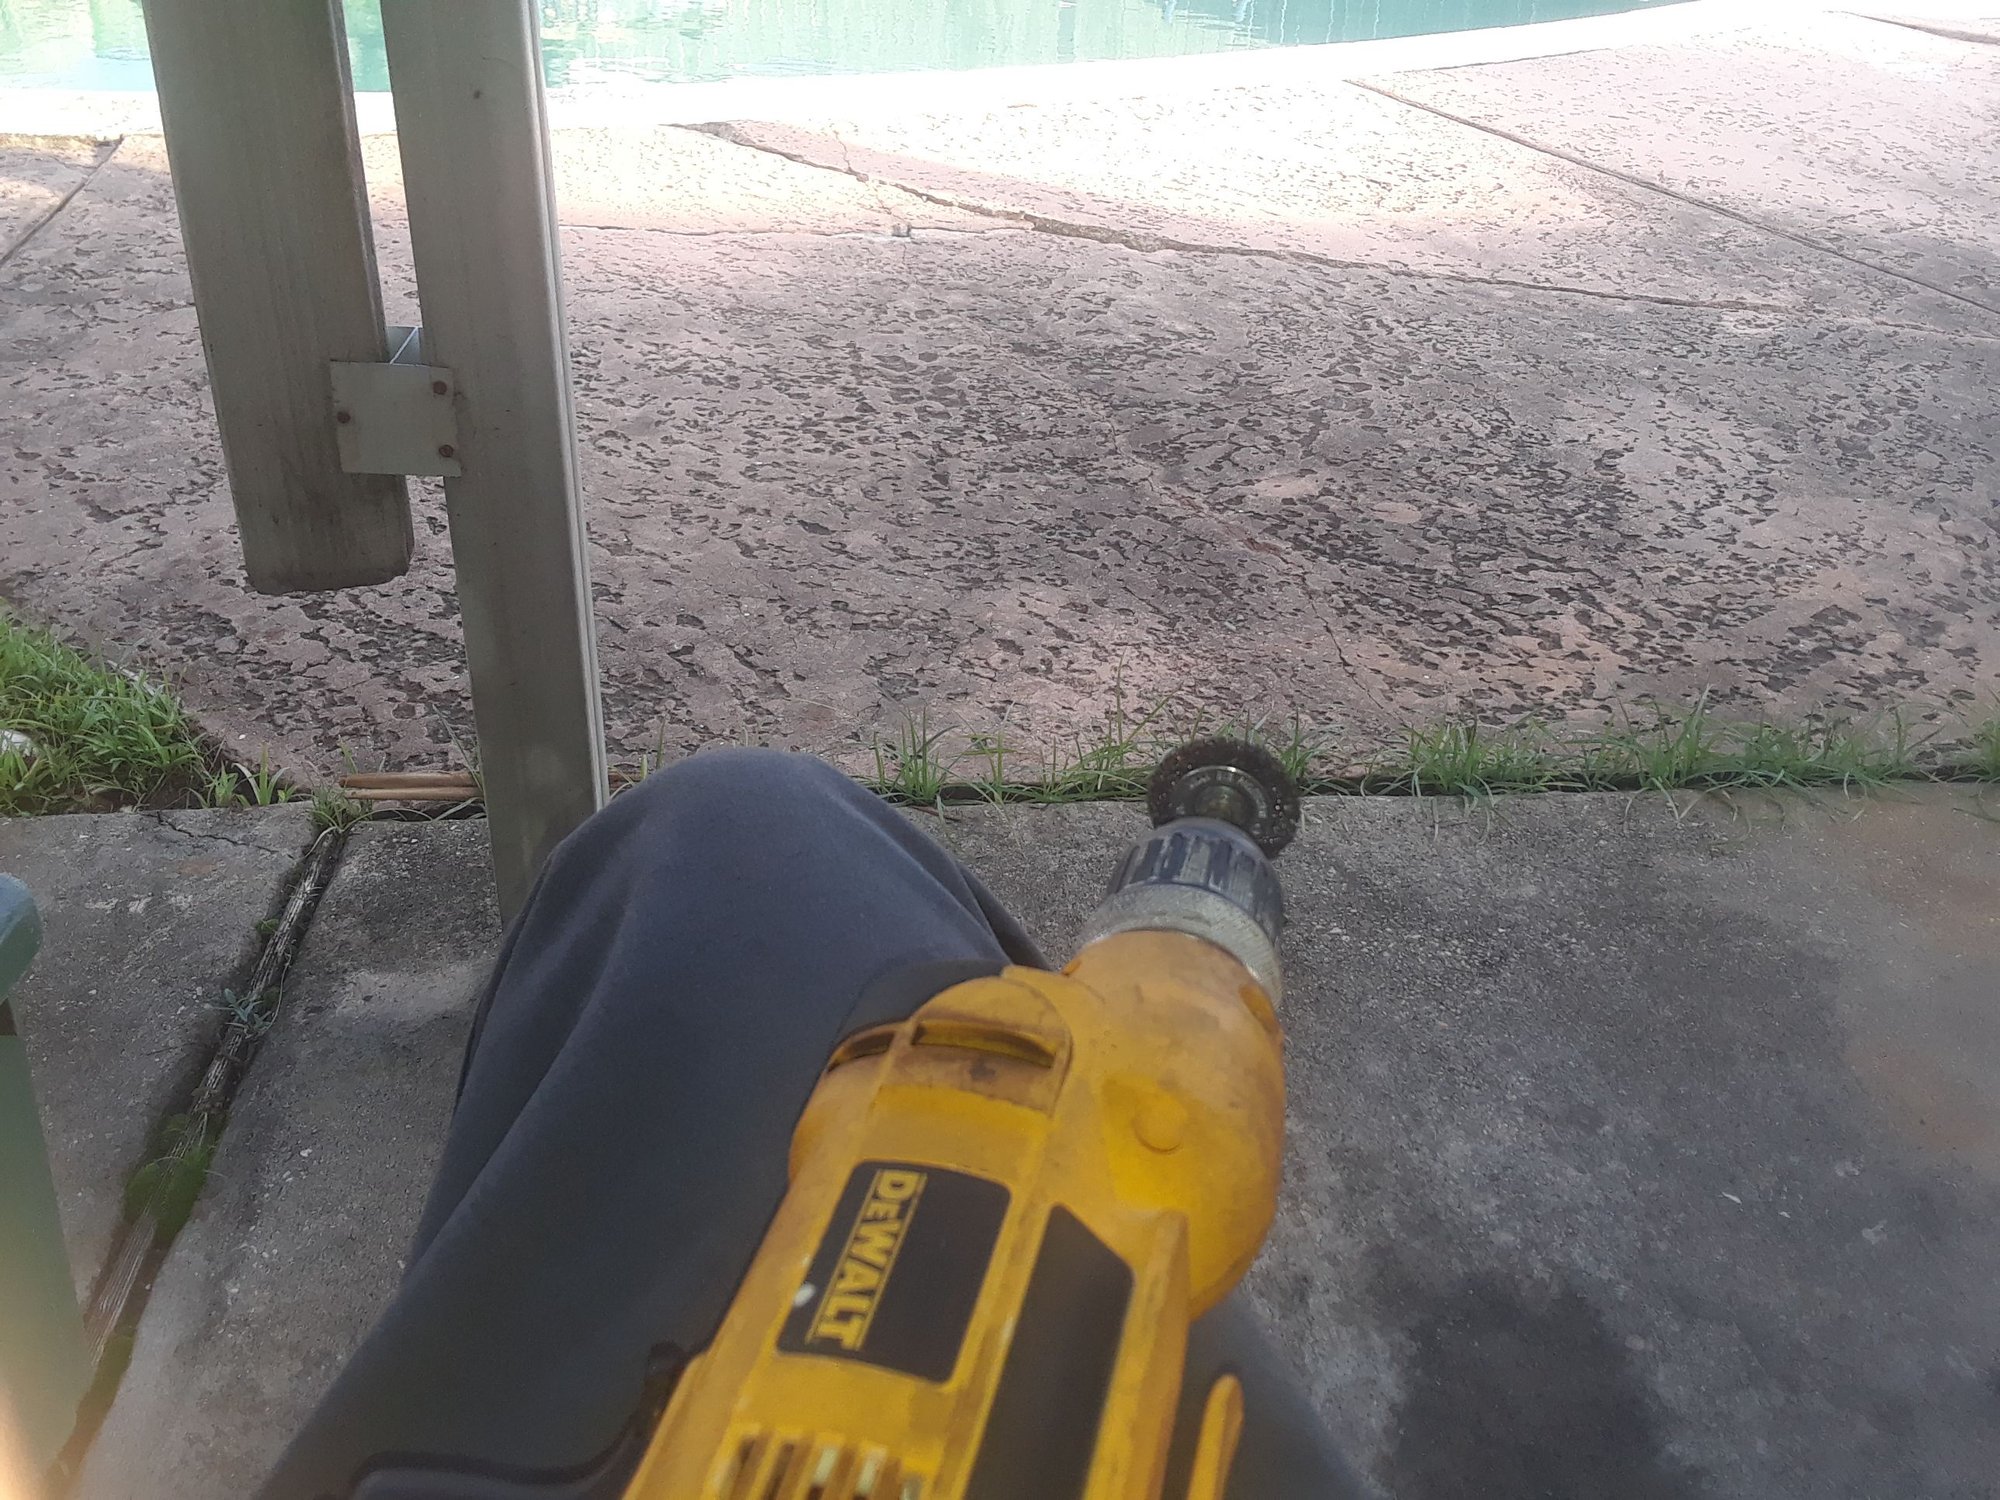
Surface rust in valve chambers and valves
#1
These are the valves

I had already completed it but just wanna make sure its ok to spray lubricant and sand away the surface rust. It was mainly around the top of valve chamber where the valves up
My friend gave me a set of 862 heads with surface rust in valve chambers and valves have surface rust on them. Is it ok to spray these with liquid wrench or wd40 and use sandpaper to clean this up? I would also clean and sand the bottom of heads too.(where it attaches to the block). I'm trying to avoid spending money and want to learn as well..
Last edited by 86CAMARO400HP; 07-20-2019 at 09:38 PM.
#2
ModSquad
iTrader: (6)
For a super cheap fix, I’d chuck up the valves in a drill press, if you have one, and using 600-800 grit sand paper with mineral spirits, or WD-40 on it, lightly polish the valves. They will clean up like new. Make sure you lightly, REPEAT, lightly chuck up the valves. Too much pressure from the chuck will imprint the valve stems and ruin them. I use a modified brass valve guide to hold my valves in my drill press, but you can do this without anything if you do it super easy.
For the valve seats in the heads, use a brass wire wheel in a hand drill. You can get the brass wire wheels (small ones) at Harbor Freight. Not a lot of pressure is needed here either usually. WD-40 will make a great cleaner and lube here. When everything is clean, lap the valves back in and number them on the bottom side to make sure you install them back on the seat you lapped them to. Pretty simple process all-in-all and you’ll have a fun learning experience at the same time.
For the valve seats in the heads, use a brass wire wheel in a hand drill. You can get the brass wire wheels (small ones) at Harbor Freight. Not a lot of pressure is needed here either usually. WD-40 will make a great cleaner and lube here. When everything is clean, lap the valves back in and number them on the bottom side to make sure you install them back on the seat you lapped them to. Pretty simple process all-in-all and you’ll have a fun learning experience at the same time.
#3
For a super cheap fix, Iíd chuck up the valves in a drill press, if you have one, and using 600-800 grit sand paper with mineral spirits, or WD-40 on it, lightly polish the valves. They will clean up like new. Make sure you lightly, REPEAT, lightly chuck up the valves. Too much pressure from the chuck will imprint the valve stems and ruin them. I use a modified brass valve guide to hold my valves in my drill press, but you can do this without anything if you do it super easy.
For the valve seats in the heads, use a brass wire wheel in a hand drill. You can get the brass wire wheels (small ones) at Harbor Freight. Not a lot of pressure is needed here either usually. WD-40 will make a great cleaner and lube here. When everything is clean, lap the valves back in and number them on the bottom side to make sure you install them back on the seat you lapped them to. Pretty simple process all-in-all and youíll have a fun learning experience at the same time.
For the valve seats in the heads, use a brass wire wheel in a hand drill. You can get the brass wire wheels (small ones) at Harbor Freight. Not a lot of pressure is needed here either usually. WD-40 will make a great cleaner and lube here. When everything is clean, lap the valves back in and number them on the bottom side to make sure you install them back on the seat you lapped them to. Pretty simple process all-in-all and youíll have a fun learning experience at the same time.
I do not have a drill press but I'll find a away to complete the task.
I mistakenly already took the valves out without numbering.. Is this a problem?
Can I use a regular nozzle hose pipe to wash everything off after cleaning?
What method should I use to clean the bottom side to attach to the block?
Last edited by 86CAMARO400HP; 07-20-2019 at 10:27 PM.
The following users liked this post:
Rodney Wesling (06-11-2024)
#4
ModSquad
iTrader: (6)
I do not have a drill press but I'll find a away to complete the task.
I mistakenly already took the valves out without numbering.. Is this a problem?
Can I use a regular nozzle hose pipe to wash everything off after cleaning?
What method should I use to clean the bottom side to attach to the block?
I mistakenly already took the valves out without numbering.. Is this a problem?
Can I use a regular nozzle hose pipe to wash everything off after cleaning?
What method should I use to clean the bottom side to attach to the block?
No problem. Number them after youíve lapped them back in.
Yes sir, just dry them quickly, and get some oil, not WD-40, on them. Oil the stems as you re-install the valves into the guide.
Deck surface looks pretty clean from the pics. No real good way to do this your self, but Iíve seen guys on forums use a large sanding block, like what youíd sand bodywork with, and a 300 grit paper. I donít recommend this. Iíd use a machine shop and spend the $100 or whatever to make sure they are flat. Your call on that one. If you do it your self, buy some copper spray from the local parts store for gaskets, and spray the head gaskets at time of install.
#5
If you donít have a drill press, use a hand drill for the valves, and maybe set the drill up in a vice?
No problem. Number them after youíve lapped them back in.
Yes sir, just dry them quickly, and get some oil, not WD-40, on them. Oil the stems as you re-install the valves into the guide.
Deck surface looks pretty clean from the pics. No real good way to do this your self, but Iíve seen guys on forums use a large sanding block, like what youíd sand bodywork with, and a 300 grit paper. I donít recommend this. Iíd use a machine shop and spend the $100 or whatever to make sure they are flat. Your call on that one. If you do it your self, buy some copper spray from the local parts store for gaskets, and spray the head gaskets at time of install.
I already cleaned them up with liquid wrench and sandpaper. They looked worse than the picture above.( I should have taken the before shots)Should I hit them with the brass wire wheel also?
#6
ModSquad
iTrader: (6)
A brass wire wheel that’s 2” in diameter will be perfect to work in and out of the seat. Should only take a few strokes and they will look like new. Brass is soft enough that the seat material won’t be harmed, only cleaned.
#7
If you donít have a drill press, use a hand drill for the valves, and maybe set the drill up in a vice?
No problem. Number them after youíve lapped them back in.
Yes sir, just dry them quickly, and get some oil, not WD-40, on them. Oil the stems as you re-install the valves into the guide.
Deck surface looks pretty clean from the pics. No real good way to do this your self, but Iíve seen guys on forums use a large sanding block, like what youíd sand bodywork with, and a 300 grit paper. I donít recommend this. Iíd use a machine shop and spend the $100 or whatever to make sure they are flat. Your call on that one. If you do it your self, buy some copper spray from the local parts store for gaskets, and spray the head gaskets at time of install.
No problem. Number them after youíve lapped them back in.
Yes sir, just dry them quickly, and get some oil, not WD-40, on them. Oil the stems as you re-install the valves into the guide.
Deck surface looks pretty clean from the pics. No real good way to do this your self, but Iíve seen guys on forums use a large sanding block, like what youíd sand bodywork with, and a 300 grit paper. I donít recommend this. Iíd use a machine shop and spend the $100 or whatever to make sure they are flat. Your call on that one. If you do it your self, buy some copper spray from the local parts store for gaskets, and spray the head gaskets at time of install.
Im guessing your referring to the valve seats. The seats must remain concentric. Itís a must that they are perfectly round, so be careful when sanding on them. Iíd wire wheel them with a brass wheel if your doing it yourself. They will clean up like new. The lapping process is mandatory after the valves and seats are cleaned to give them each a new matching surface to ďmarryĒ to.
A brass wire wheel thatís 2Ē in diameter will be perfect to work in and out of the seat. Should only take a few strokes and they will look like new. Brass is soft enough that the seat material wonít be harmed, only cleaned.
A brass wire wheel thatís 2Ē in diameter will be perfect to work in and out of the seat. Should only take a few strokes and they will look like new. Brass is soft enough that the seat material wonít be harmed, only cleaned.
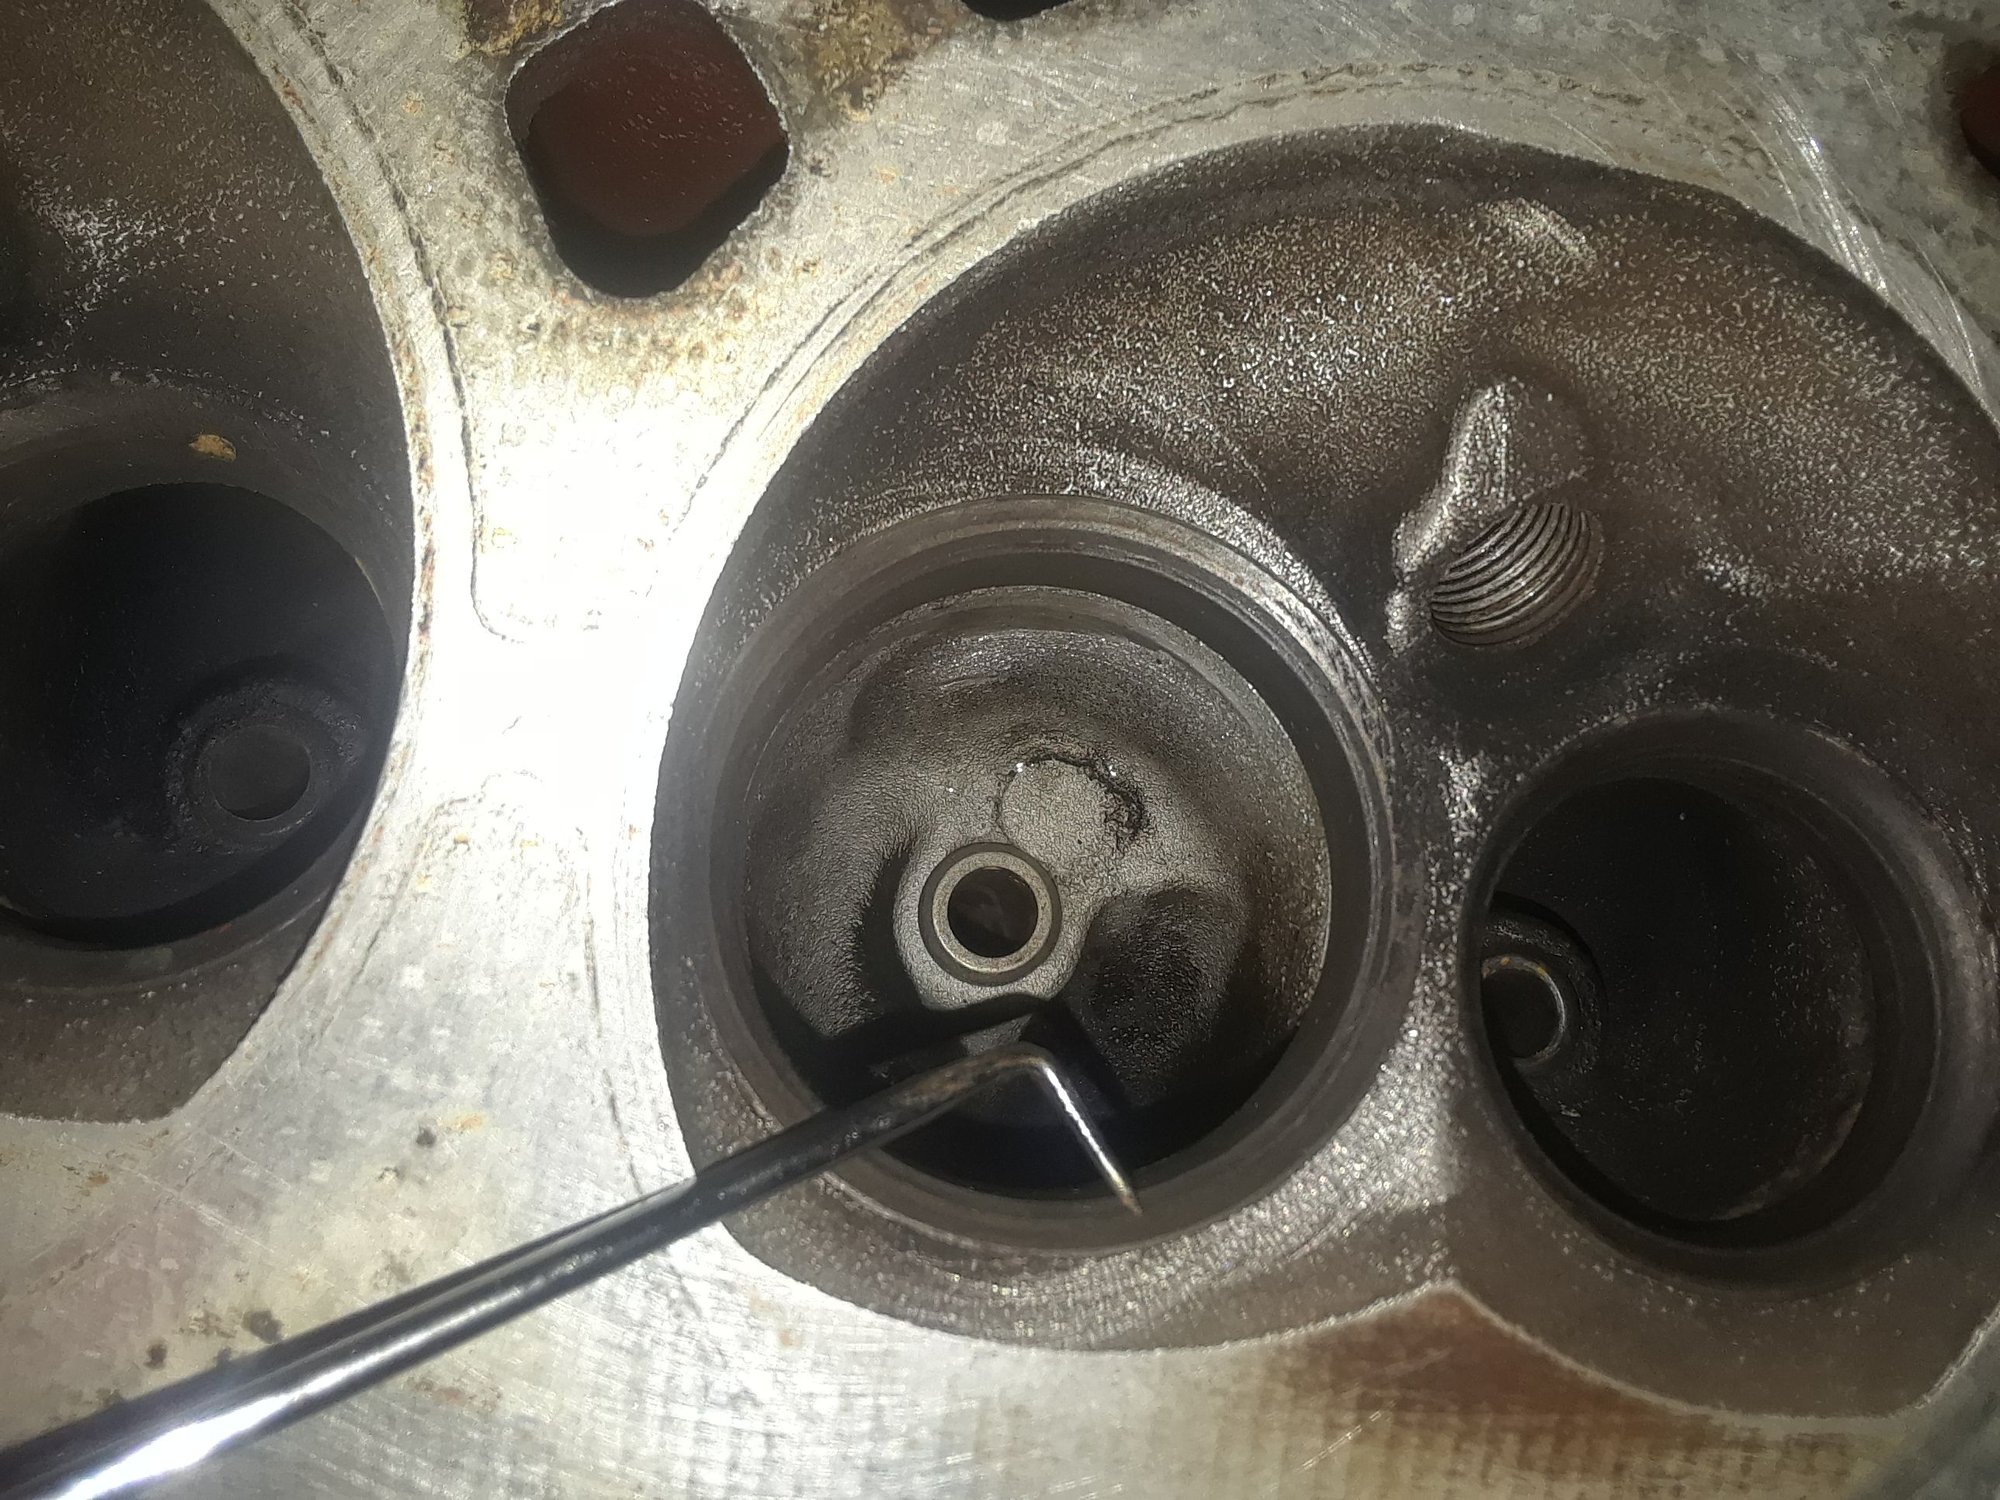
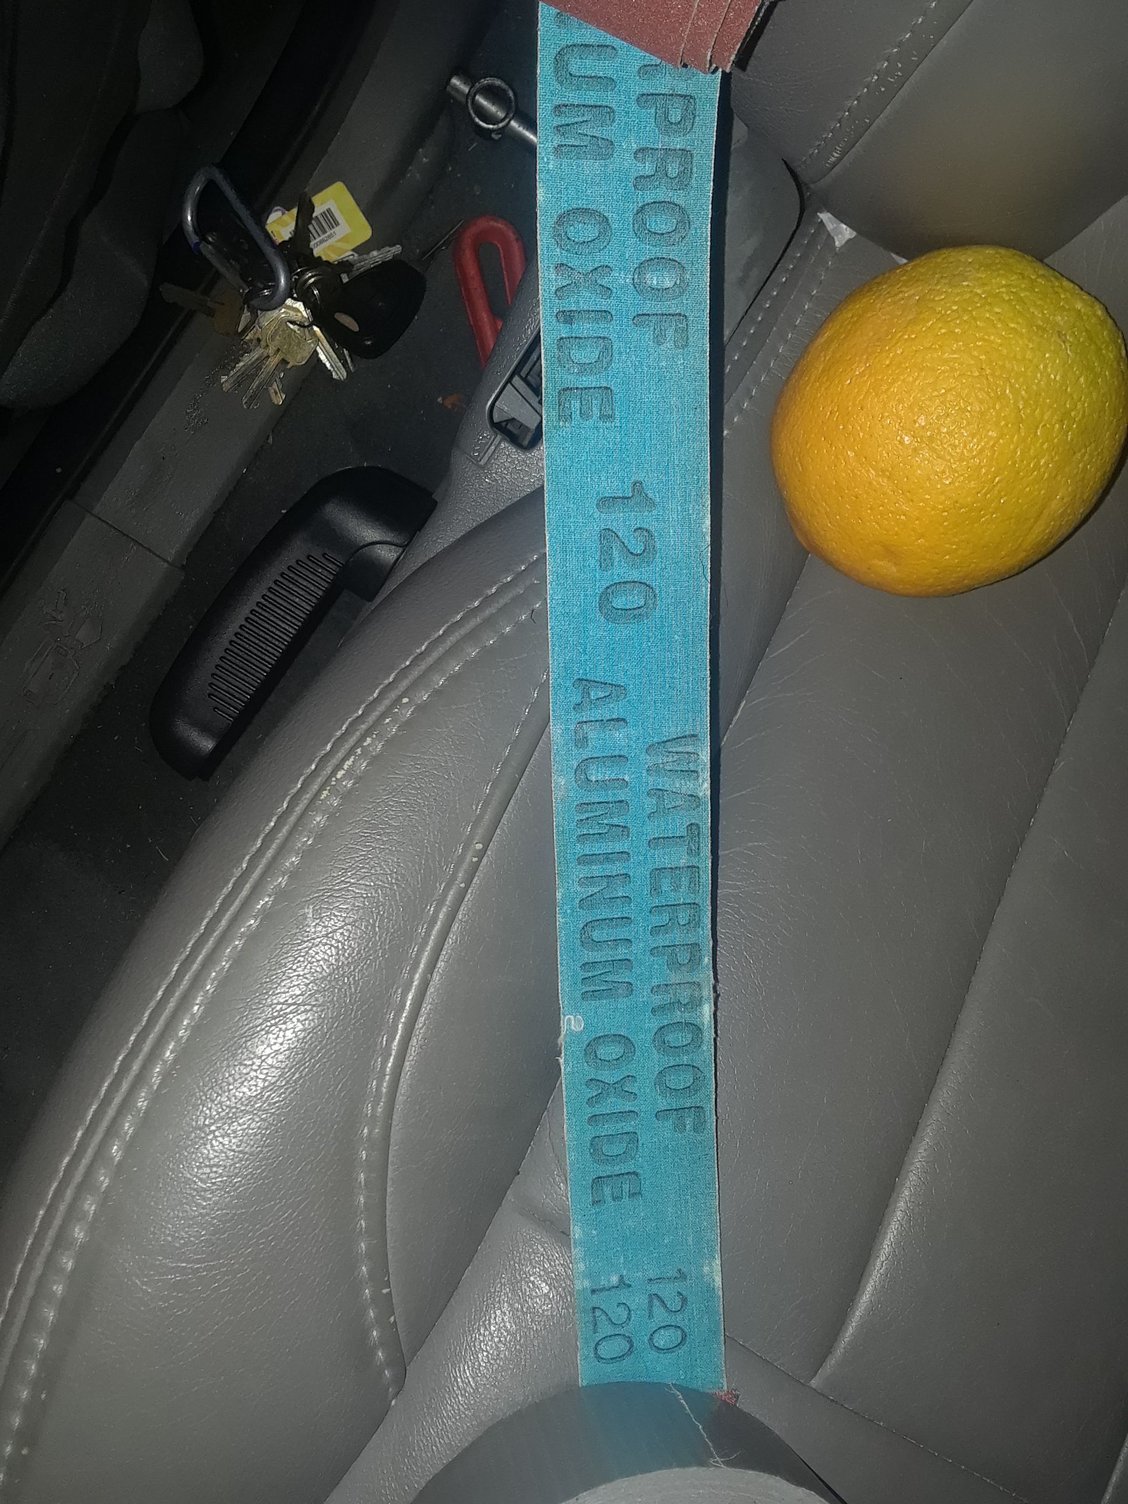
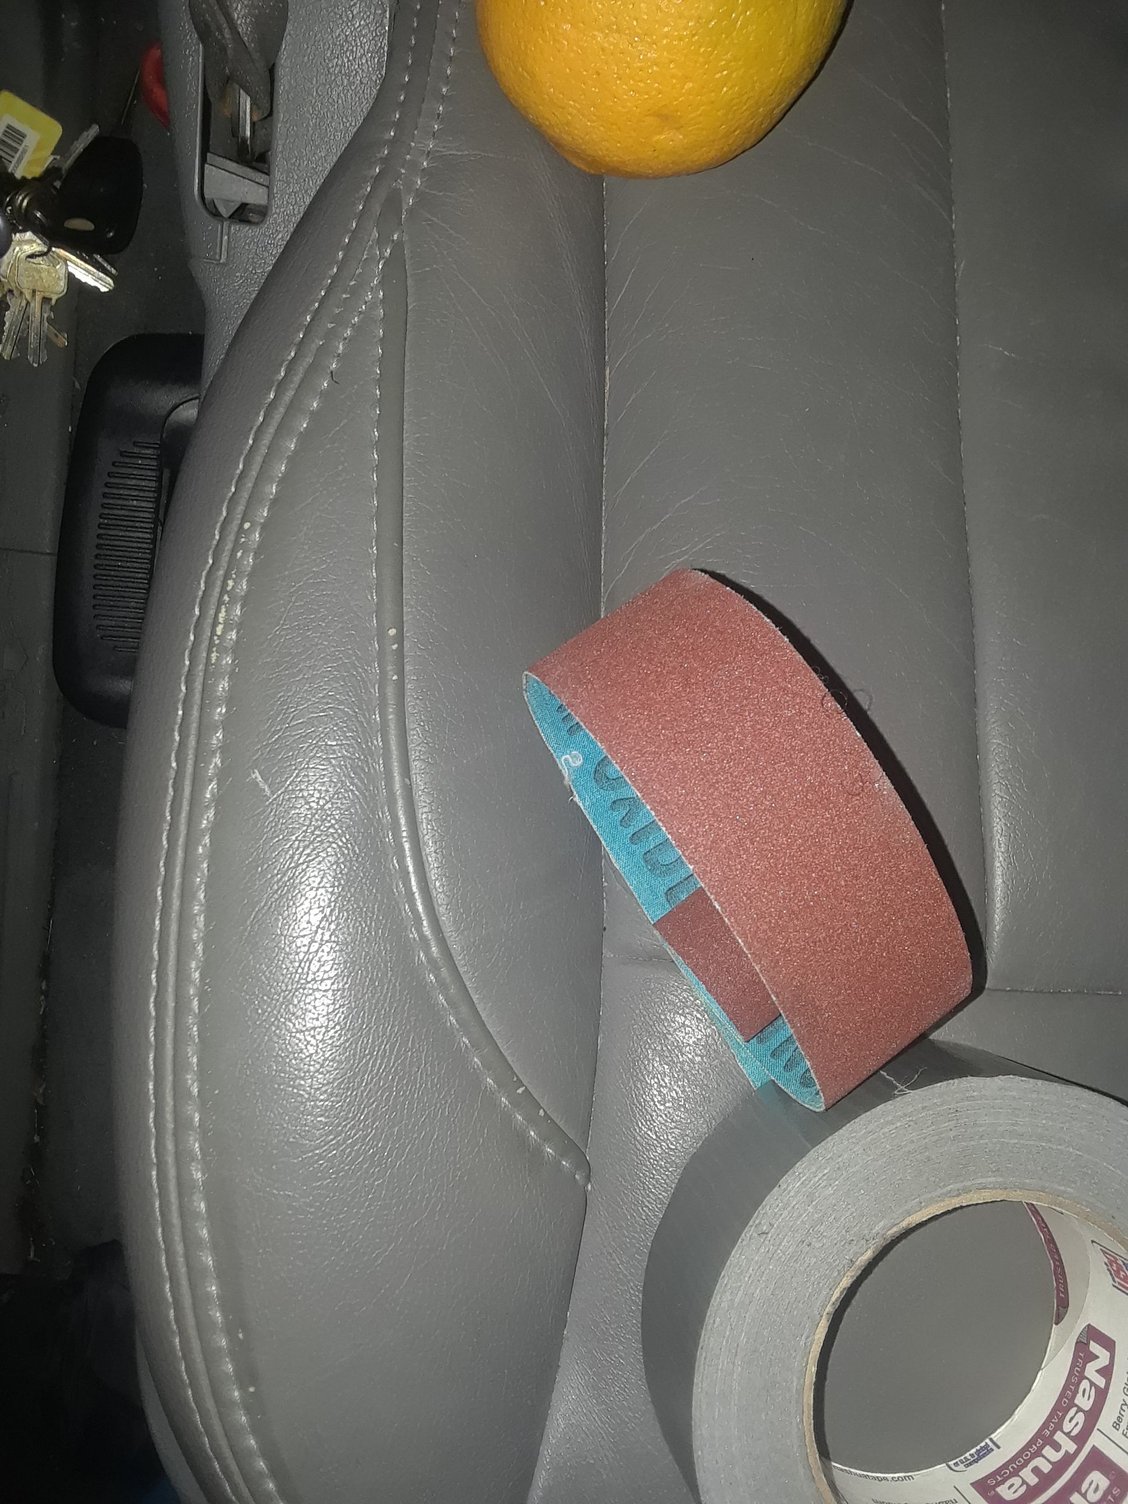
This is what I'm talking about here. I guess it is called a valve seat. All the valve seats look like this now after using liquid wrench and lightly using sandpaper listed in the picture below. I scrubbed the deck I believe is called lightly the same way and took a hose pipe too it and dried them off.
Trending Topics
#8
ModSquad
iTrader: (6)
Yes, those are valve seats. They look decent. I see a little bit of rust left. Again, the brass wire wheels will remove it all with ease and not harm them, while cleaning the seats to a nice finish as well. Keep it up. You’ll have a clean set of heads before you know it.
#9
Yes, those are valve seats. They look decent. I see a little bit of rust left. Again, the brass wire wheels will remove it all with ease and not harm them, while cleaning the seats to a nice finish as well. Keep it up. Youíll have a clean set of heads before you know it.
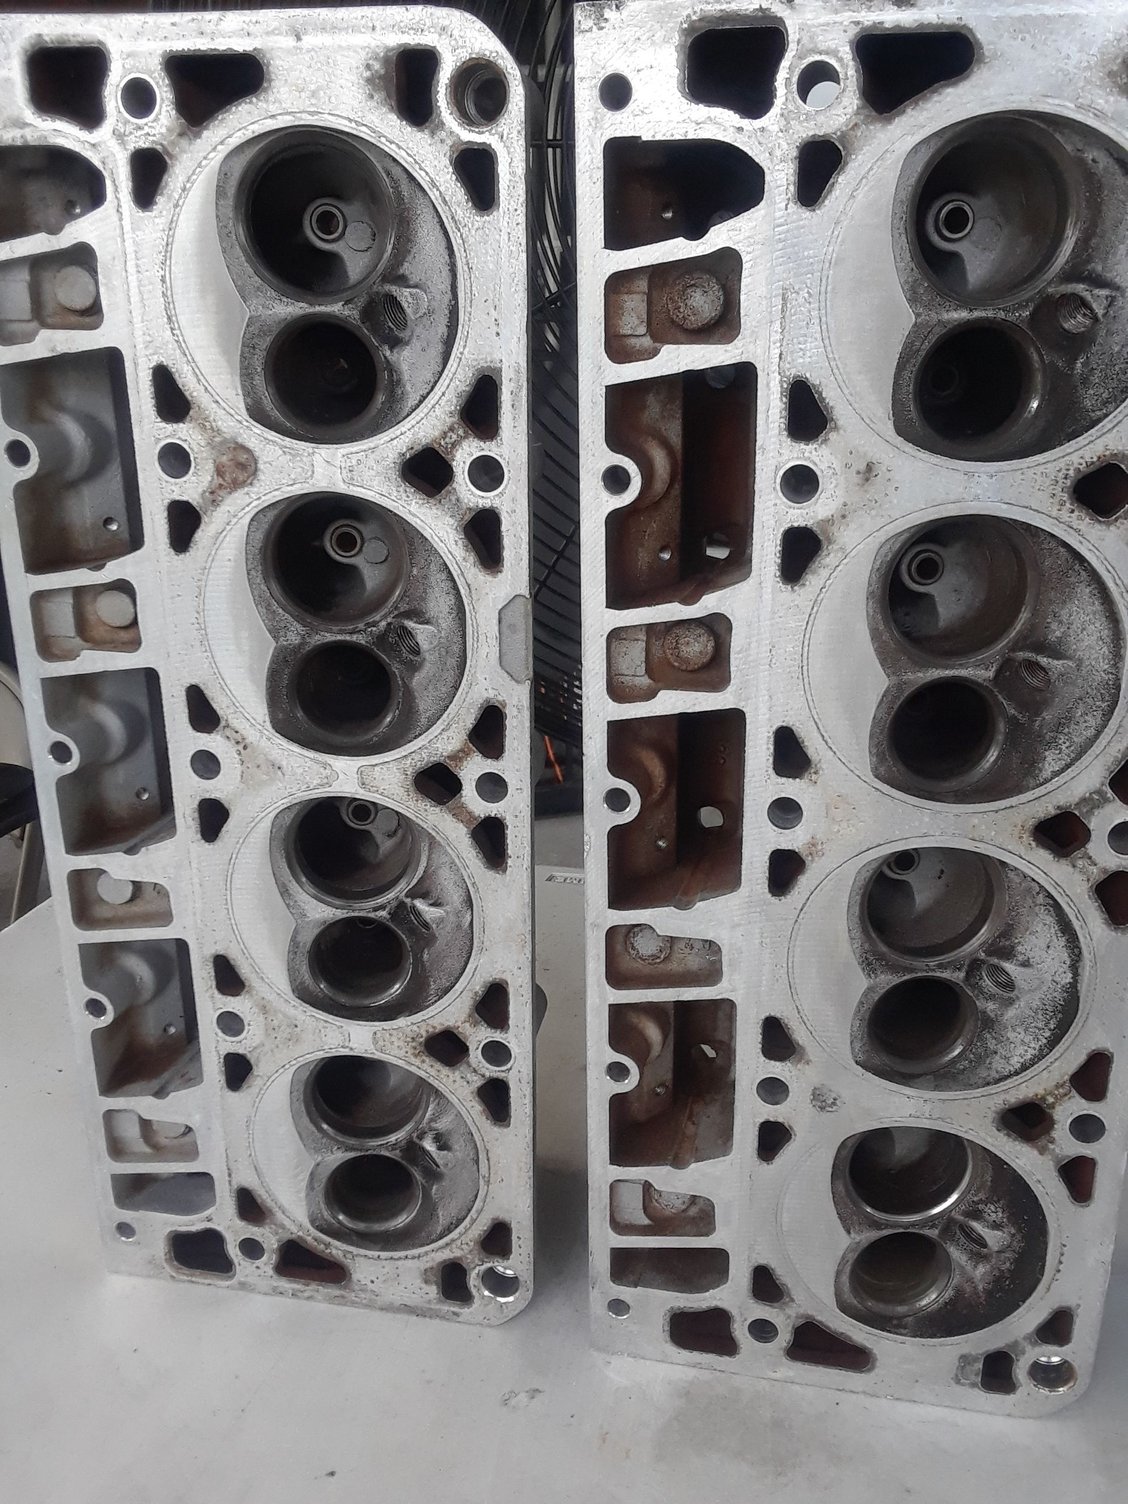
Hit them with the brass wheel today and cleaned them up again.
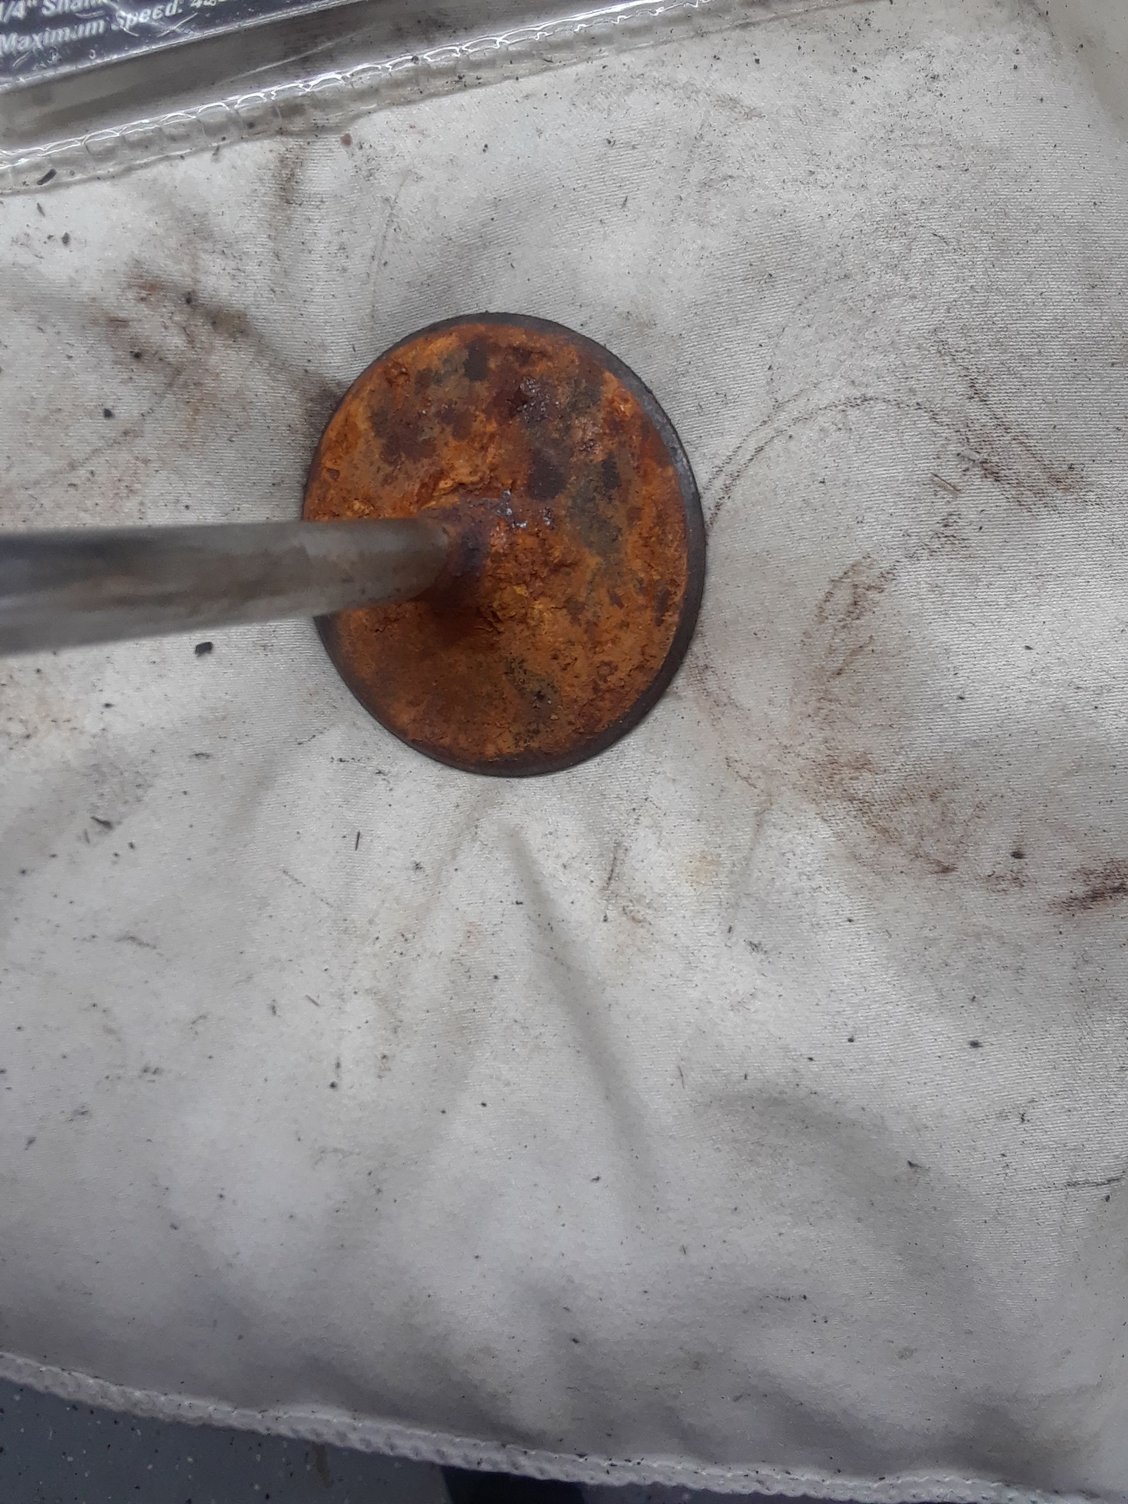
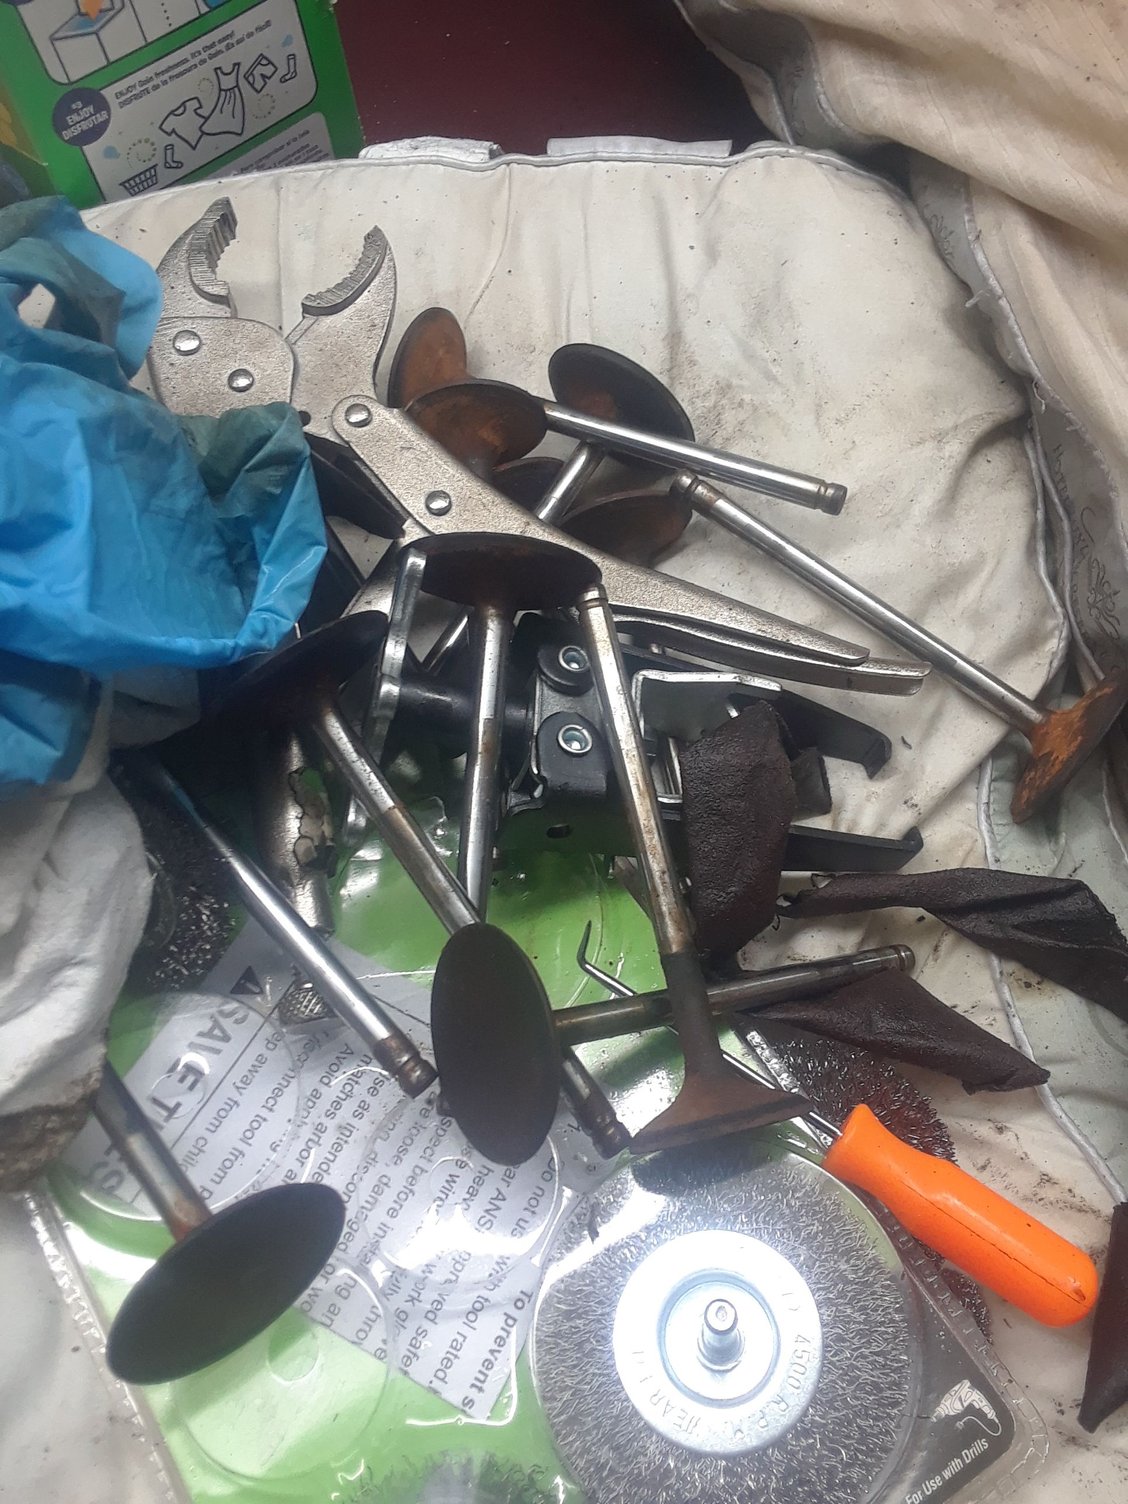
This is how rusty the valves are. This is the before shot. I hit them with wd40 and a stainless wire wheel from harbor freight
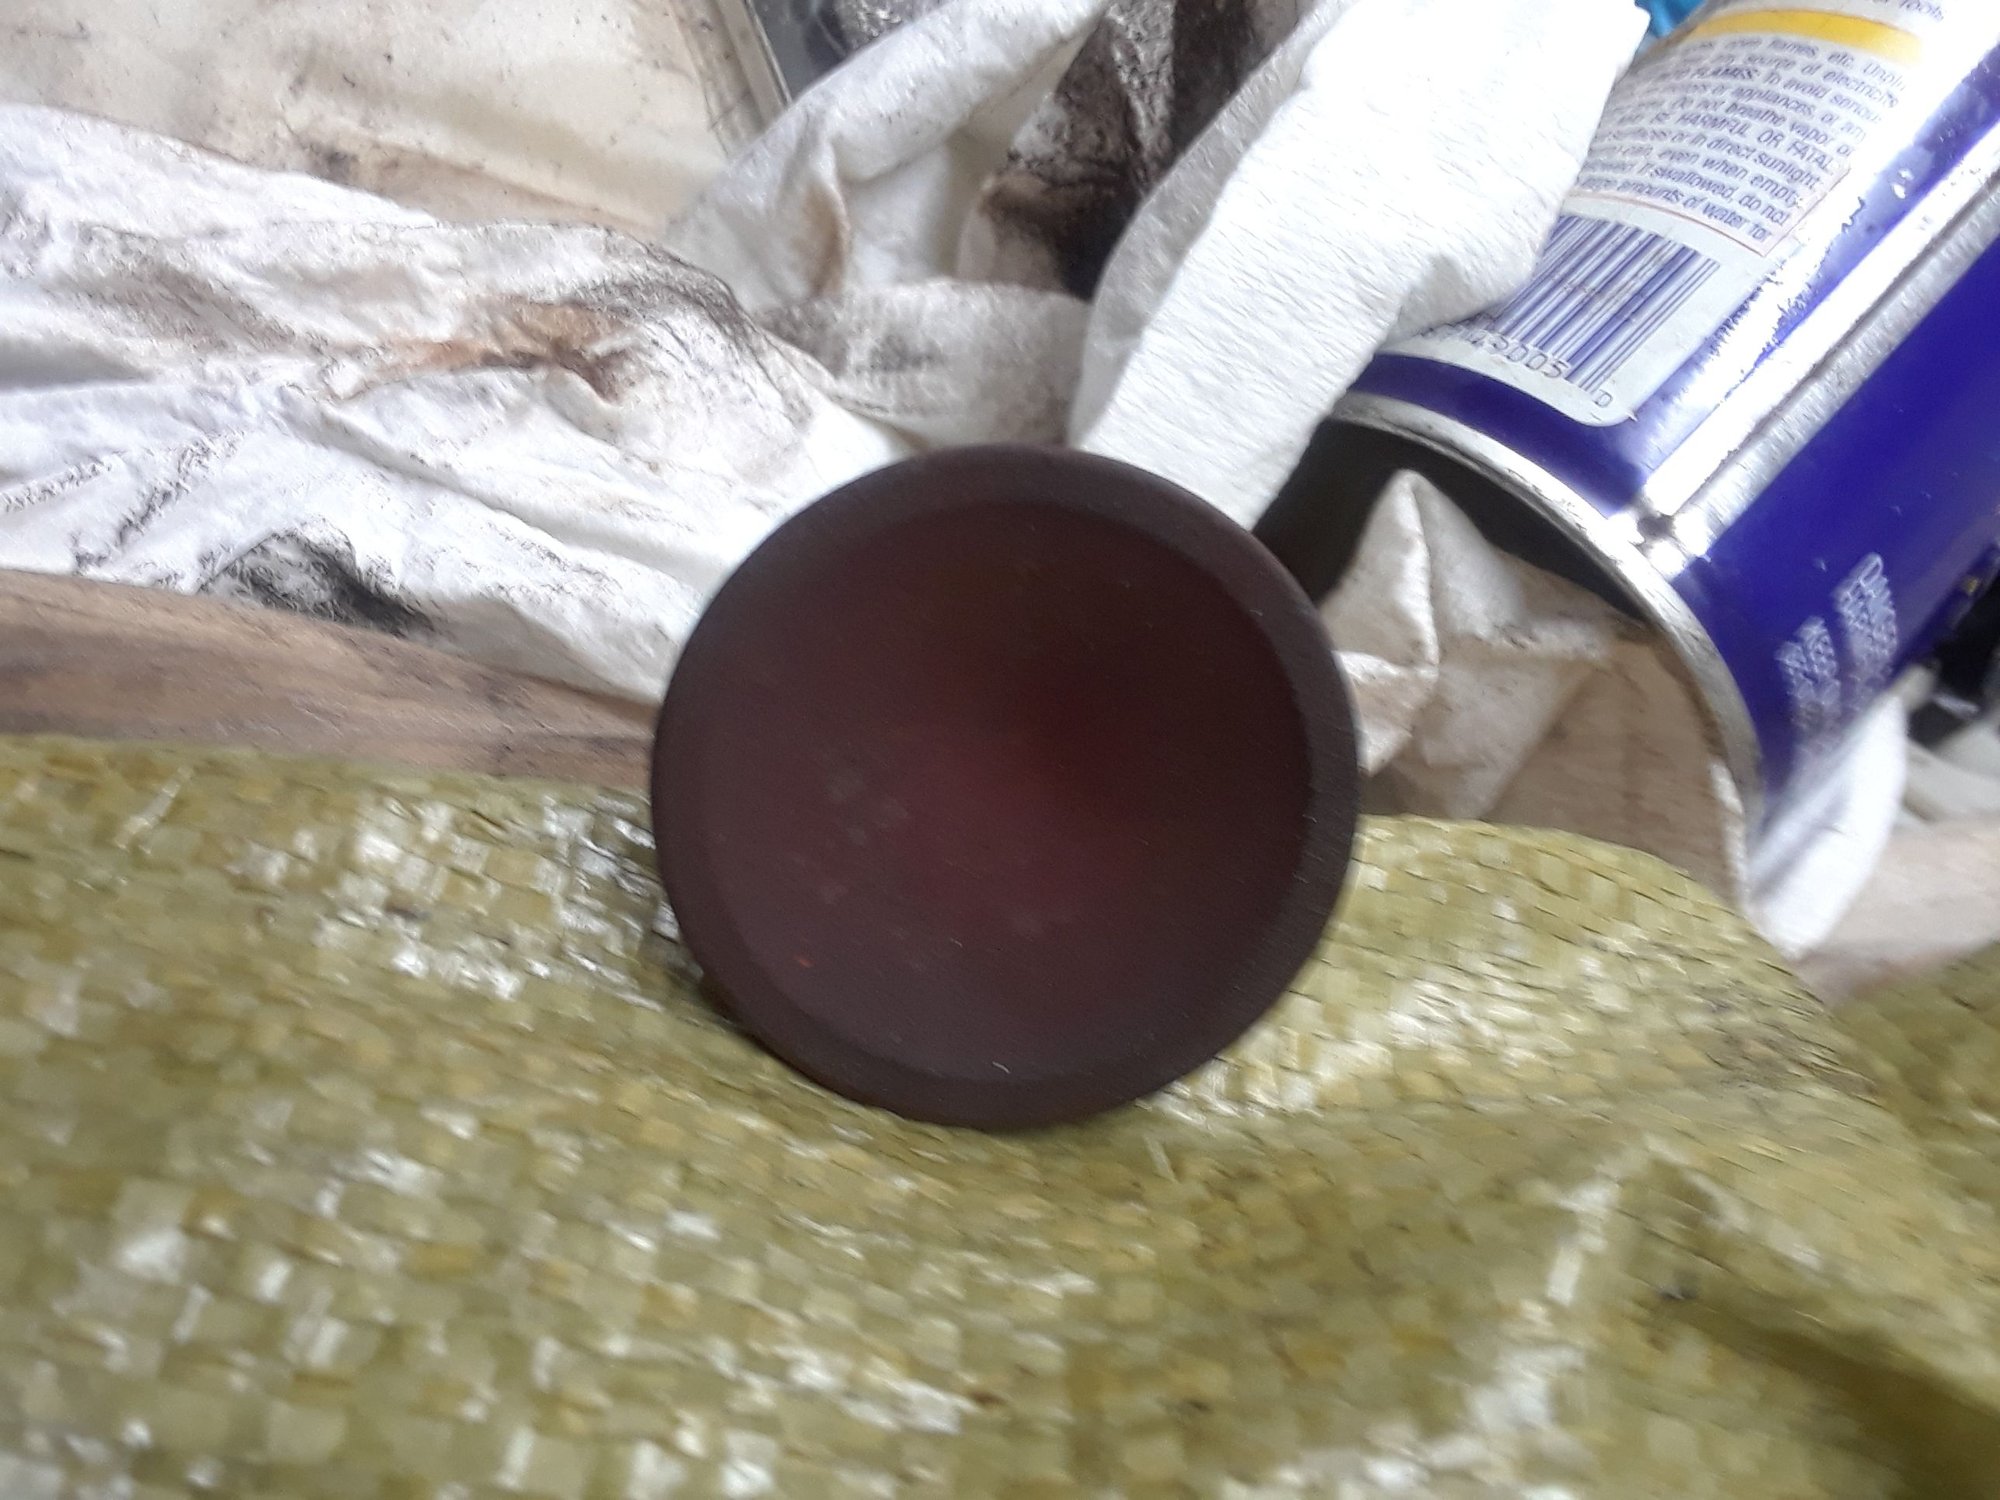
This is how rusty the valves are. This is the before shot. I hit them with wd40 and a stainless wire wheel from harbor freight
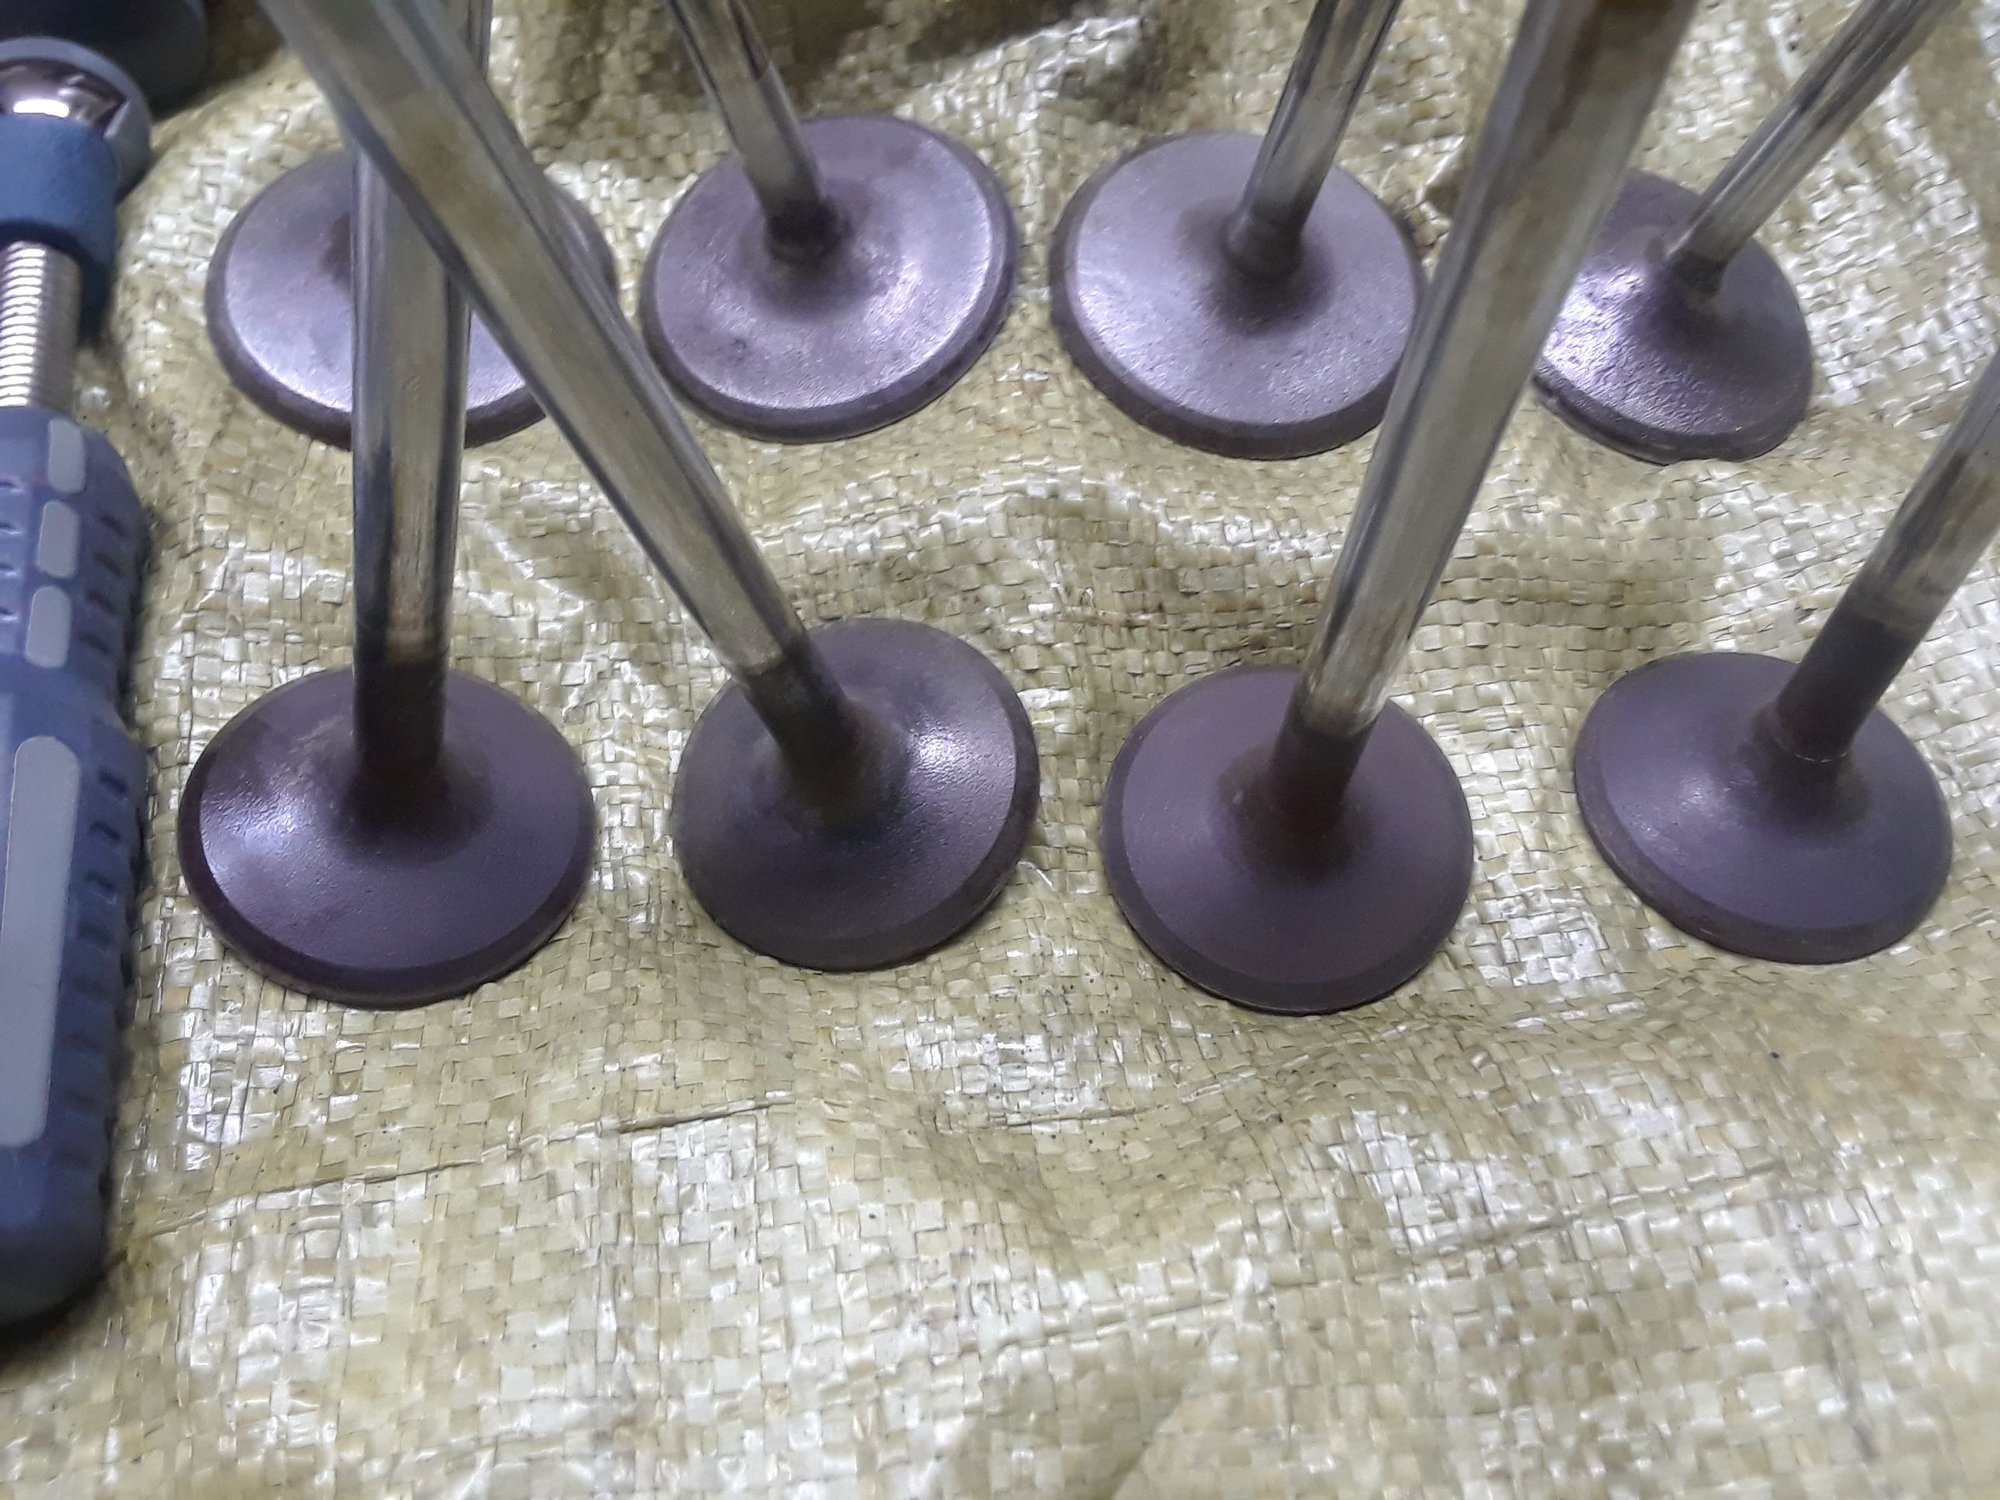
This is the after shot. Are they good enough to reuse?
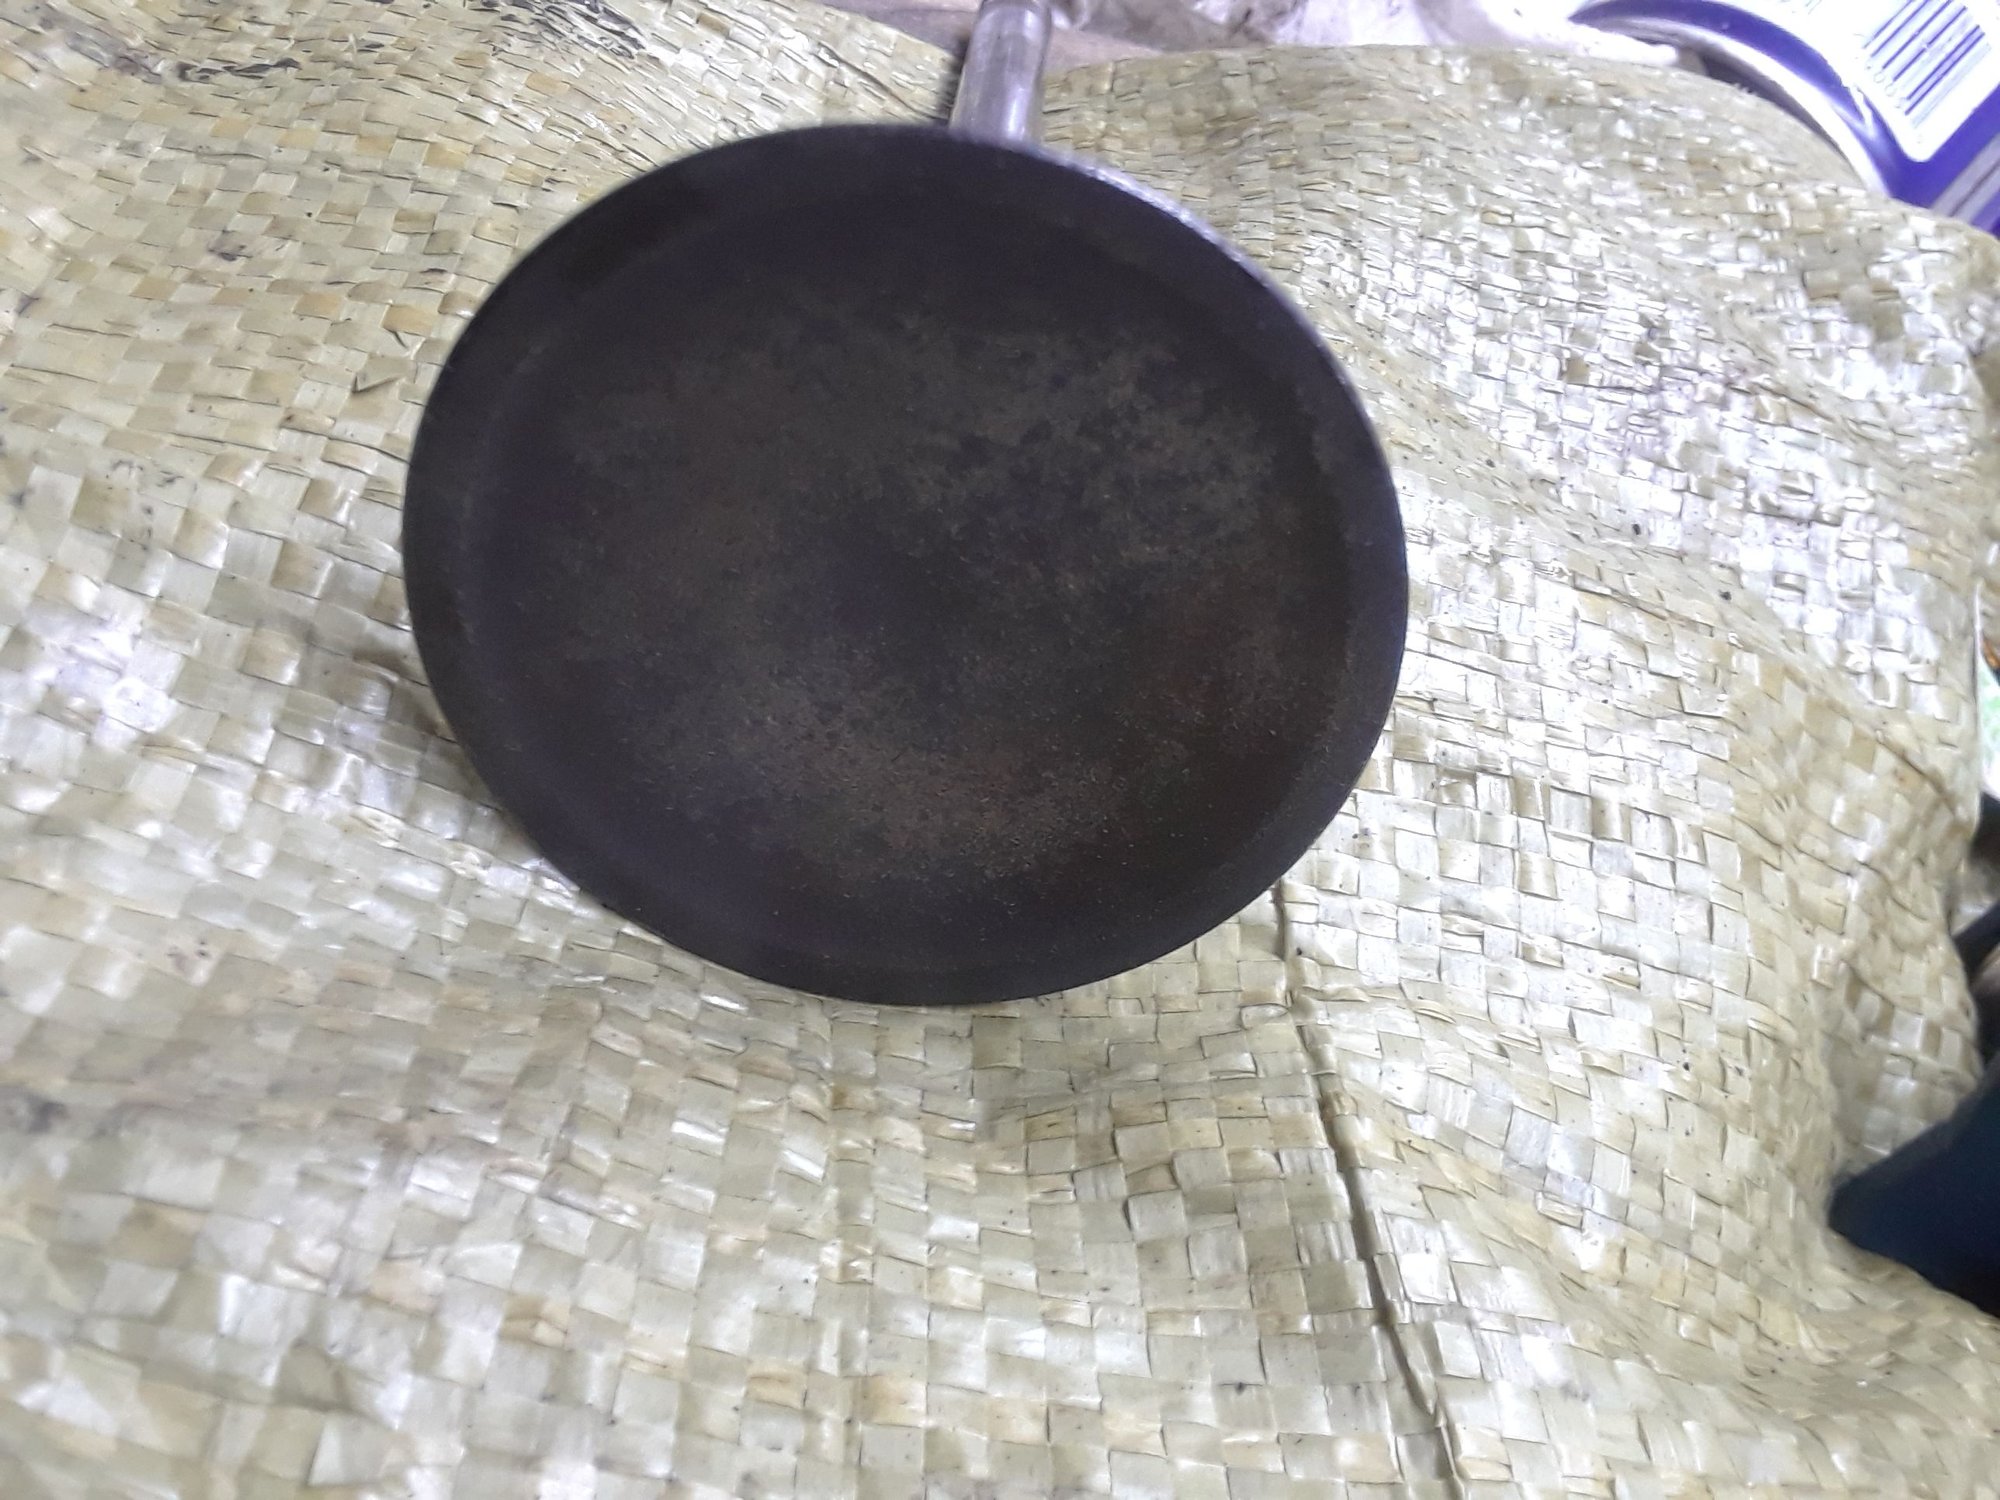
This is the after shot. Are they good enough to reuse?
#10
ModSquad
iTrader: (6)
Yessir. Clean everything up really well. If you have a laundry type sink, or a good cast iron sink...and your wife won’t kill you...bring the heads in and use some good hot water and Dawn dishwashing liquid soap. Scrub the pee out of them to remove any dust and debris. Get them out when your done and dry them quickly, concentrating on the seats. Get some light oil on the seats and keep them clean. Maybe bag them until you assemble them to keep dust off.
Same with valves. Scrub them with hot water and Dawn soap. Dry them and get oil on them quick.
Are the valve guides rusty?
Same with valves. Scrub them with hot water and Dawn soap. Dry them and get oil on them quick.
Are the valve guides rusty?
#11
Yessir. Clean everything up really well. If you have a laundry type sink, or a good cast iron sink...and your wife wonít kill you...bring the heads in and use some good hot water and Dawn dishwashing liquid soap. Scrub the pee out of them to remove any dust and debris. Get them out when your done and dry them quickly, concentrating on the seats. Get some light oil on the seats and keep them clean. Maybe bag them until you assemble them to keep dust off.
Same with valves. Scrub them with hot water and Dawn soap. Dry them and get oil on them quick.
Are the valve guides rusty?
Same with valves. Scrub them with hot water and Dawn soap. Dry them and get oil on them quick.
Are the valve guides rusty?
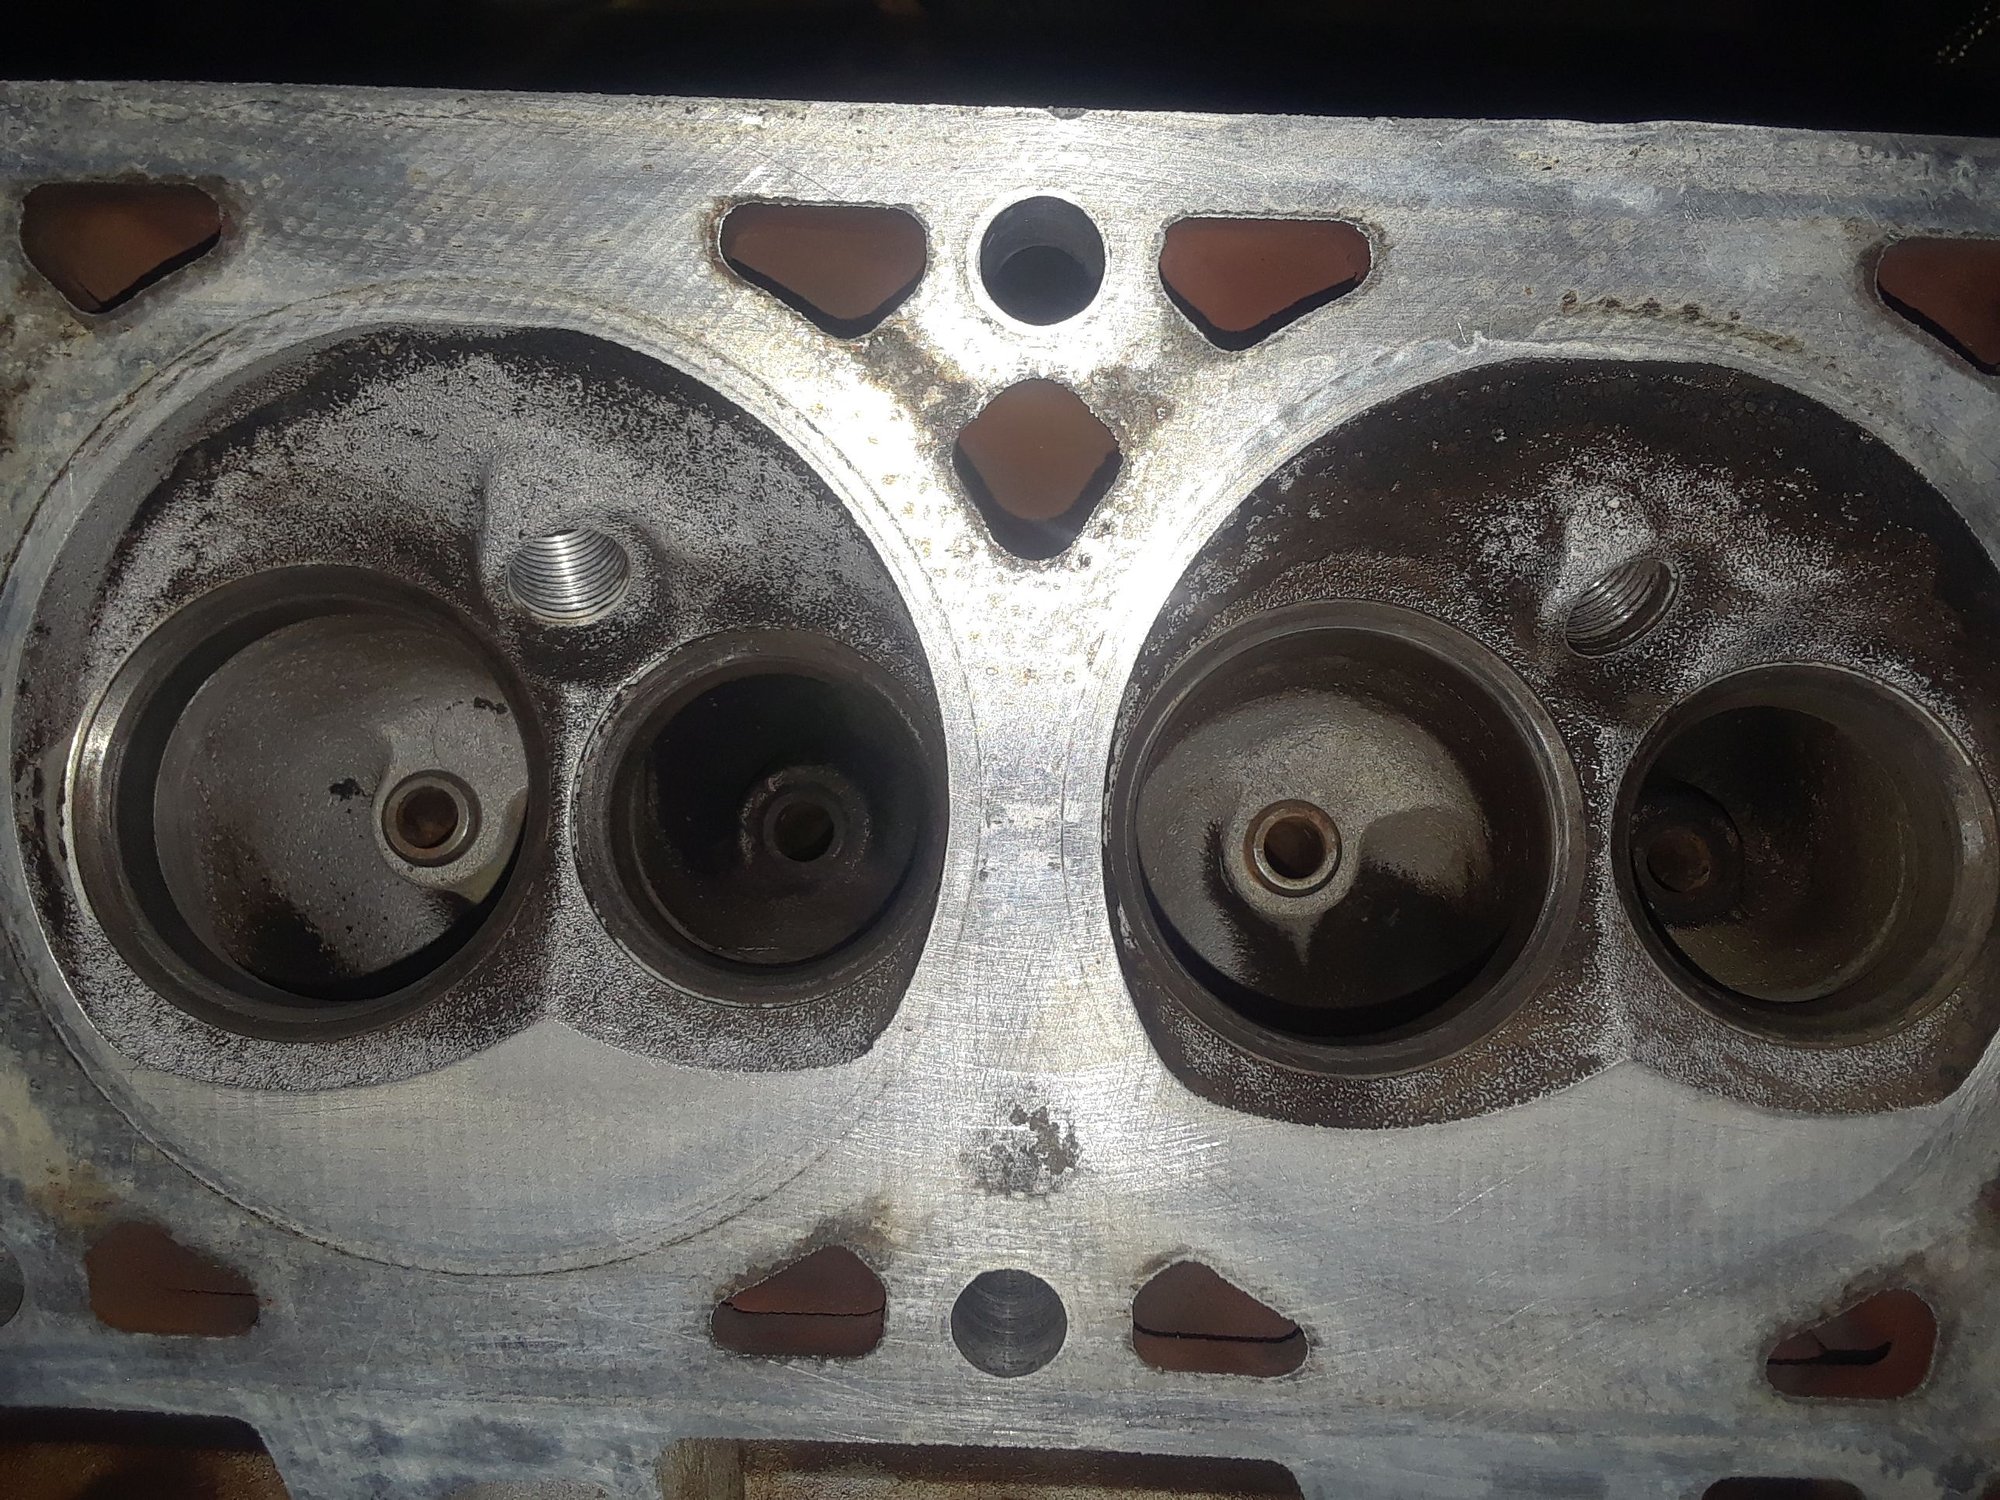
If any maybe a touch inside but nothing like the valves
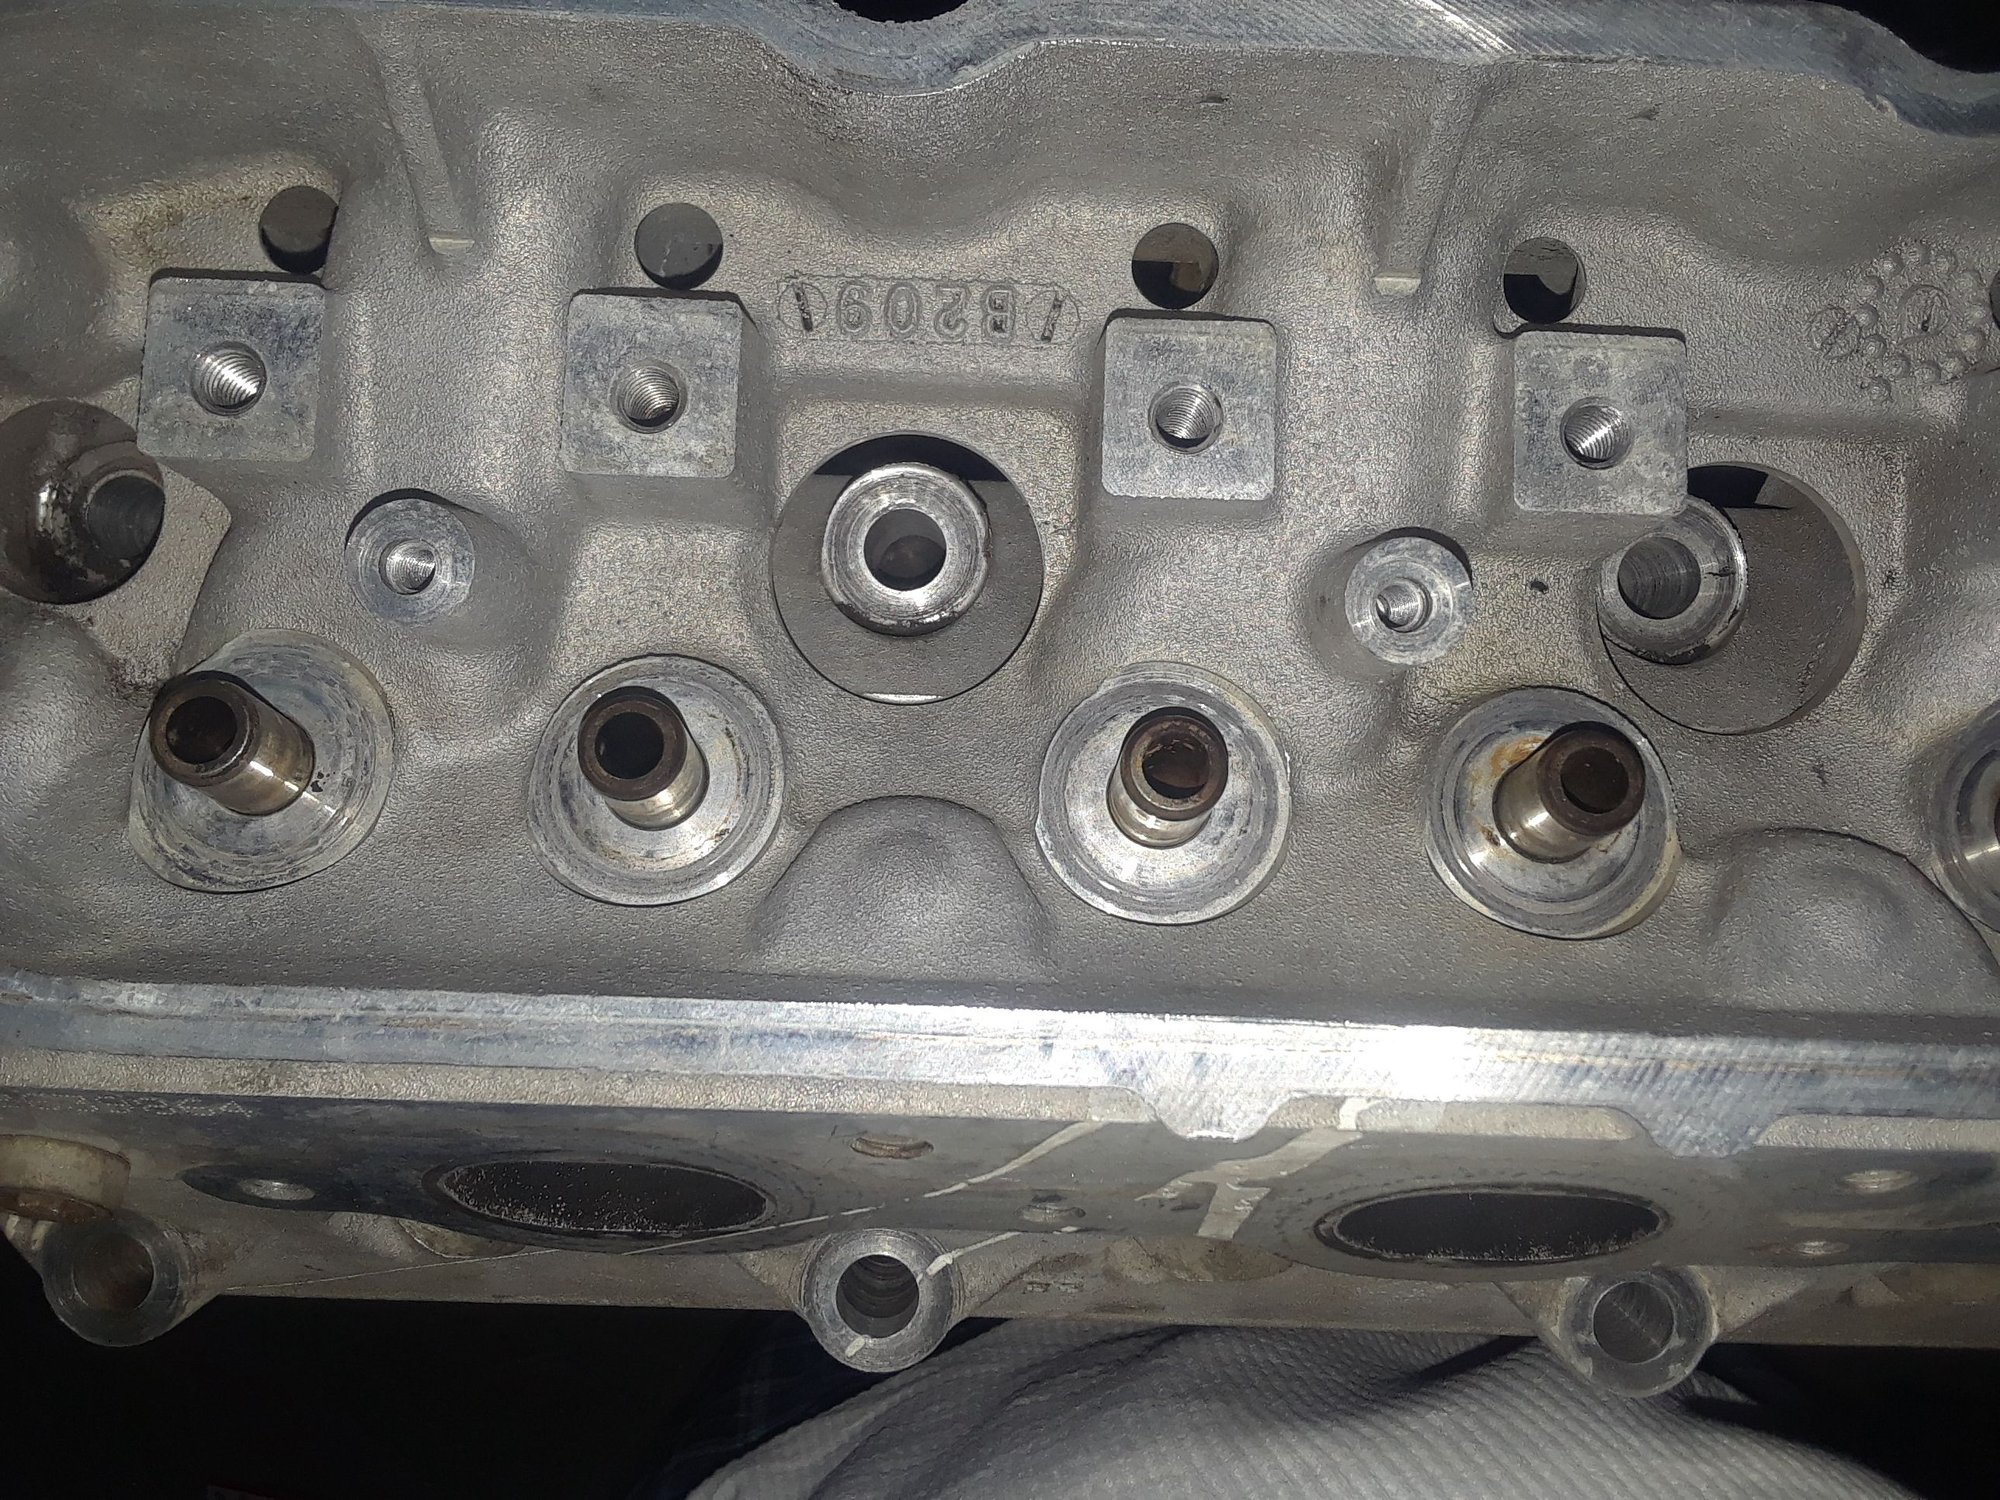
If any maybe a touch inside but nothing like the valves
#12
ModSquad
iTrader: (6)
You’ll want to get the rust/debris out of the guide. That will cause stem wear and/or a stuck valve. Use something like a Q-Tip with some WD-40 on it and see if the insides are clean or not. Everything must be clean.
Do you have any lapping compound, to lap the valves with?
Do you have any lapping compound, to lap the valves with?
#13
Youíll want to get the rust/debris out of the guide. That will cause stem wear and/or a stuck valve. Use something like a Q-Tip with some WD-40 on it and see if the insides are clean or not. Everything must be clean.
Do you have any lapping compound, to lap the valves with?
Do you have any lapping compound, to lap the valves with?
#14
Youíll want to get the rust/debris out of the guide. That will cause stem wear and/or a stuck valve. Use something like a Q-Tip with some WD-40 on it and see if the insides are clean or not. Everything must be clean.
Do you have any lapping compound, to lap the valves with?
Do you have any lapping compound, to lap the valves with?

Valve guides cleaned
#15
11 Second Club
iTrader: (3)
Get some Permatex valve grinding compound from the local parts store. Look up some videos on how to do this if your not sure and if your a first timer don't use a drill. Buy a hand lapping tool as this is the best way to this IMO.
#16
11 Second Club
iTrader: (3)
For the valves I'll wrap some tape around the valve stems so I don't damage them when using a drill. Don't crank down on them too hard as you risk damaging the stems and I also like to use the purple abrasive pads with White Diamond metal polish to clean and polish the valves.
#18
11 Second Club
iTrader: (3)
Oh they'll work but with some more work on them they can look almost good as new. I saw on youtube where this guy went as far as to wet sand the valves to polish them up.


