
INSTALL GUIDE: Replacing 6.5" Monsoon Subs w/ 8" Rockford Fosgate Subs
 09-17-2012, 11:11 PM
#1


This is a step-by-step guide on how to replace your 6.5� factory Monsoon sail panel subwoofers with 8� Rockford Fosgate subs. The factory head unit and amplifier are still used in my application (and provide ample bass), but you can opt to wire yours differently.
I take no responsibility for any injuries or damage you may sustain/cause while performing this mod, so be sure to take precautions such as wearing safety goggles and protective gear, and disconnecting power where applicable. For obvious reasons, this install will not work on convertibles.
Wiring is slightly different between Pontiacs (DVC, 4+4 ohm) and Camaros (SVC, 2 ohm), so images may look slightly different from your 4th gen. The speaker we will be using is the Rockford Fosgate Punch P3SD4-8 (do not get the P3SD2-8 unless you have an aftermarket setup and know how to wire it) which is a unique shallow-mount subwoofer. Do not attempt this install with just any 8� sub, as it likely will not fit, considering these RF subs are only 2.66� deep. Because of this, you also don�t have to worry about drilling with a hole saw for the vent hole in the center like with the Efficient Dynamics subs.
Tools/Supplies Needed
- Philips Screwdriver
- Flathead Screwdriver
- 7mm Socket Driver
- Soldering Iron
- Solder
- Wire Cutters/Strippers
- Dremel
- 4+ Dremel Cutting Wheels (Fiber Reinforced Type)
- Half-Round File, Large
- Angle Grinder (Optional)
- Center Punch (Optional)
- �� Thick Foam
- Drawing Compass
- X-acto
- Vacuum
- #8x1�� Screws (Quantity: 8)
- Permanent Marker
- Magnetic Pick Up Telescoping Tool (Opt.)
- 3.5Lb Sledge Hammer
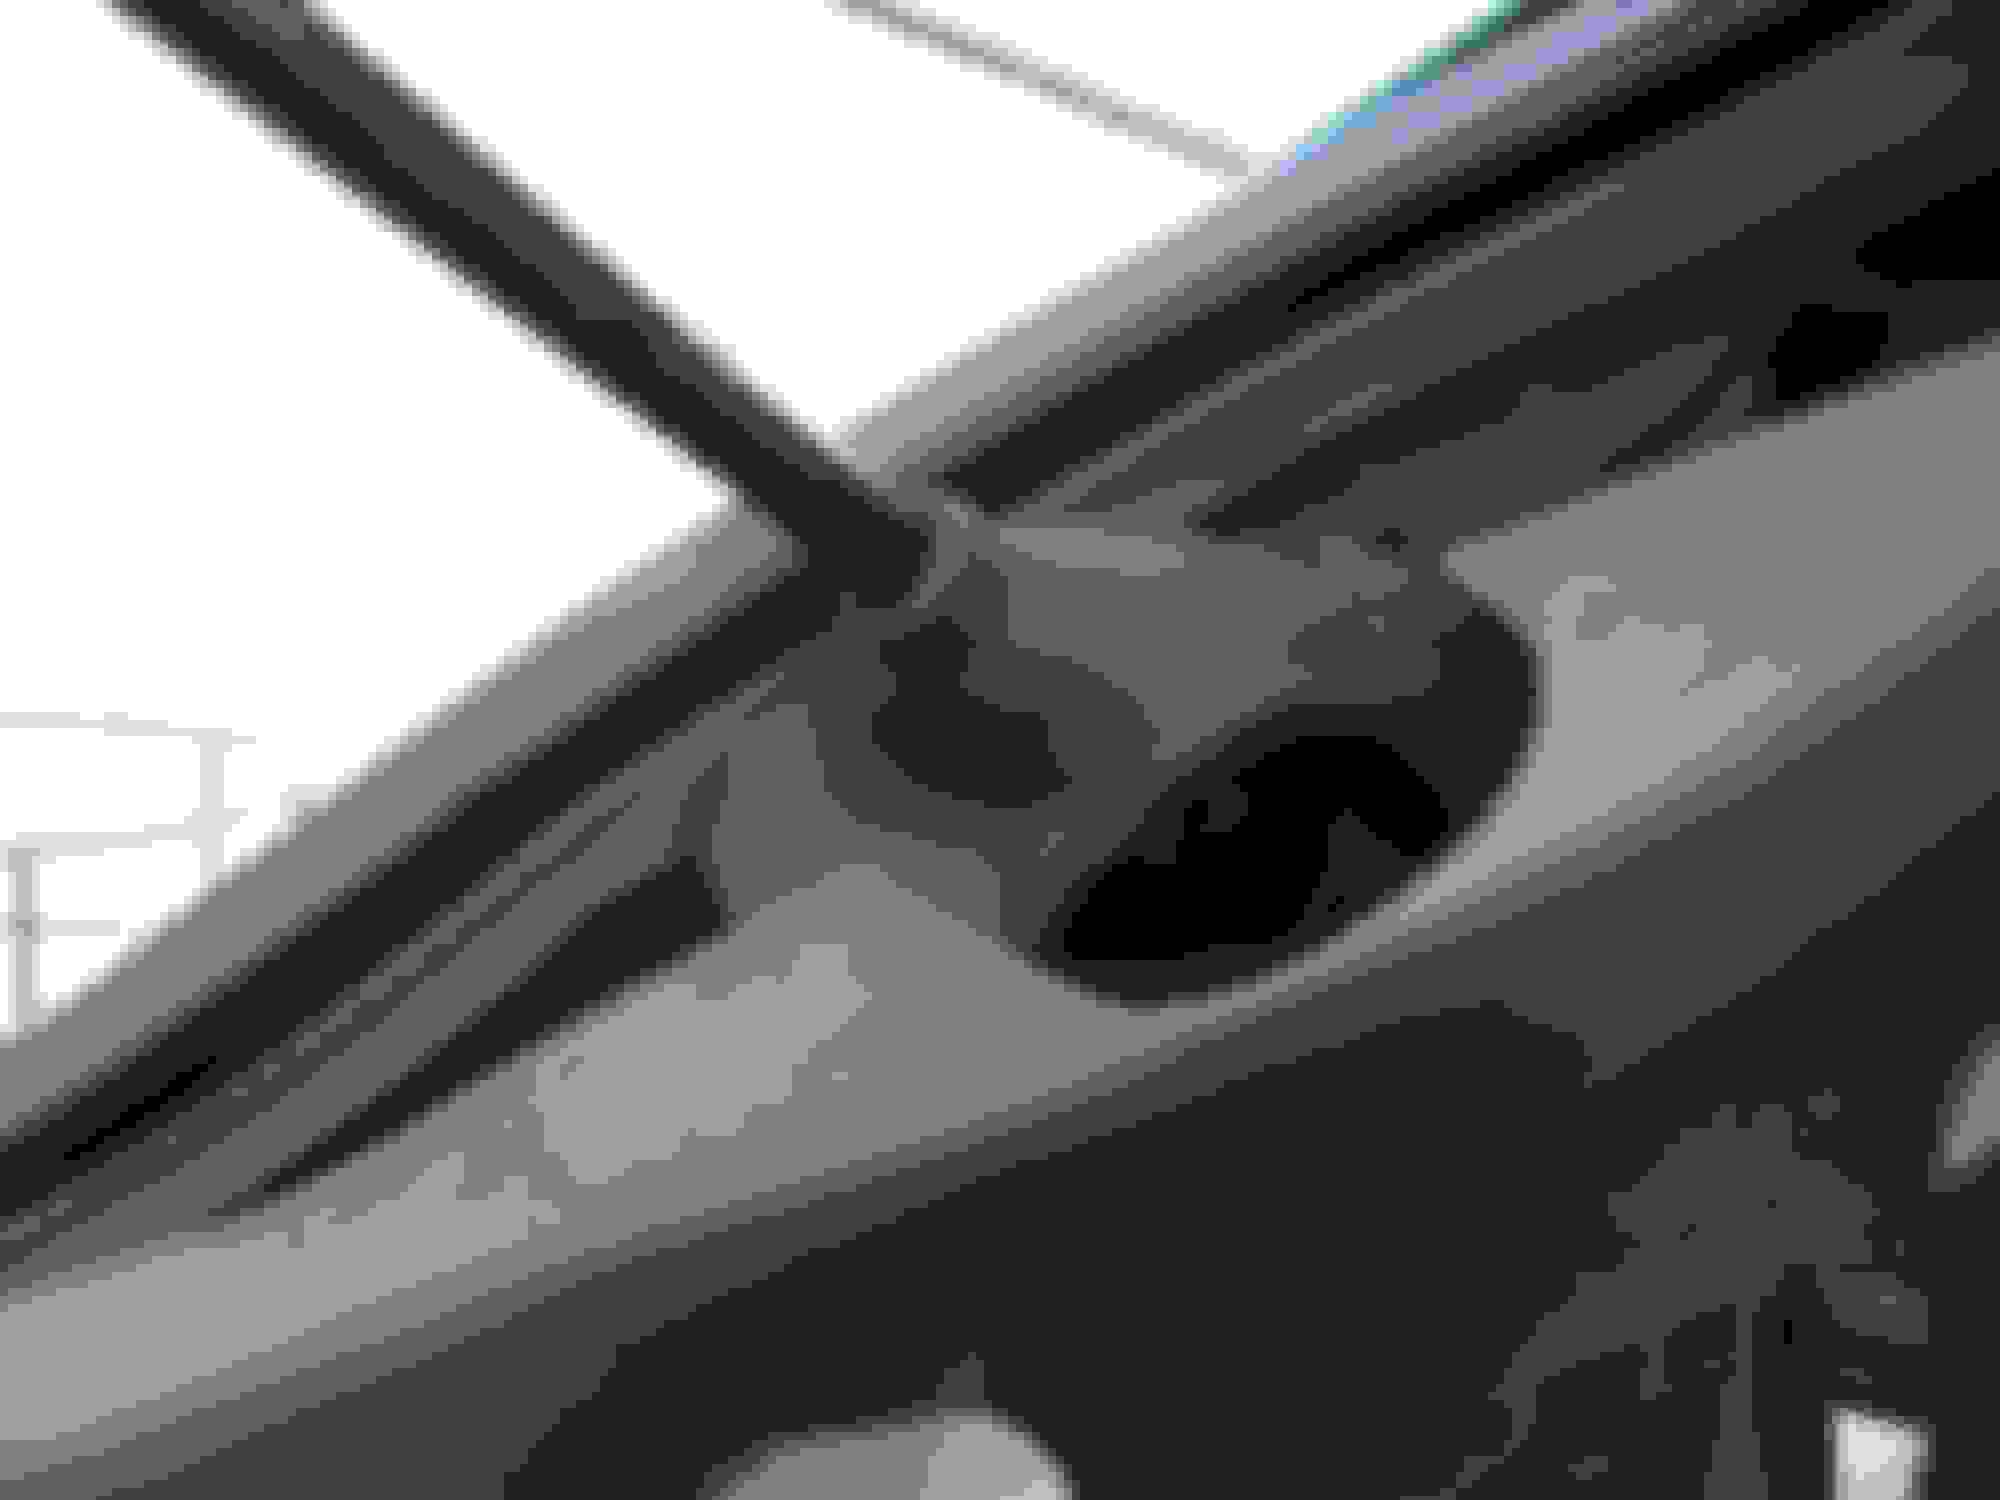
- Begin by opening the rear hatch and completely removing from the car the privacy cover for trunk storage.
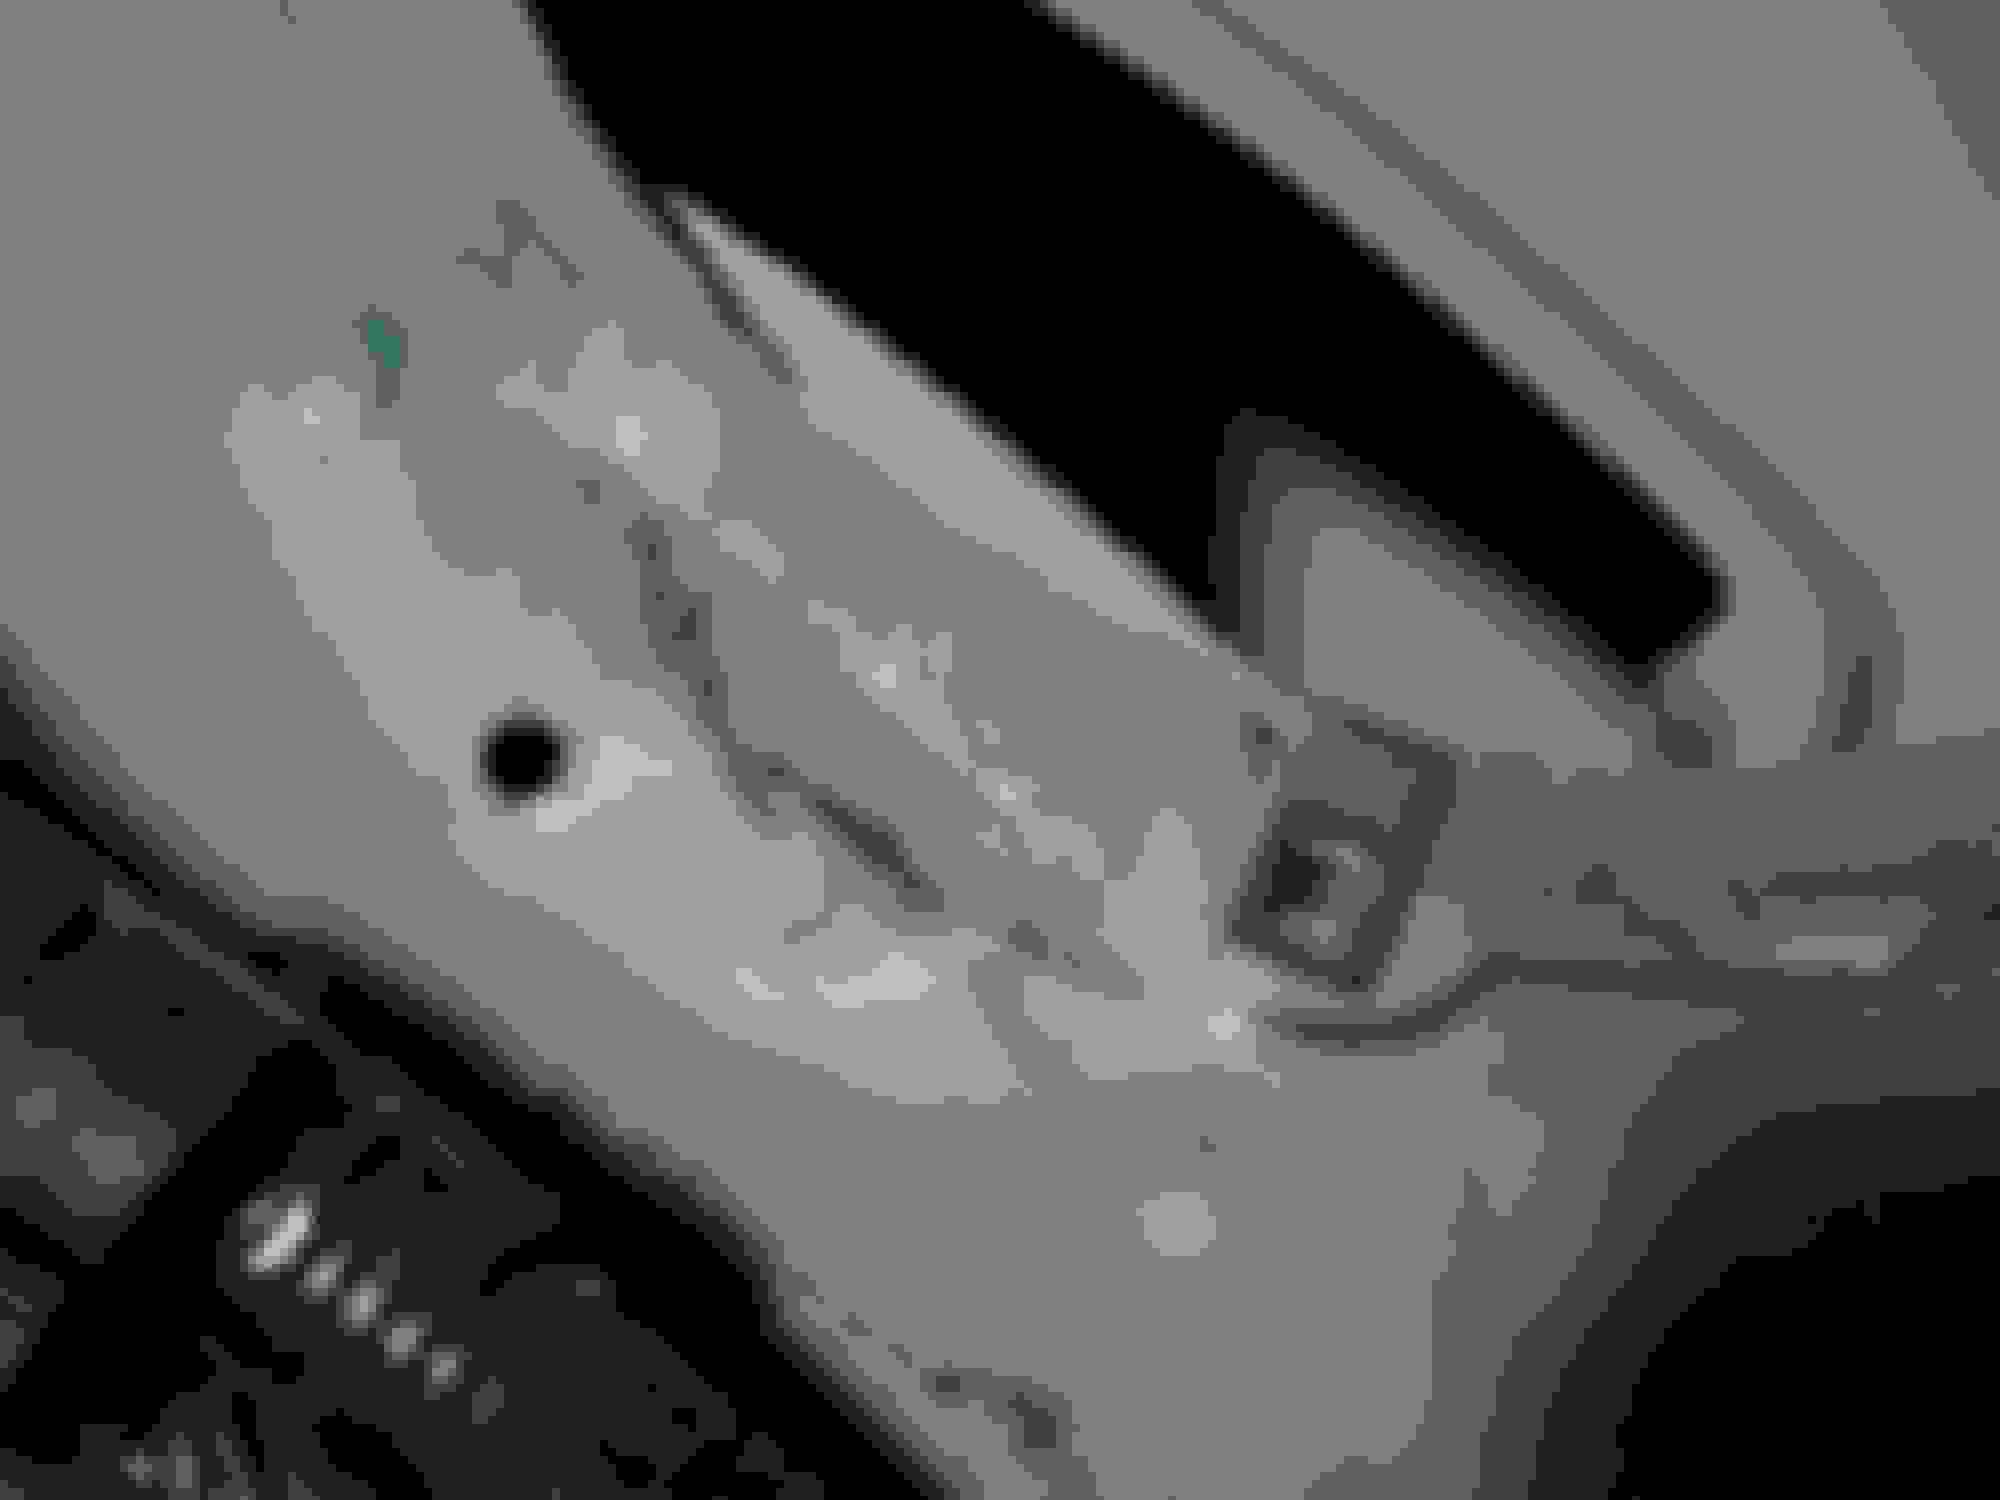
. - We�ll start on the driver�s side, but the passenger side is very similar. Remove the rear-most panel above the CD changer area. There are two tabbed hooks on the leading edge where the red arrow is. Lift straight up here being careful not to break the hooks off. There are 3 ribbed pins holding down the rest of the panel at the locations circled in red, you must pull up on them. The passenger side is the same, only with quarter-turn locks above the spare tire and jack to release.


. - Flip the panel over and unplug the speakers at the harnesses. Set panel aside.


. - Next, tilt the driver�s seat forward and completely remove the screw at the base of the door jamb.

. - While you are back there, pop out the hanger hook. You must pry the center piece most of the way out, and then you can simply pull the whole hook free.


. - Get out of the car and remove the T-top on the driver�s side.
. - Take out the two screws at the back of the T-top anchor point and remove the plastic piece.

. - Starting from the top of the interior panel, loop the driver�s seat belt to the outside edge.

. - Release the leading edge from the door molding.

. - Flip the two plastic pieces at the door jamb below so that the panel you are removing is NOT covered by the rocker panel.

. - Here is where things get a bit tricky. There are 4 Velcro squares (in red) holding the panel in place, 3 above the speaker and one below. They will hold on tightly the first time you pull this panel, but it will be easy after that. Try to pull directly outward to release the Velcro (don�t remove the panel yet).


. - Fold the rear seat flat.
. - Tuck the rear driver�s side seatbelt behind the rear of the panel by sliding it through the groove.

. - Carefully lift the panel off the hatch strut mounting point on the body.
. - Slide the panel over the rear seat anchor pin by following the groove. Make sure to guide the forward section of the panel to avoid hitting anything.

. - Lift the panel out of the car either by guiding it out the door or tipping it on its side and out the hatch.
. - Raise the rear seatback.
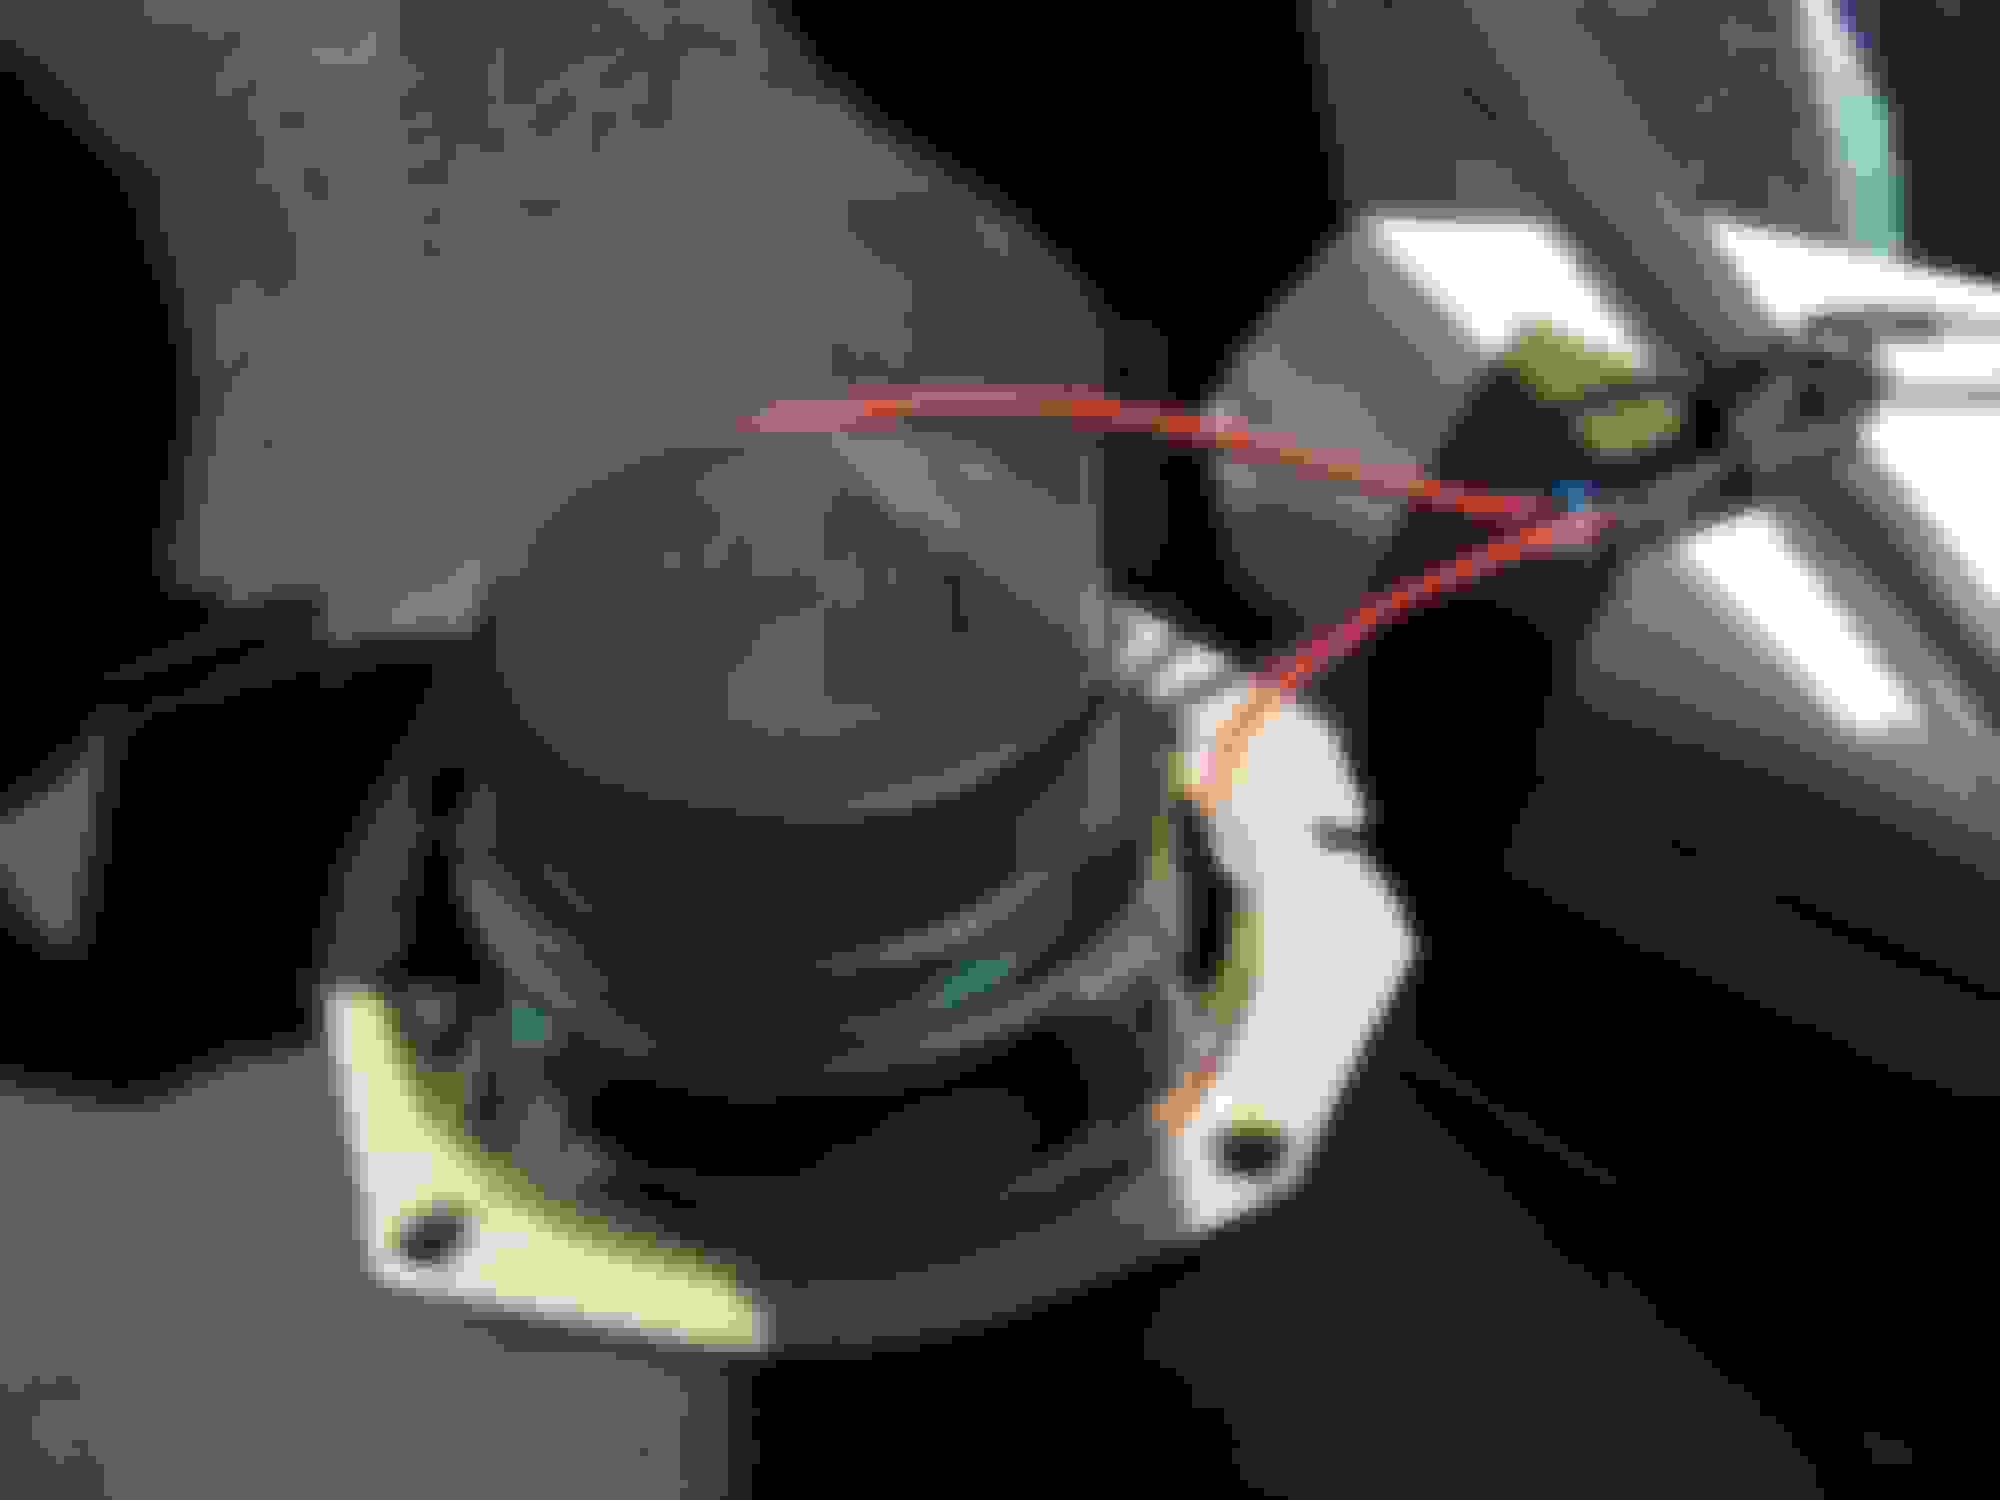
. - Using a 7mm socket driver, remove the 4 screws holding the speaker in place. Be careful not to drop the clips into the speaker opening as you will need them later and they will rattle down there. If they do fall, use a telescoping magnetic pick up tool to retrieve them.


. - Carefully lift out the speaker. The clips may stick to the magnet.
. - Disconnect the speaker wiring harness.
. - Set the speaker and clips aside.
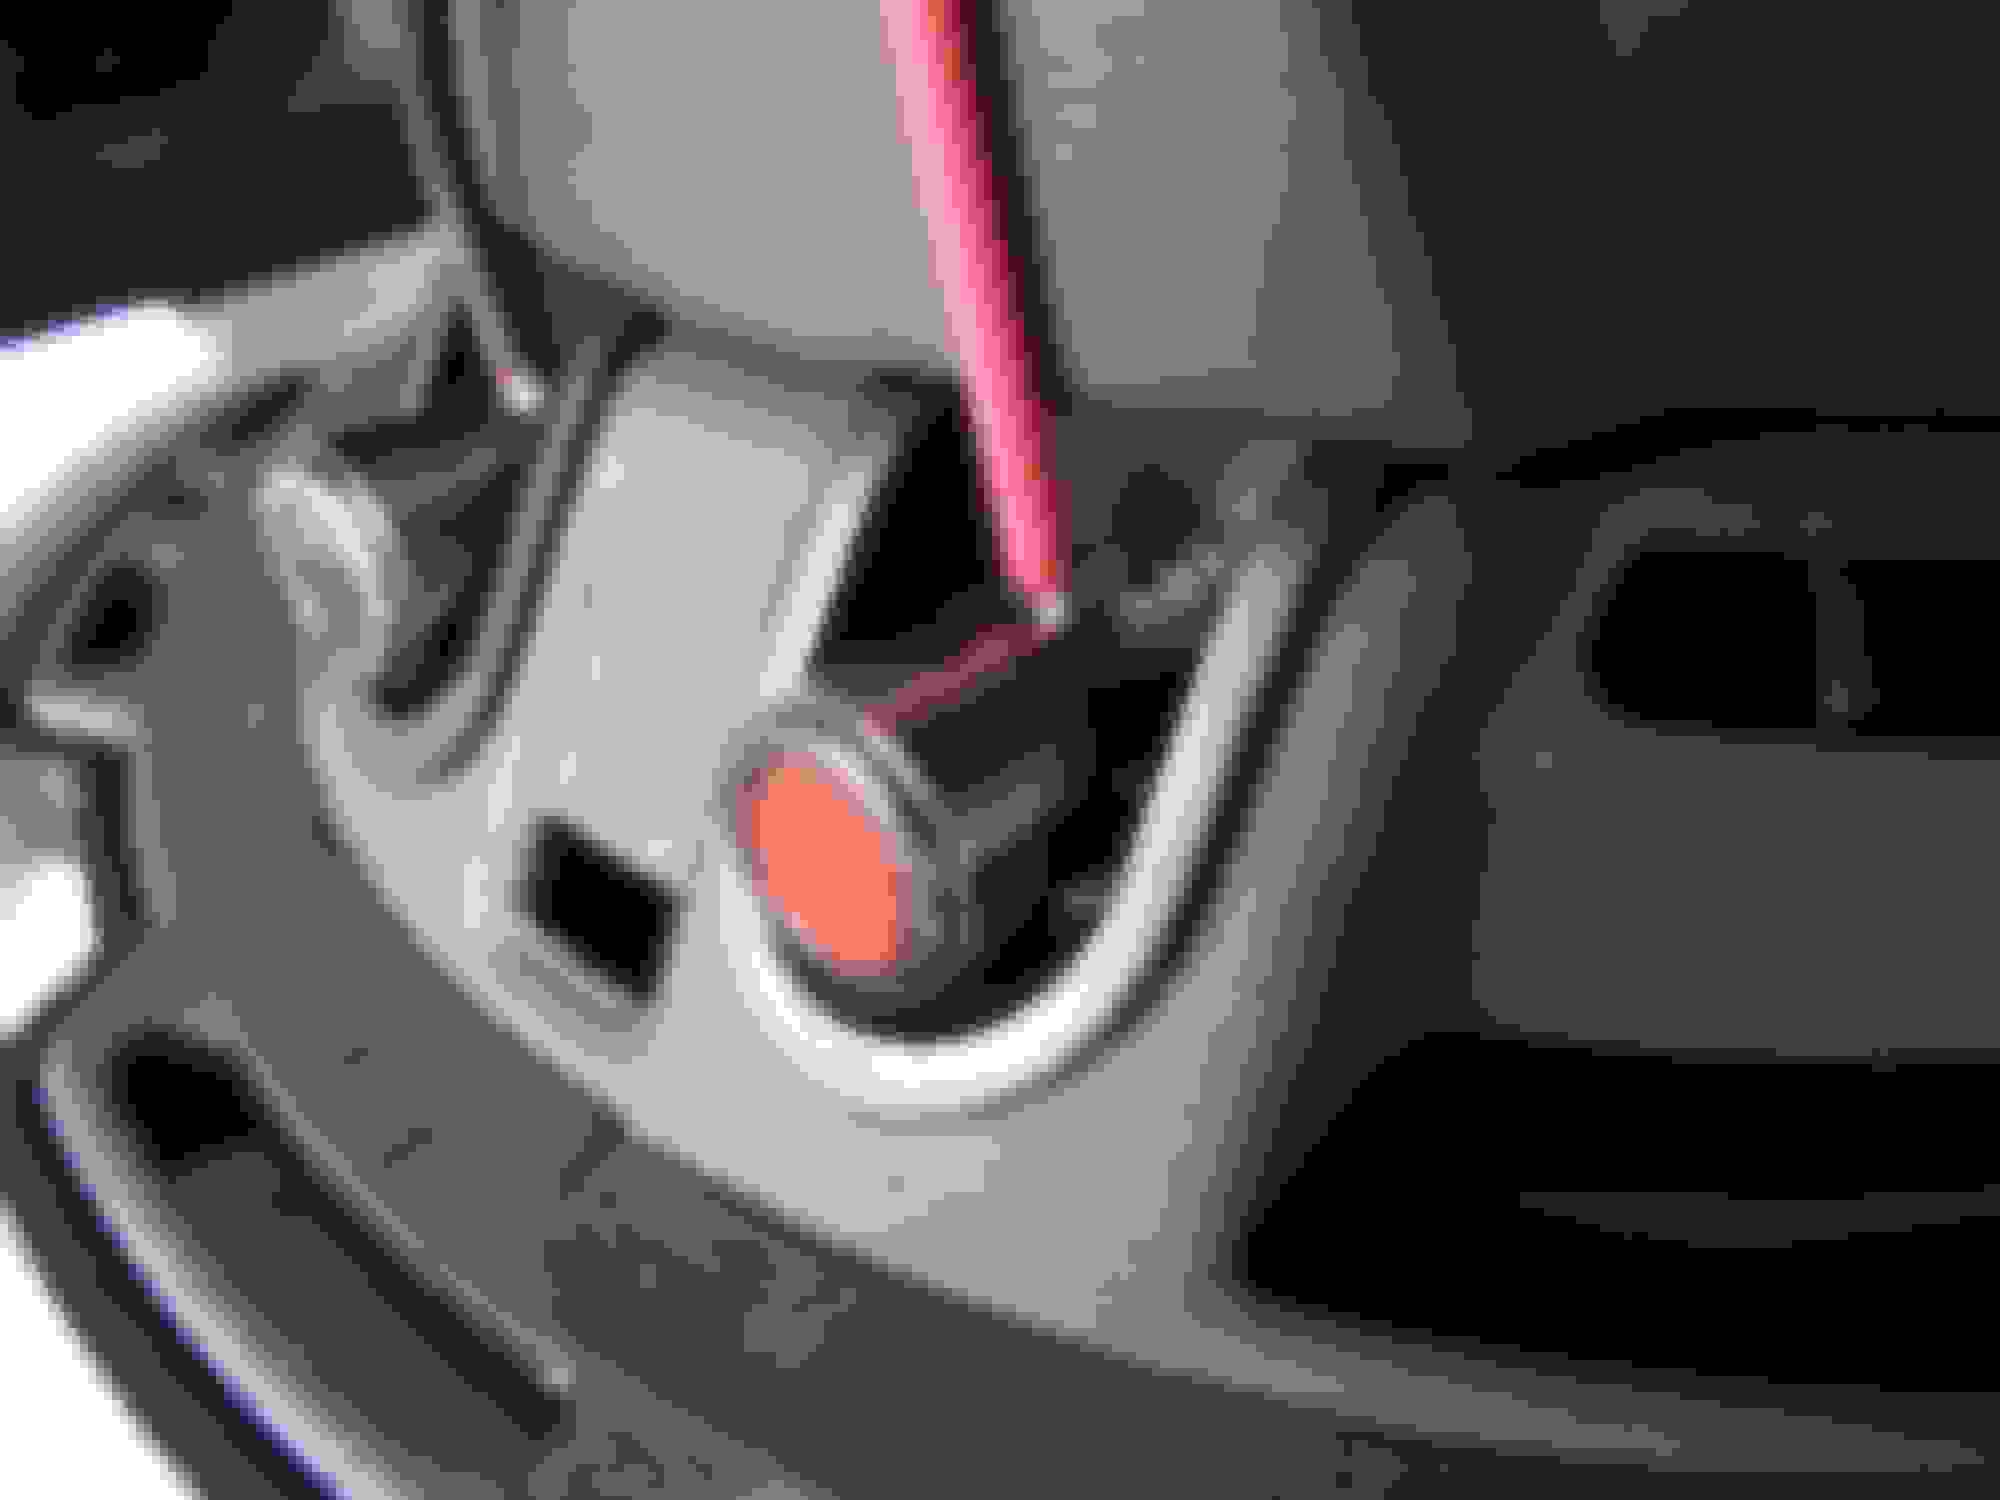
. - Unsolder the old speaker wire from the speaker. They look like they are crimped, but they�re not. Just heat the solder and gently pull from above.
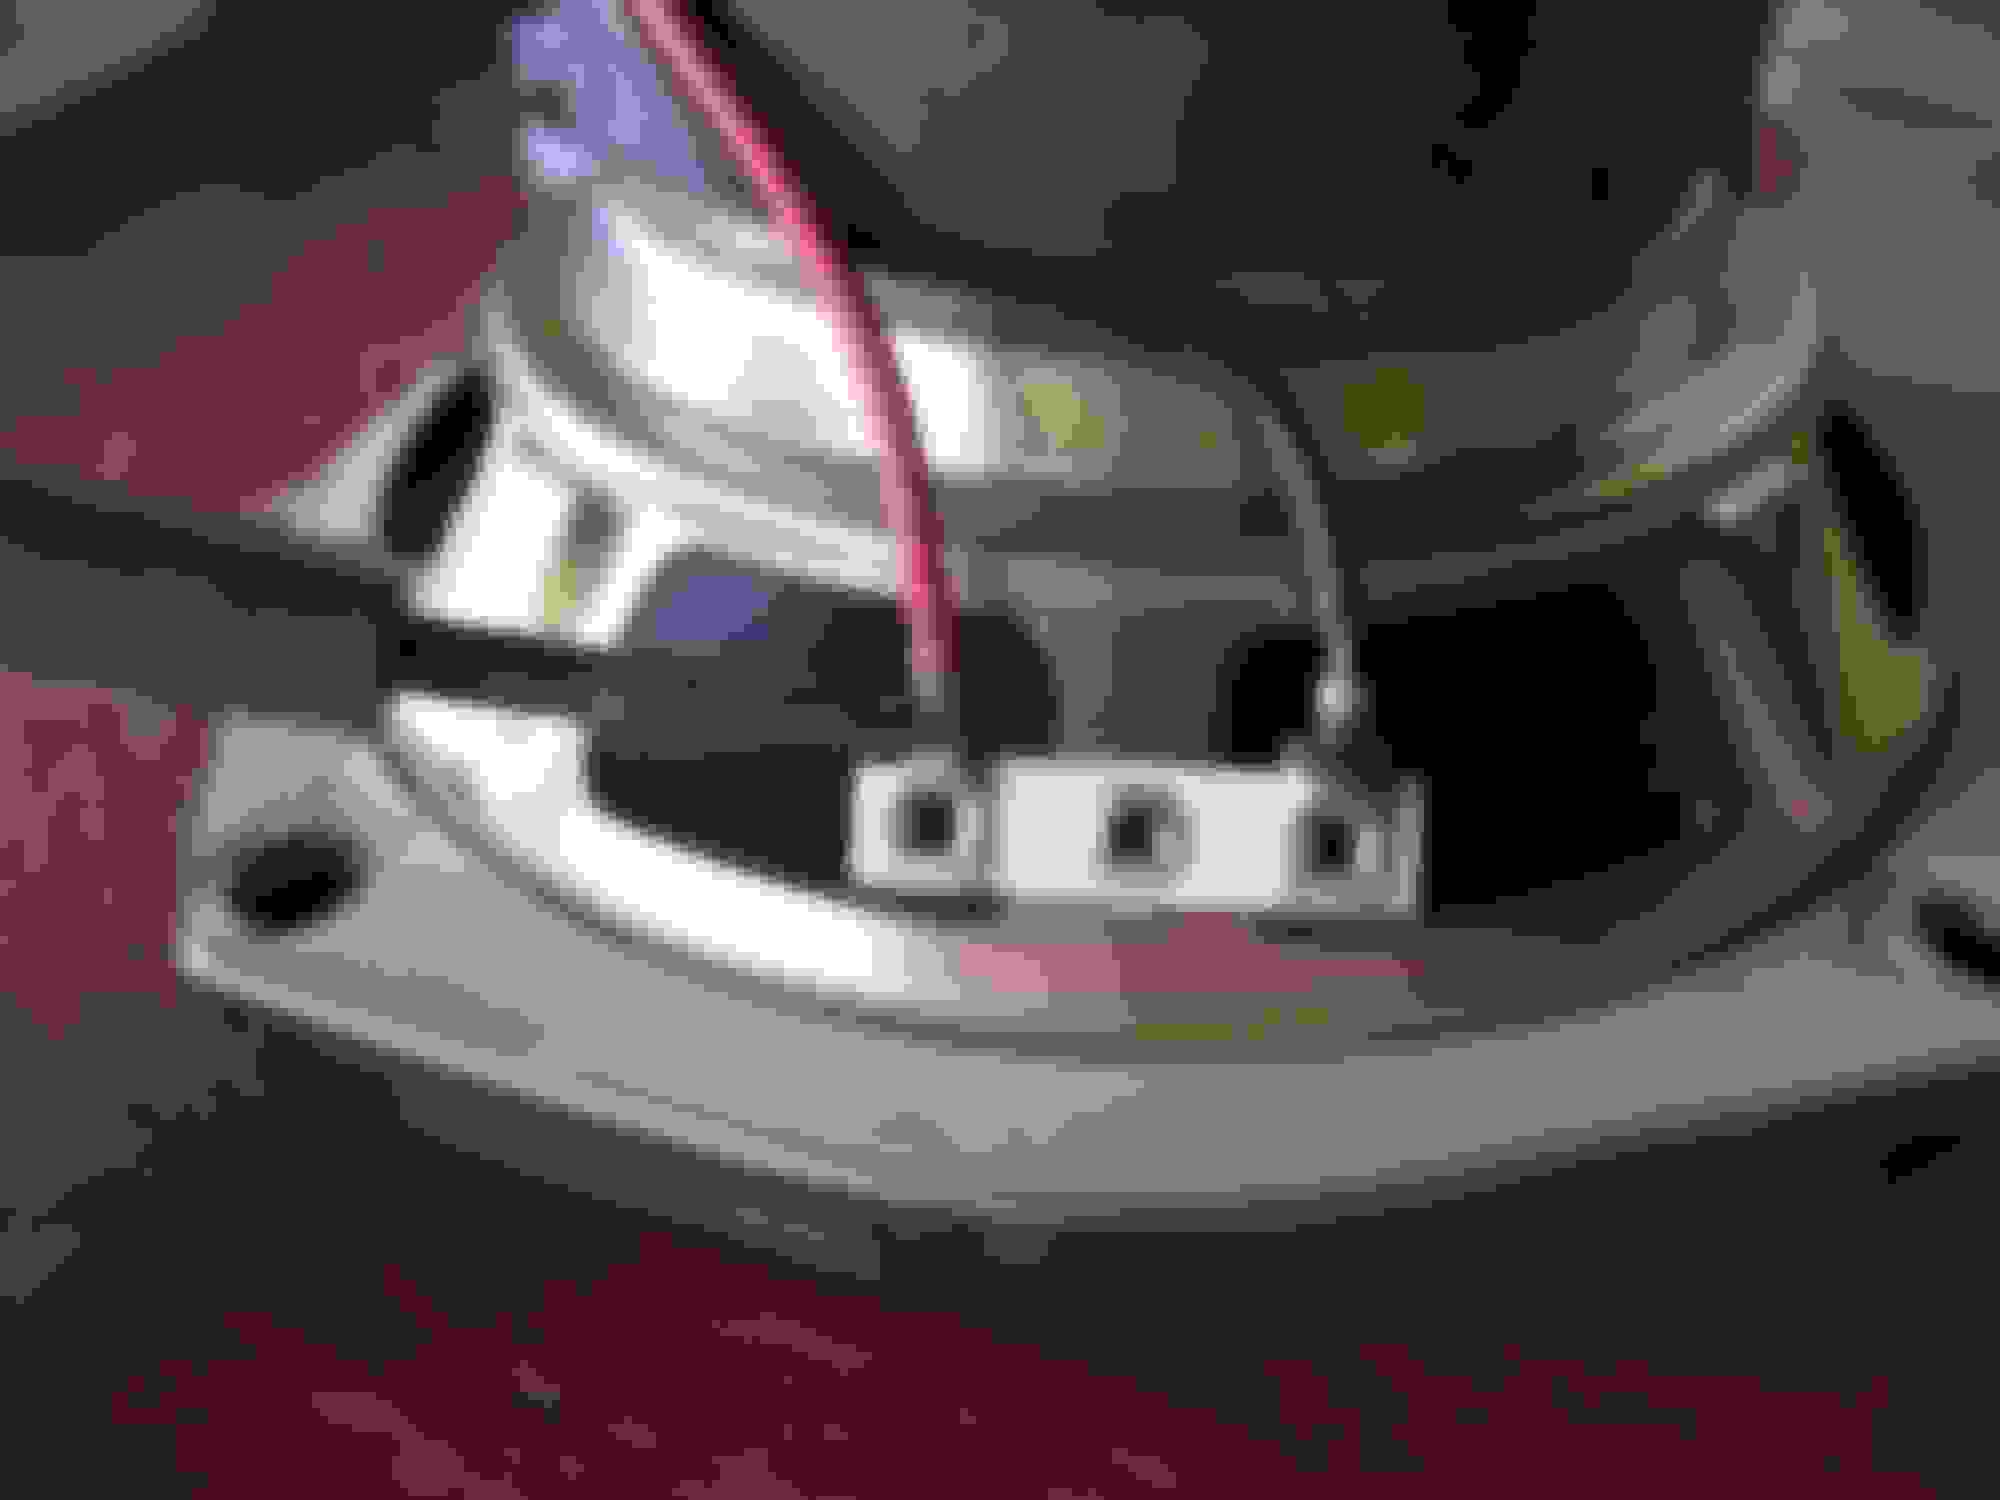
. - Strip enough sheathing so that there is about 1/2� of exposed wire on each. I used an X-acto to aid in slicing the wire off in this step.

. - Twist and tin the wires with fresh solder.

. - Connect wires. On Firebird/Trans Am, simply connect red-to-red and black-to-black. 4 wires, 4 connections. On Camaro, Rockford Fosgate recommends splitting the red wire to both red connections and the black wire to both black connections. You can simply connect to one side, and then jumper that using a short set of wires to the red and black ports on the other side of the speaker (again, red-to-red and black-to-black). In this way, the DVC speaker is now running at 2 ohms, which is what the factory Camaro SVC subs are rated at, as opposed to dual 4 ohms in the Pontiacs.


(Continued below...)
Last edited by eb110americana; 02-12-2017 at 03:48 AM. Reason: ReUpload Pics
 09-17-2012, 11:14 PM
#2
- Download and print my templates for the new speaker. They are attached at the bottom of this post. (Outside diameter should be 8.72�, inside diameter 7.13�=7�+1/8�.) Driver's Side. Passenger's Side.
. - Cut out template with scissors or an X-acto. Verify that they line up with the new subs.

. - Tape the template over the speaker hole. Adjust it so that one of the 4 round holes line up with the old speaker screw hole closest to the driver�s seat bottom.

. - Trace the inner circle with a Sharpie. It shouldn�t intersect any of the old screw holes. Also trace the 3 new screw holes while you�re at it.

Passenger:
. - Tape a plastic bag inside the speaker hole to catch shavings.
. - Setup your Dremel with a new cutting wheel. Use the fiber-reinforced kind, not the dark red ones or you�ll burn through a 100 of them! Use eye protection.

. - Work your way around, cutting a little at a time. Give time for the Dremel and metal to cool as needed and be careful not to light the car on fire. I found it easiest to cut a shallow groove at first, focusing on keeping a smooth curve, then going back and cutting the rest of the way through on the second or third pass.


Passenger:
. - Deburr the edge of the hole and smooth out any jaggedness with a half-round file.

. - Outside the car, use the angle grinder (or your Dremel) to remove the mounting tabs at the 12, 3, and 6 O�clock positions on the speaker (12, 9, and 6 O�clock for passenger side) as indicated by the dotted red lines on the templates. Just remove the outer edge and be careful not to get too close to the speaker itself.
. - Clean metal shavings off speaker.
. - Place the speaker into the hole and verify that the screw holes line up.
. - Remove speaker.
. - Center punch and drill out the screw holes.

. - Deburr the back of the screw holes with the flat side of the file.
. - Mark and cut reliefs near the screw holes so that the U-nut clips can reach them. Deburr these too.

. - Remove bag and vacuum out shavings from speaker hole, and inside car.

. - Place U-nut clips over holes. If any are loose, remove and pinch tighter with pliers.
. - Test fit speaker with four #8x1�� screws.

Passenger:
. - Note that one section at about 7 O�clock (5 O�clock on the passenger side), near the three pinch welds, will not sit flat. Mark this section with the Sharpie and remove speaker. (Passenger side shown)

. - Beat the marked area from the last step with the sledge hammer. You will find that the edge of the lip where the metal is only 1 layer thick is very flexible, so don�t hit this more than once. Aim all your blows towards the pinch welds where the metal is thick and reinforced. You may wish to remove the plastic wire anchor for more clearance. Beat mercilessly until flat.
Passenger:
. - Cut a ring from the �� thick foam about 8.75�+ outside diameter, and 7.13� (7+1/8�) inside diameter. I purchased a large piece of foam much larger than needed at Foam Mart for under $13. This will help make a better seal against the metal surface, which is not flat, plus it will isolate the panel from rattles.


. - Place foam ring over opening and press down with fingers over U-nut clips.
. - Using the impression as a guide, cut small �+� holes through the foam with a sharp X-acto.

. - Place foam ring on back of speaker and push #8x1�� screws through speaker mount and through holes in foam. The tension should hold them together.

. - Connect speaker harness (you may wish to test the speaker at this point).
. - Install speaker with four screws being sure to allow the speaker wire to flow out through the 6 O�clock opening.

Passenger:
. - Remove the speaker grill from the panel before replacing.
. - Reassembly is essentially the reverse of the above steps.
. - Note any plastic which is interfering with the speaker face and remove the panel again.
. - Trim off excess plastic with Dremel.

Passenger:
. - Do the same for clips on the back of the speaker grill which might hit the speaker face.

Passenger:
. - After reinstalling everything, be sure to press down nice and hard on the 4 Velcro squares so they lock in and keep the panel from vibrating.
. - Repeat on other side and test out your new subs! If speakers still reach out too far, you can disassemble and beat the metal back a little bit or trim more plastic as necessary.


Please let me know if you have any questions or tips I should add to the write up. As for how these things sound without a sub box or aftermarket amp? I�ve actually turned the bass down to the middle detent on the equalizer, as they are pretty powerful with the right kind of music. For certain classic rock I will crank the bass all the way up to compensate (for rap, techno, and R&B, you�ll want to do the opposite). They don�t rattle or max out and vibrate like the factory subs, yet they are powerful enough to shake all three mirrors in the car even at moderate volumes. I would love to hear from any others who perform this mod and happy listening to all!
Last edited by eb110americana; 02-12-2017 at 04:17 AM. Reason: ReUpload Pics
 09-18-2012, 01:45 PM
#6
Thanks for the kind words!
I'm not sure what you mean by the "B panel trim," but no, you do not need a stand-off. It's hard to get an exact measurement on clearances, as neither the inner panel, nor the plastic trim panel are flat, so there are min and max clearances across the speaker. If you mean the back of the speaker, the depth is similar to the factory Monsoon subs, so there is no chance of hitting even at the shallowest point. I measured before buying the RF subs.
If you mean the plastic trim and grill, things are tight, but with a little trimming, they clear just fine. I'd say there's a 1/4" gap at the closest spot around the edge (which oscillates less than the center), where the center has much more room. Since these speakers do not sit on an extra trim ring like the Elemental Design ones, they don't stick out much further than the factory units--they just don't tuck into the recessed flange anymore due to their diameter.
If you mean the plastic trim and grill, things are tight, but with a little trimming, they clear just fine. I'd say there's a 1/4" gap at the closest spot around the edge (which oscillates less than the center), where the center has much more room. Since these speakers do not sit on an extra trim ring like the Elemental Design ones, they don't stick out much further than the factory units--they just don't tuck into the recessed flange anymore due to their diameter.
09-18-2012, 02:49 PM
#7
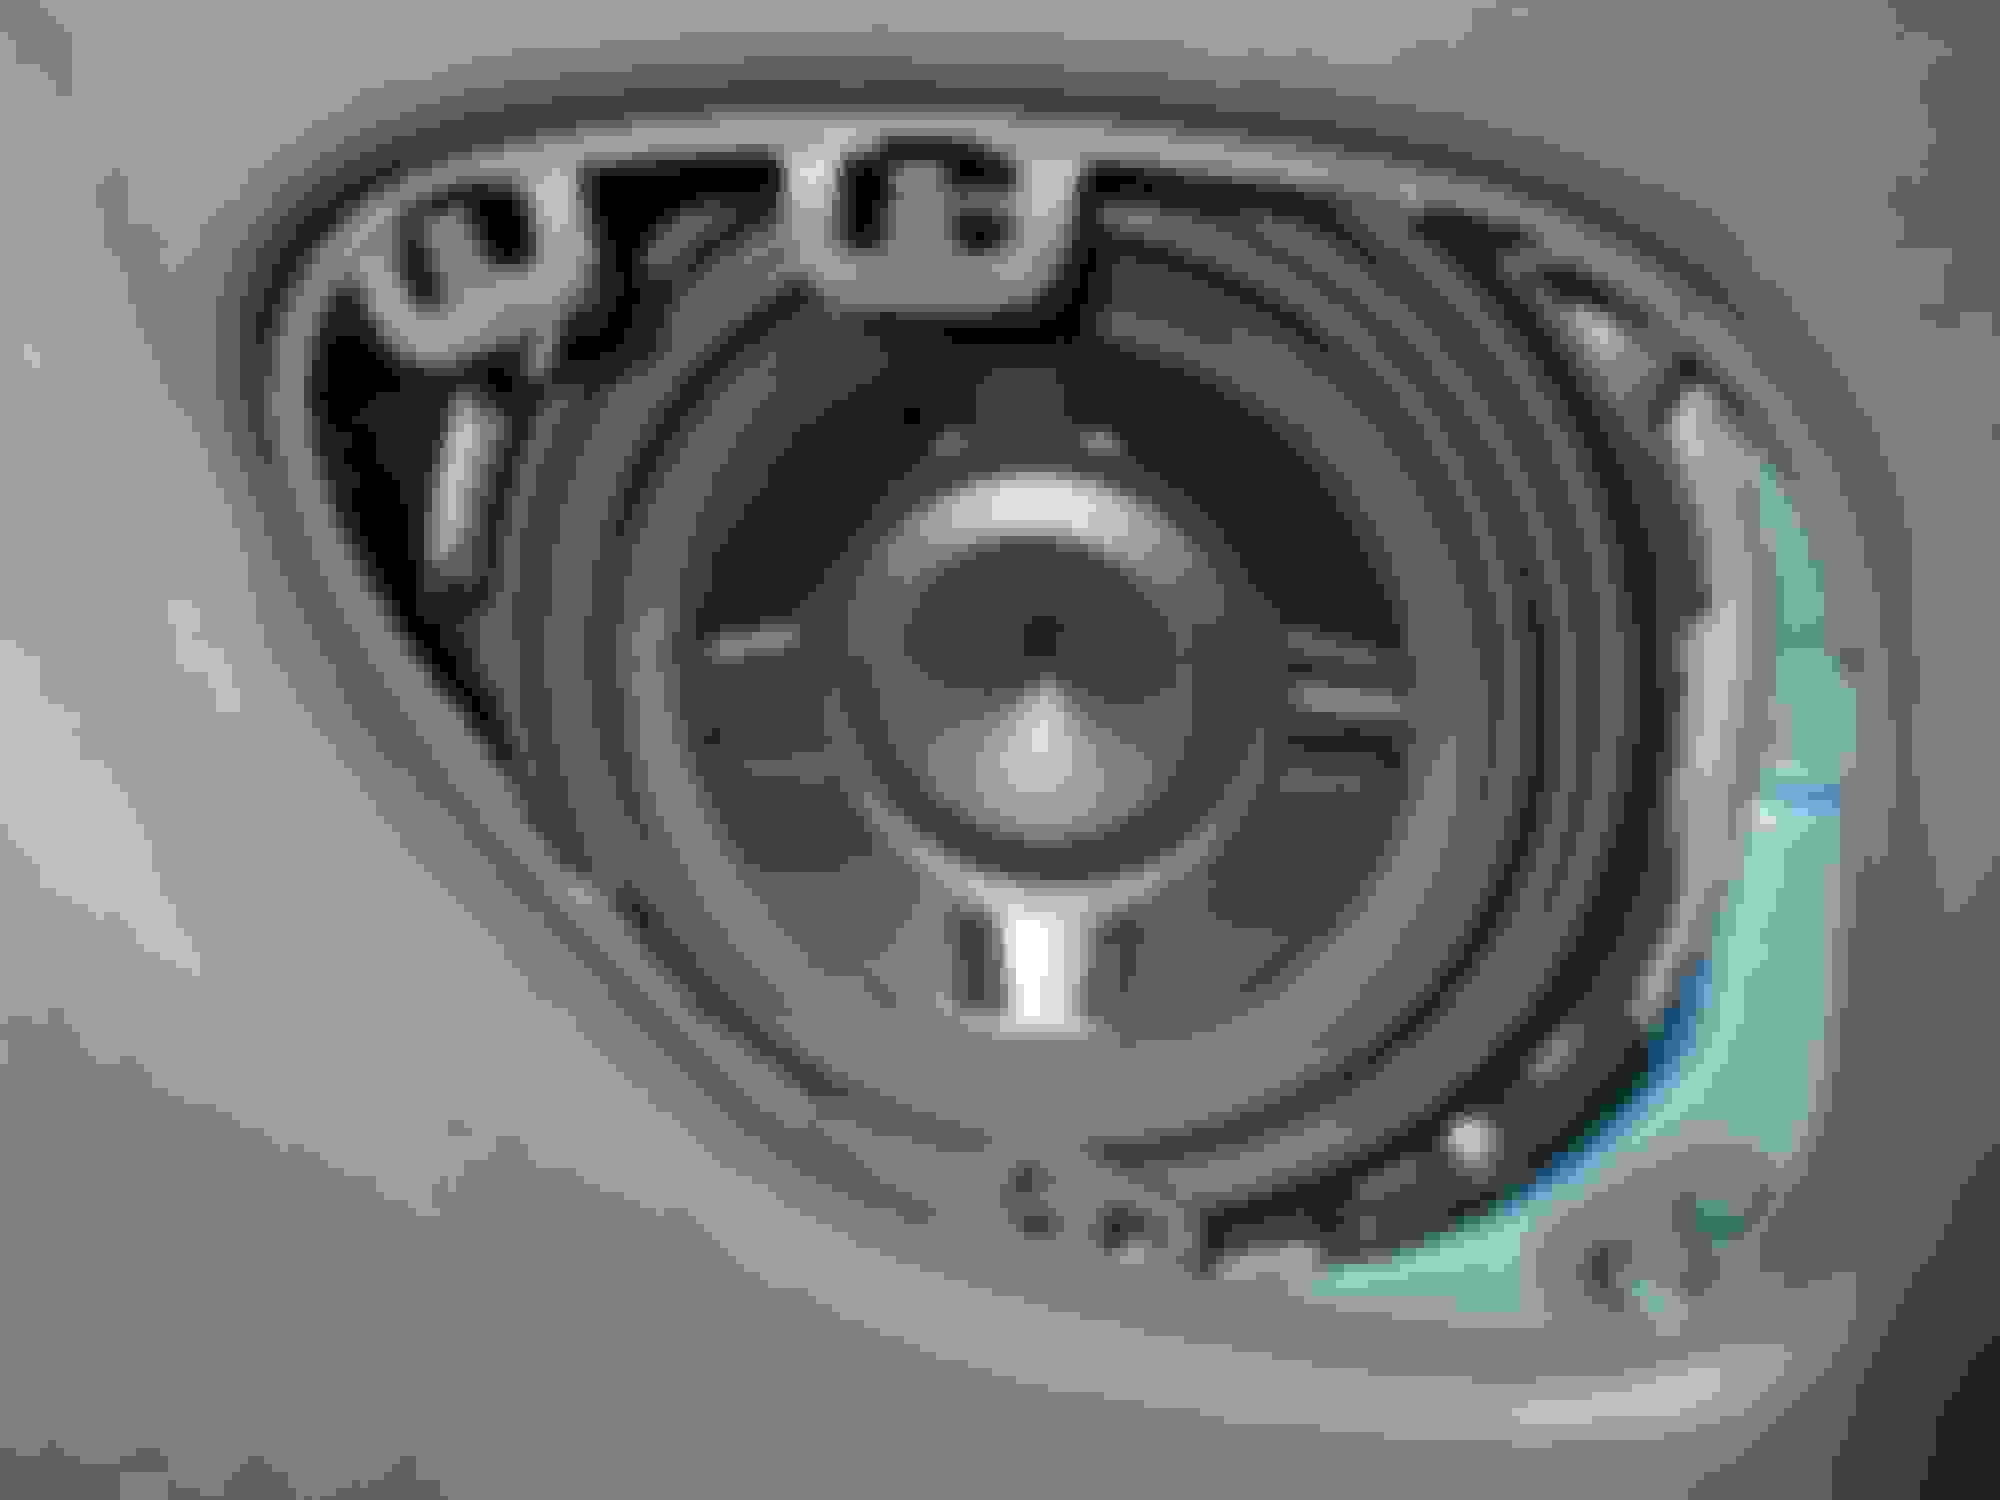
This is what I'm talking about. Wondering if with the vibrating speaker and/or vibrating trim, this trim might touch or rub against the speaker suspension. (foam flexible part) This part of the speaker is what tears on the stock speakers and is the source of all the commotion they make.
Trending Topics
09-18-2012, 03:10 PM
#8
This is what I'm talking about. Wondering if with the vibrating speaker and/or vibrating trim, this trim might touch or rub against the speaker suspension. (foam flexible part) This part of the speaker is what tears on the stock speakers and is the source of all the commotion they make.
 09-18-2012, 09:54 PM
#11
While I'm sure that the shape of the chamber is far from ideal, there is actually a lot of volume inside. I'm not positive how this might differ in the Camaro, as the outer fender skin isn't as bulbous, but it should still have a pretty decent capacity. I was originally considering filling the area with some badding, as I like sharp bass and less low rumble, but it sounds good as-is. You can definitely feel it as it has a nice kick in the seat backs. You'll have to try it and adjust if necessary.
09-19-2012, 11:59 PM
#12
On The Tree
iTrader: (2)
Join Date: Oct 2011
Location: stockton ca
Posts: 155
Likes: 0
Received 0 Likes
on
0 Posts

Ok. Hopefully it fits as it did in your car. All I want is a little bass when u out the volume up. Really liked how u made it work. Again thanks for this great write up.
09-20-2012, 12:33 AM
#13
Good luck and keep me posted. If you run into any snags, you can PM me as I monitor my email semi-regularly, so I should get back to you within 24 hours at most. I don't expect you'll have any problems with fitment being any different from my car as the inner sheet metal should be identical. If you still need to buy the speakers, I purchased from these guys and can vouch that they are legit (factory sealed boxes, reasonable shipping time--I have no stake in their sales, just providing an option, hopefully that is within forum rules).
09-20-2012, 03:57 PM
#15
I'd bet a pair of those little 8" RF's rock in this configuration. I thought about running a similar setup before scrapping the idea and going with a fully active setup that includes the Pioneer 80 PRS, HAT Clarus components, and separate 10" subwoofer in a stealthbox enclosure.
1 question though. No sound deadening?
1 question though. No sound deadening?
09-20-2012, 08:59 PM
#17
150 Watt RMS, 300 Watt peak, each. Yeah, no sound deadening, but that definitely would be something I'd consider for a future mod if I redid the interior. I hate rattles in the car, so I already shimmed some spots with foam tape years ago (some visible in the images). Certain frequencies can coax vibration from the plastic sail panel trim or other areas, so I may see what I can do about that if it starts to bother me. @My6speedZ: thanks for the feedback on the picture. I'm not sure what happened as it was working before (I think), somehow ImageShack reverted to the original size--still a good site though. Now that I know others can see it too, I fixed it.
09-21-2012, 09:56 AM
#18
150 Watt RMS, 300 Watt peak, each. Yeah, no sound deadening, but that definitely would be something I'd consider for a future mod if I redid the interior. I hate rattles in the car, so I already shimmed some spots with foam tape years ago (some visible in the images). Certain frequencies can coax vibration from the plastic sail panel trim or other areas, so I may see what I can do about that if it starts to bother me. @My6speedZ: thanks for the feedback on the picture. I'm not sure what happened as it was working before (I think), somehow ImageShack reverted to the original size--still a good site though. Now that I know others can see it too, I fixed it.
