When you click on links to various merchants on this site and make a purchase, this can result in this site earning a commission. Affiliate programs and affiliations include, but are not limited to, the eBay Partner Network.
I usually agree with KISS, but the hard-lines aren't the hard part, the cooler is just a little too big to fit in that area. Also, I want the hard lines so there's no rubbing going up into the engine bay and next to the battery, plus they just look cleaner which is worth the little bit of extra effort they are to install, IMO.
After some more shopping, I've found some stacked plate coolers that are 2"x8" or 3"x8" that would fit much nicer in that area when compared to the 4"x13" that I have and most likely get the job done for me. In that case, maybe I can actually hard mount it off the air damn bolts like I originally intended and give it a good 1" airspace from the condenser. Not only will that help performance but if ever needed, I'd be able to remove the radiator and/or condenser without touching the PS system.
I also noticed while under my car last night, it looks like my radiator has fittings for an auto tranny cooler. I think I'd prefer a remote cooler but that's always an option as well and probably the simplest you can get.
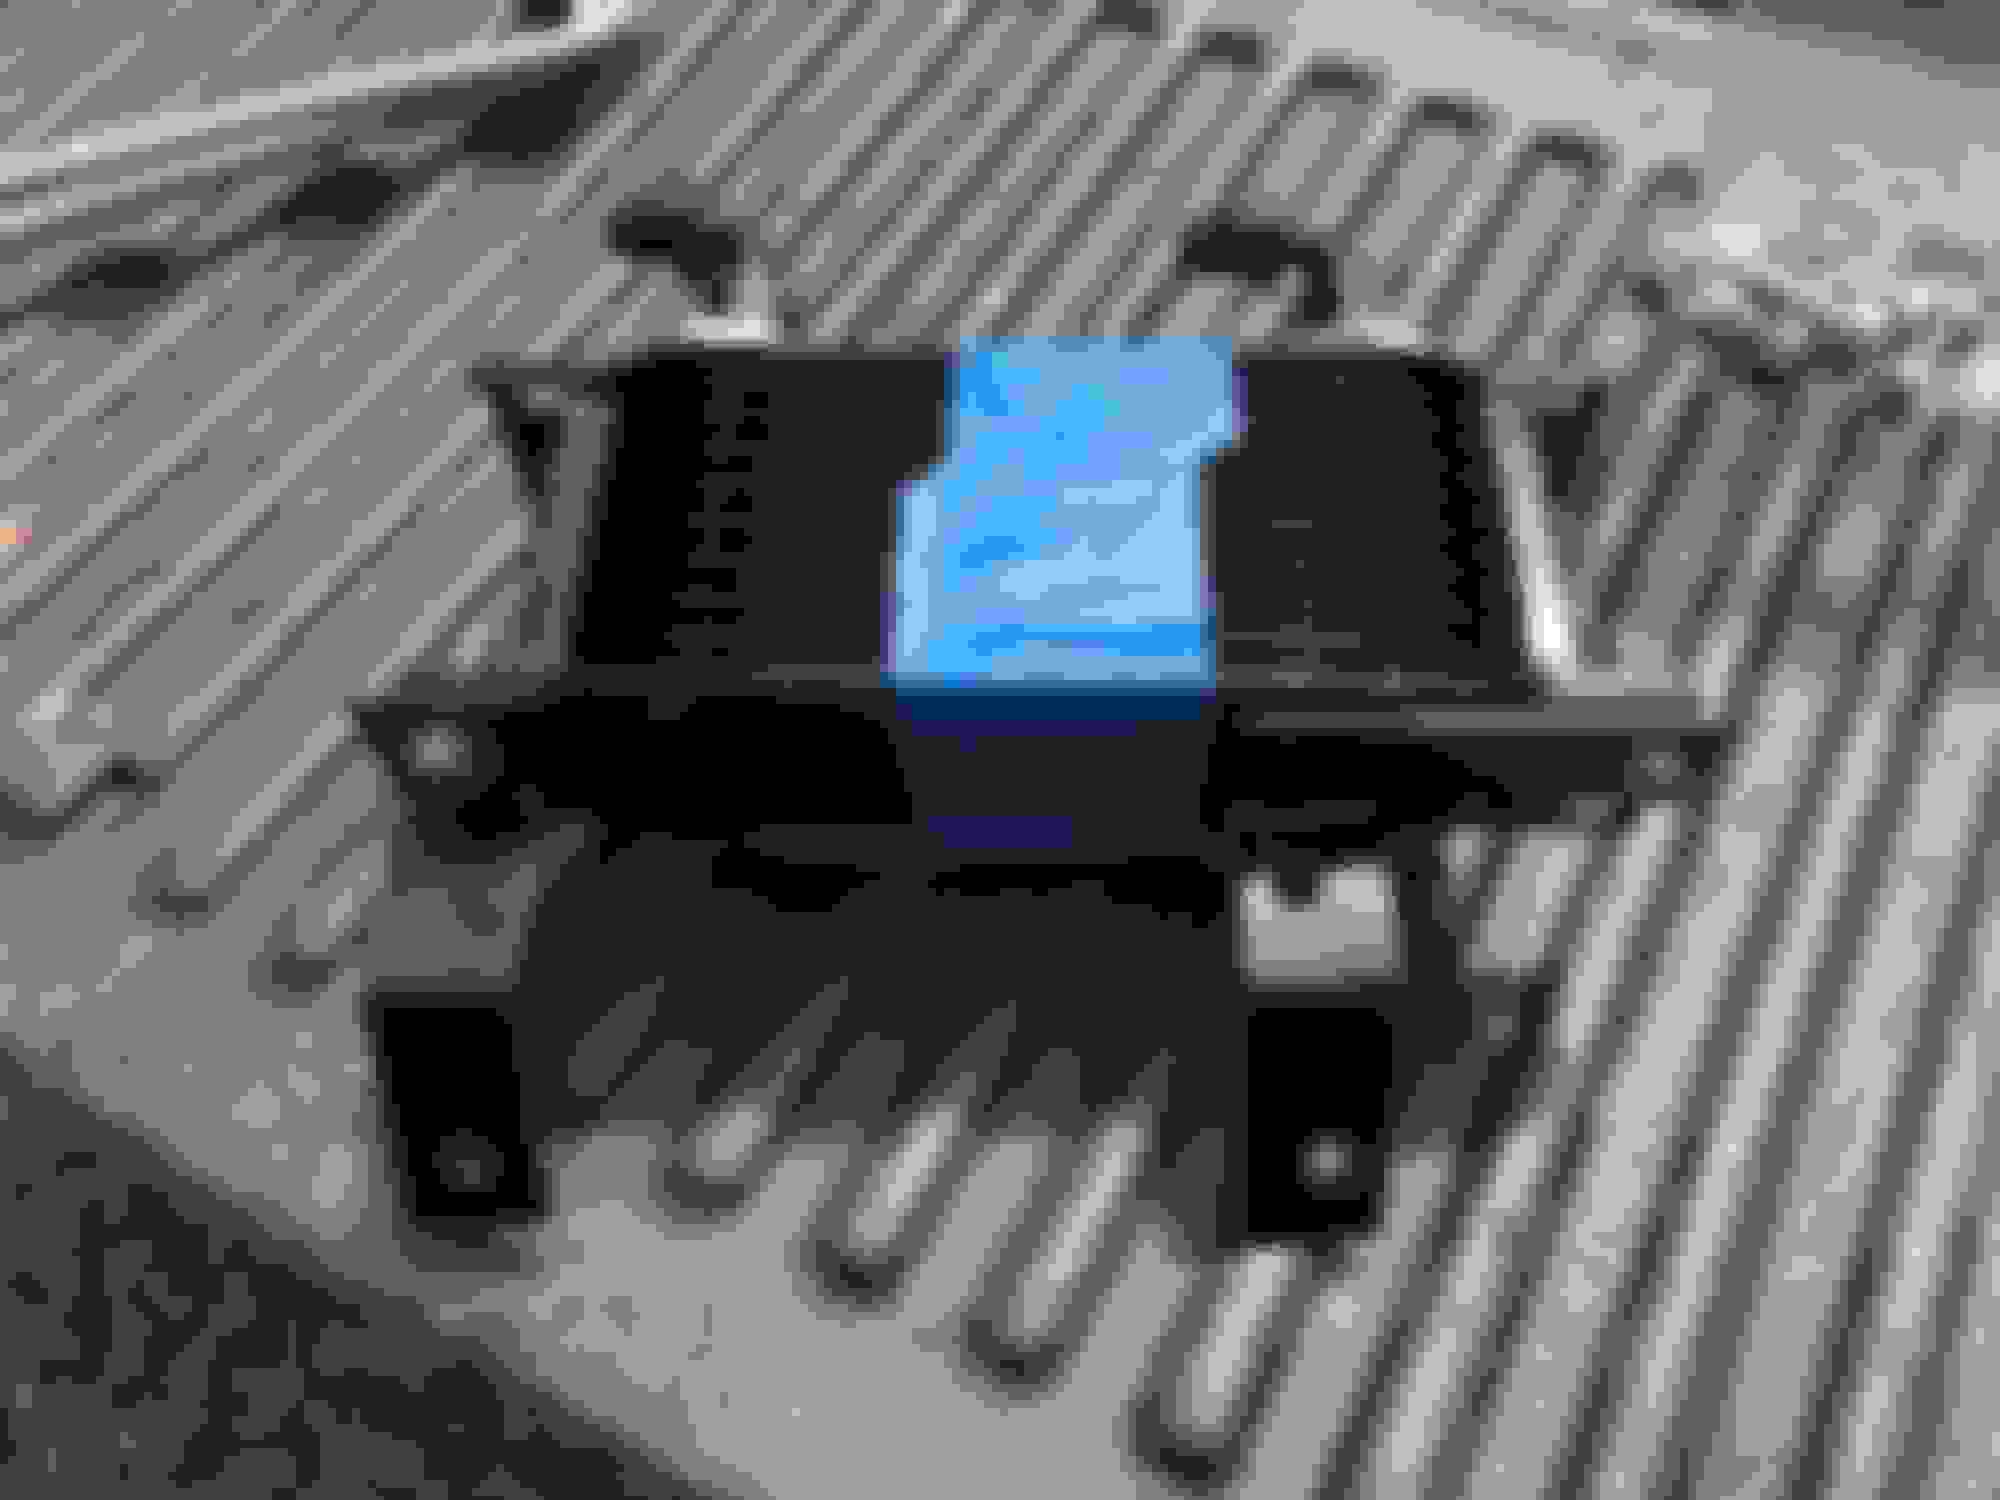
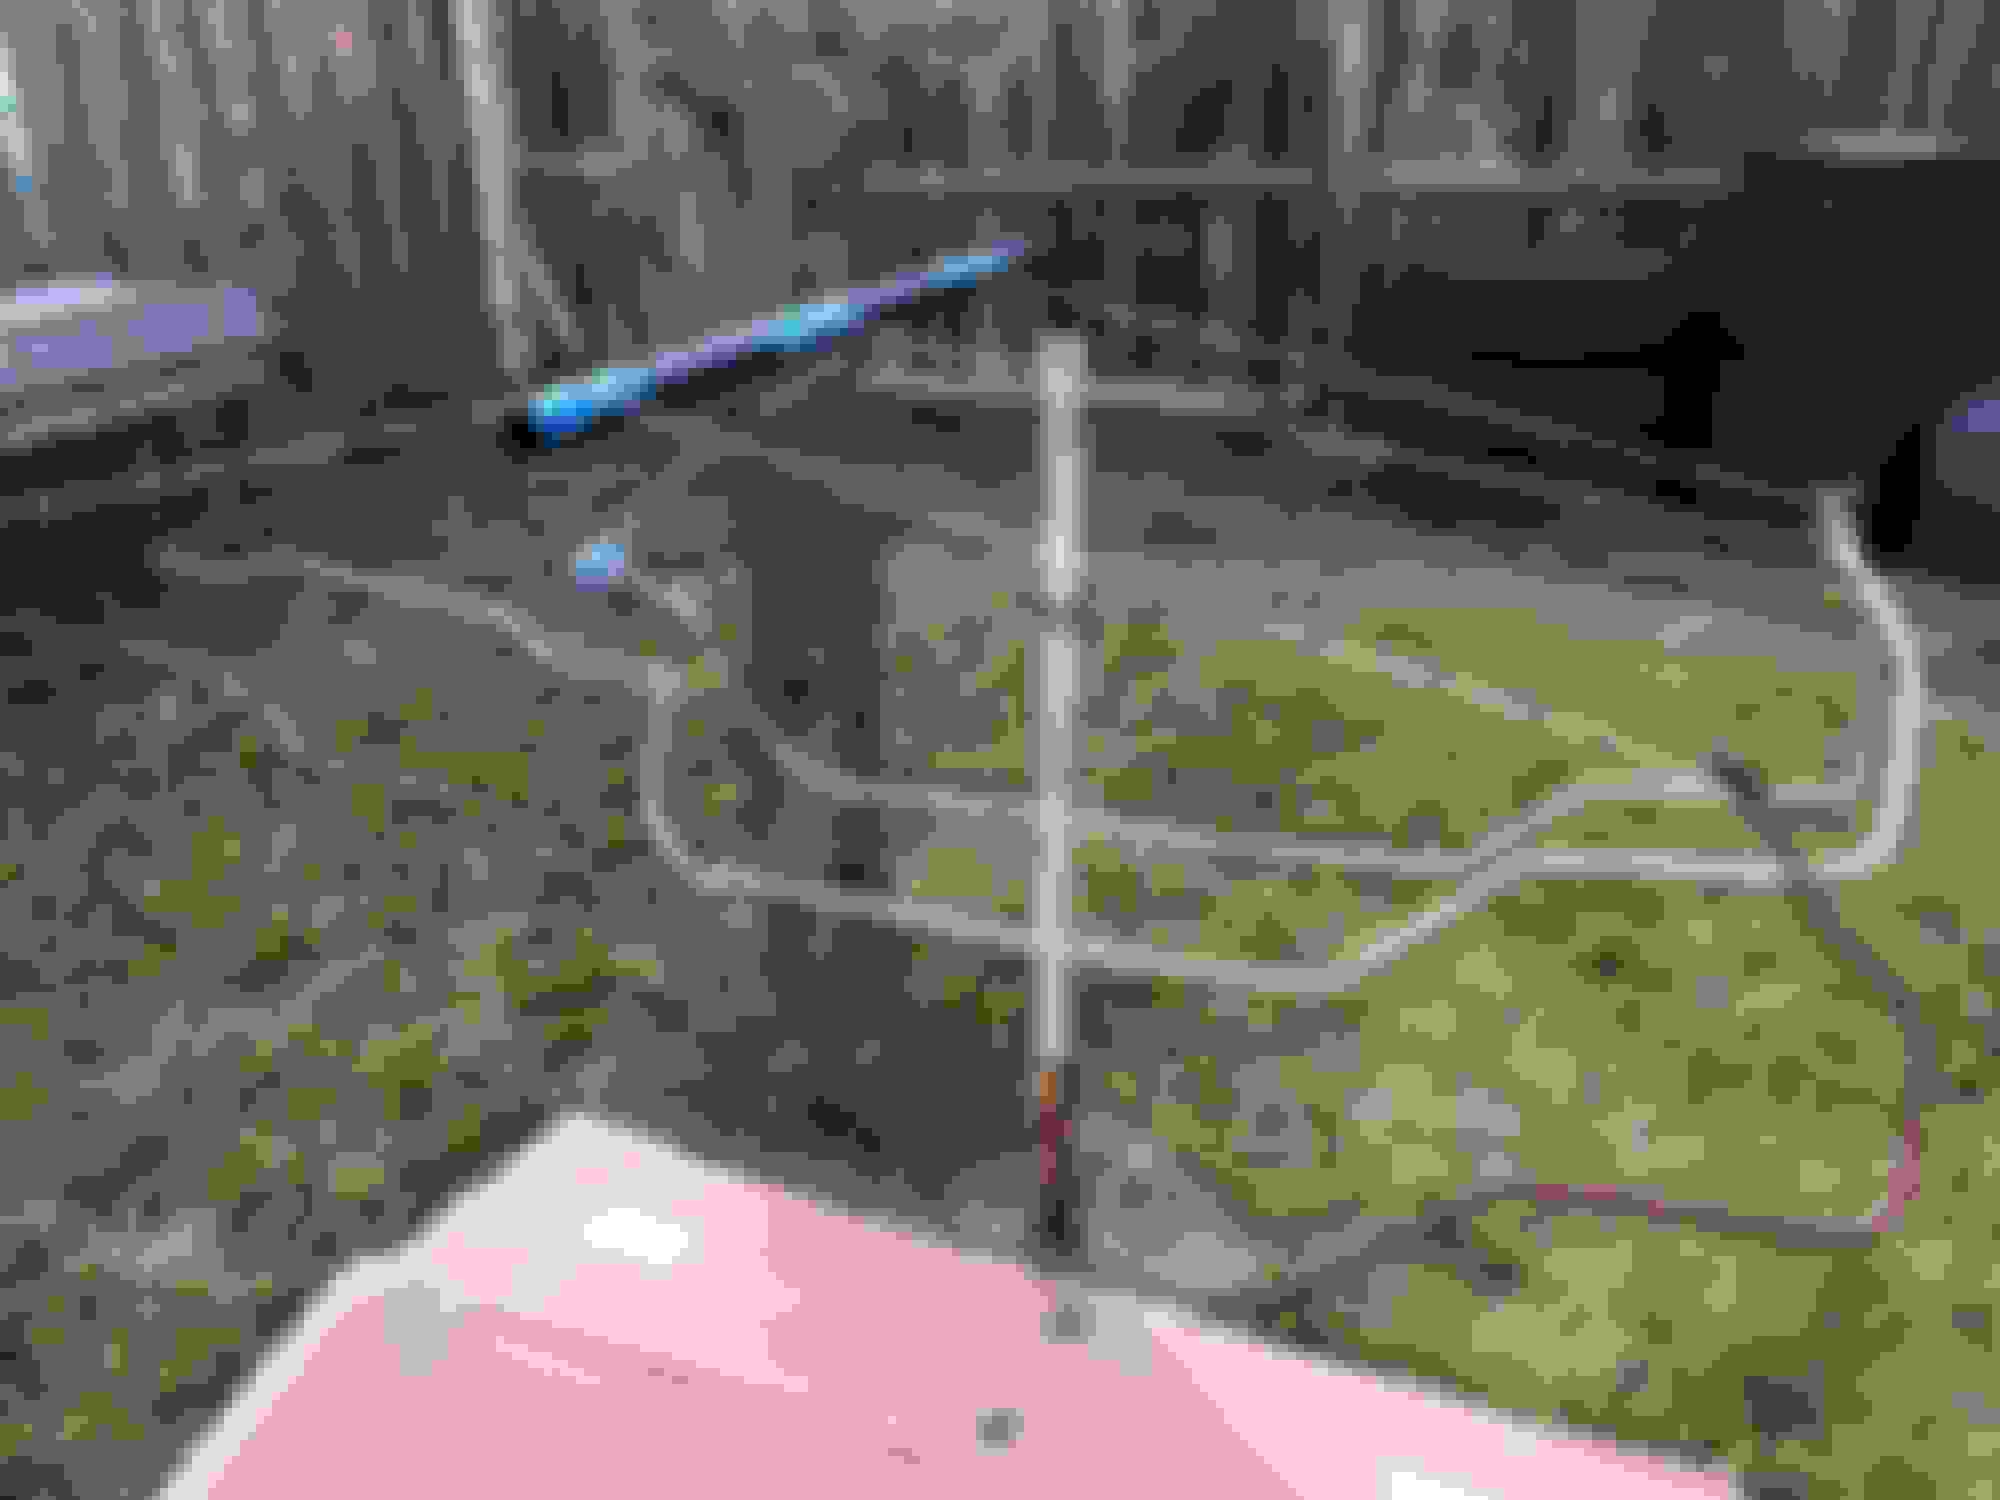
Red - Smaller plate cooler
Blue - Flat stock bent and drilled for brackets
Purple - -6AN female to -6AN male 90 degree coupler
Orange - 3/8 Aluminum hard-line plumbed into the engine bay
Let me get some pictures tonight of mine...I used rivet nuts on the lower portion of the radiator support with my B&M stacked plate cooler 1/2" inlet and outlets. I'm using the same cooler as the BlainFab setup
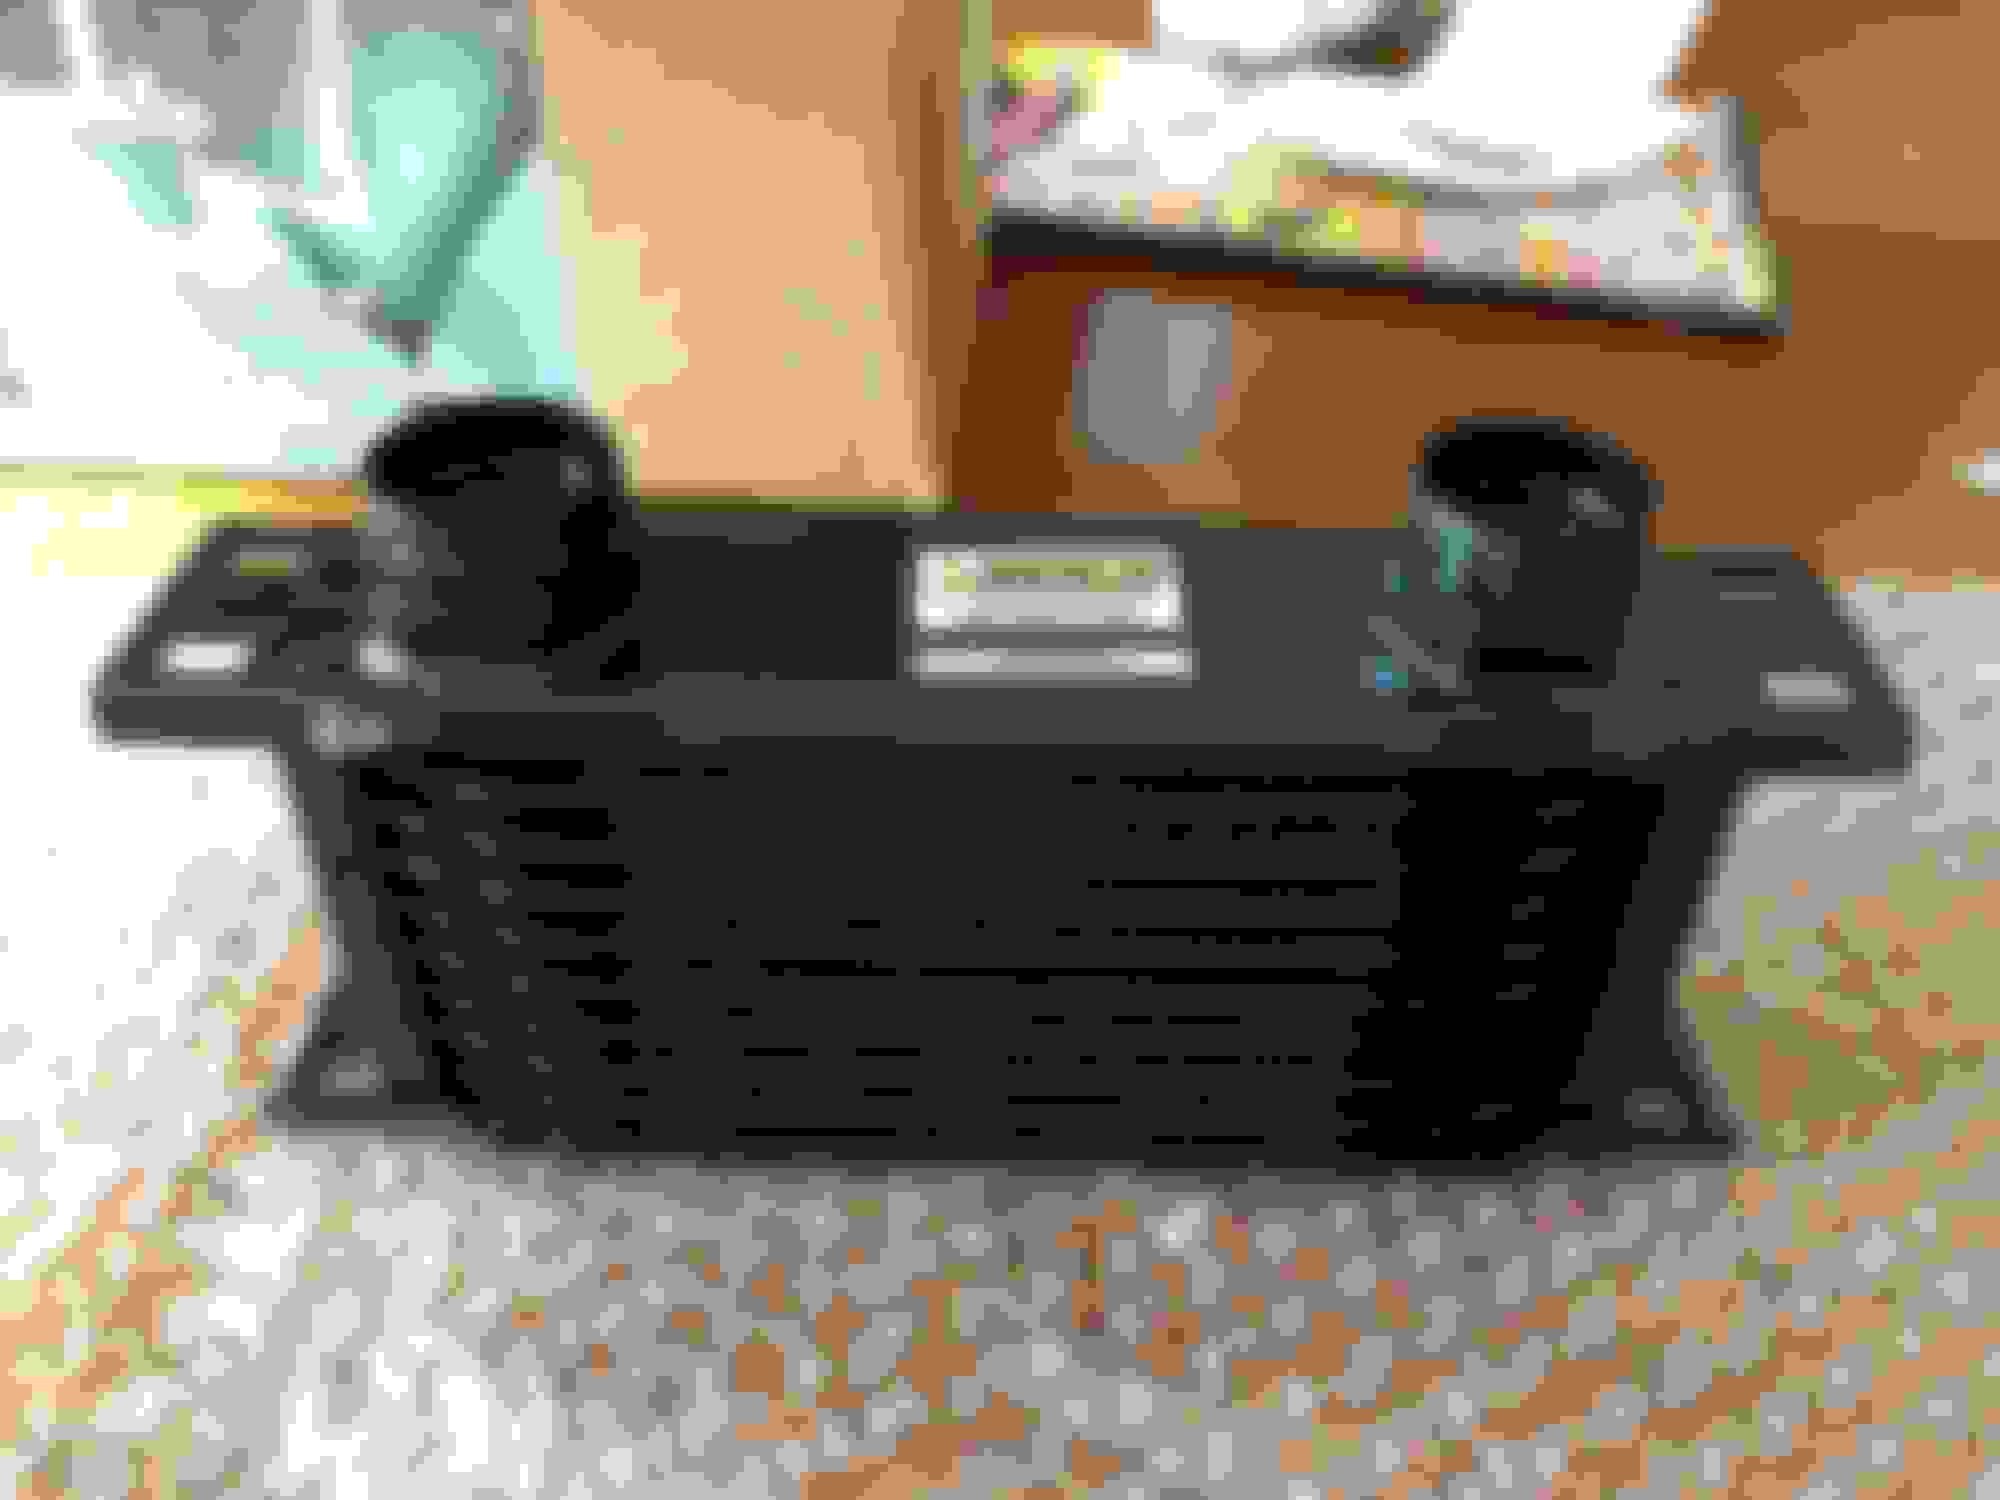
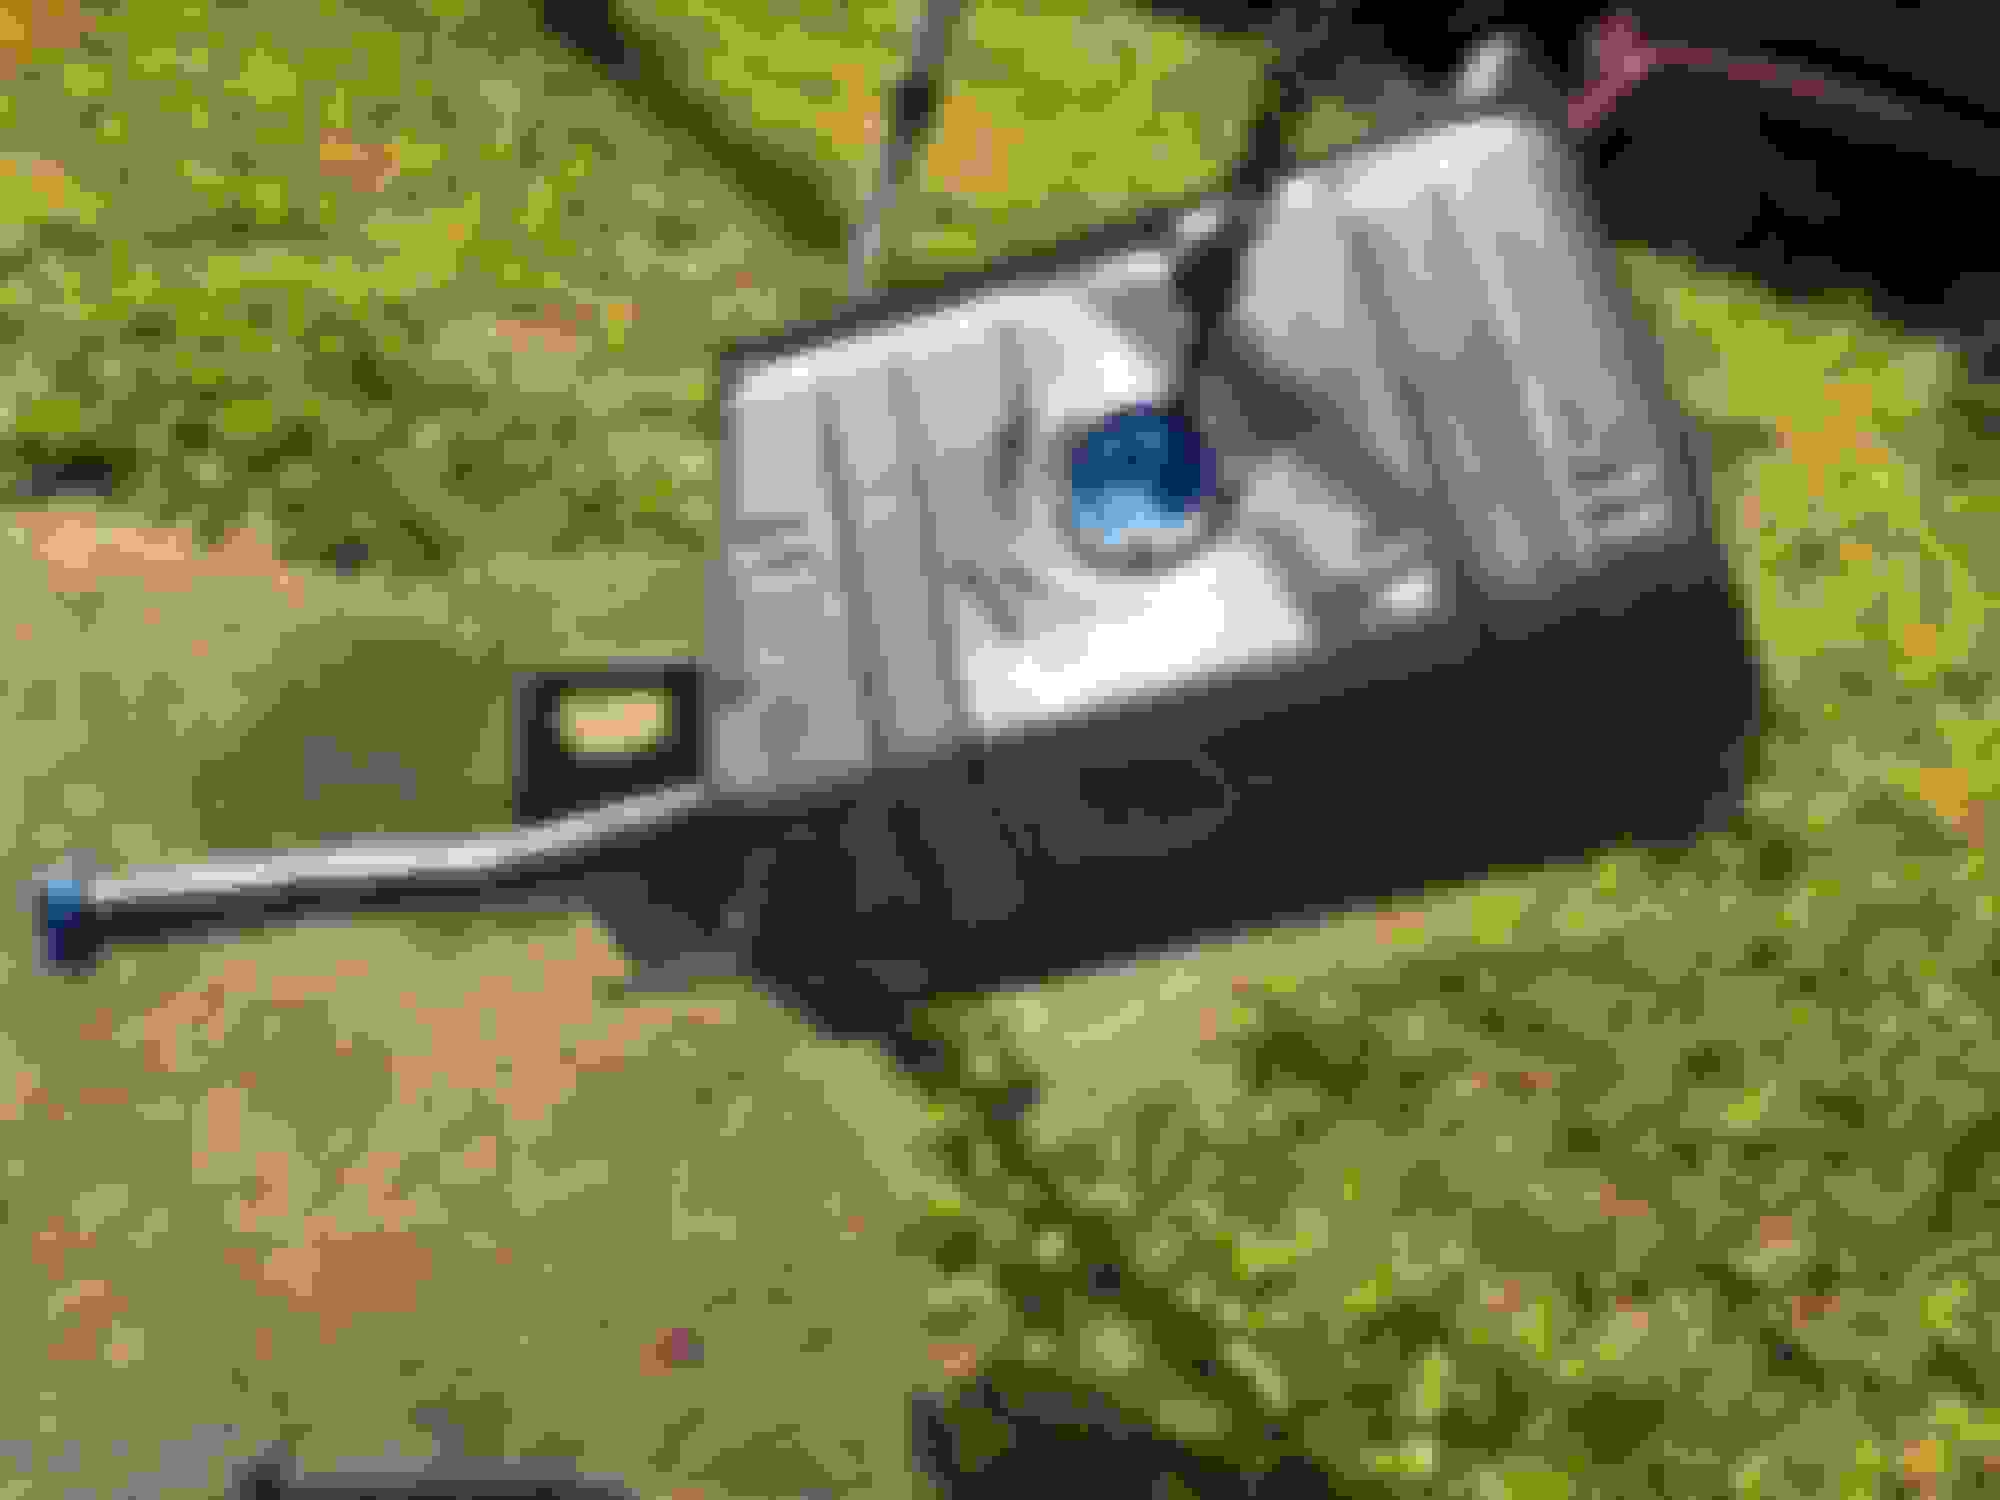
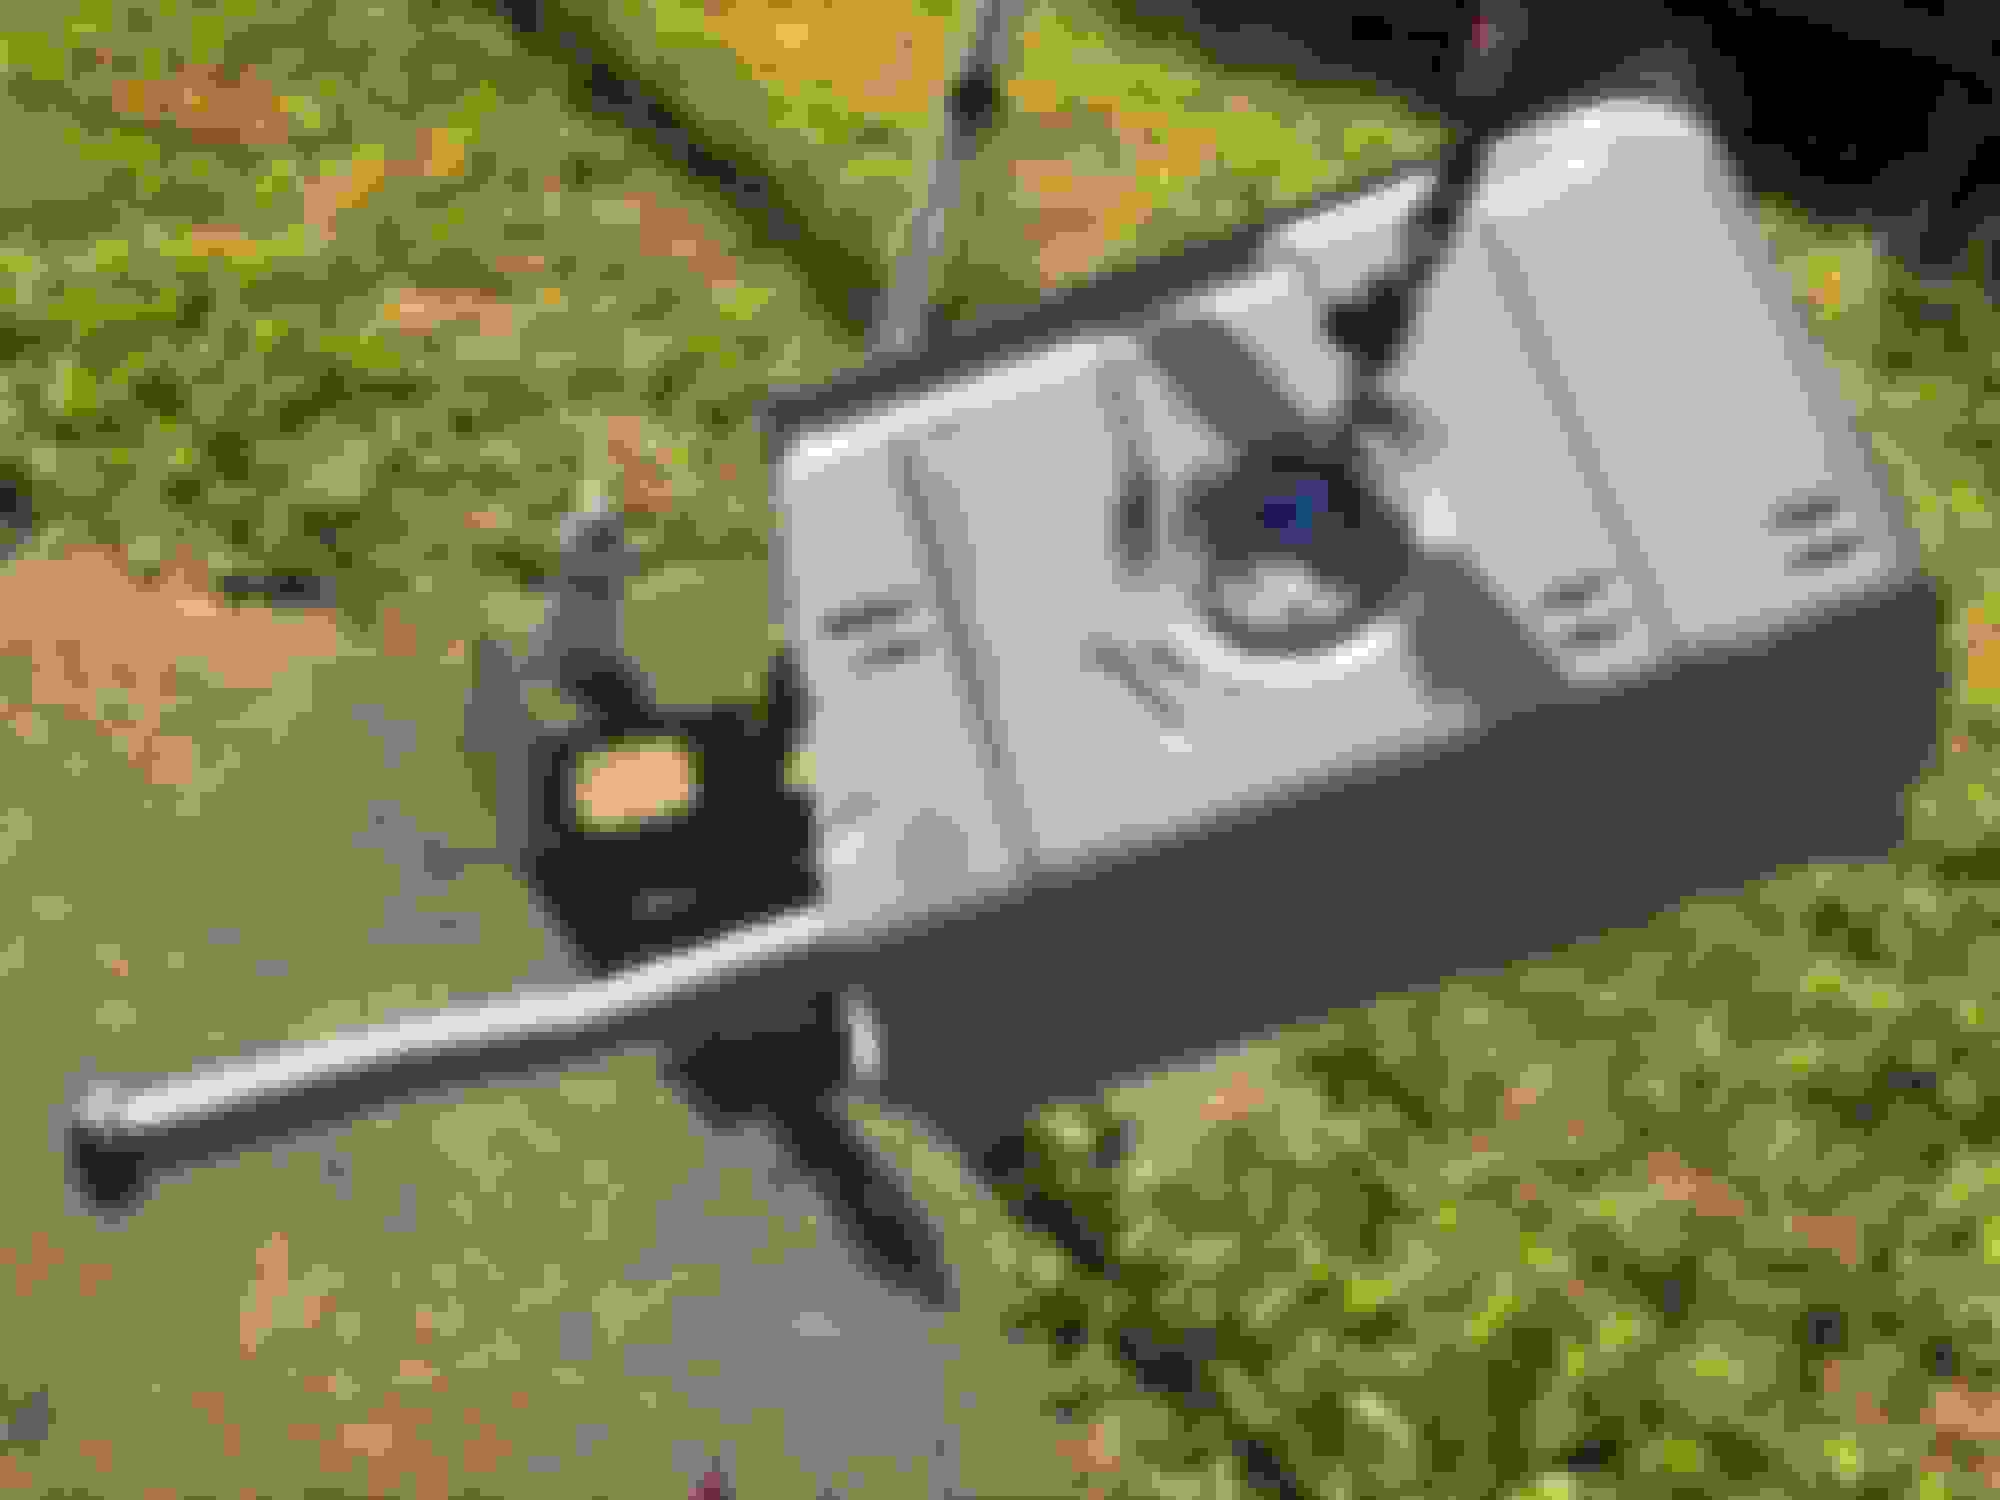
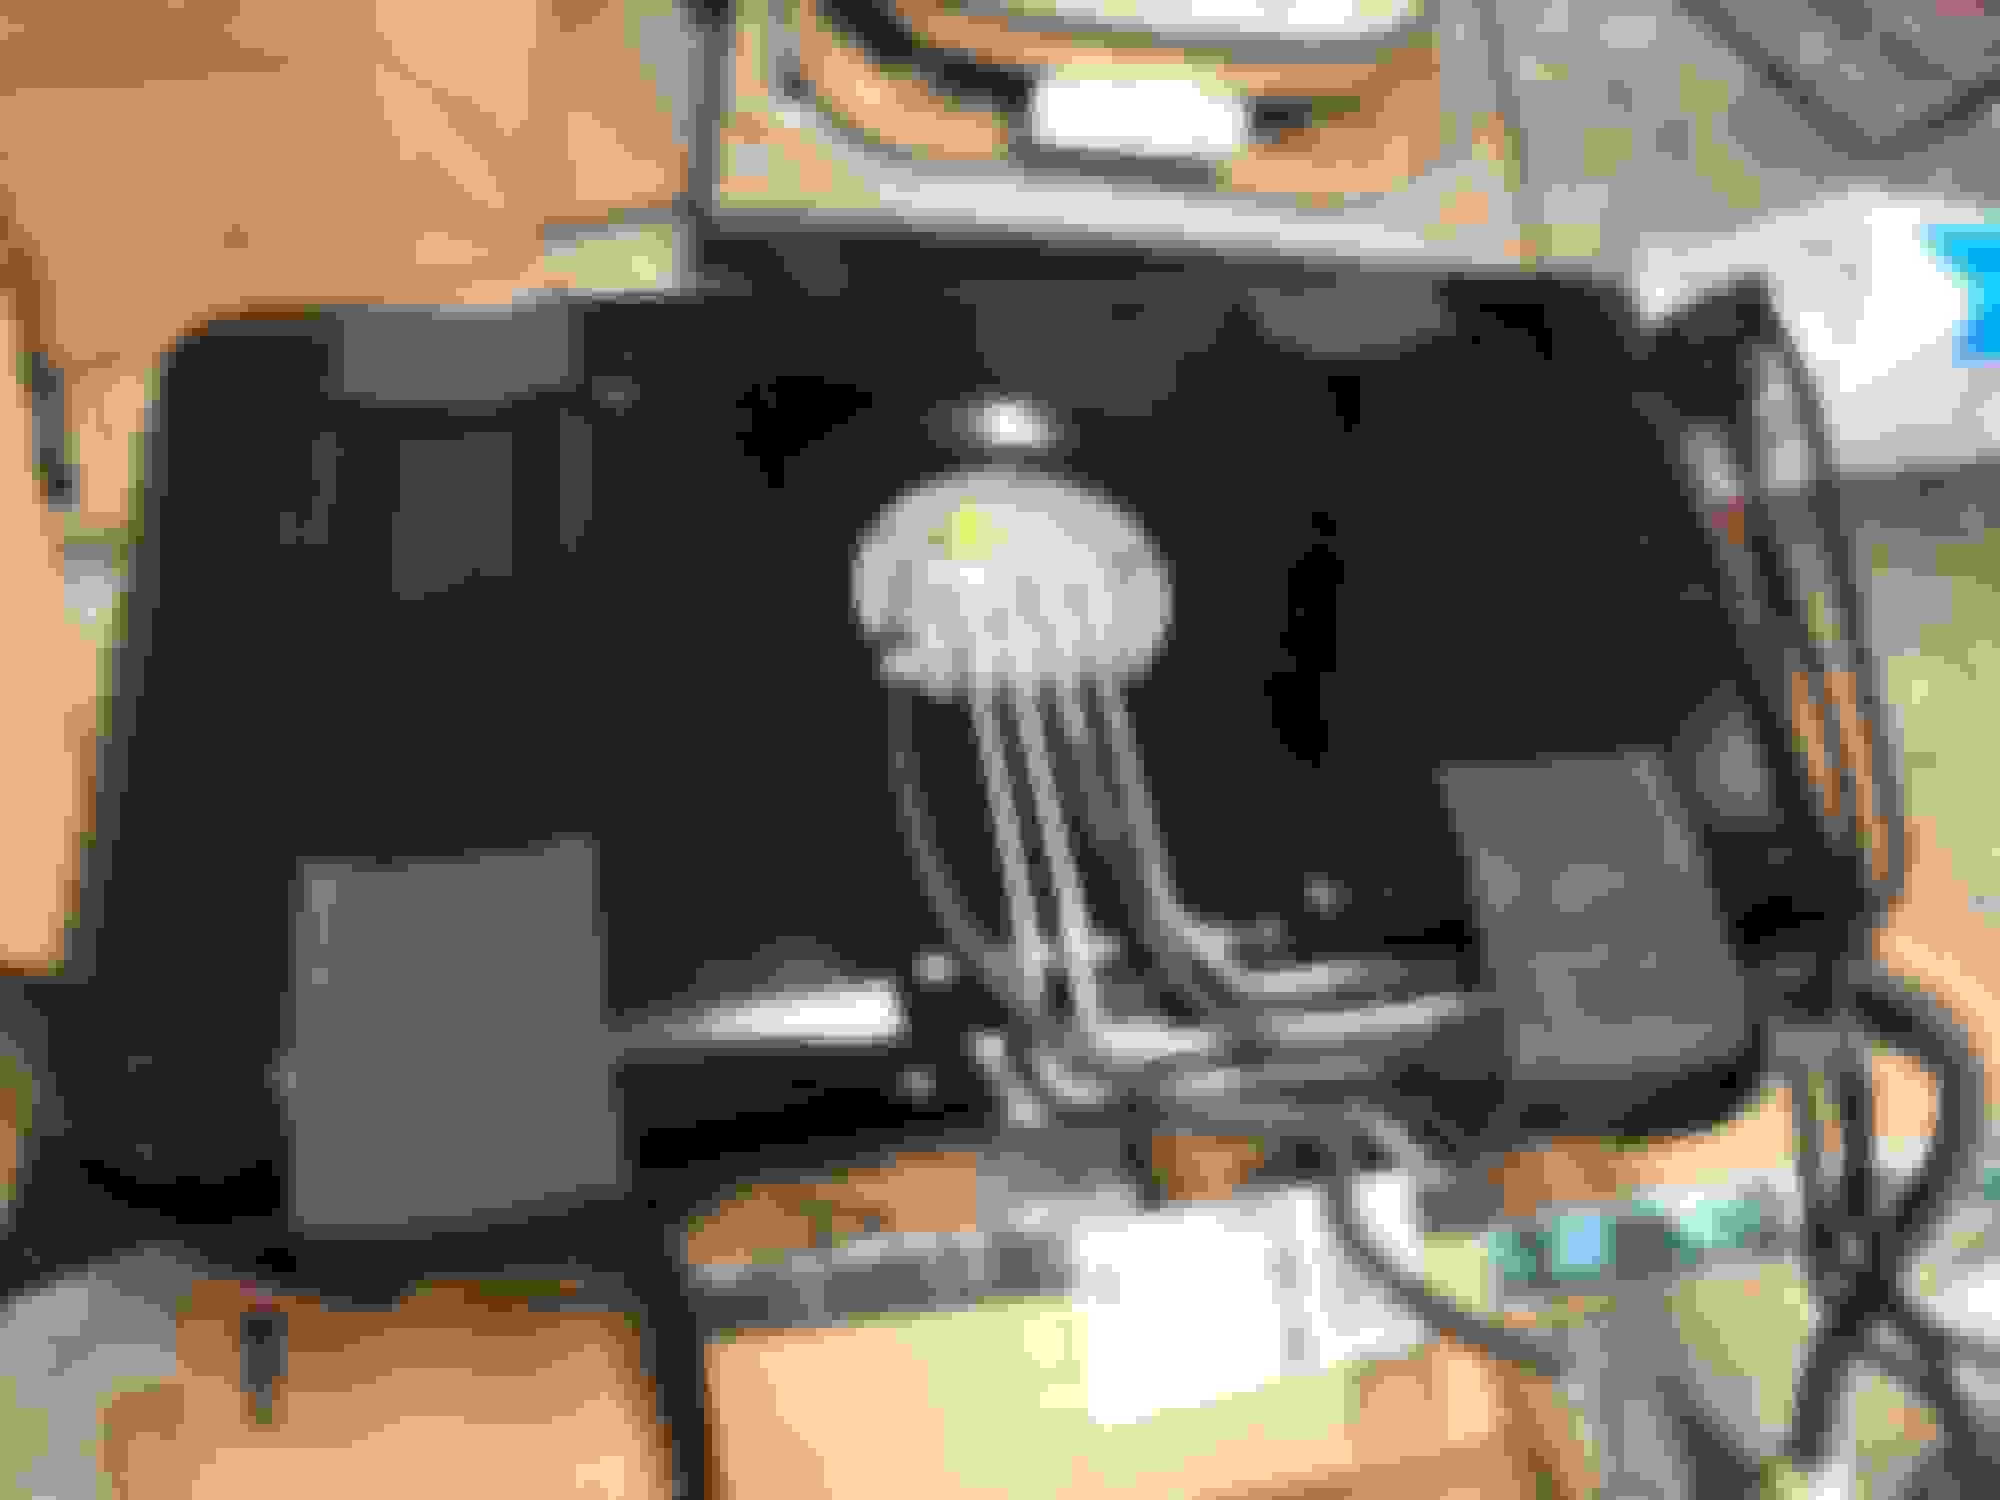
Here we go for round two, got in a new stacked plate cooler, it's an Earl's 21000AERL, it's a good bit smaller than the last one.
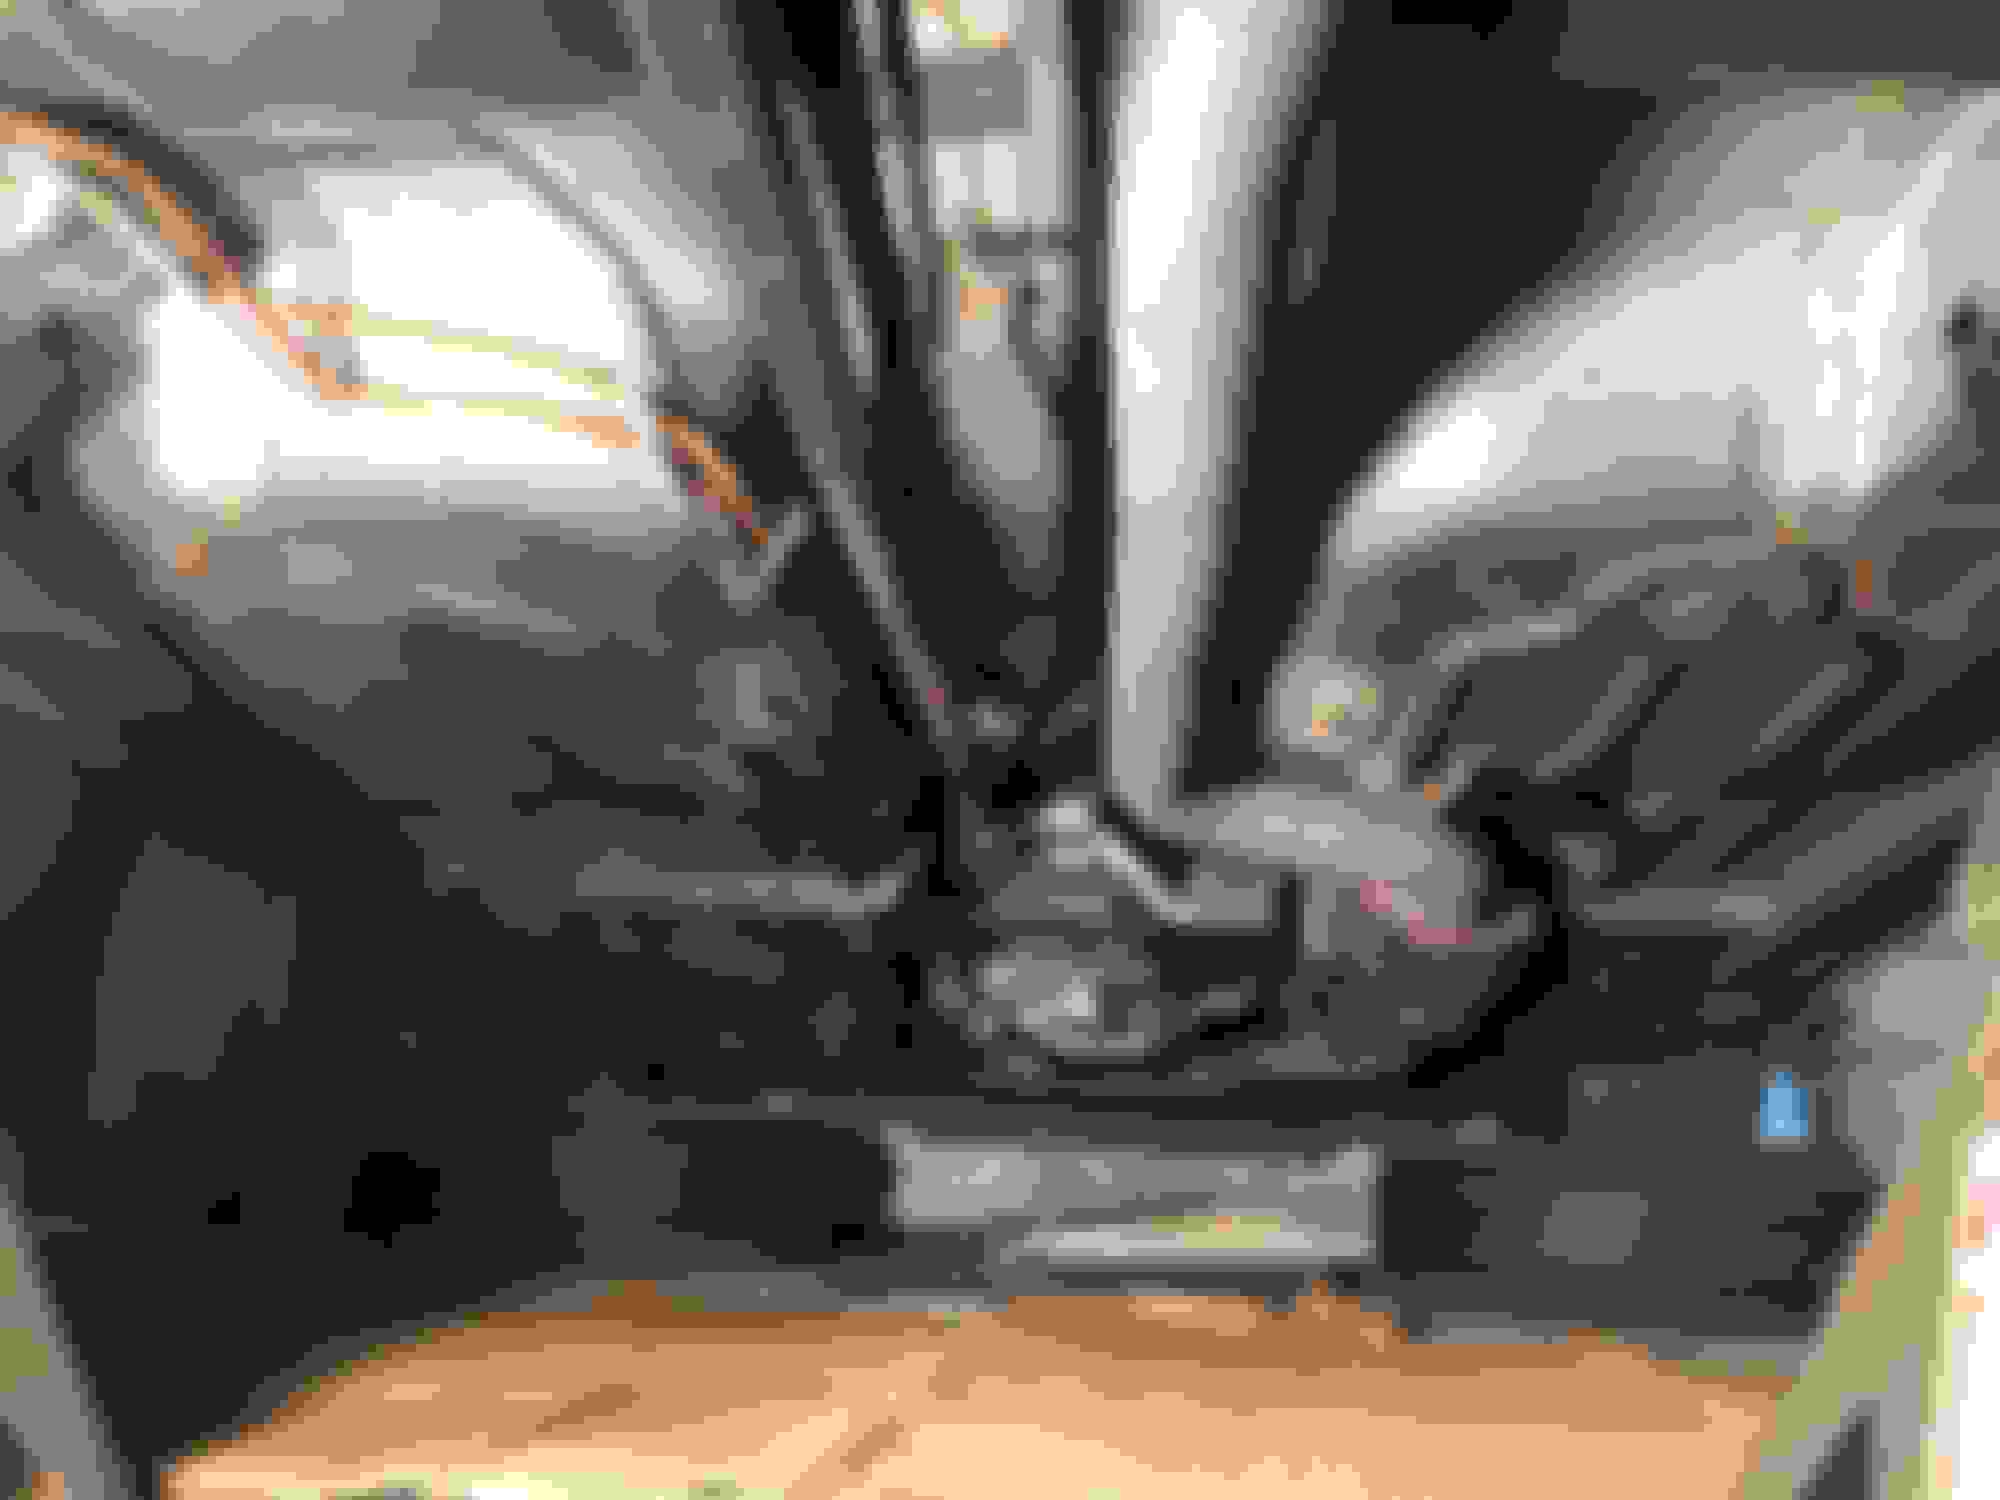
To start mocking it up, I taped about an inch of cardboard on the back so when it's done being mounted it would have about an inch of airspace between it and the condenser.
The cooler fits a lot nicer than the last one. I started mocking up brackets with a piece of flat stock and a flat corner bracket.
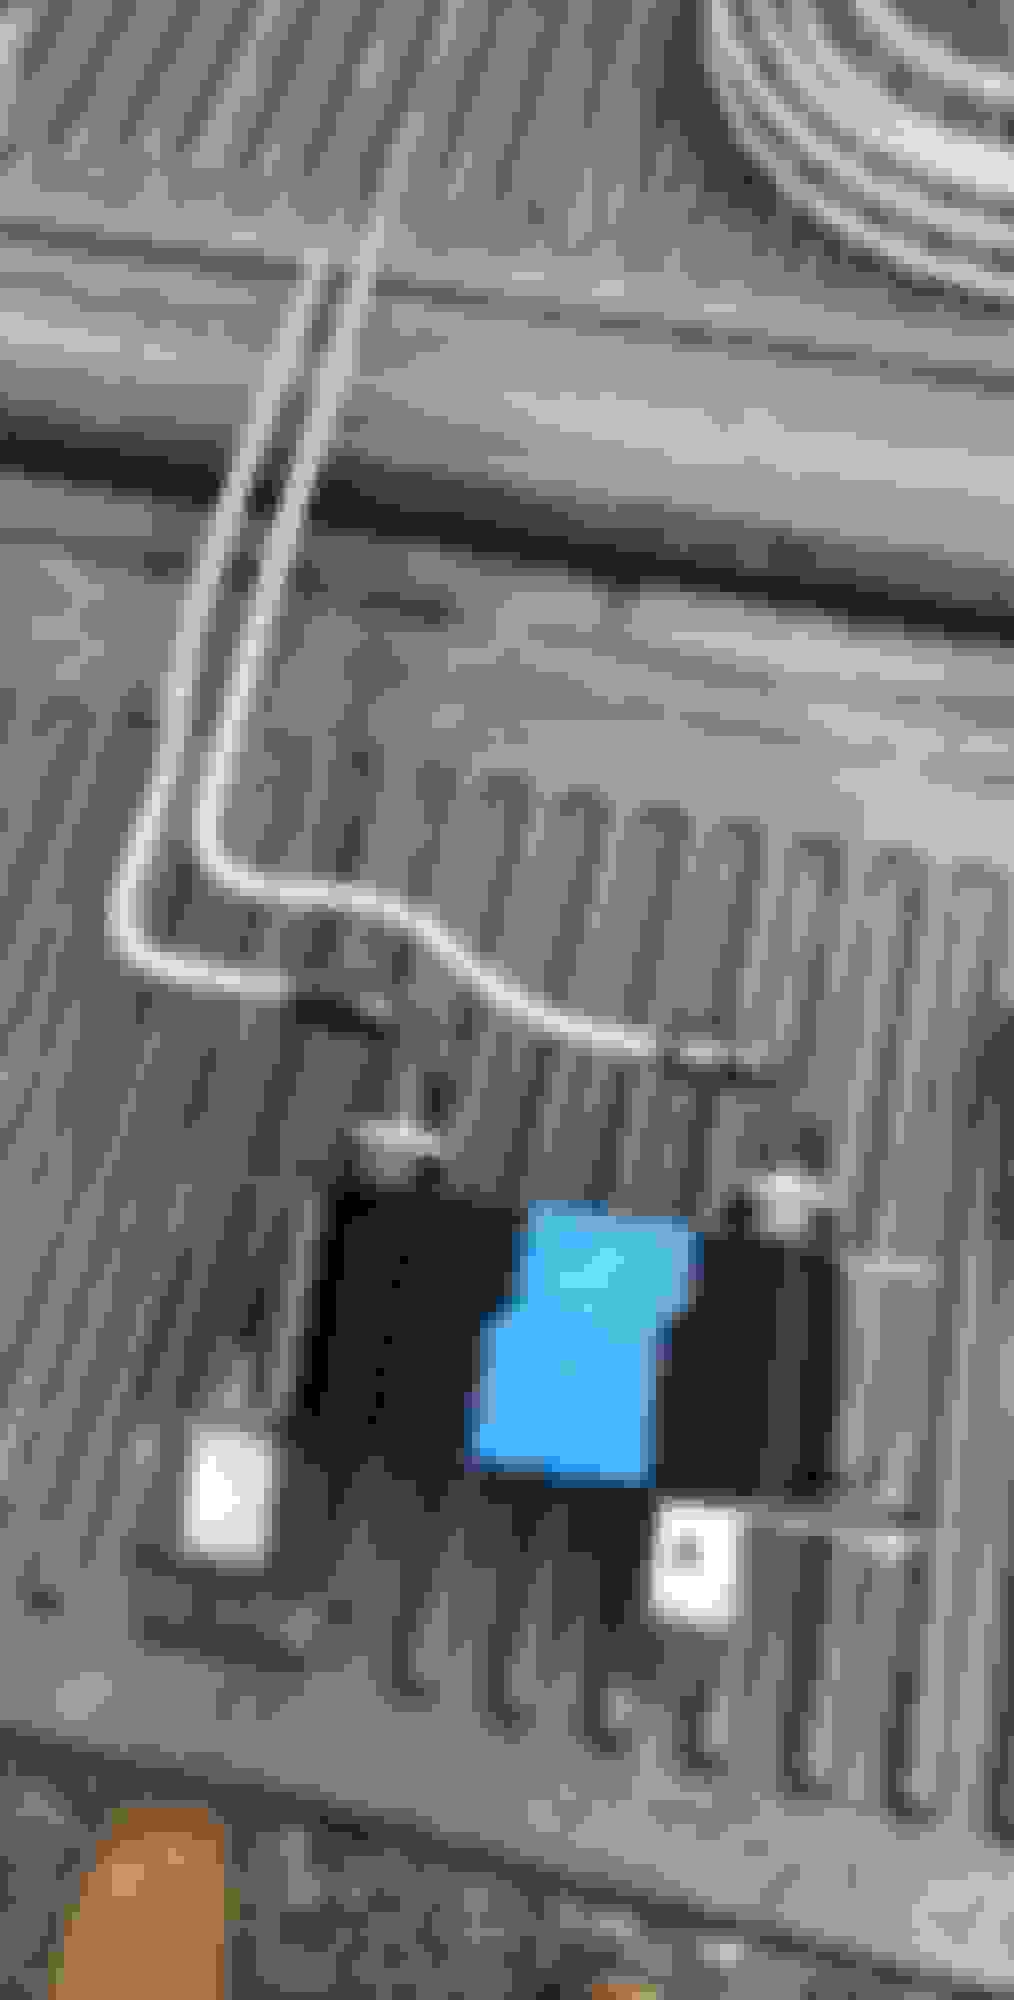
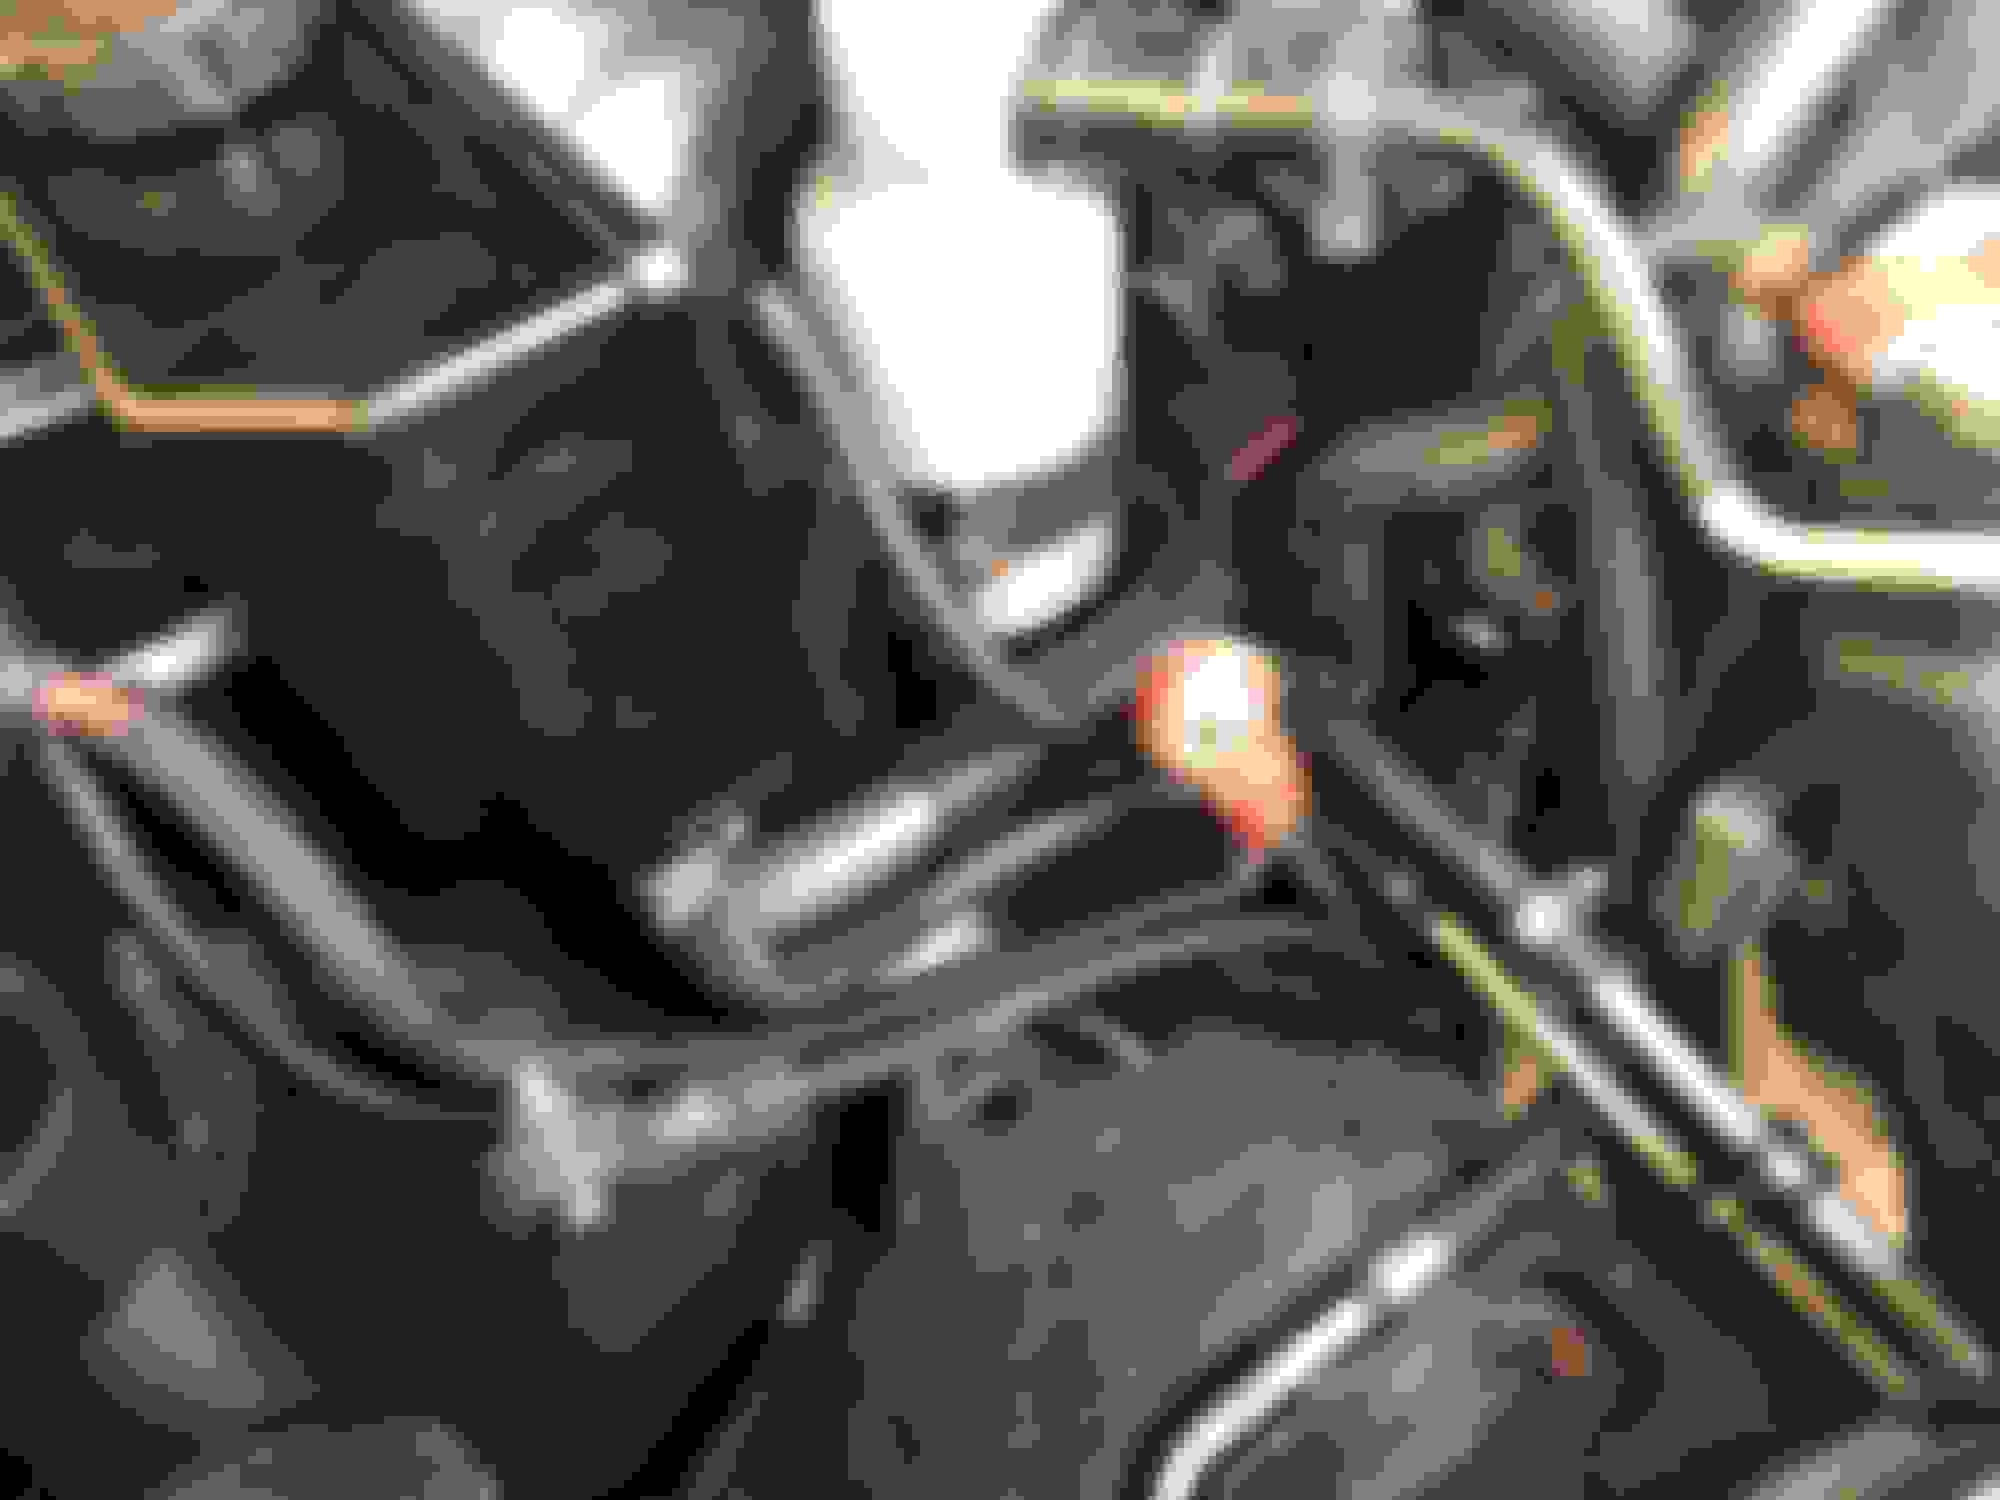
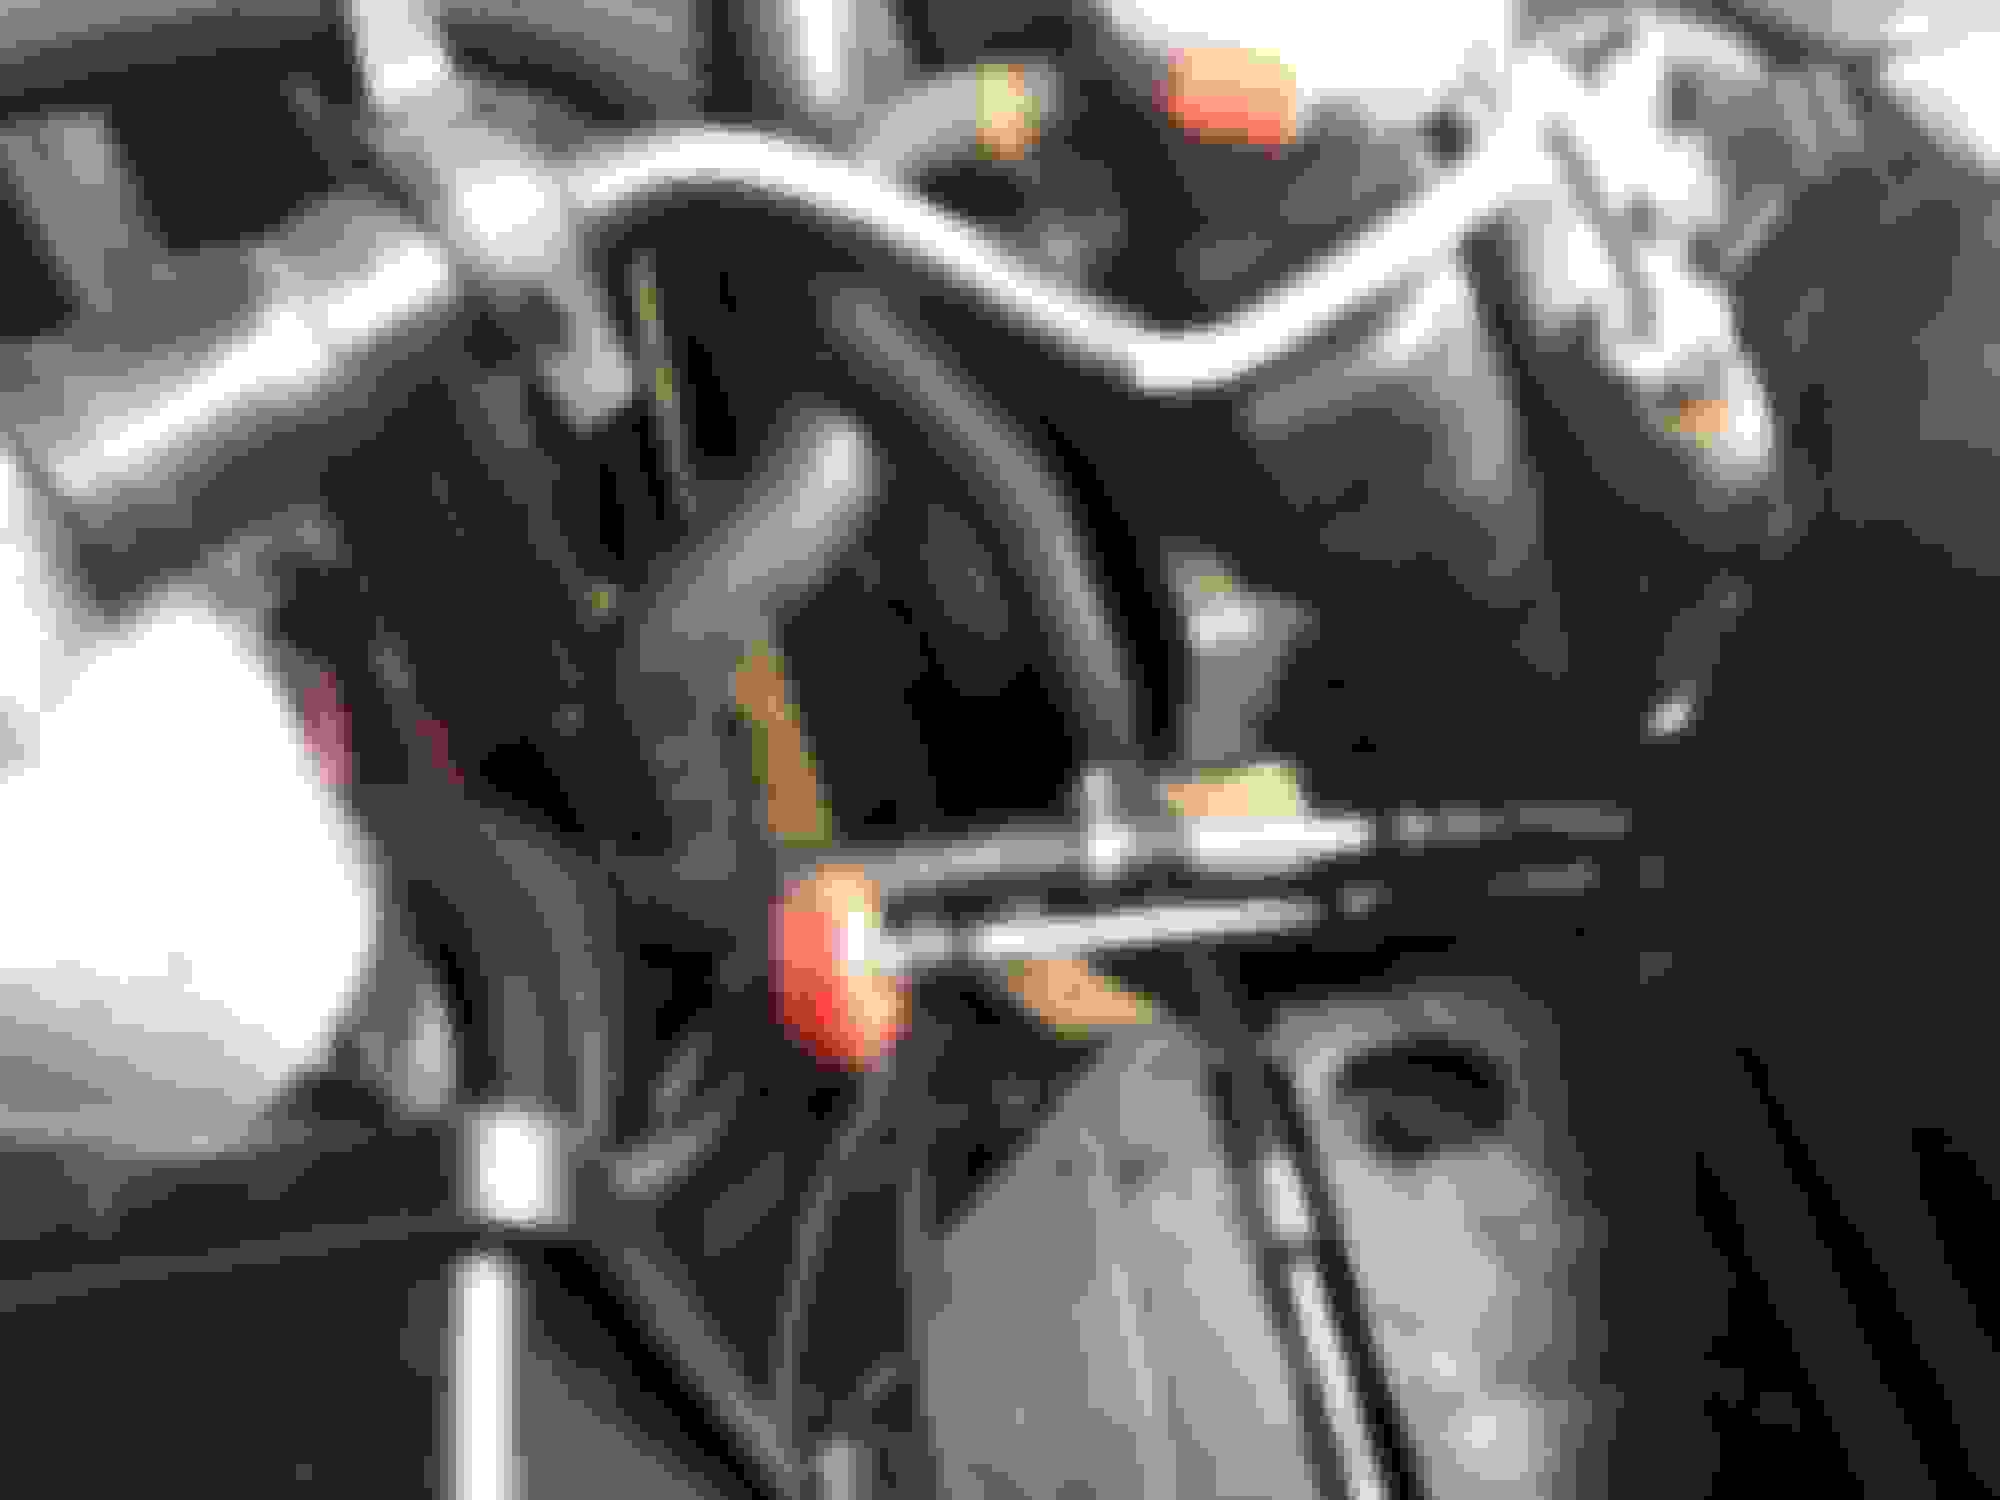
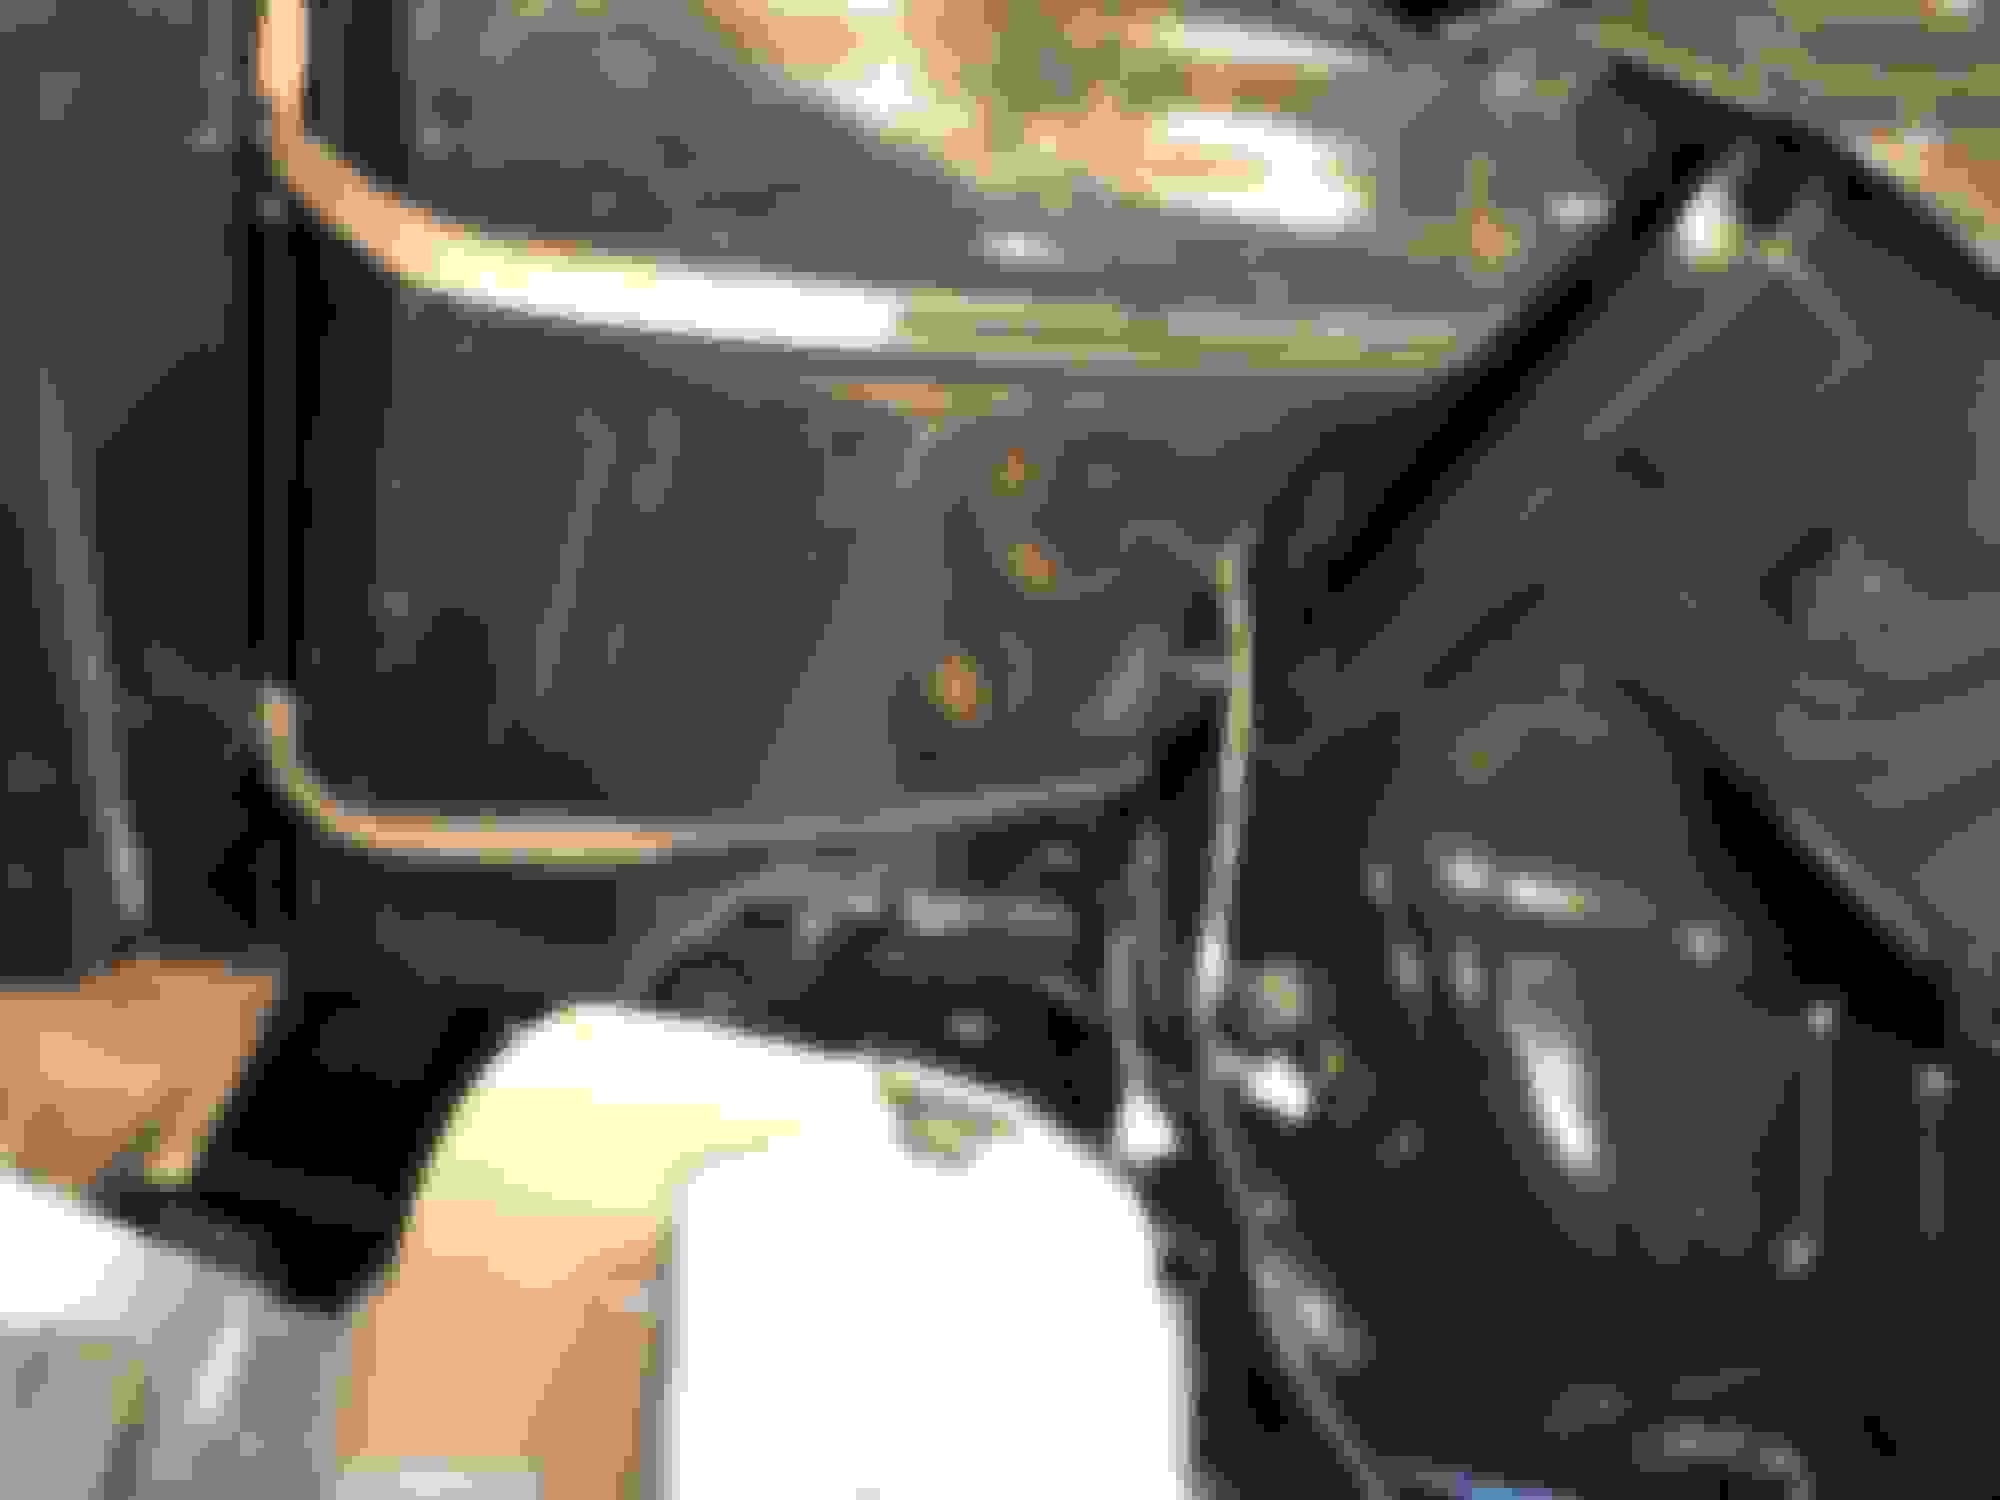
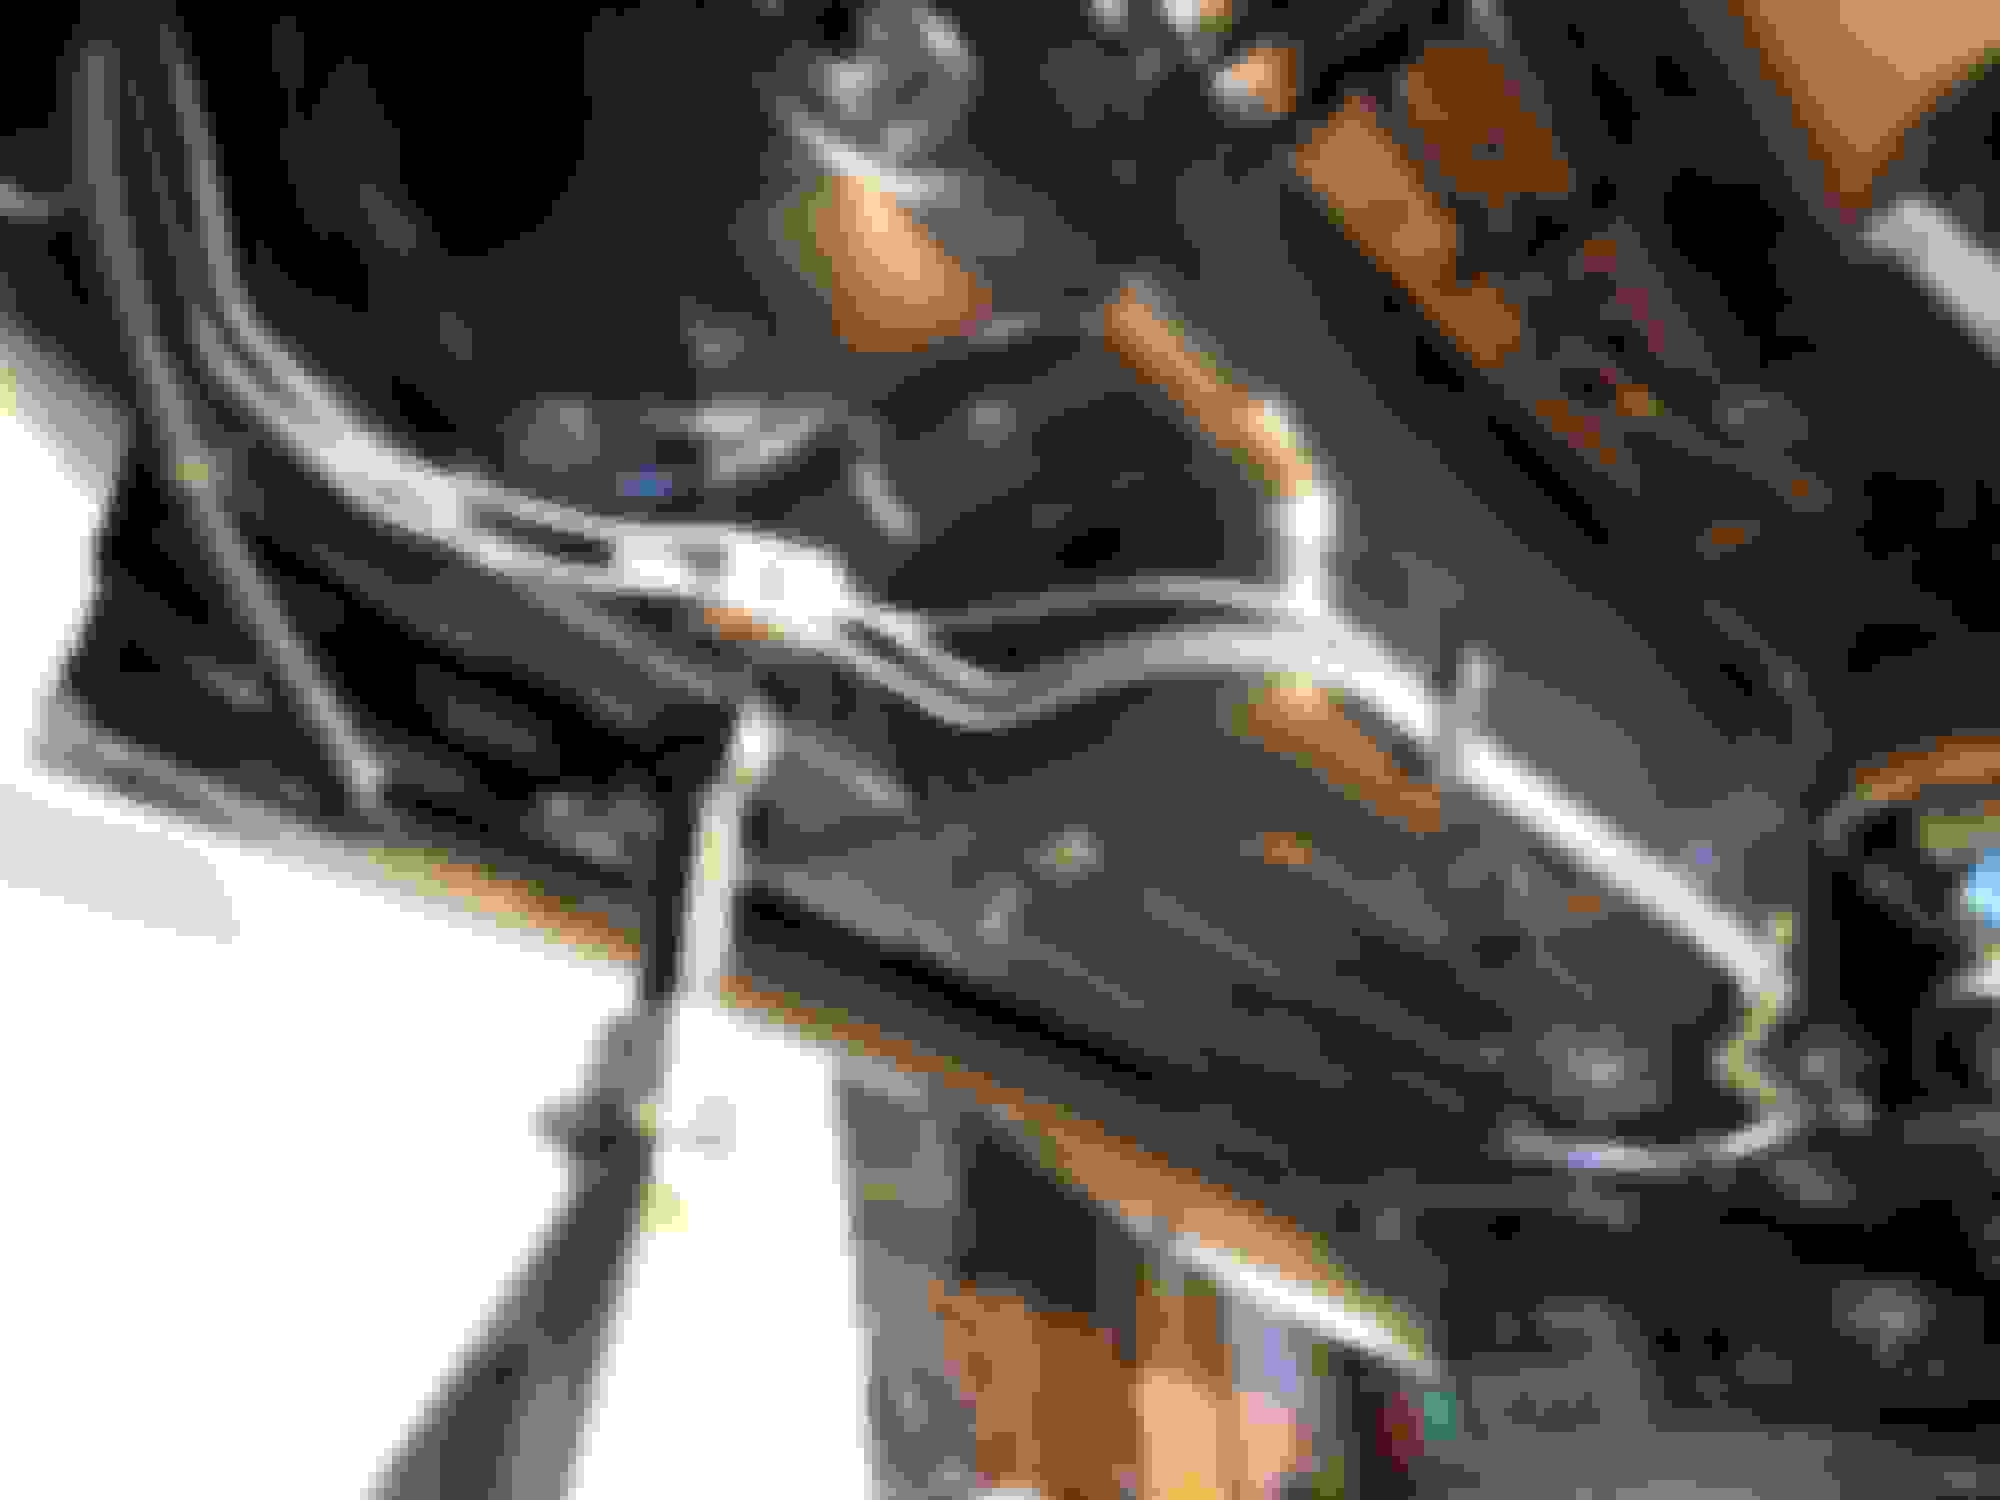
The hard-lines went together a lot better this time with the 90's. They come out at the perfect height, all they need to do is cut a 90 and they're just about perfect in the engine bay. They fit real nice between the battery and radiator. I'm going to use some loom and some holders to keep stuff from rubbing.
It wouldn't be going on my car if it didn't get a proper paint job. Lines are staying aluminum, brackets are steel and are getting a couple coats of gloss black.
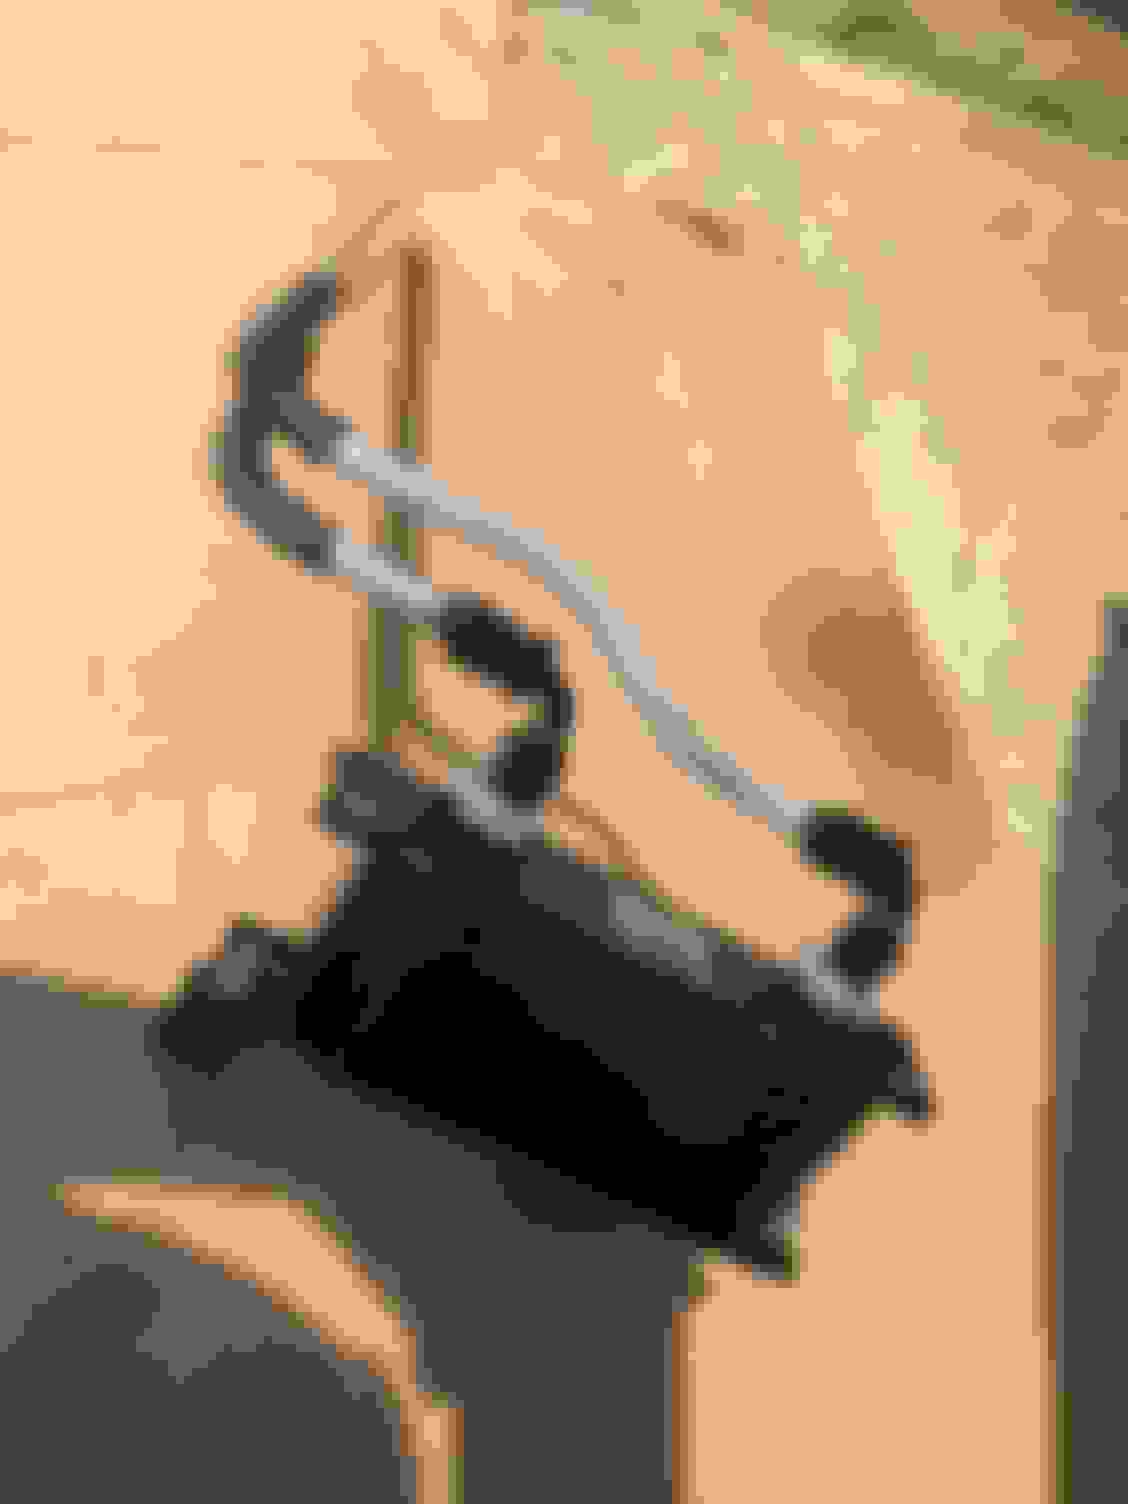
Finished up the power steering cooler. Ended up coming out pretty good.
It's pretty tight where the hard-lines turn and come into the engine bay so I put some loom on them, I also reworked one of the lines to have it fit nicer. I also put some loom on the recovery tank line since it's close to the lower hard-line. I also put a spacer between the hard lines in the engine bay to keep them from rubbing. I just slipped the rubber lines over the hard-lines and use a hose clamp. I filled up the system with Redline PS fluid.
So far, everything looks good, no leaks. I'll have to wait until the next track day to see how well it does. Just driving around locally and feeling the lines, there's definably a difference in temperature
What hardlines did you use and also what fittings are those?
Tubing is 3/8" OD alluminum fuel line
Fittings are -6AN male to female 90's from Earls, part number AT920506ERL. They're a bit pricey but worth it, great quality. Had to shop around to find someone who had them in stock and ready to ship. Most places are back ordered into next month.
Also, unlike the previous Derale cooler I had which is sold as a kit with a bunch of fittings and lines, the Earl's cooler is just the cooler, so I also had to purchase an adapter fitting to go from the -10AN straight-cut O-ring on the cooler to the -6AN male I needed, part number for that was 585106ERL. Thinking about it now, the adapter fittings that came with the old Derale cooler probably would have worked but the new ones are not that pricey and I wanted to make sure I had everything I would need.
This was a really good read. I just spent the better part of my 12 hour shift reading through the 11 pages (I had a lot of free time). This project is a lot like what I to do. But why didn't you go poly since you went through the trouble to rebuild the suspension?
There are a number of bushings which can be poly, but the general consensus is that rubber provides better comfort and allows the proper movement required for proper suspension travel.
Really? That's interesting, do you have references to support this? I'm not calling you a liar, I'm genuinely curious. I would like to read up on this. Thank you
Really? That's interesting, do you have references to support this? I'm not calling you a liar, I'm genuinely curious. I would like to read up on this. Thank you
Originally, I thought poly would be better like everyone does, but before I dove into this, I did a lot of research for close to 6 months before buying part one, and talked to a lot of guys both on and off this forum who road race these cars (and others) and know what they're doing, and they will tell you that poly binds. Poly can be used without issue in the front upper control arms, front lower control arm horizontal bushing, and panhard bar. However, going poly in the front lower control arm vertical bushing and rear lower control arms is a big no-no if you want to avoid suspension bind and issues.
It's been a while!!! Long term update. Basically during the pandemic through 2020 and early 2021, the Firebird spent its time in the garage getting some supporting upgrades for more power. This included a Moser 12 bolt rear axle, Racetronix fuel pump, and UMI tubular suspension with roto-joints. I also installed a Magnaflow cat-back exhaust and went overboard with restoring and painting the underside of the chassis as usual, along with the fuel lines, fuel tank, heat shields, new copper brake lines to the rear, new PowerStop LS style rear calipers and rotors.
The car was completed and on the road in Fall of 2020, however, the used (and older design) Moser 12 bolt axle I acquired was one of the few things I did not rebuild during this process and proved to have issues once the car got back on the road. I basically lost motivation throughout the winter of 2020, and in early 2021, I pulled the rear axle and brought it to a reputable shop to be rebuilt. The car was back on the road in spring of 2021, and I enjoyed it outside of the road course for most of the summer and spring of 2021 until the axle started to make noise again. I was able to get the car back to the shop in early 2022 to have the axle looked at and rebuilt again, this time while it was still installed in the car. The shop agreed that the noise was an issue and rebuilt the axle three times in the car before concluding that they could not figure out the source of the noise. At this point, with lack of motivation and life getting in the way, the car saw very little use this past year and developed a miss.
Going forward. The season in New Jersey is basically over and I'm currently in the process of finishing up budget build with my old work truck, a 91 Ranger that is close to running with its new 1986 5.0/T5 swap that I plan on enjoying during the winter. As soon as that project is complete, my goal is to get the Firebird back on the road course for spring/summer of 2023. This includes swapping the UMI roto-joint arms with stock rubber bushing arms to see if the source of my noise is related to noise transmission through the roto-joints, which I do not believe to be the case. If that does not solve that issue, the stock 10 bolt that was in the car will be going back in. I also plan on replacing the fuel sender if the axle needs to get swapped, since the fuel gauge hasn't worked since I put the Racetronix pump in. A set of Speed Engineering headers will be installed since I'm going to do a tune-up, in hopes that is the reason for my miss. I'll also be purchasing and installing a pair of Detroit Speed X-Tracker Hub Adapter Kit on the front end for reliability on the road course. I'll also probably have a used set of UMI subframe connectors I've had for a while, powdercoated and installed.
Until then, enjoy some archived photos of the pandemic rear end swap and restoration.
Step one of the rear-end swap was basically tearing out everything from the transmission back. Once the chassis was bare, it was time to go ham with the wire-wheel on the grinder. For New Jersey, this car is extremely clean, there was not one rot hole in the floor or frame which was not a surprise to me since it was clean when I bought it and has rarely seen rain and never saw salt during my ownership. Most was surface rush with the worst pitting being around the lower control arm mounts and rear muffler head shield mounts. After the wire-wheel was done, I de-greased it, hit everything with a red Scotch-Brite, and de-greased it again. I then treated the heavy rust spots with Rust-oleum Rust Reformer, which I would not recommend. I then did three coats VHT Chassis & Roll Bar paint in gloss black, which is the same paint I used when I did the front suspension and I do recommend as it has held up very well on the front end and in areas where the Rust-oleum product was not used. As mentioned when I did the front end, I decided to go with a spray car product as I wanted something durable, but easy to touch-up as time goes on. I also don't have access to a suitable compressor and paint gun to do a real paint job myself. Since I had the rear bumper removed, I also cleaned and treated the inside of the frame rails with Eastwood Internal Frame Coating in black.
Once the paint was complete, next step was getting the fuel tank and lines installed. I was originally going to leave the tank alone, but then decided to paint it, along with the sending unit and fuel lines. Since the tank on these cars is galvanized, I prepped it with a wire wheel, scuffed it with a Scotch-Brite, wiped it down with some vinegar, and used a specific primer for galvanized steel (I don't remember which product off the top of my head but I believe it was a Rust-oleum product). I then coated it with two or three coats of Rust-oleum gloss black enamel. While I am not a fan and do not recommend Rust-oleum's Rust Reformer, I do like their line of Rusty Metal Primer and enamel paints and used them for most of the parts on this car with the exception of the chassis and rear axle. I primed the fuel lines and sending unit with Rust-oleum Rusty Metal Primer and coated them with Rust-oleum Alluminum colored paint.
After everything was painted, I installed the Racetronix Fuel Pump and Hot-Wire Kit per their instructions. The only deviation I made was on the Hot-Wire Kit. The instruction state to run it directly to the alternator, however, I didn't think it would be a clean install to run a wire fixed to the chassis that would run up the transmission and across the motor. Instead I ran it from the power block on the passenger-side fender with an in-line fuse, across the radiator support inside the loom with the chassis wire, up the driver-side fender, and down and back with the fuel and brake lines. I did have to slightly extend the wiring for this but I thought this was a much cleaner install than what Racetronix recommends, and is one less thing that doesn't need to be removed or forgotten when the motor and trans is removed.
I did a quick resto of the heat shields with some Rust-oleum BBQ paint. I wasn't too worried about these being perfect, just wanted to clean them up a bit. A used Magnaflow cat-back exhaust was then put in and attached to the stock Y-pipe and cat with a SLP adapter that came in their Loudmouth kits for early LT1 cars. This will soon be replaced with a new set of Speed Engineering headers and Y-pipe. I made an exact replica of the rear factory brake line with nickle-copper and ran that to the back. I also used a slim fiberglass heat shied on this line in the area where it runs up next to the motor to avoid any possible heat-soak from the exhaust manifolds/headers.
That came out super nice. I wish I had the discipline to clean things up like that. Maybe someday. Also, it would be nice if GM did a decent job coating things from the factory so we didn't have to worry about rust in the first place. I have used the same Rustex rust converter, and although I didn't have too many issues with it one way or the other, I know there is better stuff out there. I actually just recently watched a comparison vid of like 9 different rust converters, and far and away the best was Rust Kutter. It basically stripped the rust off as opposed to leaving a black and potentially flaky mess behind.
That came out super nice. I wish I had the discipline to clean things up like that. Maybe someday. Also, it would be nice if GM did a decent job coating things from the factory so we didn't have to worry about rust in the first place. I have used the same Rustex rust converter, and although I didn't have too many issues with it one way or the other, I know there is better stuff out there. I actually just recently watched a comparison vid of like 9 different rust converters, and far and away the best was Rust Kutter. It basically stripped the rust off as opposed to leaving a black and potentially flaky mess behind.
It is definably a time consuming and mind-numbing process. I would say the underside of these cars are coated fairly well from the factory, it's just the reality of a 25+ year old car with almost 100k miles that has spent its life in the rust-belt. When I did the front end, I didn't use a rust reformer and it is still holding up well to this day. I started using rust reformer because I saw Steve Dulcich use it on the roof of the Crop Duster on an episode of Roadkill Garage, and he seems to know what he's doing with paint work on that show. Around the same time, I was painting the frame on my 03 Silverado, I prepped and top coated the frame the same on both sides (wire wheel, de-greaser, red Scotch-Brite, de-greaser, 2 coats prime, 2 coats top coat with Rustoleum gloss black enamel). The only difference is I used Rustoleum rusty metal primer on the passenger side, and Rustoleum rust reformer on the driver side. The passenger side has been holding up much better than the driver side on that truck, and it sees a lot more mileage and weather than the Firebird. I was doing a little more research after than and found out that very few rust reformers are actually oil based, most are water based but are supposed to be able to top coated with oil. Either way, with my research and experience, for items with heavier rust, I like to use Rustoleum rusty metal primer and gloss black enamel (both of which are oil based products, plus the top coat can be applied right after the primer coats, Rust Reformer has to sit for a day before it can be top coated). For cleaner metal with minor rust, I like VHT Roll Bar and Chassis paint. Most spray can work I've done, those two have held up the best.
Just got done viewing your thread, cool build! Some similarities between yours and what I have going on with mine at the moment. Hope you get it back out soon, 2023 is going to be good! Holidays are coming up, don�t lose focus or motivation (easier said than done, I know this all too well).
 04-09-2018, 01:53 PM