So I built some subframe connectors this weekend
 02-05-2007, 12:06 AM
#1
TECH Enthusiast
Thread Starter
iTrader: (33)

Join Date: Jul 2002
Location: Ok
Posts: 609
Likes: 0
Received 0 Likes
on
0 Posts

Another deviation this weekend when I should have been working on my turbo system....
I started building some subframe connectors. They are 2x2 .120 wall. They tuck up nicely and tie into the floorpan and tunnel brace vs just connecting between the subframes. The last pic shows an out-rigger (in-rigger?) that connects to the tunnel brace mount and ties into the floor pan. It translates torsional chassis twist into a bending loads (subframe connectors see much more bending load that torsional load anyway). The will also be welded to the lip on the rocker panel to further tie them to the floor pan. In appearance, they aren't much different than the BMR (minus the in-rigger). Anyway, here is my try at building a better mouse trap.
I'll post up pics when they are completed and installed.
 02-11-2007, 03:09 PM
#3
TECH Enthusiast
Thread Starter
iTrader: (33)
Join Date: Jul 2002
Location: Ok
Posts: 609
Likes: 0
Received 0 Likes
on
0 Posts
Installed them last night. They work great! Car definitely feels more solid and confident around a corner. I've heard the arguement against the benefits of subframe connectors but I am convinced the unpredictable changes in alignment and relative positioning of suspension components caused by chassis flex has an impact. The konis and springs she's getting soon will definitely make a good handling car.
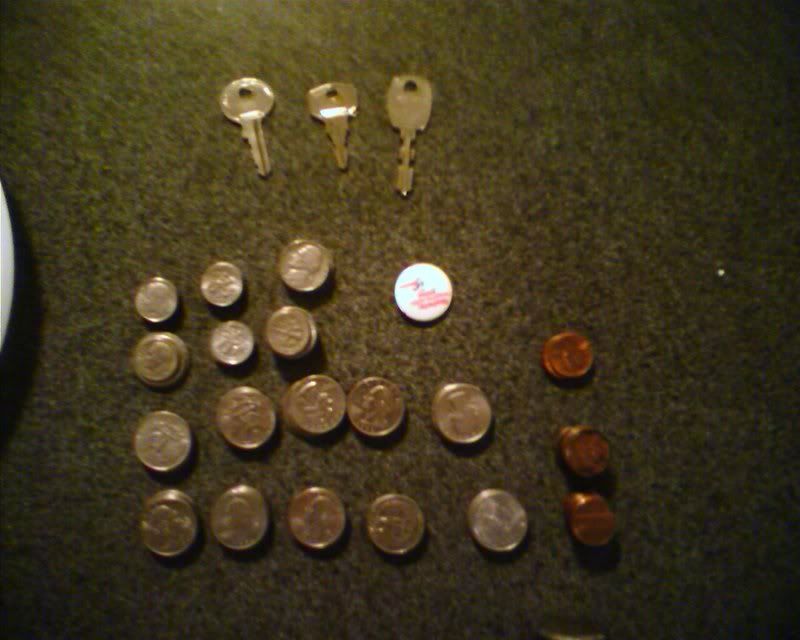
But the best part was the $12.94 in change, 3 keys, and saftey button I pulled out from under the carpet when I removed it to weld the SFCs to the floorpan. The car now rattles less than my wife's Lexus! Definately a fun project with a good result.
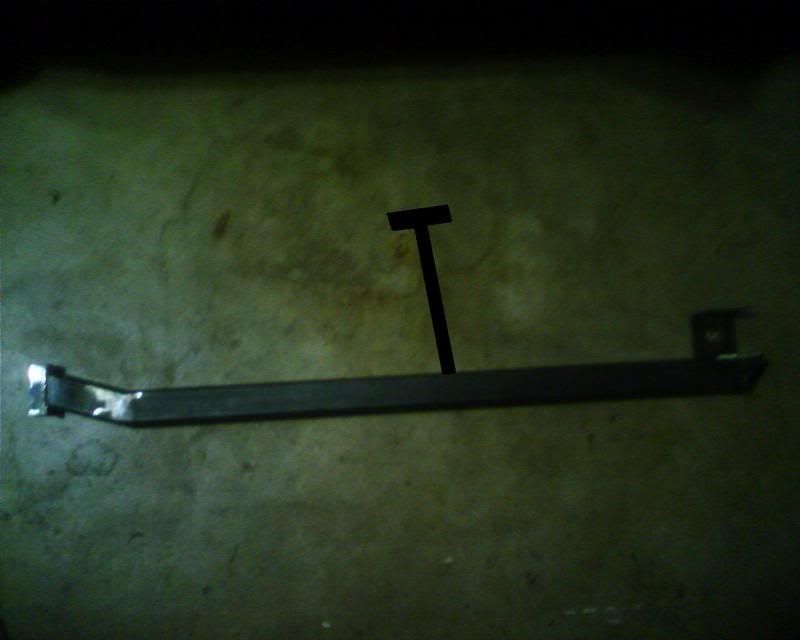
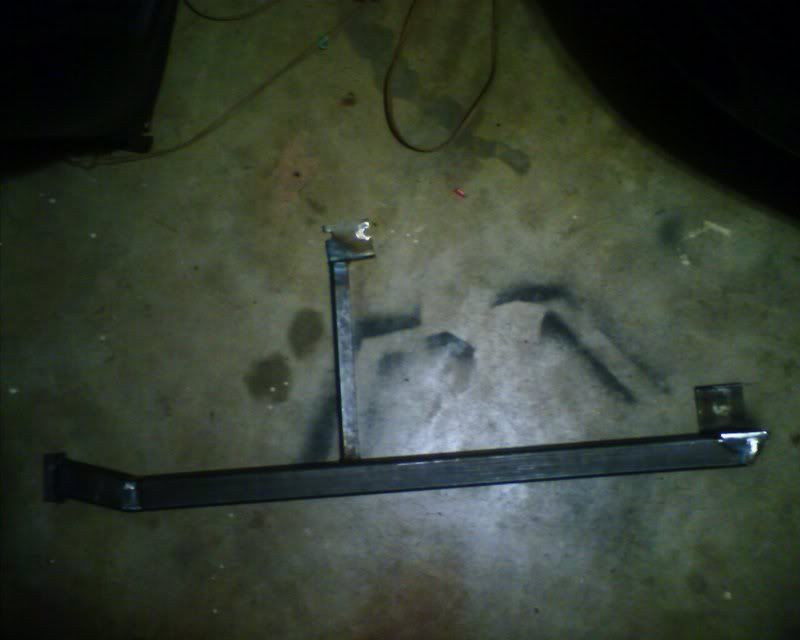
Unpainted drivers-side SFC.
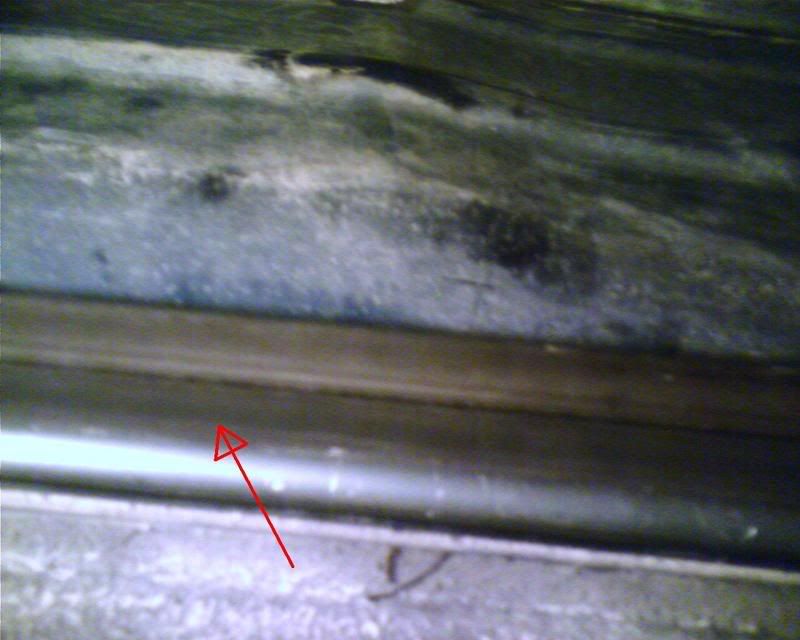
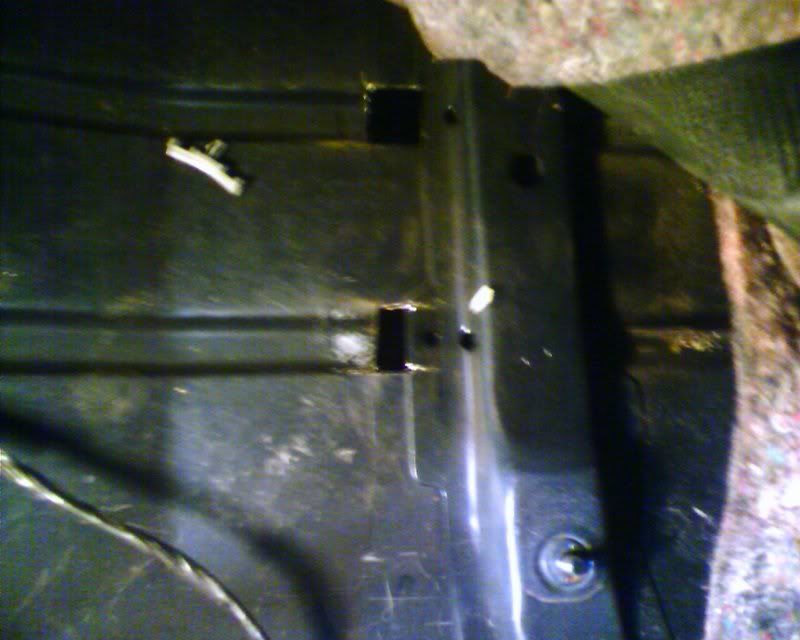
Floorpan cutout. I just cut out the channels and butted the tee-brace up against the floorpan. Then I welded them to the cutout areas. Sealed up with rubberized coating and painted. I had a pic of the welded install but lost it.
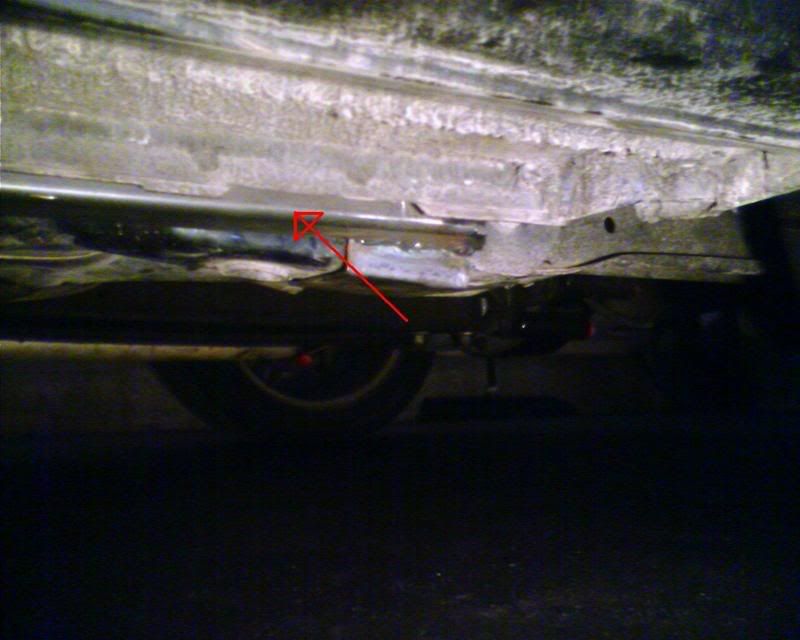
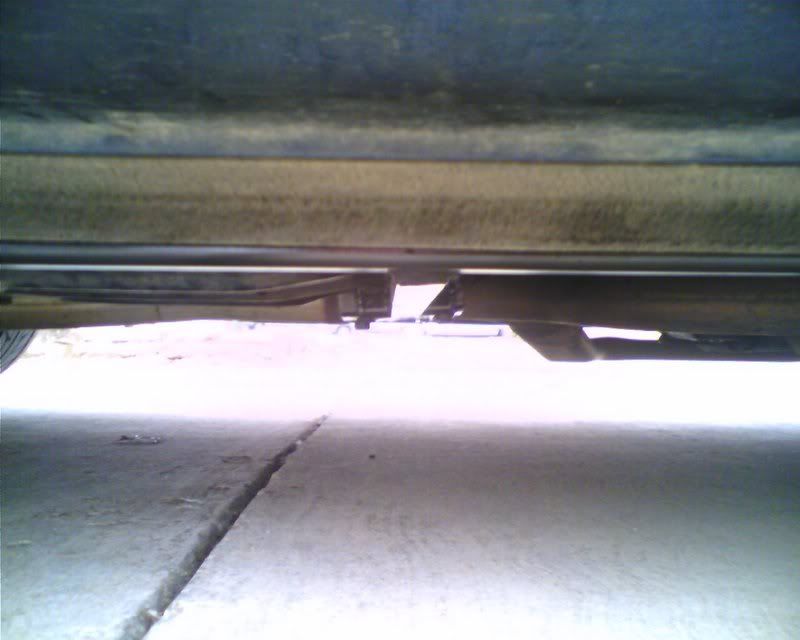
Passenger side showing the t-brace connecting to the tunnel brace mount. You can see how well they tuck up into under the floorpan.
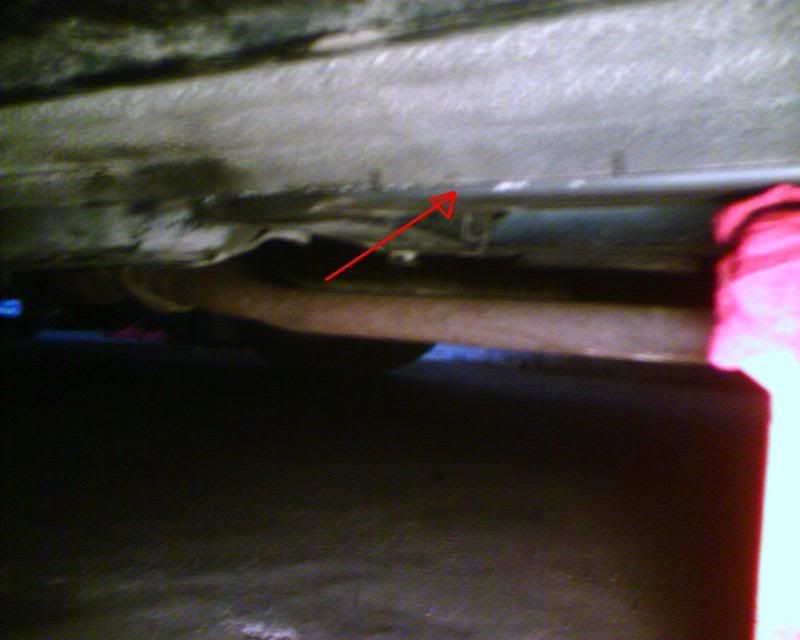
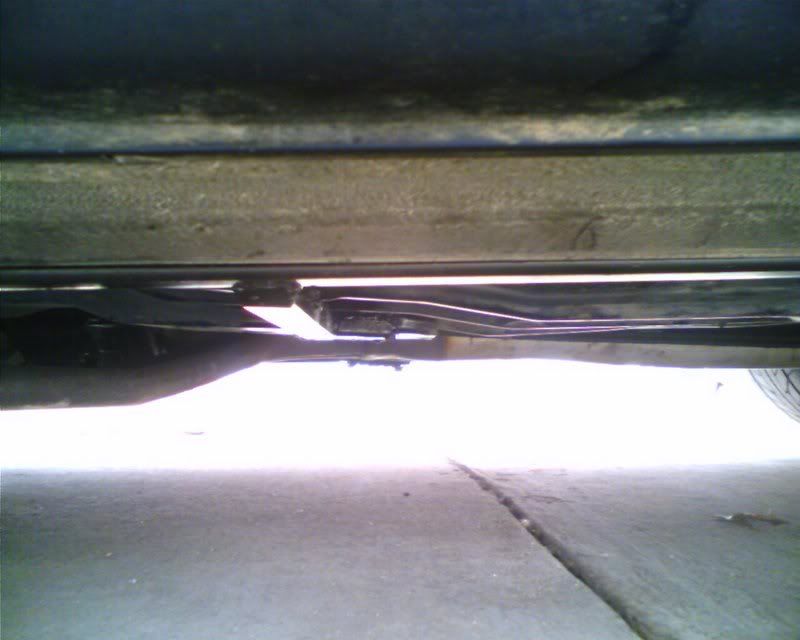
Same for the driver side
The source of rattles
But the best part was the $12.94 in change, 3 keys, and saftey button I pulled out from under the carpet when I removed it to weld the SFCs to the floorpan. The car now rattles less than my wife's Lexus! Definately a fun project with a good result.
Unpainted drivers-side SFC.
Floorpan cutout. I just cut out the channels and butted the tee-brace up against the floorpan. Then I welded them to the cutout areas. Sealed up with rubberized coating and painted. I had a pic of the welded install but lost it.
Passenger side showing the t-brace connecting to the tunnel brace mount. You can see how well they tuck up into under the floorpan.
Same for the driver side
The source of rattles
Last edited by Speed; 02-11-2007 at 03:30 PM.
02-12-2007, 12:07 AM
#5
TECH Enthusiast
Thread Starter
iTrader: (33)
Join Date: Jul 2002
Location: Ok
Posts: 609
Likes: 0
Received 0 Likes
on
0 Posts
HAHA, none of it is mine. I bought this car about a year ago from it's second owner. I honestly wish I knew the story behind some of the stuff I found under those seats and carpet!
The cool thing is the change I found paid for about 1/3 of the cost of the SFC build.
The cool thing is the change I found paid for about 1/3 of the cost of the SFC build.


Trending Topics
02-12-2007, 06:50 PM
#8
Launching!

Join Date: Mar 2006
Location: Indianapolis, IN
Posts: 285
Likes: 0
Received 0 Likes
on
0 Posts

Speed,
Could you post some close-up pics of the SFC welded to the pinchweld on the rocker panels? I am planning to make some modifications to my BMR boxed sfc's so that I can weld them against the pinchweld.
Thanks,
Jim
Could you post some close-up pics of the SFC welded to the pinchweld on the rocker panels? I am planning to make some modifications to my BMR boxed sfc's so that I can weld them against the pinchweld.
Thanks,
Jim
02-13-2007, 12:42 PM
#10
TECH Enthusiast
Thread Starter
iTrader: (33)
Join Date: Jul 2002
Location: Ok
Posts: 609
Likes: 0
Received 0 Likes
on
0 Posts
Thanks for the compliments guys! And I am truly thankful I didn't pull out a used papa protector stuck between the seats and floor. There might have been a for sale thread instead of a sfc build thread lol.
But I'll say this. You do not know true misery until you lay on the floor and mig weld on a set of SFCs. I'm usually pretty **** about cleaning off weld areas before welding but every time I hit an area that wasn't perfectly clean of paint, it would rain molten ***** of steel worse that fluxcore wire. But ya just gotta keep the bead moving! I ended up with a BB sized third degree burn where a small piece got stuck between my sweeter and wrist under my gloves. My favorite battle scar from this project was when I was tacking on one of the rear brackets with my tig and stopped to reposition my hand. No gloves since I was tacking and I got the filler rod a bit to close with high frequency flowing and it shocked me a bit. Not a very unusual thing but I jerked my hand in such a way that about 1/4in of white hot and freshly sharpened tungsten stabbed me in the stomach. Made an interesting little hole. Never hurt though so I guess it killed any nerves near the surface there lol.
But I'll say this. You do not know true misery until you lay on the floor and mig weld on a set of SFCs. I'm usually pretty **** about cleaning off weld areas before welding but every time I hit an area that wasn't perfectly clean of paint, it would rain molten ***** of steel worse that fluxcore wire. But ya just gotta keep the bead moving! I ended up with a BB sized third degree burn where a small piece got stuck between my sweeter and wrist under my gloves. My favorite battle scar from this project was when I was tacking on one of the rear brackets with my tig and stopped to reposition my hand. No gloves since I was tacking and I got the filler rod a bit to close with high frequency flowing and it shocked me a bit. Not a very unusual thing but I jerked my hand in such a way that about 1/4in of white hot and freshly sharpened tungsten stabbed me in the stomach. Made an interesting little hole. Never hurt though so I guess it killed any nerves near the surface there lol.
02-13-2007, 01:03 PM
#11
TECH Enthusiast
Thread Starter
iTrader: (33)
Join Date: Jul 2002
Location: Ok
Posts: 609
Likes: 0
Received 0 Likes
on
0 Posts
Originally Posted by dltaskull
You wouldn't happen to have any measurements? I would like to make my own, i guess i should just get off my lazy...honey bring me another beer......
I just ordered a bunch of rod ends so the thread for this weekend will be c5 brake conversion and aluminum LCA and PHB and MAYBE a torque arm.