Curved A CCW

Thread Starter
TECH Enthusiast
Joined: Dec 2004
Posts: 588
Likes: 0
From: Zanesfield, OH
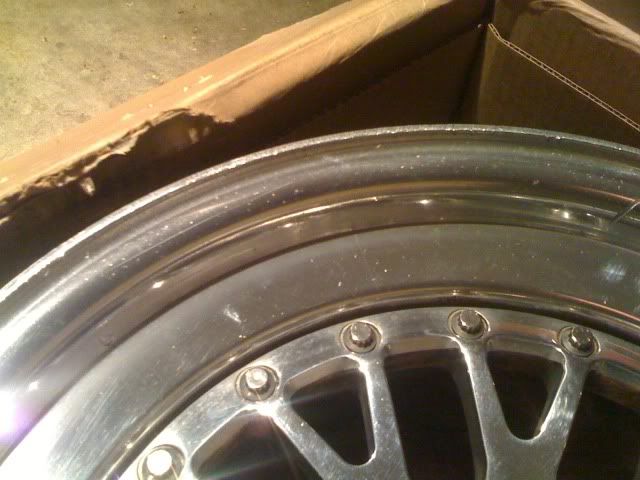
Hey guys I got into a curb a little bit with a CCW. Can anyone post a repair method to fix curb rash. Does anyone know if CCW would repair this or is it a easy home repair.
Pictures would help. Sometimes a slight rash can be sanded out and re polished, but usually not. What kind of CCW wheel is it? If it's a three-piece design (Classic, LM20, etc) you can just call CCW and give them the specs of your wheels (size, width, backspace) and they can send you a new outer shell, and you can take apart and reassemble the wheel yourself. One new shell would be much cheaper than replacing the whole wheel.
Thread Starter
TECH Enthusiast
Joined: Dec 2004
Posts: 588
Likes: 0
From: Zanesfield, OH
LOL "curved". I had my wife type this post up while I was on the road, I guess she didn't understand what I was saying.
Anyway I curbed a wheel pulling into a bank today, I didnt see that the curbs where so narrow. This sucks I have kept these wheels in perfect condition for 4 years now.
Its not to bad and looks like it could be sanded out, I just need to figure out what materials and method I need to make the repair or at least improve it.
Trending Topics
I'll get some up tomorrow hopefully. Still waiting on my 315/35/17 mt's.
Can't really afford that right now. It doesn't bother me too much. Was just gonna see if I could possibly repair it myself or make it somewhat better.
Can't really afford that right now. It doesn't bother me too much. Was just gonna see if I could possibly repair it myself or make it somewhat better.
LS1 Tech Stories
The Best V8 Stories One Small Block at Time

Topdon ONE vs. Artidiag 800 BT2: Which is the Diagnostic Tablet For You?
Pouria Savadkouei
Gas Monkey Built a 6-Wheel Ferrari Testarossa With a Corvette LT4 Engine
Verdad Gallardo
7 Most Reliable High-Performance Engines GM Has Ever Built
Verdad Gallardo
Amazing '71 Camaro Restomod Is Modern Muscle Car Under the Skin
Verdad Gallardo
6 Common C5 Corvette Failures and What's Involved In Repairing Them
Pouria Savadkouei
Retro Modern Bandit Pontiac Trans AM Comes With Burt Reynolds' Autograph
Verdad Gallardo
Top 10 Greatest Cadillac V Series Performance Models Ever, Ranked
Pouria Savadkouei
Top 10 Most Powerful Chevy Trucks Ever Made!

Hennessey's New Supercharged Silverado ZR2 Has 700 HP
Verdad Gallardo bring it buy the house sometime and ill try and fix it up for ya. i should have everything in the garage to do it.


for the rest of you this was my process:
1: started with 180 grit on a da sander just to knock down the heavy scuffs
2: moved to 320 grit on the da till 180 scratches were gone
3: wet sanded by hand with 400
4: wet sanded with 800
5: wet sanded with 1200
6: wet sanded with 2000
7: polished to a shine with bling masters
NOTE: DO NOT USE A DA SANDER ON THE BARREL, ONLY THE RASHED EDGE AND MAKE SURE TO KEEP IT FLAT AND ON A LOW SPEED. SAND BARREL BY HAND.
DO NOT USE A HAND SANDER IF YOU ARE NOT FAMILIAR WITH IT.
IF YOU TRY THIS AND SCREW IT UP I AM NOT RESPONSIBLE.