
DIY three piece wheel assembly / installation bbs, fikse, ccw, kinesis, etc
 02-05-2012 | 11:51 AM
#1

Thread Starter
Teching In
Joined: Oct 2009
Posts: 11
Likes: 0
Step 1: Make sure all surfaces are clean and free of any old silicone before mating them together. To strip silicone, you first use a razor blade, then a wire brush attachment on a cordless drill or drill press. There are other methods of stripping old silicone, feel free to get creative.
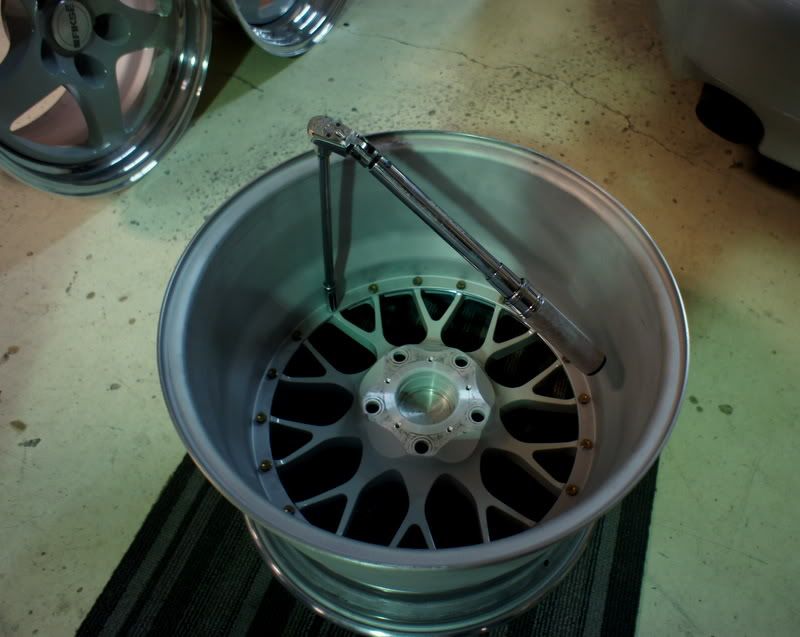
Step 2: Assemble the wheel. With most three piece wheels, you mate the outer lip and inner barrel together first, then drop the center in from the backside or front side, line up the hardware holes, and put in the hardware by hand.
Step 3: Torque down the hardware (you may also choose to torque down the hardware at the very end, this helps with not having a bubble form in the silicone). With Fikse and Kinesis wheels, which use relatively small, M6 hardware, torque spec is 16 ft lbs. Do not over-torque. With wheels that use larger M8 hardware, torque spec is usually around 18 ft lbs. Torque in a star pattern, rather than just one after another in a row. Do not use a cheap, autozone style torque wrench. Borrow a good torque wrench from a friend if you have to.
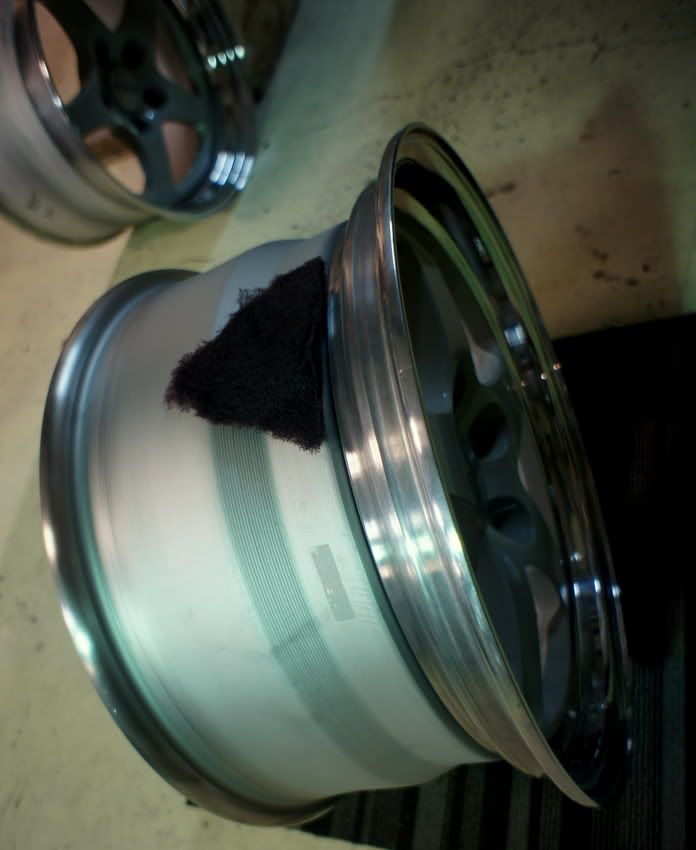
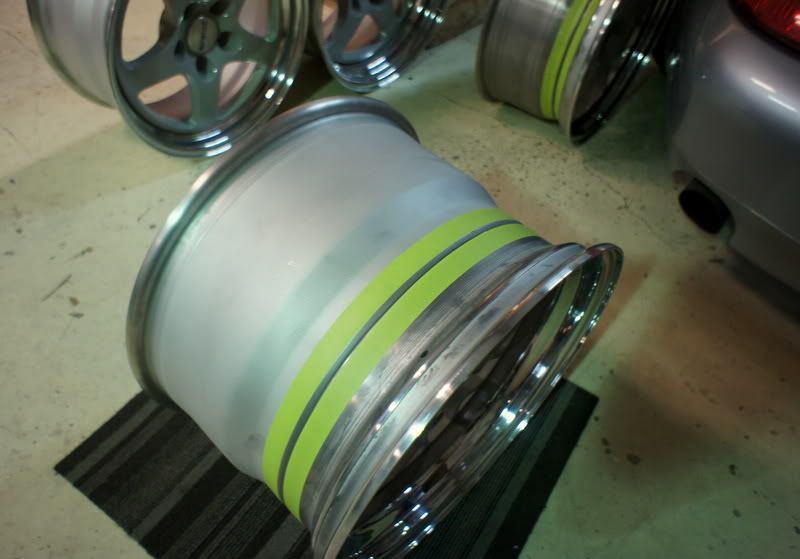
Step 4: Lightly scuff up the mating surfaces of the outer lip and inner barrel with scotch-brite or light sandpaper.
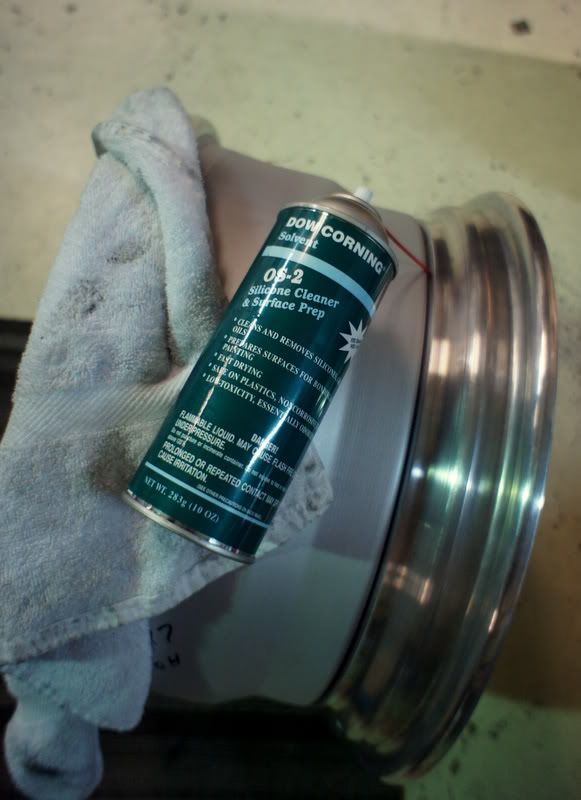
Step 5: Clean the mating surfaces with some rubbing alcohol on a rag, or surface prep.
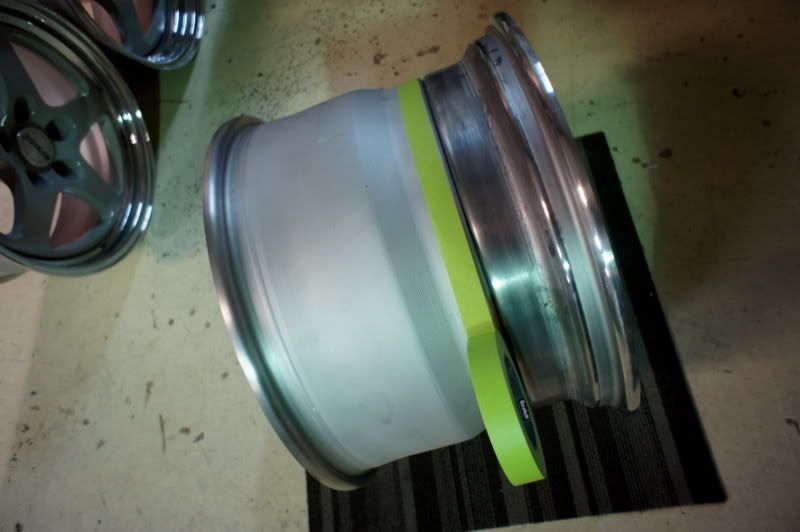
Step 6 (optional): Mask off the mating surfaces so that you'll end up with a clean silicone line on the barrel and the lip.
Step 7: Seal with a non-acid curing, adhesive RTV silicone. Slowly lay down an even bead all the way around, with the angled cut tip of the tube facing down.
*Note: I buy this stuff by the case, so if any of you guys need a tube of it, just email me. thatcher.shultz@gmail.com *
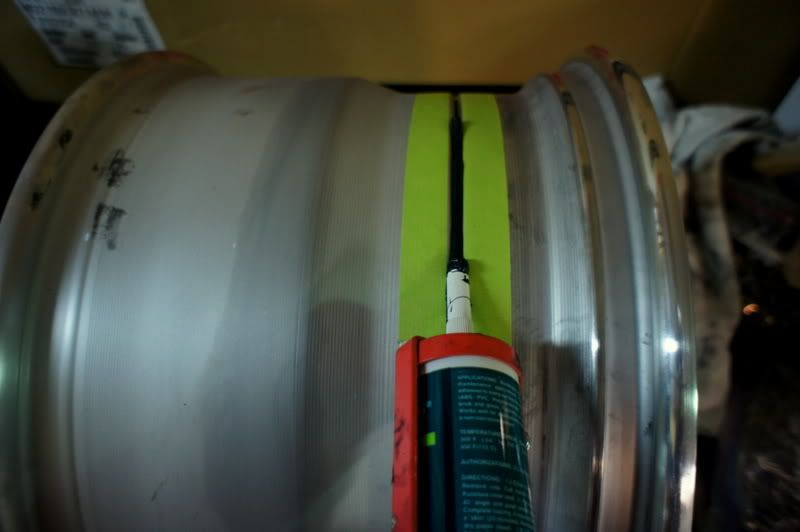
Step 8: Carefully smooth the bead with your finger, applying just the right amount of pressure so that it correctly seals the mating surfaces; you want a smooth, even amount of silicone. Make sure you don't have a bubble in the silicone. Often times, a bubble forms because the trapped air has nowhere to go. One way to combat this problem is to not torque down the hardware until after the wheels are sealed & cured. If a bubble forms, just pop it with a razor blade or something sharp laying around, and smooth back over it with your finger.
Step 9: Remove masking tape before the silicone cures.

Step 10: Allow at least 24 hours of cure time before mounting a tire.

Step 2: Assemble the wheel. With most three piece wheels, you mate the outer lip and inner barrel together first, then drop the center in from the backside or front side, line up the hardware holes, and put in the hardware by hand.
Step 3: Torque down the hardware (you may also choose to torque down the hardware at the very end, this helps with not having a bubble form in the silicone). With Fikse and Kinesis wheels, which use relatively small, M6 hardware, torque spec is 16 ft lbs. Do not over-torque. With wheels that use larger M8 hardware, torque spec is usually around 18 ft lbs. Torque in a star pattern, rather than just one after another in a row. Do not use a cheap, autozone style torque wrench. Borrow a good torque wrench from a friend if you have to.
Step 4: Lightly scuff up the mating surfaces of the outer lip and inner barrel with scotch-brite or light sandpaper.
Step 5: Clean the mating surfaces with some rubbing alcohol on a rag, or surface prep.
Step 6 (optional): Mask off the mating surfaces so that you'll end up with a clean silicone line on the barrel and the lip.
Step 7: Seal with a non-acid curing, adhesive RTV silicone. Slowly lay down an even bead all the way around, with the angled cut tip of the tube facing down.
*Note: I buy this stuff by the case, so if any of you guys need a tube of it, just email me. thatcher.shultz@gmail.com *
Step 8: Carefully smooth the bead with your finger, applying just the right amount of pressure so that it correctly seals the mating surfaces; you want a smooth, even amount of silicone. Make sure you don't have a bubble in the silicone. Often times, a bubble forms because the trapped air has nowhere to go. One way to combat this problem is to not torque down the hardware until after the wheels are sealed & cured. If a bubble forms, just pop it with a razor blade or something sharp laying around, and smooth back over it with your finger.
Step 9: Remove masking tape before the silicone cures.
Step 10: Allow at least 24 hours of cure time before mounting a tire.
 02-06-2012 | 08:39 AM
#4

There is also a trick that I use which helps align everything much easier and faster
Get four semi long studs that are the same size as the bolts that you are using for the wheels then put them in hand tight on the centers, makes dropping in the centers a breeze.
Get four semi long studs that are the same size as the bolts that you are using for the wheels then put them in hand tight on the centers, makes dropping in the centers a breeze.


Trending Topics
02-13-2012 | 09:13 PM
#8
Thread Starter
Teching In
Joined: Oct 2009
Posts: 11
Likes: 0
I do not recommend using silicone in between the halves where the hardware holes are. It's totally not necessary, and creates a huge headache for the next guy who has to take them apart and put them back together.
02-26-2012 | 10:29 PM
#11
