
Kee's Ultra High End (Kinda!) & MORE: Install
 09-15-2011, 01:56 PM
#21
On The Tree
Thread Starter
Join Date: Jan 2011
Location: East Coast
Posts: 191
Likes: 0
Received 0 Likes
on
0 Posts
Heading out to the store again.... Just realized the included fuse holder with the AK-4 kit is a 100A. 
Not only that but it's one of the strangest looking fuses I've ever seen. It looks almost like a small candy bar. I'm just going to pick up an AGU Fuse holder instead of searching for one of these things.
Not only that but it's one of the strangest looking fuses I've ever seen. It looks almost like a small candy bar. I'm just going to pick up an AGU Fuse holder instead of searching for one of these things.


 09-15-2011, 02:01 PM
#23
On The Tree
Thread Starter
Join Date: Jan 2011
Location: East Coast
Posts: 191
Likes: 0
Received 0 Likes
on
0 Posts
Oh awesome. Just as I walked out the door the mail came. I walked out to the mail box to grab it and what do ya know? A package from 6LE.
My tweeter pods have arrived! Thanks Ian!
Guys at 6LE, I must say that these are a nice, quality piece!
My tweeter pods have arrived! Thanks Ian!
Guys at 6LE, I must say that these are a nice, quality piece!
09-15-2011, 02:09 PM
#24
TECH Addict

candy bar fuse? I don't know what you mean... A wafer fuse?
AGU fuses are not very good. They have a tendency to get hot and partially desolder themselves, causing issues.
AGU fuses are not very good. They have a tendency to get hot and partially desolder themselves, causing issues.
 good stuff, I got a big bunch of boxes from ian and cdt about 2 years ago, you will hear an amazing difference when you get it completed
  09-15-2011, 03:38 PM
#26
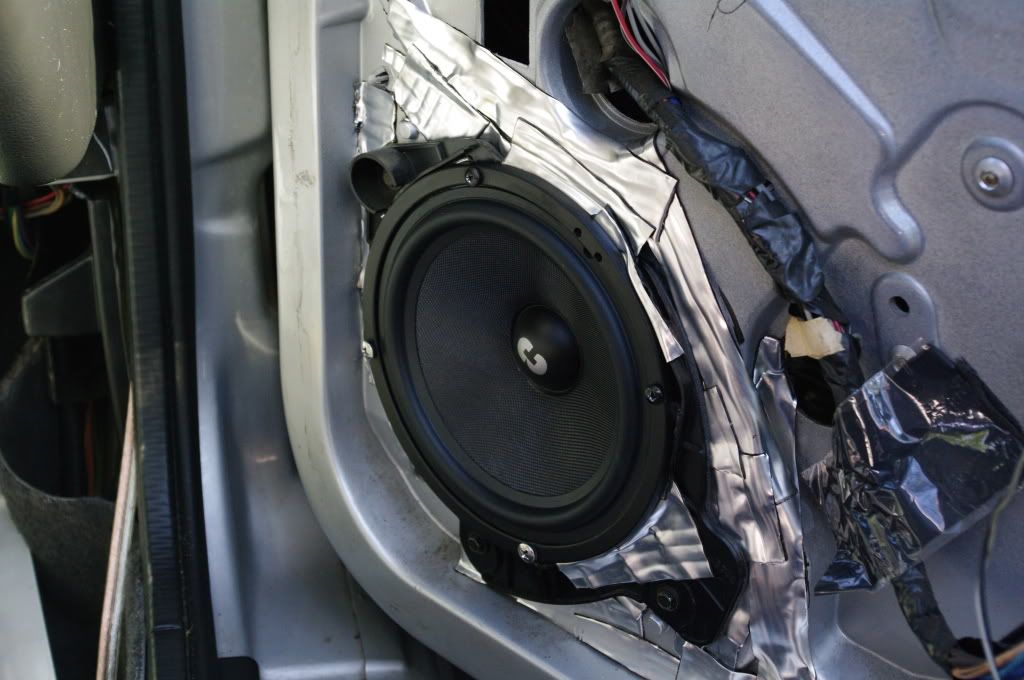
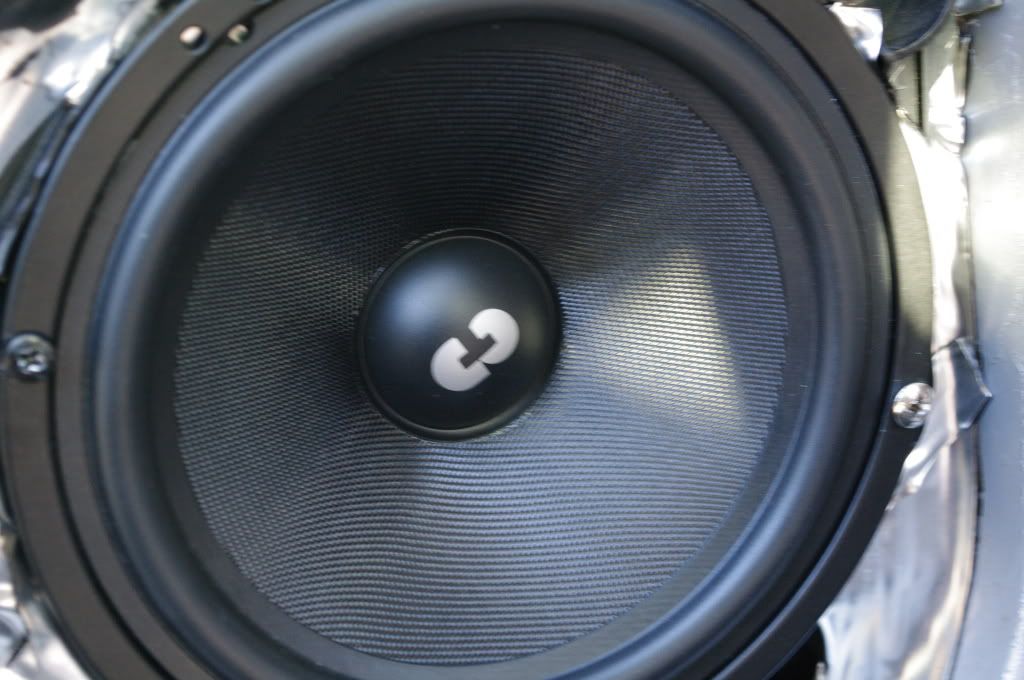
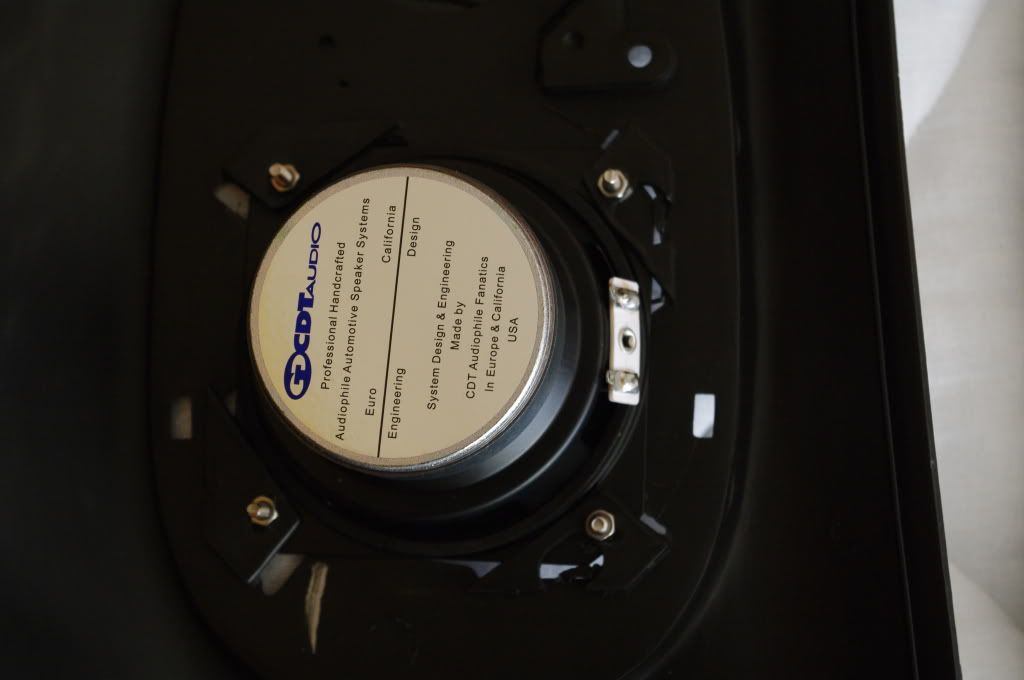
That is one of CDT's highest end speakers. It is also one of the largest that still fits in the stock mount. I know that was a tight fit but those are CDT ES series and will sound great with that amp. I actually wish I could be there to help you get it in so I can hear it. I like to hear the end result.
09-15-2011, 03:54 PM
#27
That fuse should be good for about 1000-1200watts at least. ANL 100amp fuse and 4ga wire for power and ground.
Last edited by KEE AUDIO; 09-15-2011 at 04:01 PM.
09-15-2011, 04:10 PM
#28
On The Tree
Thread Starter
Join Date: Jan 2011
Location: East Coast
Posts: 191
Likes: 0
Received 0 Likes
on
0 Posts
No it's the newest AK4 kit, I couldn't even find a picture of it on the net, it's not even on Metra's website yet...I just looked. The old one did use an AGU type fuse. They now did away with that one and use an ANL fuse. It is pretty nice actually.
That fuse should be good for about 1000-1200watts at least. ANL 100amp fuse and 4ga wire for power and ground.
That fuse should be good for about 1000-1200watts at least. ANL 100amp fuse and 4ga wire for power and ground.

About to head back out to another bunch of stores to try to find something.
 09-15-2011, 04:39 PM
#30
On The Tree
Thread Starter
Join Date: Jan 2011
Location: East Coast
Posts: 191
Likes: 0
Received 0 Likes
on
0 Posts
You sure?
The book calls for a 60A fuse, and the amplifier itself isn't fused. (Or at least they aren't physically accessible like my old Alpine's.)
The book calls for a 60A fuse, and the amplifier itself isn't fused. (Or at least they aren't physically accessible like my old Alpine's.)
09-15-2011, 04:41 PM
#31
TECH Addict
use a 100A and just order a 60 on Amazon and use that when it arrives. ANL fuses on Amazon go for about $5 for a 2-pack, and they are Prime eligible. If the amp is gonna short out, it's gonna short out. You'll need to repair it either way.
09-16-2011, 07:56 AM
#32
On The Tree
Thread Starter
Join Date: Jan 2011
Location: East Coast
Posts: 191
Likes: 0
Received 0 Likes
on
0 Posts
Alright guys. Rain screwed me over for yesterday. I currently can't get into my carport. The Iroc's taking up all the room! Not to mention it's up a slight incline and pushing her up there once was more than enough.
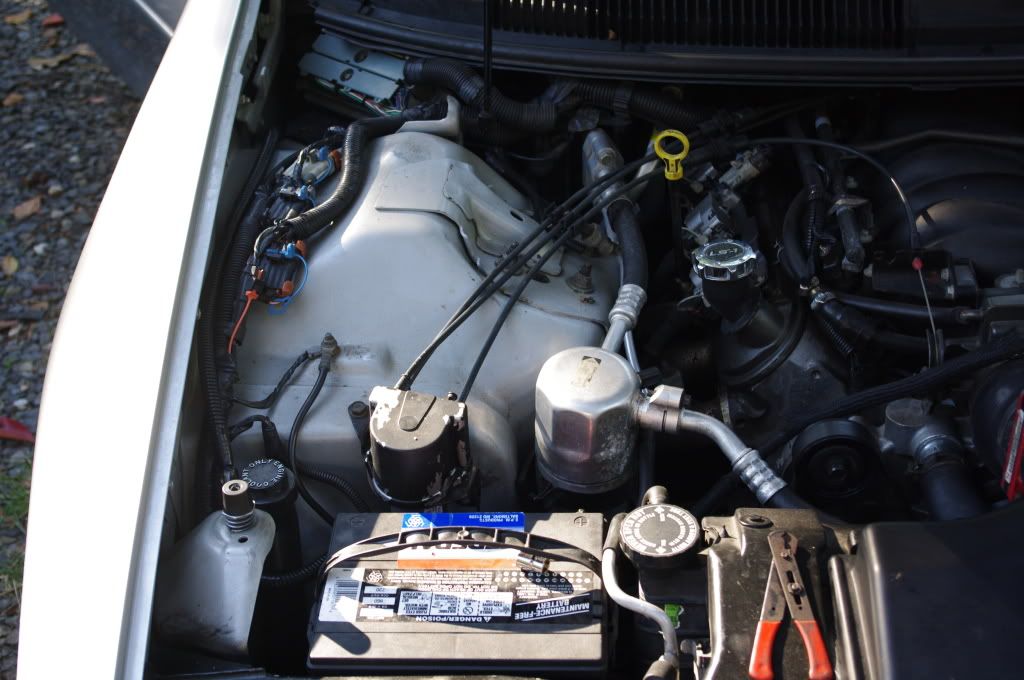
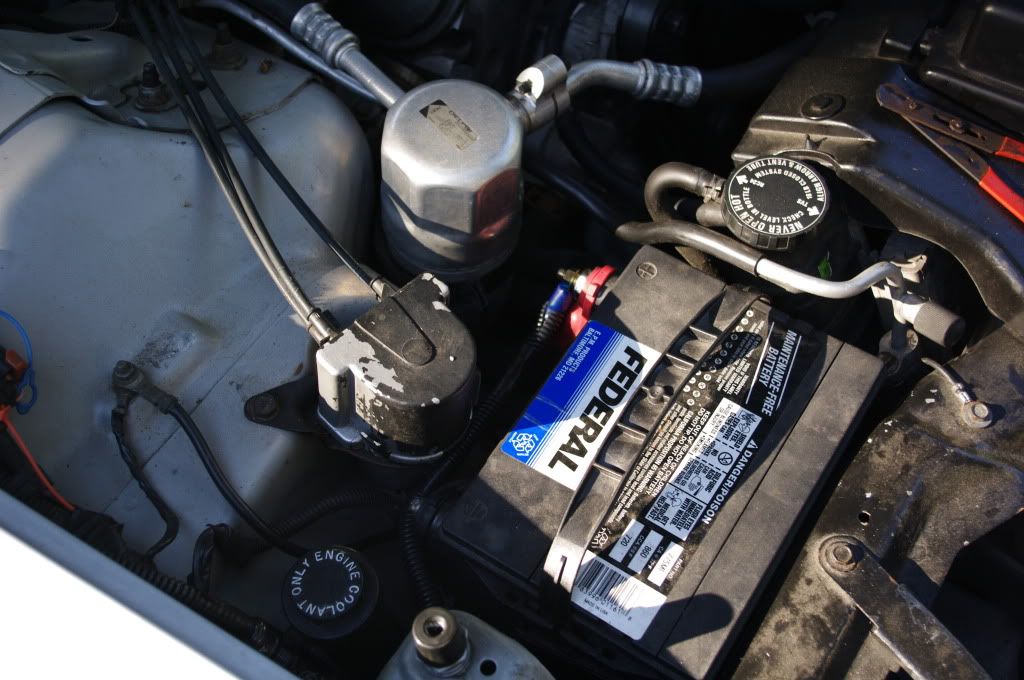
Just finished up the engine bay looming and so forth.
Turned it on with just the fronts and the sub... And wow. Absolutely AMAZING. I was starting to drool. It is so clear and crisp. I'm loving it and I don't even have it tuned yet. Or the sails, rears, and tweeters in yet!
Still trying to figure my best route to wire the sails/rears. Not sure if I should wire them in parallel or just individually install on the same channel.
But now that the sun is out, I can get back to work and finish the wire routing and looming.
 09-16-2011, 08:27 AM
#34
TECH Addict
Run separate wire for everything back to the amp and then you'll be able to change the wiring later on if you need to. I've been considering starting to do things this way: Get all that wiring back to a terminal/barrier strip that I will bolt to the car, making the wire permanent, and then having wire going to the amps from that so that I don't need to worry about wire being too short or too long and splicing it together, etc. If things change, I just change the short run from the terminal strip.
09-16-2011, 08:45 AM
#35
On The Tree
Thread Starter
Join Date: Jan 2011
Location: East Coast
Posts: 191
Likes: 0
Received 0 Likes
on
0 Posts
Good outlook. Definitely taking that approach. It gives me time to get everything installed while not being permanent so I can learn more about tuning the amp and the ability to decide if I'm going to change anything around.
As long as I can get everything done from the engine bay to the rear seats I'll be happy.
I've got a wedding to go to tomorrow, so I need SOME way to get there.
Hatch speakers are almost installed. Bolting them in now. Will have some more pictures up shortly.
As long as I can get everything done from the engine bay to the rear seats I'll be happy.
I've got a wedding to go to tomorrow, so I need SOME way to get there.
Hatch speakers are almost installed. Bolting them in now. Will have some more pictures up shortly.
09-16-2011, 09:32 AM
#36
On The Tree
Thread Starter
Join Date: Jan 2011
Location: East Coast
Posts: 191
Likes: 0
Received 0 Likes
on
0 Posts
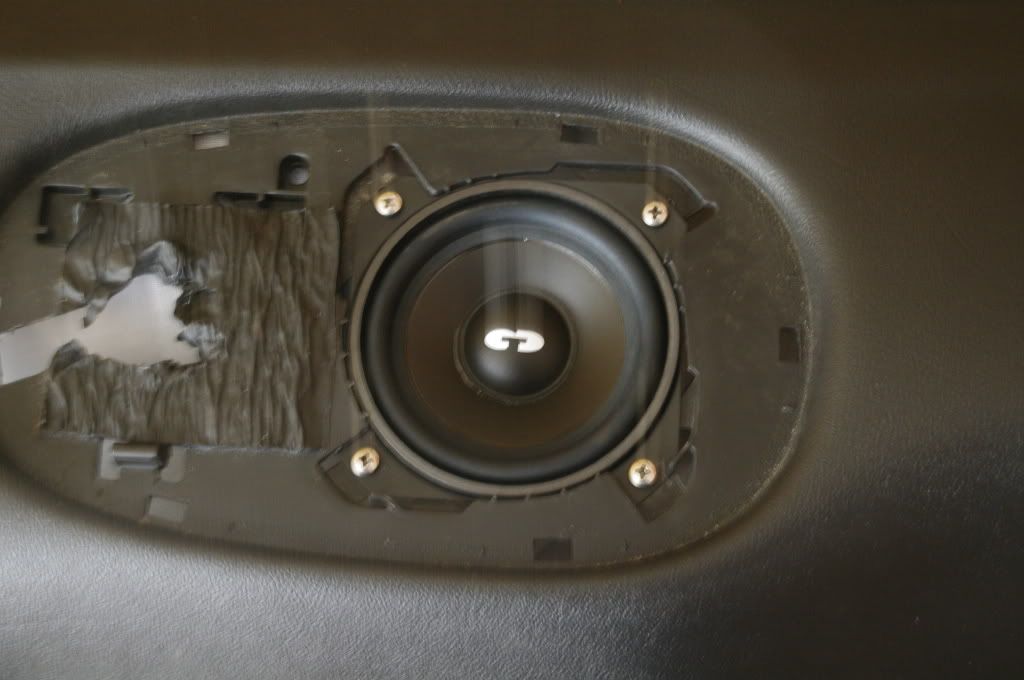
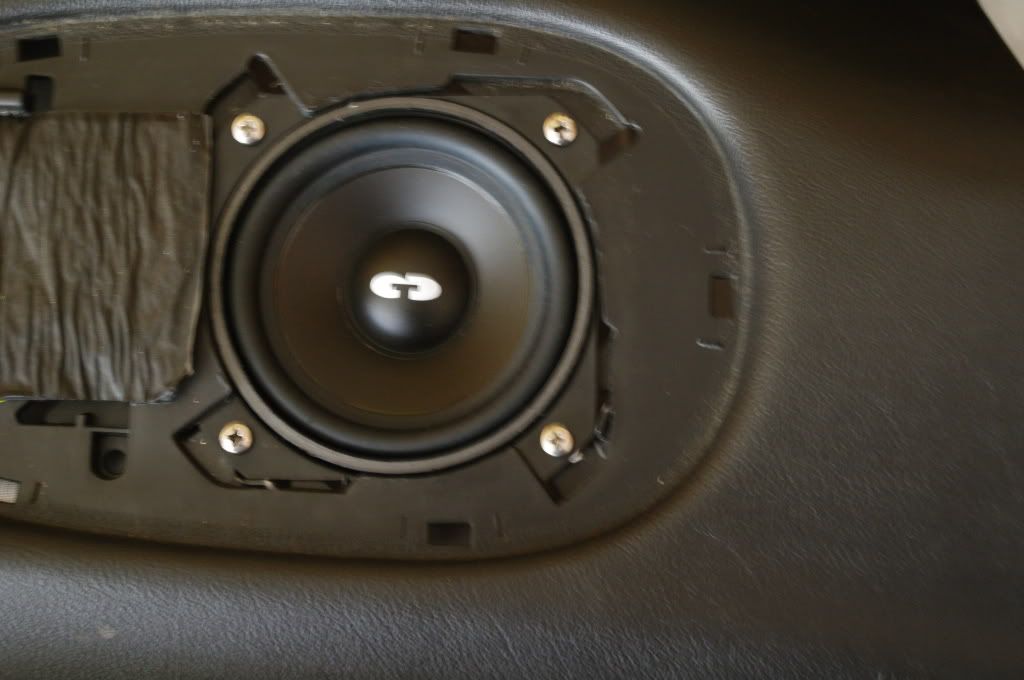
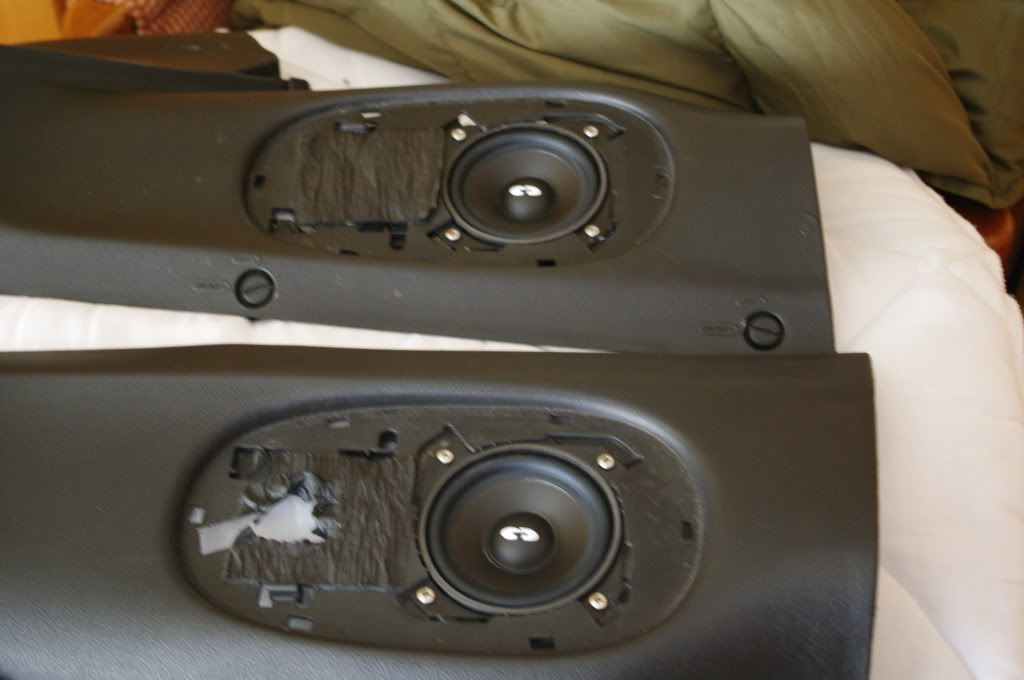
Finished mounting the hatch speakers. Very simple to do. Had to drill out the factory rivets. (2 on each side) Than mounted and marked the new CDT's. They were just a hair out of factory locations. Meanwhile, I marked for the 2 other un-drilled spots and drilled them out.
To get everything near perfect, I used a round file. Simply mounted them in with some M4 bolts and nuts and It's good to go. They have a nice, tight fit. I want to deaden around them on both sides, it'll just be a tedious job due to the small size of the tabs. Although, they're only for fill, I'd rather not have them rattle!
Engine bay is complete. Definitely considering cutting through the passenger side wheel well to run all that wiring through to clean it up a bit.
09-16-2011, 09:35 AM
#37
TECH Addict
Future project: dump the plastic sheeting in the doors and replace it with, ideally, fiberglass. Some people put sound deadener on the inside and the outside, but I don't like that. It will improve your midbass by helping isolate the backwave of the speaker from the front (Fiberglass will do this the best since it's actually solid) and, also, that plastic crap can actually rattle. like crazy.
09-16-2011, 09:41 AM
#38
On The Tree
Thread Starter
Join Date: Jan 2011
Location: East Coast
Posts: 191
Likes: 0
Received 0 Likes
on
0 Posts
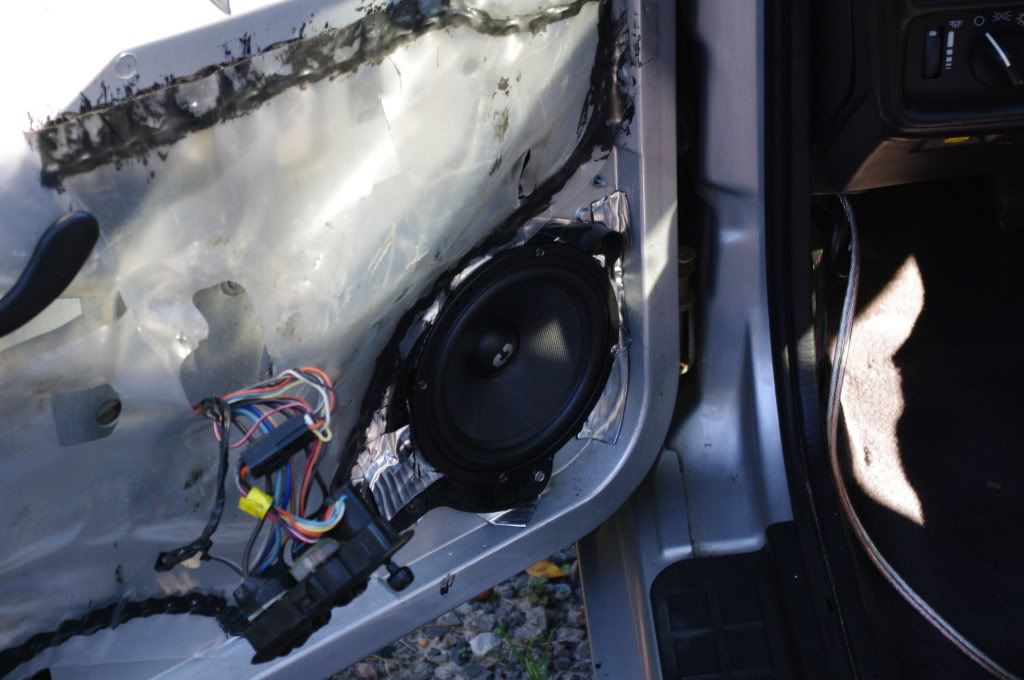
Future project: dump the plastic sheeting in the doors and replace it with, ideally, fiberglass. Some people put sound deadener on the inside and the outside, but I don't like that. It will improve your midbass by helping isolate the backwave of the speaker from the front (Fiberglass will do this the best since it's actually solid) and, also, that plastic crap can actually rattle. like crazy.

Already dumped the passenger side. Didnt do the driver side yet, I ran out of deadener. I didn't want to be stuck with all that urethane uncovered.
Now, the little bit that I used on the passenger side went a long way. It almost sounds like a solid door when it closes!
Now, the fiberglass replacement you speak of.. Have any examples you can show me?
09-16-2011, 09:43 AM
#39
TECH Addict
I haven't done mine yet, but I'll be making a removable fiberglass piece like that... I'll post up pics when I do it, probably not for a week or two. Things haven't been going well with my G8 install... blew my sub, blew a speaker, etc.
I will make the fiberglass and spray the back with undercoating to give it a rubbery gasket to help stop rattles, and then just screw it into the door with short, self drilling screws.
I think I will also reinforce my doors a little bit with some angle aluminum or steel or whatever...
I will make the fiberglass and spray the back with undercoating to give it a rubbery gasket to help stop rattles, and then just screw it into the door with short, self drilling screws.
I think I will also reinforce my doors a little bit with some angle aluminum or steel or whatever...
09-16-2011, 07:44 PM
#40
On The Tree
Thread Starter
Join Date: Jan 2011
Location: East Coast
Posts: 191
Likes: 0
Received 0 Likes
on
0 Posts
I have everything set up for the most part. Still need to do the tweeters. I'm having some issues with the mounts that came from the factory for the tweeters.
Now, everything is pretty much wired up and sounds great, although at about 3/4 volume it's still not "Loud". I'm sure that needs to be adjusted with the tuning and head unit controls. I'm not quite positive.
With everything wired and the amp wired, it looks like HELL! I need to shorten a bunch of wires as well as find some way to clean it up a bit. I have 2 wires going into 4 terminals on the amp. The hatch and sails on each side I have wired both squished into the amp. I suppose that's how it's supposed to be wired.
I have to do some research to find out exactly where I'm going from here.
But quite honestly, it sounds AMAZING! I'm sure once I fix the settings it'll be even better.