Kee's Ultra High End (Kinda!) & MORE: Install
 09-14-2011, 12:59 PM
#1
On The Tree
Thread Starter
Join Date: Jan 2011
Location: East Coast
Posts: 191
Likes: 0
Received 0 Likes
on
0 Posts
Firstly, I cannot say that these just showed up on my doorstep, because I had to go out and sign for them. 
Meanwhile, I spent all of yesterday cleaning everything out, removing panels, some much needed vacuuming under the seats, etc. Might I add that removing the dash pad produced a bit of trouble with the passenger side clip as well as a bunch of dead bugs underneath! I'm glad I went through the process of cleaning underneath it!
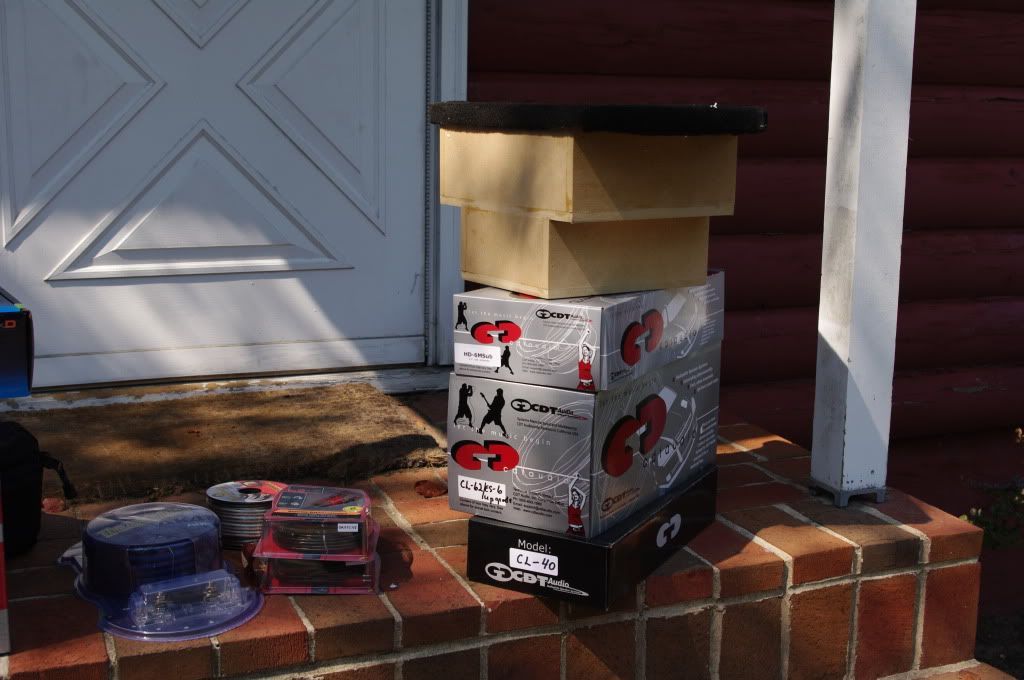
So, upon signing for the boxes, here is what I have: One from Ian and one from CDT!
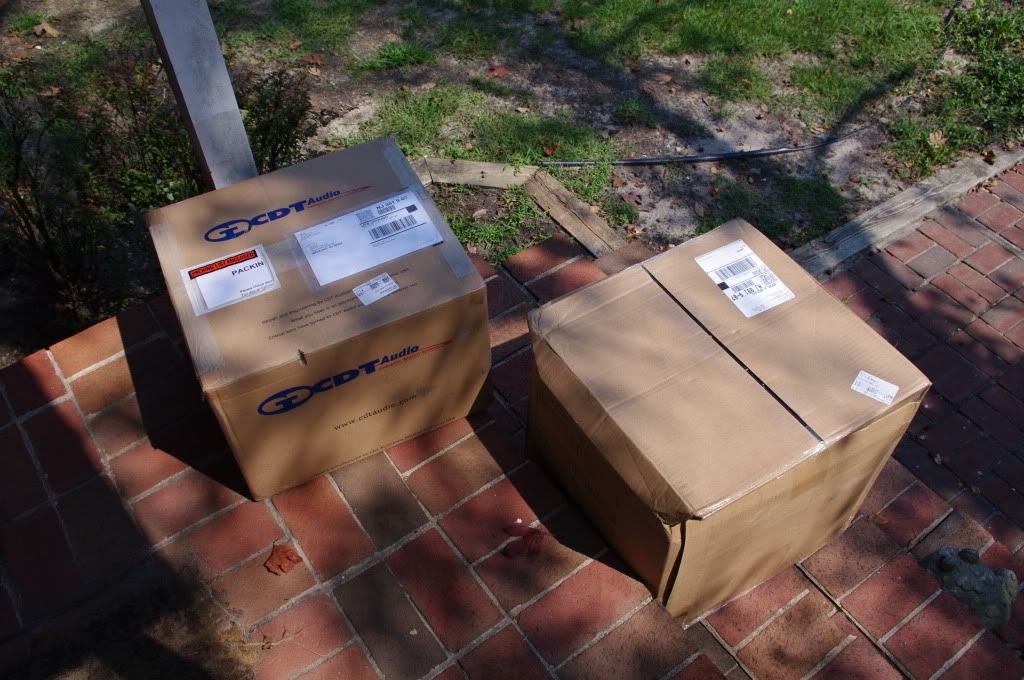
Without further adieu, the contents of them!
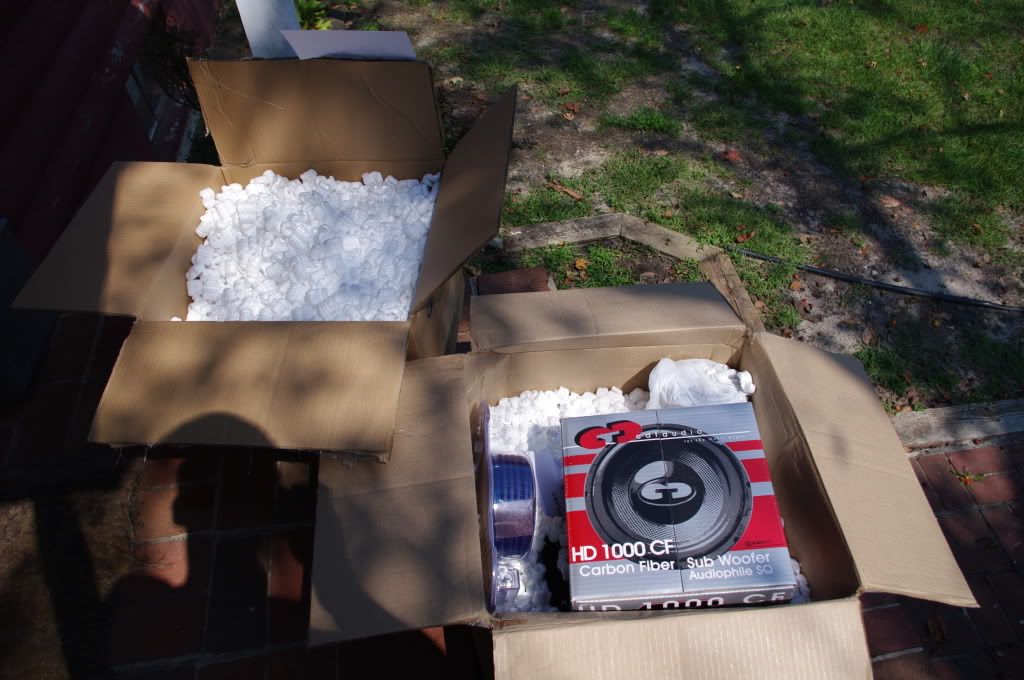
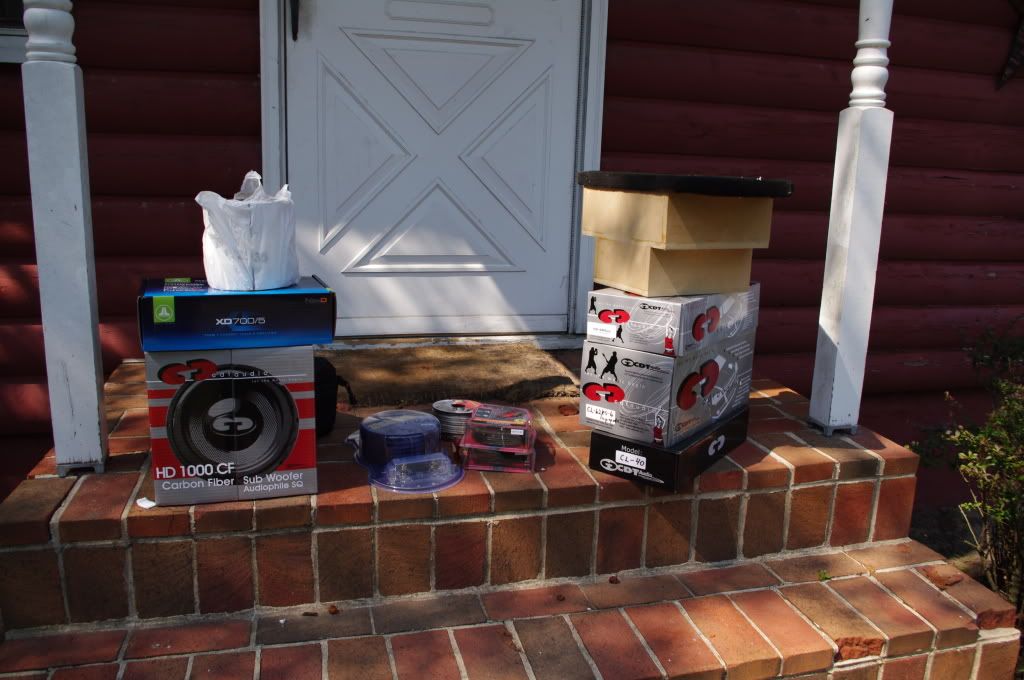
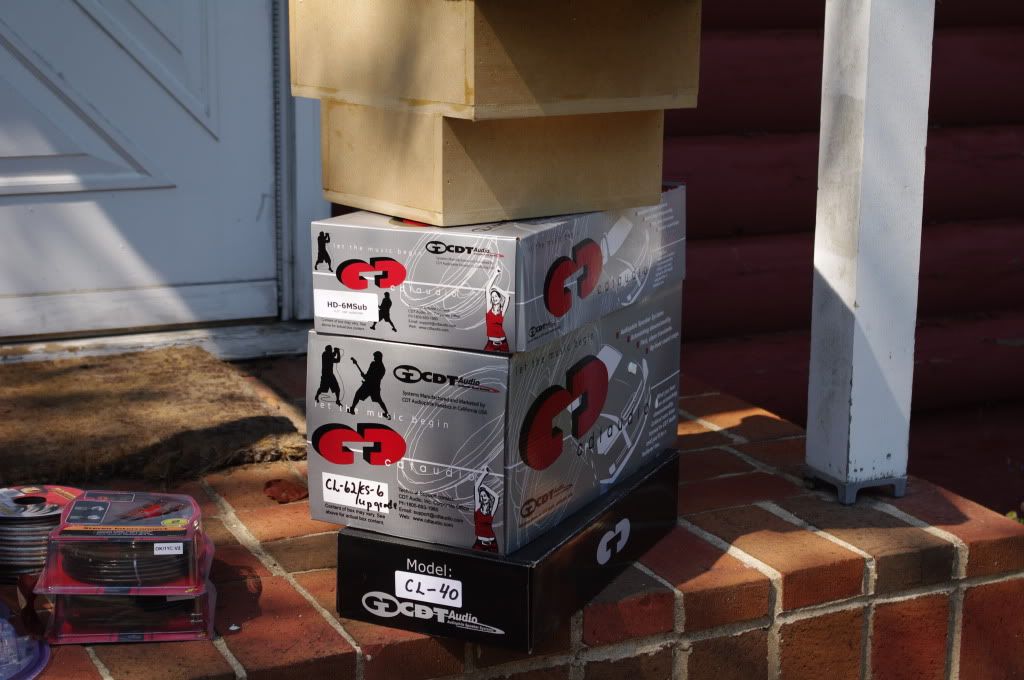
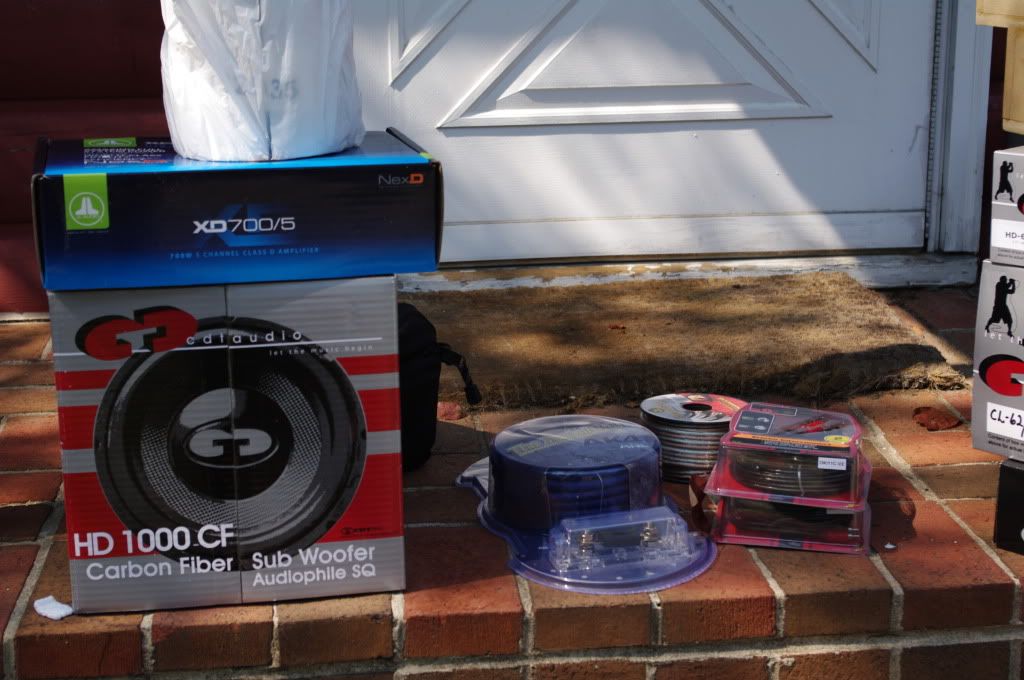
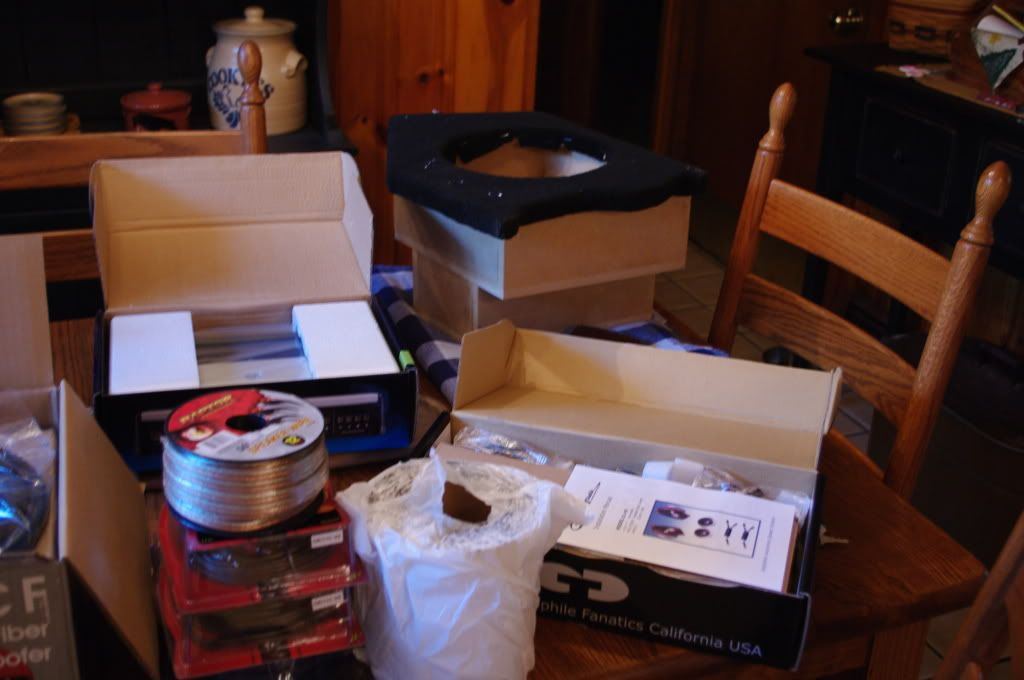
Contents:
1) HD-10000 CF Subwoofer
2) HD-6M Sub
3) CL-40
4) HD-2500X Crossovers
5) TW-25 Tweeters
6) EX-484 Crossover
7) CL-62 w/ ES-6 Upgrade
8) 50' Raptor 12ga Speaker Wire
9) 2x Stinger RCA Cables
10) Metra AK-4 Amp Install Kit
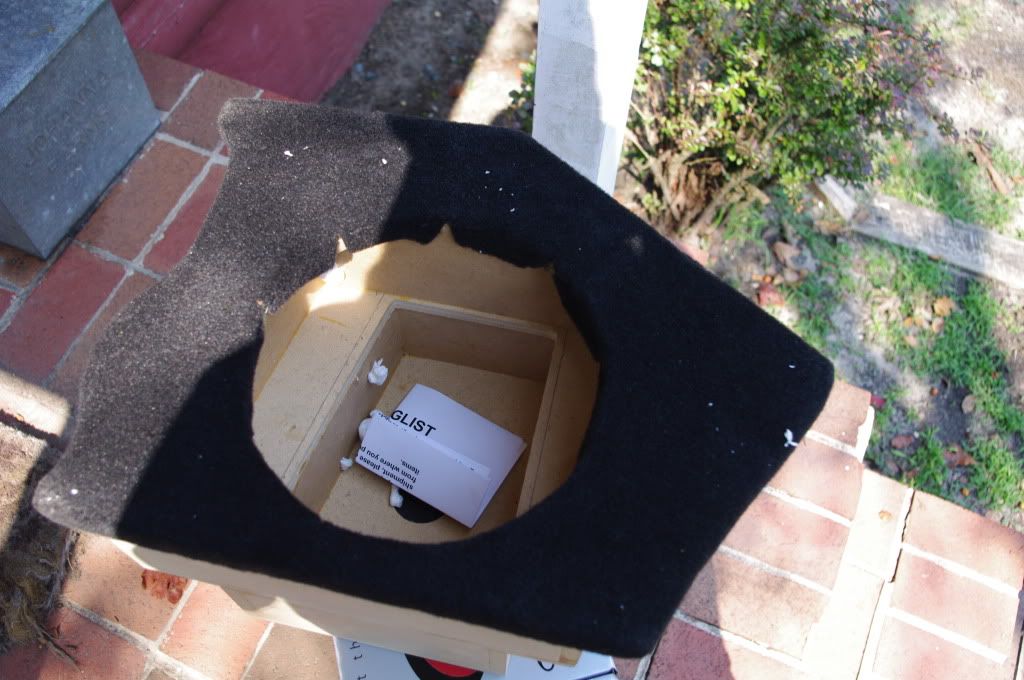
11) Stealth Box
12) JL XD700/5 Amplifier
9) Roll of super sticky sound deadener (LITERALLY! It's stuck to the bag it's in!)
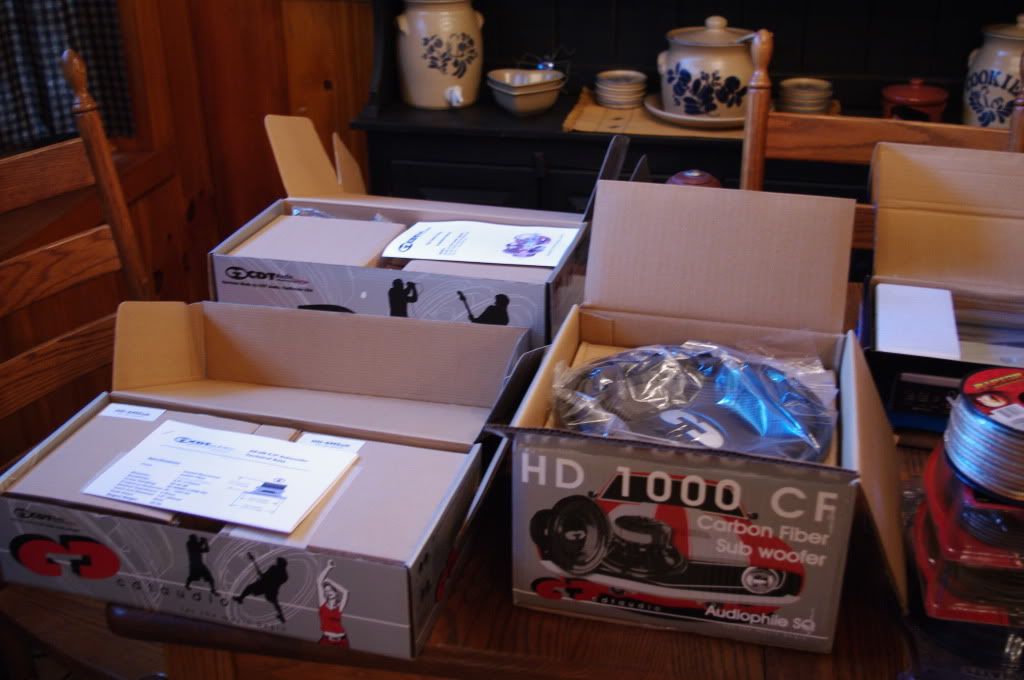
Packaging was very neat and organized, and the unboxing was even more organized. The guys at CDT definitely put a lot of effort into a nice and safe packaging of their speakers!
Now, it's time to head to the store real quick and pick up a few things:
Sheet of Aluminum
Misc. Screws/Bolts
Wire Ties
Assorted Connectors
Possibly some more speaker wire to be safe!
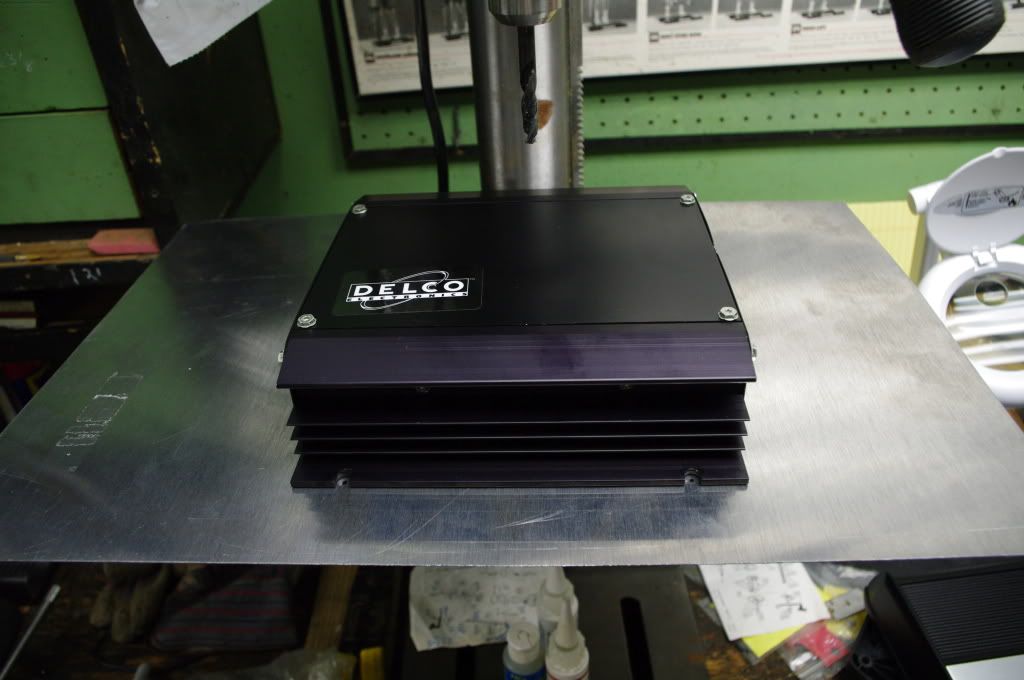
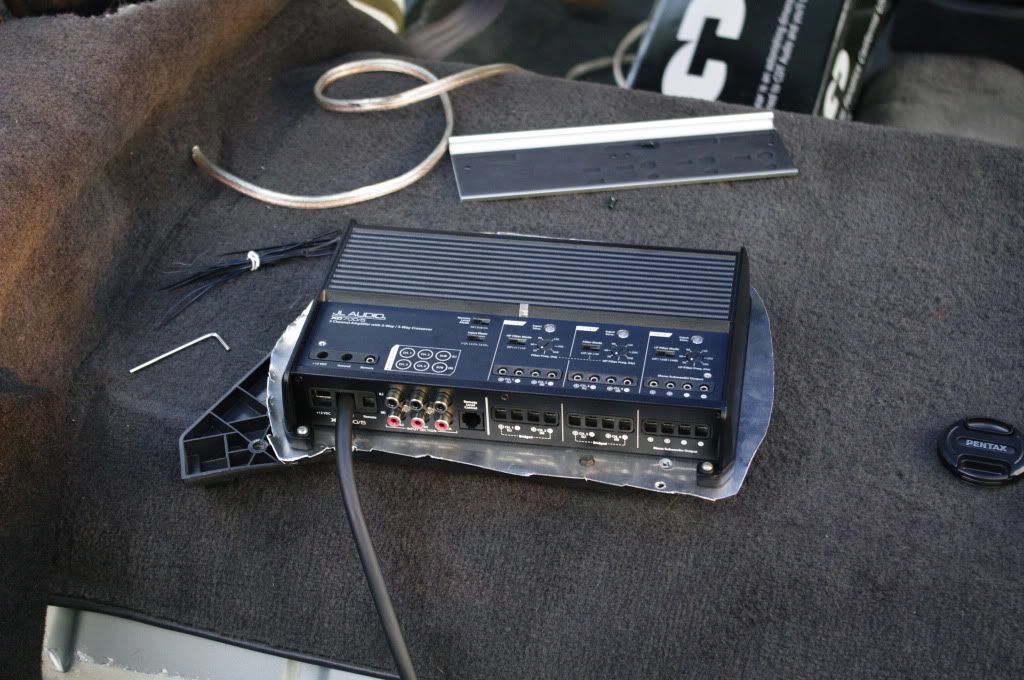
Ian, you weren't kidding when you said this amp is SMALL!
Meanwhile, I spent all of yesterday cleaning everything out, removing panels, some much needed vacuuming under the seats, etc. Might I add that removing the dash pad produced a bit of trouble with the passenger side clip as well as a bunch of dead bugs underneath! I'm glad I went through the process of cleaning underneath it!
So, upon signing for the boxes, here is what I have: One from Ian and one from CDT!
Without further adieu, the contents of them!
Contents:
1) HD-10000 CF Subwoofer
2) HD-6M Sub
3) CL-40
4) HD-2500X Crossovers
5) TW-25 Tweeters
6) EX-484 Crossover
7) CL-62 w/ ES-6 Upgrade
8) 50' Raptor 12ga Speaker Wire
9) 2x Stinger RCA Cables
10) Metra AK-4 Amp Install Kit
11) Stealth Box
12) JL XD700/5 Amplifier
9) Roll of super sticky sound deadener (LITERALLY! It's stuck to the bag it's in!)
Packaging was very neat and organized, and the unboxing was even more organized. The guys at CDT definitely put a lot of effort into a nice and safe packaging of their speakers!
Now, it's time to head to the store real quick and pick up a few things:
Sheet of Aluminum
Misc. Screws/Bolts
Wire Ties
Assorted Connectors
Possibly some more speaker wire to be safe!
Ian, you weren't kidding when you said this amp is SMALL!
Last edited by Rauch; 09-20-2011 at 02:32 PM.


 09-14-2011, 02:24 PM
#5
On The Tree
Thread Starter
Join Date: Jan 2011
Location: East Coast
Posts: 191
Likes: 0
Received 0 Likes
on
0 Posts
Just got back from Lowe's with a bucket full of stuff. Time to go out and start with the install!
Everything came from Ian. The speakers just shipped from the factory. Wish I got my head unit setup from Ian as well. (Which will be replaced by a double din soon enough.) Would've save me roughly $50 vs. Best Buy. He's a great guy to work with even when he's super busy.
In total, everything came to about $1,600.
Still thinking about the wiring situation as far as parallel, series, or single. Something I'm going to need to look into this evening.
Last edited by Rauch; 01-09-2012 at 09:11 PM.
Trending Topics
09-14-2011, 06:49 PM
#8
On The Tree
Thread Starter
Join Date: Jan 2011
Location: East Coast
Posts: 191
Likes: 0
Received 0 Likes
on
0 Posts
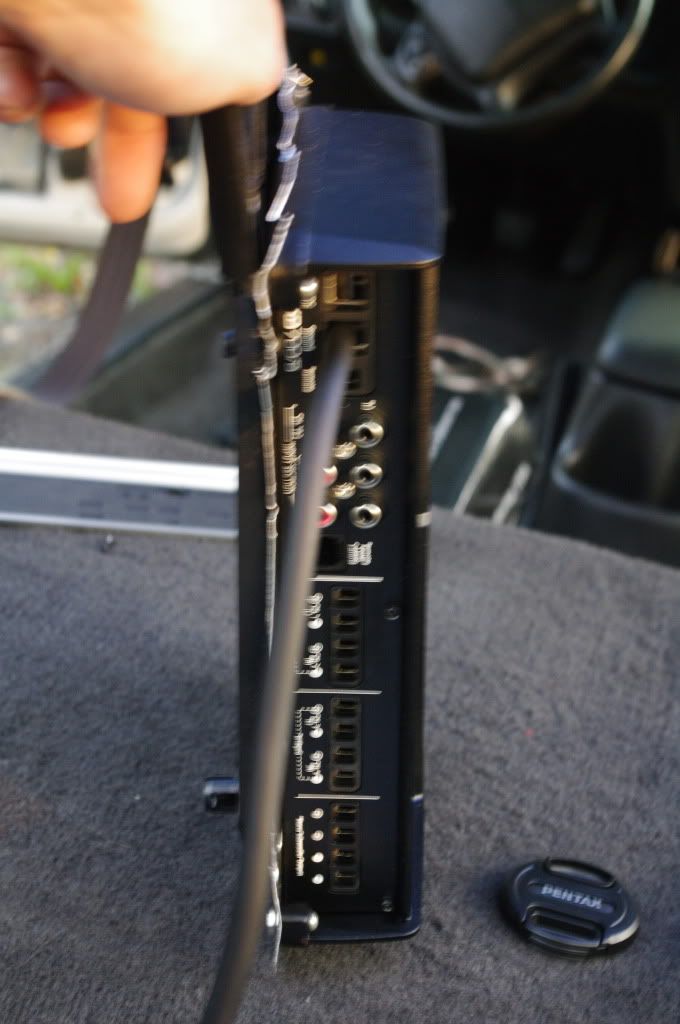
I just got finished testing out the amplifier modification to mount it in the stock spot and am finishing up installing the sub into the box as well as looming the power and ground to the amp.
I've been taking my time to make it real clean. I ended up using these J-shaped 3-ways to run the sub in parallel. I made sure it has a firm bite and isn't going anywhere. Have some pictures I'll be uploading shortly. Just stopping to eat right now.
I've been taking my time to make it real clean. I ended up using these J-shaped 3-ways to run the sub in parallel. I made sure it has a firm bite and isn't going anywhere. Have some pictures I'll be uploading shortly. Just stopping to eat right now.
09-15-2011, 05:16 AM
#11
On The Tree
Thread Starter
Join Date: Jan 2011
Location: East Coast
Posts: 191
Likes: 0
Received 0 Likes
on
0 Posts

Awesome Ian thanks!
Also, is it worth using the second pair of tweeters in the rear? I'm not sure if it was a mistake, but I ended up with 2 sets of tweeters!
As for more photos, just wait until the sun rises, my camera ended up dying and the digital I was trying to use was pretty bad and blurry. So in a little bit, I'll start up again!
09-15-2011, 08:39 AM
#12
On The Tree
Thread Starter
Join Date: Jan 2011
Location: East Coast
Posts: 191
Likes: 0
Received 0 Likes
on
0 Posts
Alright.. Back again with some more updates for you guys!
Here are some pictures from last night when I was working on the mount for the amp, piggybacked off the stock amp rack.

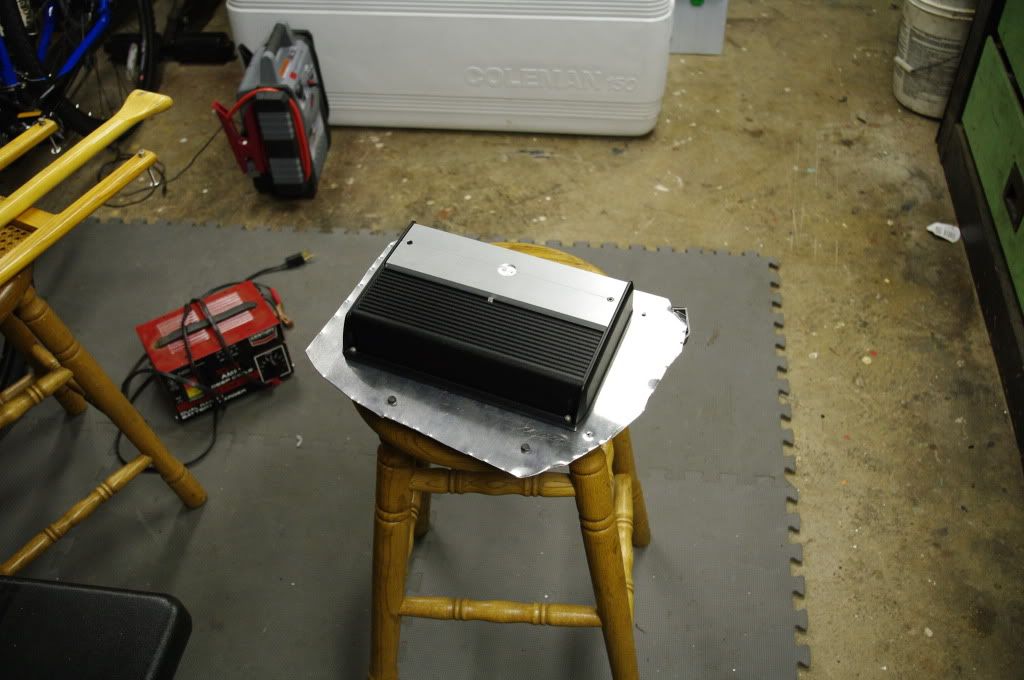
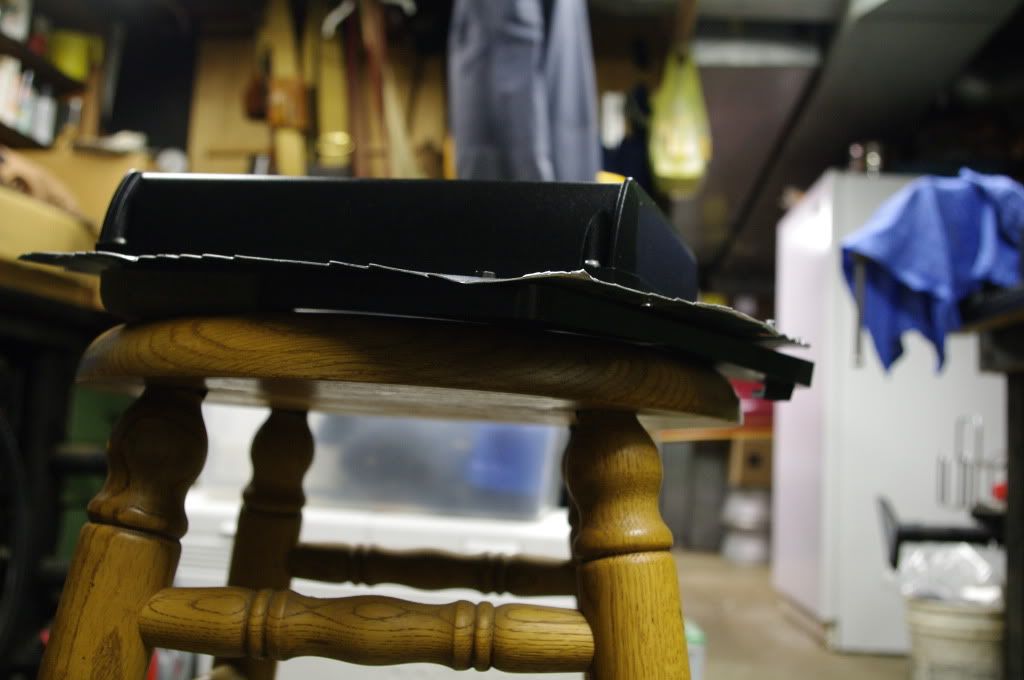
Now, I had to trim off some of the excess aluminum, the stock mount it a very tight fit. Nothing a pair of shears didn't fix though. It's still a bit rough looking with some sharp edges , but I'm probably going to wrap the edges in some sound dampener just in case it does rub. I've debated wrapping the aluminum fully in dampener, but I feel as though it will hold in the heat and potentially damage the amp.
Now some photos of where I started off this morning:
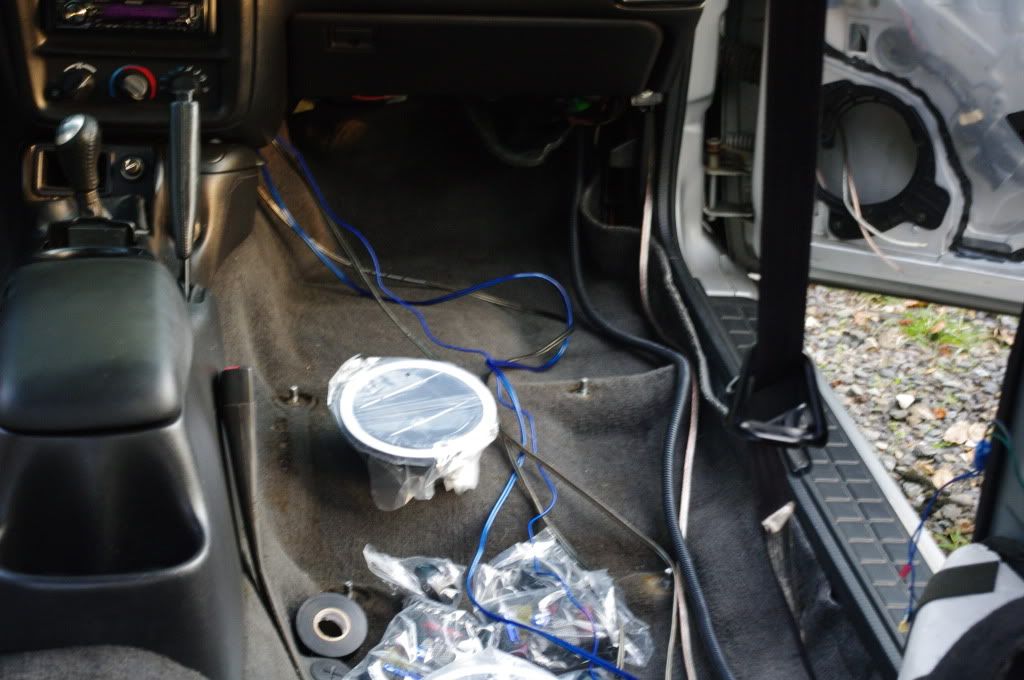
Test fitment of the finished and mounted sub:
I may have goofed up when mounting the sub.... I took into consideration the width of the mounting plate itself and not the width of where the screw hole is. So... I think I may have slightly went through the MDF.
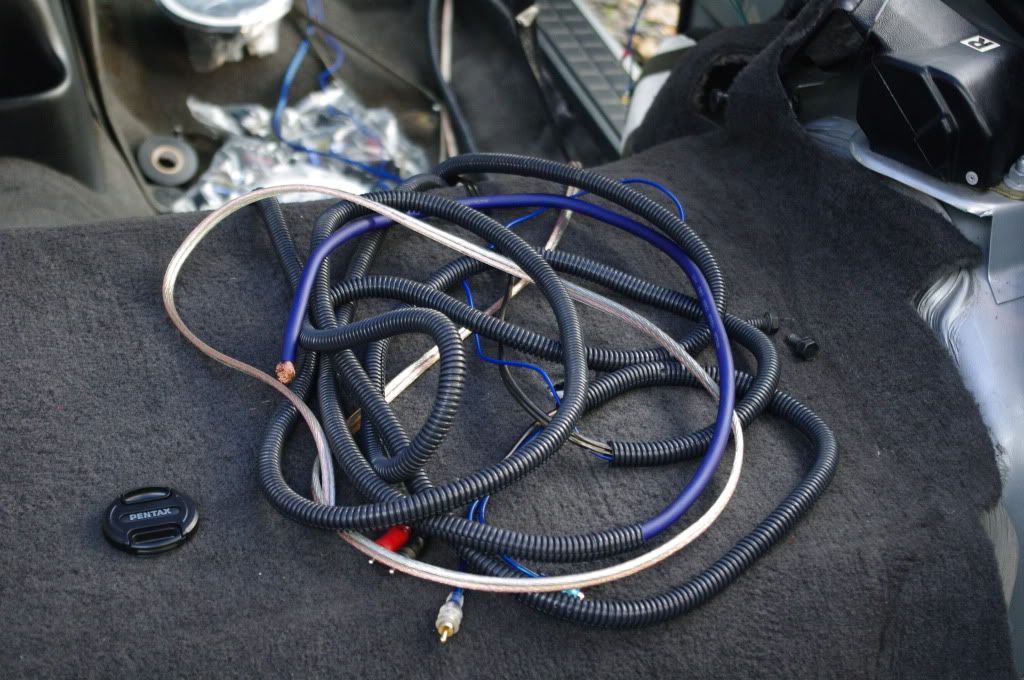
I didn't get too much further last night. I was, instead doing lots of planning, prep work, and running the RCA's and door speaker wire.
I found out quickly that I wish I would've picked up more speaker wire yesterday. I go to thinking 50ft may be enough, but was sadly wrong when I was running the wiring through the doors.
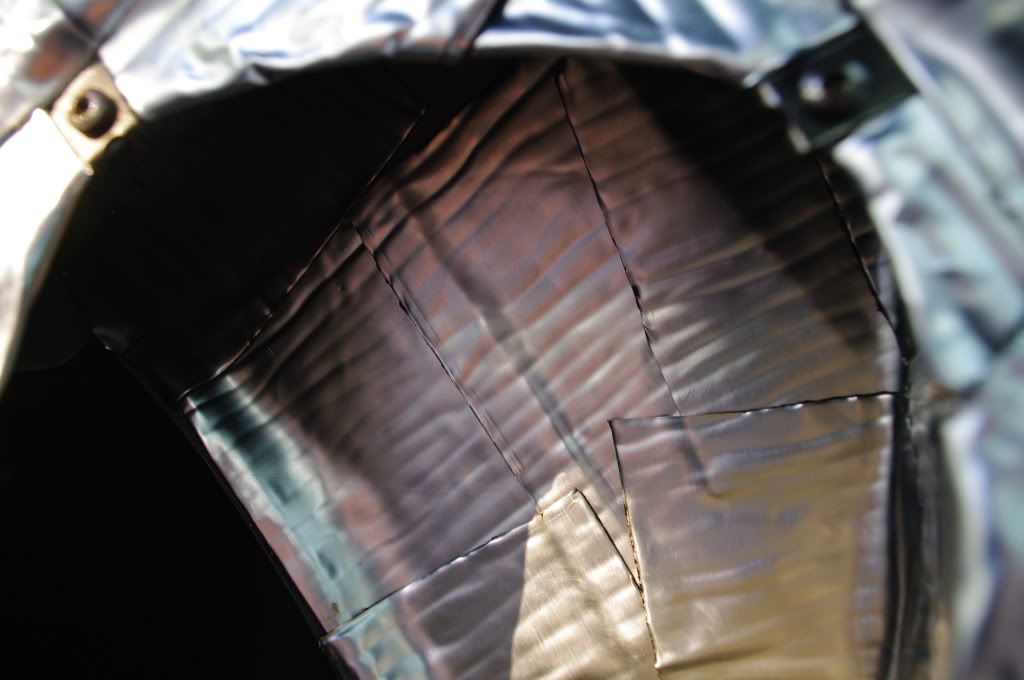
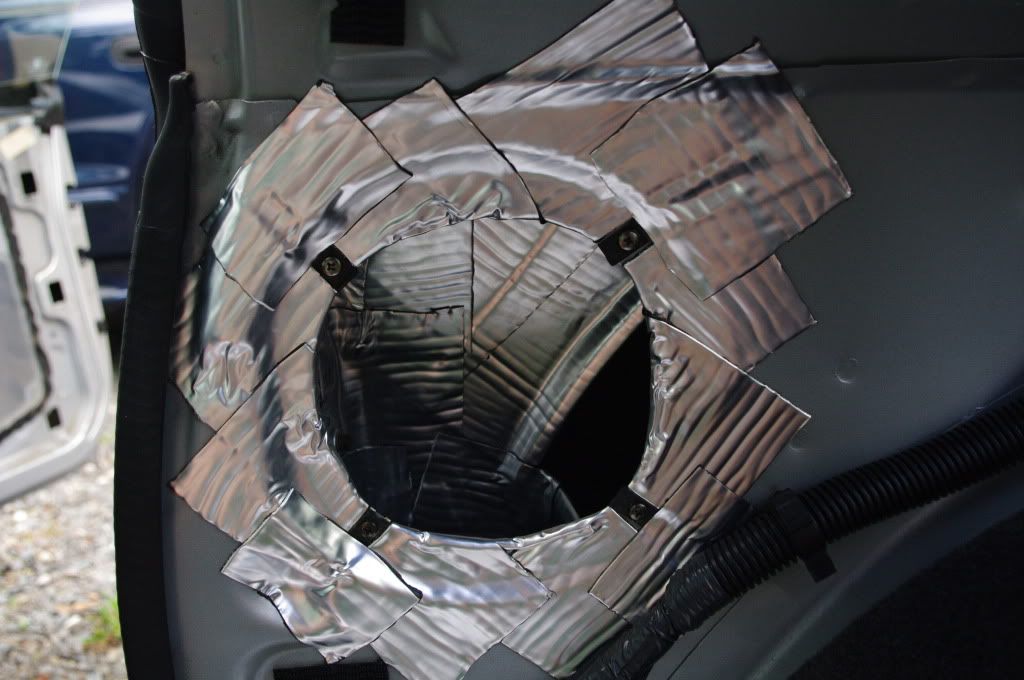
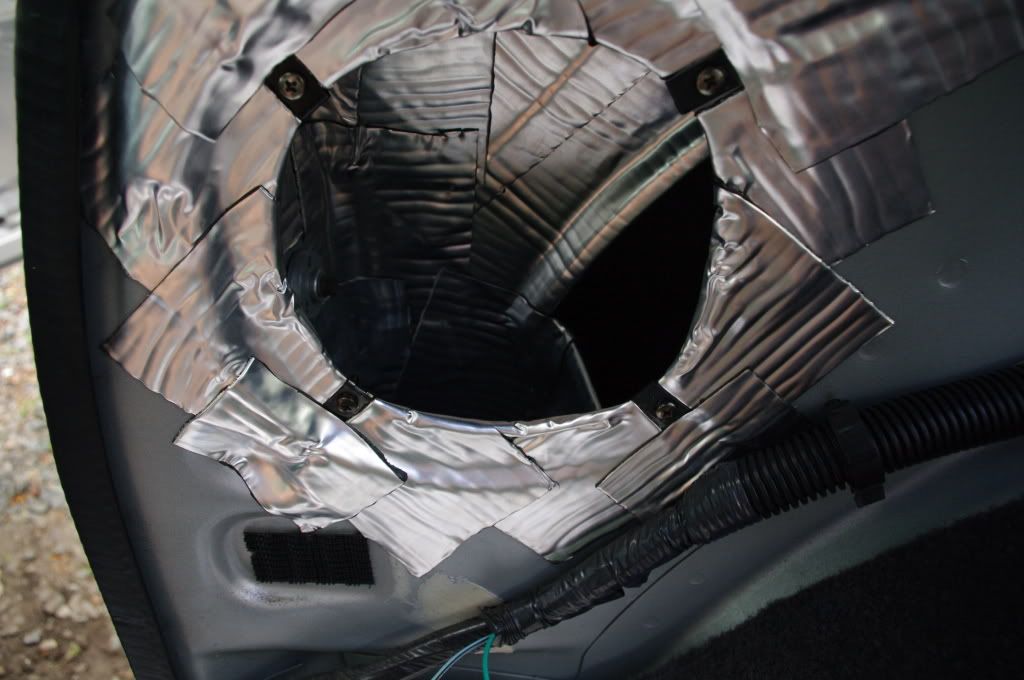
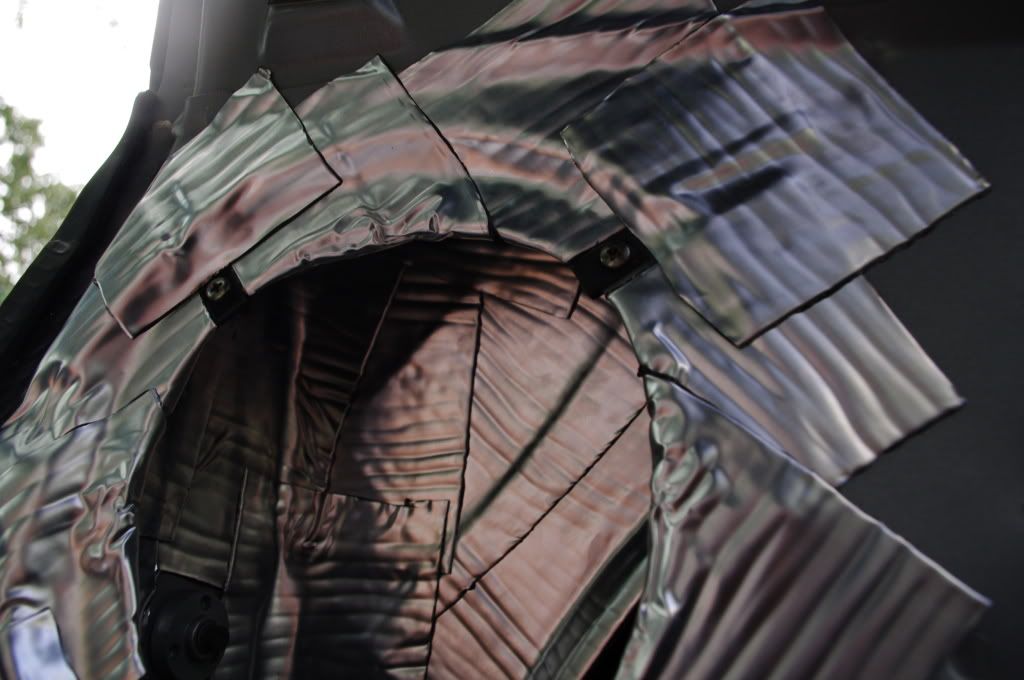
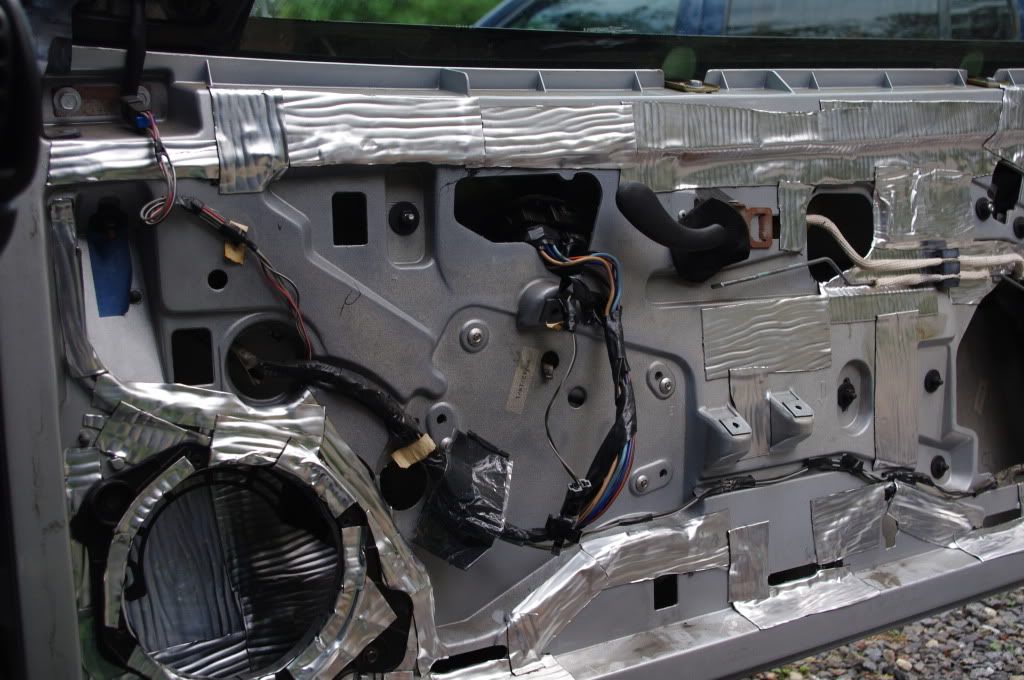
Anyway, I woke up pretty early and began the deadening process. I'm not sure what exactly this stuff is that Ian included, but it was great once I got it out of the bag. Very easy to apply. I smoothed everything out with my fingers, and now I regret not getting a roller because my fingers are sore now, but oh well! Worth it to get into each nook and cranny!
Driver side door:
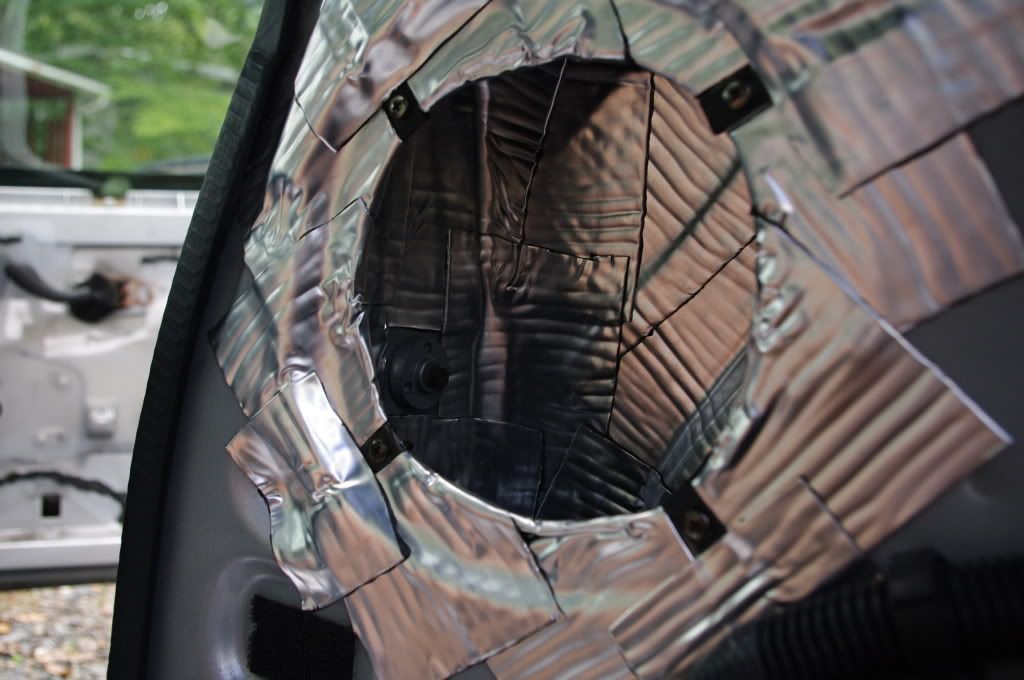
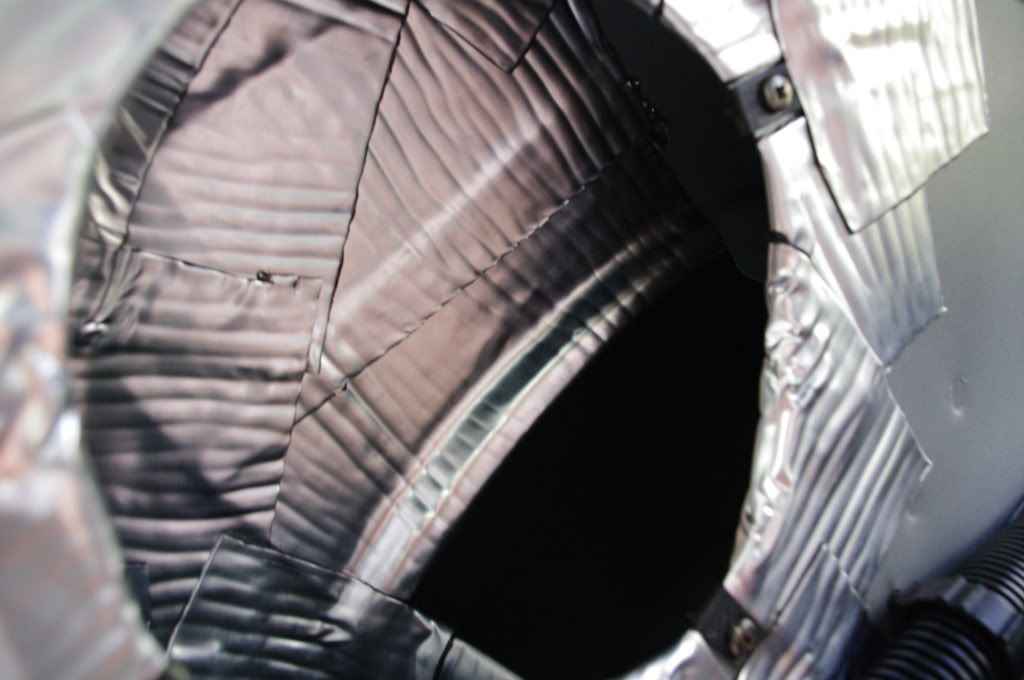
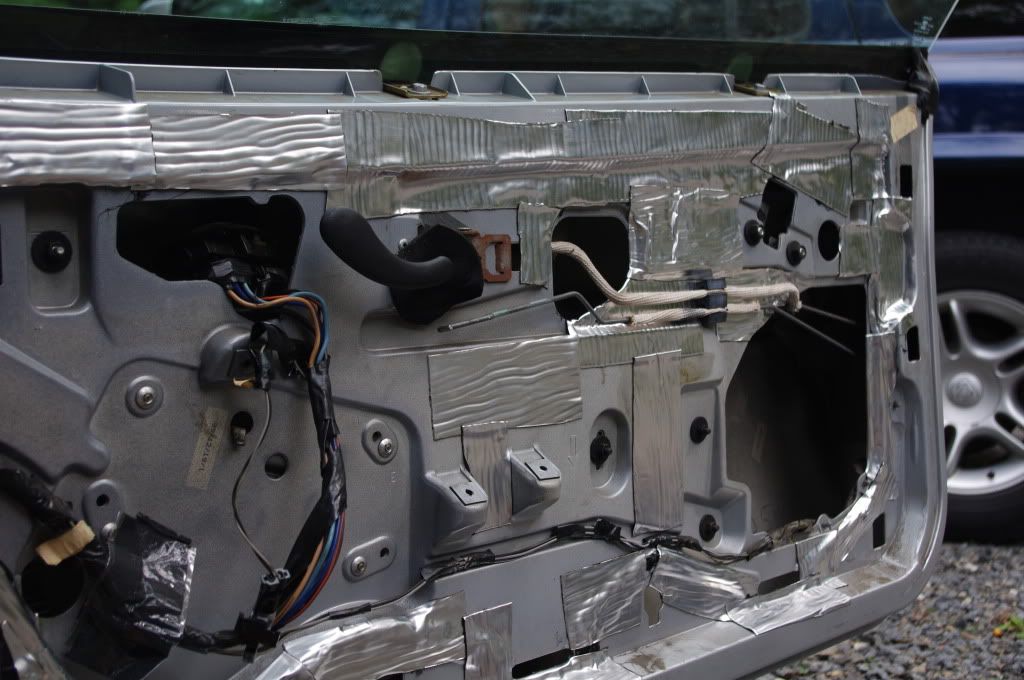
Passenger side door:
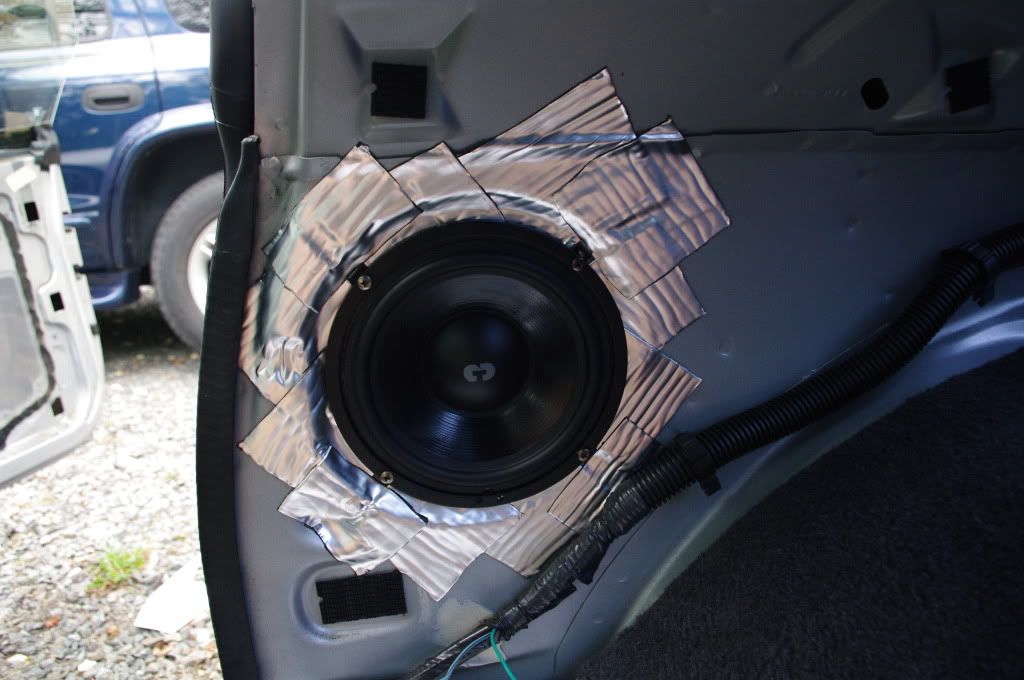
Test fitment of the passenger side speaker. I need to run and get new speed nuts. These old ones are stripped, cross-threaded, anything you can imagine! Plus, I want to put a small strip of deadener behind each speed nut.
Just going to take a quick break now and grab some breakfast, than go back out and work on the doors. I still have quite a bit of this stuff left. Hopefully enough to *possibly* fully do both doors. That's wishful thinking though. Probably not enough, but you never know!
ALSO, If you live in a high mosquito environment like I do... Damn pine barrens. We have these new mosquitoes out during the day called Asian mosquitoes or something. Anyway... That clip-on thing from OFF! actually does work. I think my mom paid a dollar for the machine itself and a dollar each refill from her couponing or something. But nevertheless, it works great and each refill lasts 12 hours.
Here are some pictures from last night when I was working on the mount for the amp, piggybacked off the stock amp rack.
Now, I had to trim off some of the excess aluminum, the stock mount it a very tight fit. Nothing a pair of shears didn't fix though. It's still a bit rough looking with some sharp edges
, but I'm probably going to wrap the edges in some sound dampener just in case it does rub. I've debated wrapping the aluminum fully in dampener, but I feel as though it will hold in the heat and potentially damage the amp.Now some photos of where I started off this morning:
Test fitment of the finished and mounted sub:
I may have goofed up when mounting the sub.
... I took into consideration the width of the mounting plate itself and not the width of where the screw hole is. So... I think I may have slightly went through the MDF.I didn't get too much further last night. I was, instead doing lots of planning, prep work, and running the RCA's and door speaker wire.
I found out quickly that I wish I would've picked up more speaker wire yesterday. I go to thinking 50ft may be enough, but was sadly wrong when I was running the wiring through the doors.
Anyway, I woke up pretty early and began the deadening process. I'm not sure what exactly this stuff is that Ian included, but it was great once I got it out of the bag.
Driver side door:
Passenger side door:
Test fitment of the passenger side speaker. I need to run and get new speed nuts. These old ones are stripped, cross-threaded, anything you can imagine! Plus, I want to put a small strip of deadener behind each speed nut.
Just going to take a quick break now and grab some breakfast, than go back out and work on the doors. I still have quite a bit of this stuff left. Hopefully enough to *possibly* fully do both doors. That's wishful thinking though. Probably not enough, but you never know!
ALSO, If you live in a high mosquito environment like I do... Damn pine barrens. We have these new mosquitoes out during the day called Asian mosquitoes or something. Anyway... That clip-on thing from OFF! actually does work. I think my mom paid a dollar for the machine itself and a dollar each refill from her couponing or something.
09-15-2011, 09:04 AM
#14
On The Tree
Thread Starter
Join Date: Jan 2011
Location: East Coast
Posts: 191
Likes: 0
Received 0 Likes
on
0 Posts
I'm going to run it a bit without the deadener to see how hot/warm, if at all it gets. Just to take some extra precautions. But I do forsee that mount to be a potential rattle in the near future.
09-15-2011, 09:18 AM
#17
TECH Addict

I think it should be okay, but if it runs hot, consider a couple of PC fans like the common 80mm... run them off the remote wire (using a buffer). If need be, that is. Make sure to avoid sleeve bearing fans if so.
You could also use some thermal grease (like they use for heatsinks on computers and the inside of the amp, etc) on the bottom of the amp and any other metal-to-metal contact if you want to maximize your heatsinking capability. (It cleans off pretty easily if/when you need to remove the amp)
You could also use some thermal grease (like they use for heatsinks on computers and the inside of the amp, etc) on the bottom of the amp and any other metal-to-metal contact if you want to maximize your heatsinking capability. (It cleans off pretty easily if/when you need to remove the amp)
09-15-2011, 09:53 AM
#19
Awesome Ian thanks!
Also, is it worth using the second pair of tweeters in the rear? I'm not sure if it was a mistake, but I ended up with 2 sets of tweeters!
As for more photos, just wait until the sun rises, my camera ended up dying and the digital I was trying to use was pretty bad and blurry. So in a little bit, I'll start up again!
http://www.cdtaudio.com/upstage_systems.htm
It really does bring the sound stage across the dash. Kind of cool. Instead of having an add on Upstage system these are built in with the crossovers so you have both outputs in one place without needing the additional crossover.
09-15-2011, 11:03 AM
#20
On The Tree
Thread Starter
Join Date: Jan 2011
Location: East Coast
Posts: 191
Likes: 0
Received 0 Likes
on
0 Posts
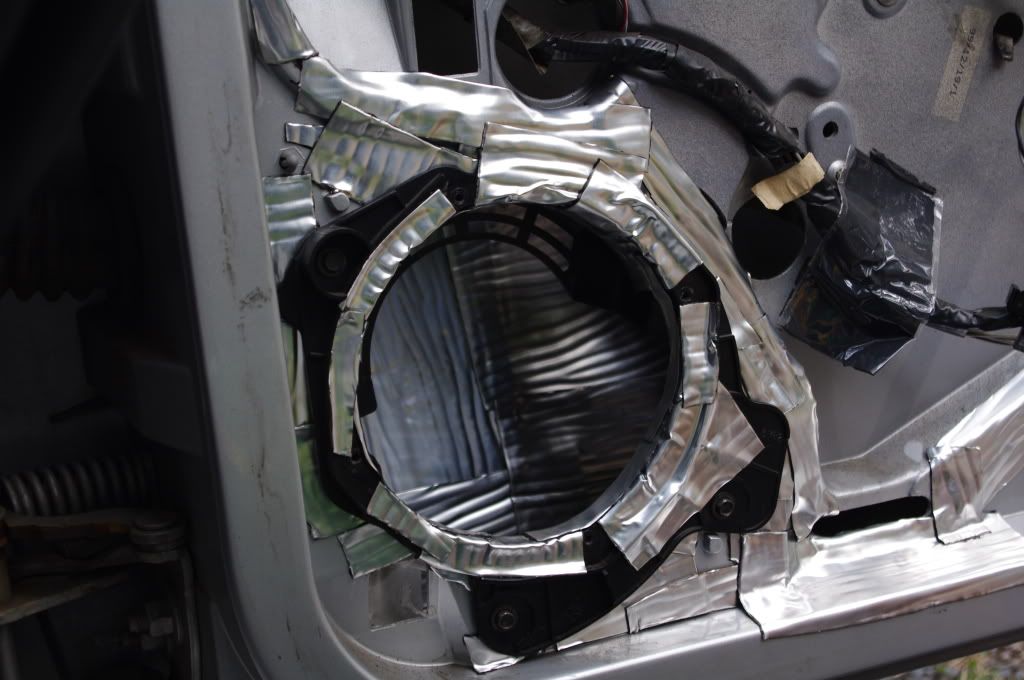
Here's the beginning of my door sound proofing. Unfortunately, I'm pretty much out of the dampener, so it's not perfectly done. No big deal though. A future project. And it gives me time to finish installing the speakers. I really cannot wait to hear this setup.
The quality of these speakers are amazing. I cannot find a single flaw on them physically. I am in love with the looks... Just waiting to hear how they sound!

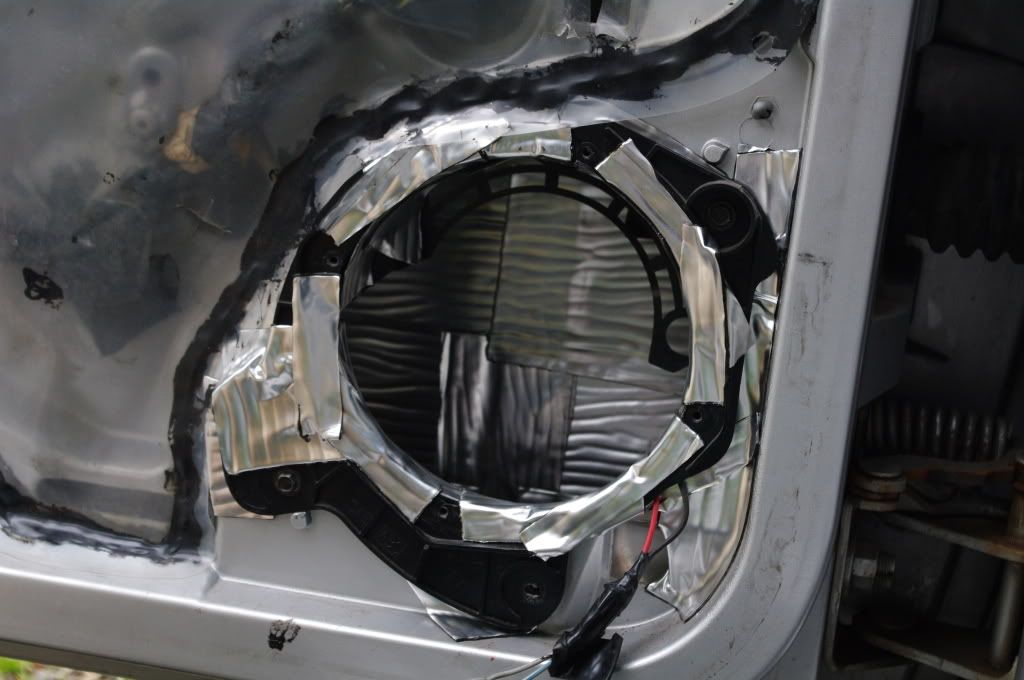
And the test fitting of the driver side speaker:
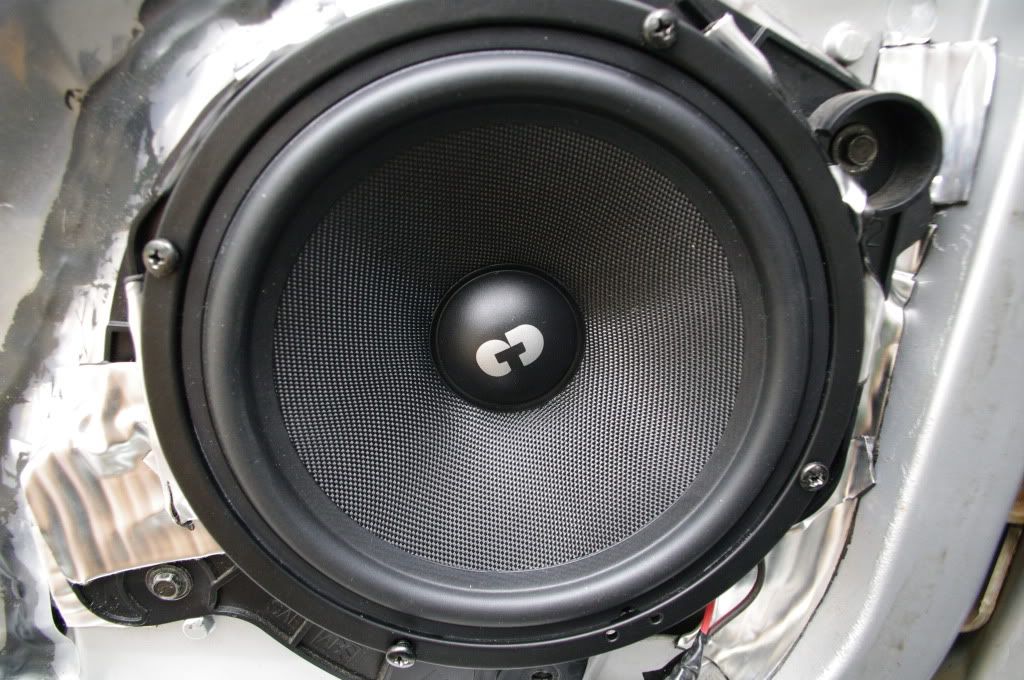
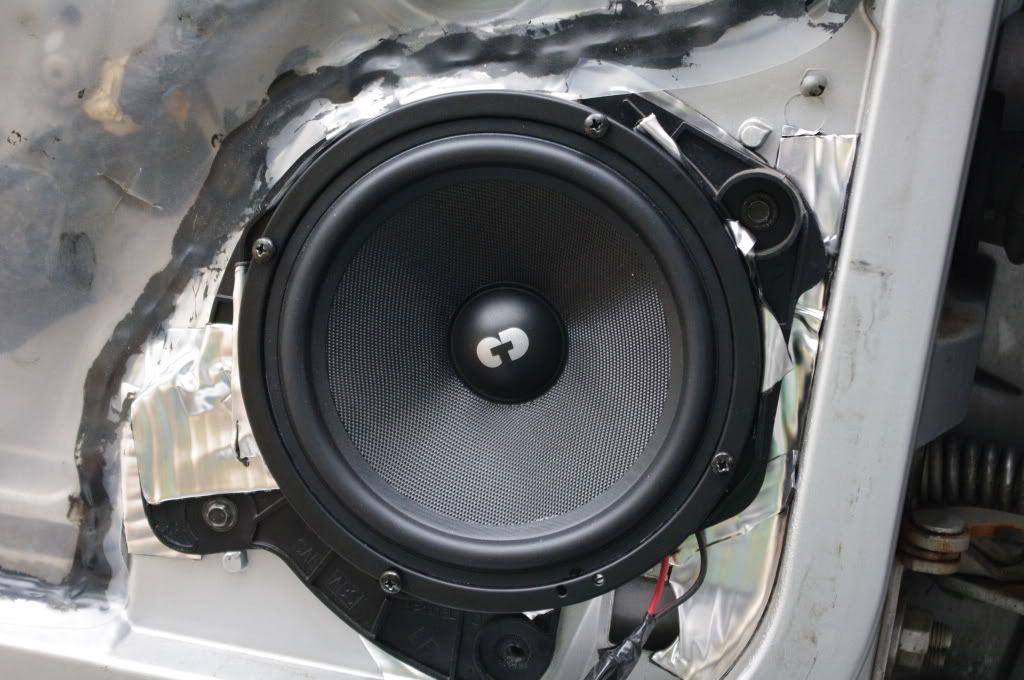
For some reason, I'm missing screws for the passenger side. When I bought the car, no speaker was existant there! Must be my luck, haha. I have to go grab more speaker wire and speed nuts anyway.
The quality of these speakers are amazing. I cannot find a single flaw on them physically. I am in love with the looks... Just waiting to hear how they sound!
And the test fitting of the driver side speaker:
For some reason, I'm missing screws for the passenger side. When I bought the car, no speaker was existant there! Must be my luck, haha. I have to go grab more speaker wire and speed nuts anyway.