
Building fiberglass stealth box for 10" sub
 07-19-2014, 06:43 PM
#21
TECH Addict

looks good so far. I've always had the best luck making the top part out of cardboard, tape, hot glue, and fiberglassing over that, then removing the cardboard, etc... when done. Then just attach an mdf wood face to the front with some strips of fiberglass and resin.
.. couple pointers for anyone else reading this and thinking of building one...
1. remove the carpet form the cubby whole first, lets you build the enclosure just a little bit bigger.
2. try to do as many layers at once as possible, as opposed to doing a few, letting it dry, doing more, etc ... reason is the bond will be much stronger since the resin is not trying to adhere to an already hard surface, which can introduce small air pockets and bubbles depending on how smooth the prior layers came out.
3. Use a stitched biaxial (chop mat and woven fabric stitched together), you get the quick buildup and conformability of chop mat, with the superior strength or cloth. I use this, cut it into 2" wide strips, overlaying strips 50% on top of each other. Using this method, I can build a sub box for these cars in 4 or 5 layers that is strong enough to be used as a jack-stand under the car (I actually proved this with a picture years ago on this site.)
 08-28-2014, 07:47 PM
#23
Registered User

Join Date: Aug 2014
Posts: 6
Likes: 0
Received 0 Likes
on
0 Posts
I did this on my thirdgen back when I was 18. I'ts still in there and removable. It looks like crap, but it works. The thing I had the hardest time with was building up the face to the rest of the box. I was able to remove what I had built up in the car so that I could work on it better, but I don't think I ever got it airtight. I'm curious to see how you worked that out.
09-02-2014, 08:26 PM
#24

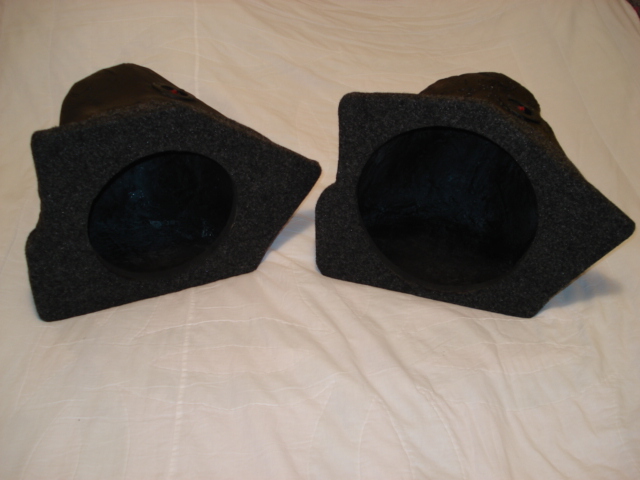
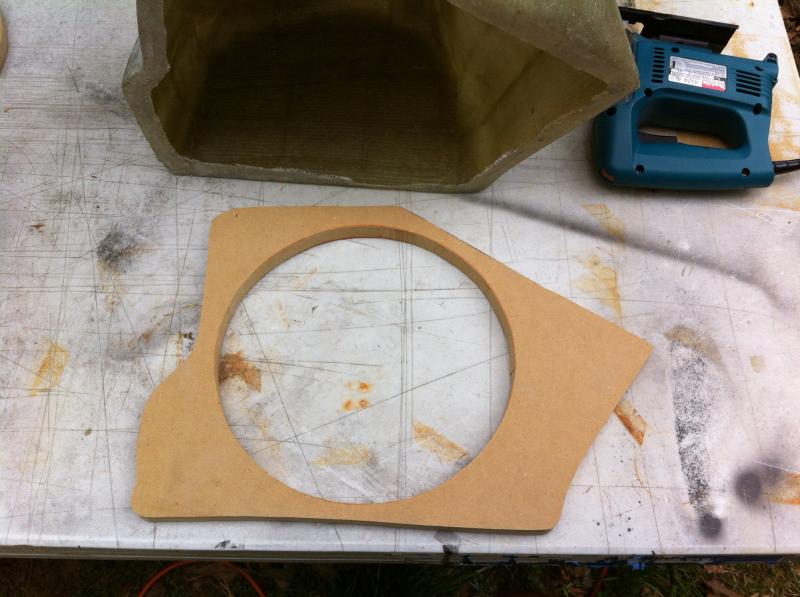
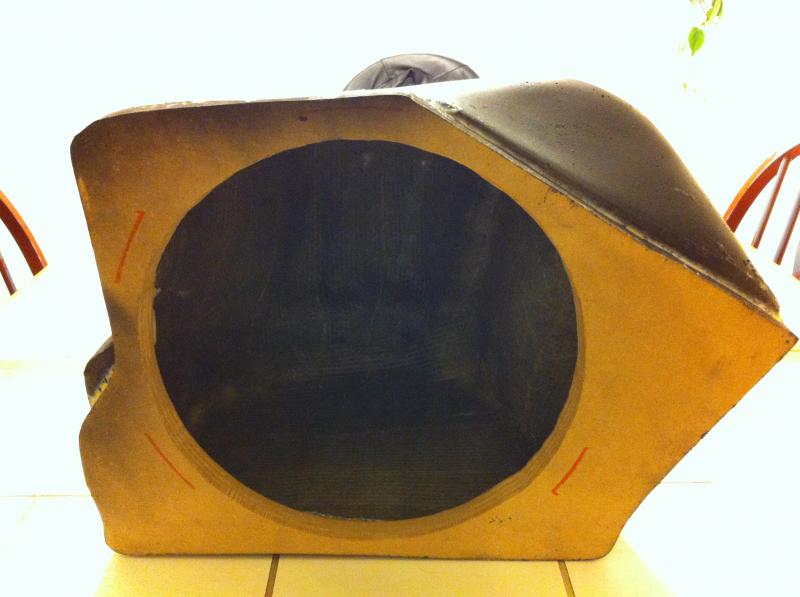
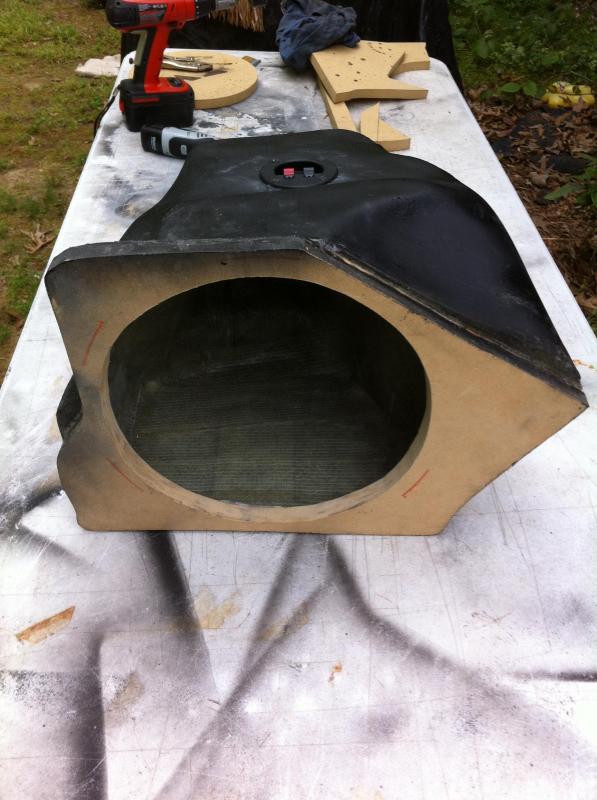
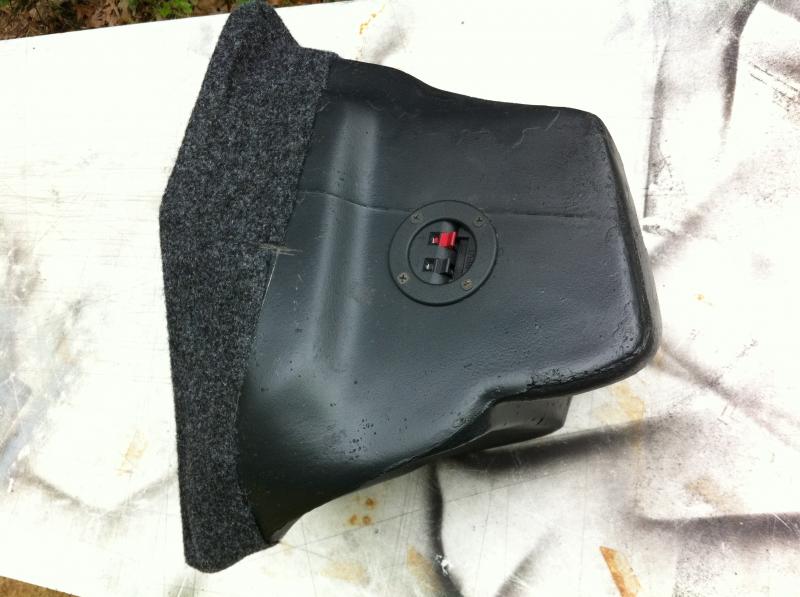
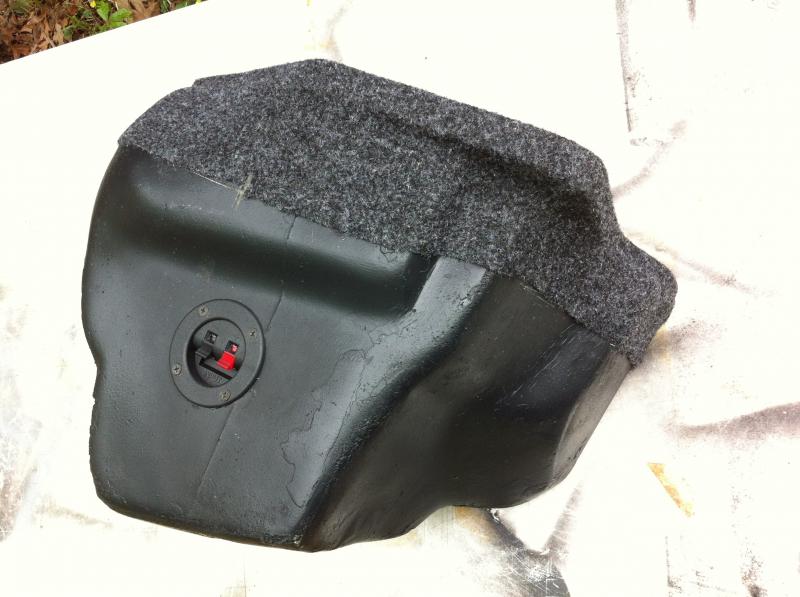
I started working on my passenger side box today. I should be finished on Thursday by lunch. 6 layers on base. Doing 1/2" MDF mounting plate and 3/4" fascia. Tomorrow I'll attache the face plate to the fiberglass base and fleece then glass the upper. Here a couple of pics.
09-03-2014, 07:32 PM
#25
Registered User
Join Date: Aug 2014
Posts: 6
Likes: 0
Received 0 Likes
on
0 Posts
Definitely post some pics once you get it all in once piece. That will probably give me a better idea of the way it should be done.
On another note, is the dark color of the resin due to too much heat while curing and causing discoloration? I've seen fiberglass like this before but I've also seen white/slightly yellow. I dunno if it's just different resin or what.
On another note, is the dark color of the resin due to too much heat while curing and causing discoloration? I've seen fiberglass like this before but I've also seen white/slightly yellow. I dunno if it's just different resin or what.
09-04-2014, 10:18 PM
#26
Definitely post some pics once you get it all in once piece. That will probably give me a better idea of the way it should be done.
On another note, is the dark color of the resin due to too much heat while curing and causing discoloration? I've seen fiberglass like this before but I've also seen white/slightly yellow. I dunno if it's just different resin or what.
On another note, is the dark color of the resin due to too much heat while curing and causing discoloration? I've seen fiberglass like this before but I've also seen white/slightly yellow. I dunno if it's just different resin or what.


Last edited by LS1HIGHLIFE; 09-05-2014 at 06:35 AM.


 09-27-2014, 03:16 PM
#29
Damn that is really clean, I like it. May I ask how you got the dimensions of the wood so good? I never finished mine, need to finish when I have the free time, but was kinda stumped on how to get the front wood plate exact since the carpet moves around.
09-29-2014, 06:04 PM
#30
Do you mean the top beauty board or the plywood piece I used to mount the amplifiers to? I just cut a rectangle piece that fir the dimensions of the rear and put a slight relief cut on top so the beauty board would sit flat on it. I plan on doing a carbon-kevlar hybrid on the beauty board this winter then use Velcro to secure it to the rack. I use a piece of 1/4" masonite for the top board.
The rack is secured to the car using two L-brackets and 2.5" wood screws. The other side of the bracket is secured by the two plastic tail light wing-nuts. I'll try to take some pics sometime this week.
The rack is secured to the car using two L-brackets and 2.5" wood screws. The other side of the bracket is secured by the two plastic tail light wing-nuts. I'll try to take some pics sometime this week.
09-29-2014, 10:39 PM
#31
Do you mean the top beauty board or the plywood piece I used to mount the amplifiers to? I just cut a rectangle piece that fir the dimensions of the rear and put a slight relief cut on top so the beauty board would sit flat on it. I plan on doing a carbon-kevlar hybrid on the beauty board this winter then use Velcro to secure it to the rack. I use a piece of 1/4" masonite for the top board.
The rack is secured to the car using two L-brackets and 2.5" wood screws. The other side of the bracket is secured by the two plastic tail light wing-nuts. I'll try to take some pics sometime this week.
The rack is secured to the car using two L-brackets and 2.5" wood screws. The other side of the bracket is secured by the two plastic tail light wing-nuts. I'll try to take some pics sometime this week.
09-30-2014, 03:10 PM
#32
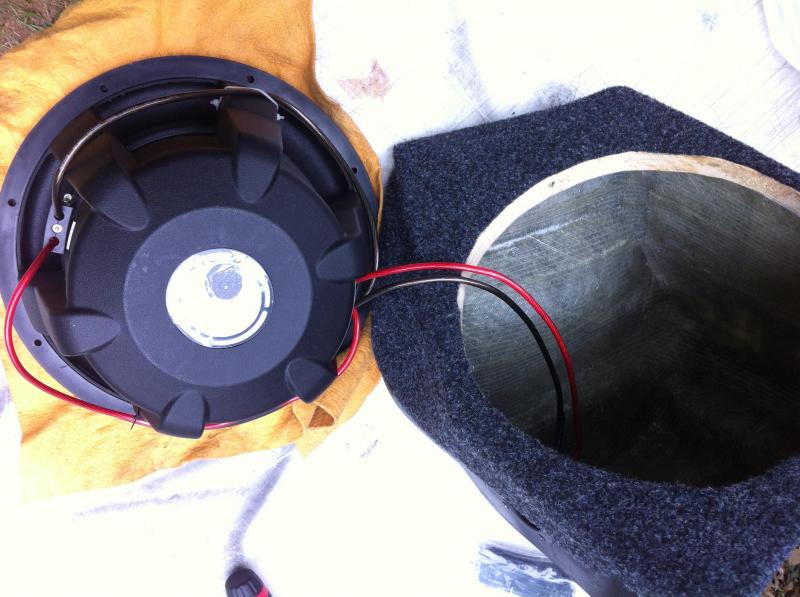
Ahh I see. I took the bottom shell and did a rough race and copied the shape of the JL stealth box I had in the drivers side. Once I had a rough estimate I cut it out and test fitted it with tape. I put the plastic panel back on to make sure it would clear. I then screwed the front board to the fiberglass base shell and added some support braces for during fleecing. Hope that heeled explain it.
09-30-2014, 10:54 PM
#33
Ahh I see. I took the bottom shell and did a rough race and copied the shape of the JL stealth box I had in the drivers side. Once I had a rough estimate I cut it out and test fitted it with tape. I put the plastic panel back on to make sure it would clear. I then screwed the front board to the fiberglass base shell and added some support braces for during fleecing. Hope that heeled explain it.
11-10-2014, 03:28 PM
#34
I see alot of work going into these enclosures and I commend you on them as I built many of these in the past and they are not easy to do. That being said, I think you guys are kind of missing the point of these enclosures though. The only reason you really need a fiberglass enclosure that has more airspace volume is because of just that, it has more airspace volume. A JL W1 doesn't need all the airspace volume and works just fine in a smaller enclosure with .6 cuft. of airspace volume which is your average mdf stealth box. Most of these fiberglass boxes are more then that. The ones I built were closer to .8-1cuft. of volume. So were the one Mike built as I recall.
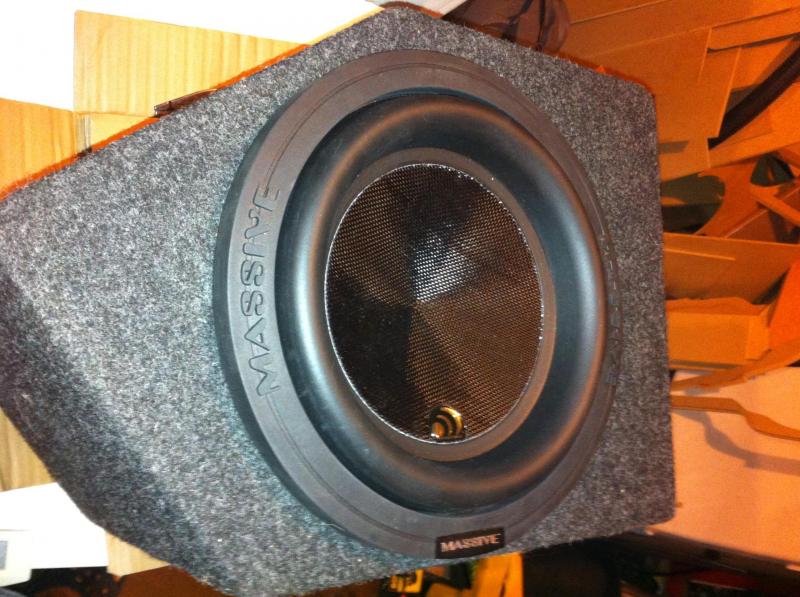
Here are a few of mine and some using Mikes backing, some not. Some I built for 12" subs as well. All of these I built for large subs though that need extra space for large magnets, frames, and airspace volume. BIG bass output!!
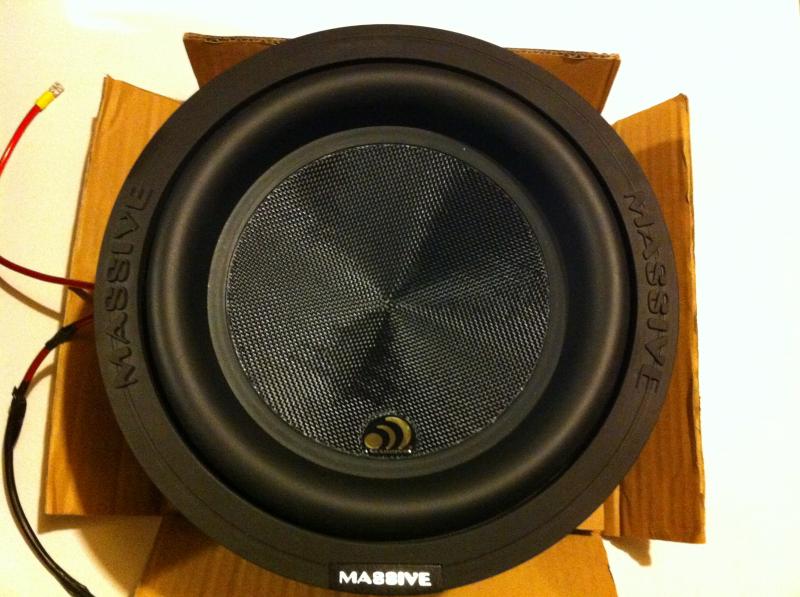
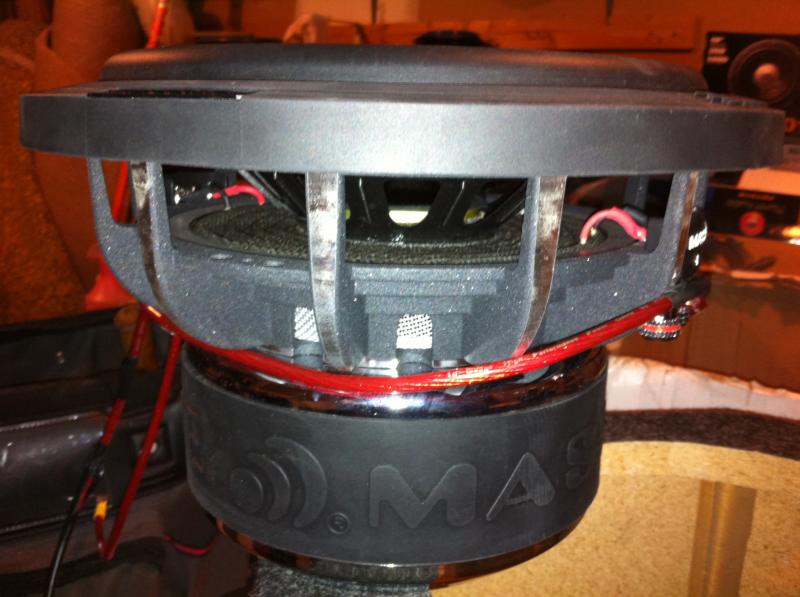
Massive Audio Vert build:
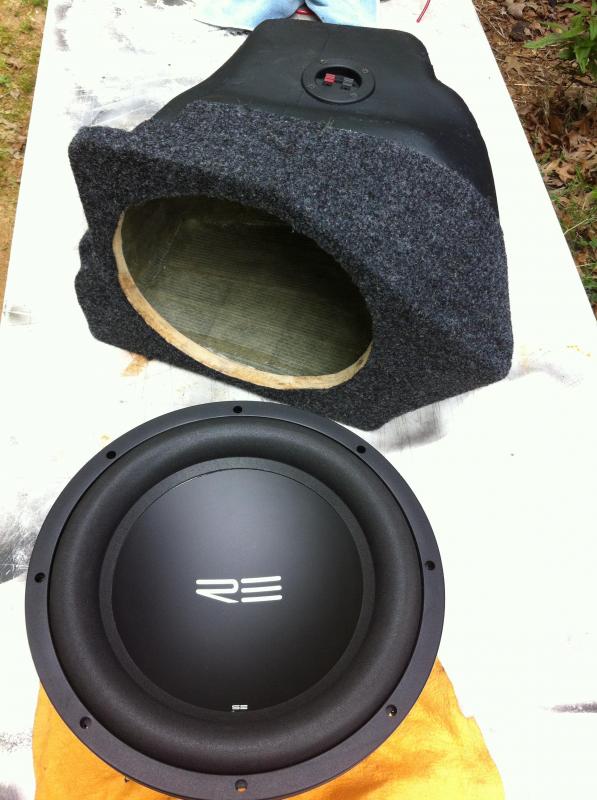
12" RE Audio build using Mikes backing:


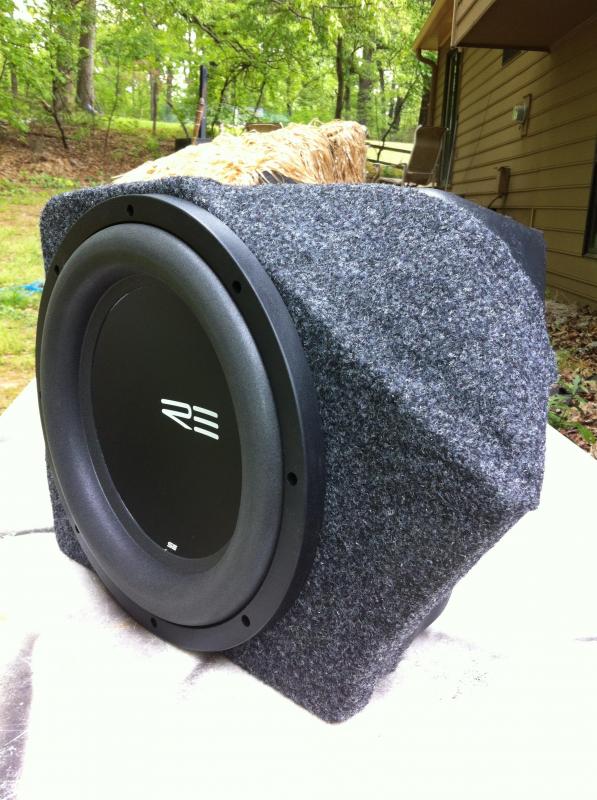
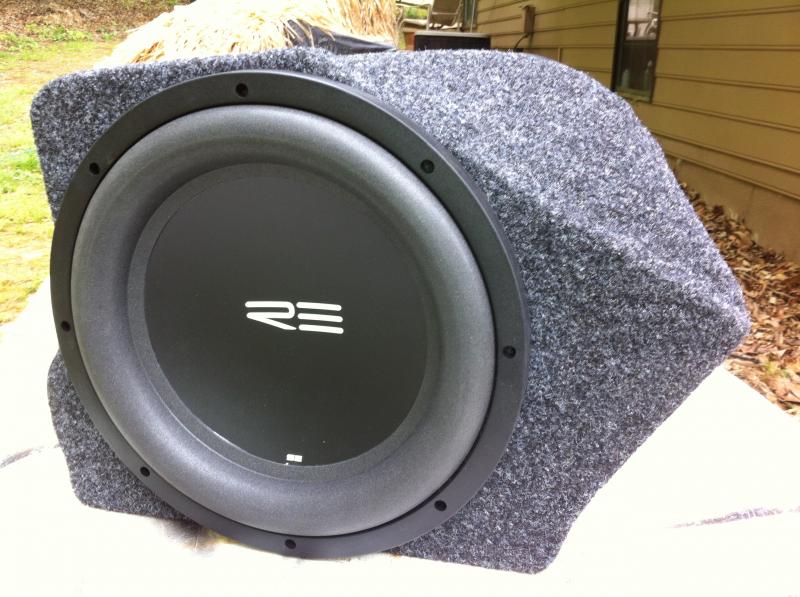
Here are a few of mine and some using Mikes backing, some not. Some I built for 12" subs as well. All of these I built for large subs though that need extra space for large magnets, frames, and airspace volume. BIG bass output!!

Massive Audio Vert build:


12" RE Audio build using Mikes backing:


