
My 1965 Buick Skylark L92/6L80 Swap


 07-26-2014, 06:32 PM
#462

Will do. I have seen pictures of them installed in other A-body cars. On the drivers side you have to move the parking brake pedal over some. Not hard to do with maybe a piece of 2" flatstock with two holes drilled in it. Seeing as these are black you would not have to do a thing color wise for your car.
07-26-2014, 07:58 PM
#463
TECH Senior Member
iTrader: (7)

Will do. I have seen pictures of them installed in other A-body cars. On the drivers side you have to move the parking brake pedal over some. Not hard to do with maybe a piece of 2" flatstock with two holes drilled in it. Seeing as these are black you would not have to do a thing color wise for your car.
Andrew
07-26-2014, 08:14 PM
#465
TECH Senior Member
iTrader: (7)
Andrew
07-26-2014, 10:44 PM
#469


 07-30-2014, 06:53 PM
#471
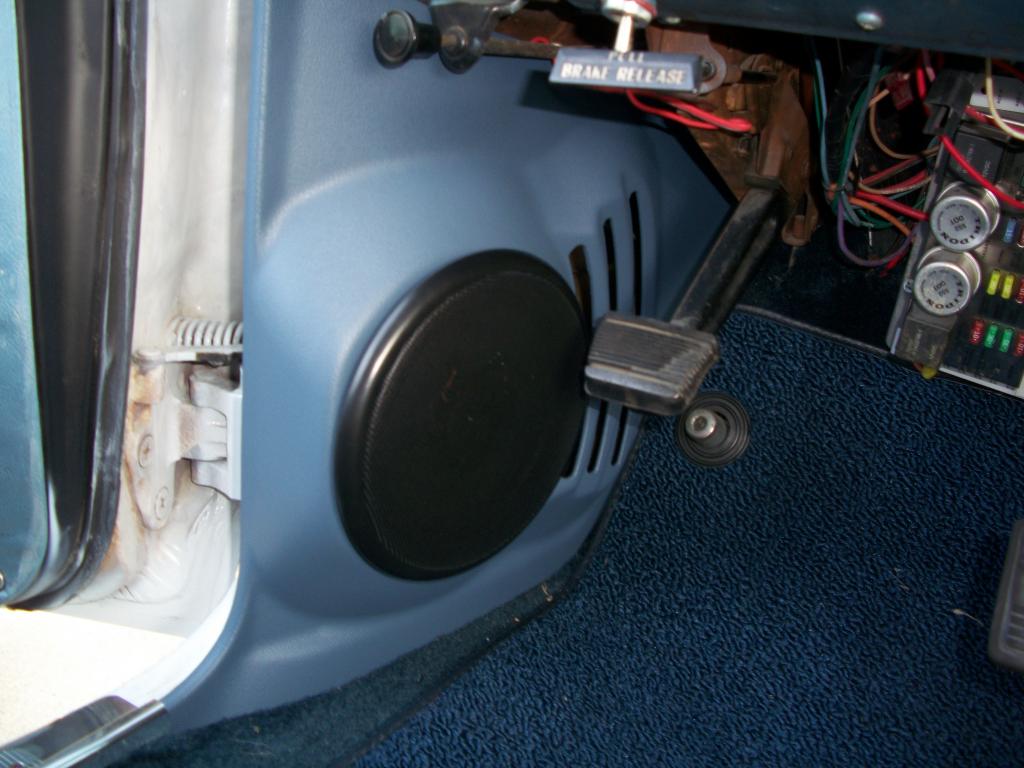
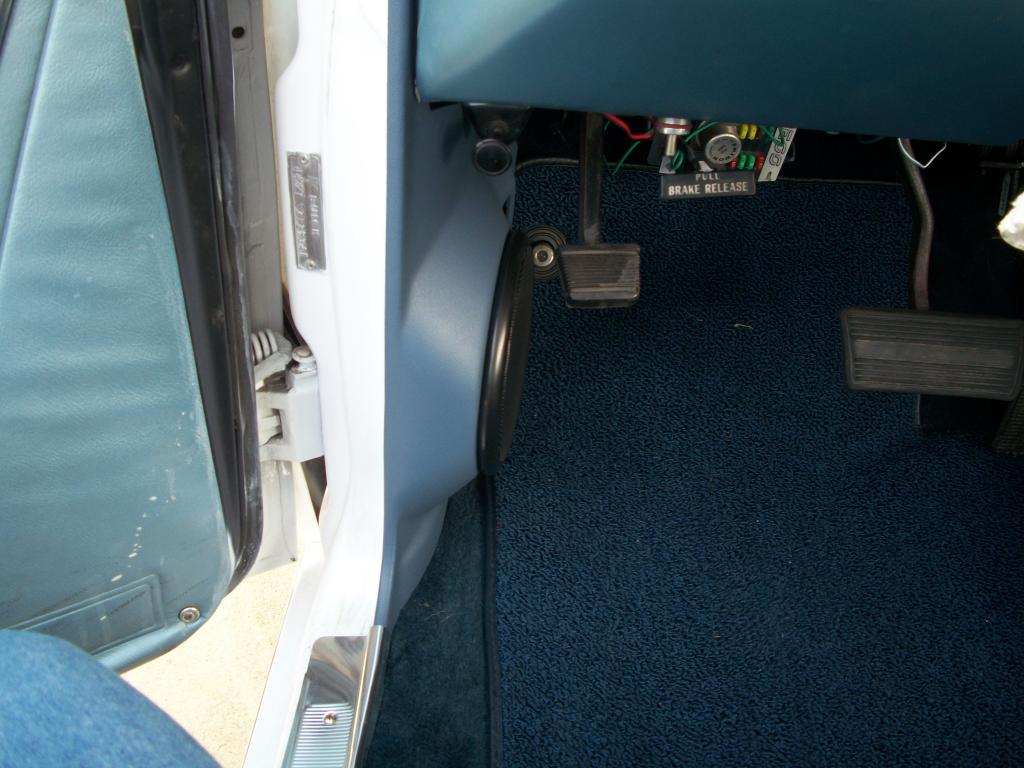
I got the drivers side kick panel with speaker installed today. I had to move the parking brake over to clear the speaker. No big deal as just a straight forward piece of flat stock is all that is needed. I really like how they came out. No problem at all in getting in and out of the car with these speakers in place. Here are a couple of pictures.

 07-31-2014, 03:57 PM
#472

A little update as to where the project is at. The 427 short block has shipped and will be at the auto mechanics this coming Thursday. New camshaft, LS7 lifters, Manton 11/32" pushrods, Melling oil pump, Cloyes timing chain set with the C5R chain and other items will be ordered the first week in August.
In the mean time I have finally figured out what to do about the speakers. Here is a photo of the passenger side kick out panels with the speaker. I have to paint them blue to match the originals. These are the ones without factory A/C. Mine have vents and these will work with them.

In the mean time I have finally figured out what to do about the speakers. Here is a photo of the passenger side kick out panels with the speaker. I have to paint them blue to match the originals. These are the ones without factory A/C. Mine have vents and these will work with them.
 07-31-2014, 06:39 PM
#473
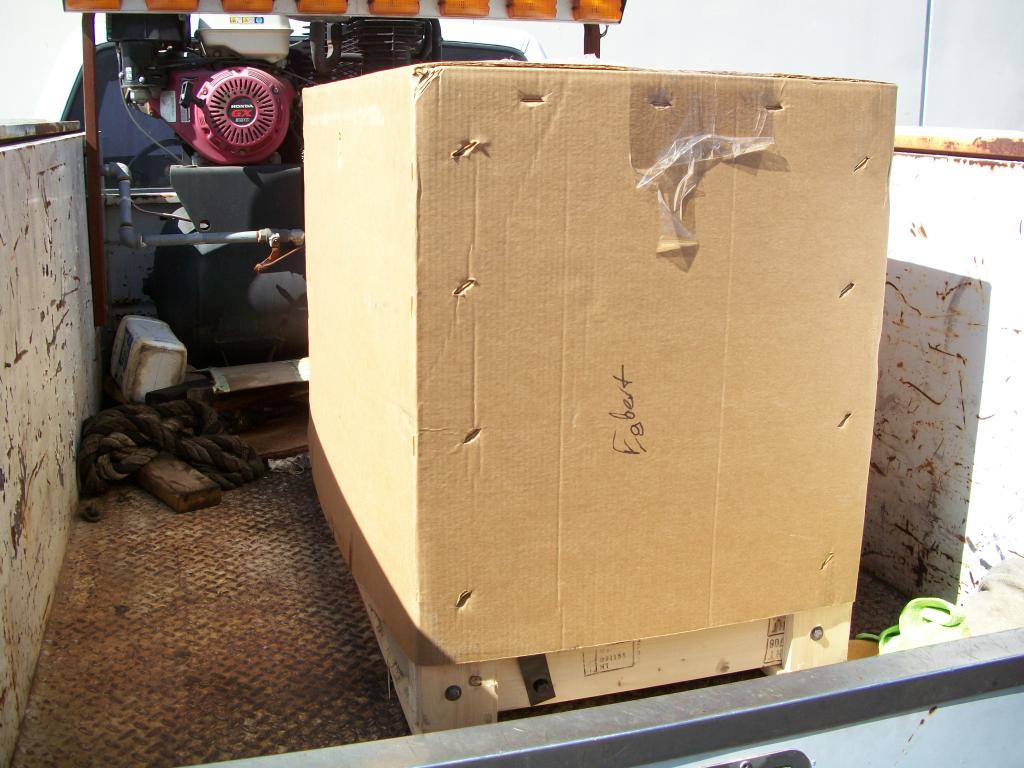
The short block has arrived and it came from CNC Motorsports. Has Callies crankshaft and rods and JE pistons and rings. Best price I could find using quality parts. The package list included break in instructions, and the machine shop specifications/clearances. This includes the bob weight, deck height, crankshaft journals, mains and rods along with piston to bore clearances and ring gaps. Here is a picture of how it was shipped.
 07-31-2014, 07:56 PM
#475
Now I have to figure out which head gasket to order. GM version with 4.100 bore and .051" compressed. Or the Trickflow version with 4.100" bore and .045" compressed.
Deck height is suppose to be at 9.240" and piston height is also 9.240" when doing the math. I will have to actually measure where the piston is in relation to the deck and order the head gasket accordingly. I would rather have the quench closer to .040" but we shall see.
Deck height is suppose to be at 9.240" and piston height is also 9.240" when doing the math. I will have to actually measure where the piston is in relation to the deck and order the head gasket accordingly. I would rather have the quench closer to .040" but we shall see.
07-31-2014, 09:06 PM
#477
09-04-2014, 04:02 PM
#478
A little update. I have a friend who but installed a LS3 based 427 motor in his Corvette and had problems blowing out the rear seal under WOT. I don't want to experience that so hopefully I have cut that issue off at the pass. Here is what I have done. By the way still waiting on my camshaft to show up before I begin the 427 installation.
This picture shows the Metco Motorsports oil cap adaptor for the Holley valve covers. The -10an 45 degree fitting and the K&N crankcase filter.
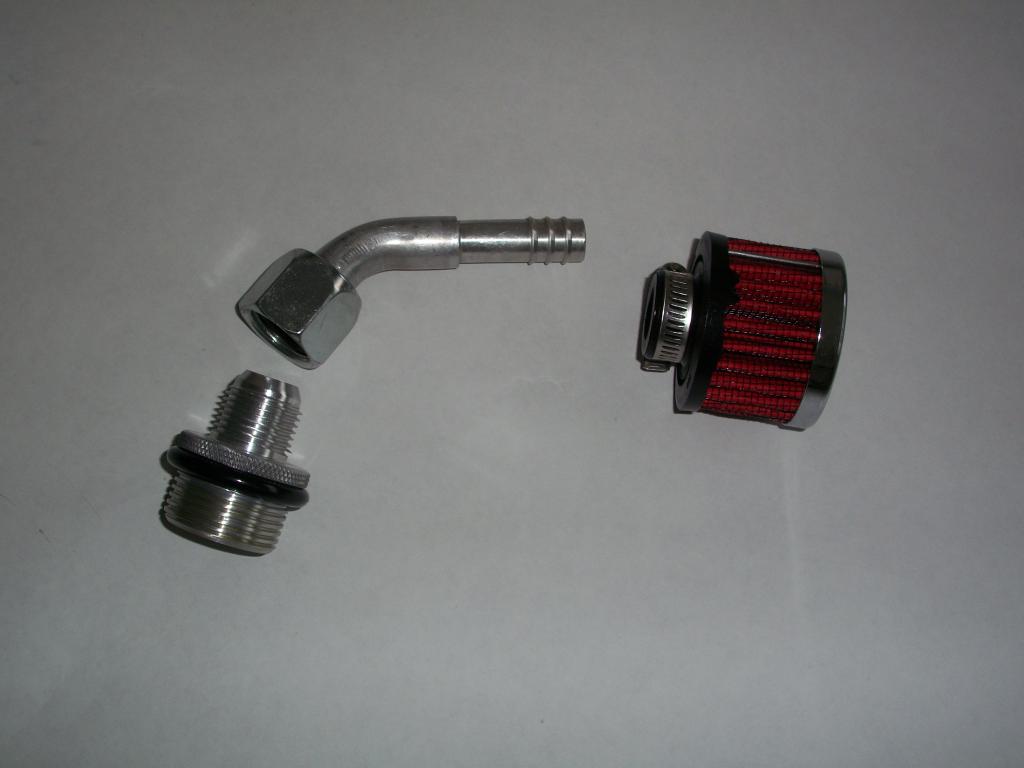
This picture shows them all assembled.
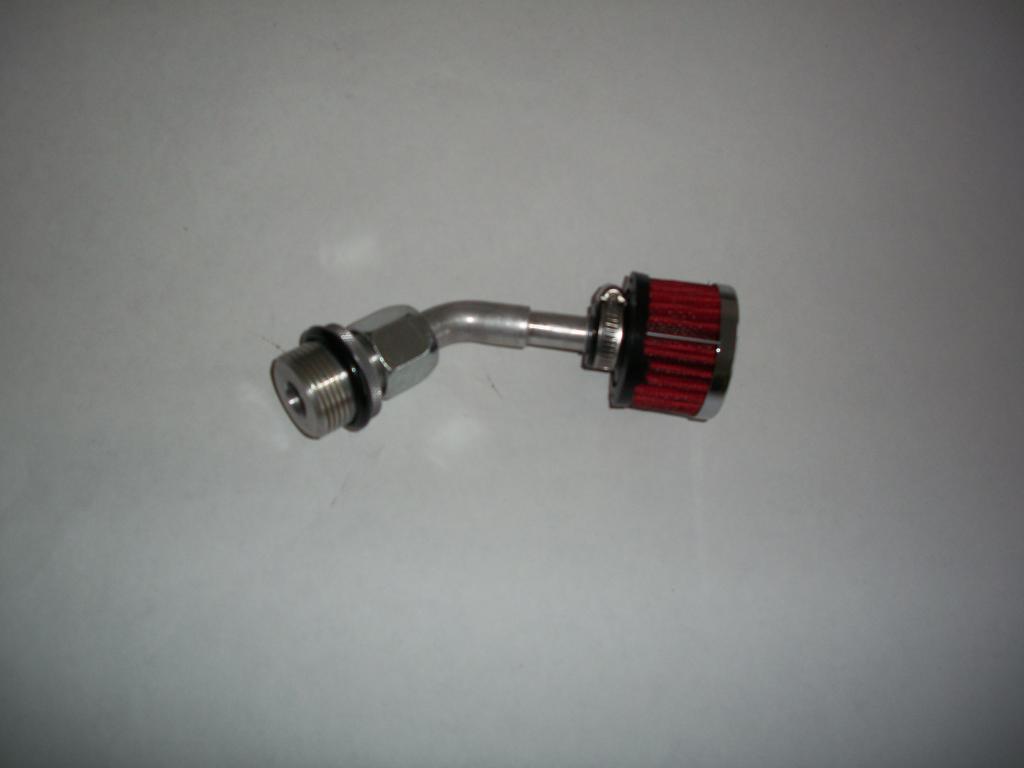
This picture shows the unit installed on the motor. I needed the 45 degree elbow to clear the A/C lines.

This picture shows the Metco Motorsports oil cap adaptor for the Holley valve covers. The -10an 45 degree fitting and the K&N crankcase filter.

This picture shows them all assembled.

This picture shows the unit installed on the motor. I needed the 45 degree elbow to clear the A/C lines.
 09-12-2014, 02:47 PM
#479
After taking some careful measurements I determined I could mount the crankcase breather filter directly to the oil filler cap and still be able to install it. If fits but just barely. I think this is a better arrangement. I have kept the first unit intack just incase. Here are some pictures of version two.
This one shows the tubing welded onto the oil filler cap after a 1/2" hole was drilled into the cap. The 2nd picture assembled and the 3rd picture installed on the car.
This one shows the tubing welded onto the oil filler cap after a 1/2" hole was drilled into the cap. The 2nd picture assembled and the 3rd picture installed on the car.
Last edited by 1989GTA; 09-12-2014 at 02:56 PM.
09-29-2014, 01:03 PM
#480
Another update. I recieved the camshaft Friday from EPS and that was the last part needed. So the car will be going into the shop tomorrow or Wednesday for the 427 shortblock to be installed. I expect around a 15-20 rwhp increase with around 50-60 rwtq increase. Should help with the launch at the track
I was thinking of increase the stall on the torque converter from 3200 to 3600 but with the nice increase in torque I will leave it alone for the time being and see how it does at the track.
I was thinking of increase the stall on the torque converter from 3200 to 3600 but with the nice increase in torque I will leave it alone for the time being and see how it does at the track.