My 1965 Buick Skylark L92/6L80 Swap


 10-07-2012, 07:46 PM
#62

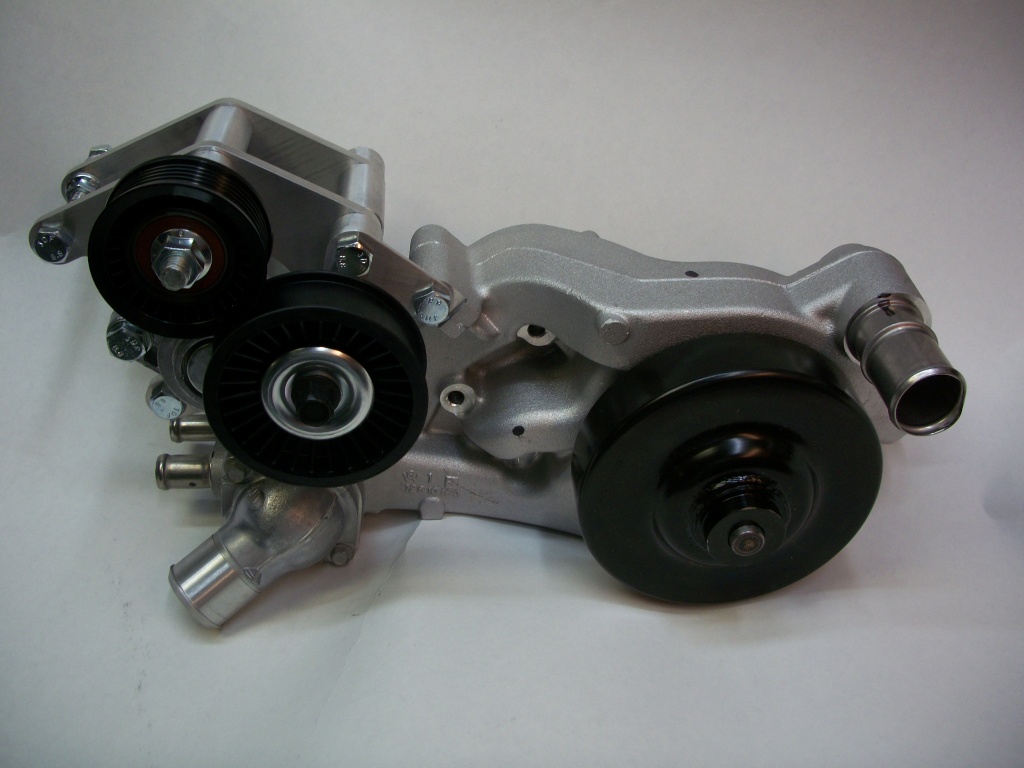
Test fitted my LS3 throttle body on the motor today along with the L92 water pump. As has happened with others there was a big time interference problem. I will solve it by going to the 2010 Camaro water pump part number 19207665 or 251-734. Here is a picture I stole from the S10 forum also showing the exact idler pulley relocation I will be using along with the 2010 Camaro water pump installed.
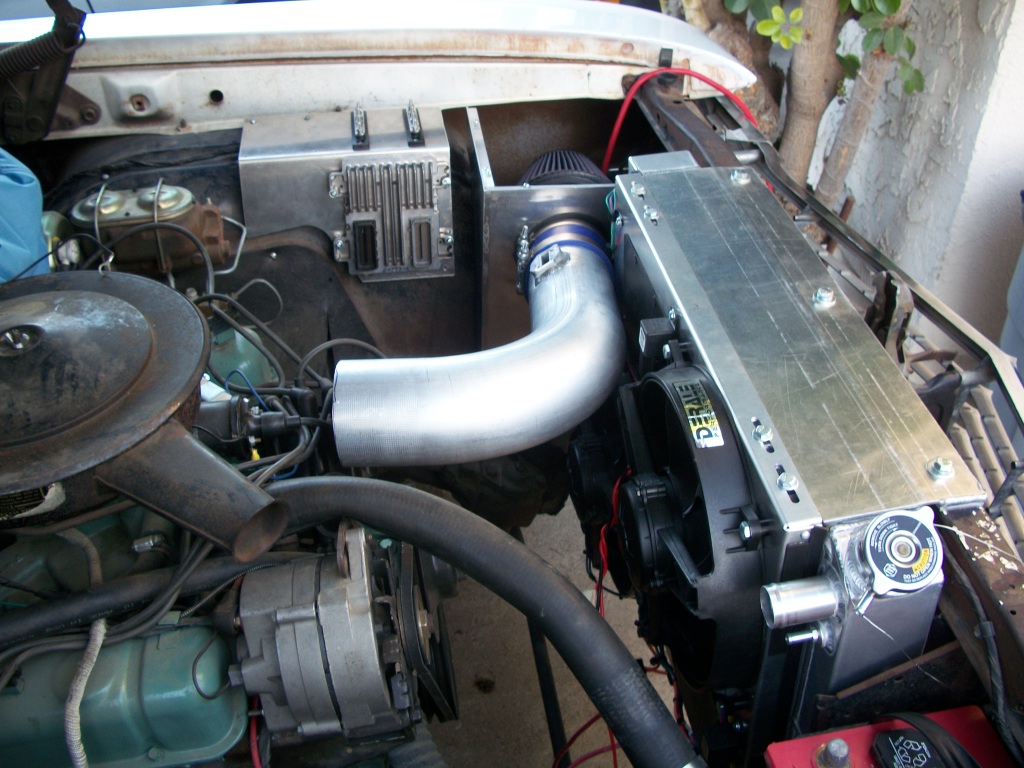
The radiator supports did turn out nice. I have to get them powdered coated. The radiator fits in there nice and snug.
The radiator supports did turn out nice. I have to get them powdered coated. The radiator fits in there nice and snug.
Last edited by 1989GTA; 10-07-2012 at 08:50 PM.
10-09-2012, 01:01 PM
#63
In the above picture showing the belt routing I am a little worried about what the overall serpentine belt length will be when I add in the Kwik A/C relocation . Couple of options. One is to go with a 25% under drive pulley at the crankshaft and the 2nd is to go ahead and change out the power steering pulley at the same time with the smaller one shown in post #45.
With the 25% under drive pulley at the crank that would put the smaller power steering pulley speed into a more acceptable range. When you get above 120" on the serpentine belt length the choices get skimpy real quick. Also considering a 160 degree thermostat. I live in Southern California so cold weather is not a problem.
With the 25% under drive pulley at the crank that would put the smaller power steering pulley speed into a more acceptable range. When you get above 120" on the serpentine belt length the choices get skimpy real quick. Also considering a 160 degree thermostat. I live in Southern California so cold weather is not a problem.
10-13-2012, 02:40 PM
#64
A few updates with some pictures. First up is the 2010 Camaro water pump came in. I bolted on the Kwik A/C compressor re-locate brackets to insure the pulleys line up. One note is I had to make a special spacer to go behind the tensioner pulley. It is .070" thick as that is what I had on hand and works but barely. Probably .062" would be a little better. The one in the Kwik kit is .125" and puts the pulley out to far. Here is the picture.
Next up is progress on my cold air intake box. Lurking behind it is the sheet metal for the E38 ECM and relay/fuse box.

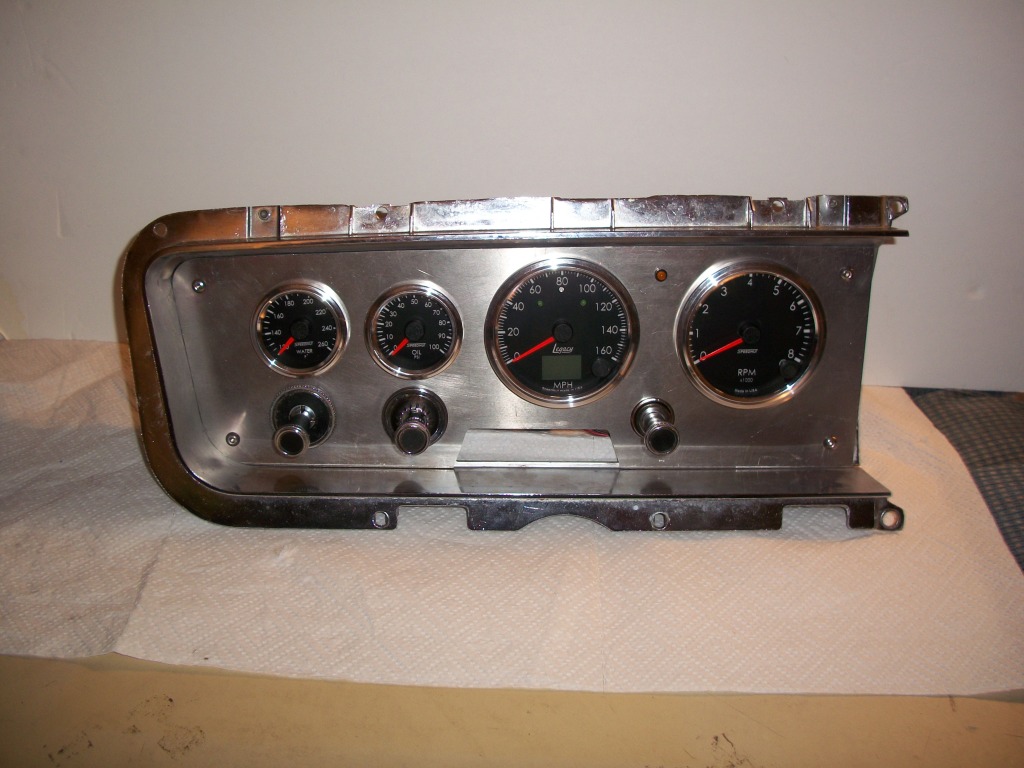
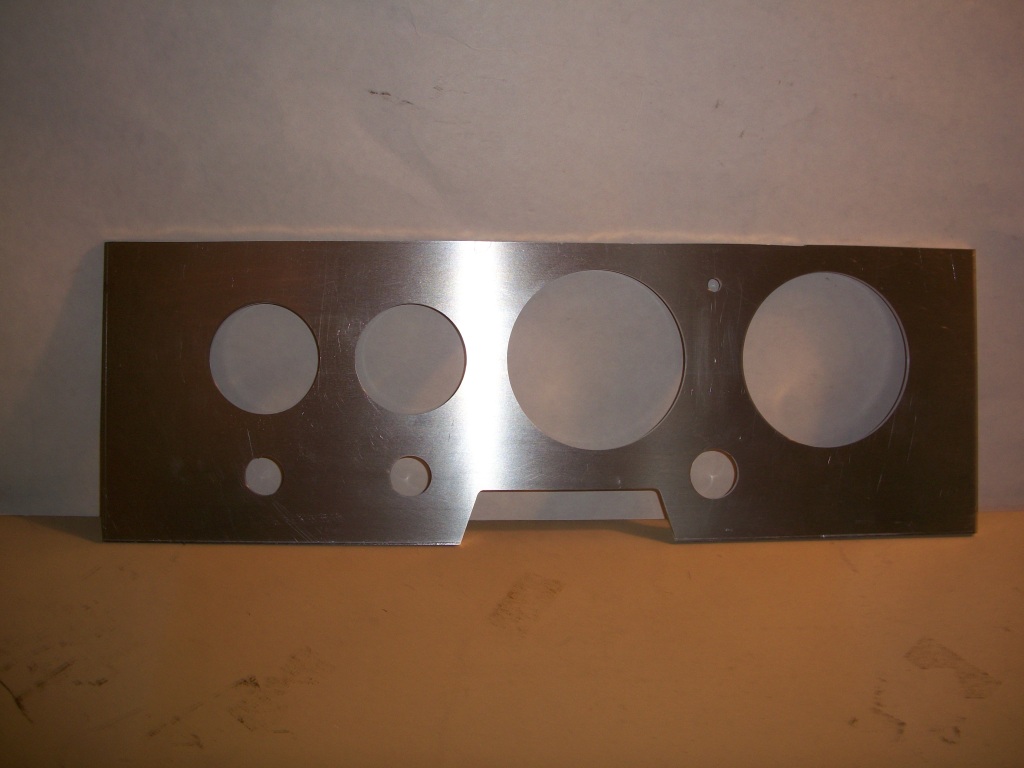
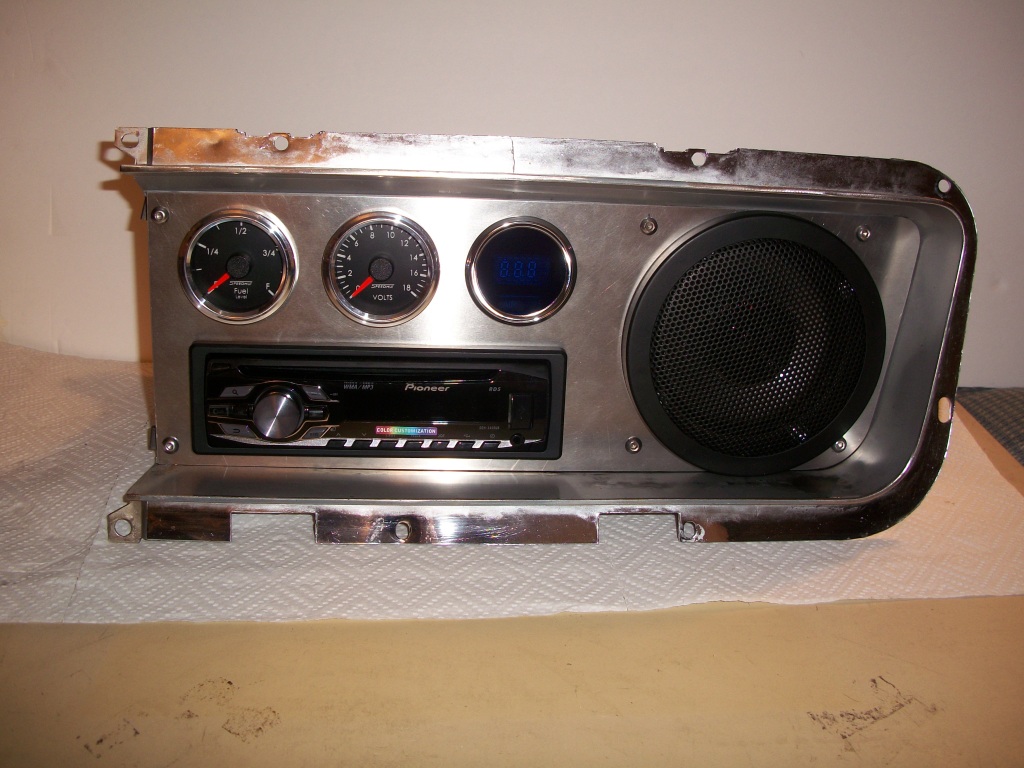
Next photo is a progress shot of my left hand gauge panel. The left hand side still needs to be contoured.
Things are inching forward on various fronts.
Next up is progress on my cold air intake box. Lurking behind it is the sheet metal for the E38 ECM and relay/fuse box.
Next photo is a progress shot of my left hand gauge panel. The left hand side still needs to be contoured.
Things are inching forward on various fronts.
 10-14-2012, 10:57 AM
#67
Thanks guys. In January the car is going over to my friend Pat's place to pull the motor and transmission. Then we will install the read end and fuel tank. Also paint the engine compartment. Then the car is going into the shop in February to have the motor, transmission and exhaust installed. So some time after that.
10-23-2012, 04:57 PM
#69
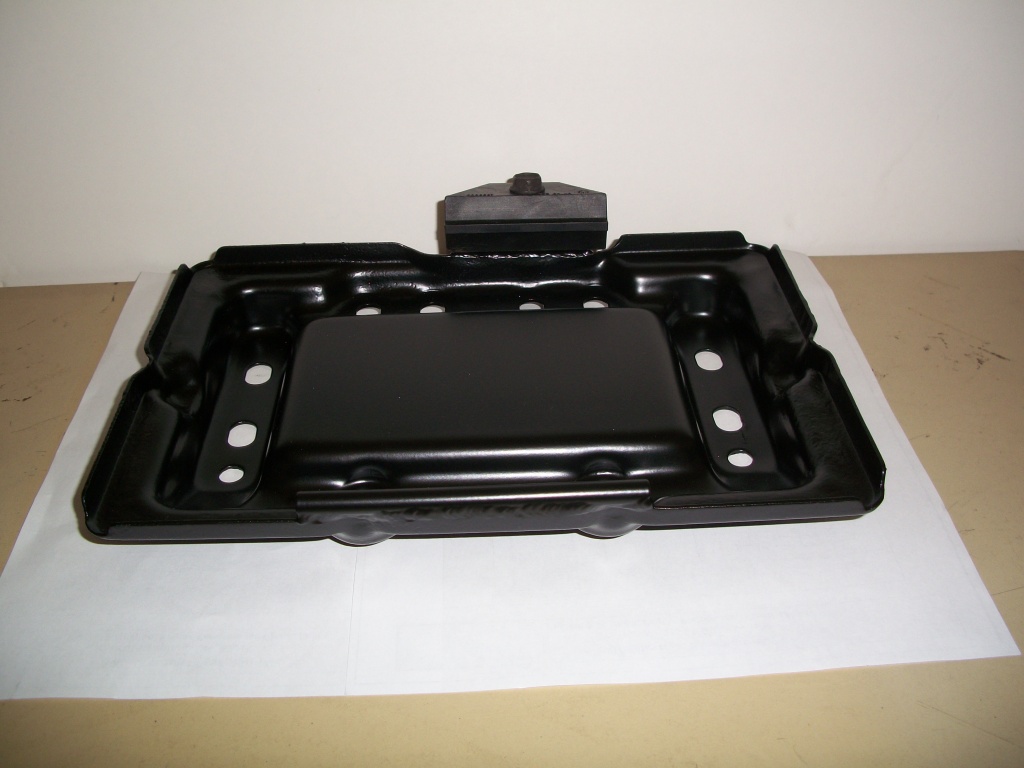
I got some parts back from the powder coater including my modified Skylark battery tray. I will post a picture of it.
The main reason for the post is some information I got from the powder coater when painting screw heads such as for a dash panel. He said what people do is screw the screws into a block of wood. That way they can blast and paint them very easily. It is something I will be doing and thought I would share the info.
The main reason for the post is some information I got from the powder coater when painting screw heads such as for a dash panel. He said what people do is screw the screws into a block of wood. That way they can blast and paint them very easily. It is something I will be doing and thought I would share the info.
10-24-2012, 06:10 AM
#70
TECH Fanatic
We always did it by punching through a piece of cardboard, makes it easier to remove the fasteners. You can also wire them together in a chain with mechanics wire, this works well if you plan to have them plated since the plating shop can run them this way.
10-24-2012, 07:09 PM
#71
Thanks Old Goat. More information for everyone to use. I have pretty much finished my cold air intake and ECM mounting bracket. On the ECM mounting bracket are the battery voltage terminal strip and the ignition voltage terminal strip.
For the CAI I have to cut out the clear plastic cover that will go on the box portion and get it painted along with a few other parts. I also will have to trim the 4" intake tube once the L92 motor is in place, then I can get an exact measurement. Here are a couple of progress pictures. `
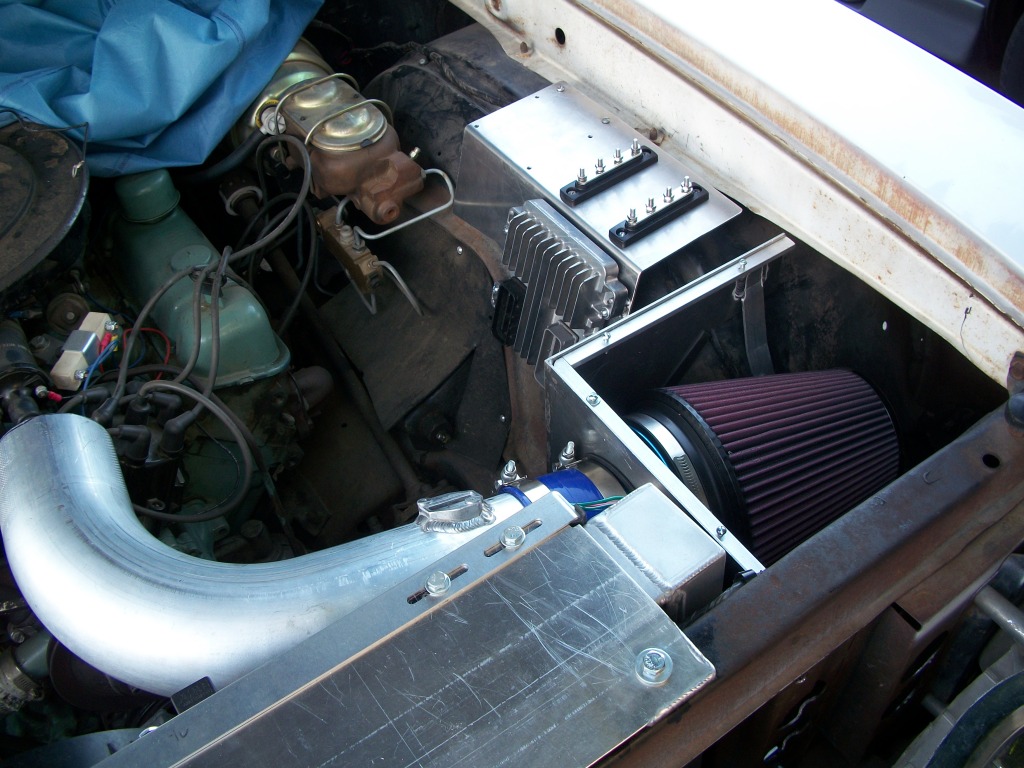
For the CAI I have to cut out the clear plastic cover that will go on the box portion and get it painted along with a few other parts. I also will have to trim the 4" intake tube once the L92 motor is in place, then I can get an exact measurement. Here are a couple of progress pictures. `
Last edited by 1989GTA; 11-19-2012 at 06:01 PM.
 10-29-2012, 05:43 PM
#75
Thanks everyone. My Dirty Dingo idler relocation pulley kit came in today. I ordered it because I was worried about the total length of the serpentine belt with the Kwik A/C relocation kit. This moves the center line of the pulley 3" closer to the power steering pulley.
If I am thinking correctly this should shorten the serpentine belt around 6". I am also seriously considering a 25% crankshaft underdrive pulley to help some more. That should shorten up the belt some more and give me some more horsepower at the same time. Here is a picture of the idler pulley with the Dirty Dingo relocation kit.
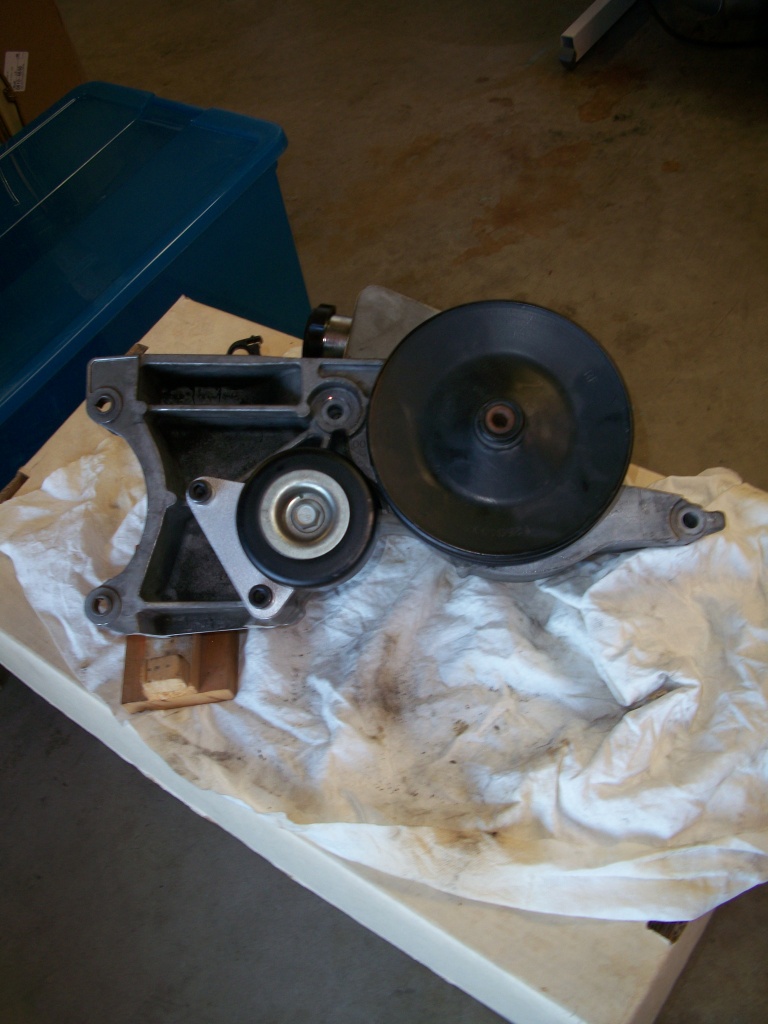
If I am thinking correctly this should shorten the serpentine belt around 6". I am also seriously considering a 25% crankshaft underdrive pulley to help some more. That should shorten up the belt some more and give me some more horsepower at the same time. Here is a picture of the idler pulley with the Dirty Dingo relocation kit.
 11-19-2012, 01:15 PM
#78
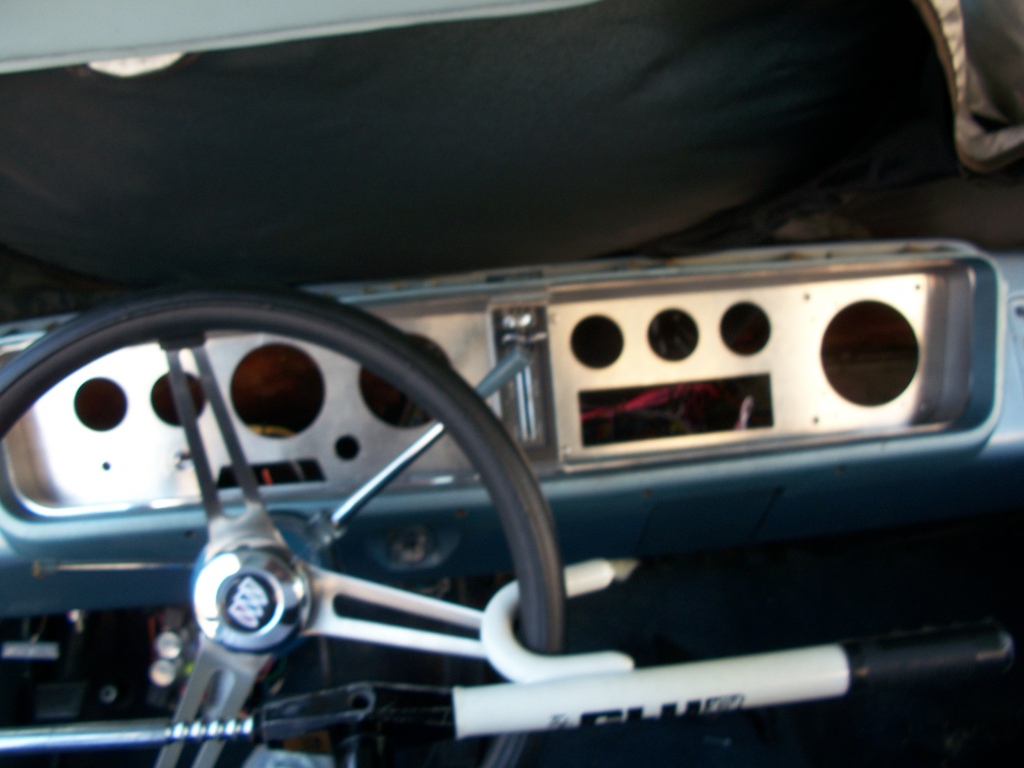
Another update. Here is a picture with both gauge panels mounted in the car. It will give you and idea of where we are going with this. Picture not as clear as I would have liked.
Last edited by 1989GTA; 11-19-2012 at 06:01 PM.