When you click on links to various merchants on this site and make a purchase, this can result in this site earning a commission. Affiliate programs and affiliations include, but are not limited to, the eBay Partner Network.
Yes, I have been slacking on updates but not on the car. I will make time this week to post some stuff up. I have like 200 pictures and already feel I'm way to far behind and have to post them. I'm just kind of short on time between work and racing stuff so the time I have fee has been spent with my little one. She has been helping me work on the car at night and it has been a lot of fun.
I have the final few things to do to the car. I hope to put a map in and fire it up over the next few days. I feel I'm at 98% with it. As long as it fires and runs I see no reason why it will not be at the NMCA Indy race in Sept. It may not be fast but I have to hit the track sometime and that will be my only weekend off for the next 6 weeks so I'm trying to make that happen. Stay tuned and I will get something up this week.
Wow!! Where do I restart the post. Sorry for all the long delays but man I have been busy. Well anyhow enough with the BS I have some pictures to post. A lot has happened since the last time I posted. I got the car home a few months back and have been hard at it. Here is where it sits getting ready to work on it.
After paint work on the main shell was done next was to get going on the inside. I last showed the inside with the carpet getting put in. Here is what it looked like we started to put all the charge pipes in and get it all together. Everything inside will be black or black. Not too many options since I like clean and stealth.
Back from powder coat
Getting it all put into the car
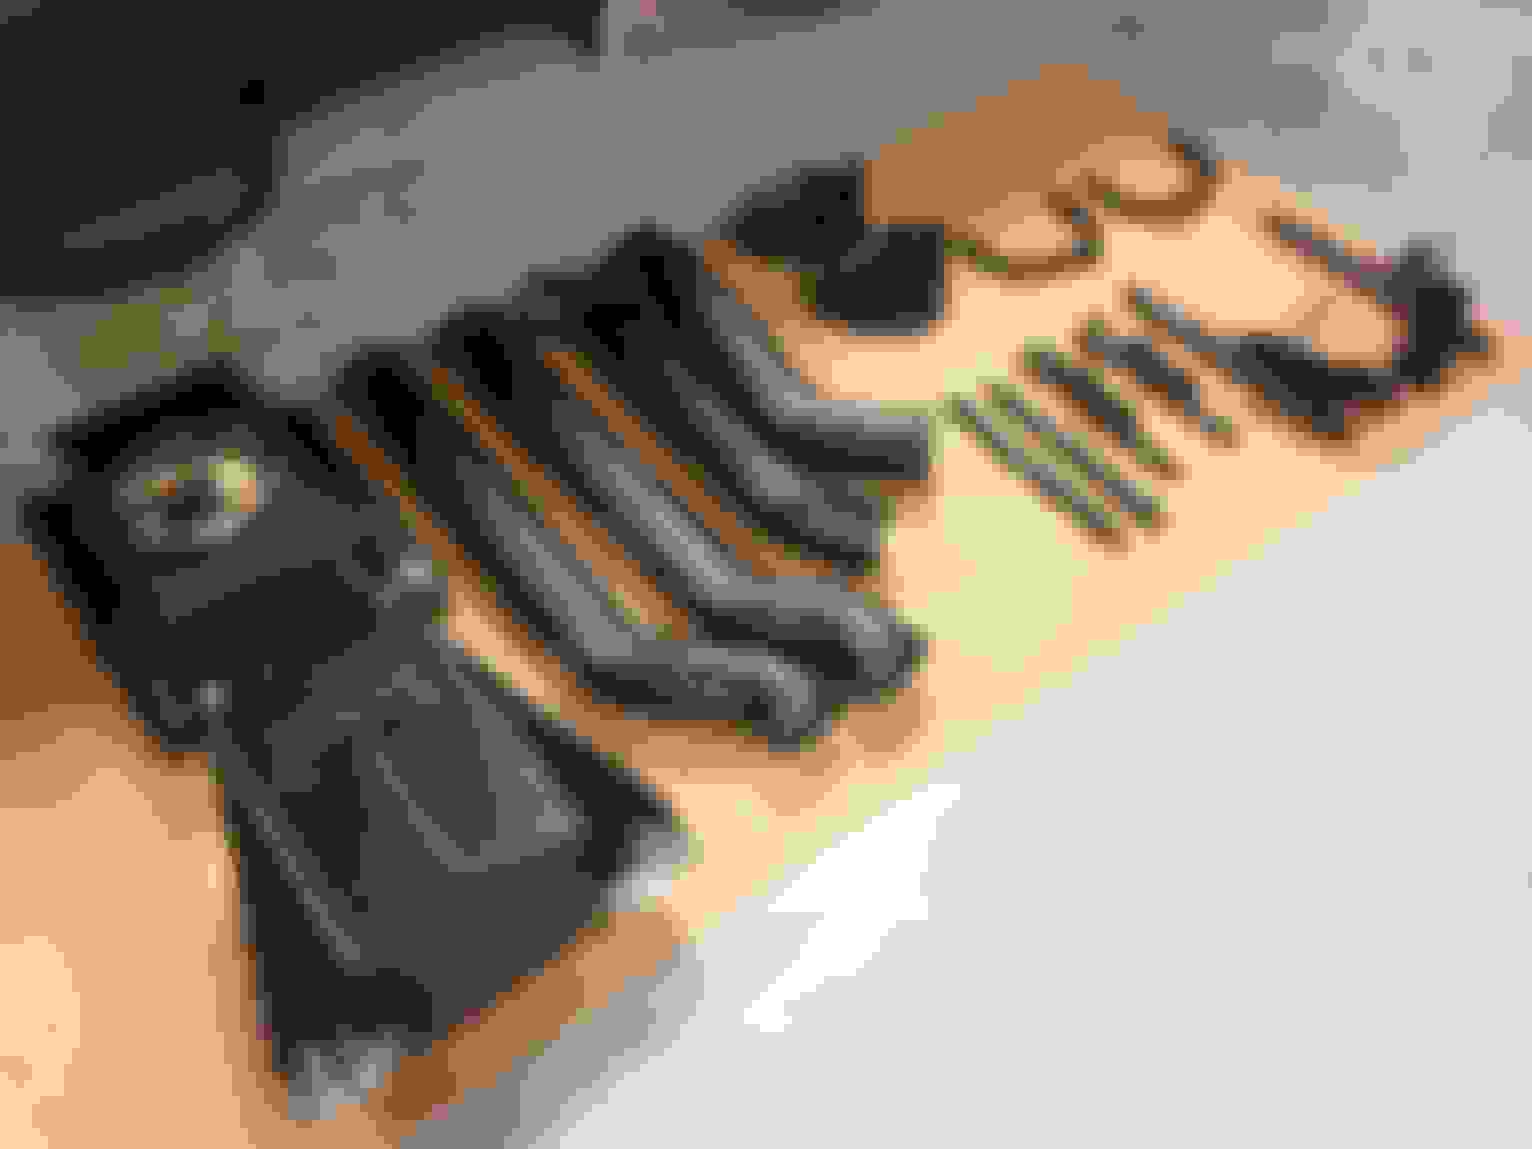
Next up was to start plumbing the whole deal. This is where it could be a pain in the rear if you don't have what is needed but I found everything at Redhorse Performance. They make a really fitting and it has a look that not many others have. They are a nice shiny black and very clean style. So I ordered a few up.
And some more
Get them out of the box
Get to fitting then onto the car and making it home for them. First the oil tank to the engine
Here are the front water lines. I will be using the Ice Box inside the car for the engine cooling so that's where they will be ran to.
They run down behind the oil tank and then under the car
Now since they go under the car and I have the tank inside I have to install some bulk head fittings into the floor
Now to move onto the inside. As you can see I put a ball valve to regulate the water flow from the engine to the tank and I also put my engine water temp in the return line from the engine in a home made housing. To me it makes sense to as much stuff off the engine as I can so I did it this way.
Now I have the trans cooler and over flow tank in the back of the car on the underside. So here is what I did with them.
2 Gallon Overflow Tank mounted behind the inside of the rear bumper
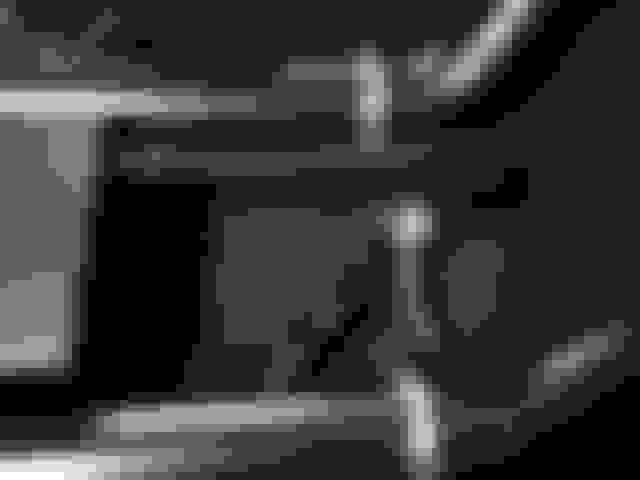
Time to get the charge pipe from the turbo hooked up. The Exile turbo has a V-Band clamp set up but it's not the best thing to hard mount the pipe to it. So I had to machine up a nice floating set up to all things to expand and move around so nothing cracks. Here is what I did.
First time welding. Not to bad
Here it is installed. Now I can swap out turbos etc.... with no issue. It's really just remove the clamp and make it fit.
Now that I'm in the engine bay area time to put the final touches on stuff and finish up the little things.
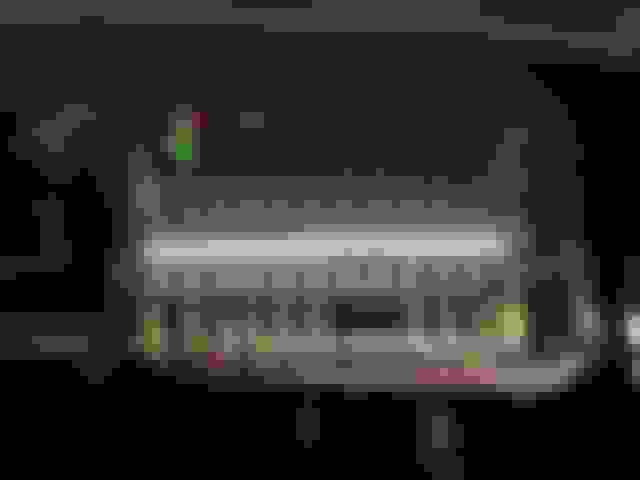
Mounting of wires and line to the boost control valves etc.. tucked inside the loom
Time to jump back into the car and get the rear brake lines done
Well I hoped to make it to the Indy race this weekend but my trans got delayed in shipping and I will not make it. Long story short I sent it back for a little issue I found last week putting it in and elected to swap out first gear to the 1.62 and it is held up in shipping. ATI busted their but to get it finished and out the door and it is on a truck someplace between them and me. I was told the shipping company said I will have it Monday. Kind of stinks.
Now it was time to get the outside stuff done. With the main shell already painted and ready I started to install the front window. So it was measured out and klicos were used to hold in.
You can't just glue them in so rather than putting sheet metal in it I did a 8/32 rivet nutsert. This will make it nice to remove when needed. Here is how it was done.
I used the hex style and went with a tad smaller hole to keep them from wanting to ever spin
I worked my way around the whole window frame
Once they were all in I placed the window on drilled through the klico holes and finished it off with a countersink bit so the screw heads were flat. I also used the factory front window molding to make the window look basically stock. This is how it looked installed
Now time to repeat the process for the rear
And after a good bit of time and being careful they were all in with out any bubbles or it bunching up anyplace
Now it was off to get the hatch and wing painted. I used a place right next store to our shop called DB Custom Paint. Well needless to say the guys did a great job. Now with the hatch painted I can get the nutserts installed into it.
Same process of drilling the pilot hole in the window and the counter sink for the screws to sit flat and this is how it looked when done
So with the window in the hatch it was time to finish the back half of the car. Next step was to mount the wing. I had the wing all painted up and just had to bolt it all together and installed
Ready to go on
I had to get the tabs all onto the car for the braces. I sent everything out to get powdercoated matte black. I had to also get black rivets to make sure it looked clean installed.
If you look up close I did a black edge trim to keep the wing and hatch from rubbing on each other. This will make sure it doesn't chip on the edges
So with the back half of the car finished and things moving nice I had to think about getting it back on the ground. This is where I had to make one of my hardest decisions. With the car being mostly black and blue I wasn't sure if the wheels looked good as polished and not to mention they would be a major PIA to clean. So the I had 2 choices. Polished or Black..... Hmmmmm
Well after much talk and going back and for with friends I went black. Here is what they looked like.
As you can see it is more of a translucent black. They were anodized but since they were polished and the shop knew what they were doing it has a depth to the black and not just a matte look. Well anyway I love the look.
Now it's time to get the Mickey Thompsons mounted all up
Some Pro 275's
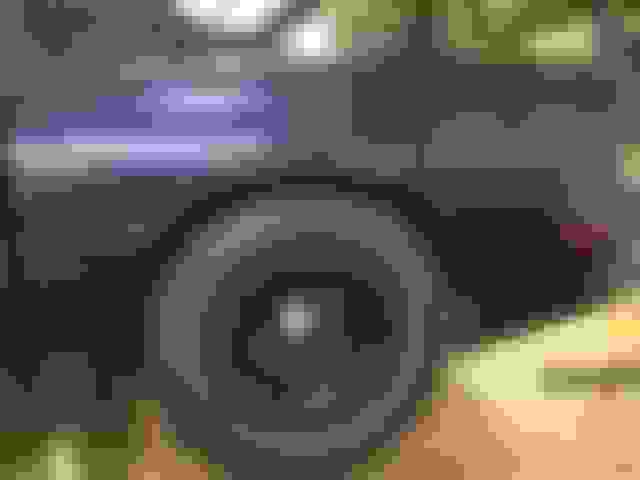
A little trial fit
But I couldn't wait to get it onto the ground but I still had to get the suspension in and set up. Here is what it looked like all done.
Thanks to Midwest Chassis for building a great housing and torque arm set up. It fit's nice under the car.
Some killer JRI Shocks
So here is the car sitting at ride height on the ground. Talk about a exciting day for me.
Alright guys. I'm off to bed for tonight and hopefully I can pick up tomorrow with some stuff and you all up to speed.

 08-18-2014, 11:35 AM