When you click on links to various merchants on this site and make a purchase, this can result in this site earning a commission. Affiliate programs and affiliations include, but are not limited to, the eBay Partner Network.
Well sorry for the delay but I have been out racing NHRA and working quite a bit but I also have been having fun with the car. I want to bring everyone up to speed and show it finished up.
So with just about everything done it was time to get the front end completed. I posted pictures earlier on of what the front tree setup looked like that held front clip together and on. I will post 1 or 2 here to catch up.
DMC Racing made the front clip come on and off as 1 whole piece
Slide in holders for the front
Inside Mounting
Fender Mounts
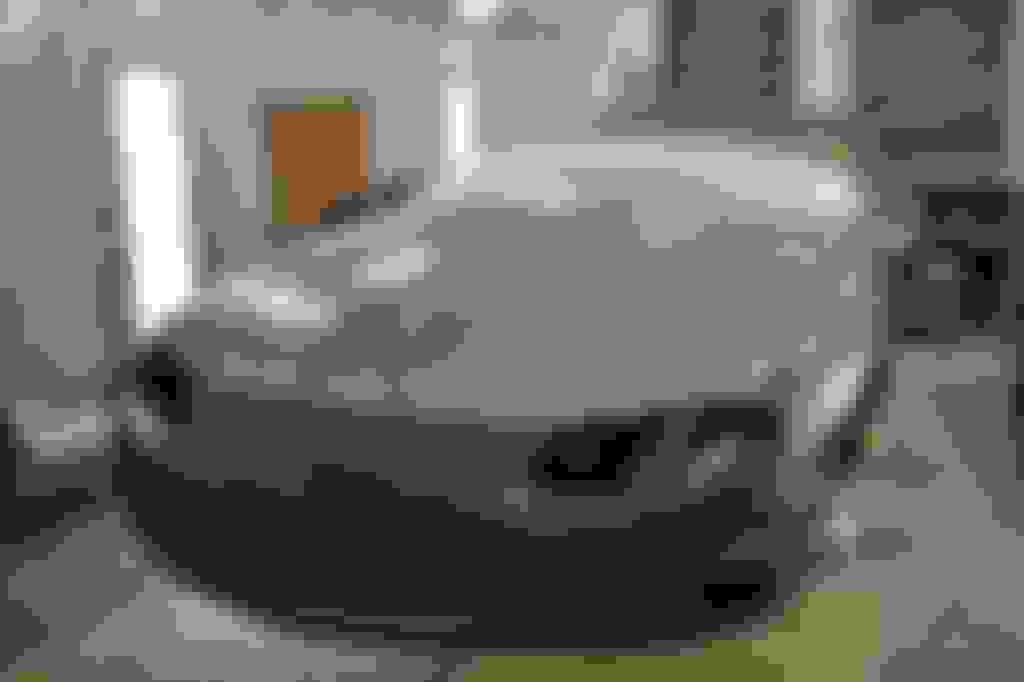
Mounted Up front End
The next step in the front end was going to be a bigger project than you would expect. I wanted the hood to be able to get removed from the fenders so I can pull the hood off without having to pull the front end. So I needed to so hood rails on the fenders since it didn't have them. I went to my buddy Craig @ Leading Edge Composites for some Glass & Carbon Fiber work. This is what he did.
The fender only had a return edge to be bolted onto the stock rail. Well we no longer had the stock rail in the car and the needed a edge wide enough to put the hood onto it. Since we were doing that I can make it wide enough to build the dzus rails right into it. It will make for a way cleaner and nicer set up when done. Also one other that needed to get done was the flange needed to be .100 lower on the fender so the hood will sit flush with the fenders.
Step 1 was to build a series of wooden bucks to create an edge to put a strip of metal down for a backing to lay material on and create a flange surface. It also is a compound curve so it proved to be a little tricky but we got it.
Next was to lay some gel coat on the inside of the strip so it will release from the molds made
So anyone that has a Camaro knows the back of the hood area and fenders don't exactly work together when you change things. You end up with a hole that goes up to the mirror area and rather than having a flat filler panel I wanted mine to all blend together. So this ended up being a few step process also but we got it done nice and clean.
Since the hood follows a straight line we would have a empty area to side on the fender and would need a filler plate here.
So this is what we did. We made the rail a lot wider on the top of the fender for some support
Finished look
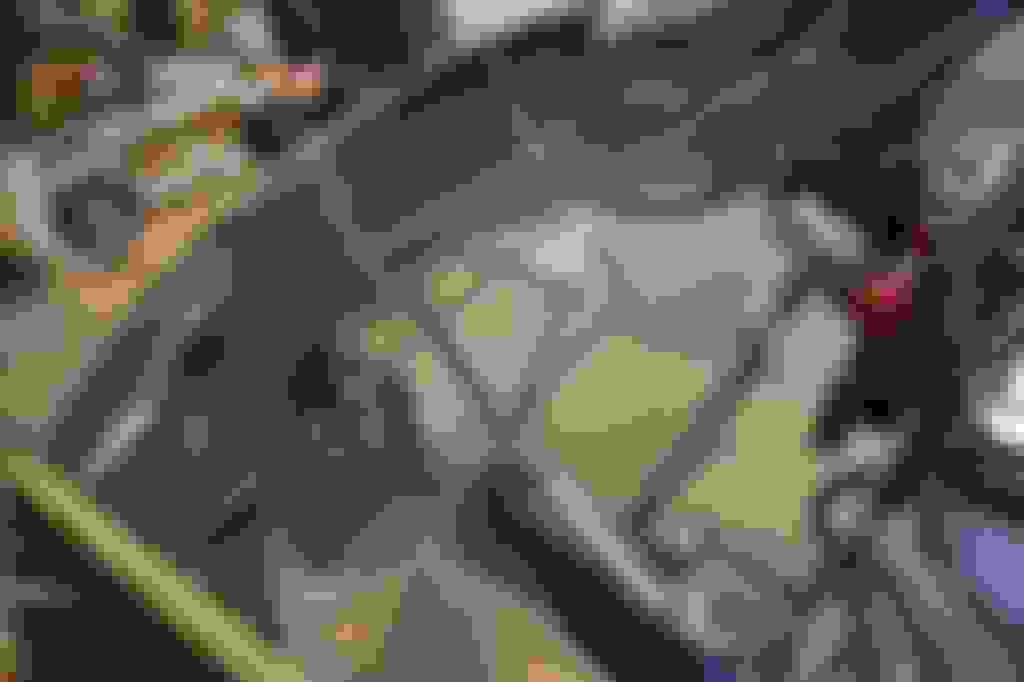
Now I mounted the front clip onto the car and here is what it looked like in that area. Notice the big gaps
So it was time to break out some good old heavy paper and make a template of what needed to be done. The easiest way to make it happen was to add to the hood. Here is how I did it.
I'm doing a little hand modeling here
Trimmed up for a nice clean fit
Graph in some flat carbon to the back of the hood
Then blend it all together
Final thing to do was cut a hole to let some air into the turbo. We put a return flange on it so I can make a intake tube slip around the outside of the opening that will help direct air right into the turbo
Final thing was to drop the front clip off at DB Custom Paint here in Indy. I stopped back a week later to this.
I'm not a fan of cheap stickers so I had them paint the marker lights on it
The nose clip fitted up and mounted and on the car. I also used the OE headlights with some LED bulbs so they work
So once I got the front clip back from paint it was time to put some dzus buttons onto the hood. I have one of the crush rivet so it makes for a nice clean finish when installed
Here is how it looked up close once all installed
Well now that I was getting close I needed to make sure I had a golf cart to bring to the track. So I got one of these little gems. LOL
But I in no way could use it the way it was. So since I was getting body stuff on the car painted I striped down the golf cart and sent it off to the painter also. While it was striped down I ordered some wheels
Now since I plan to bring the family to the track with me I had to get a back seat set up. My wife said since she will be driving it around we should get a few little look good parts also. Why would anyone argue if your wife tells you to get something. So I ordered a few other bolt on parts and this how it looked when finished
Now with the car getting close I only had a few minor details to button up. One of the big things was to get the NHRA chassis cert done. Luck for me I was able to have a tech guy come by my house during the NHRA US Nationals and get that all taken care of. With no issues at all it passed
I also installed all the Racepak data stuff on the car. The nice thing about the Racepak is with the V Net connectors I was able to just plug the Bigstuff 3 & MSD Grid System right in. This will make sure I can see all of them on the Racepak and I added a few chassis tuning sensors to the car also
Front Lazer Ride Height
Rear Left & Right Shock Travel
I did a firewall bulkhead
I also mounted the vacuum sensor & oil pressure sensor on a bulkhead style fitting on the inside of the firewall and ran lines to them. The other thing that I did was put a analog oil pressure gauge on the outside of the car so it can be seen and if a sensor ever goes bad you can make 100% sure it has pressure
Next to make sure it was all correct I had Joe O from Hyperaktive Performance Solutions come over and make sure it was all working correctly.
It was not long after I had everything fired up and Joe checked to make sure all systems were talking to each other
When he was done I had a few channels that were ready to log some data
Well as things come to end on the build side I keep getting more and more excited. I will get more updates up ASAP
Thanks for the pictures of the ride-height and suspension-travel sensors. I have long wondered whether anyone looks seriously at drag car chassis dynamics. I have been amazed that anyone is able to make drag cars work as well as they do without this kind of information.
Yeah gotta have a matching golf cart if you've come this far with the car lol. It looks sweet. You went all out with it.
Do you have a tow setup for it?
I've spent the last 2 weeks catching up on this build. First off, congrats on a great build and great race season. It looks like all the hard work is starting to really pay off. I look forward to seeing more updates and (hopefully) some video of the car in action, both at the track and dyno. Any plans to bring the car out to Phoenix to Wild Horse Pass? I don't know for sure when they would run those races, but I'd love to see it in action in person one day.
Happy Holidays guys. I hope everyone got to relax and enjoy the time you may or may not have had off. Let me fill you in a little on what I had going on. The last 6 weeks have been quite busy with travel and holidays so I haven't had a whole lot of time to post. So before I talk about the car I want to update everyone on a little trip myself and a few other friends got to take and are very proud of doing. Thanks to the great company Summit Racing Equipment myself, Andrew Hines, Jason Line, Greg Anderson, Dan Runte and Alan Reinhart get to do what we call Operation Appreciation.
See us lucky racers get to travel all over the world to places like Bahrain, Djibouti, Ethiopia to do meet and greets with some of the real hero's in the world, OUR TROOPS. Not many ever think about the people that fight and serve our country to make sure we get to go racing and live free etc.... but I feel this trip is well worth mentioning to everyone. So before you say "you went where"..... I will say it was one of the greatest trips if not the greatest I ever took. We get to meet and see a lot of great people that love motorsports. I have had quite a few troops come up and say hi that know about this build telling me that follow the updates I post here but I have also made friends along the way that I keep in touch with and come to races after they get home so I truly enjoy doing it.
This is us with our buddy Capt David Meron... He is a huge drag race fan and follows it more then anyone would think.
For anyone that would like to check out some of the stories please click on and read the links I posted below. I'm sure you will enjoy them.
So as you guys can tell the build process is coming to a close. It has taken roughly 3 years and a small fortune to complete it but in the end I wouldn't have done it any other way. I know I may make it sound like the build is over but really it is just starting. The easy part is done and now the hard part is about to start. That's racing it and making it all work together. Easier said then done. So here are the first pictures of the car ready to run on the ground.
This was an exciting part for me
So the next step was to actually load a map in the Bigstuff ECU and fire it up. Up until this point the engine has never been fired and my plans of dyno testing just never happen. I wanted to try to fire it up to make sure it runs and has no major issues. So I needed to get some parameters and base settings into the ECU to fire it up. Now I know enough to just get me in trouble so I thought getting someone with some experience to help would be a smart idea. I talked with Eric LaFerriere from DMC and he sent me a base map he had and walked me through a few things getting all the data in. Next step was to actually see if it runs. I had no doubt that everything was right so the next step was to crank it and hit the ignition switch.
First thing I did before cranking the engine was to pull the oil pump belt and prime it up. I hooked up a drill and spun it and in about 5 seconds I had 60 PSI oil pressure. I ran it for about 1 minute making sure everything had oil and then put it all back together. Next thing was to add fuel. I got a can of VP C16 and filled the cell up. I'm running a mechanical fuel pump driven off the cam so I pulled the main fuel lines coming out of the pump and poured a little fuel in them to help it prime. Once that was all done I cranked the car for about 10 seconds with a line on the fuel rail open until I started to get a little fuel. Once the fuel started to come out I tightened everything up and double & triple check the engine bay to make sure all was clean and good. Next was to crank the engine and actually hit the ignition switch. Here is what all happen.
Sorry for being a little long winded on this post but I wanted everyone to know how it all happen and how I felt.
Even though the engine sounded good and quiet after a few fire ups I thought would be smart to check it all over. So I removed the valve covers to do the lash and pulled the oil filter to check everything out.
When I inspected it all everything looked normal. I needed to just run through the lash and adjust a few valves then throw the covers back on. Once that was all done I did one good check over of the whole car looking for leaks and that all fluid levels were good and everything checked out great. Now with the car on the ground and ready to run the next part was to get it tuned. I thought it would be good to work with someone local to me. I wanted to run the car on a chassis dyno to make sure we had a safe setup and everything functioned well. After a little bit of research I called up the guys at PTP Racing and got Patrick Barnhill to work his magic. I known Patrick for sometime and as many may know he's been doing this for quite a while and has many records under his belt. So we spoke for a bit and made a game plan.
Patrick felt he could build a map that was very close without putting the car on a dyno. He thought we could throw and map in it and head off to the track and make a few hits and tune it that way. So the first step was getting a PTP Racing tune up into the car. So you would think he had to come to my house or the track and start working away. Nope not in todays age of computers. What was really cool is Patrick remote tuned it from his living room while I was sitting in the car with my laptop hooked up to the car. Not only was he doing the map and all the set up he was also spending time teaching me how everything worked. After about a 2 hour session Patrick says well are you ready and I'm like ready for what. His reply was if this bitch spools with the ATI Converter you need to take it to the track tomorrow.
The good news was I was ready to test the converter to make sure the car spools and everything but the bad news is it is 11PM at night. You might say why is that bad news. Well see I live in a development with about 75 homes so the bad news was my neighbors most likely will not be happy with me after this but I can assure you it wasn't keeping me from doing it. So I opened the garage door and put a jack under the rear to get the wheels off the ground and jumped into the car. I'm on my phone and Patrick is hooked to the car and we are talking and making a plan. I fire it up and the car runs way nicer and he is changing a few areas and then I spool it up on the break. It took about 5 seconds to hit our target and all went well. We shut the car down to clean some areas up and then tried it again. It spooled a little faster and Patrick liked it so he said I think you're good to go. I'm sure by now my neighbors weren't excited for me but man waited a long time to do that.
So the next day I came home around 12 and drive the car down my driveway for the first time and took it for a cruise through the neighborhood to make sure it stopped and went through the gears. Everything went great and I was pumped. Here is a picture I took sitting in front on the street.
I loaded the trailer up and headed off to the track.
So once I get it out of the trailer I drive the car around for a few minutes and head over to tech inspection. Everything passed with no issues and then I start getting into race mode and prep the car with fresh ice and setting the tires etc....
Next step was to actually strap in and make a run. Now the first run was a planned shut off run. I wanted to get the feel of the whole car thing again and make sure I did all the stuff inside the car correctly. So I get in buckle up and make my way to the ready line. It is just now it is all sinking in. I'm actually going to drive the car and make a run.
The tune up was very safe. We left the line with 6 lbs of boost and ramped it to 12 over 2 seconds and this is how it worked out.
All I can say was WOW!!!!! It left the line and went dead straight with not even one little hitch. Now I have been 1.03 60ft times and 6.7's at 200 MPH on a motorcycle but man what a rush I got driving the car. I was on top of the world and happy as could be.
After getting back to the trailer we downloaded some info checked a few things out and everything again looked great. Patrick wasn't able to make it but I had him remote tuning and checking things over while I was getting the car ready. So we ran through the checklist going over everything and made our way back to the lanes. The tune up was left just about the same except for a little less fuel at the start. I'm bucked in ready to go and then a car 2 cars in front of me blows the trans apart and the track crew has a hour oil down to clean. By this time it's 8:30 and it's getting dark and colder out. The car got about 40ft and knocked the tires off. I just half throttled it the rest of the way but here is how the run went.
After the run I didn't want to rush and try to make a run on the cold track so I just packed it up and went home. In my eyes the outing was a huge success. I couldn't have been anymore excited and was just happy to get the car to the track to make some runs. Well as if you can't tell I'm excited and looking forward to getting the car out and putting some laps on it. I still have a few more updates and will post them as soon as I can. I still have some more good things to come. Thanks for reading.


 11-09-2014, 08:48 PM