Drag Racing Tech
Sponsored by:
Sponsored by:

Optic Armor Install F+R, How To

Thread Tools
 
Search this Thread
 
Old 01-23-2017, 09:30 AM
  #1  
TECH Senior Member
Thread Starter
iTrader: (96)
 
01ssreda4's Avatar
 
Join Date: Aug 2007
Location: Turnin' Wrenches Infractions: 005
Posts: 24,240
Likes: 0
Received 79 Likes on 70 Posts

Default Optic Armor Install F+R, How To

So on my quest to get under the 3k lbs mark I placed an order for 3/16th" front clear, and 1/4" rear in dark tint. My original plan was to pay someone to do this but ended up changing my mind and deciding to tackle it on my own. I have zero glass experience of this kind, so I just had to wing it. I'm gonna give you all the tips that I learned along the way in case you want to try it yourself one day.

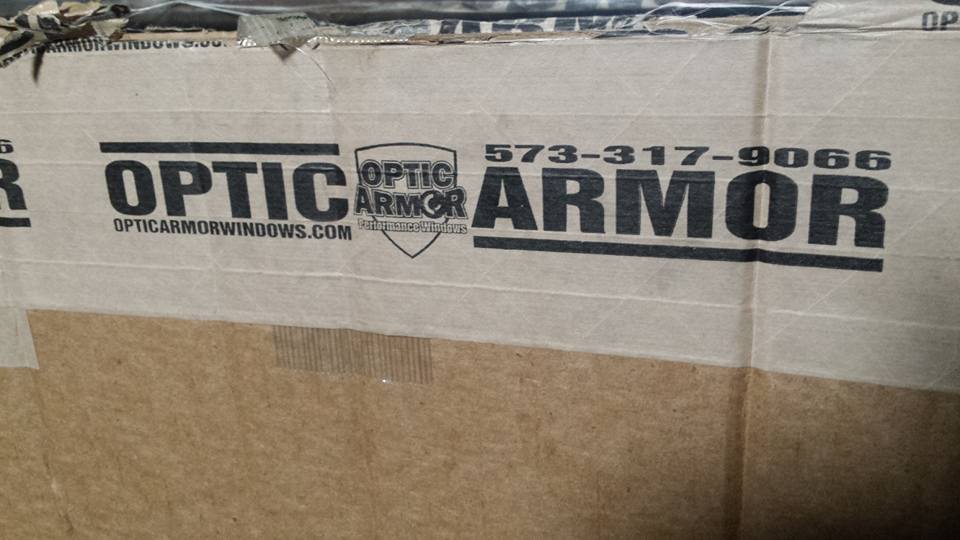
1. Here is when they arrived. The box was kinda beat up....I'm actually surprised they weren't damaged somehow.

Name:  15873043_1394016937277109_5936202381398518960_n_zpsr8rfomx8.jpg
Views: 8642
Size:  59.8 KB

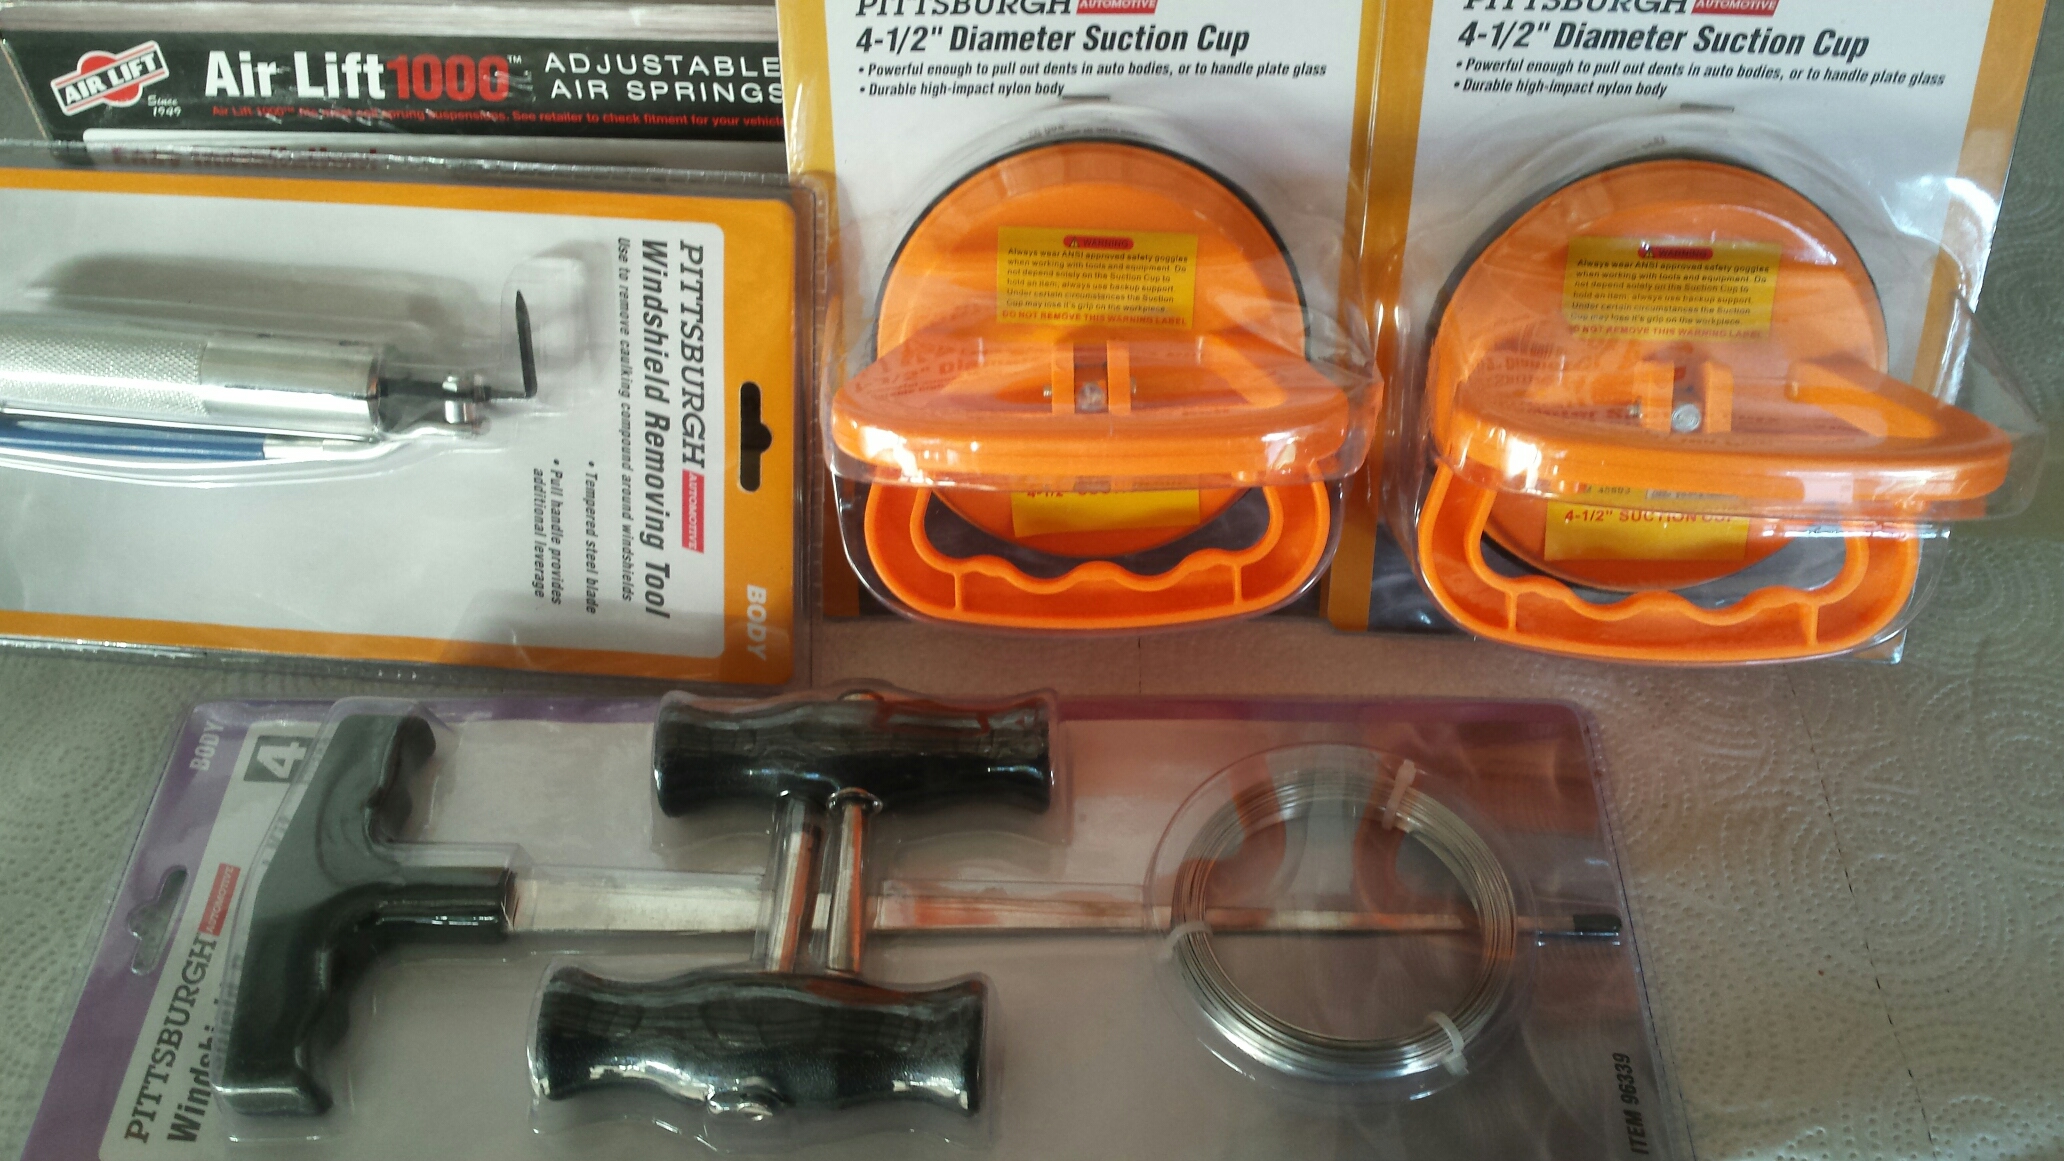
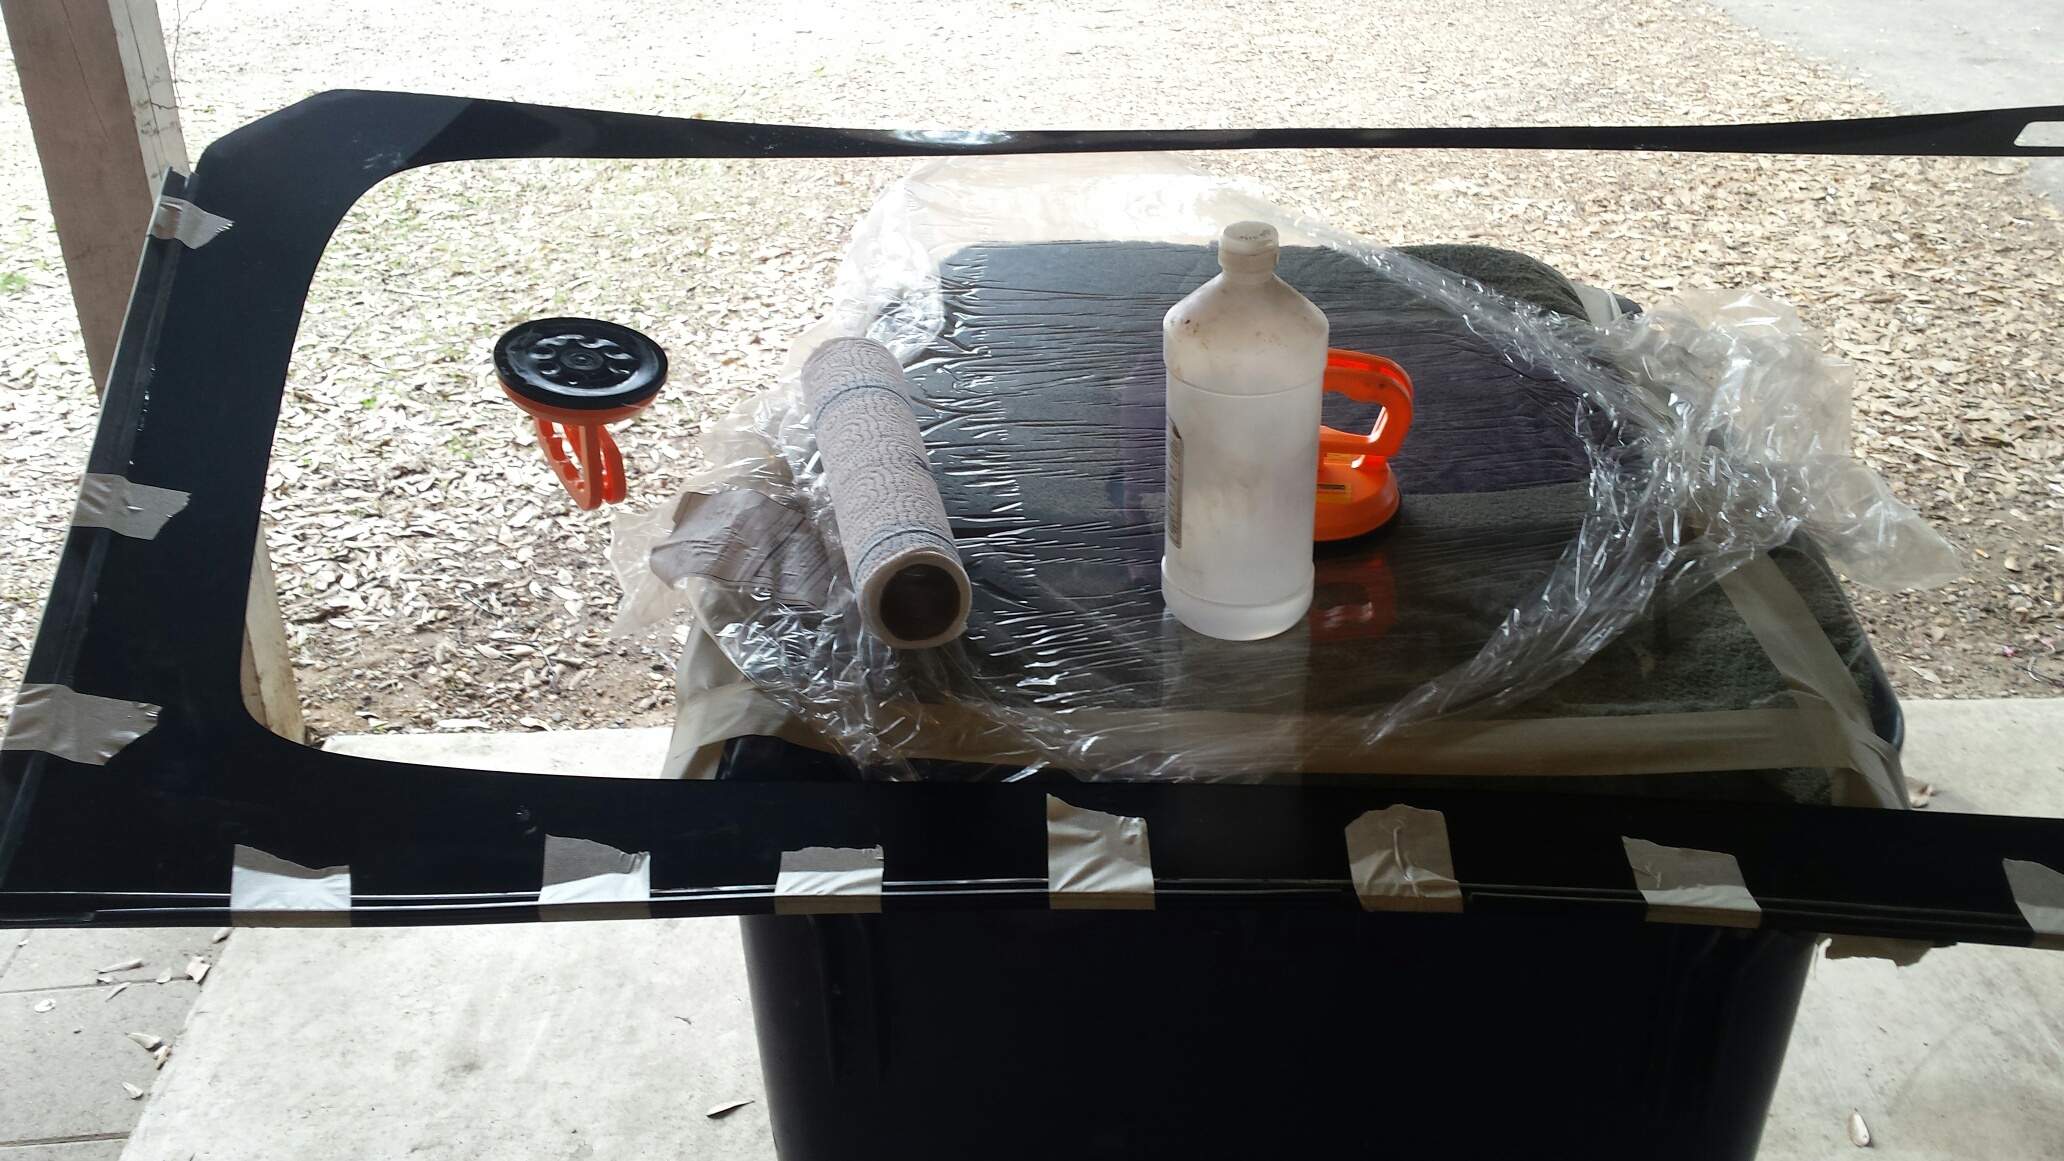
2. Made a trip to harbor freight to pick up some windshield specific tools:

Name:  20170107_162246_zps8evegiw1.jpeg
Views: 8527
Size:  1.06 MB

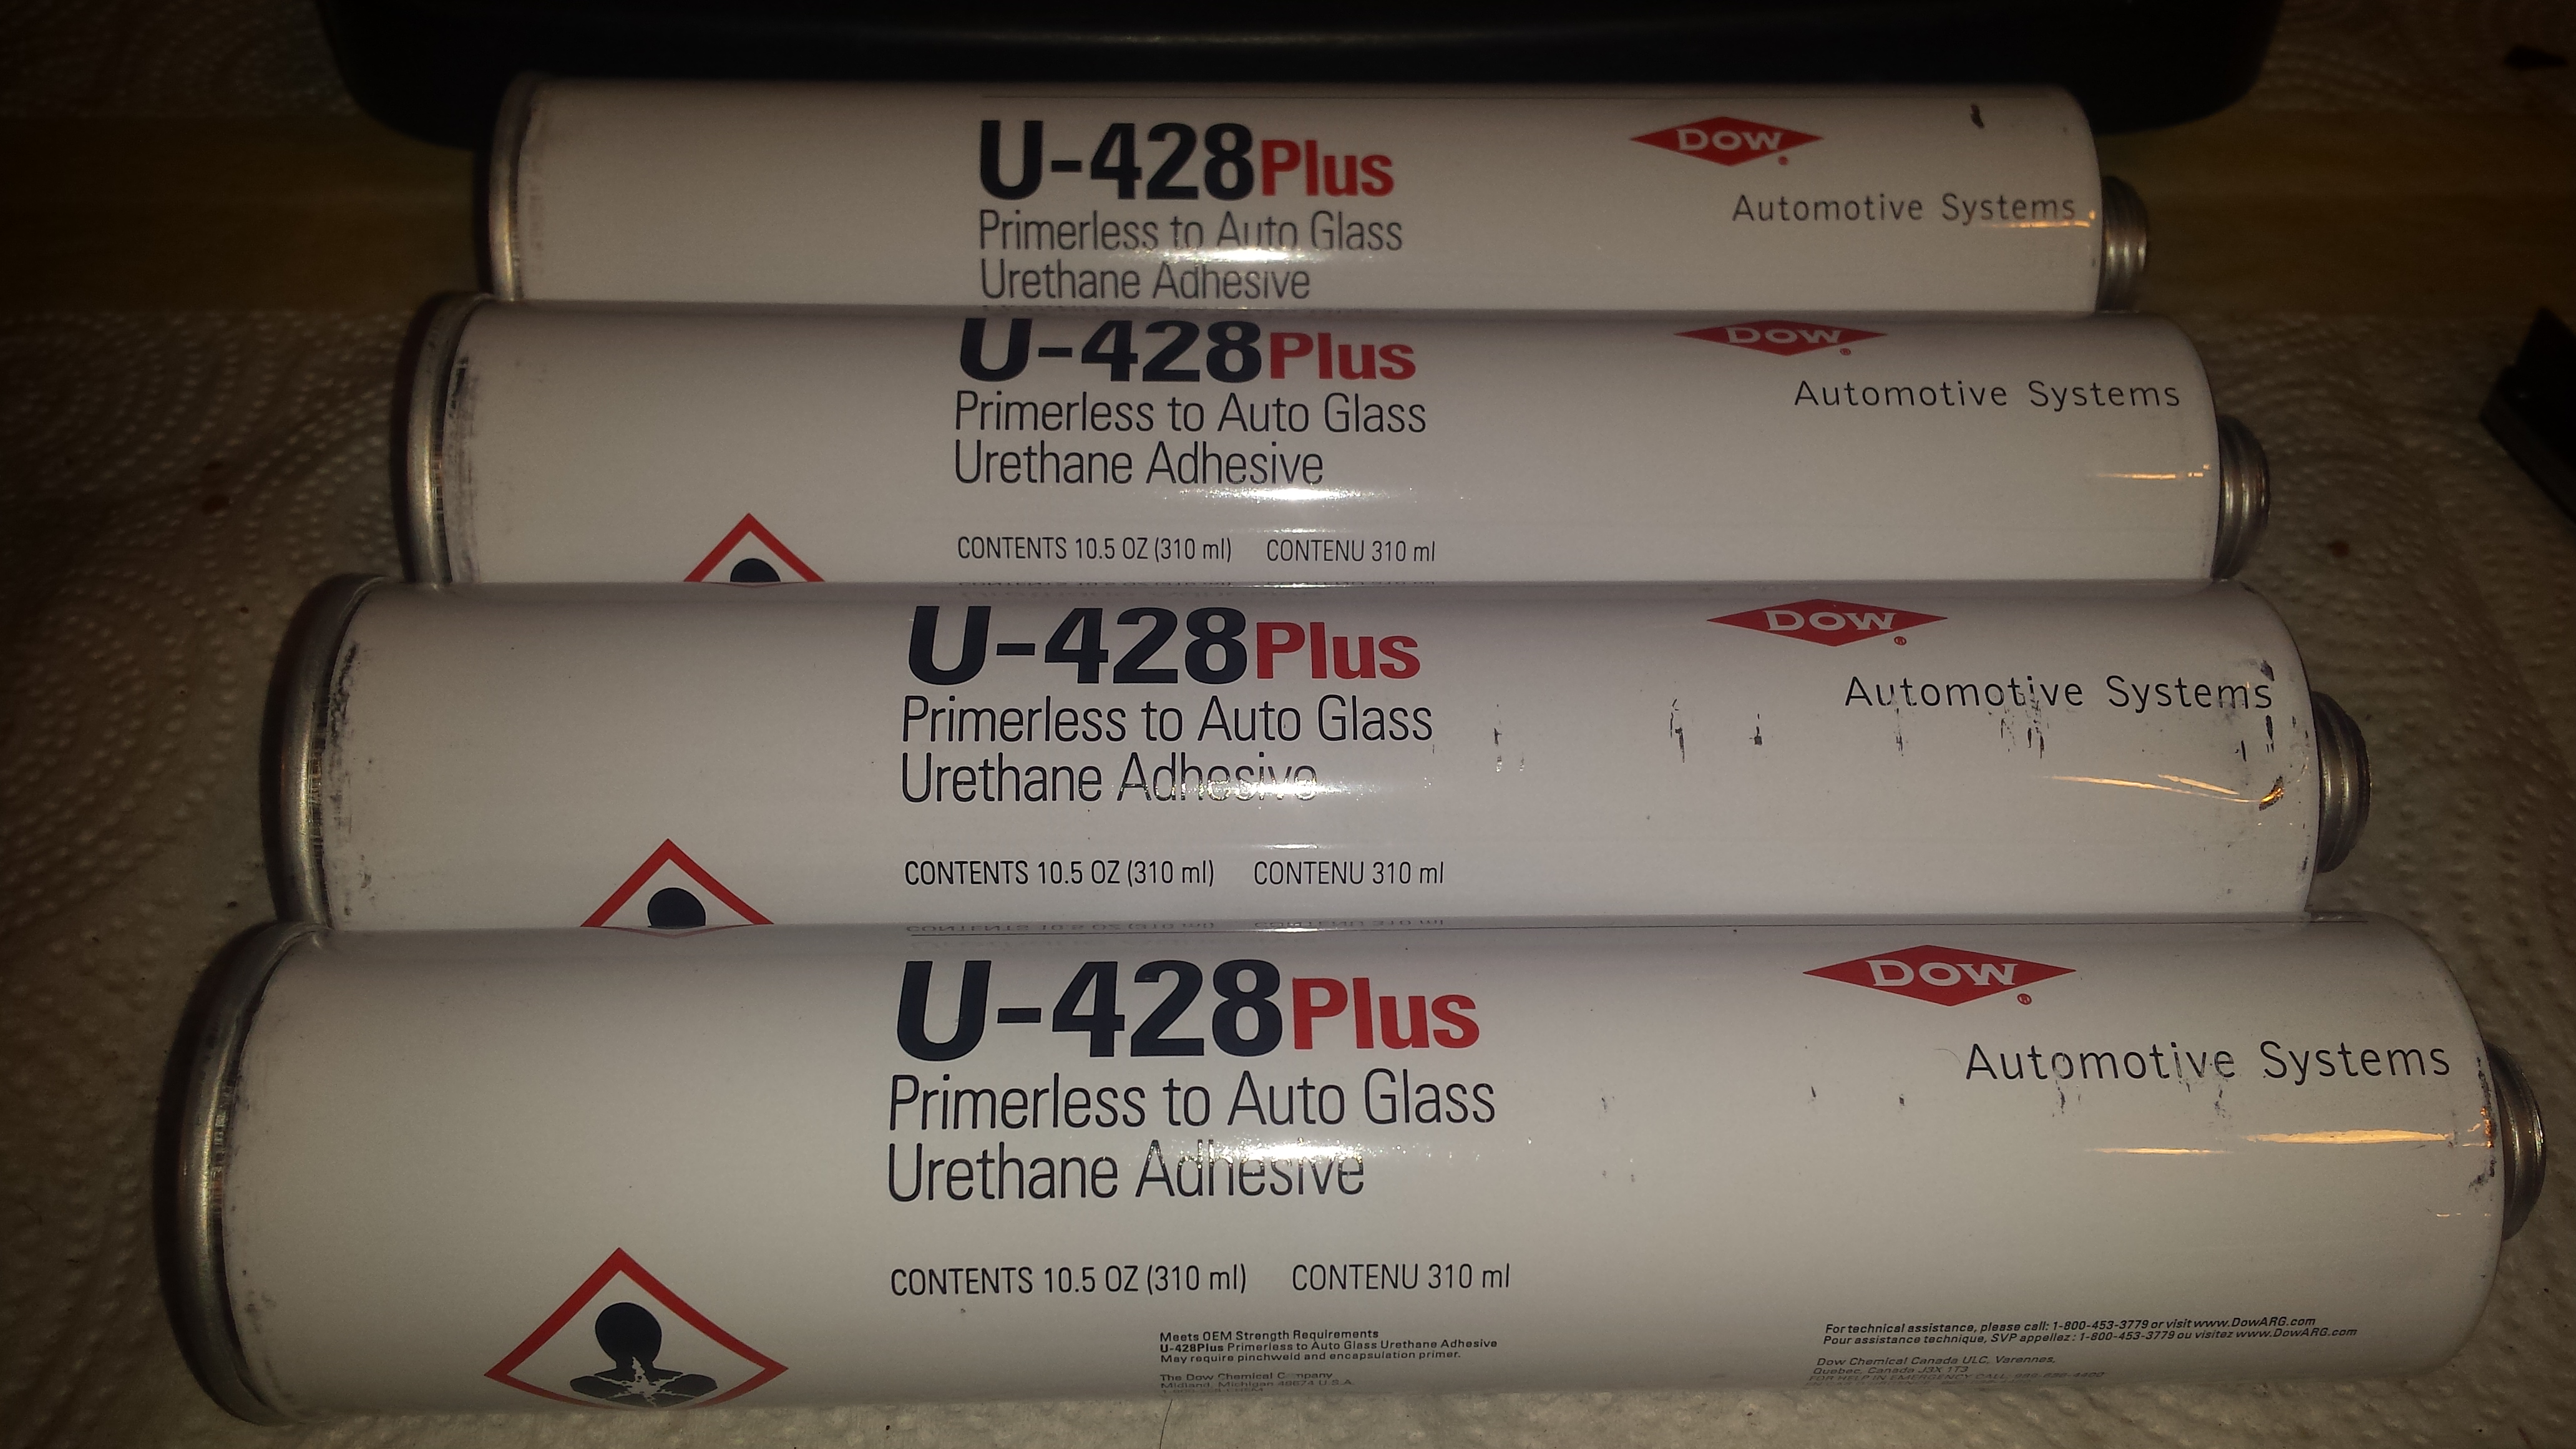
3. This is the urethane glue I chose. No particular reason, I purchased it on ebay for about $10 per tube. You'll need about 2 per window.

Name:  20170112_075936_zps20wzcnfc.jpg
Views: 8762
Size:  2.77 MB

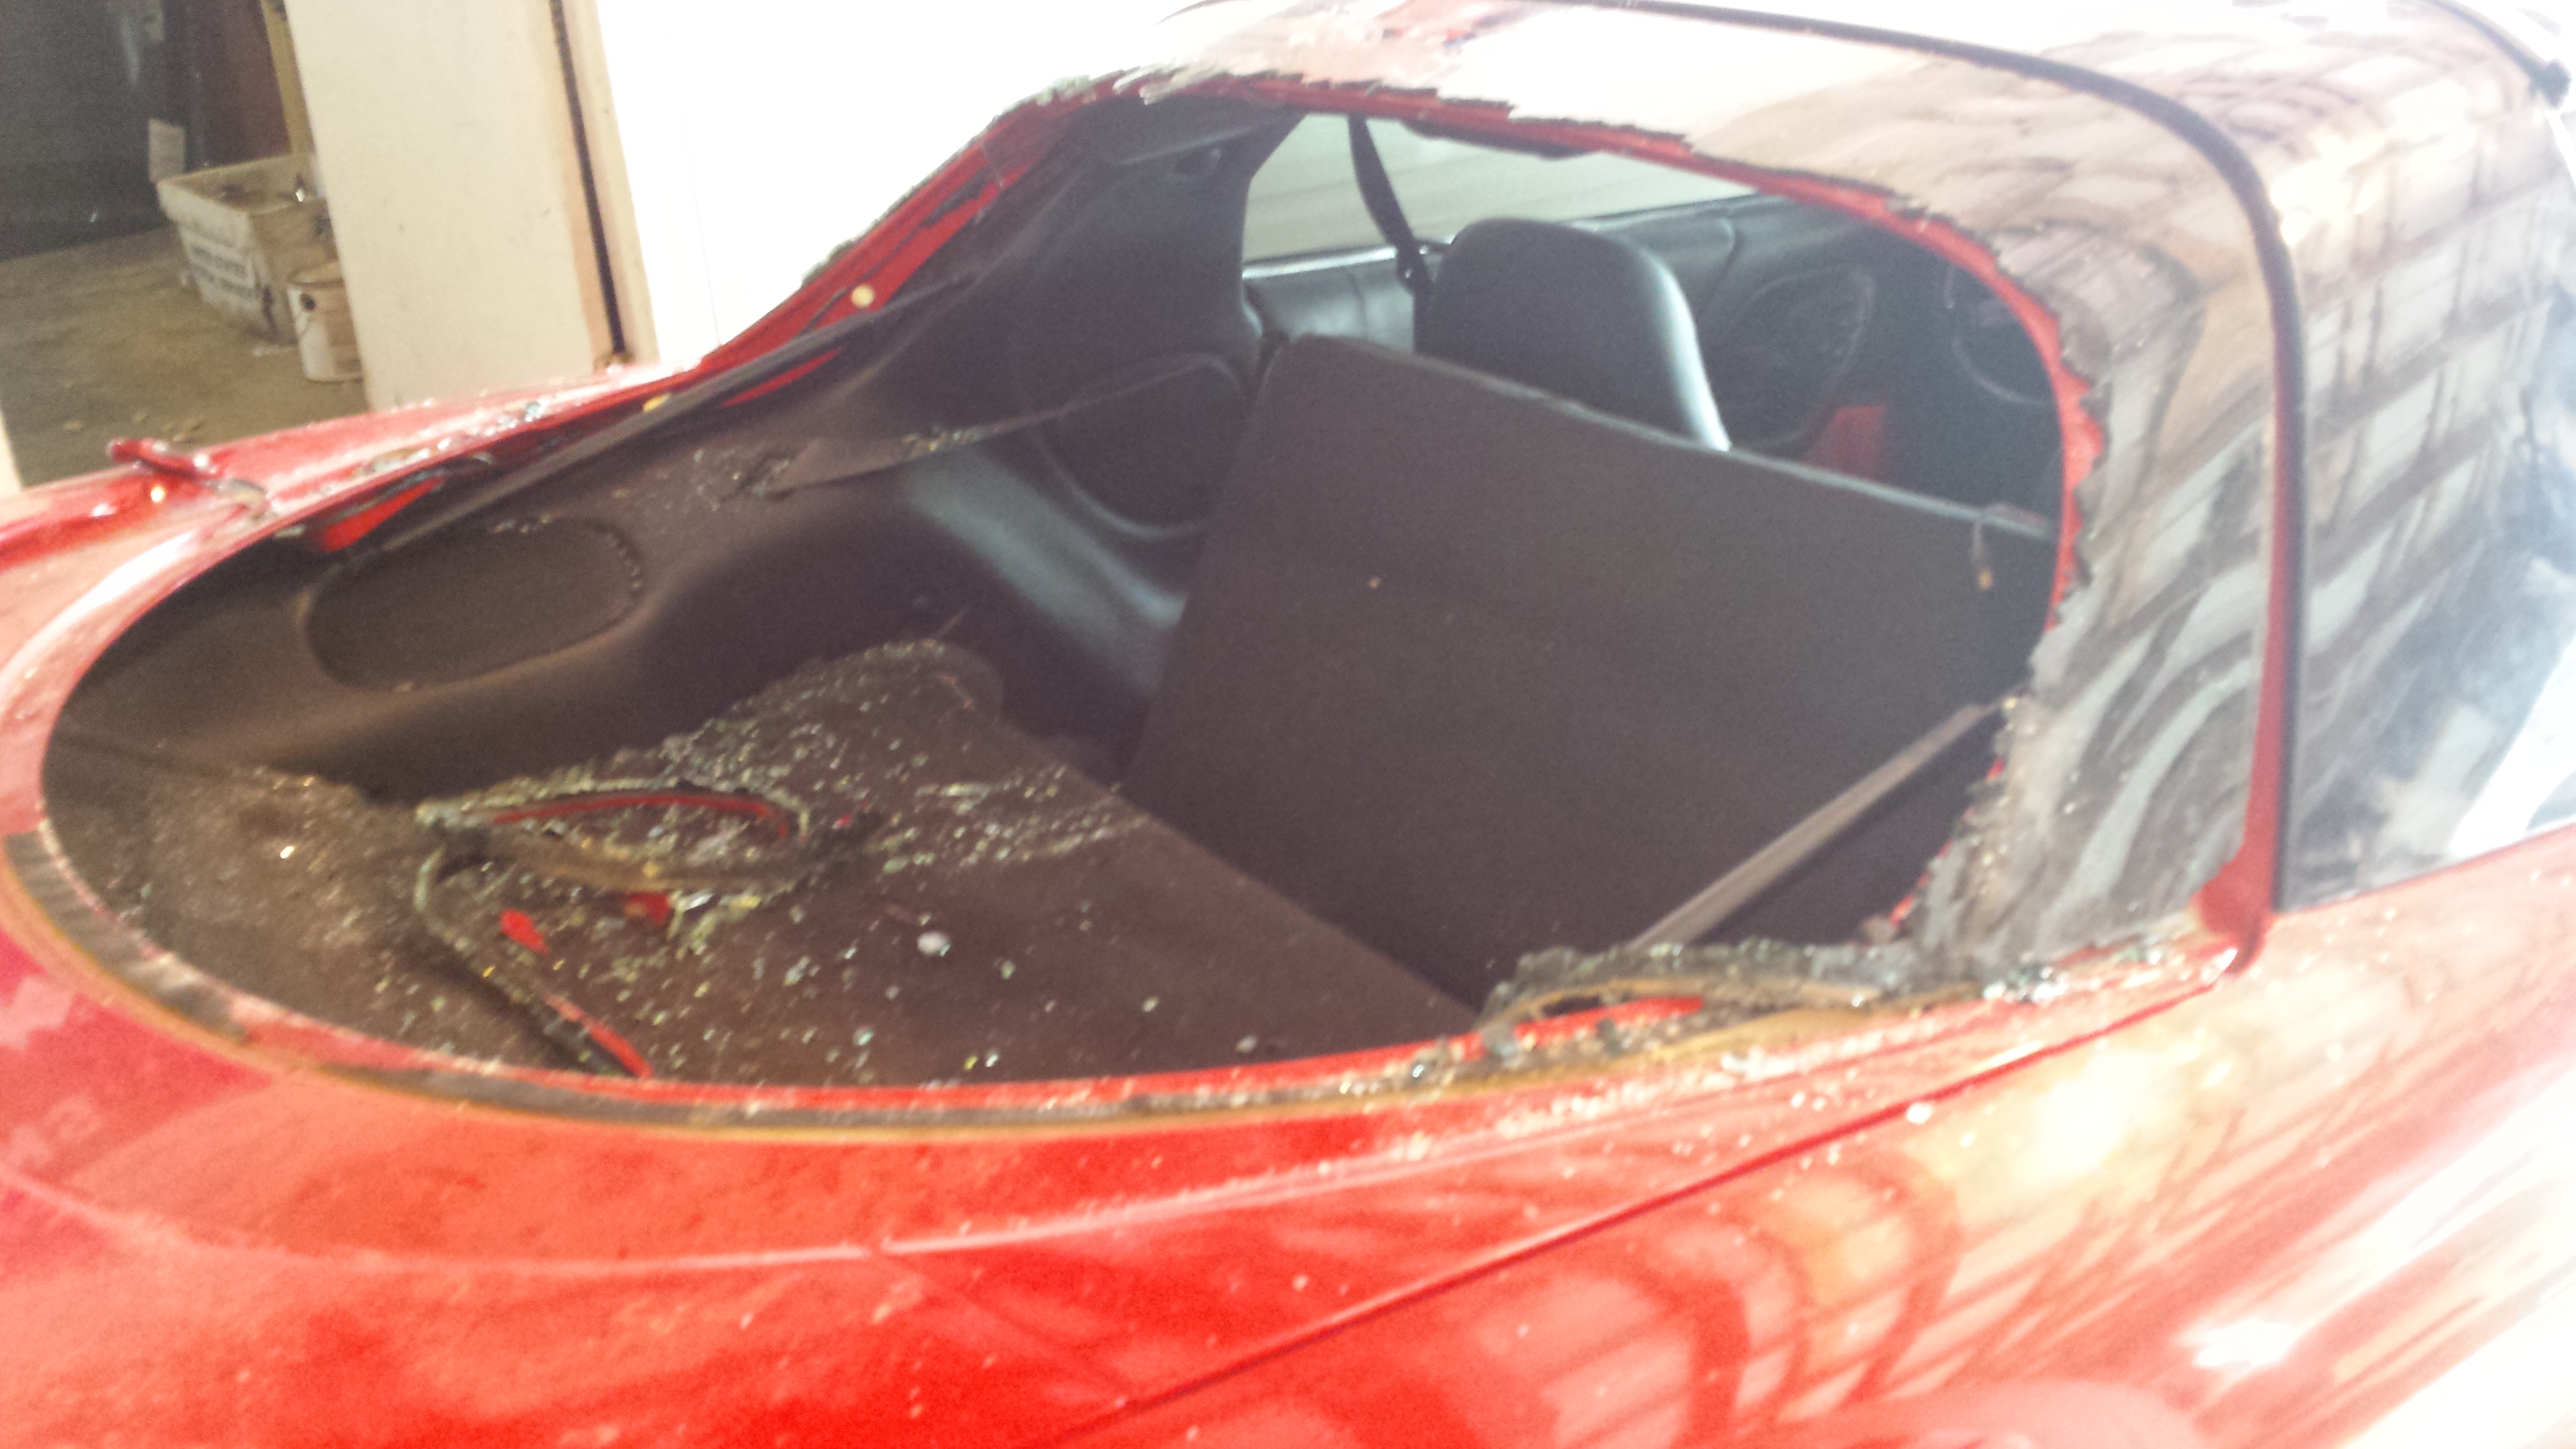
4. You may want to hire someone to remove the glass, I chose to give it a whirl. I started on the back first. Its tougher then the Youtube videos make it out, especially without scratching the car. You need to remove the perimeter molding first thing and the inside panels then use your various tools to separate the glass from the car. I finally decided **** this.

Name:  20170110_152459_zpsebqhz6hz.jpg
Views: 9190
Size:  2.56 MB

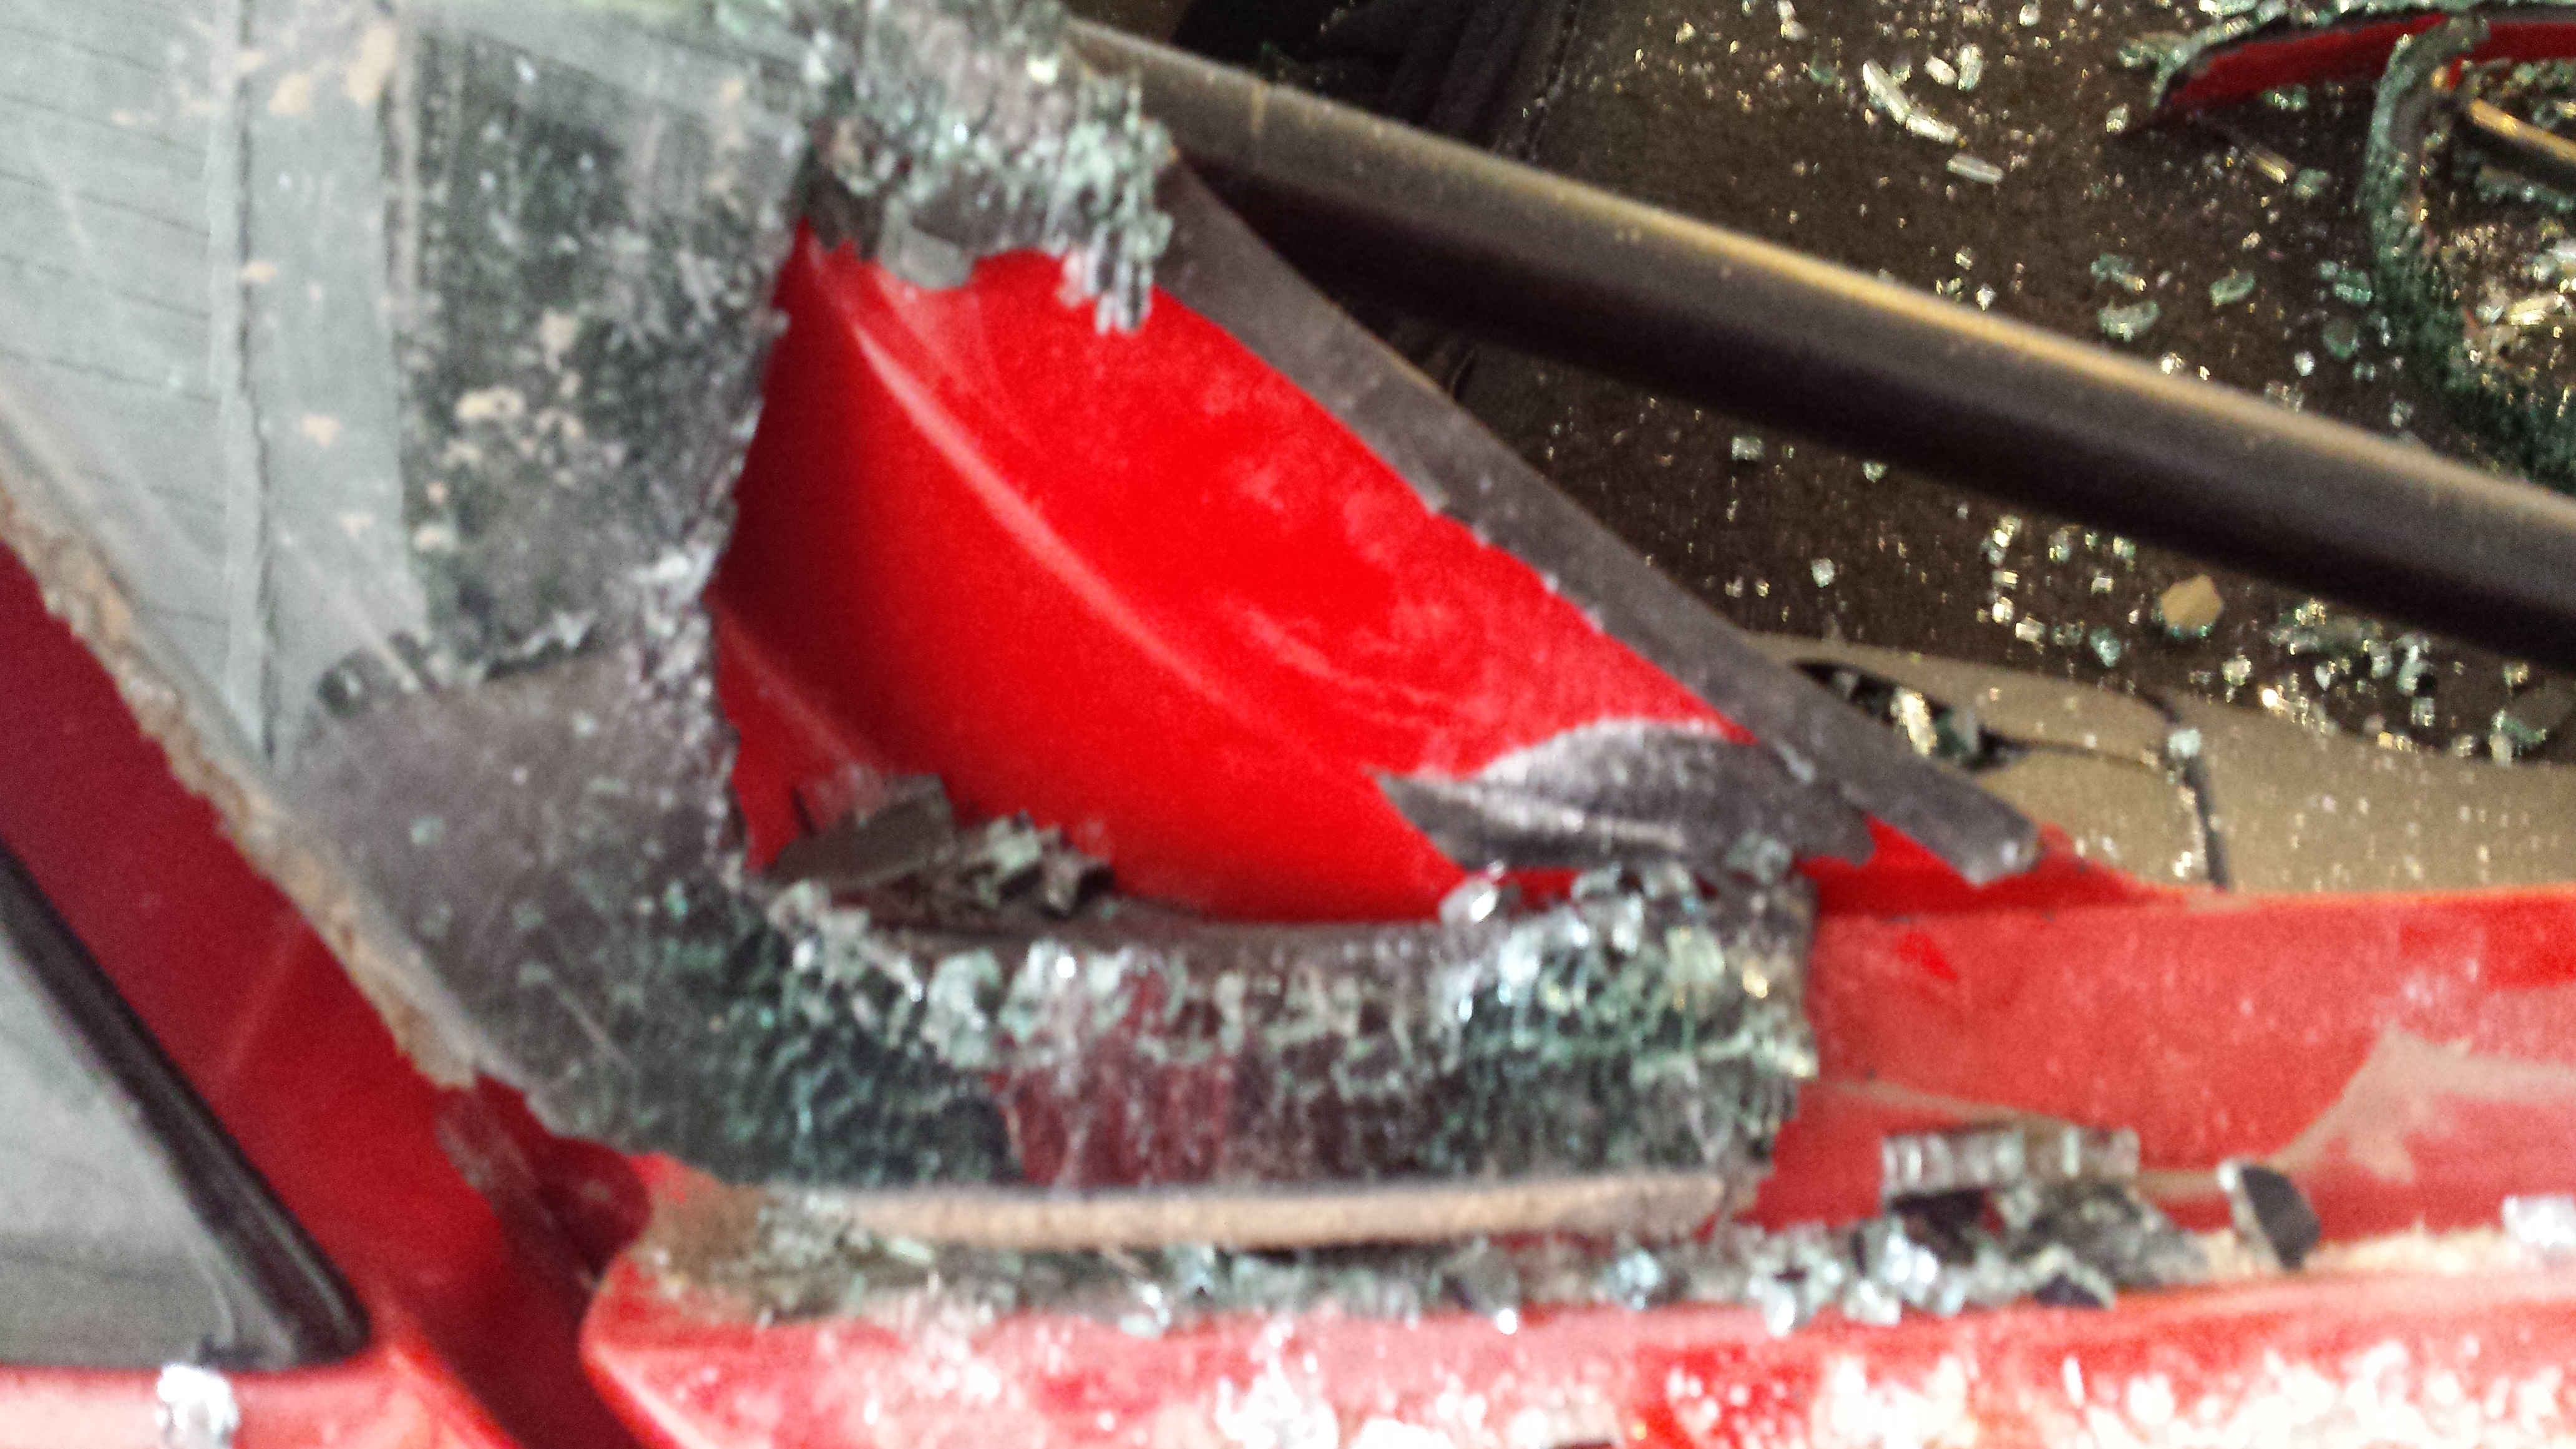
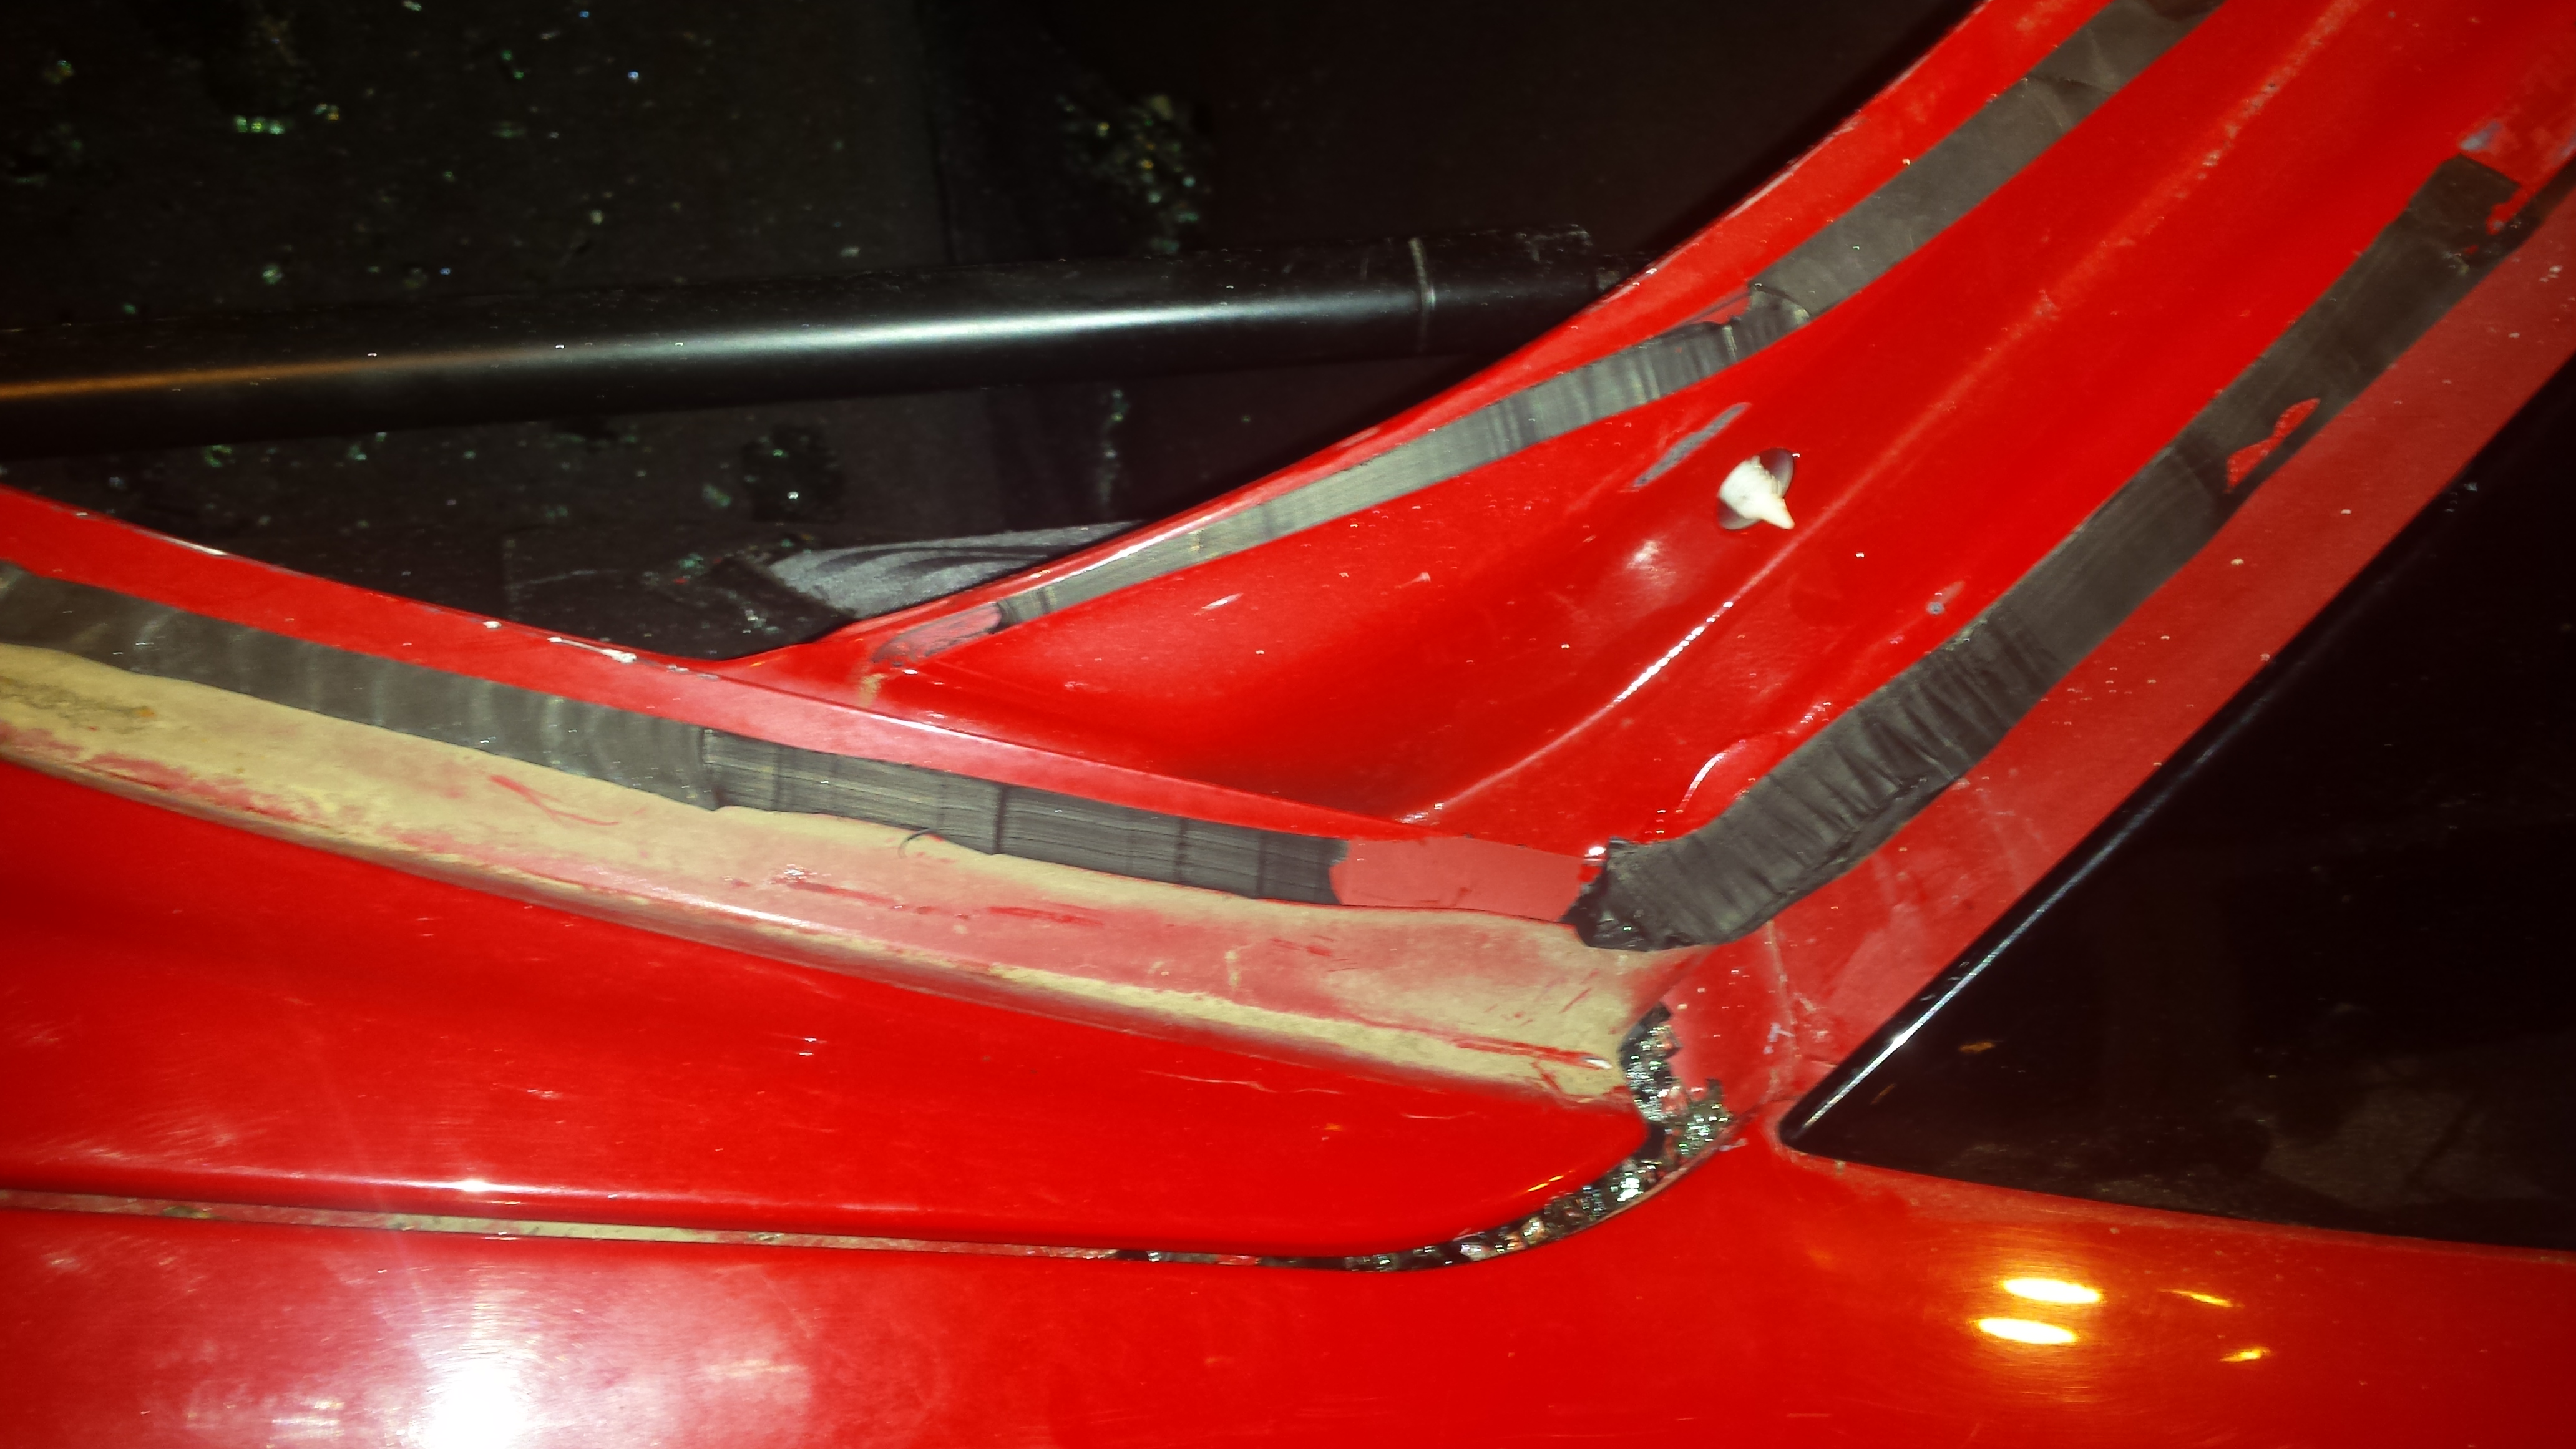
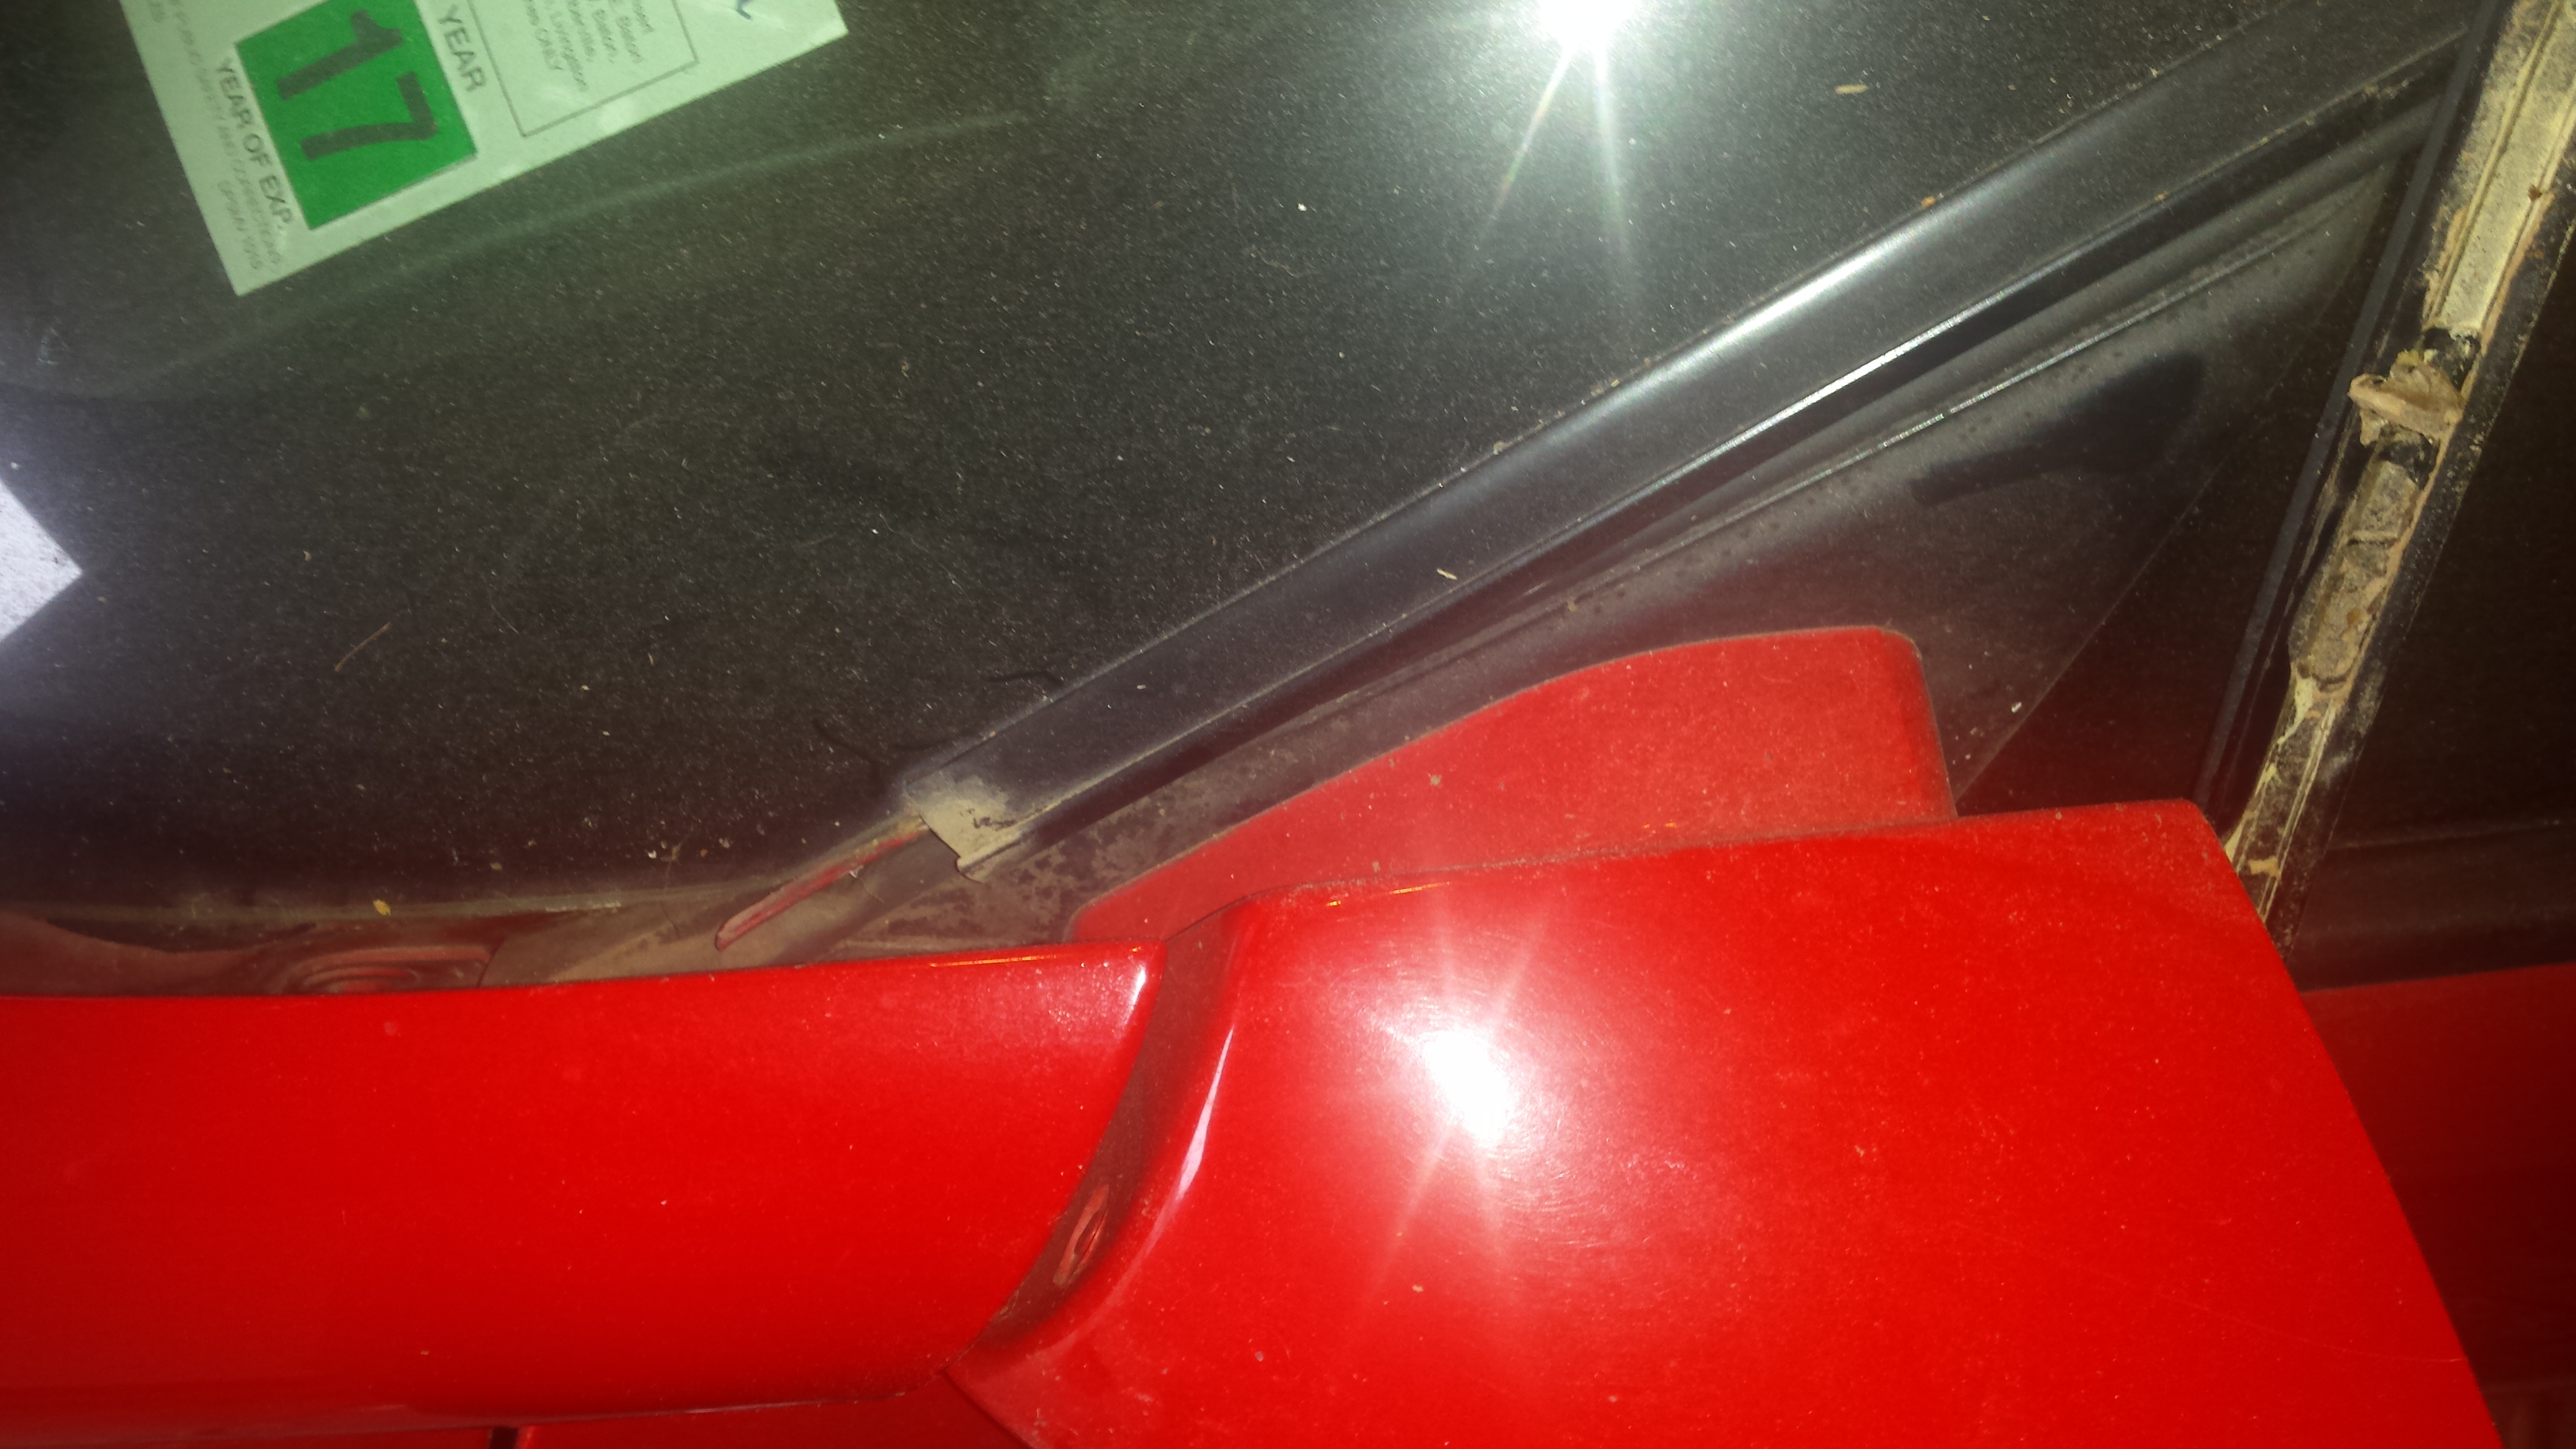
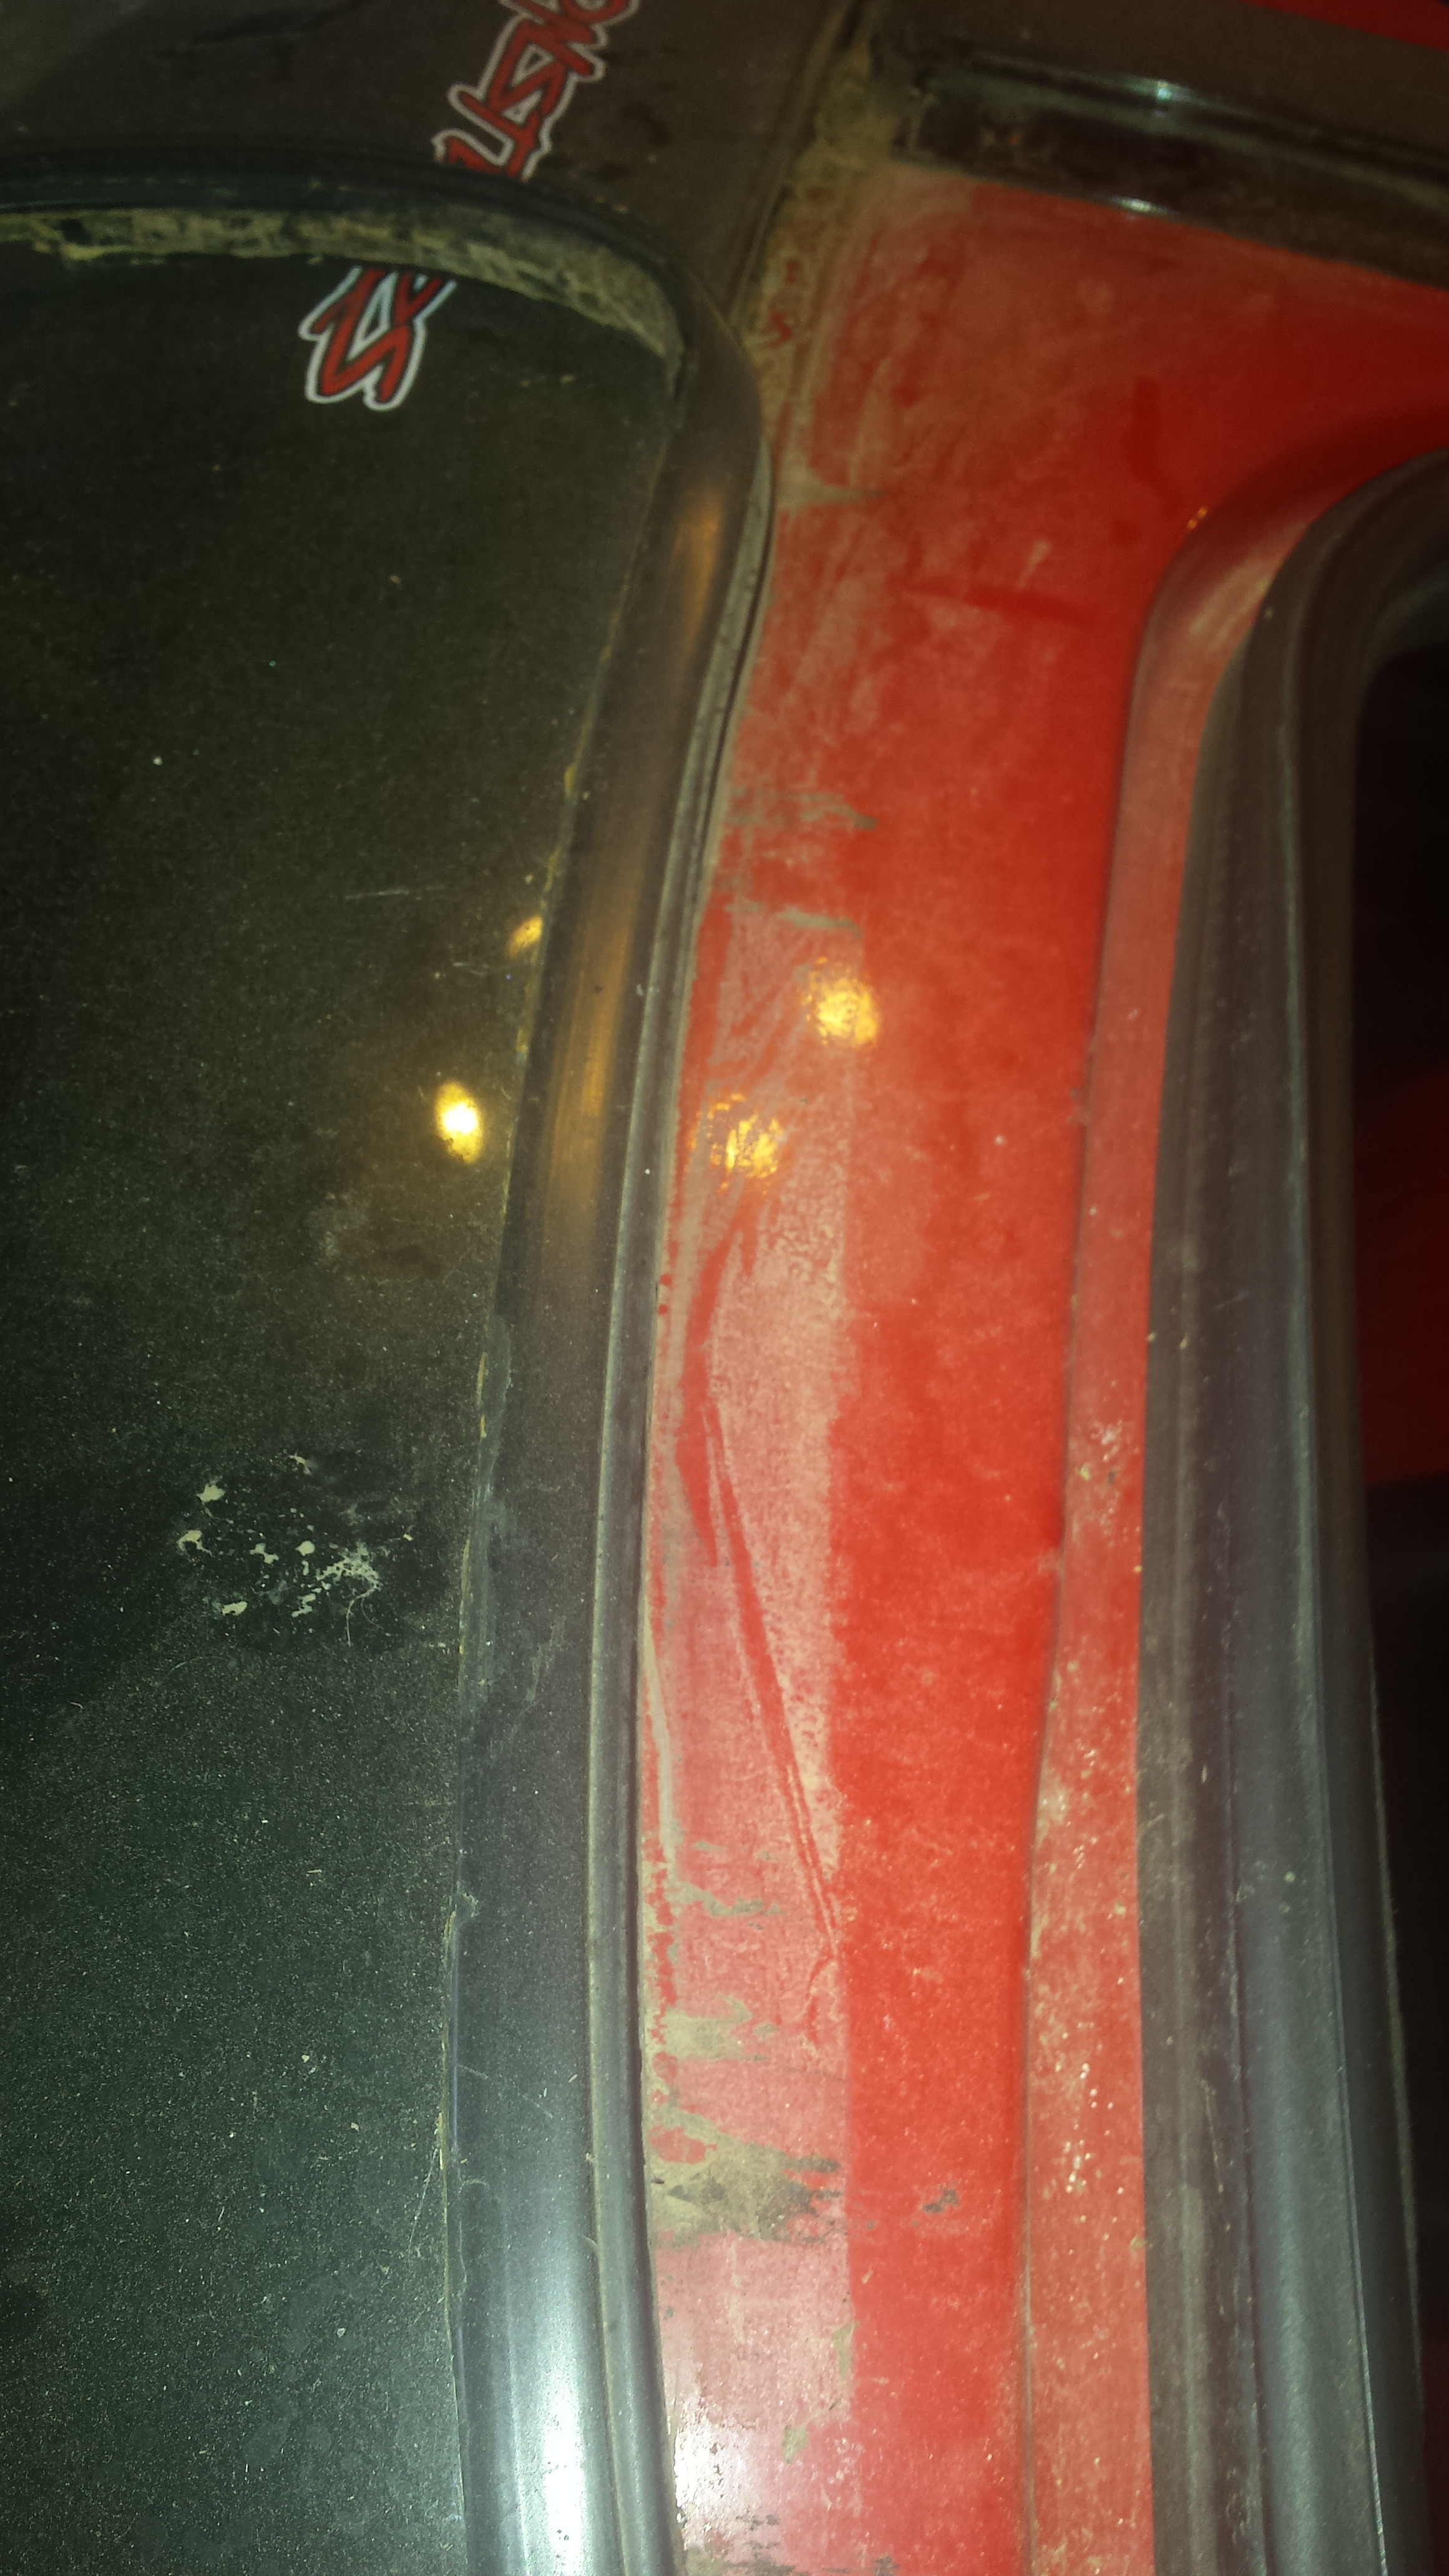
5. One of the things that makes the rear glass a real pain is in the corners there is two separate lines of urethane, which makes getting through that part super difficult to a beginning installer. You can see here, where the glass makes the curve at the bottom is a thick bead, then toward the upper edge there is another thin line.

Name:  20170110_152510_zps7nscawok.jpg
Views: 8599
Size:  3.45 MB

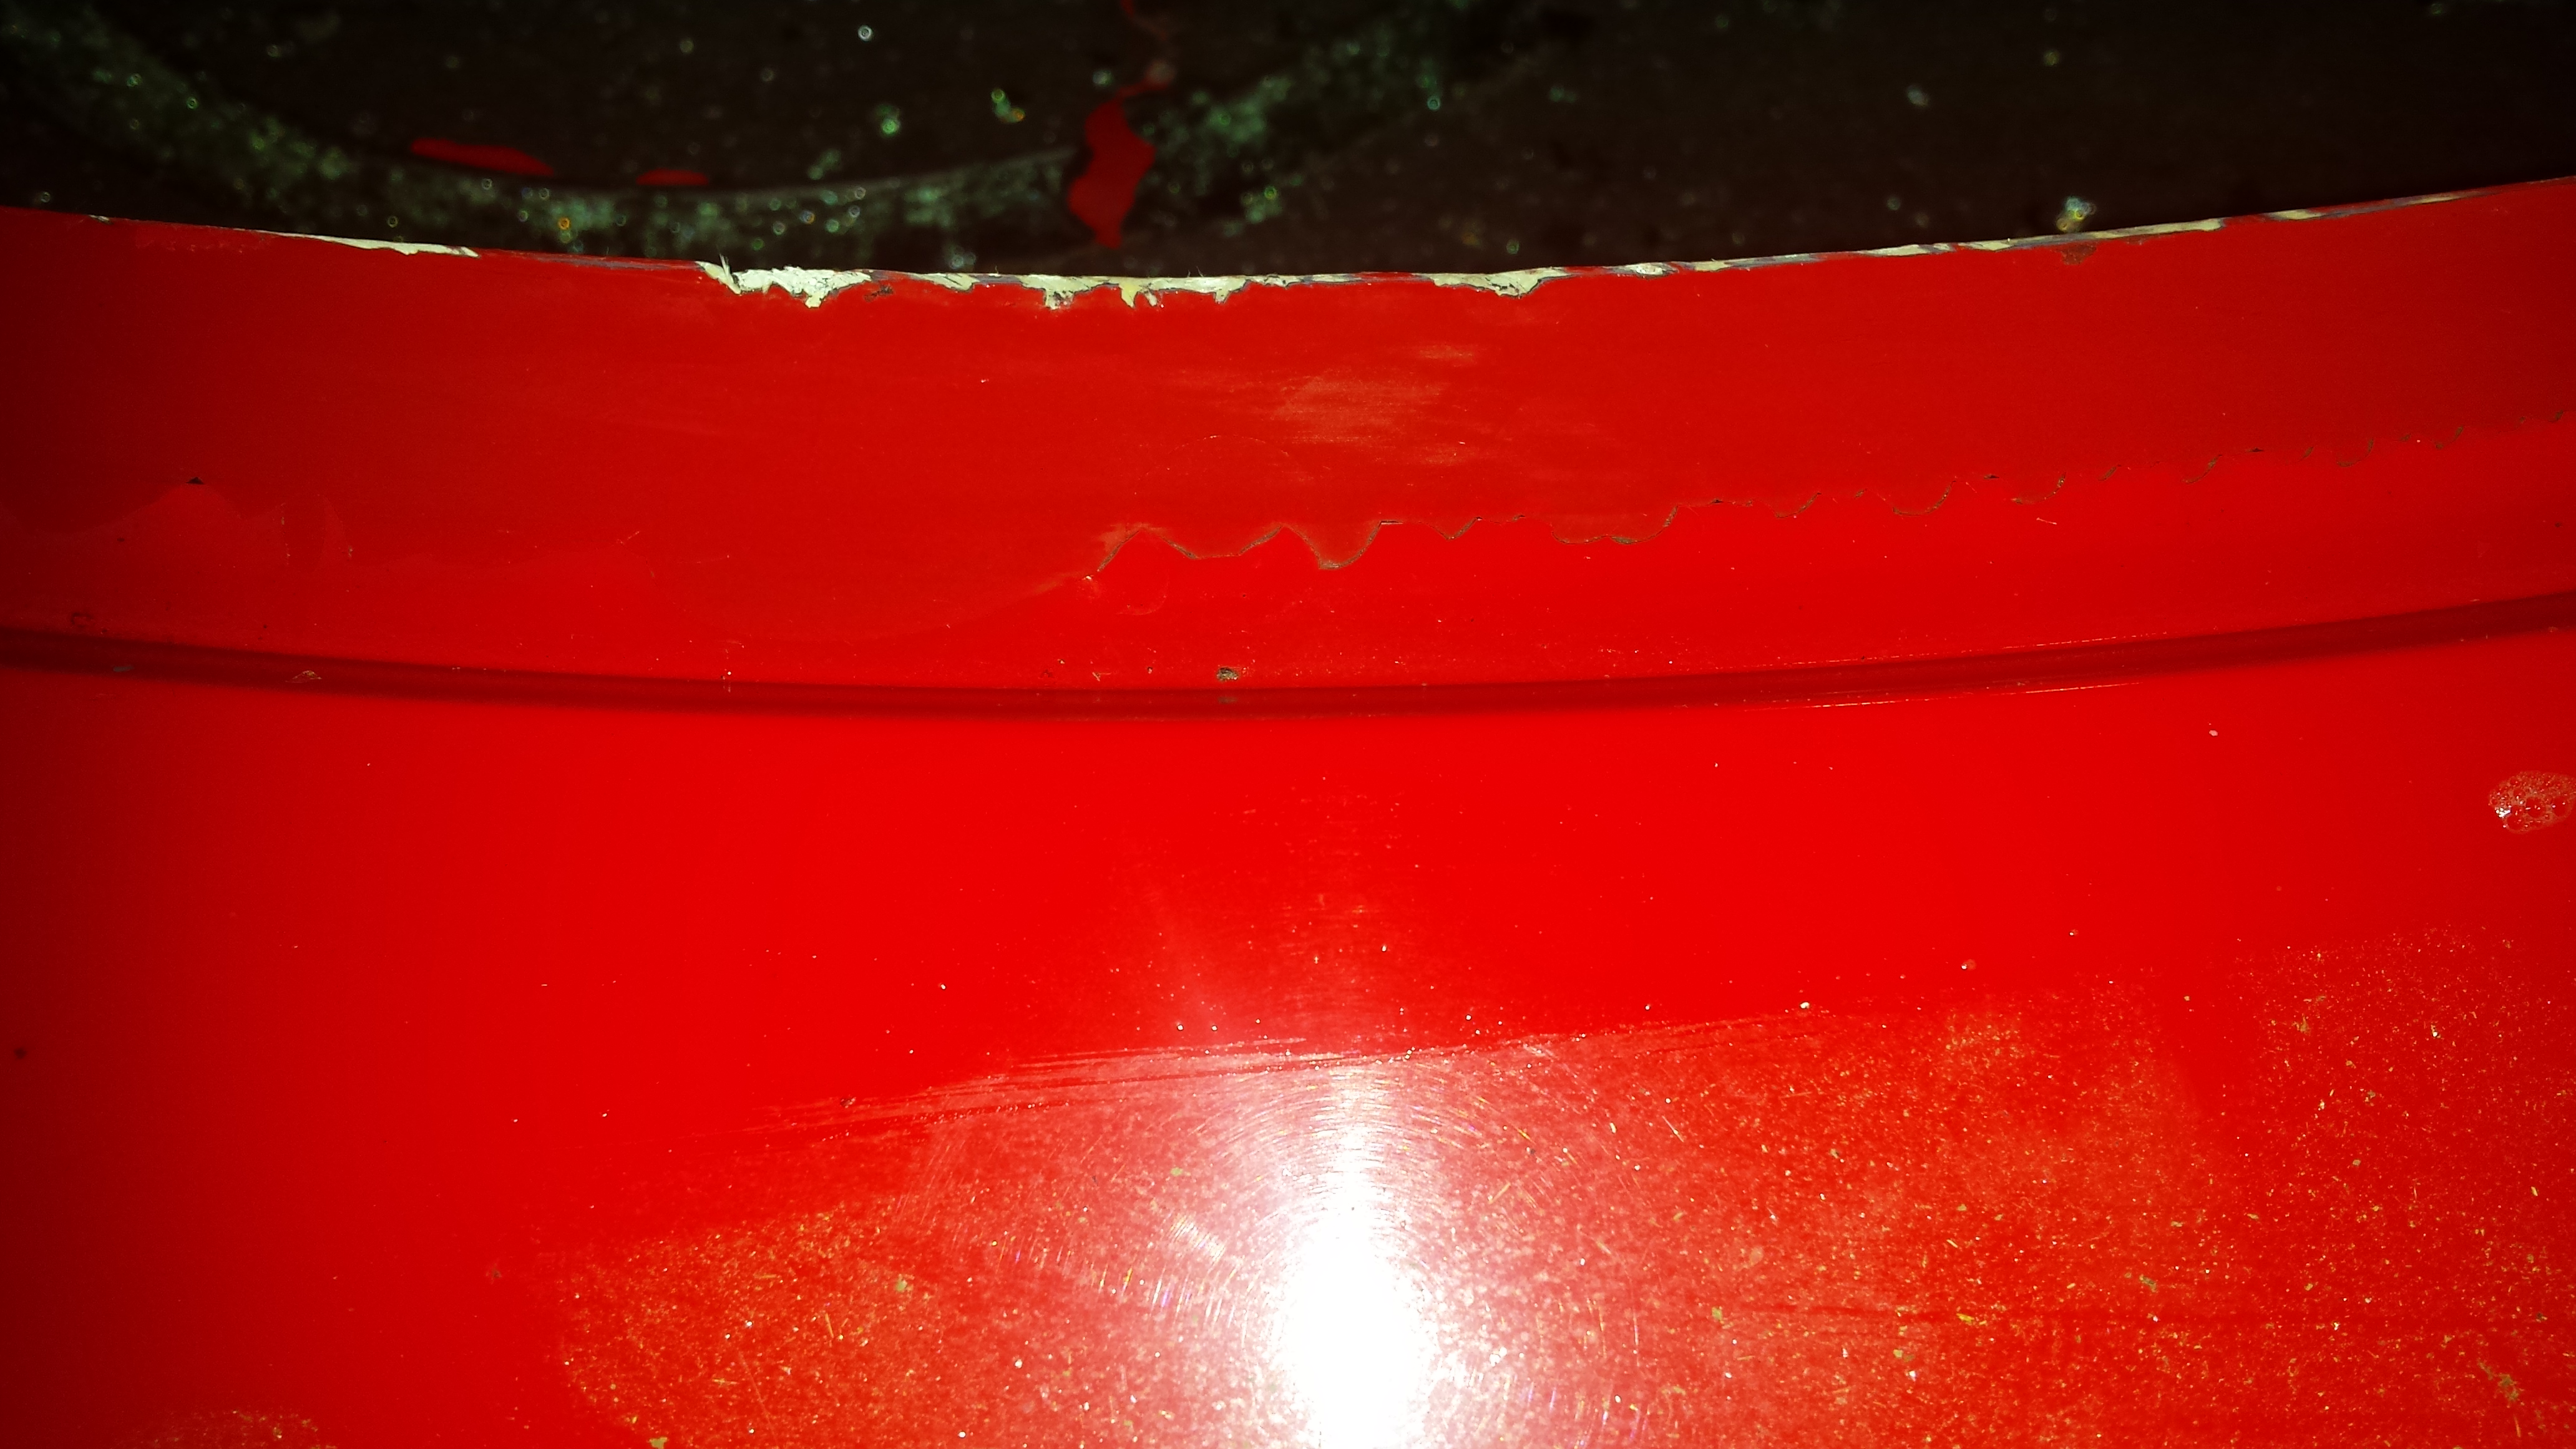
6. This is the edge of the fiberglass lip at the rear (basically right in front of the spoiler). You can see the wire tool was actually chipping away at the fiberglass. Grrrrrr

Name:  20170112_074408_zpswrryfh1h.jpg
Views: 8557
Size:  2.85 MB

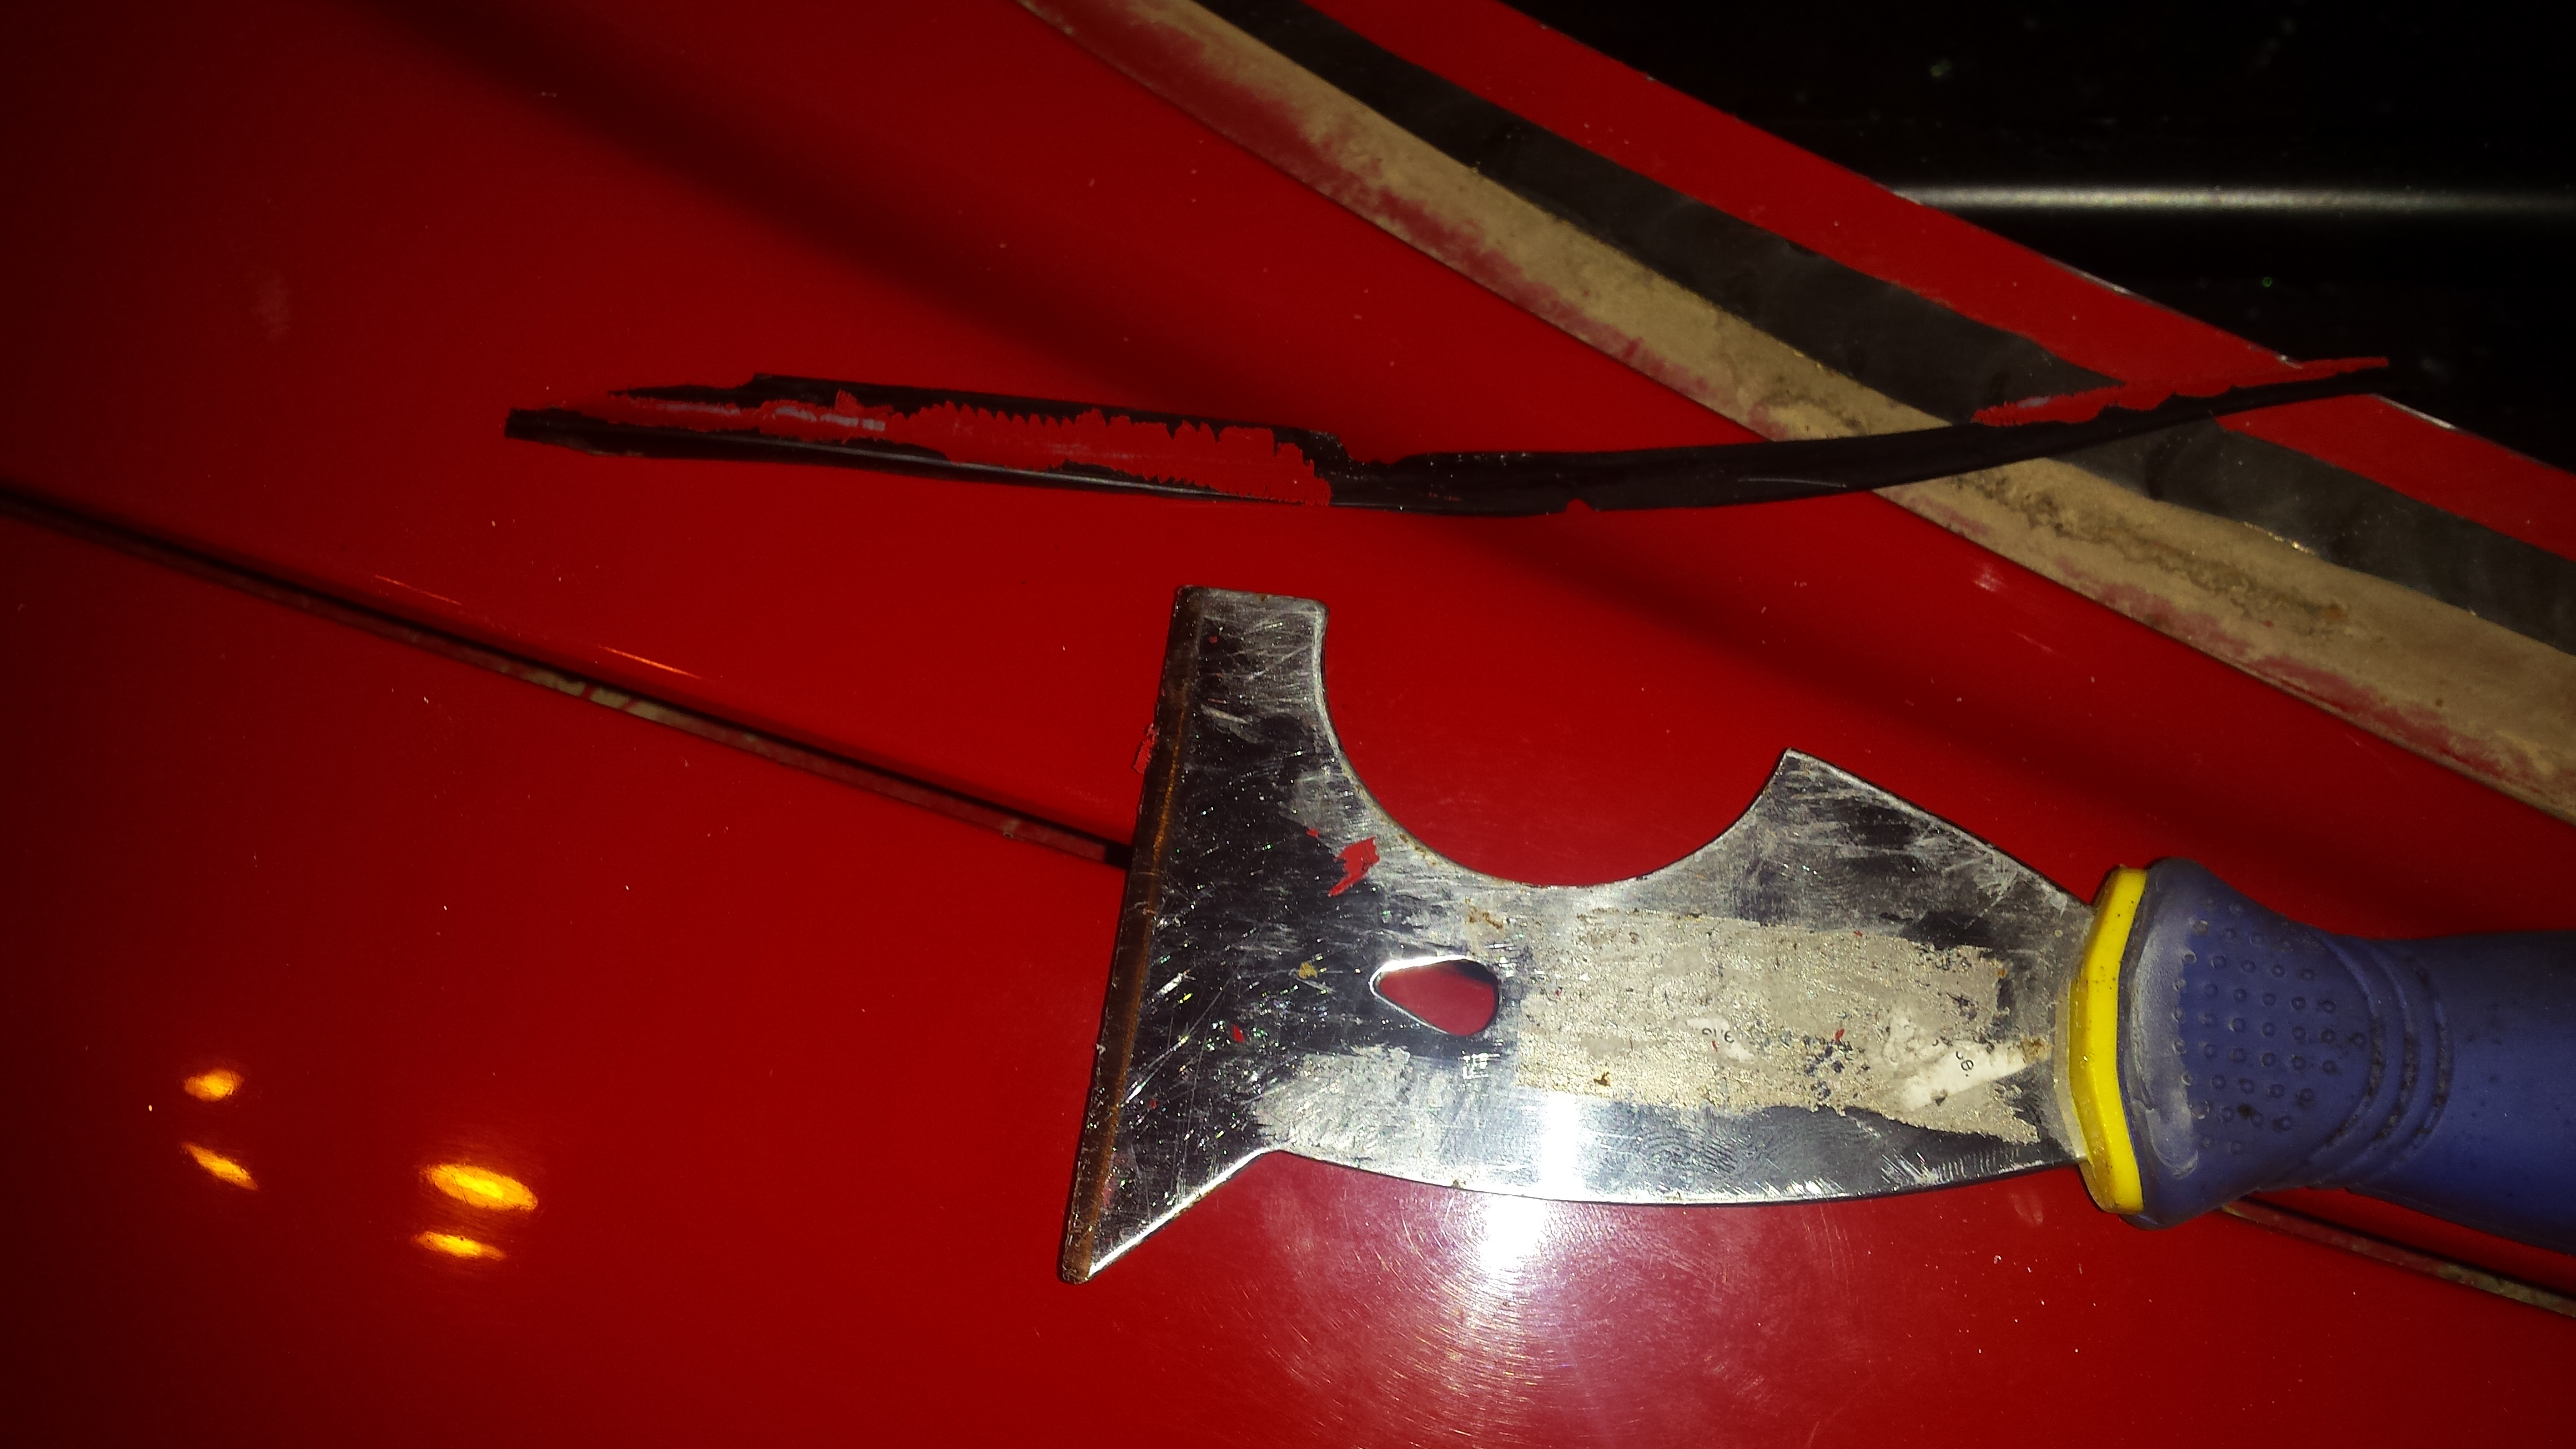
7. This was the tool I selected to remove the urethane from the car to prep for install. I sharpened it first. Also, new urethane sticks to old urethane so there is no reason to remove every single bit. The most important thing is the surface is smooth and there is no excess old urethane left.

Name:  20170112_073656_zpsijz50ocq.jpg
Views: 8510
Size:  2.87 MB

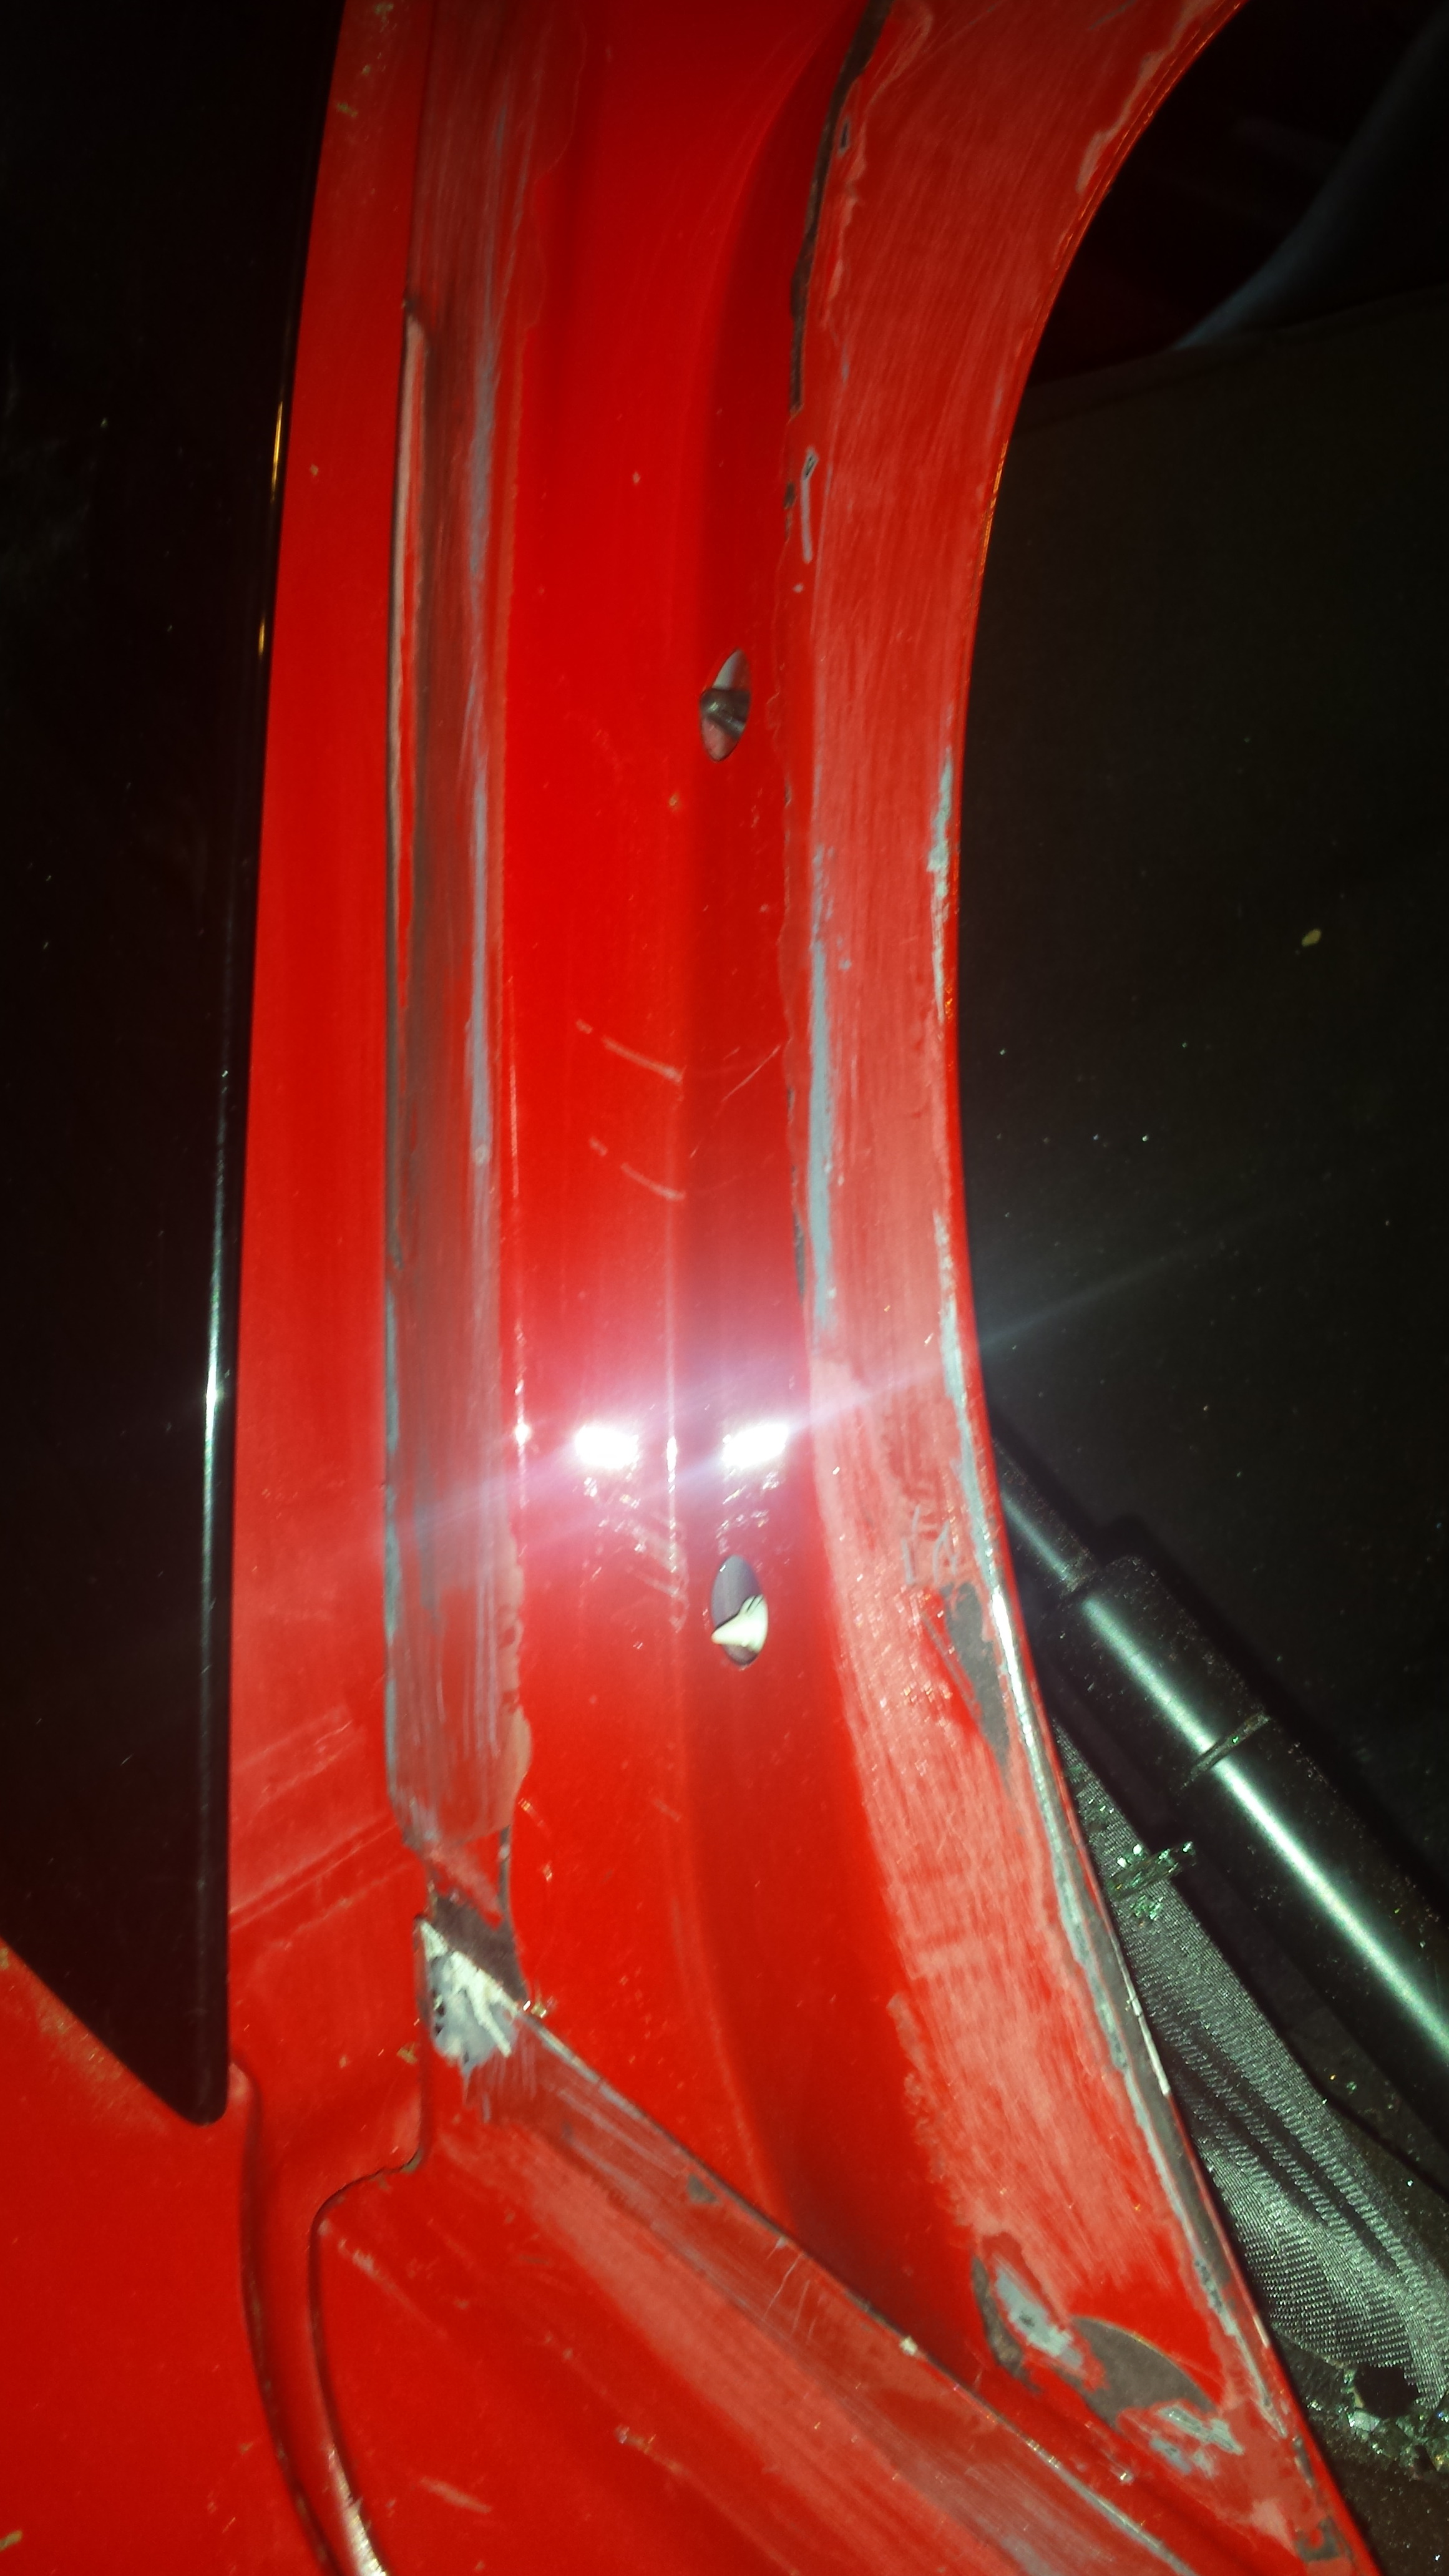
8. Here is a better picture where you can see the double spread line that traces the corners of the glass.

Name:  20170112_073614_zpsq14dwrzd.jpg
Views: 8648
Size:  2.25 MB

9. Here's the surface, prepped, sanded, and cleaned. I went over the entire flange with maybe 220 grit just so I knew it had some bite. The fiberglass seemed awfully slick and I was nervous about the urethane bonding.

Name:  20170112_080923_zpsu1ljqp0s.jpg
Views: 8496
Size:  1.12 MB

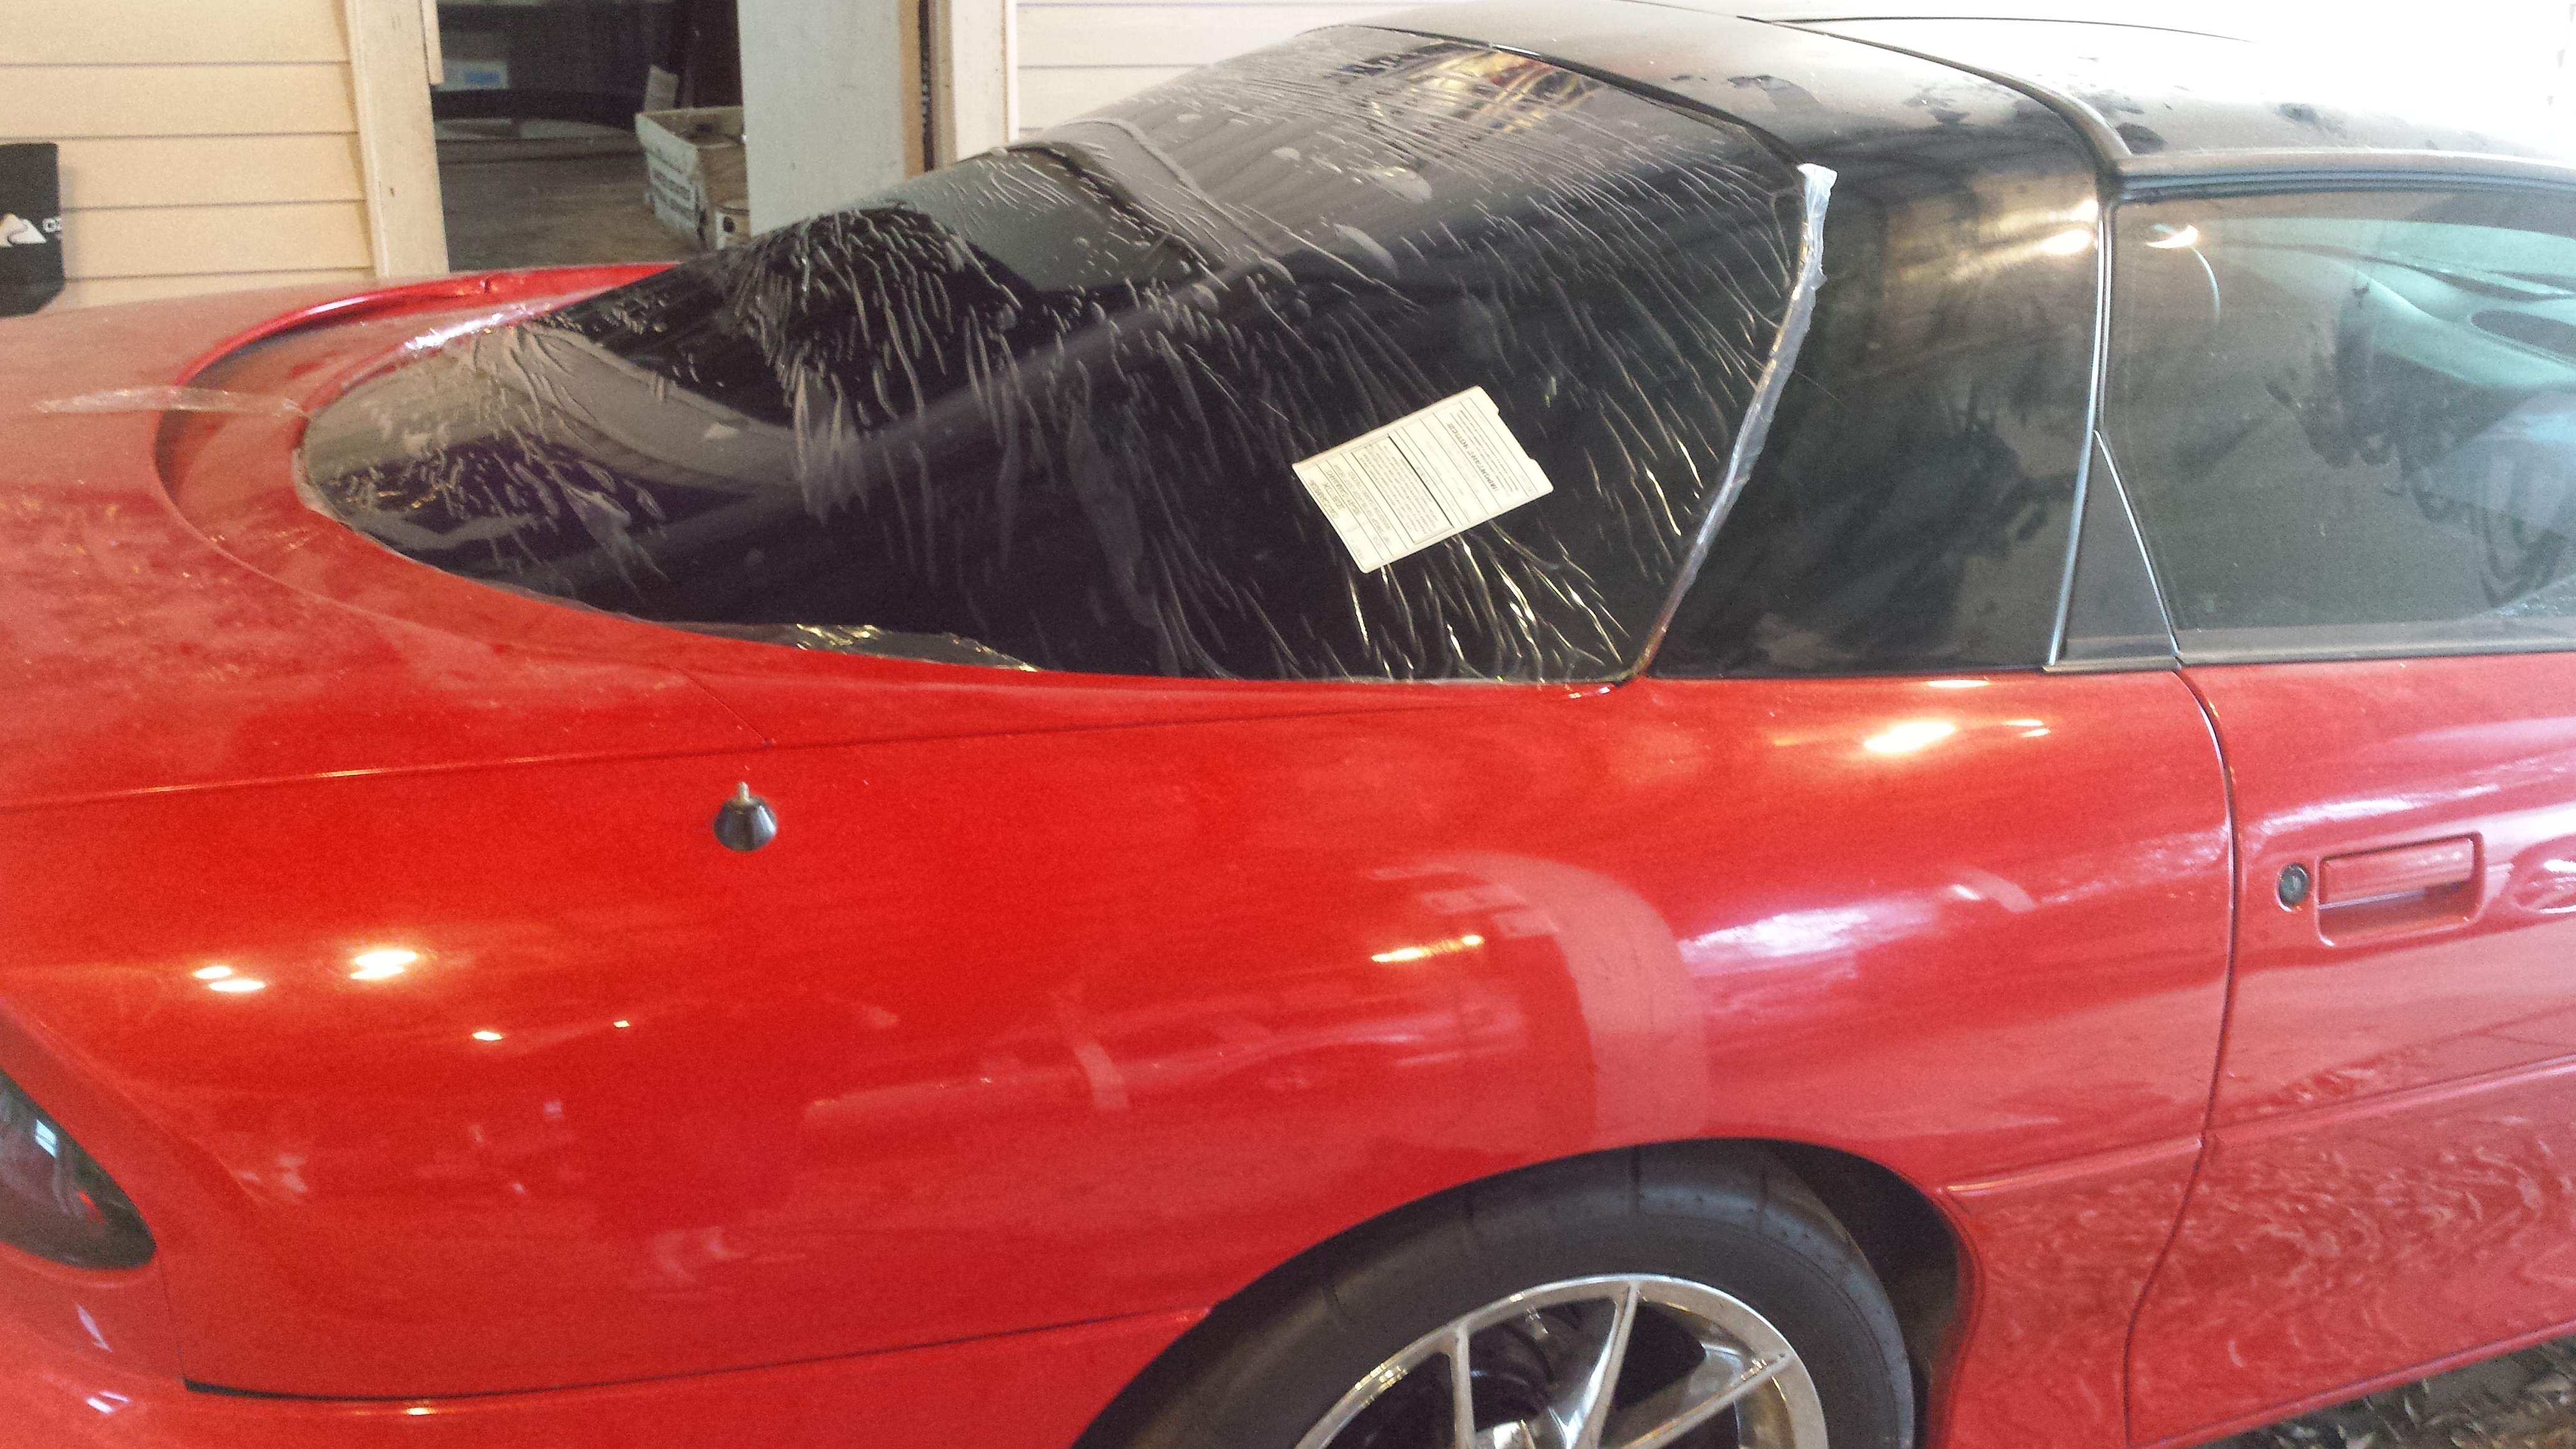
10. Make sure you test fit first before you commit to the final install. I was also curious about whether it needed the stock molding back on it (it is no longer available for purchase). It looked fine with nothing, so that's what I ended up with.

Name:  20170110_163755_zpsv3im618b.jpg
Views: 8715
Size:  3.62 MB

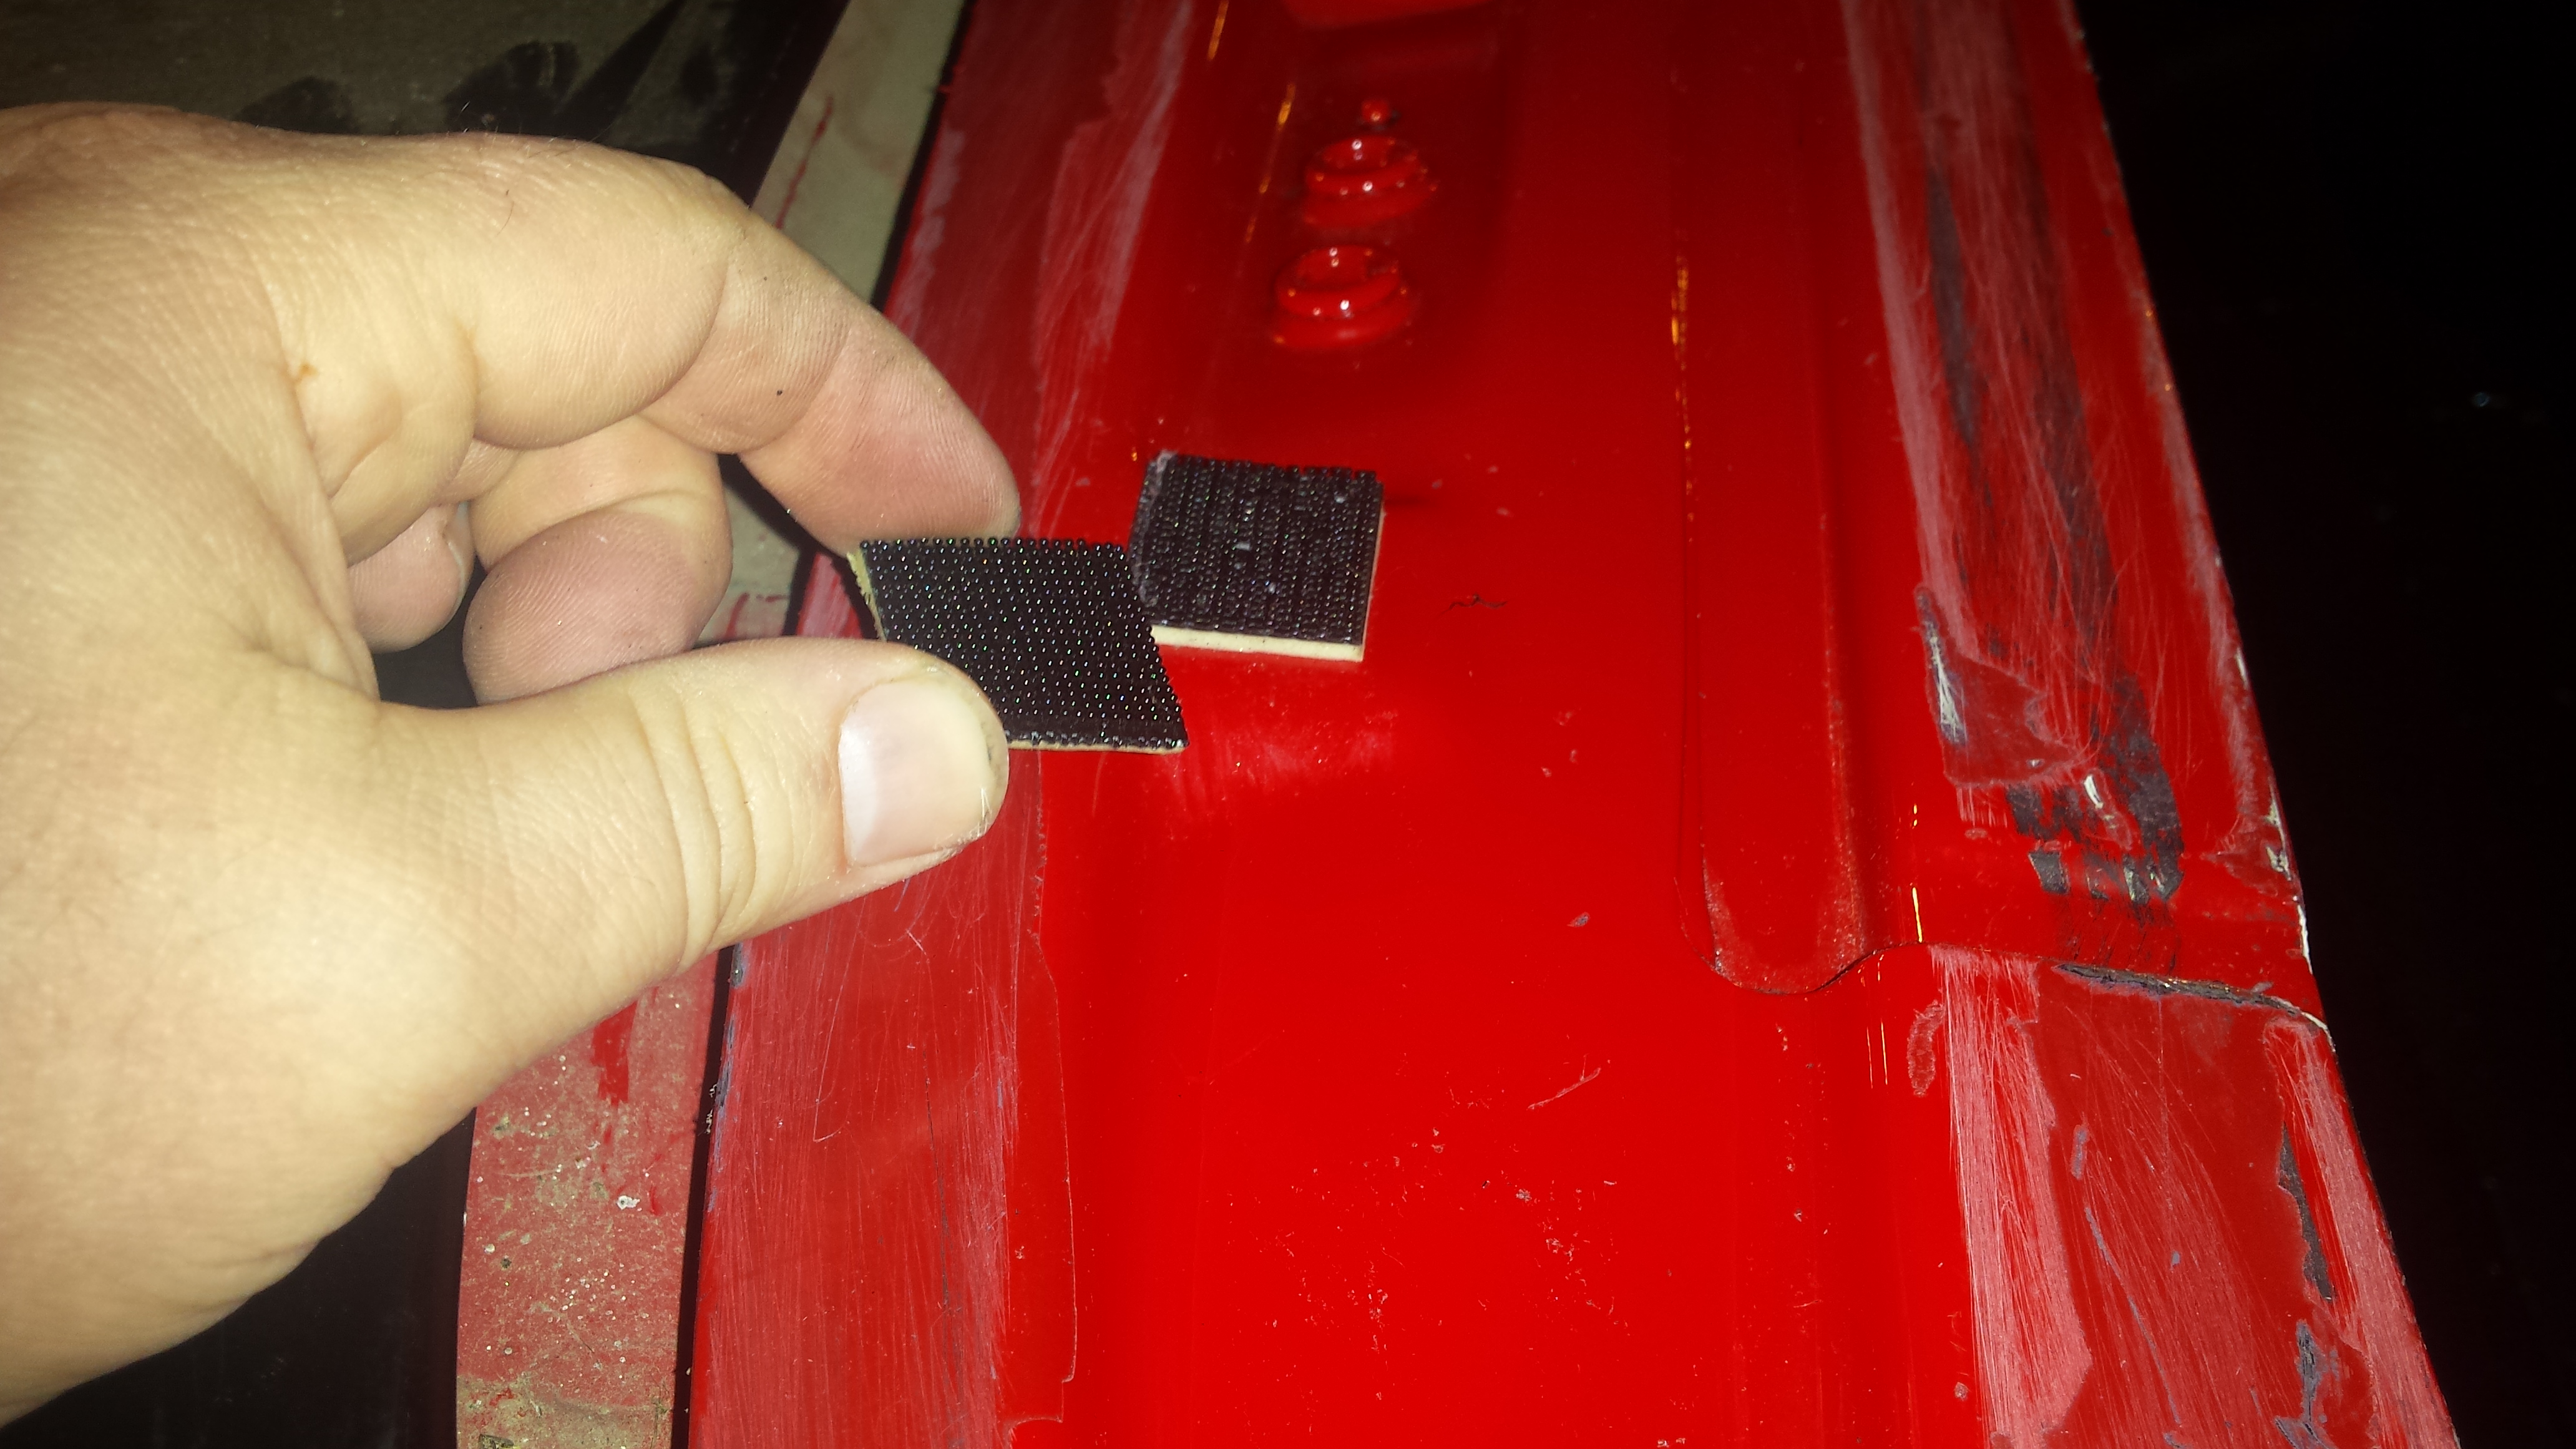
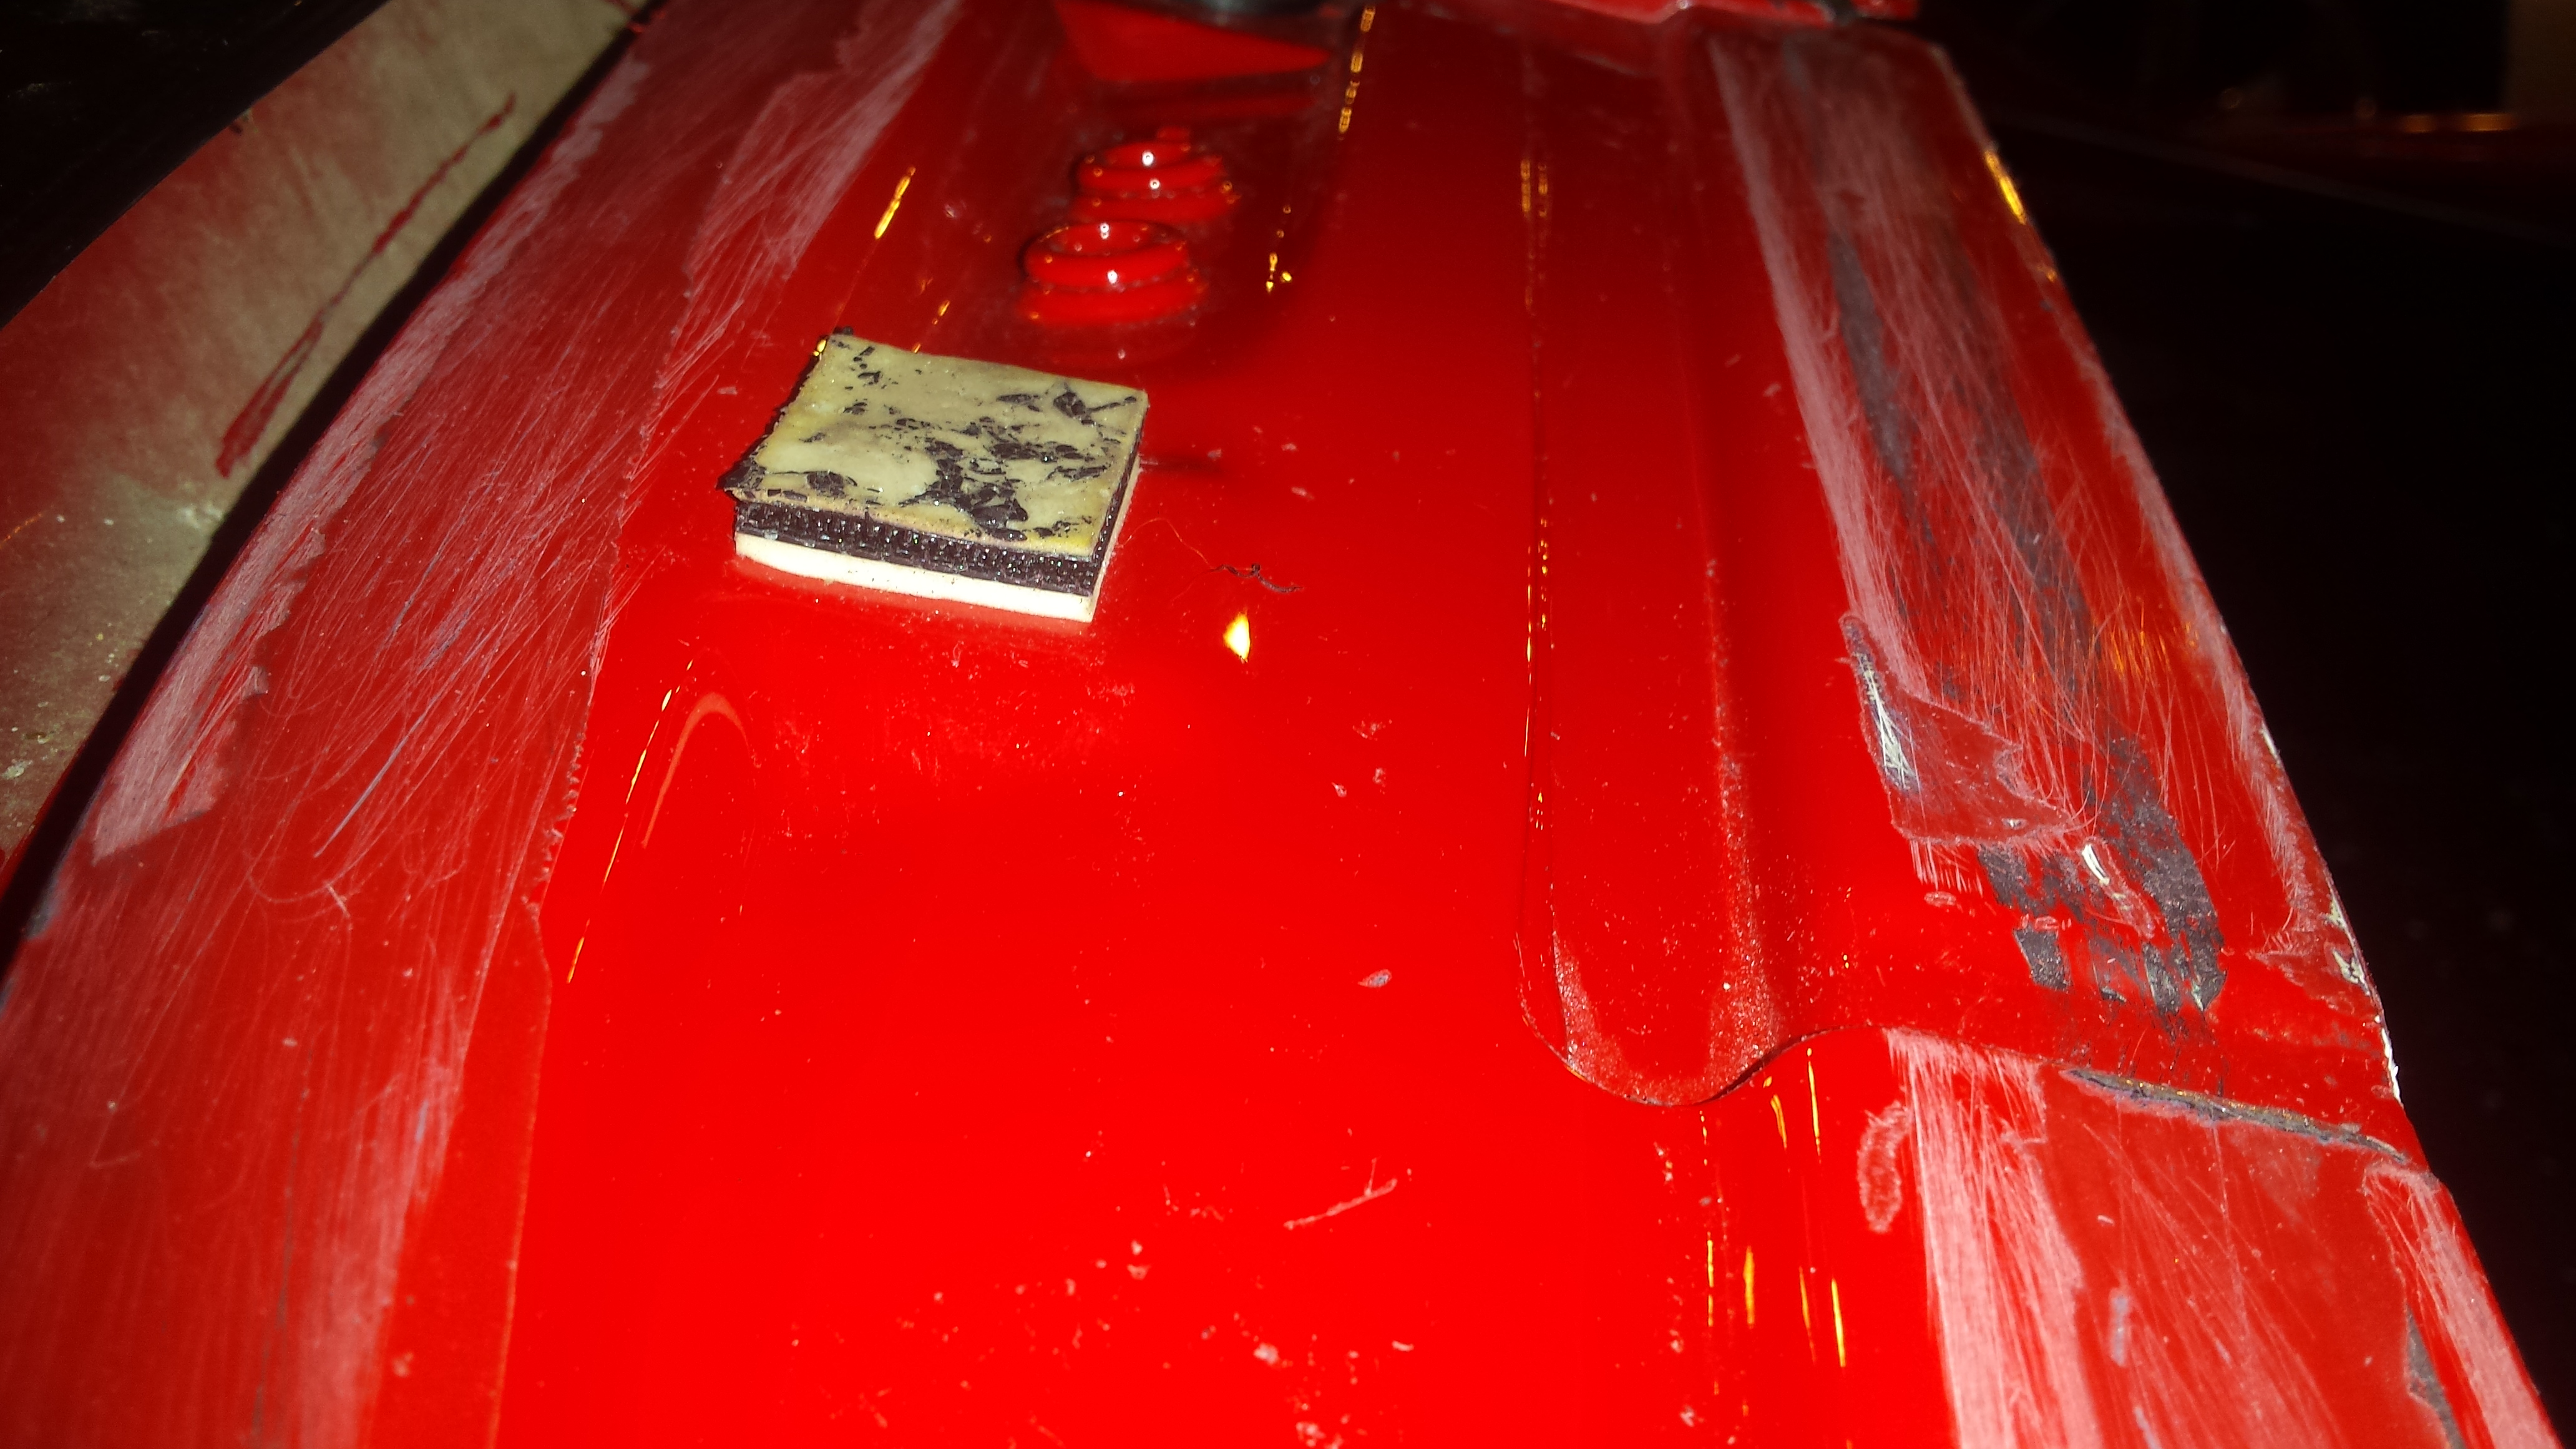
11. These are velcro spacers x2 at the top of the window, I reinstalled them.

Name:  20170112_080854_zps2fe5odpa.jpg
Views: 8673
Size:  2.74 MB

Name:  20170112_080909_zpsfw2pggbt.jpg
Views: 8561
Size:  2.86 MB

13. Lay your beads down following the factory lines.

Name:  20170112_082612_zpsqnw9ljv3.jpg
Views: 8549
Size:  3.46 MB

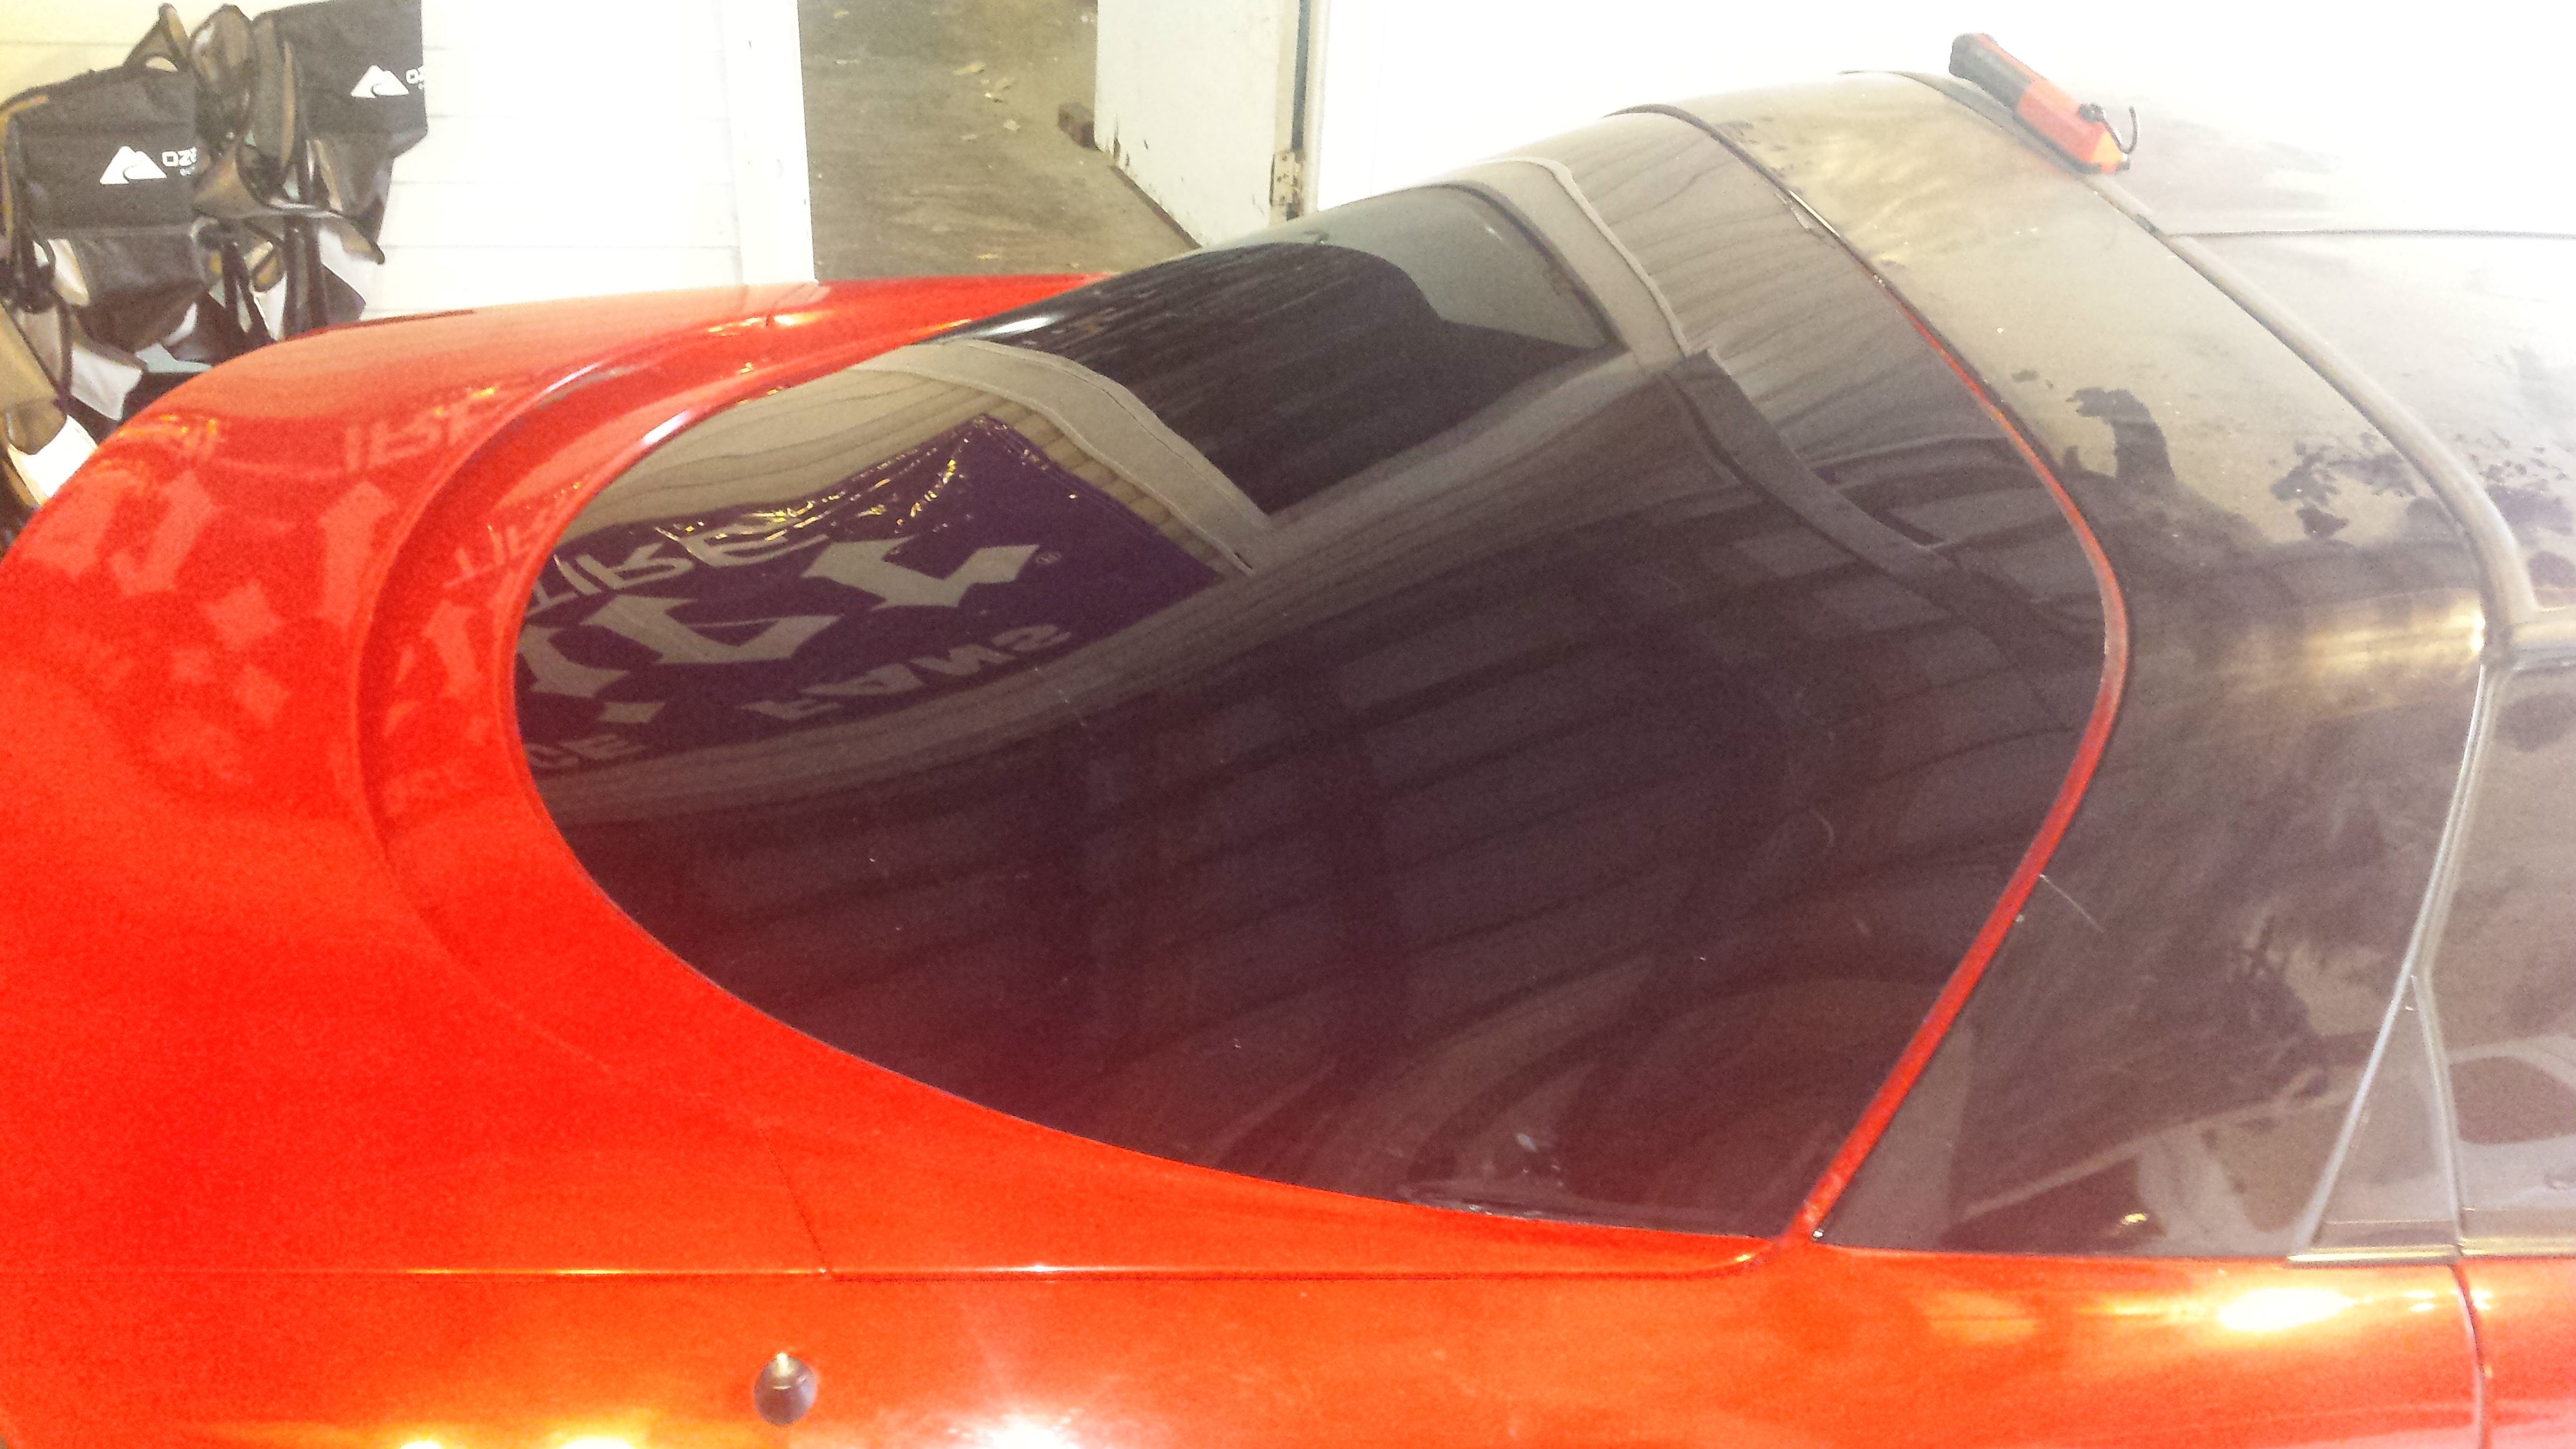
14. I dropped the rear in by myself. Bottom is basically resting on the car with no room for molding, the top leading edge would be your preference. I think I'm going to leave it bare.

Name:  20170112_084845_zpsfsyren8b.jpg
Views: 8522
Size:  3.10 MB

15. For the front, remove the molding that runs along both sides and the top.

Name:  20170113_132014_zpsudbku0x5.jpg
Views: 8501
Size:  2.54 MB

Name:  20170113_131936_zpsg0ng4rrw.jpg
Views: 8421
Size:  1.74 MB

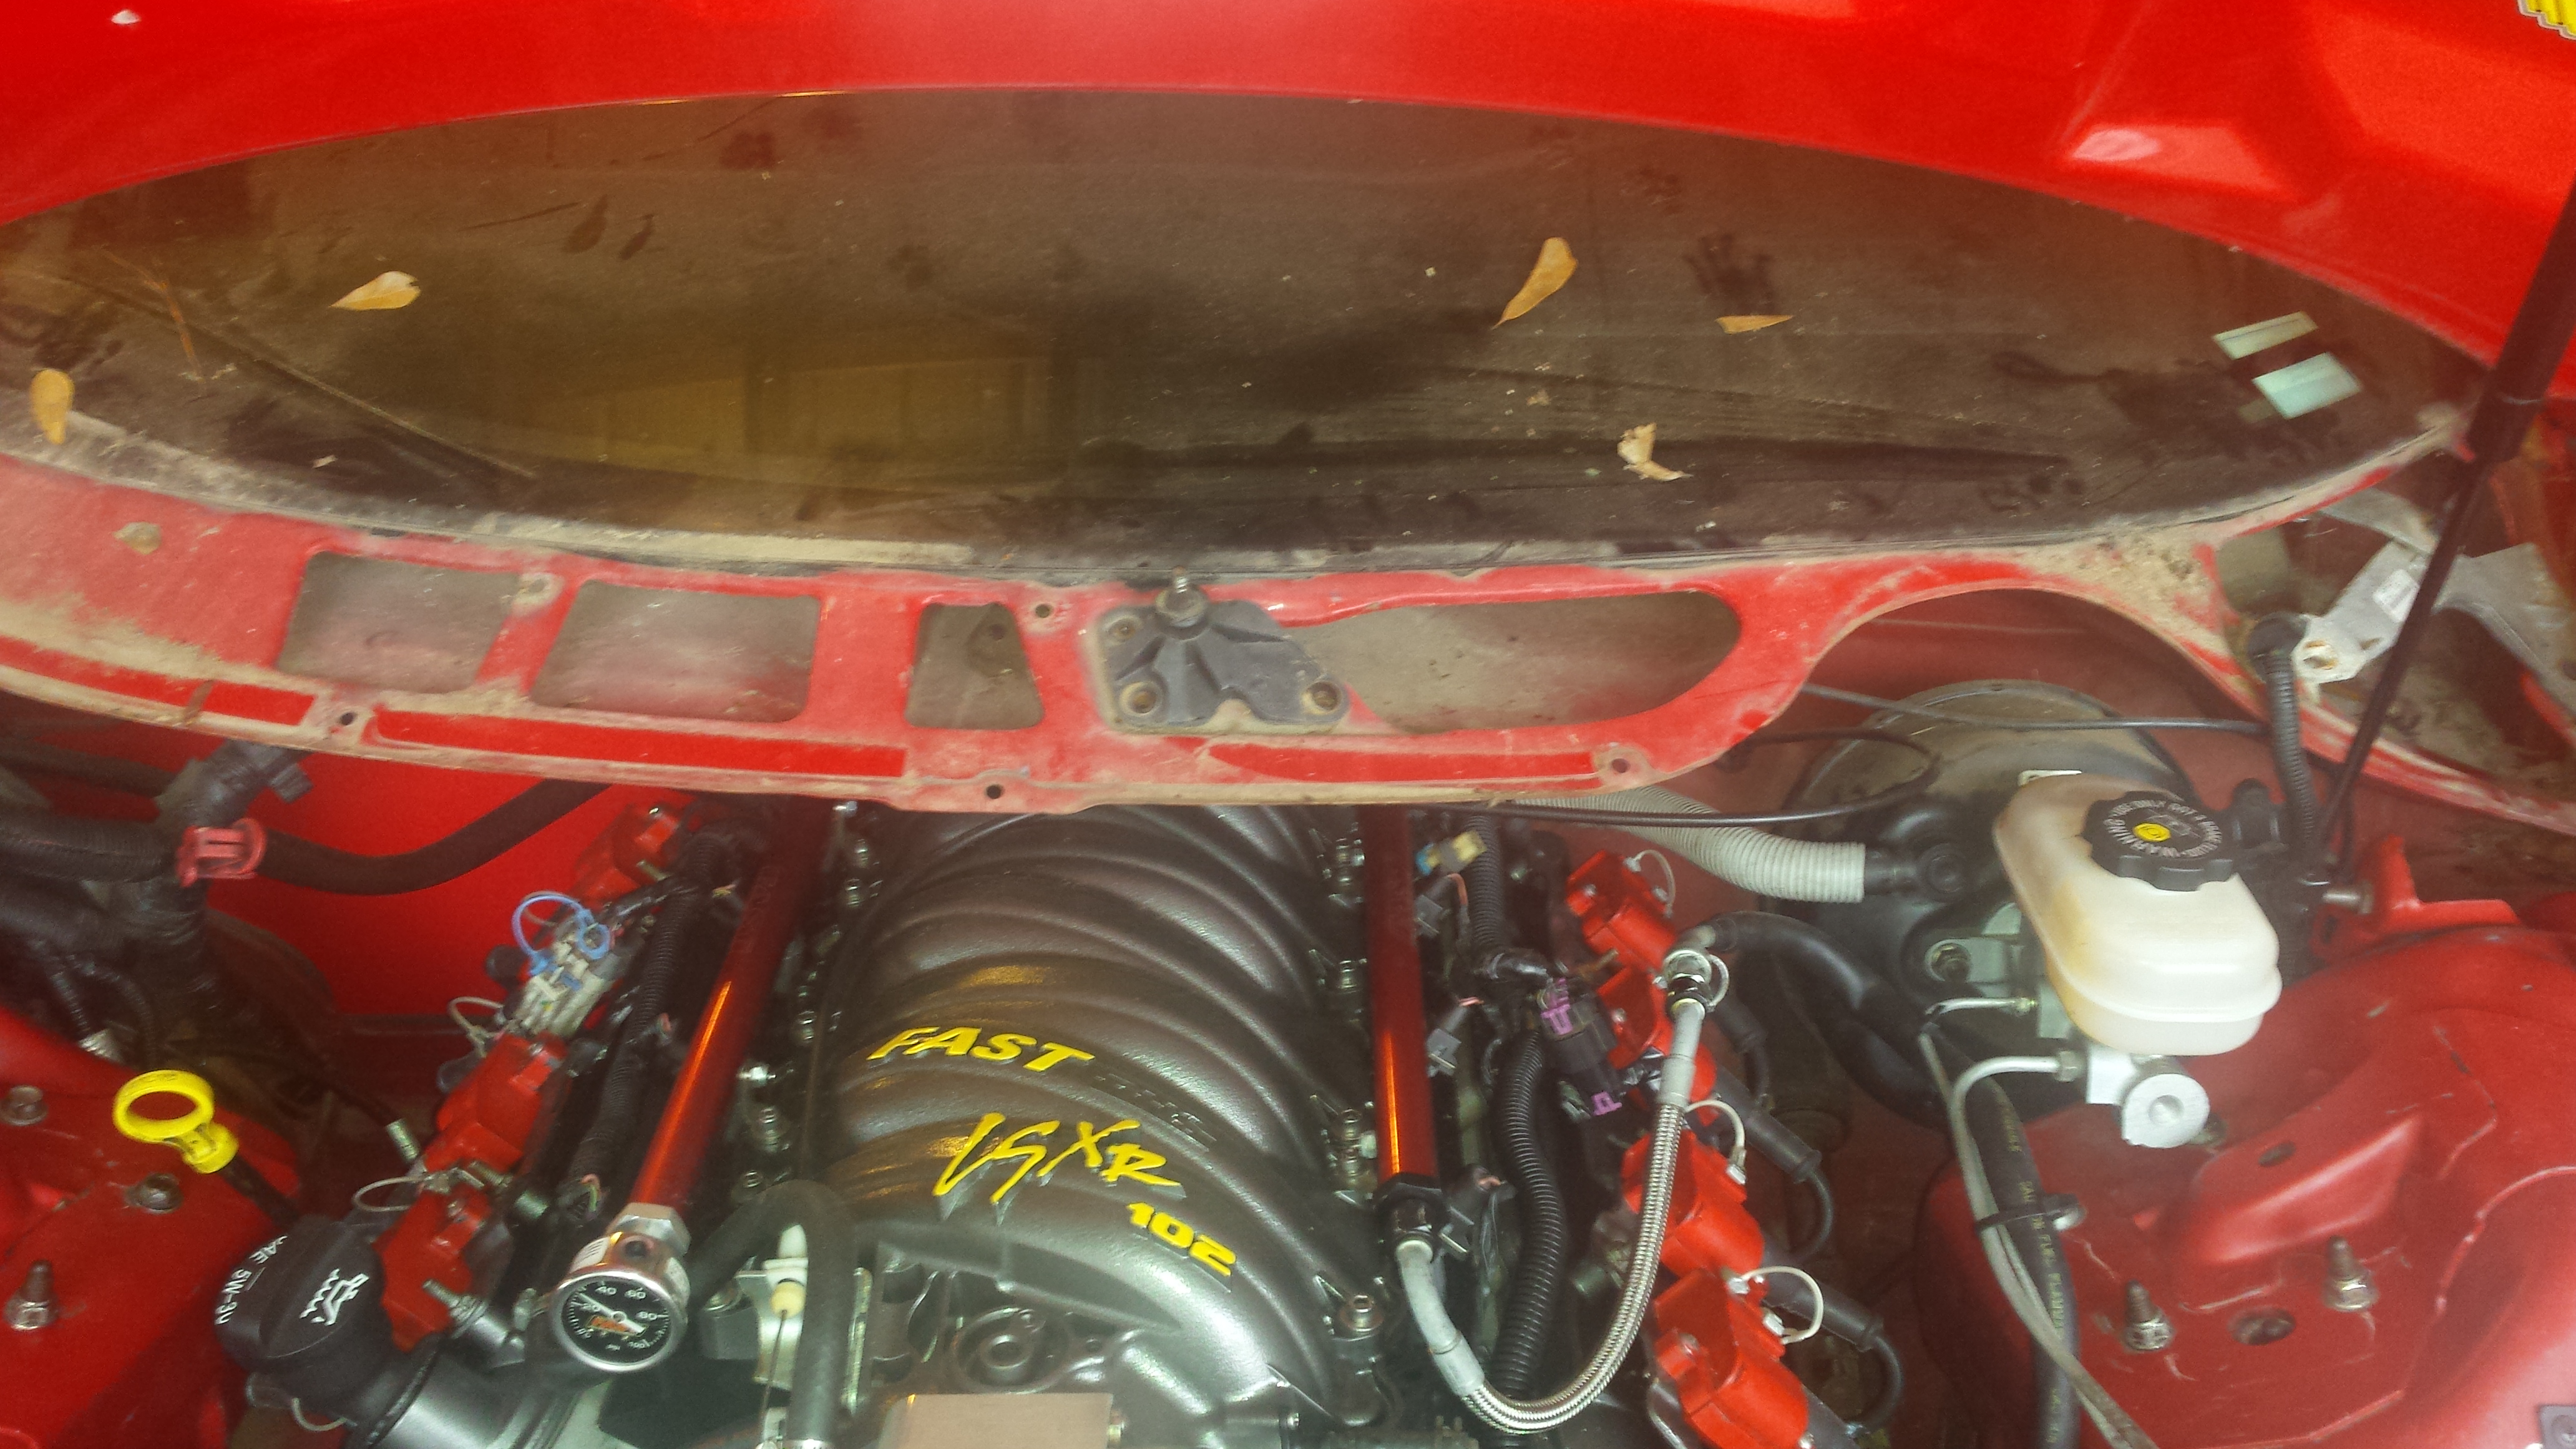
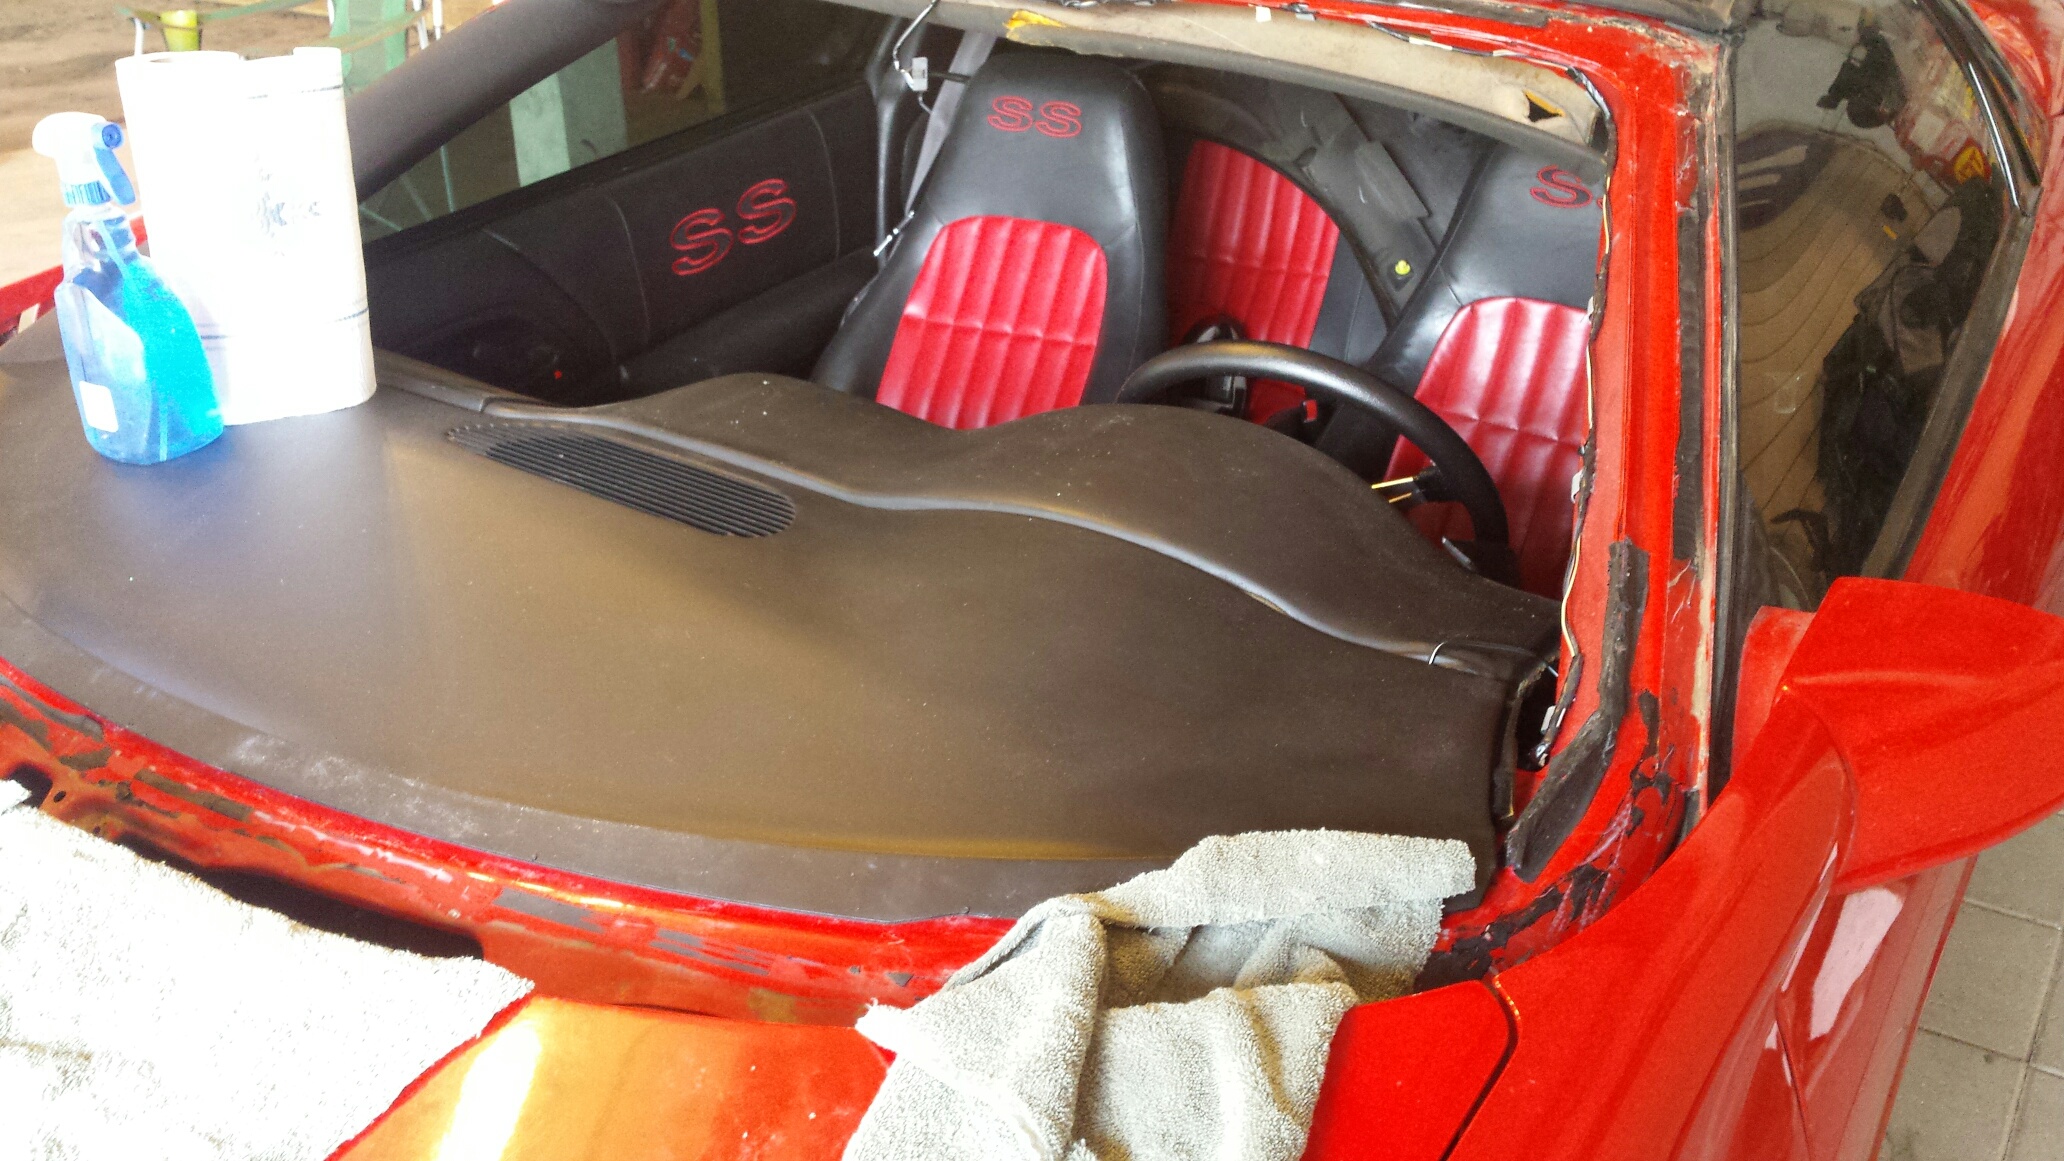
17. Remove the cowl cover. Im also deleting the windshield wipers.

Name:  20170113_130241_zpsqknj8g8l.jpg
Views: 8607
Size:  3.28 MB

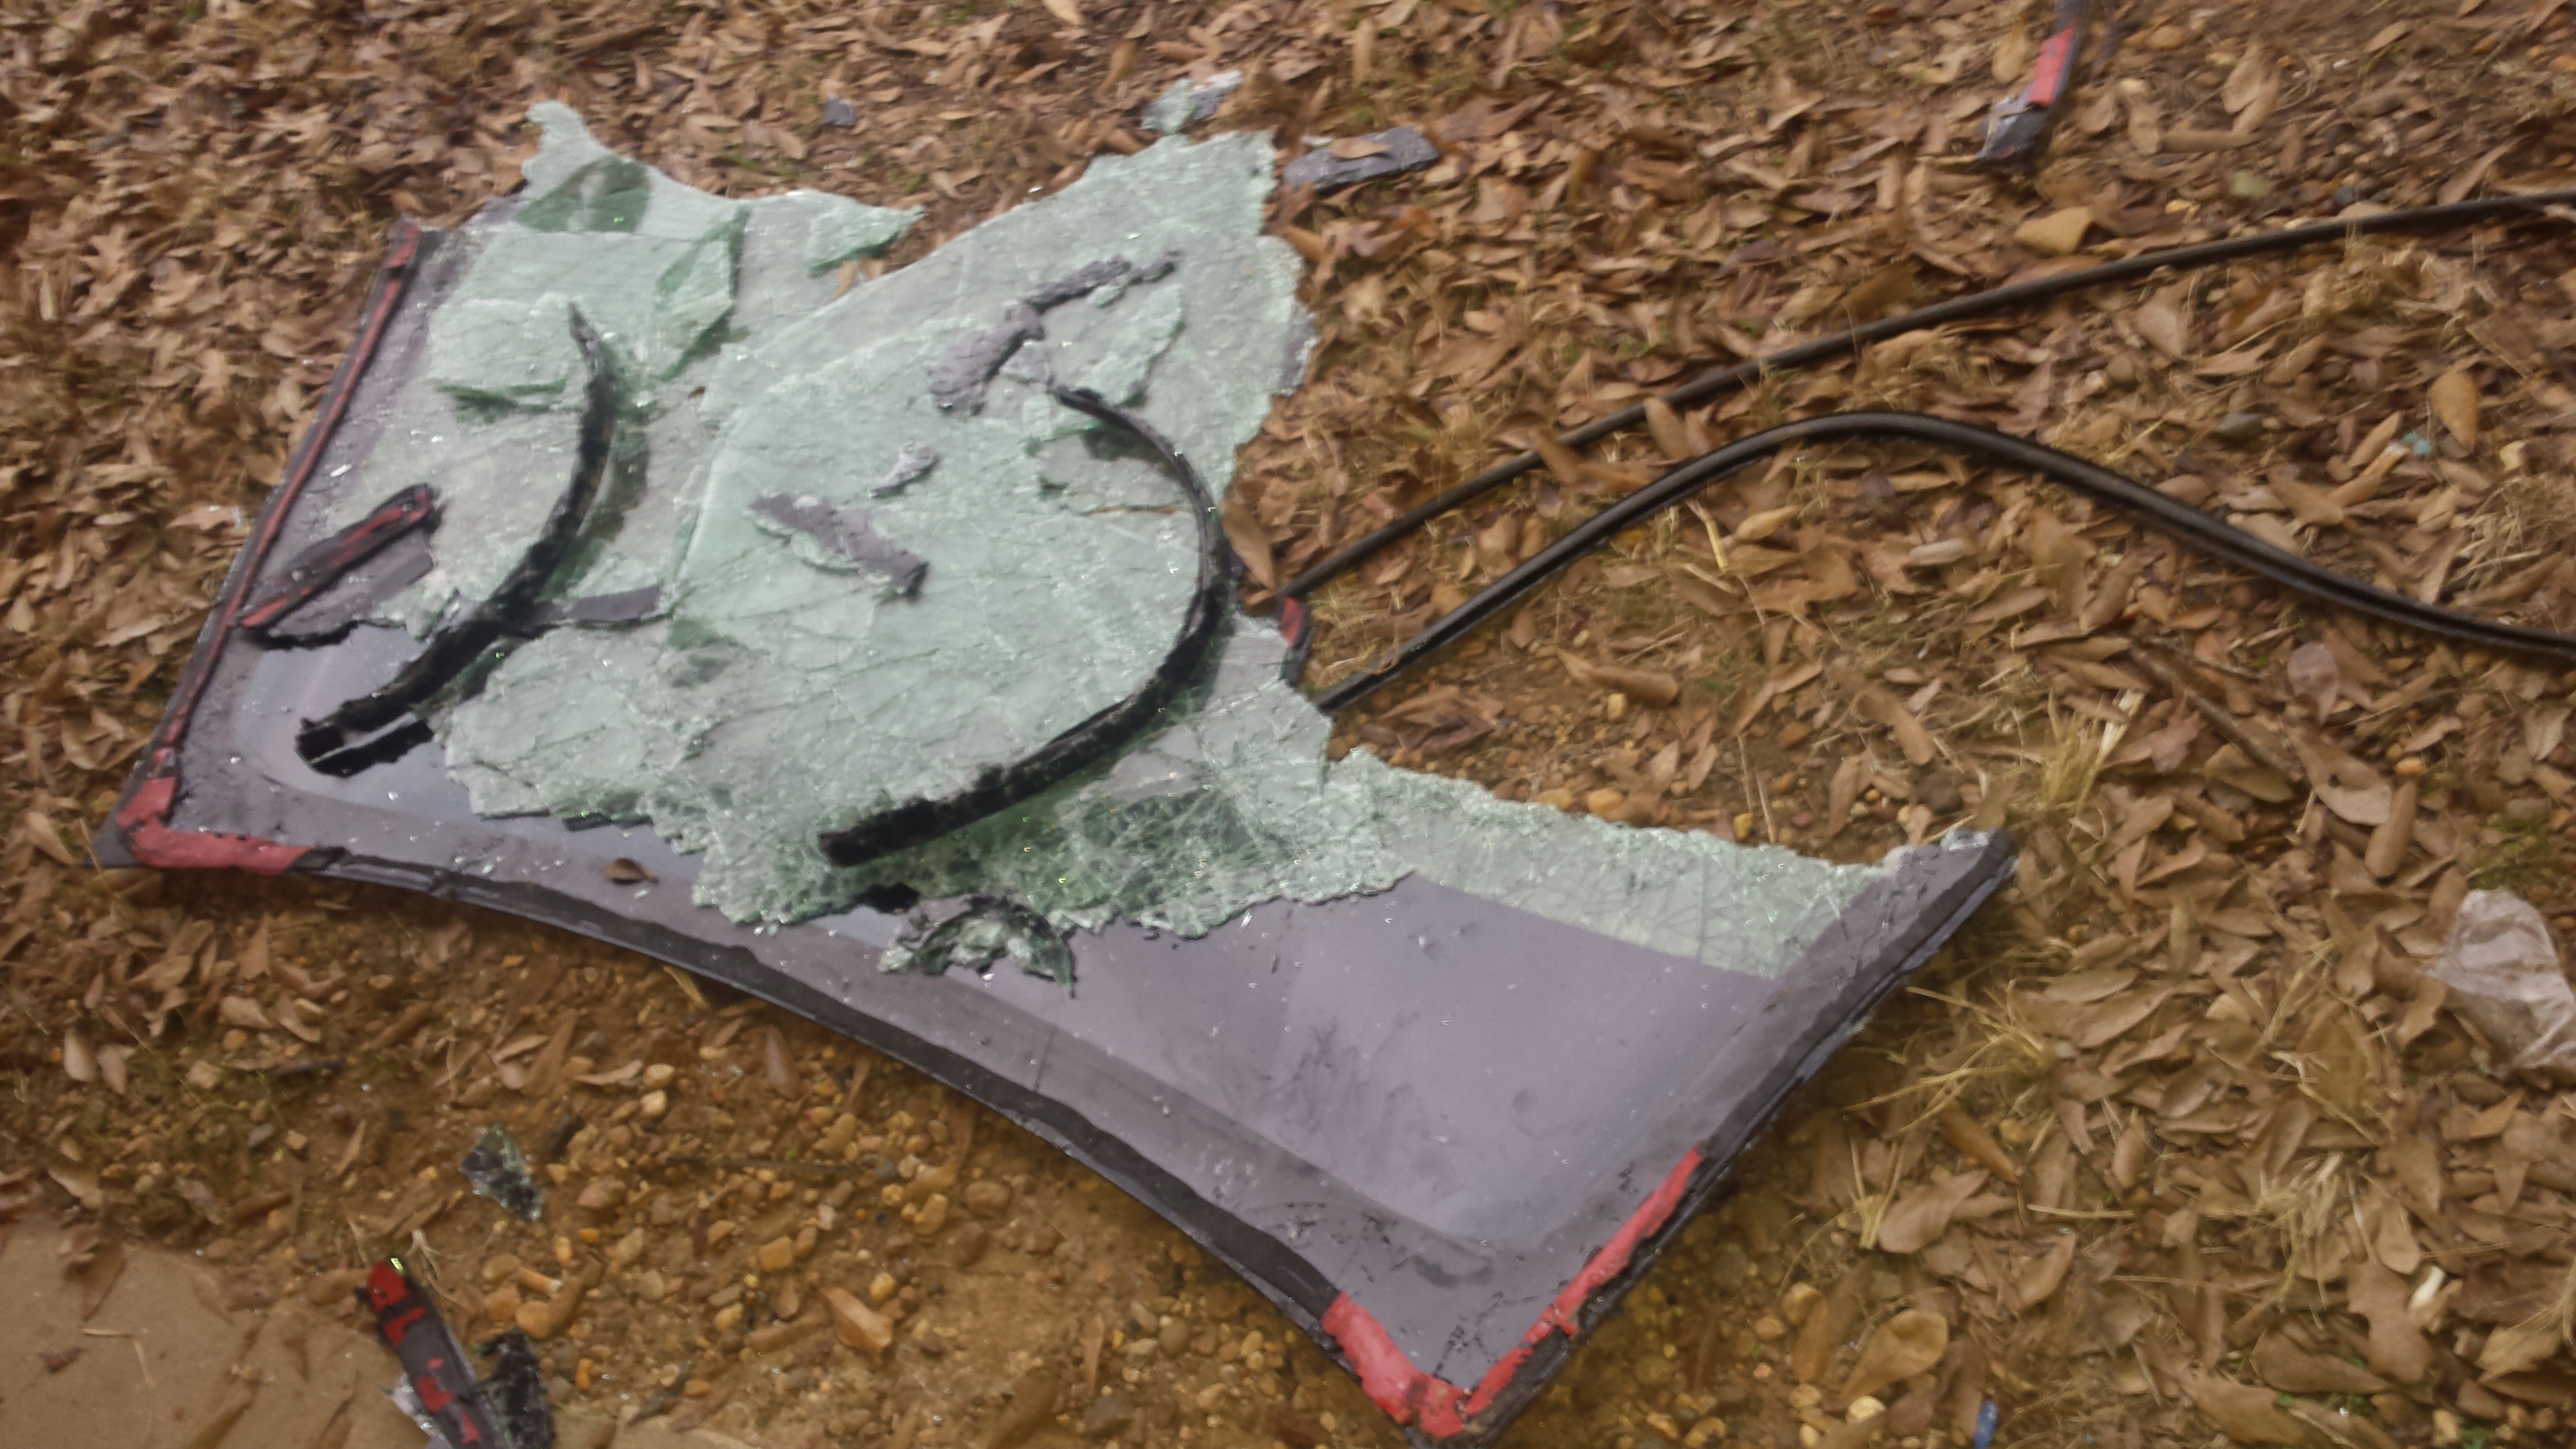
18. Remove the glass......

Whoops!

Name:  20170113_170535_zpsnhpoo5mo.jpg
Views: 8531
Size:  3.40 MB

19. Same as the rear, nothing tricky up front. Prep and clean.

Name:  20170121_101215_zps8ggwpfdl.jpeg
Views: 8469
Size:  821.8 KB

20. Make sure you test fit before you commit.

Name:  20170113_163222_zpskqjvpwj8.jpg
Views: 8747
Size:  3.45 MB

21. Find a work station, clean your stock molding, and reglue it to the lexan, tape it, and allow the glue to dry. I used black silicone. It is available new for about $75 if you want to replace it.

Name:  20170121_111851_zpswdy0t1oh.jpeg
Views: 8387
Size:  851.7 KB

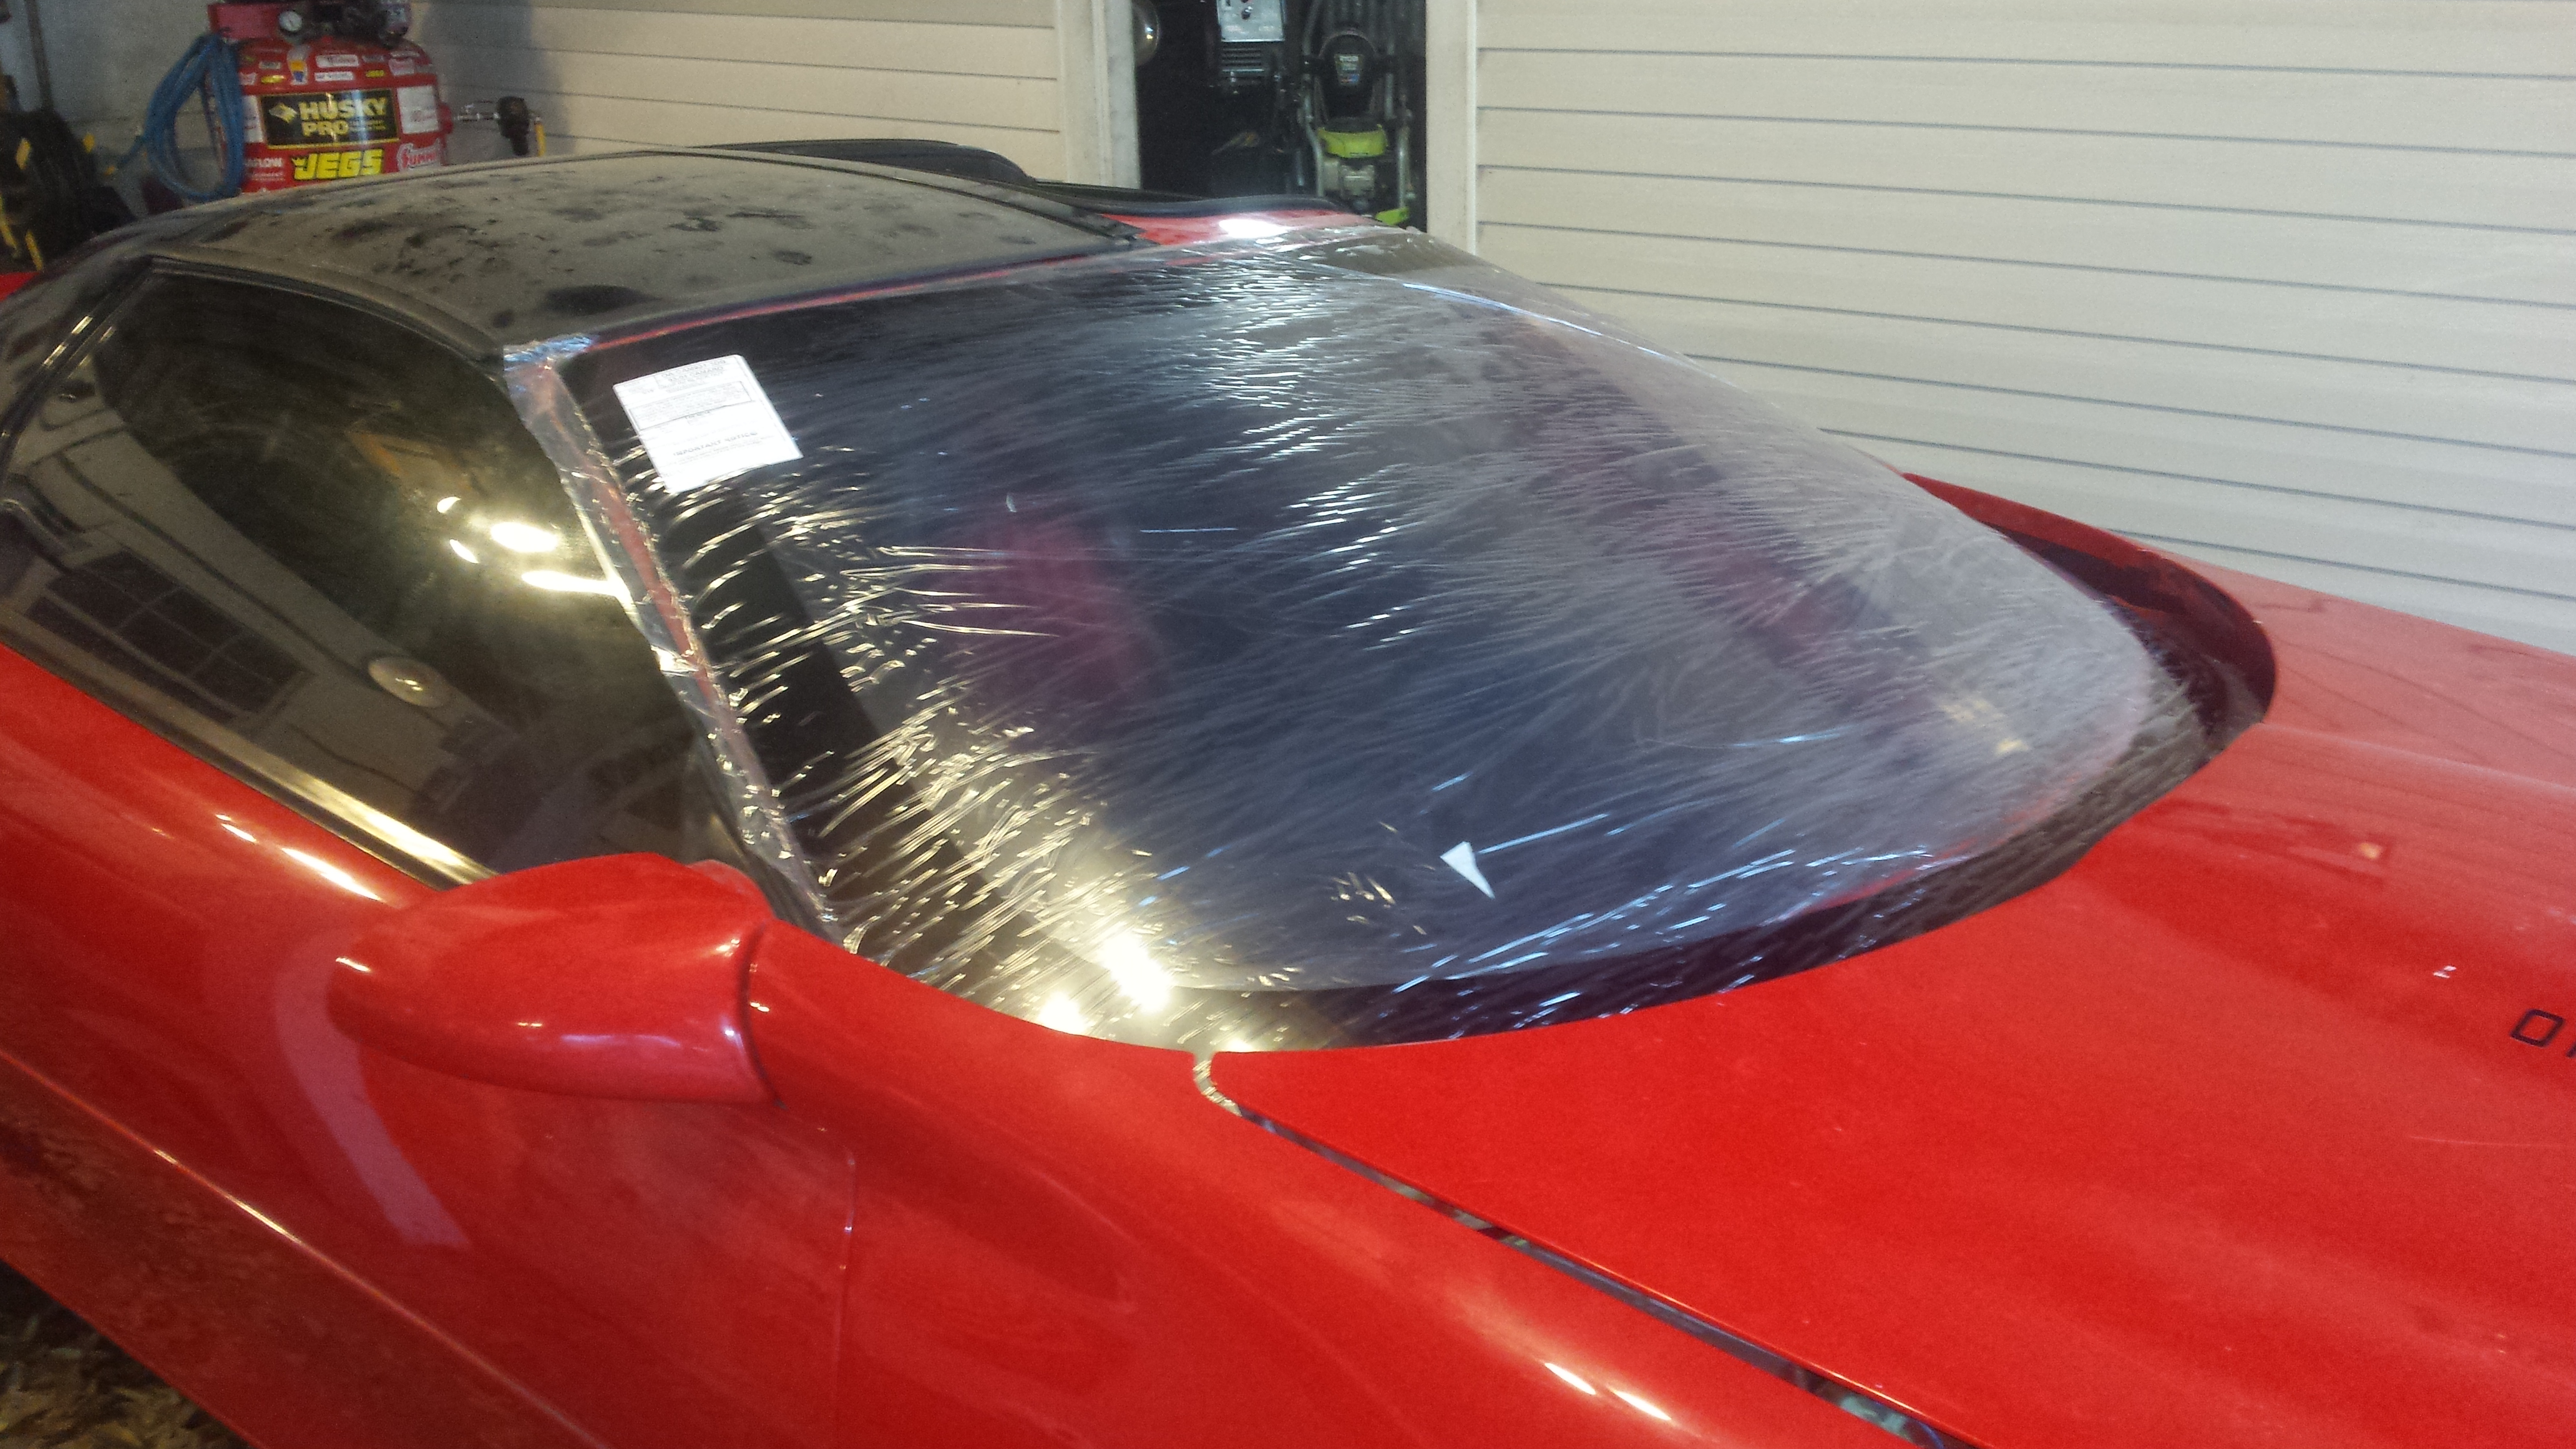
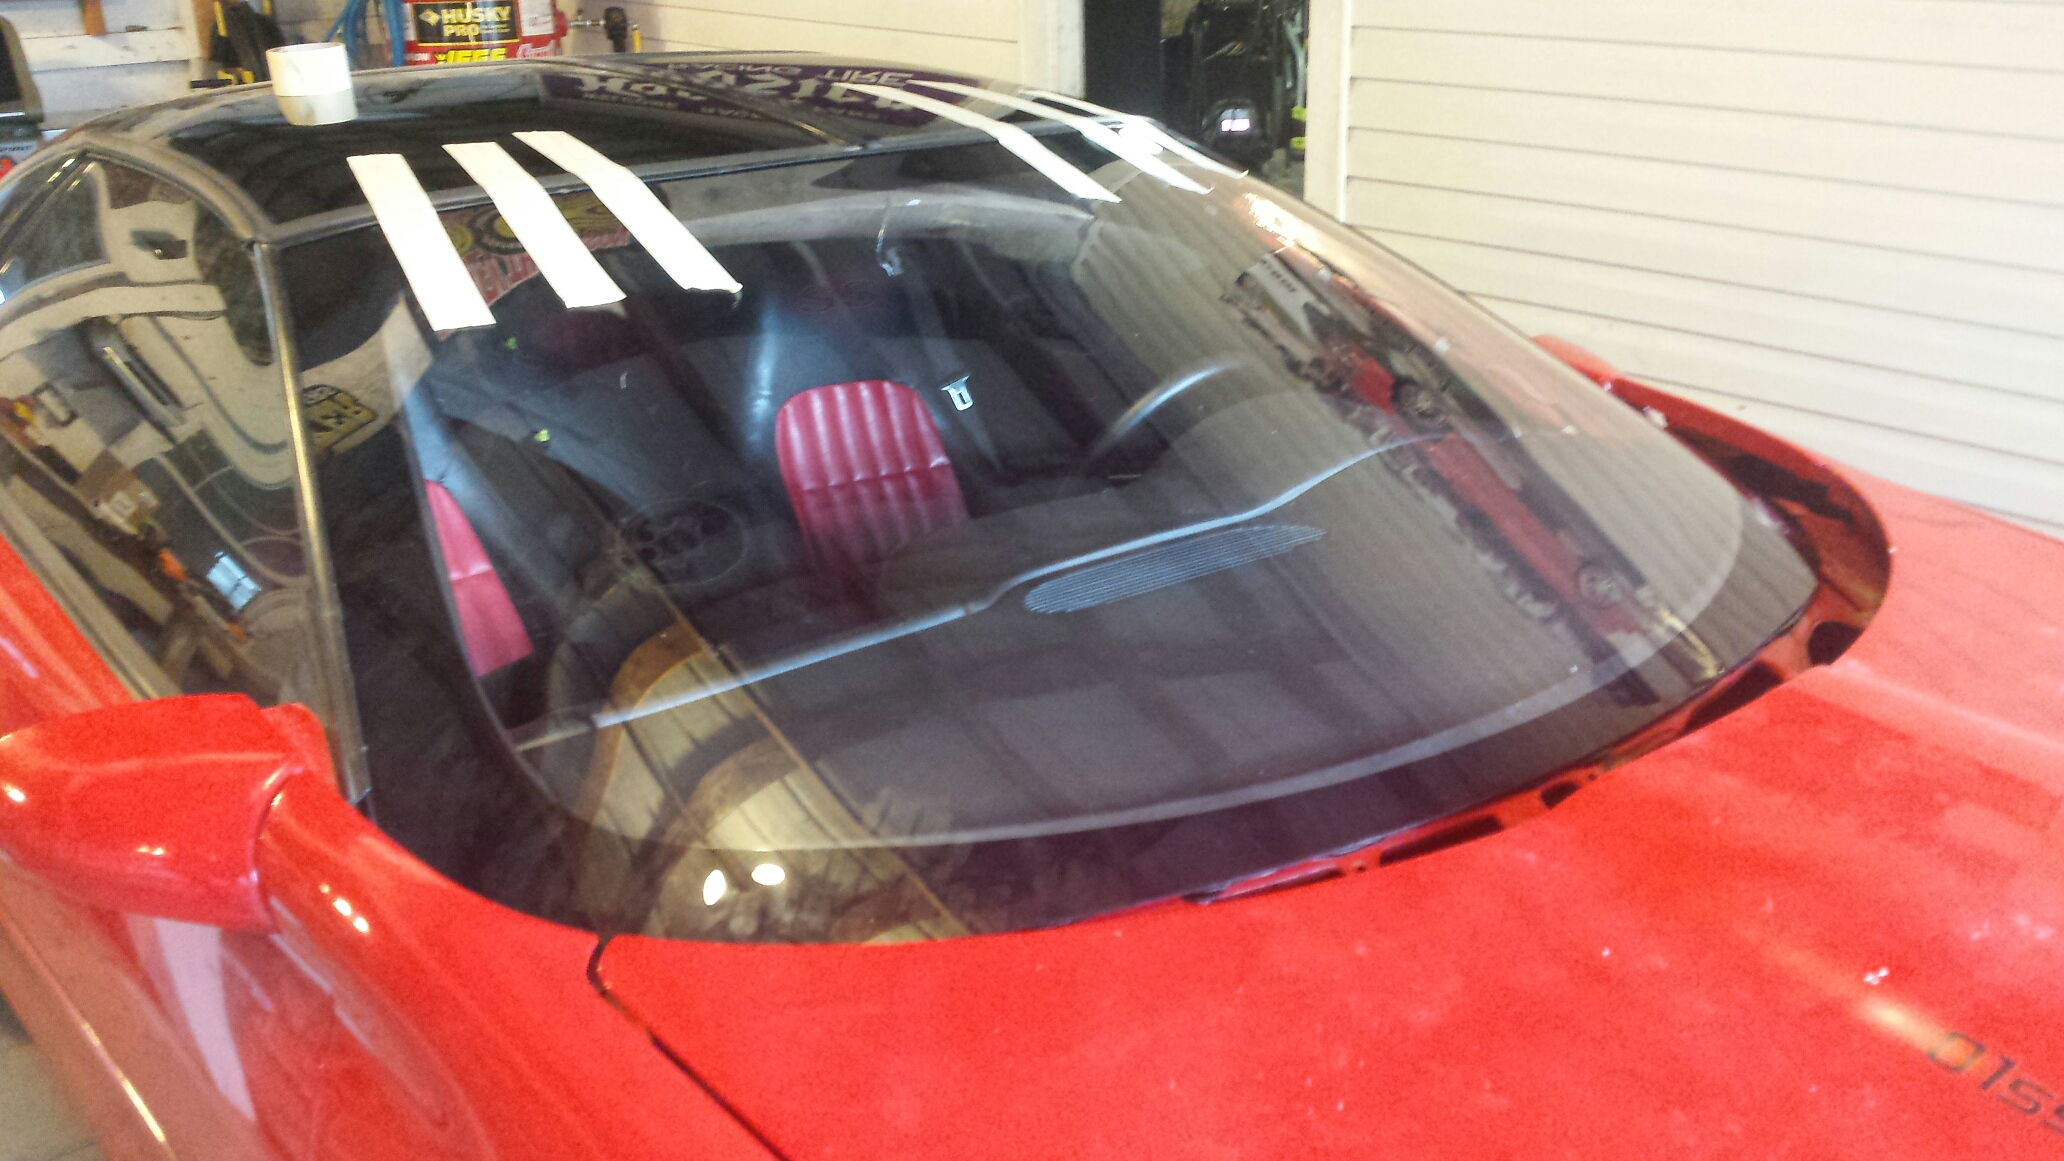
22. Run your beads just like the back, and drop in place, remember to have a friend help, and tape up top to keep it from sliding down while it cures.

Name:  20170121_151120_zps4gxtxjy4.jpeg
Views: 9205
Size:  1.10 MB

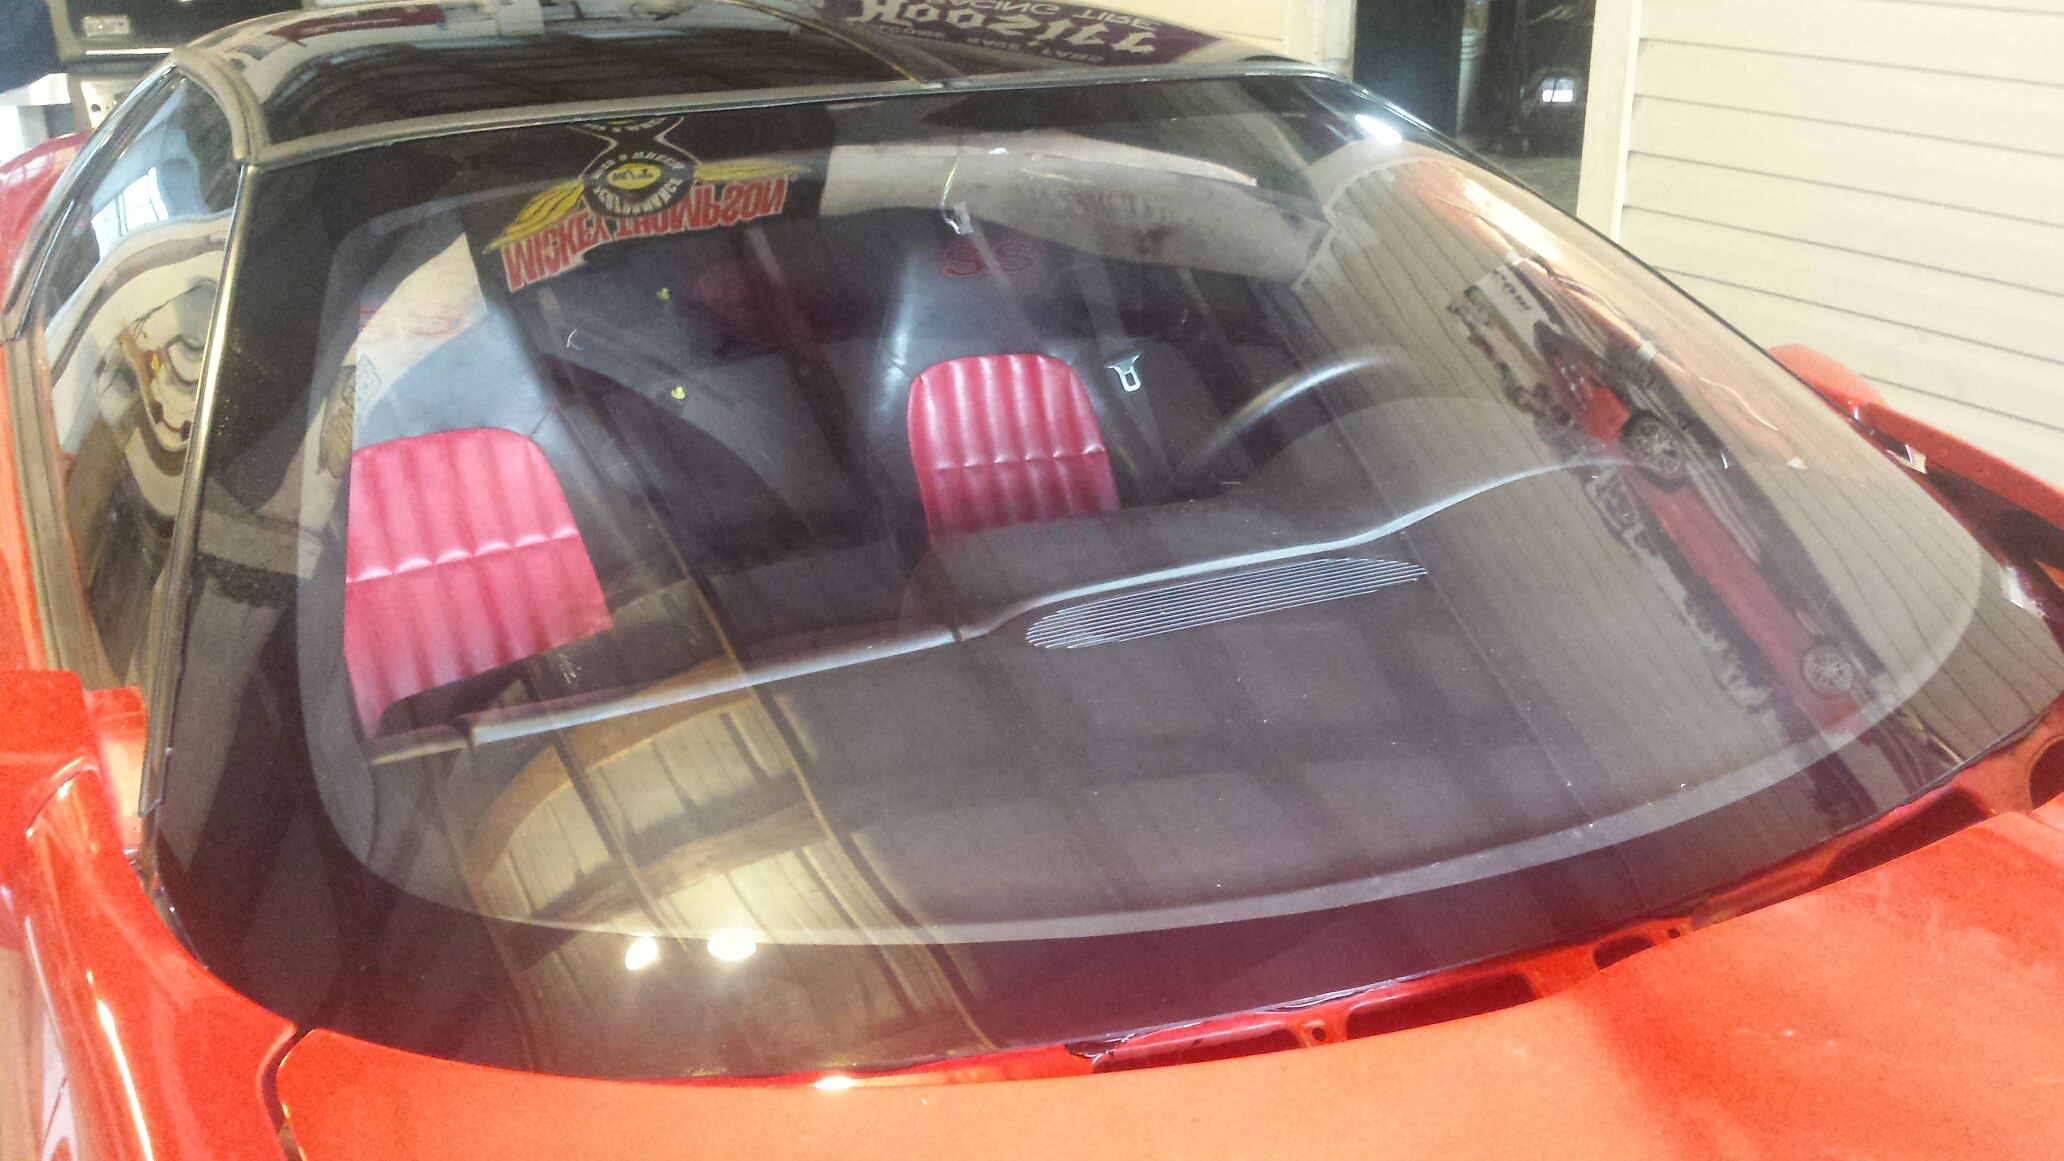
23. A couple hours later it looks like stock.

Name:  20170121_170804_zpsylgvfqng.jpeg
Views: 8750
Size:  1.16 MB

The windows weighed roughly 10lbs rear, and probably 17/18 for the front. They are supposed to save about 50/55lbs for the pair. My car should weigh, after the wiper delete, somewhere around 2970 or so. Overall they look really nice and fit really well. Im pleased with them.

Last edited by 01ssreda4; 07-04-2018 at 07:34 AM.
Old 01-23-2017, 09:55 AM
  #2  
TECH Addict
iTrader: (66)
 
blk00ss's Avatar
 
Join Date: Feb 2007
Location: Jasper, AL
Posts: 2,366
Likes: 0
Received 5 Likes on 5 Posts

Default

Bad ***!
Old 01-23-2017, 10:34 AM
  #3  
TECH Resident
iTrader: (21)
 
sillysspeed's Avatar
 
Join Date: Sep 2009
Location: MD
Posts: 766
Likes: 0
Received 0 Likes on 0 Posts
Default

Nice!
Old 01-23-2017, 10:43 AM
  #4  
Staging Lane
 
06_Chevy's Avatar
 
Join Date: Mar 2016
Posts: 61
Likes: 0
Received 2 Likes on 2 Posts
Default

Awesome write up. I have done both as well. You could of done some cutting while you had the window out.
Name:  20170115_150912_zpshb2ziej8.jpg
Views: 8393
Size:  305.7 KB
Name:  20161224_212813_zpsqj34fsjt.jpg
Views: 8242
Size:  209.3 KB
Old 01-23-2017, 10:45 AM
  #5  
TECH Senior Member
Thread Starter
iTrader: (96)
 
01ssreda4's Avatar
 
Join Date: Aug 2007
Location: Turnin' Wrenches Infractions: 005
Posts: 24,240
Likes: 0
Received 79 Likes on 70 Posts

Default

I plan on cutting the cowl back when time permits. Not gonna do anything crazy, just make a little more room above the intake.
Old 01-23-2017, 11:01 AM
  #6  
Staging Lane
 
06_Chevy's Avatar
 
Join Date: Mar 2016
Posts: 61
Likes: 0
Received 2 Likes on 2 Posts
Default

Originally Posted by 01ssreda4
I plan on cutting the cowl back when time permits. Not gonna do anything crazy, just make a little more room above the intake.
"Not gonna do anything crazy"

That's what i said as well.. but the a few later i was calling midwest because i got carried away. lol
Old 01-23-2017, 07:36 PM
  #7  
11 Second Club
 
Launch's Avatar
 
Join Date: Jan 2003
Posts: 989
Received 118 Likes on 98 Posts

Default

Good info. I plan on doing the front and rear optic armor on mine.

On the cowl if you ever decide you want to run the wipers again, here's what I did, i made the cowl removable for easier engine access and the cowl bolts back in and the wipers work ..


Old 01-23-2017, 09:24 PM
  #8  
TECH Senior Member
Thread Starter
iTrader: (96)
 
01ssreda4's Avatar
 
Join Date: Aug 2007
Location: Turnin' Wrenches Infractions: 005
Posts: 24,240
Likes: 0
Received 79 Likes on 70 Posts

Default

That's a pretty slick idea, however I doubt you would even need them due to the water beading up so much on this lexan. I'm just gonna chunk em.
Old 01-23-2017, 09:50 PM
  #9  
TECH Apprentice
iTrader: (1)
 
The Cartel's Avatar
 
Join Date: Feb 2004
Location: The 918!!
Posts: 305
Likes: 0
Received 3 Likes on 3 Posts

Default

Good info! Ill be doing the front soon,as its got a crack so why not!
Old 01-24-2017, 09:45 PM
  #10  
10 Second Club
iTrader: (16)
 
Firebirdmuscle's Avatar
 
Join Date: Jan 2012
Location: Mississippi
Posts: 1,202
Received 12 Likes on 12 Posts

Default

nice write up steve. those look real good on there. do you run any classes over there or just a test n tune fellow?
Old 01-25-2017, 07:05 AM
  #11  
TECH Senior Member
Thread Starter
iTrader: (96)
 
01ssreda4's Avatar
 
Join Date: Aug 2007
Location: Turnin' Wrenches Infractions: 005
Posts: 24,240
Likes: 0
Received 79 Likes on 70 Posts

Default

I may do a bracket race here and there but generally I just go to **** off at TNT. Keeping the more stock appearance is really fun when you are picking on other street cars. Most never knew what hit em.
Old 01-25-2017, 07:48 AM
  #12  
10 Second Club
iTrader: (16)
 
Firebirdmuscle's Avatar
 
Join Date: Jan 2012
Location: Mississippi
Posts: 1,202
Received 12 Likes on 12 Posts

Default

I bet it is. Nice write up. I've been back and forth on these for a while now
Old 01-25-2017, 08:53 AM
  #13  
10 Second Club
iTrader: (7)
 
Mystery Bird's Avatar
 
Join Date: Jun 2011
Location: Massachusetts
Posts: 1,043
Received 1 Like on 1 Post

Default

I want to do this but I'm afraid when the inspection sticker needs to be changed they will gouge it with their razor knives scraping off the old sticker.
Old 01-25-2017, 09:14 AM
  #14  
11 Second Club
iTrader: (3)
 
joeZ96's Avatar
 
Join Date: Jan 2005
Location: Carol Stream, IL
Posts: 252
Likes: 0
Received 3 Likes on 3 Posts

Default

Very nice. I assume you have to ditch the rear view mirror? No huge loss I suppose.
Old 01-25-2017, 03:17 PM
  #15  
11 Second Club
 
Launch's Avatar
 
Join Date: Jan 2003
Posts: 989
Received 118 Likes on 98 Posts

Default

Originally Posted by joeZ96
I assume you have to ditch the rear view mirror? No huge loss I suppose.
I think I'd glue that back on, need check for cops

I wonder if their 3/16" front screen is good enough, or too flimsy for stock street appearance..
Old 01-25-2017, 04:46 PM
  #16  
TECH Senior Member
Thread Starter
iTrader: (96)
 
01ssreda4's Avatar
 
Join Date: Aug 2007
Location: Turnin' Wrenches Infractions: 005
Posts: 24,240
Likes: 0
Received 79 Likes on 70 Posts

Default

Originally Posted by Mystery Bird
I want to do this but I'm afraid when the inspection sticker needs to be changed they will gouge it with their razor knives scraping off the old sticker.
Simple solution, remove the old one before you go.

Originally Posted by joeZ96
Very nice. I assume you have to ditch the rear view mirror? No huge loss I suppose.
I plan on putting it back on just haven't got around to it. May do it tomorrow. You can't see **** outta the side mirrors so I'd like it back.

Originally Posted by Launch
I think I'd glue that back on, need check for cops

I wonder if their 3/16" front screen is good enough, or too flimsy for stock street appearance..
I was sorta able to salvage the sticker, it's in pieces like a puzzle. I'm gonna attempt to reassemble and put it back on. It's not a huge deal, I can make a call and have a new one delivered for a few bucks. Nice to have friends in low places right?
Old 01-25-2017, 06:12 PM
  #17  
TECH Resident
iTrader: (41)
 
JRcamaroZ28's Avatar
 
Join Date: Aug 2002
Location: Lancaster, PA
Posts: 809
Likes: 0
Received 1 Like on 1 Post

Default

turned out great!
Old 01-25-2017, 08:01 PM
  #18  
TECH Senior Member
Thread Starter
iTrader: (96)
 
01ssreda4's Avatar
 
Join Date: Aug 2007
Location: Turnin' Wrenches Infractions: 005
Posts: 24,240
Likes: 0
Received 79 Likes on 70 Posts

Default

Thanks bud....
Old 01-26-2017, 11:01 AM
  #19  
TECH Fanatic
iTrader: (7)
 
SwampWS6's Avatar
 
Join Date: Apr 2013
Location: Ballwin, MO
Posts: 1,077
Likes: 0
Received 1 Like on 1 Post
Default

Wow! Good job for your first time. Im most def doing this now. You've showed me how to do a ton of things! Thanks! Sub'd again!
Old 01-26-2017, 11:18 AM
  #20  
12 Second Club
iTrader: (91)
 
MUSTANGBRKR02's Avatar
 
Join Date: Aug 2006
Location: Maine
Posts: 4,599
Likes: 0
Received 5 Likes on 4 Posts

Default

I'll be doing this to mine if they ever ship my window


Quick Reply: Optic Armor Install F+R, How To


All times are GMT -5. The time now is 02:40 PM.