How to Zero a boost gauge.
 09-26-2010, 11:49 PM
#1
TECH Apprentice
Thread Starter
iTrader: (5)
Join Date: Oct 2008
Location: Cary, NC
Posts: 333
Likes: 0
Received 0 Likes
on
0 Posts

I didn't see a write up on this so I thought I would share my knowledge.
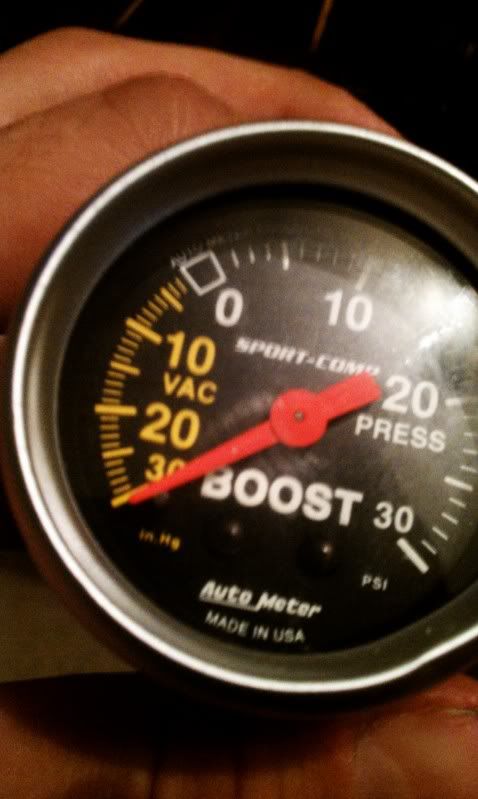
This is a guide to fix a misadjusted boost gauge that became misaligned due to vibration, age, pressure, heat, small monkeys, whatever.
Items needed:
-Boost gauge
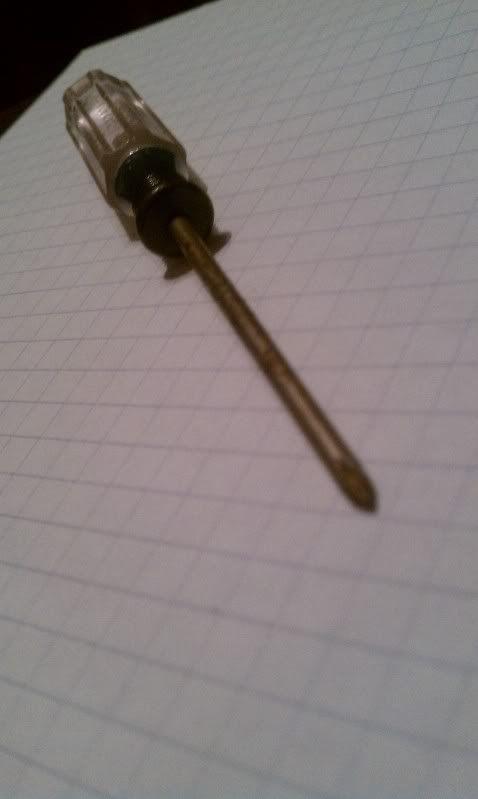
-small screw driver or a pick of some sort
-a pair of hands
-a beer of any variety

Step 1: Find a misadjusted boost gauge. I am using an autometer. I assume its about the same between brands.
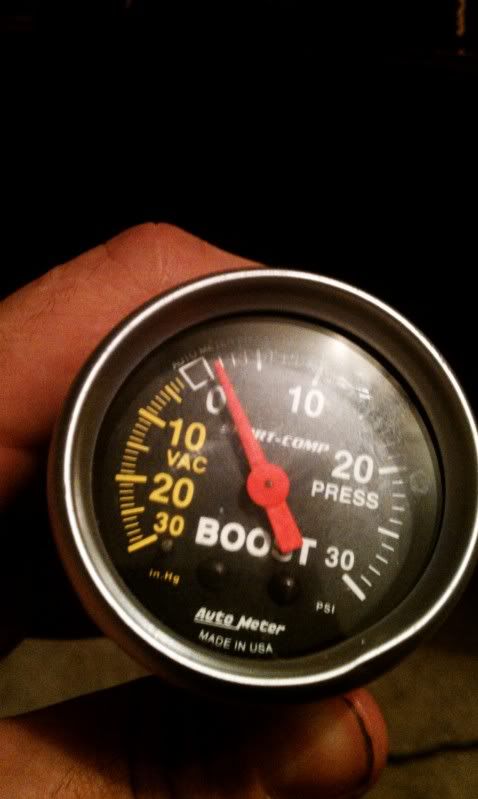
Step 2: Remove light exposing the whole in the back.
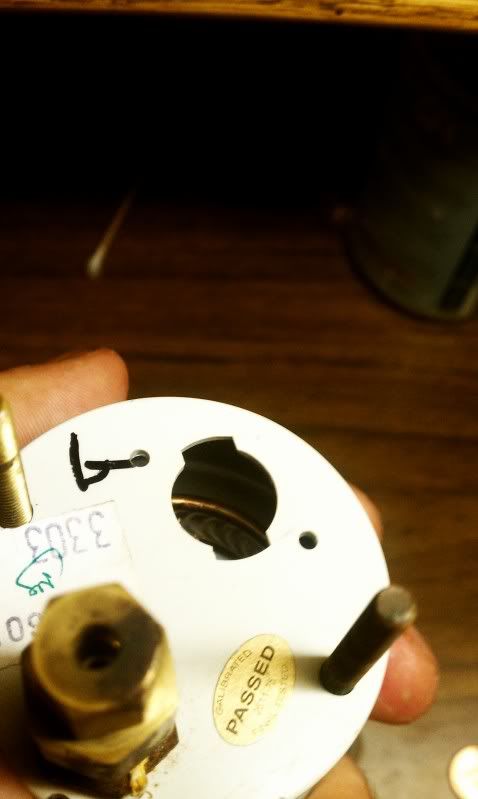
Step 3: You will see a piece of copper that expands or contracts with vacuum or boost. (see above pic)
Step 4: take the gauge in one hand and the screwdriver in the other.
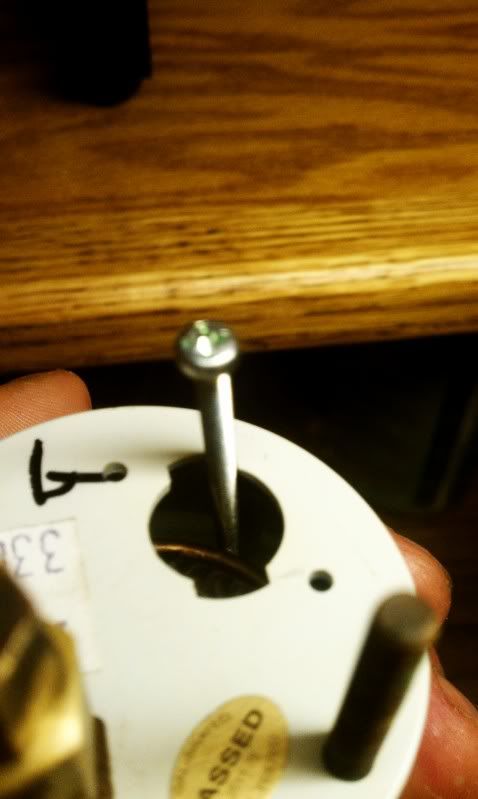
Step 5: By wedging the copper piece it brings the needle towards vacuum and pushing the piece of copper towards the case will push it towards boost. (I know thats not the screwdriver.. thanks in advance)
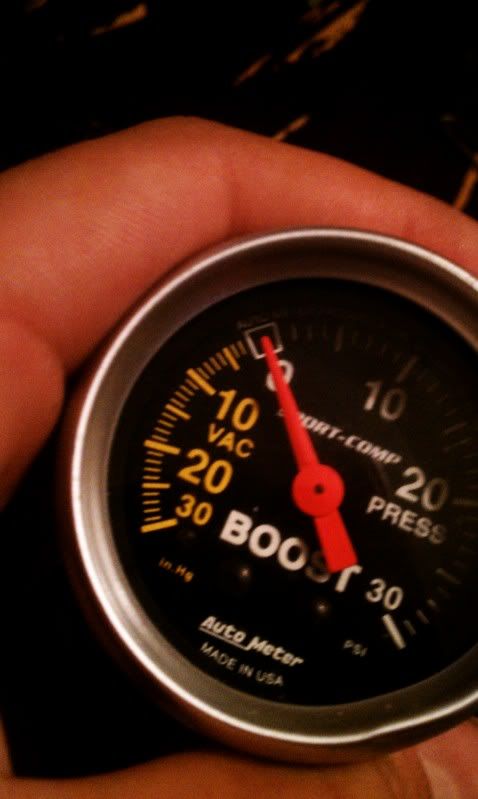
Step 6: You will want to max out the needle which ever way and then some. give it a couple bumps. dont go crazy with it but do it and let go and check your work. (Remember: Less is MORE)
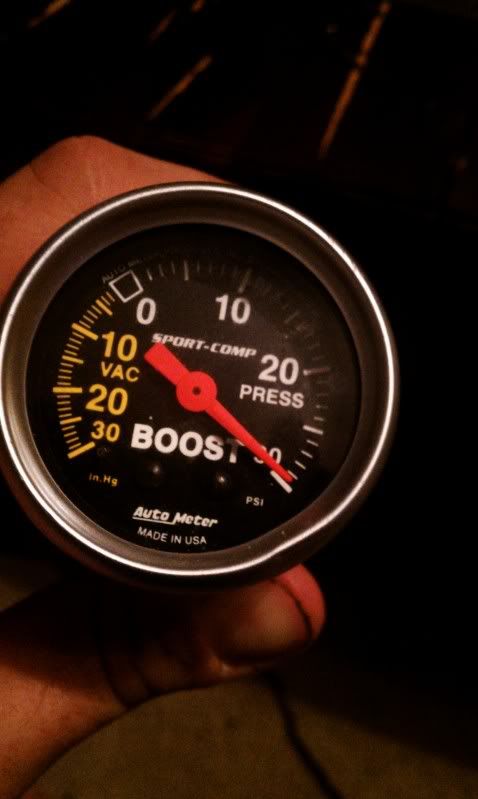
Step 7: you will get closer and closer until you reach the final destination of the center of the box.
Step 8: Crack open that beer and pat yourself on the back.
This is a guide to fix a misadjusted boost gauge that became misaligned due to vibration, age, pressure, heat, small monkeys, whatever.
Items needed:
-Boost gauge
-small screw driver or a pick of some sort
-a pair of hands
-a beer of any variety
Step 1: Find a misadjusted boost gauge. I am using an autometer. I assume its about the same between brands.
Step 2: Remove light exposing the whole in the back.
Step 3: You will see a piece of copper that expands or contracts with vacuum or boost. (see above pic)
Step 4: take the gauge in one hand and the screwdriver in the other.
Step 5: By wedging the copper piece it brings the needle towards vacuum and pushing the piece of copper towards the case will push it towards boost. (I know thats not the screwdriver.. thanks in advance)
Step 6: You will want to max out the needle which ever way and then some. give it a couple bumps. dont go crazy with it but do it and let go and check your work. (Remember: Less is MORE)
Step 7: you will get closer and closer until you reach the final destination of the center of the box.
Step 8: Crack open that beer and pat yourself on the back.
Last edited by IKnowtheFuture; 09-26-2010 at 11:55 PM.


 09-29-2010, 11:56 AM
#7
that gauge looks like it got dropped, lol
i would first use a known pressure, say 10 psi, put it to the gauge, see what it reads-i have seen some that are off with no pressure, but are reading correct amount with pressure-good tip though, nice to know they can be tweaked
i would first use a known pressure, say 10 psi, put it to the gauge, see what it reads-i have seen some that are off with no pressure, but are reading correct amount with pressure-good tip though, nice to know they can be tweaked
Trending Topics
10-02-2010, 01:18 AM
#10
9 Second Club
iTrader: (17)
Join Date: Nov 2002
Location: New Braunfels ,Tx
Posts: 4,997
Likes: 0
Received 0 Likes
on
0 Posts
Strecthing the bourdon tube like this will put error into the gauge. I dont know what the zero or span is from autometer but it will have an error. Usually the bourdon tube is caled by using the deadweight method. Still a good way for a quick fix. More than likely the gauge was dropped and the needle shifted and highly unlikely the bourdon tube is strecthed.