
JasonWW's More Unique Mods
 10-31-2007, 11:57 PM
#1

This thread was made in reference to my Sig line. A few of my completed mods. Some may find them silly or whatever, I don't care.
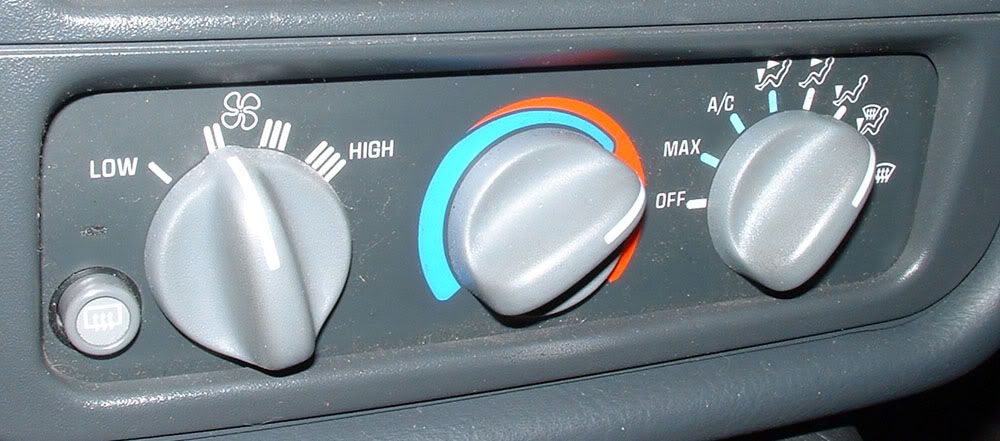
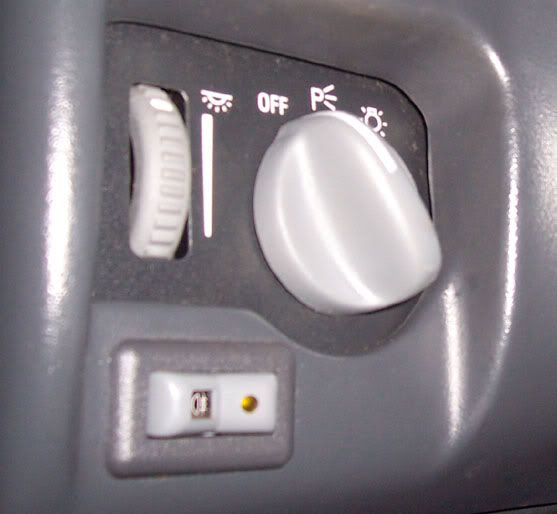
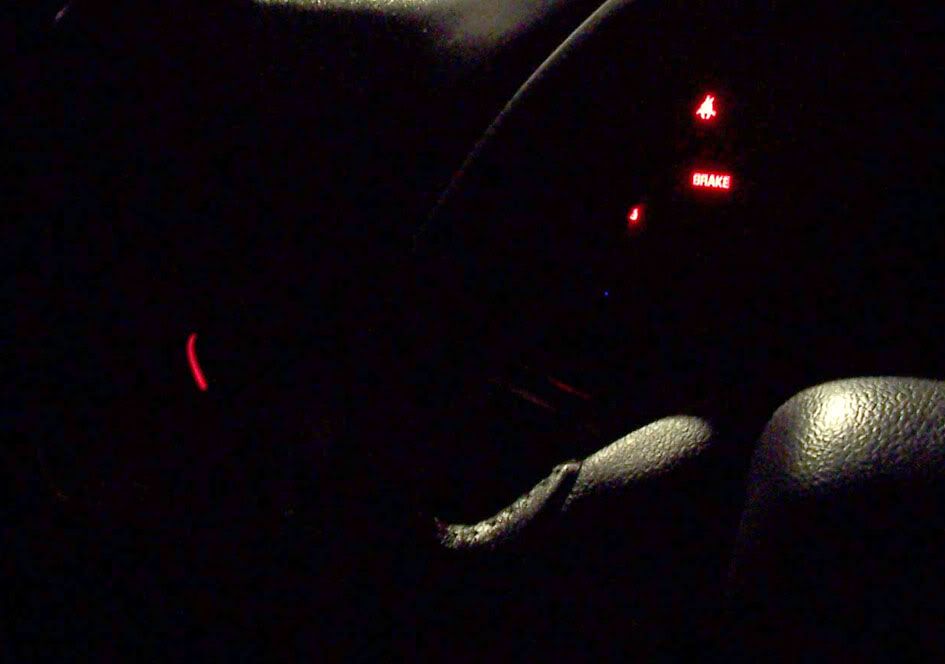
Better ***** for the A/C controls with matching headlight **** that lights up with the ignition so you can see it at night, but I added the Auto Headlight function so the lights pop up at night on their own.
https://ls1tech.com/forums/appearance-detailing/261320-better-c-knobs-t-s.html#post2307794
https://ls1tech.com/forums/appearance-detailing/261321-backlit-headlight-knob-ta.html
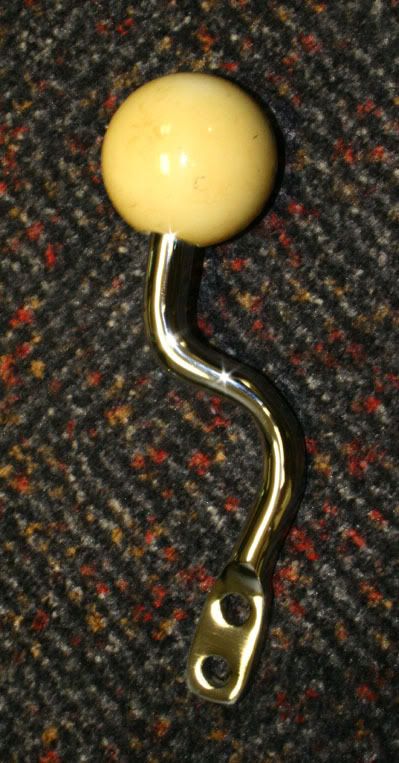
Completely custom shifter.
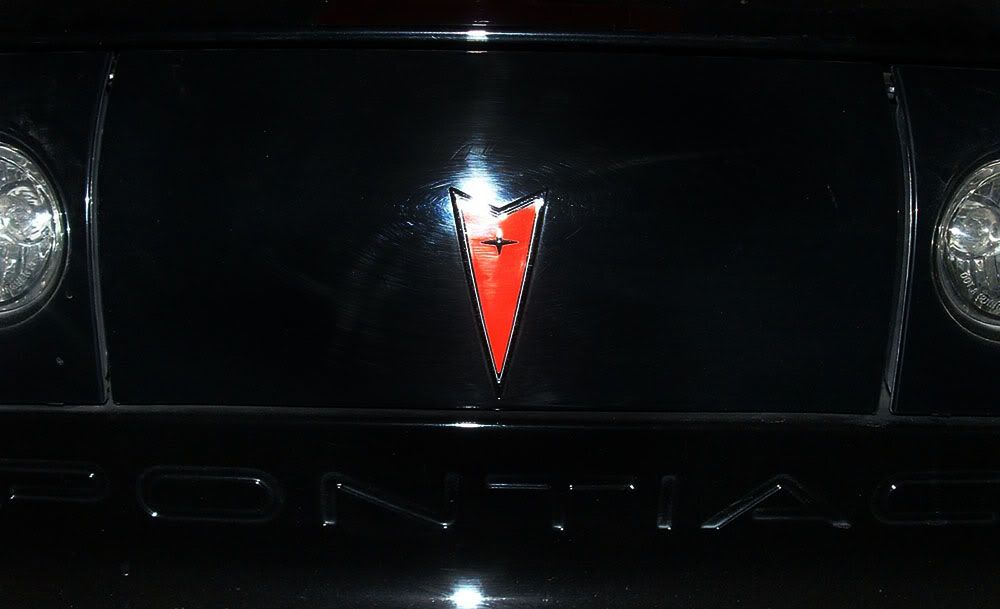
Covered rear keyhole with pontiac badge.
Non functional fully polished stock exhaust tips that never get black.
https://ls1tech.com/forums/appearanc...lack-soot.html


A simple 3rd brake light cover that smoothes out the top of the rear wing.
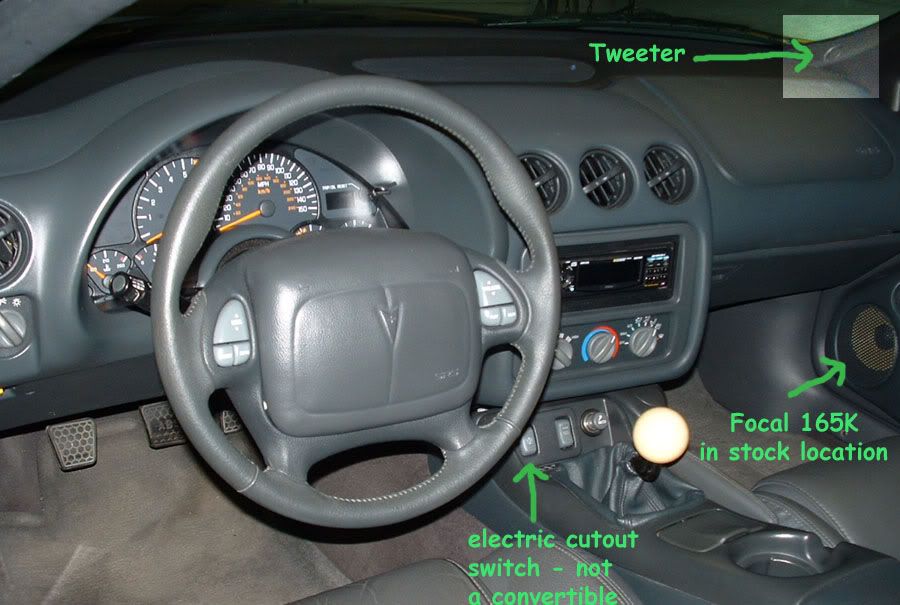
Electric cutout switch using convertible switch.
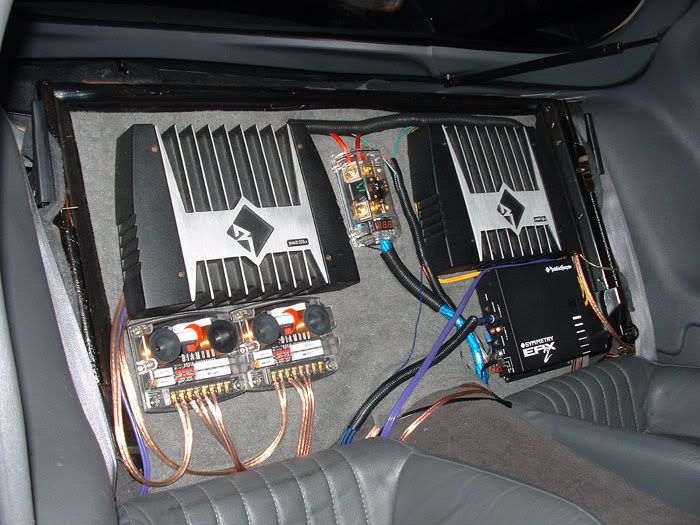
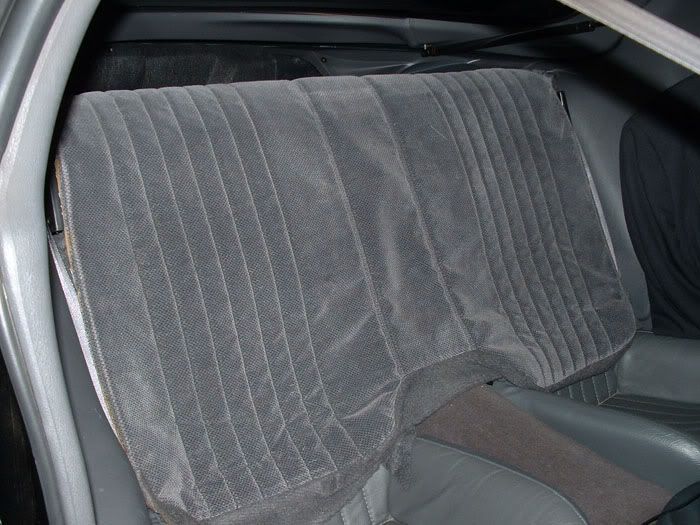
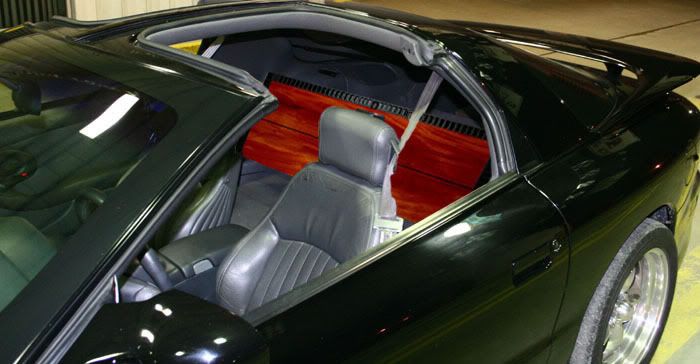
Entire sound system built into rear seat for super stealth.
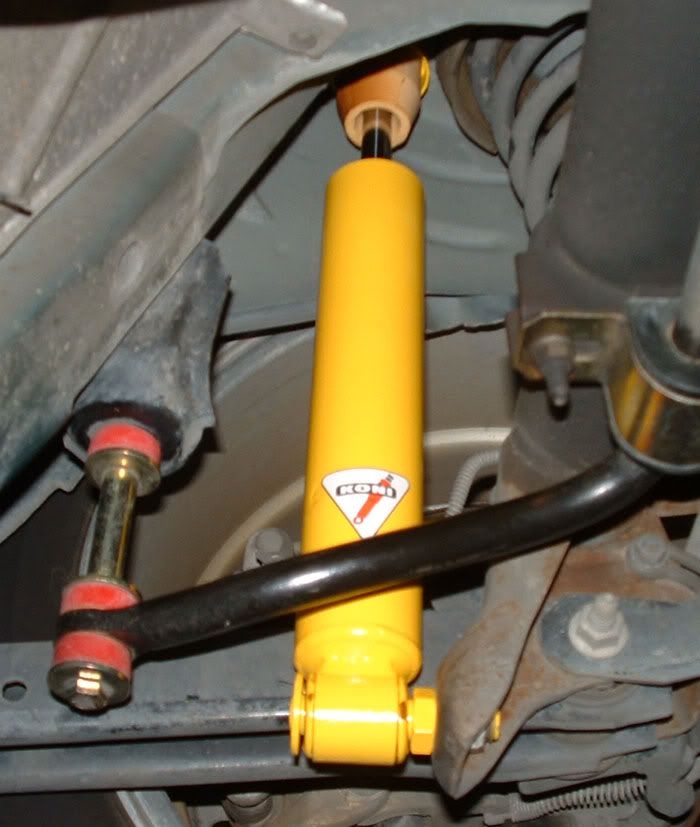
Custom rear bumpstops to allow for more rear suspension travel.
Plus I'm probably leaving out a few more little stuff, but I have a ton of cool ideas floating around in my head.
Better ***** for the A/C controls with matching headlight **** that lights up with the ignition so you can see it at night, but I added the Auto Headlight function so the lights pop up at night on their own.
https://ls1tech.com/forums/appearance-detailing/261320-better-c-knobs-t-s.html#post2307794
https://ls1tech.com/forums/appearance-detailing/261321-backlit-headlight-knob-ta.html
Completely custom shifter.
Covered rear keyhole with pontiac badge.
Non functional fully polished stock exhaust tips that never get black.
https://ls1tech.com/forums/appearanc...lack-soot.html
A simple 3rd brake light cover that smoothes out the top of the rear wing.
Electric cutout switch using convertible switch.
Entire sound system built into rear seat for super stealth.
Custom rear bumpstops to allow for more rear suspension travel.
Plus I'm probably leaving out a few more little stuff, but I have a ton of cool ideas floating around in my head.
Last edited by JasonWW; 03-09-2009 at 11:15 PM.


 11-01-2007, 08:34 AM
#5
If I do really pound on them for a while my ears will start to hurt before the amps get too hot. Plus I can always flip the seat cover over so they can stay cool. Looks cool, too.
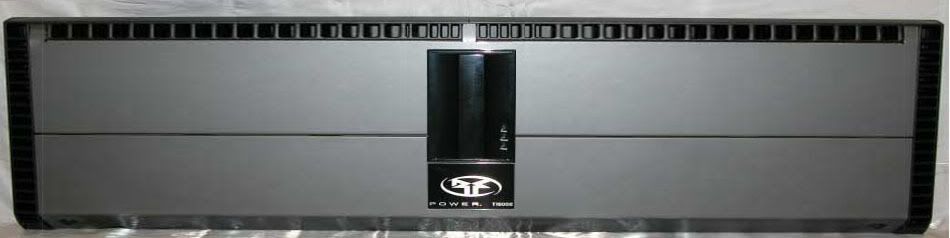
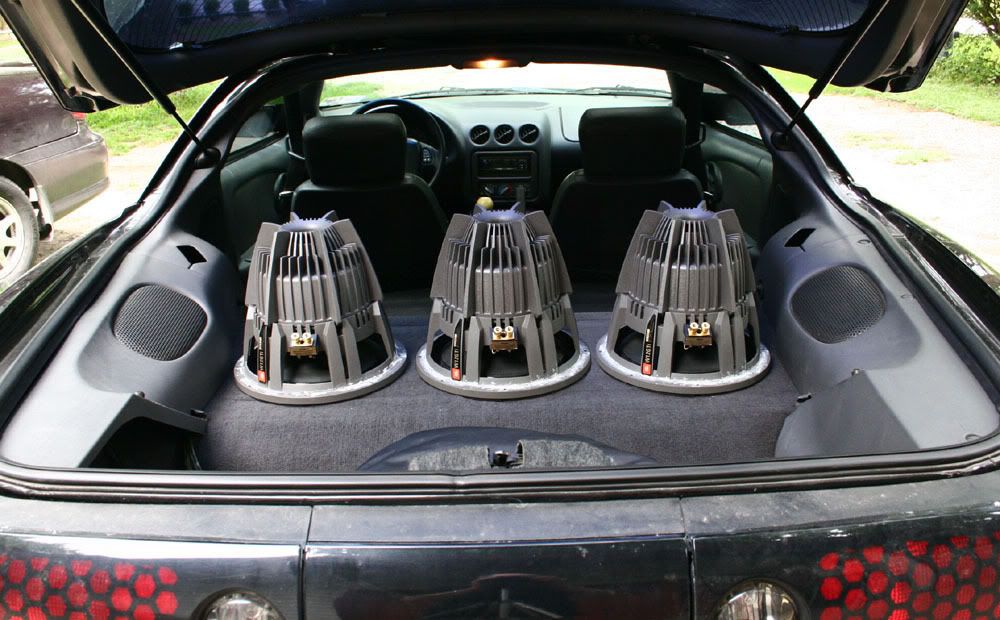
It's all coming out soon. I'm linking 3 Rockford T5002 amps together with a custom cover to make one long 54" amp.
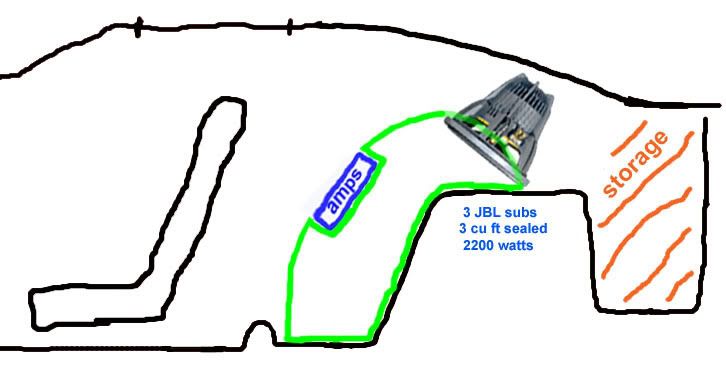
I already have 3 big *** 12" JBL GTi subs for a big sub box as well. It will look something like this:
I'm tired of the stealth and want to show off some.

Last edited by JasonWW; 11-01-2007 at 08:42 AM.
11-01-2007, 09:43 AM
#7
TECH Fanatic
iTrader: (9)
Join Date: May 2005
Location: Long Island, NY
Posts: 1,248
Likes: 0
Received 0 Likes
on
0 Posts
kind of a silly question but could you explain how you wired up your cut outs using a convertible top switch? Thanks
Last edited by Mike00ss; 11-01-2007 at 12:05 PM.
Trending Topics
11-01-2007, 05:05 PM
#11
I was planning a woodgrain theme, but I don't think I'm going to do that now. I was also planning to link two of the Rockford T8002 amps together with 2 subs for a 48" amp, but I decided to run 3 subs and 3 smaller amps which pushes the length to 54". It will just barely fit in the back. Anyway here is a photoshop of how the amp would look with a wood front.
The 3 subs, but they are not angled to the rear in this pic. I like it.
Yes (don't use lacquer clear). If I had to do it all over again I would chrome them. I may still.
No one ever sits back there. My brother did once and he used a jacket to cushion his back. Some dense foam padding can be added, but it thickens the seat a little. If you sometimes carry rear passengers, then it may not be a good idea.
Here are some pics and some more info on the cutout switch.
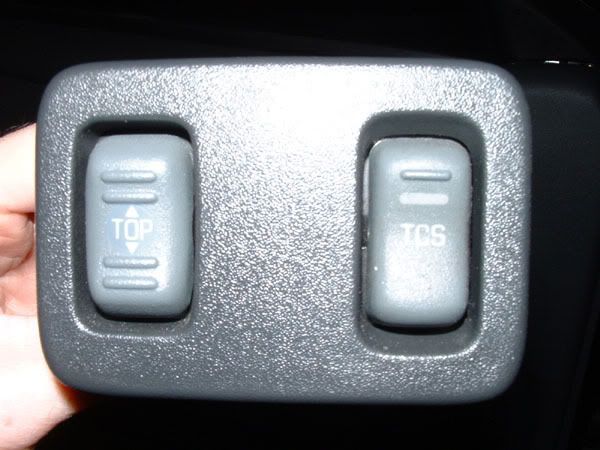
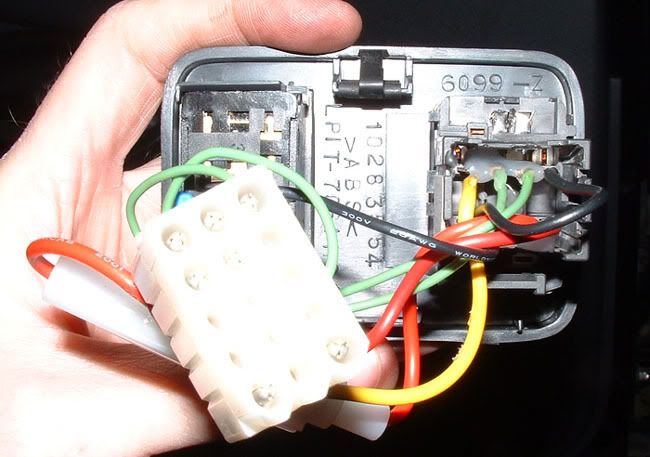
Pretend that you already have a convertible top harness installed in the car, and the plug is just sitting there without the switch connected. Take the connector and orient it so that the locking tab is on top, and the plug is facing you. With this pictured in your mind, this is the connections of that plug:
TAB
H G F E
A B C D
H = Ground
G = Empty (not used)
F = Power (12v)
E = Up (+) Cutout (open)
A = Down (-) Cutout (close)
B = Lamp (+)
C = Lamp (-)
D = Ground
There are two grounds. In order for the switch to reverse the polarities for the up/down (+/-) to open and close the cutout, connector "H" and "D" have to be jumped together to the ground on the vehicle.
Holding the actual switch in your hand, it will be upside down so the locking tab part will be oriented on top. This should help you figure out what pin is what on the switch, use pin "G" as a guide.
The 3 subs, but they are not angled to the rear in this pic. I like it.
Yes (don't use lacquer clear). If I had to do it all over again I would chrome them. I may still.
Here are some pics and some more info on the cutout switch.
Pretend that you already have a convertible top harness installed in the car, and the plug is just sitting there without the switch connected. Take the connector and orient it so that the locking tab is on top, and the plug is facing you. With this pictured in your mind, this is the connections of that plug:
TAB
H G F E
A B C D
H = Ground
G = Empty (not used)
F = Power (12v)
E = Up (+) Cutout (open)
A = Down (-) Cutout (close)
B = Lamp (+)
C = Lamp (-)
D = Ground
There are two grounds. In order for the switch to reverse the polarities for the up/down (+/-) to open and close the cutout, connector "H" and "D" have to be jumped together to the ground on the vehicle.
Holding the actual switch in your hand, it will be upside down so the locking tab part will be oriented on top. This should help you figure out what pin is what on the switch, use pin "G" as a guide.

 11-01-2007, 06:04 PM
#13
I'm not the first. It's been done before. I actually had to get help with the wiring and now I'm passing it on. I also added a big Molex connector for both switches so I can remove the whole unit. It makes soldering so much easier when it's out of the car.
11-01-2007, 11:31 PM
#15
I usually had it full open or full closed, but if your new to them you have to learn how long to hold the switch and it can suck. I'd recommend a controller for a 1 button press so you can concentrate on the road.
11-01-2007, 11:36 PM
#16
TECH Fanatic
iTrader: (9)
Join Date: May 2005
Location: Long Island, NY
Posts: 1,248
Likes: 0
Received 0 Likes
on
0 Posts
It's not on the car right now, but I had a single. Duals are no problem. It's a simple 2 wire hookup from the cutout. Just run each pair of cutout wires together. The switch is what changes the polarity to make the motors turn both directions.
I usually had it full open or full closed, but if your new to them you have to learn how long to hold the switch and it can suck. I'd recommend a controller for a 1 button press so you can concentrate on the road.
I usually had it full open or full closed, but if your new to them you have to learn how long to hold the switch and it can suck. I'd recommend a controller for a 1 button press so you can concentrate on the road.
11-02-2007, 12:01 AM
#18
TECH Junkie
iTrader: (7)
Join Date: Aug 2004
Location: Prairie de Femme, LA
Posts: 3,809
Likes: 0
Received 0 Likes
on
0 Posts
i gotta say, even tho u get some pretty wild ideas, the ones you have done are very good ideas, and well executed.
do you know the wiring for a TCS switch? deleting it on my car soon, so id like to use it for something
do you know the wiring for a TCS switch? deleting it on my car soon, so id like to use it for something
11-02-2007, 01:14 AM
#19
No I don't know off hand, but it should be pretty simple. 2 wires will be for the light and the other 2 should be a momentary on switch. It doesn't stay on even though the TCS does, the switch only connects when it is pressed.