
Just Finished my Wideband O2 LC1 Install Lots photos
 10-12-2009, 09:38 PM
#1

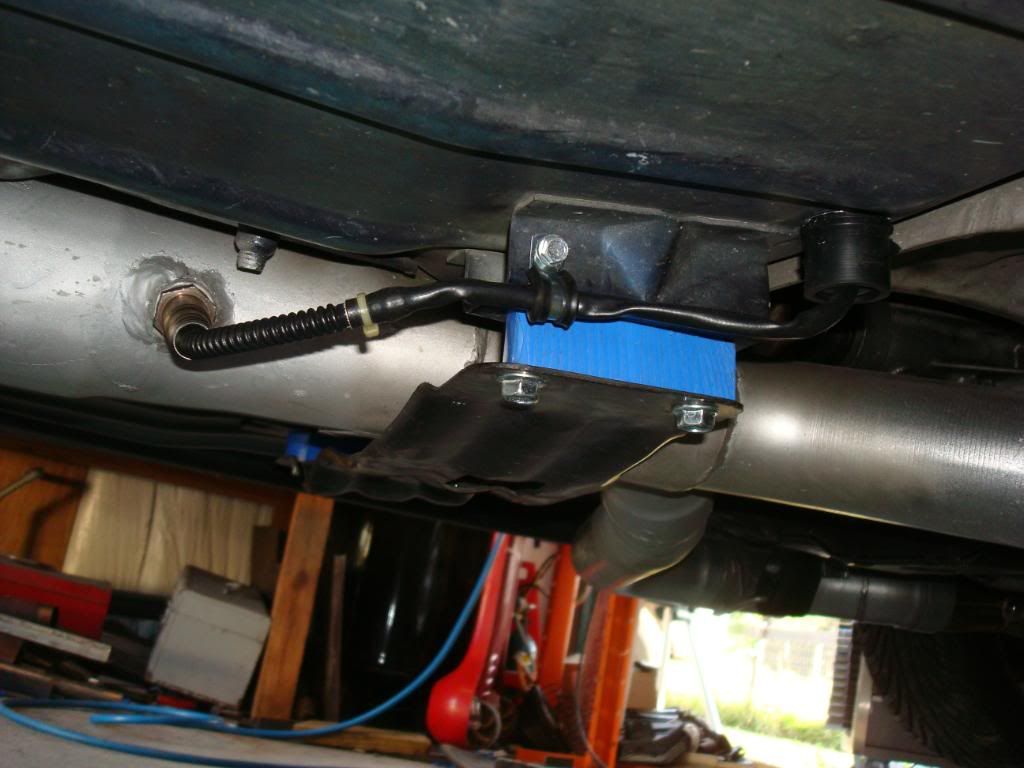
I mounted the sensor in the flowmaster merge, and ran the wire up under the passenger seat. this allowed me to keep the electronic unit in the car and reduce its exposure to the elements.
I used this grommet from Mr Gasket for valve covers as it has to fit over the sensor.
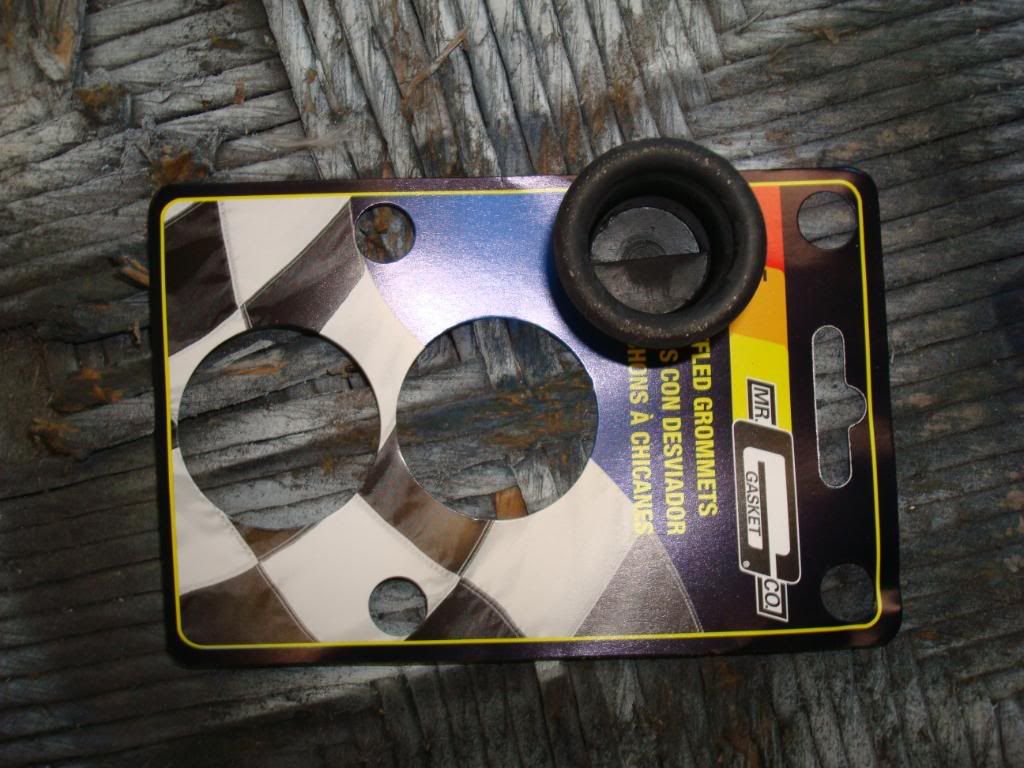
The sensor comes up right where all the electrtic seat wires come up through the carpet. so I make a small cut in the front right for the wires to go back down and they follow the floor along the outside near the kick panel and come up on the right side behind the kick panel.
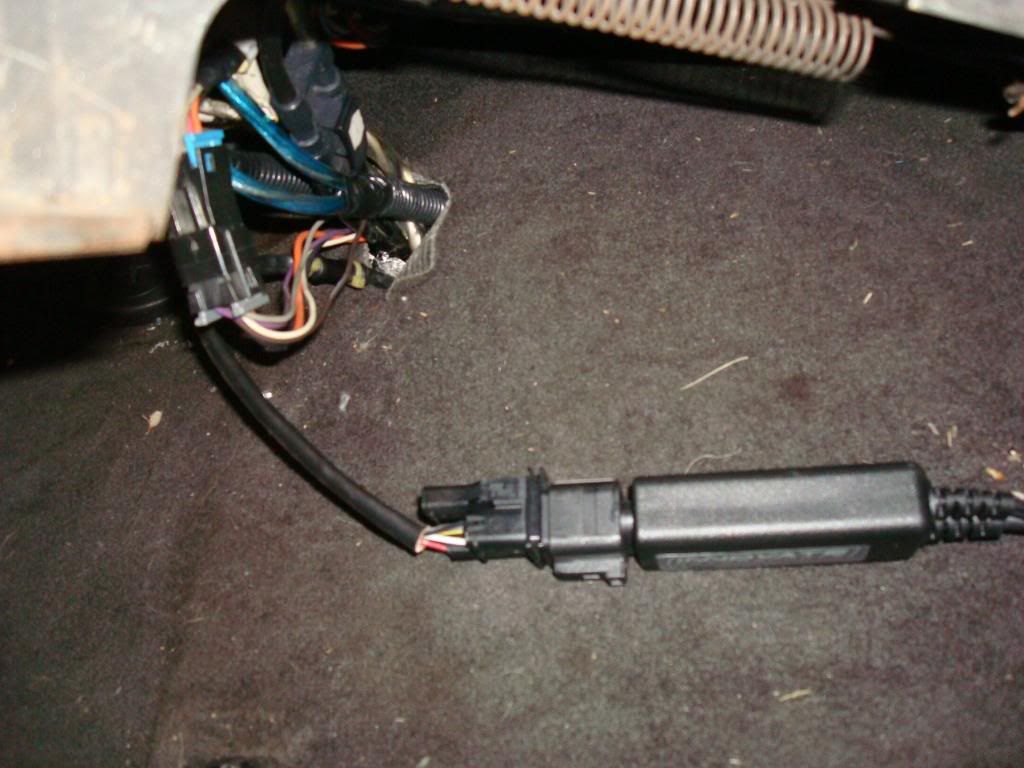
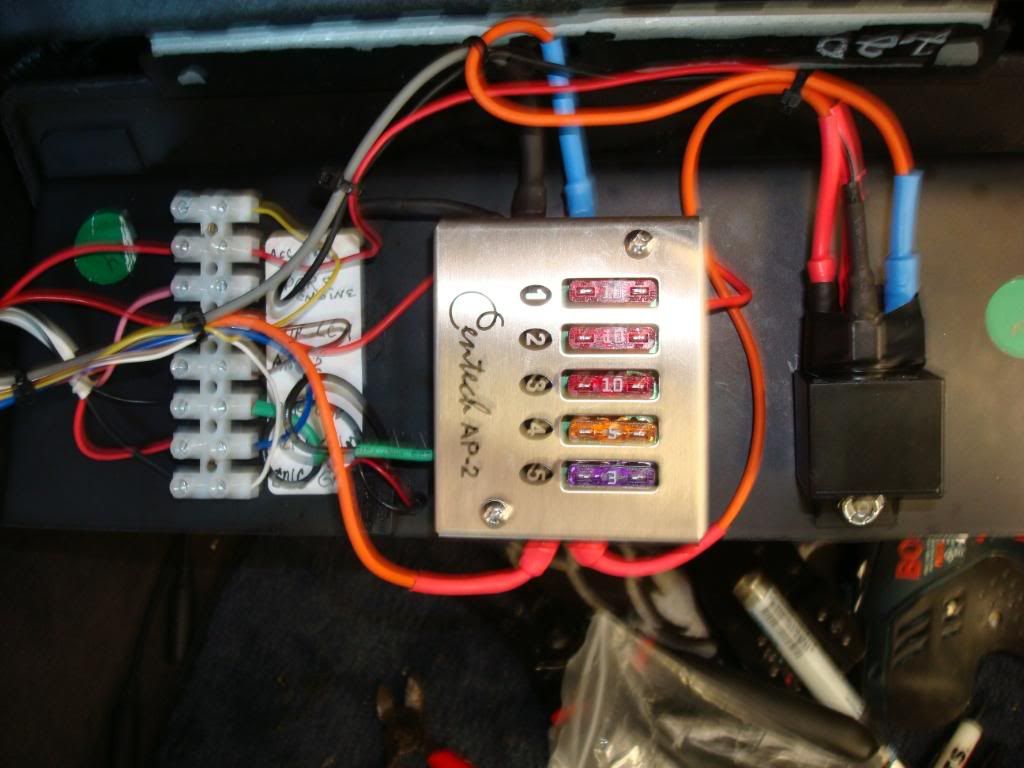
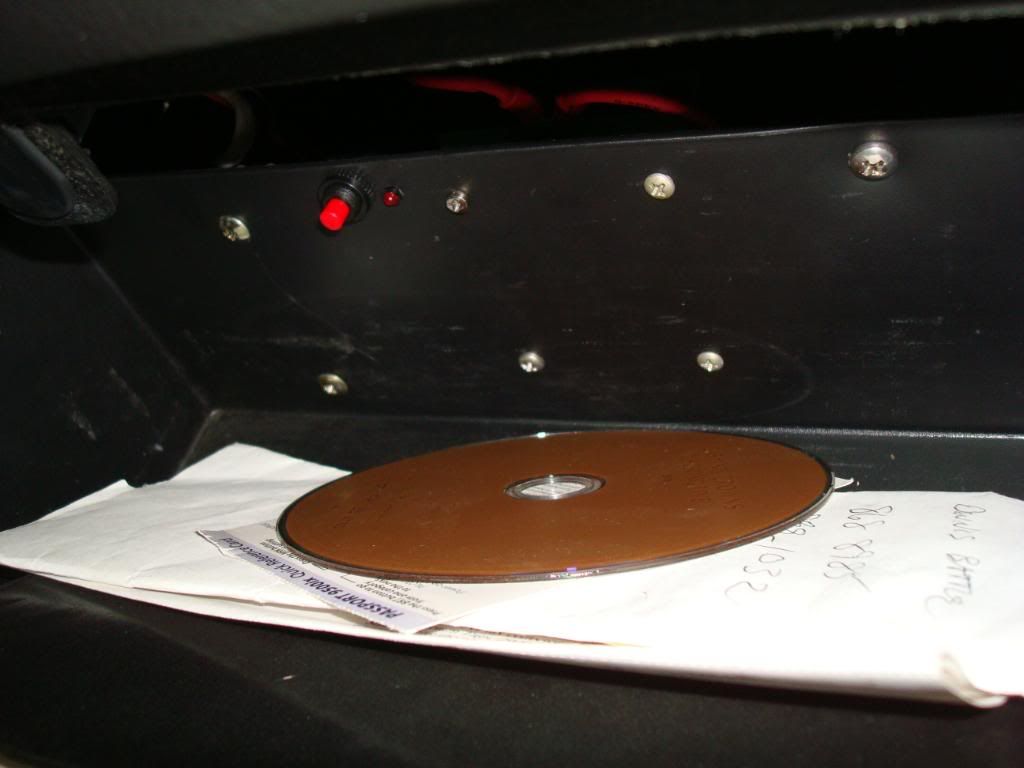
I ran the gound for the blue/white wire to the back of the head and the cal ground to a stud under near the battery. I bought this fuse panel
so I could control power, gnd and accessory power. I hate trying to find good power and grounds when I wire stuff. I lucked out as it all fit on the back side of the glove box, this made for a clean install.
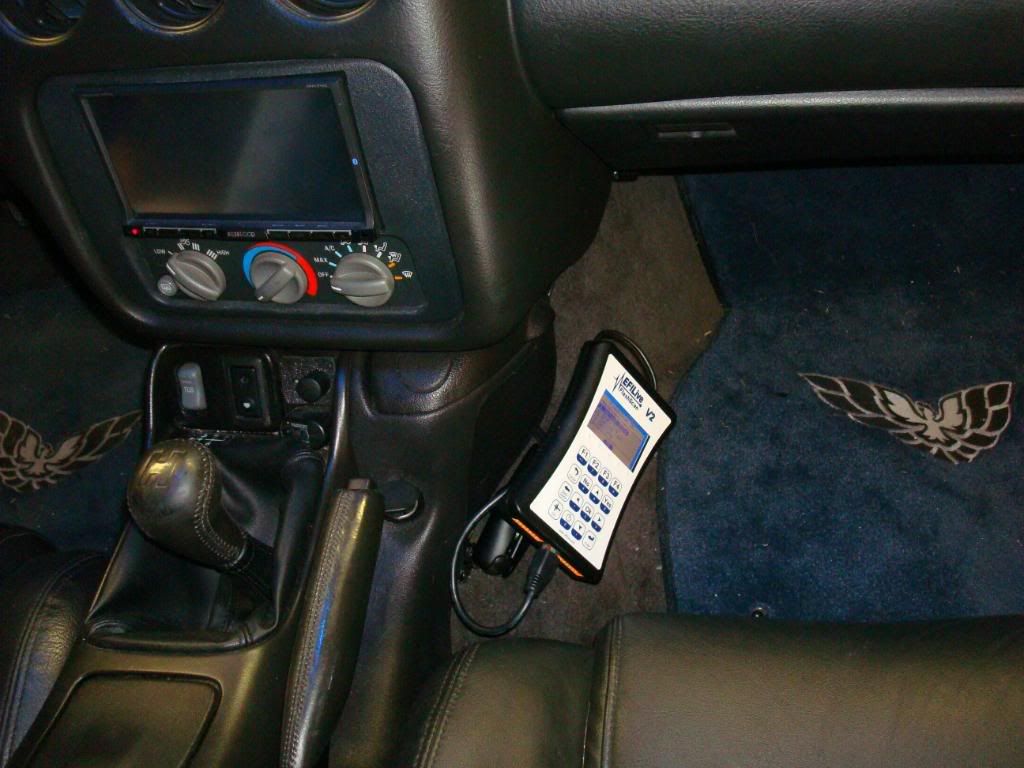
I custom fabricated up some Ram Mounts for the V2, I just need to make when up for the notebook now.
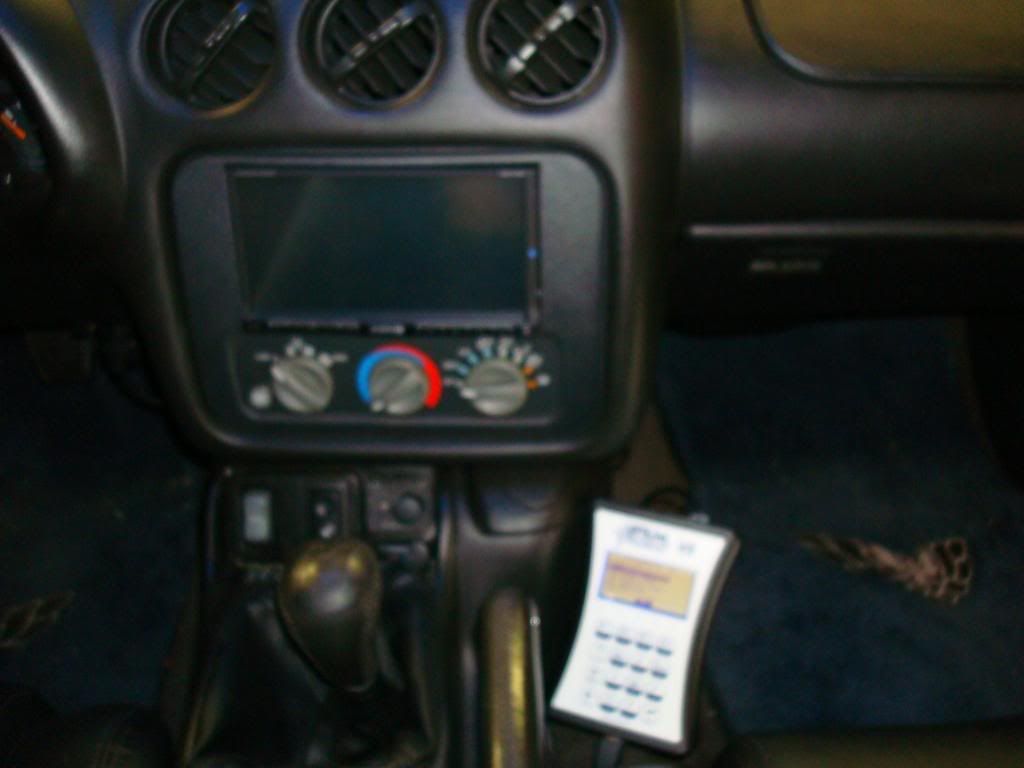
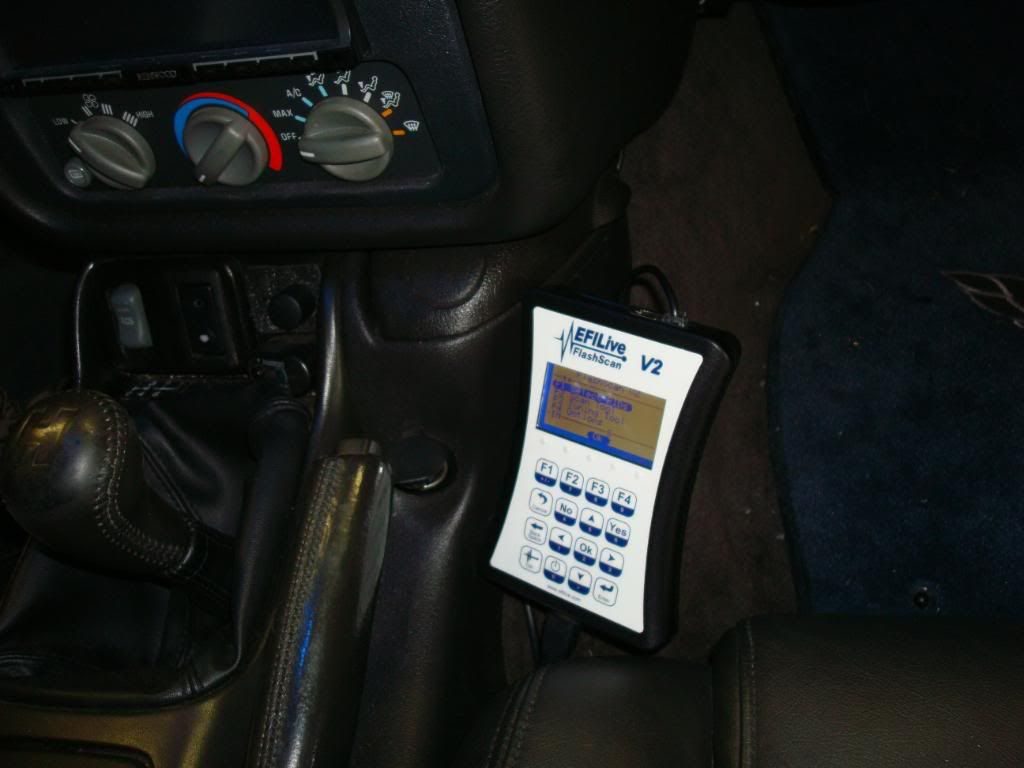
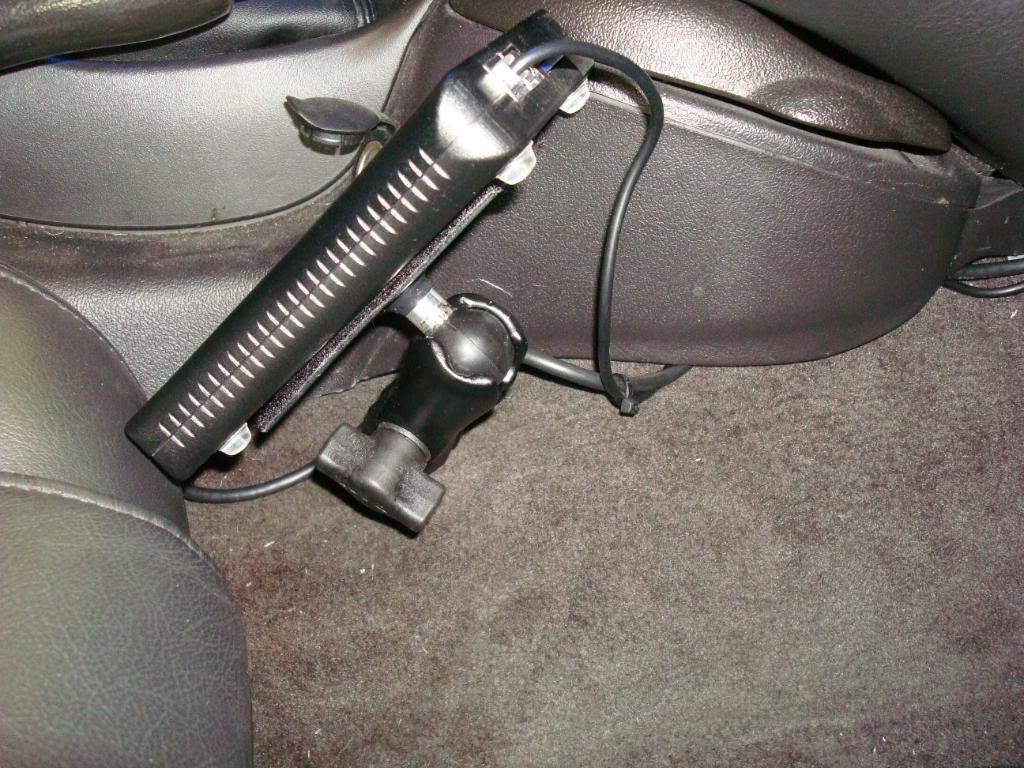
I designed it so it could stay mounted yet go in to a stow position this way I could black box data log. Or loosen it and it will remove and just leave a small ball near the console.
I used this grommet from Mr Gasket for valve covers as it has to fit over the sensor.
The sensor comes up right where all the electrtic seat wires come up through the carpet. so I make a small cut in the front right for the wires to go back down and they follow the floor along the outside near the kick panel and come up on the right side behind the kick panel.
I ran the gound for the blue/white wire to the back of the head and the cal ground to a stud under near the battery. I bought this fuse panel
so I could control power, gnd and accessory power. I hate trying to find good power and grounds when I wire stuff. I lucked out as it all fit on the back side of the glove box, this made for a clean install.
I custom fabricated up some Ram Mounts for the V2, I just need to make when up for the notebook now.
I designed it so it could stay mounted yet go in to a stow position this way I could black box data log. Or loosen it and it will remove and just leave a small ball near the console.
 10-16-2009, 06:12 PM
#5
Yes, the instructuions say to place it at 3/9. My initial merge collector angle ended rotating after I welded it in from mockup. I don't know if its perception but it is at the most 4:00 O'Clock but to me more like 3:30. The instruction explain 6:00 is the worst due to as you pointed out moisture. I can't see water collecting in it too much due to it being a little below centerline but I noticed it too. I suppose if water kills it, I will buy another one and another bung. I'm **** but not enough to cut the bung off.
Ed
Ed


Trending Topics
10-17-2009, 11:45 AM
#8
Closer won't make it more accurate just more time correct. That would play a small part in catching transitory stuff like changing the throttle position. It would think it wouldn't effect steady throttle readings much. This is the first place that reads both sides even though I'm not sure of the value of that as without after market efi I can't tune just one bank.
10-19-2009, 08:43 AM
#12
Yes, it was very simple to hook up and I appreciated that. You and I have talked several times awhile back. You were one of the reason I went with EFI Live instead of other brands. Your also the reason why I'm back under the car trying to fix this air leak, you mentioned how important it is to check for air leaks. So I pressurized the exhaust with the blower part of my shop vac. That worked really well, I found 3 pin leaks and giant leak in the collector. The leak is in the middle of the collector where the tube go in. The inside where the individual tube inters the collector between all fours tubes is not welded. Is that normal? I cleaned it as best as possible and JB welded it. We will see. I hate to add another $800.00 to my build.
ed
ed
10-21-2009, 12:23 AM
#14
QTP, Andy at QTP said they don't weld the inside of the four tubes, because they can't reach them. Well, just finished its 1:00 AM Tuesday and I have been going at it since Friday night. Probably like 50 hours. I work by myself so some stuff takes longer.
1. JB welded up the collectors (will see)
2. Installed a poly mount on the Left side
3. Installed a racetronix fuel pump, new pump supply wires and a relay.
4. Added 2 resonators on to the back section of my exhaust. Now I have a GMMG Plus
Ed
1. JB welded up the collectors (will see)
2. Installed a poly mount on the Left side
3. Installed a racetronix fuel pump, new pump supply wires and a relay.
4. Added 2 resonators on to the back section of my exhaust. Now I have a GMMG Plus
Ed
10-21-2009, 10:14 AM
#16
so if i were to install the LC-1 and do not want to use Efi live or any other tuner for that matter would i just need to run the lines from 02 to AF gauge? would i also need to install the red switch?
10-21-2009, 03:23 PM
#18
10-21-2009, 07:16 PM
#19
All the switch does it provide an intermittent ground which tells the controller to do a free air calibration on the O2 sensor. So you don't need it, you could just tuck the wire up and then hold it to a good ground when you need to do a cal.
Ed
Ed

