When you click on links to various merchants on this site and make a purchase, this can result in this site earning a commission. Affiliate programs and affiliations include, but are not limited to, the eBay Partner Network.
anyone ever build an engine dyno controller? i am thinking of trying to use a megasquirt or a haltech nexus.
i got my hands on an old superflow all mechanical jobby a couple years ago and have been thinking of trying to get it hooked up and going soon for an ecotec build. i found a guy on GRM that did a little one a few years ago with a couple arduinos but im looking to be able to do real motors up to 1000hp.
well dang. guess this will end up being a dyno build thread?
its really hard to find documentation and i was too dumb when i bought this thing to check for binders in the guys house and assumed they were with the dyno, so im flying completely blind.
if anyone has a superflow dyno or knows how to set one up id love to ask some questions on the water plumbing.
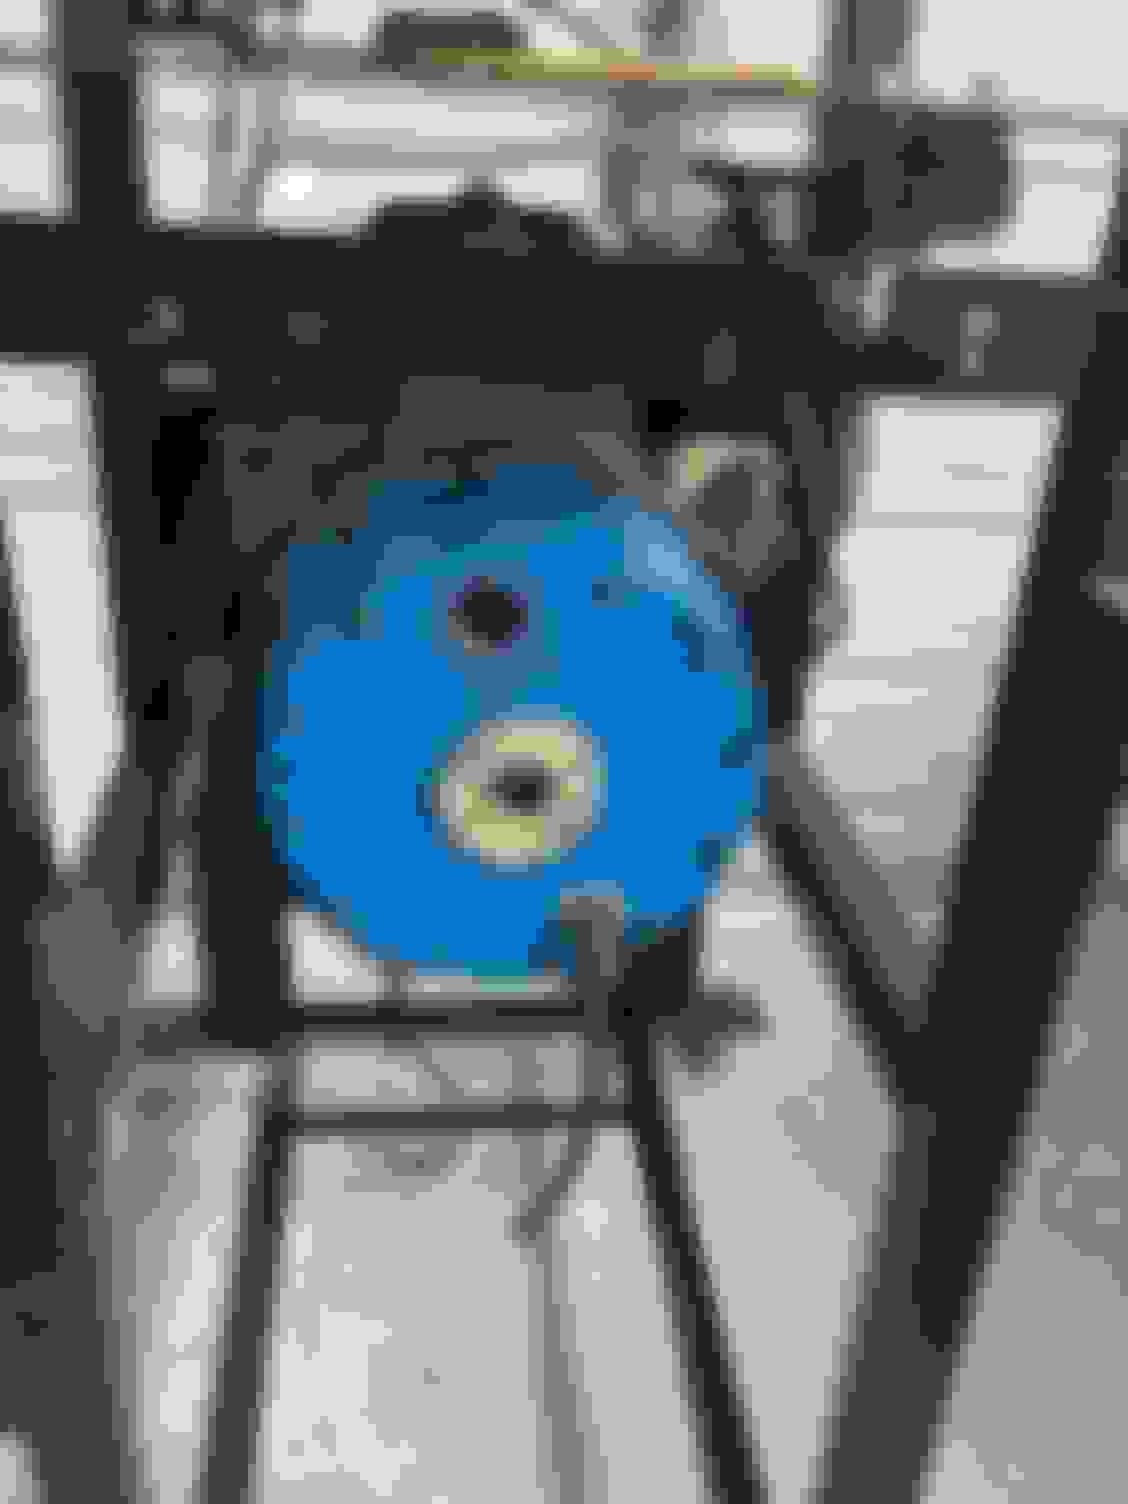
ok so i took the absorber apart, and im being told that the impeller is no good and needs to be replaced. i got a price from superflow this morning and its..... expensive
so i drew up the impeller real quick and now im 3d printing a half cutaway to test fitment and see about making my own. worst case is i fail and have to buy one.
the reason im told the existing one is no good is the area that holds the seal has corroded away, so the seal is no longer held in the correct place.
im surprised this seal makes such a difference in the function of the dyno, but they are experts and ive never actually used a dyno before so here we go.
i was not successful in finding the exact replacement seal this thing uses. it appears to be based on a type 6a but the 'seat' piece is much smaller in the absorber than im seeing available. i bought a cheap one on amazon to get my hands on it. i believe since im going to make my own impeller i can adjust the design to accommodate the different seal.
also just ordered some material to make the impeller.
It probably only make a difference in that it will leak and the system will no longer be sealed.
If it's that expensive, I would do the same. Turn it down and make a repair sleeve like they do for axles and cranks.
The rest just looks like it needs to be cleaned up.
im going to save the old impeller in case my stupid idea to make one from scratch doesnt work. i should be able to do exactly as you suggest once i figure out a way to hold it in my lathe.
After looking a little closer, I think the seal I can’t find might be one the previous owner used that wasnt correct. He did a lot of mods to the dyno over the years.
it looks like the recess on the back side of the impeller is actually supposed to be flat and that recess is where it corroded away from the dissimilar metal of the seal shell
its $550. which isnt that bad in the grand scheme of things except i still have an enormous amount of work to get this thing online.
off the cuff what im expecting is about 1300 in water pumps, 1000 for a water tank, 1500-2000 in control electronics. i originally wanted to just make my own but id rather spend my time getting my green wagon back running and building the ecotec i plan to use this dyno for as its first real project. i have the 350 out of my black wagon to use for figuring it all out. im also expecting at least 1000 in misc unexpected hardware. and thats not even closing in the 'dyno space' as a real room with ventilation.
either way, i appreciate people following along and throwing their ideas out but for now im going to keep the funding private in the event this project never actually gets finished.
i heard the seals from superflow are very expensive also so i did a little research and think i found the replacement. it was like $12 on amazon.
i decided to just make my own replacement impeller. i had it duplicated but at the last minute decided to change it to 7 curved blades from 8 straight blades. it has drastically more blade area. i have no idea if thats good or not. worst case i could make one thats the straight blade design
i got distracted this weekend before doing the back side. its all designed and most of the CAM is done, its just a matter of finding the time/motivation to cut it out.
and i still have to figure out how to cut the keyway in it. the hole is tapered so ill have to get creative.
Last edited by TrendSetter; Aug 22, 2022 at 09:46 AM.
there is no existing software. the dyno as i got it was completely mechanical/electromechanical.
the impeller i remade just pumps water from the holding tank below the absorber into the absorber itself.
the way the whole absorber unit is mounted, its allowed to rotate and push against a load cell which measures torque. so the impeller is automatically compensated for in the design of the unit.
theoretically if i was smart enough i could rework the absorber unit itself as well and it would all still work, it just may have a higher or lower maximum torque it can read.
as far as calibration, i havent even thought of that yet. i know i will need to do it by hanging some weight and measuring the output but i havent even begun to consider the details yet.
its an old trionics cnc which is either built from or a direct copy of a bridgeport.
a little before i got ahold of it, someone converted it to modern stepper controls and Mach3. i added a touch probe, pendant, touchscreen monitor and some nicer tooling along with cleaning up a few things.
its definitely firm in the hobbiest level of quality but its fun to play with and i almost always prefer making my own parts from scratch over buying things so its been a neat addition to my shop.
I don't know anything about the CNC portion but that looks like the same Taiwan casting alot of other companies use. It's a copy of a Bridgeport.
I have an old Bridgeport knee mill that a customer gave to me when he closed up shop. It's not in the best shape, But it was free and it works for the most part.
I am just getting into and learning about these CNC Retro fit's for manual machine's. They are pretty neat.
Gas Monkey Built a 6-Wheel Ferrari Testarossa With a Corvette LT4 Engine
Slideshow: The controversial Ferrari F6 swaps its original flat-12 for a Corvette Z06-derived LT4 V8 and sends power to four rear wheels through a custom-built drivetrain.
7 Most Reliable High-Performance Engines GM Has Ever Built
Slideshow:These GM engines didn't just make huge power, they survived abuse, boost, track days, and six-digit mileage with a reputation for refusing to quit.
6 Common C5 Corvette Failures and What's Involved In Repairing Them
Slideshow: From wobbling harmonic balancers to failed EBCMs, these are the issues that define long-term C5 ownership and what repairs typically involve.
Retro Modern Bandit Pontiac Trans AM Comes With Burt Reynolds' Autograph
Slideshow: A modern Camaro transformed into a retro icon, this limited-run "Bandit" build blends nostalgia with brute force in a way few revivals manage.
Top 10 Greatest Cadillac V Series Performance Models Ever, Ranked
Slideshow: Cadillac didn't just crash the high-performance luxury vehicle party, it showed up loud, supercharged, and occasionally a little unhinged...