
Painted my Intake, Valve Covers and Coils
 01-14-2009, 11:07 PM
#1

Hey guys!
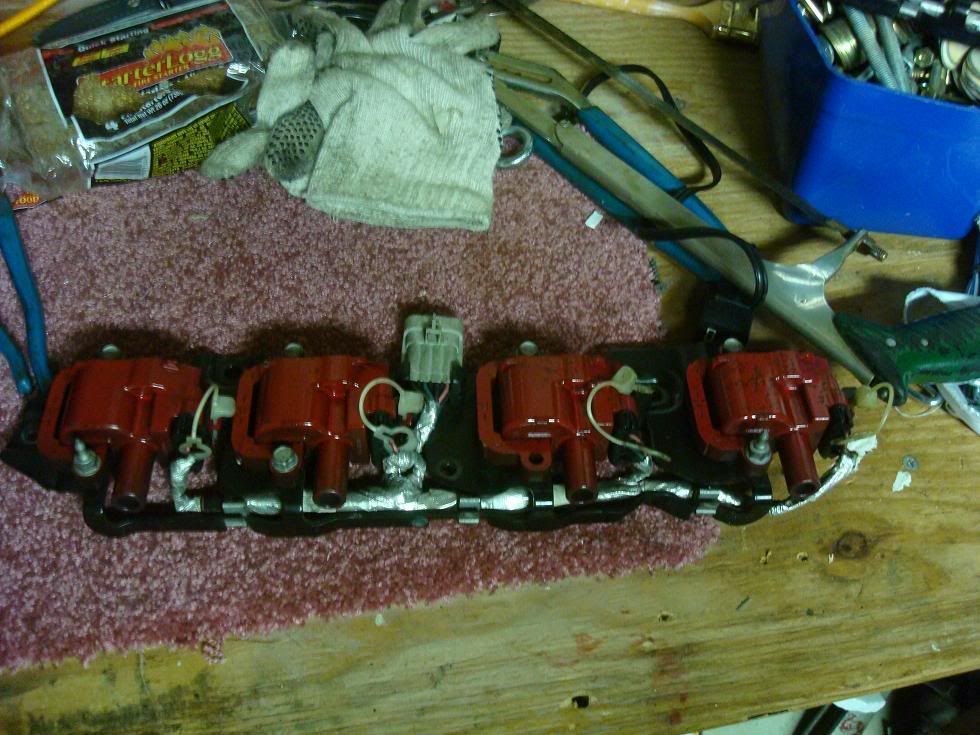
Got all the stuff out over today and yesterday, and it's all done as far as paint goes. The valve covers and intake are Gunmetal metallic, and the coils are GM bright red. For once, rattle cans actually paid off quite nicely. Everything is nice and smooth, i'm pretty happy. Can't wait to see it in the car in the next few days I hope.
Started with this
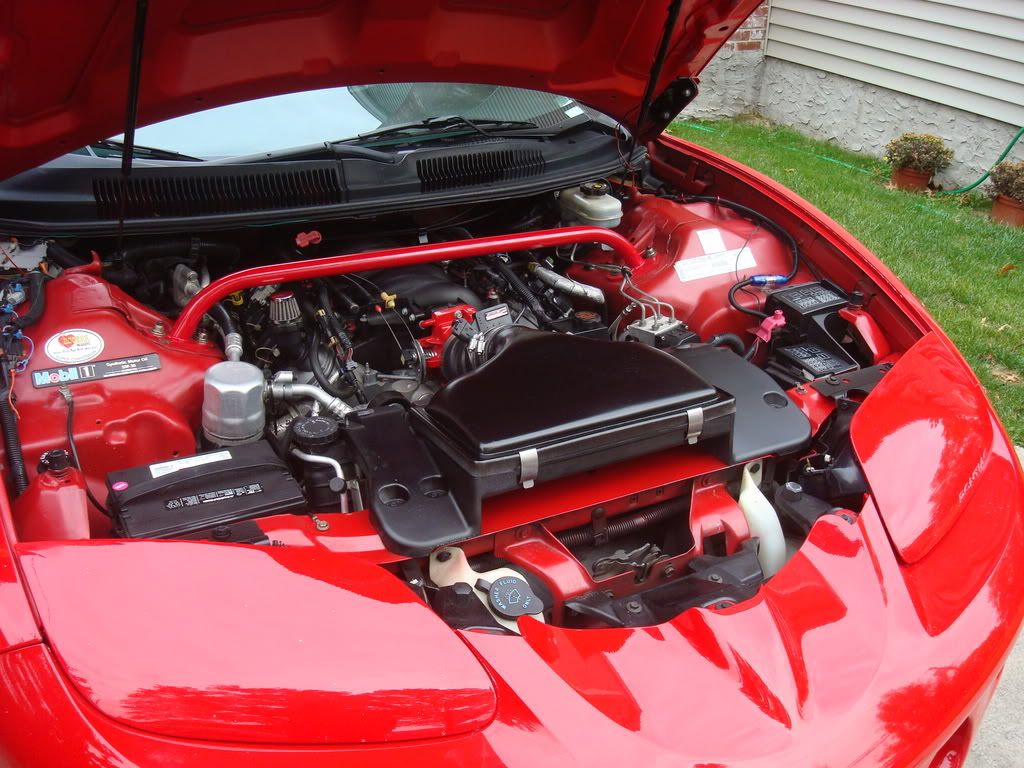

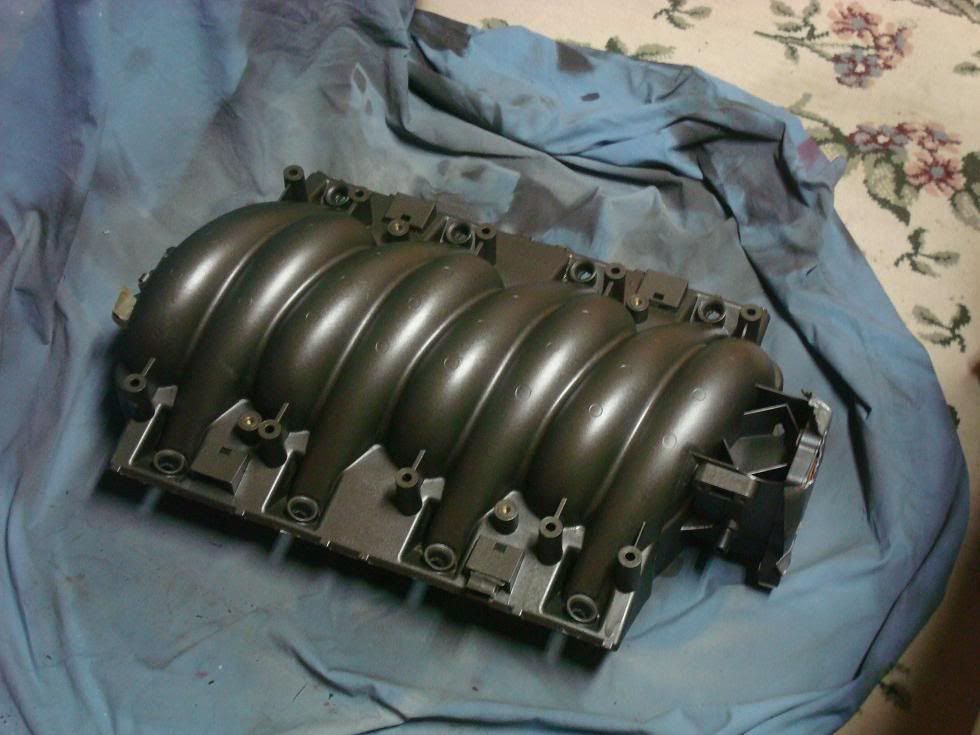

It's really a great thing to do. Valve covers and coil packs were off in about an hour with me taking my time, intake was off in a few hours, not hard at all.
Can't wait til their in Covers and intake still need some more clear and then their all done!
Got all the stuff out over today and yesterday, and it's all done as far as paint goes. The valve covers and intake are Gunmetal metallic, and the coils are GM bright red. For once, rattle cans actually paid off quite nicely. Everything is nice and smooth, i'm pretty happy. Can't wait to see it in the car in the next few days I hope.
Started with this
It's really a great thing to do. Valve covers and coil packs were off in about an hour with me taking my time, intake was off in a few hours, not hard at all.
Can't wait til their in
Covers and intake still need some more clear and then their all done!  01-14-2009, 11:48 PM
#5
Why thank you sirs I just put 3 coats of clear on the intake, it's shiny as hell now. 
69_Yenko I wanna say thanks again for all the help you gave me. Without it I probably wouldn't have pulled everything apart. Lets just hope everything goes back in perfect and I have no problems!
I just put 3 coats of clear on the intake, it's shiny as hell now. 69_Yenko I wanna say thanks again for all the help you gave me. Without it I probably wouldn't have pulled everything apart. Lets just hope everything goes back in perfect and I have no problems!

Trending Topics
01-14-2009, 11:58 PM
#8
Thanks guys
Yup, I sanded throughout everything's process, except the intake. I wasn't even going to bother with it. I wouldve been sitting there for days until that was smooth. After all the clear I put on it, it's pretty damn glossy and smooth though. I used 3 coats of adhesion promoter on the intake since it's not really metal. This is the best work i've ever gotten with duplicolor paints. From now on i'll do everything the right way with this stuff
Yup, I sanded throughout everything's process, except the intake. I wasn't even going to bother with it. I wouldve been sitting there for days until that was smooth. After all the clear I put on it, it's pretty damn glossy and smooth though. I used 3 coats of adhesion promoter on the intake since it's not really metal. This is the best work i've ever gotten with duplicolor paints. From now on i'll do everything the right way with this stuff
01-15-2009, 12:02 AM
#10
The valve covers I cleaned immensely, then grabbed some sandpaper and scuffed everything up. I then grabbed lighter grit (I don't recall what grit it is, very very fine and soft though) and I smoothed out the covers and coils completely, to the point that I ran my finger over them and I would feel nothing. Took like 15 minutes. Like my dad always told me.. If you can feel it, you'll see it
For the paint, I used Duplicolor Engine Enamel "Iron," Standard Duplicolor GM bright red, Duplicolor Filler Primer, Adhesion Promoter, and Standard Line "Clear Top Coat"
 01-15-2009, 12:33 AM
#14
Why thank you sirs I just put 3 coats of clear on the intake, it's shiny as hell now.
69_Yenko I wanna say thanks again for all the help you gave me. Without it I probably wouldn't have pulled everything apart. Lets just hope everything goes back in perfect and I have no problems!
I just put 3 coats of clear on the intake, it's shiny as hell now. 69_Yenko I wanna say thanks again for all the help you gave me. Without it I probably wouldn't have pulled everything apart. Lets just hope everything goes back in perfect and I have no problems!
thanks to the support I received the fears subsided and 8-9 cam swaps, 5 sets of heads, 2 motors, 10+ nitrous kits, 3 stalls, not to mention the numerous other intake, header, fuel pump, little jobs etc... I would say i'm hooked, and happy to try and help others on here the way I was guided.
Now if i could just find a way to get all of my buddys whos cars i've worked on to repay me i would be set

 01-15-2009, 12:41 AM
#15
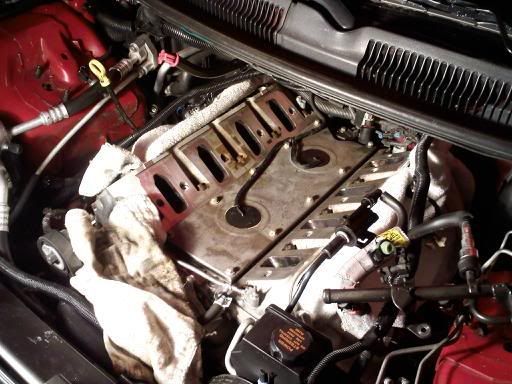
To be honest, I enjoyed myself taking everything apart. Everything was straightforward. Nothing was hidden, no problems or anything. The only problem I DID have, was half way through, when I was taking my fuel rails off, my strut tower brace was still on and I freaked out. I got 3/4 nuts off, then one of them was stripped to hell and i COULD NOT get it off. I bugged out at that point. Thank god for vice grips, they've saved my *** so many times  I learned a lot about the LS1 just from doing this. It was a good time, me and the bird, some classic rock in a nice toasty garage while its 10 degrees outside.
01-15-2009, 12:44 AM
#16
To be honest, I enjoyed myself taking everything apart. Everything was straightforward. Nothing was hidden, no problems or anything. The only problem I DID have, was half way through, when I was taking my fuel rails off, my strut tower brace was still on and I freaked out. I got 3/4 nuts off, then one of them was stripped to hell and i COULD NOT get it off. I bugged out at that point. Thank god for vice grips, they've saved my *** so many times I learned a lot about the LS1 just from doing this. It was a good time, me and the bird, some classic rock in a nice toasty garage while its 10 degrees outside.


 01-15-2009, 12:47 AM
#18
Restricted User
iTrader: (36)

Join Date: Sep 2008
Location: Alliance Nebraska
Posts: 1,268
Likes: 0
Received 0 Likes
on
0 Posts
ya i have the intake and valve covers that arent on the car that are going on when i do my h/c/I swap...im thinking about going red my car is black what do you think????
would it be to much red if i do valve covers and intake red?
would it be to much red if i do valve covers and intake red?
01-15-2009, 12:58 AM
#19
Hrm.. I think the red intake may stand out, but i'm not sure. Maybe silver or something? Valve covers would probably look fine red but i'm not sure on the intake.
EDIT: I found this pic,

Something like that (fuel rail covers are your choice) But black, red, and silver(ish) colors go really well together.
I would do, some kind of silver (whether its bright, dark, gunmetal, your choice) for the intake, and red valve covers!
And thanks problemz