
Trans Am Bezel in Camaro
 02-23-2009, 07:15 PM
#1
On The Tree
Thread Starter
Join Date: Mar 2008
Posts: 116
Likes: 0
Received 0 Likes
on
0 Posts
Hello everyone!
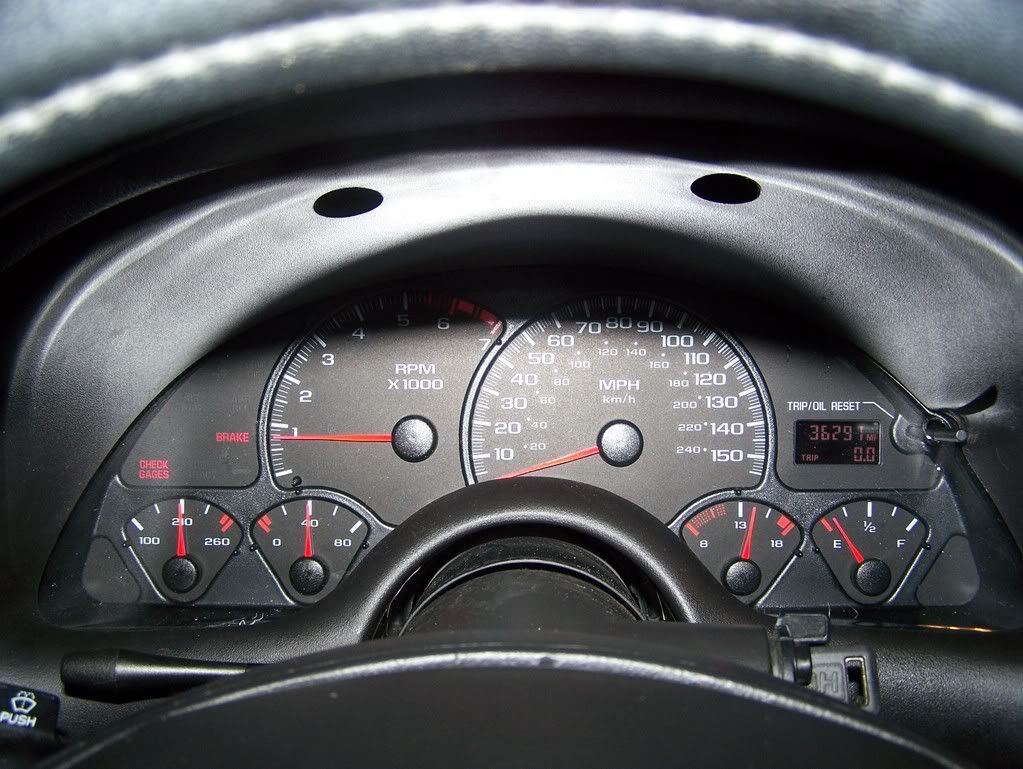
Yeah, I know this is a beaten topic, but I recently bought a T/A gauge bezel for my SS. They just look so much better than the flat, boring Camaro gauges. Anyhow, like most F-body applications, it was frustrating getting to the screws and the tabs, but overall it took about 40 minutes to get it in. I had to remove the outer shell (2 screws), then take the whole gauge out (4 screws). The plastic bezel is held to the gauges by 6 arrow-style tabs. Simply pop them out. Now for the part that made me feel like an idiot. I put the new bezel on, and tried in vain to put the gauge set back in.....to no avail! Finally the smart part of my brain started working and I separated the bezel from the gauges; put the gauge itself back in, and then put the new bezel in after. Other than that, a pretty easy install. It looks so much better. Take care. Frank
Edit: that little blemish on the lower left is a wacky reflection and the "check gauges" light came on after it was running for a while and hit the low fuel point. Also, it may look like there isn't any plastic covering the bezel in the first picture, but it's there; just really clear!
As it came from WS6 store (bezel plus new plastic fascia):

Before:

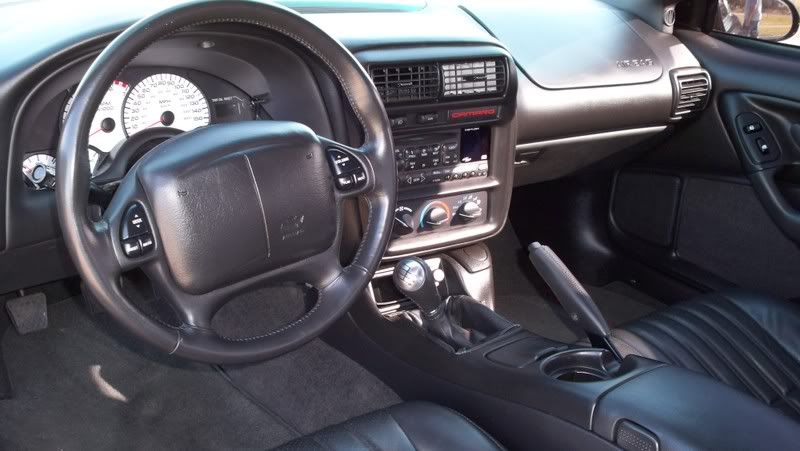
After:
Yeah, I know this is a beaten topic, but I recently bought a T/A gauge bezel for my SS. They just look so much better than the flat, boring Camaro gauges. Anyhow, like most F-body applications, it was frustrating getting to the screws and the tabs, but overall it took about 40 minutes to get it in. I had to remove the outer shell (2 screws), then take the whole gauge out (4 screws). The plastic bezel is held to the gauges by 6 arrow-style tabs. Simply pop them out. Now for the part that made me feel like an idiot. I put the new bezel on, and tried in vain to put the gauge set back in.....to no avail! Finally the smart part of my brain started working and I separated the bezel from the gauges; put the gauge itself back in, and then put the new bezel in after. Other than that, a pretty easy install. It looks so much better. Take care. Frank
Edit: that little blemish on the lower left is a wacky reflection and the "check gauges" light came on after it was running for a while and hit the low fuel point. Also, it may look like there isn't any plastic covering the bezel in the first picture, but it's there; just really clear!
As it came from WS6 store (bezel plus new plastic fascia):
Before:
After:
Last edited by Ovechkin~Monk; 02-23-2009 at 07:22 PM.

 02-23-2009, 07:27 PM
#3
TECH Resident
iTrader: (23)

Join Date: Jun 2002
Location: Tri-Cities, WA
Posts: 913
Likes: 0
Received 0 Likes
on
0 Posts

Got mine breaking up the white faced gauges my daughter got me as a Christmas gift a few years back. It was WAY too much white and the Bird bezel sets it off nicely.
02-23-2009, 09:04 PM
#7
On The Tree
Thread Starter
Join Date: Mar 2008
Posts: 116
Likes: 0
Received 0 Likes
on
0 Posts
Trending Topics
02-23-2009, 09:08 PM
#8
Your check "gages" light (love GM's spelling) comes on when you are low on fuel? Something they must have done later, my 98 will go dry without giving a light (not that I've gone dry, but I've had only maybe a gallon left and into the red zone on the gas gauge).
02-23-2009, 09:11 PM
#9
On The Tree
Thread Starter
Join Date: Mar 2008
Posts: 116
Likes: 0
Received 0 Likes
on
0 Posts
Hmmm.....my 95 LT1 T/A did the same thing. It used to come on with low fuel as well.
 02-23-2009, 09:24 PM
#11
On The Tree
Thread Starter
Join Date: Mar 2008
Posts: 116
Likes: 0
Received 0 Likes
on
0 Posts
02-24-2009, 10:42 AM
#14
On The Tree
Thread Starter
Join Date: Mar 2008
Posts: 116
Likes: 0
Received 0 Likes
on
0 Posts

 02-24-2009, 10:48 AM
#15
TECH Resident
iTrader: (23)
Join Date: Jun 2002
Location: Tri-Cities, WA
Posts: 913
Likes: 0
Received 0 Likes
on
0 Posts
Here is what mine looks like for any of those guys that have white faced. I shot it this morning before starting the car with my cell phone so don't give me any grief please. Cookba, what is your MOS?
 02-24-2009, 11:36 AM
#18
TECH Resident
iTrader: (23)
Join Date: Jun 2002
Location: Tri-Cities, WA
Posts: 913
Likes: 0
Received 0 Likes
on
0 Posts
Mine are reverse lighted at night and can be set as either blue or green (mine stays blue) and comes with it's own dimmer switch and toggle switch on a separate box. I have it wired directly to my dimmer switch on the headlight ****. I then stuffed it all behind vent ducting to keep it out of sight and mind.