
6LE/McNord Gauges Pictures
 03-02-2009, 09:27 AM
#1
TECH Enthusiast
Thread Starter
iTrader: (4)

Join Date: Feb 2008
Posts: 683
Likes: 0
Received 0 Likes
on
0 Posts

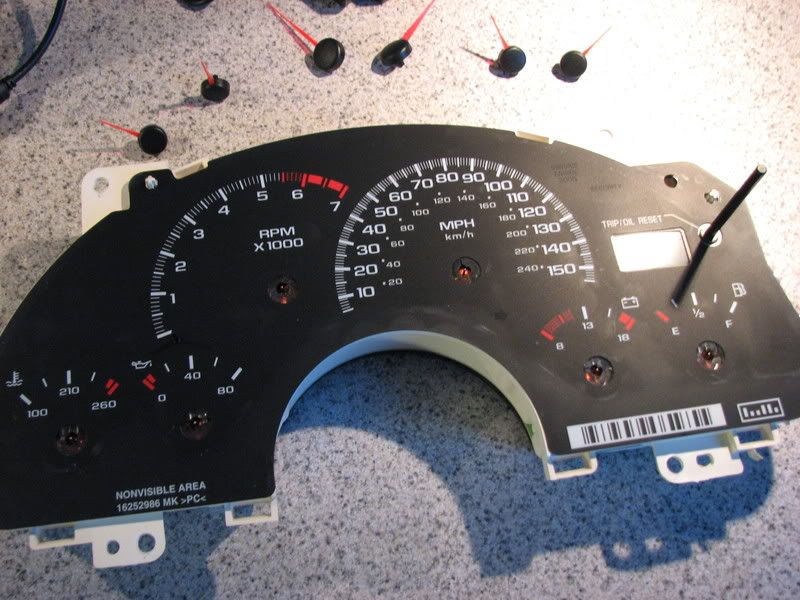
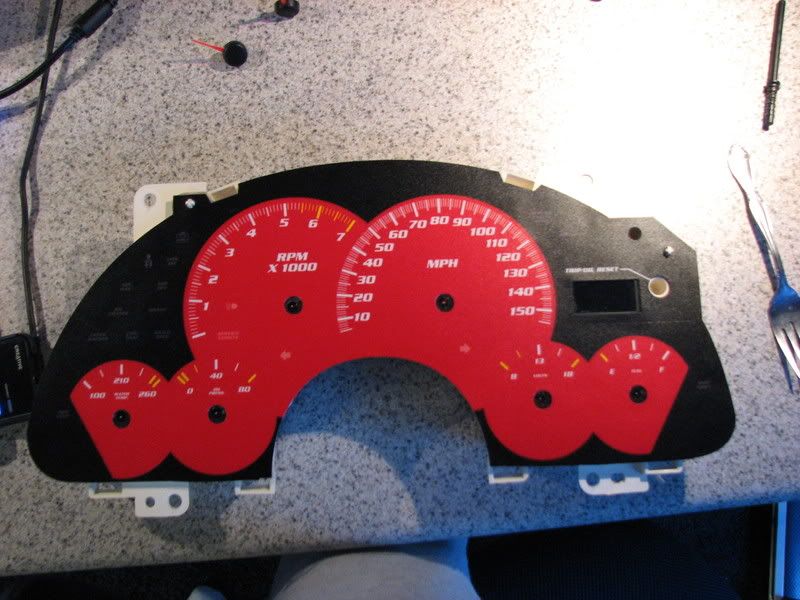
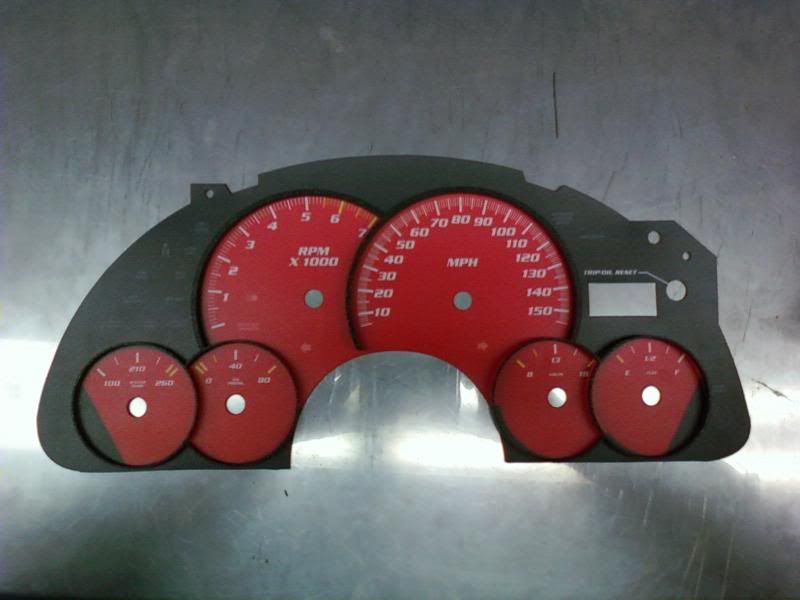
Well last week I received my new gauges and they looked great! They were a present from my awesome girlfriend for my birthday... They just came a little late haha my birthday was January 12th... But worth the wait! Because they look awesome.. Thanks to my girlfriend for buying them for me, Mark for taking her money and McNord for doing all the work... haha Right Mark? lol I couldnt wait to install them, so today I did it! Im still kinda scared that I didnt get the needles back on where they are supposed to be.. I hope they are right.. lol
Well heres some pictures.. I will get some night pictures when it gets dark out.. And sorry for not having many angles installed.. But its cold as hell outside and my car is dirty, so I held off on some pictures for now..
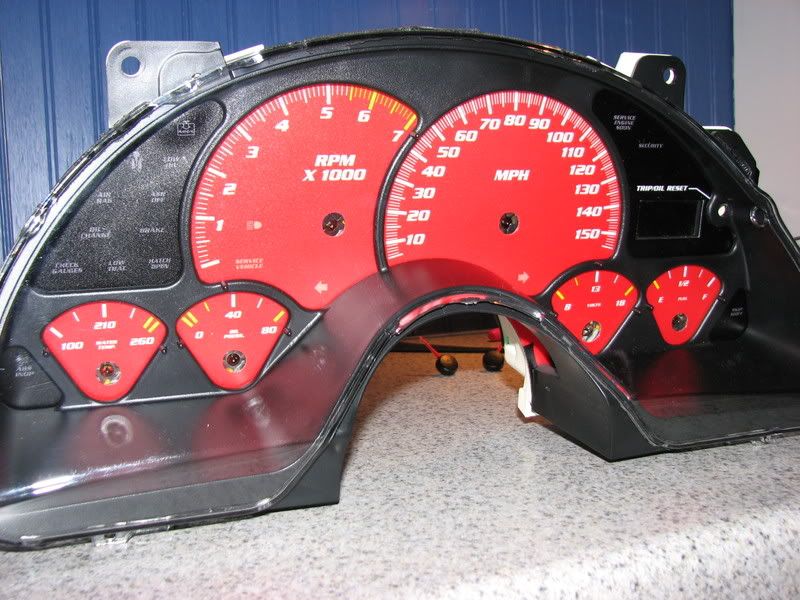
My favorite....

and McNord for doing all the work... haha Right Mark? lol I couldnt wait to install them, so today I did it! Im still kinda scared that I didnt get the needles back on where they are supposed to be.. I hope they are right.. lolWell heres some pictures.. I will get some night pictures when it gets dark out.. And sorry for not having many angles installed.. But its cold as hell outside and my car is dirty, so I held off on some pictures for now..
My favorite....
Last edited by FamousZ; 03-02-2009 at 09:42 AM.

 03-02-2009, 10:47 AM
#3
FormerVendor
iTrader: (15)

Join Date: Jun 2006
Location: Los Angeles, CA
Posts: 2,689
Likes: 0
Received 0 Likes
on
0 Posts
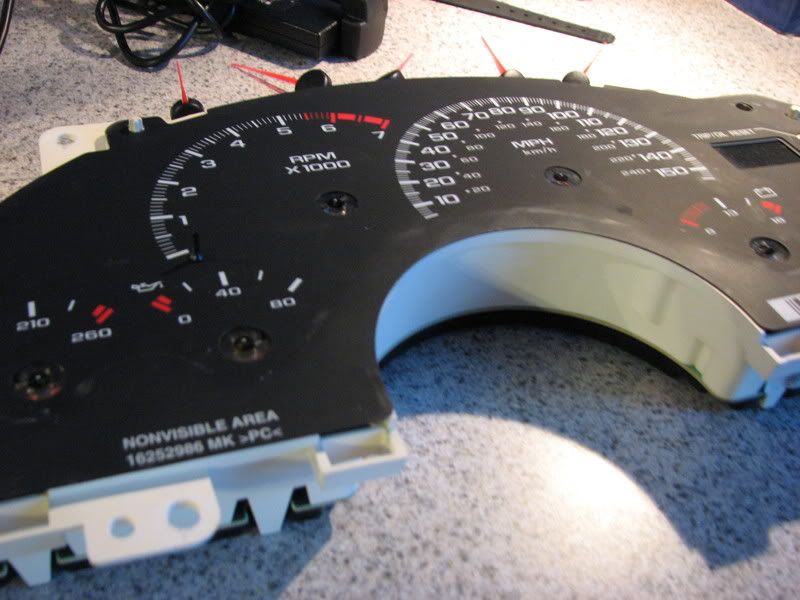
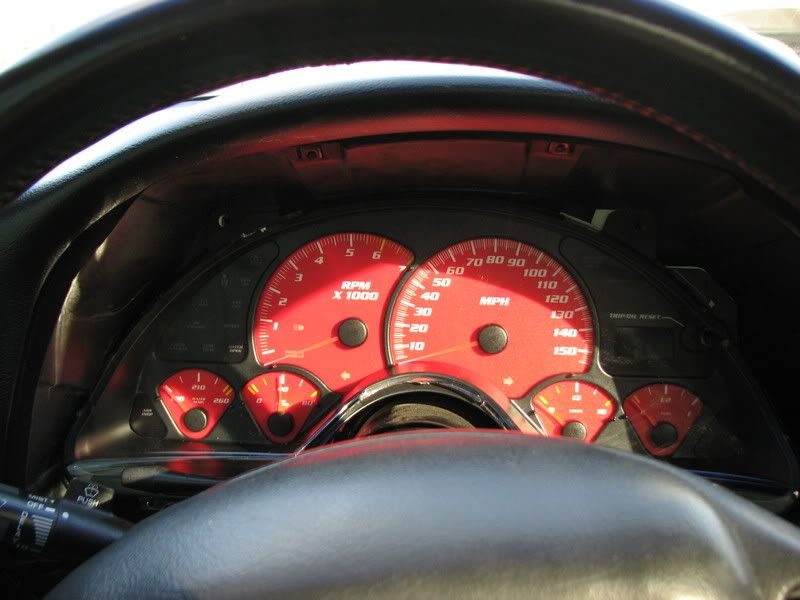
Looks awesome.  I don't know if it's just the pictures but it looks like you need to move the whole overlay about 1/8" over to the left?
I don't know if it's just the pictures but it looks like you need to move the whole overlay about 1/8" over to the left? Last edited by SPECIALIZED STAINLESS; 03-02-2009 at 11:33 AM.

Trending Topics
03-02-2009, 05:15 PM
#11

If it is bunching up just trim it. I had one do that and it can go on with no trimming but it is easier to trim. What happens is that top left tab gets pushed on by the trans-am bezel. Trim the edge and it is good to go...
Looks GREAT by the way! I love the red, considering it myself, looks great with the new style bezel I am having made as well...

Looks GREAT by the way! I love the red, considering it myself, looks great with the new style bezel I am having made as well...
03-02-2009, 06:14 PM
#12
TECH Regular

Join Date: Jul 2007
Location: MS
Posts: 431
Likes: 0
Received 0 Likes
on
0 Posts
I have the exact same gauges w/ bezel waiting to go on.. Glad to know that they will look awesome when i do. Question did you spray your gauges with the uv paint or just mount them as is. Only reason i ask is i couldnt find uv paint anywhere and considering just putting them on as is.
03-02-2009, 08:07 PM
#13
TECH Enthusiast
Thread Starter
iTrader: (4)
Join Date: Feb 2008
Posts: 683
Likes: 0
Received 0 Likes
on
0 Posts
I have the exact same gauges w/ bezel waiting to go on.. Glad to know that they will look awesome when i do. Question did you spray your gauges with the uv paint or just mount them as is. Only reason i ask is i couldnt find uv paint anywhere and considering just putting them on as is.

 03-02-2009, 10:11 PM
#20
Oh, you have that same bubbling in the top left when I put mine on, that is where I was talking about trimming. Pull the Trans-Am bezel off and you'll see... Overlay has a tab to fit in the area and for some reason Trans-Am bezels are slightly different, causing it to bunch up. A little snip and you're good to go.
I uninstalled and reinstalled mine like 10 times trying to figure out what the hell it was
I uninstalled and reinstalled mine like 10 times trying to figure out what the hell it was