
DETAIL: '05 Supercharged Viper "Copperhead"
 04-19-2009, 07:51 PM
#1
LS1TECH Sponsor
Thread Starter
iTrader: (6)

Join Date: Mar 2007
Location: TX
Posts: 591
Likes: 0
Received 0 Likes
on
0 Posts
Earlier this week I was asked to restore the exterior finish on this 2005 Viper with 44,000 miles. A number of fine circular scratches dominated the surface.
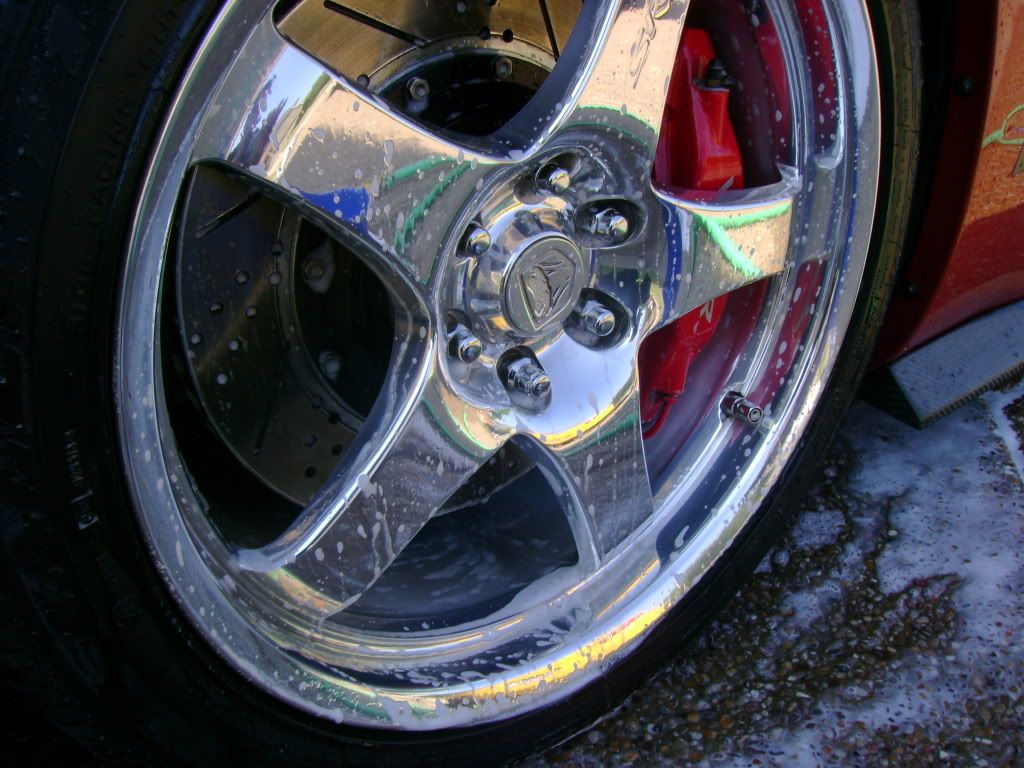
Wheel wash to begin:
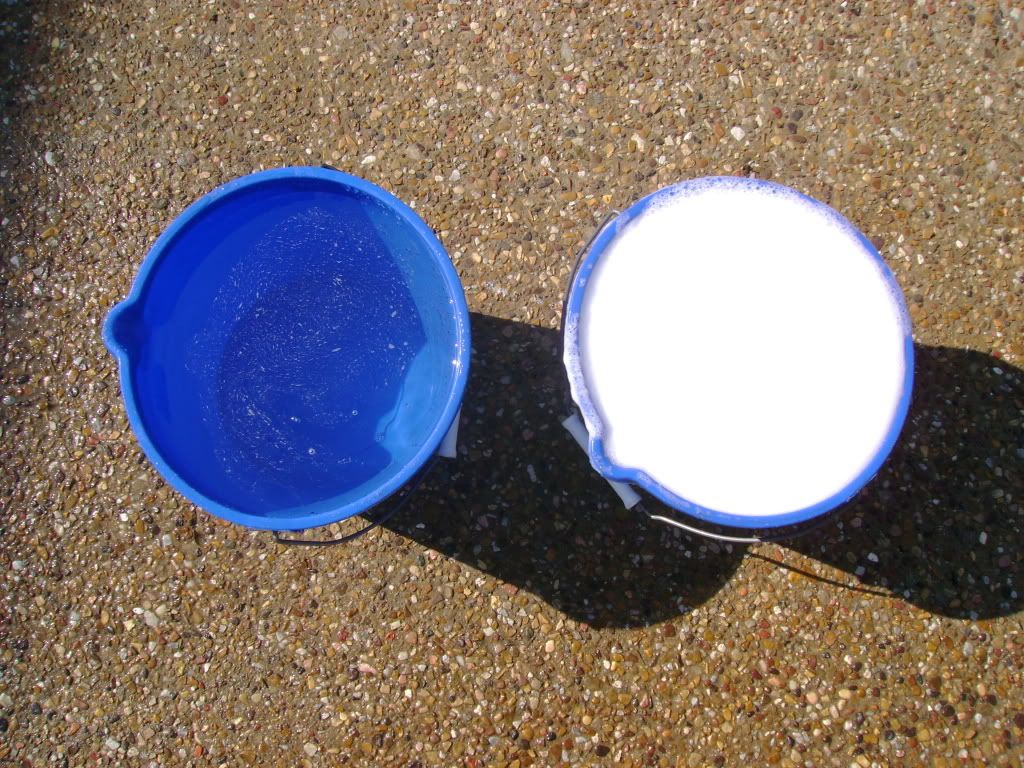
I get asked a number of times about the 2-bucket wash method. This is a crude example of 1 bucket containing clear rinse water and the other with your soap solution. A grit guard in the soap bucket is also handy to minimize inflicting new scratches during the wash process. After spraying the pre-wash solution and light surface rinse to remove any loose dirt, you would swab the panel with your soap solution. Once completed, the wash utensil is then dipped into the rinse bucket before proceeding to the next panel to remove the surface dirt accumulated on the mitt. This will help to minimize transferring the surface dirt back into the soap bucket.
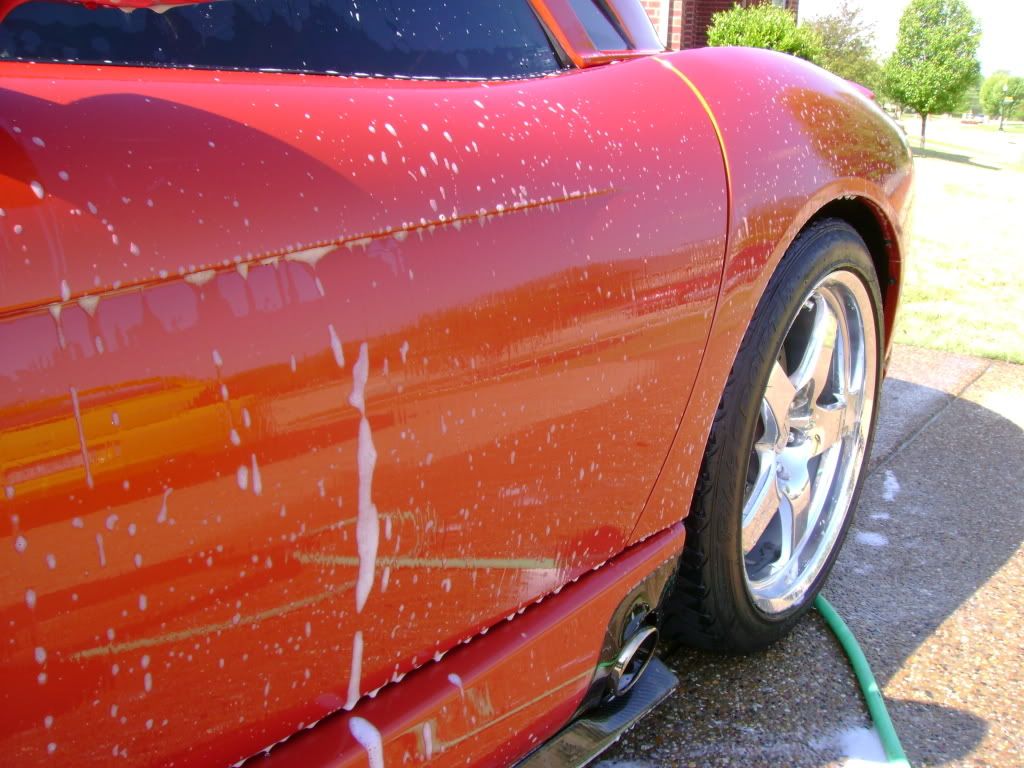
Completion of the first surface wash:
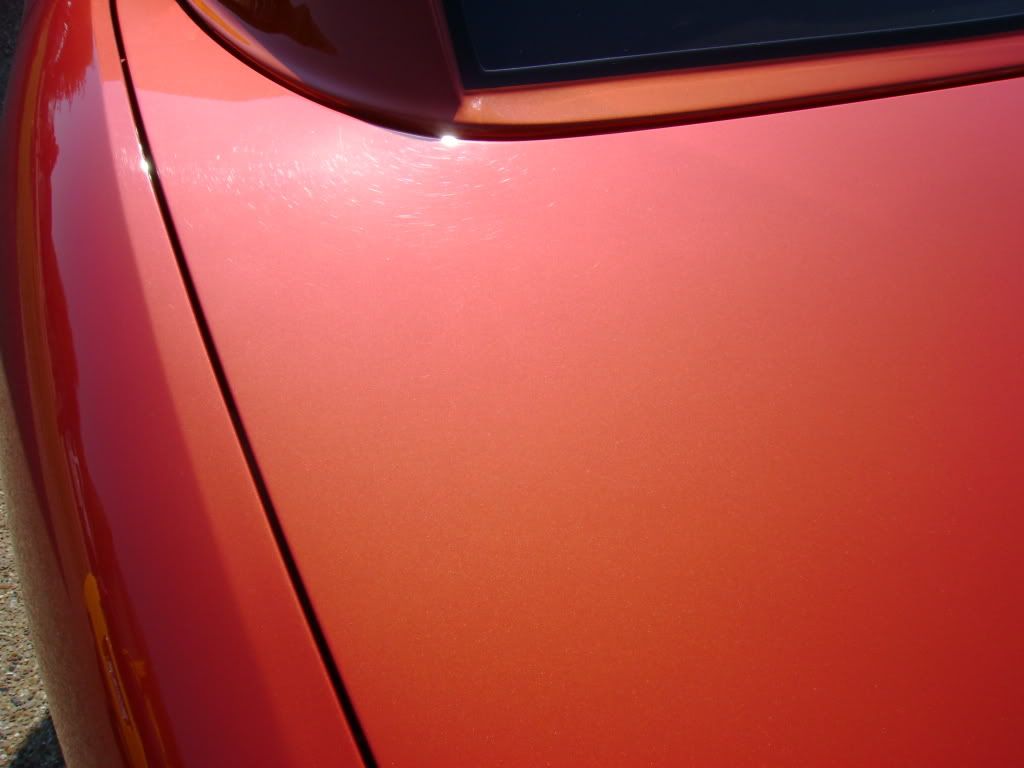
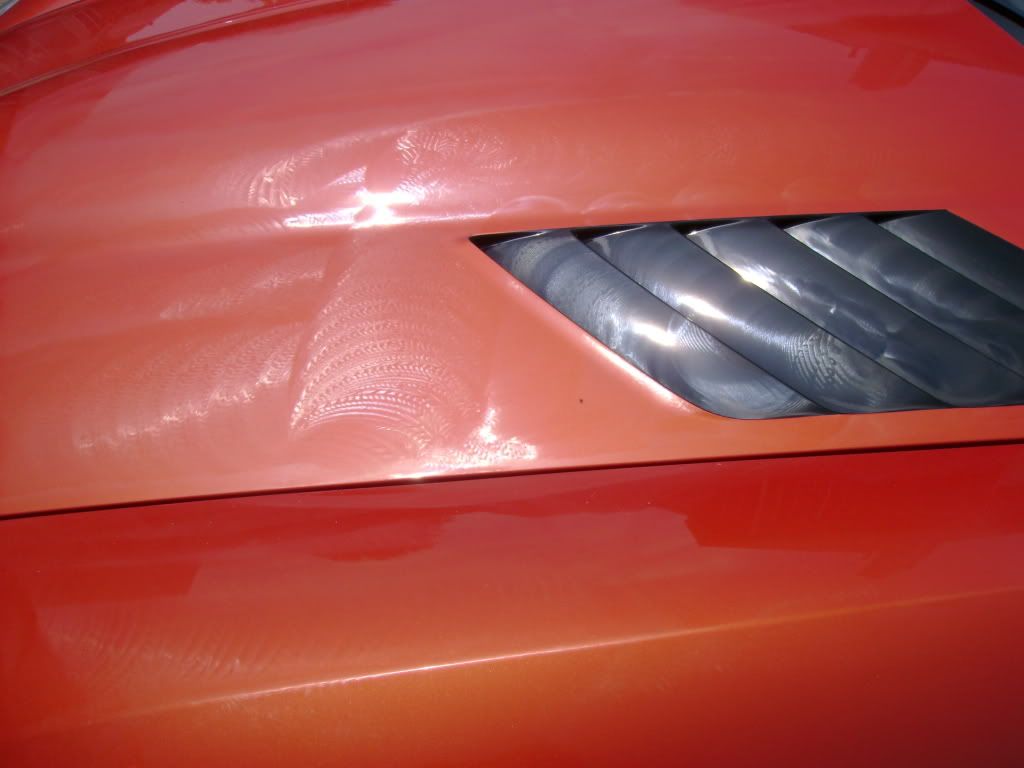
After washing and drying, I rolled the car back into the garage to start polishing for the day. Using the FLEX equipped with a moistened white KOMPRESSOR pad and Menzerna SIP, the surface cleaned up rather nicely with the removal of the finest scratches readily. On the deeper scratches, I switched to the orange pad. Using a halogen and Xenon light to check my ongoing progress, the orange metallic paint made it difficult to see what remained until I rolled it back outside.

I completed a second wash/wipedown to remove the rest of the residue and dust from polishing.
Once dried, I applied the Tropi Care Sealant xP with the blue LC pad. While curing on the surface, this gave me time to finish wiping down/vacuuming the interior, under the hood and tire dressing.
Questions/comments welcomed.
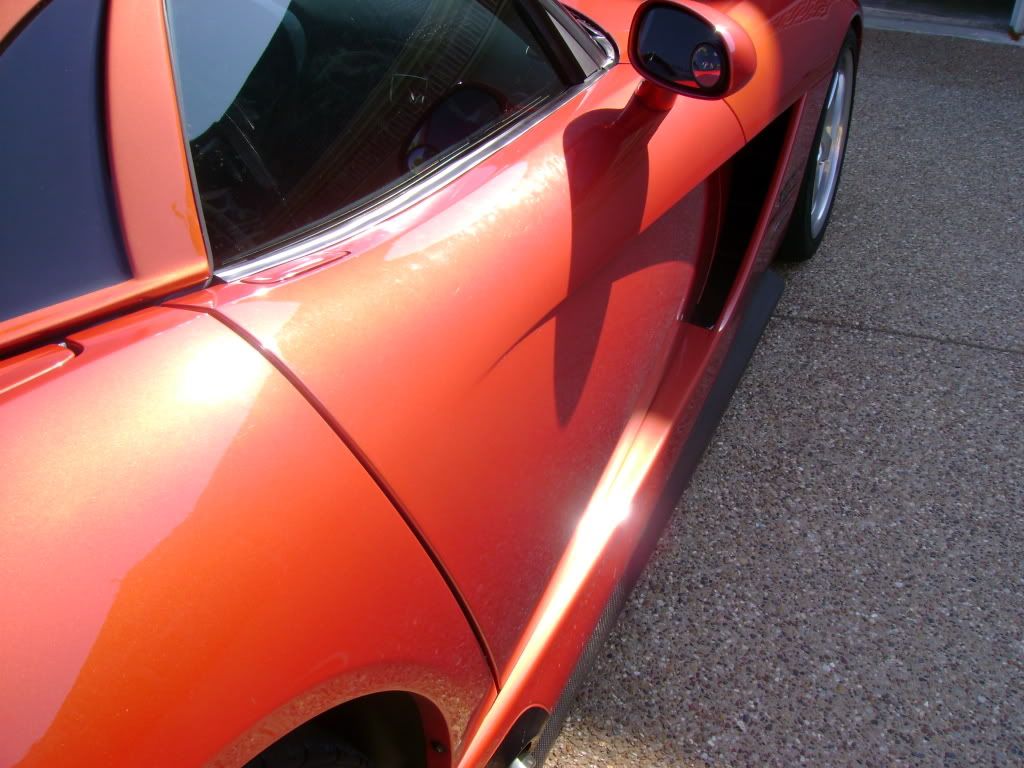
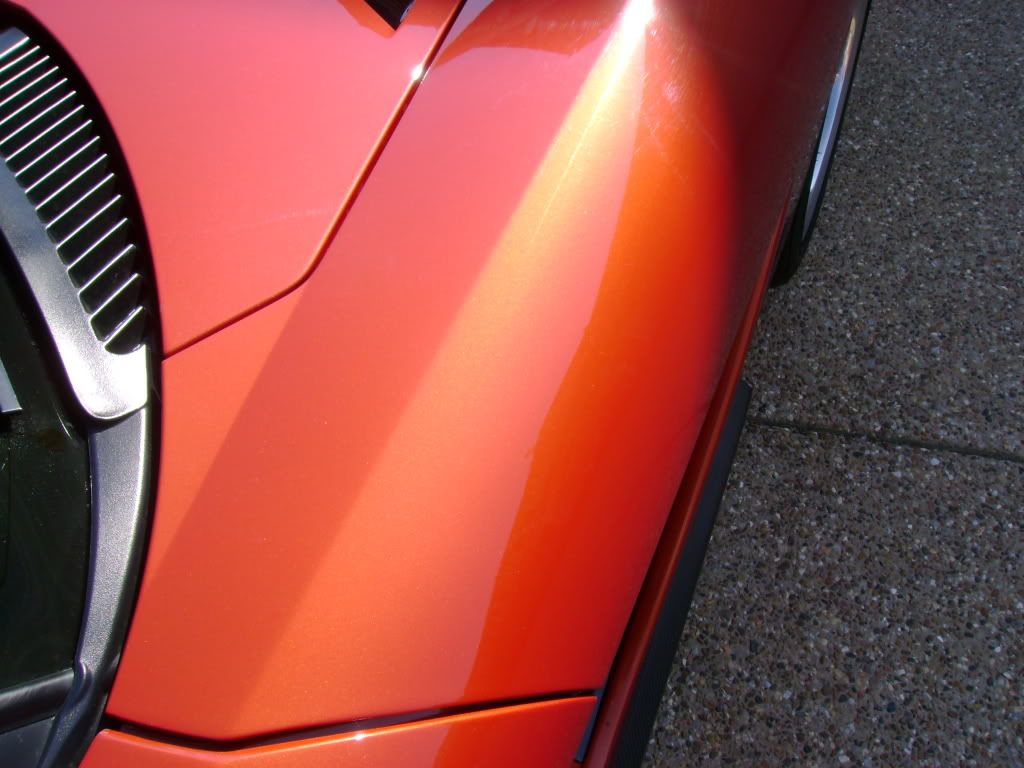
Completed detail pictures courtesy of Shawn Waldrop


Wheel wash to begin:
I get asked a number of times about the 2-bucket wash method. This is a crude example of 1 bucket containing clear rinse water and the other with your soap solution. A grit guard in the soap bucket is also handy to minimize inflicting new scratches during the wash process. After spraying the pre-wash solution and light surface rinse to remove any loose dirt, you would swab the panel with your soap solution. Once completed, the wash utensil is then dipped into the rinse bucket before proceeding to the next panel to remove the surface dirt accumulated on the mitt. This will help to minimize transferring the surface dirt back into the soap bucket.
Completion of the first surface wash:
After washing and drying, I rolled the car back into the garage to start polishing for the day. Using the FLEX equipped with a moistened white KOMPRESSOR pad and Menzerna SIP, the surface cleaned up rather nicely with the removal of the finest scratches readily. On the deeper scratches, I switched to the orange pad. Using a halogen and Xenon light to check my ongoing progress, the orange metallic paint made it difficult to see what remained until I rolled it back outside.
I completed a second wash/wipedown to remove the rest of the residue and dust from polishing.
Once dried, I applied the Tropi Care Sealant xP with the blue LC pad. While curing on the surface, this gave me time to finish wiping down/vacuuming the interior, under the hood and tire dressing.
Questions/comments welcomed.
Completed detail pictures courtesy of Shawn Waldrop
Last edited by Steve@Tropi-Care; 04-27-2009 at 08:09 AM.
 04-19-2009, 08:35 PM
#4
Originally Posted by Steve@TropiCare
After washing and drying, I rolled the car back into the garage to start polishing for the day. ....Using a halogen and Xenon light to check my ongoing progress, the orange metallic paint made it difficult to see what remained until I rolled it back outside.
Awesome job man, it looks great. Looks like the owner was happy as well.

Trending Topics
04-19-2009, 11:23 PM
#10
TECH Fanatic
iTrader: (7)
Join Date: May 2007
Location: Arab, Al
Posts: 1,733
Likes: 0
Received 0 Likes
on
0 Posts

I think you have magic skills that you don't tell anyone about! Every vehicle you do turns out 100x better than how they roll out of the factory, IMO.
 nice Viper too!
nice Viper too!
04-20-2009, 08:44 AM
#11
LS1TECH Sponsor
Thread Starter
iTrader: (6)
Join Date: Mar 2007
Location: TX
Posts: 591
Likes: 0
Received 0 Likes
on
0 Posts
Thanks for all the comments.
juje:
I haven't taken any formal classes for this type of service. I've learned about these techniques and products by reading and trying what other have done over the years. I'm very patient and try to understand what is happening on the surface when doing this. There are others on this forum and elsewhere who can do these same results. Anyone can learn how to improve the surface appearance of their own car just by trial and learning from the experience.
I treat every vehicle as if it were my own, whether it's your '96 Corolla or '09 C6. If you are detailing other's cars for fun or profit, you are developing a reputation with every one you touch. If your services are notable, the word of mouth will get you all the future business you can handle.
qwk93ta:
I was lucky enough to have overcast conditions during the washing and drying. All of the polishing was done in the shade of the garage and only brought outside to see the results in the sun. The rest of the process was completed in the shade. Ironically, full sun in the afternoon for the finished pics.
 04-20-2009, 01:17 PM
#13
LS1TECH Sponsor
Thread Starter
iTrader: (6)
Join Date: Mar 2007
Location: TX
Posts: 591
Likes: 0
Received 0 Likes
on
0 Posts
I didn't want to do this but here's one of my helpers:
Last edited by Steve@Tropi-Care; 04-20-2009 at 01:23 PM.
 04-21-2009, 09:18 AM
#18
LS1TECH Sponsor
Thread Starter
iTrader: (6)
Join Date: Mar 2007
Location: TX
Posts: 591
Likes: 0
Received 0 Likes
on
0 Posts
Thanks to all for the comments.
PSU 98:
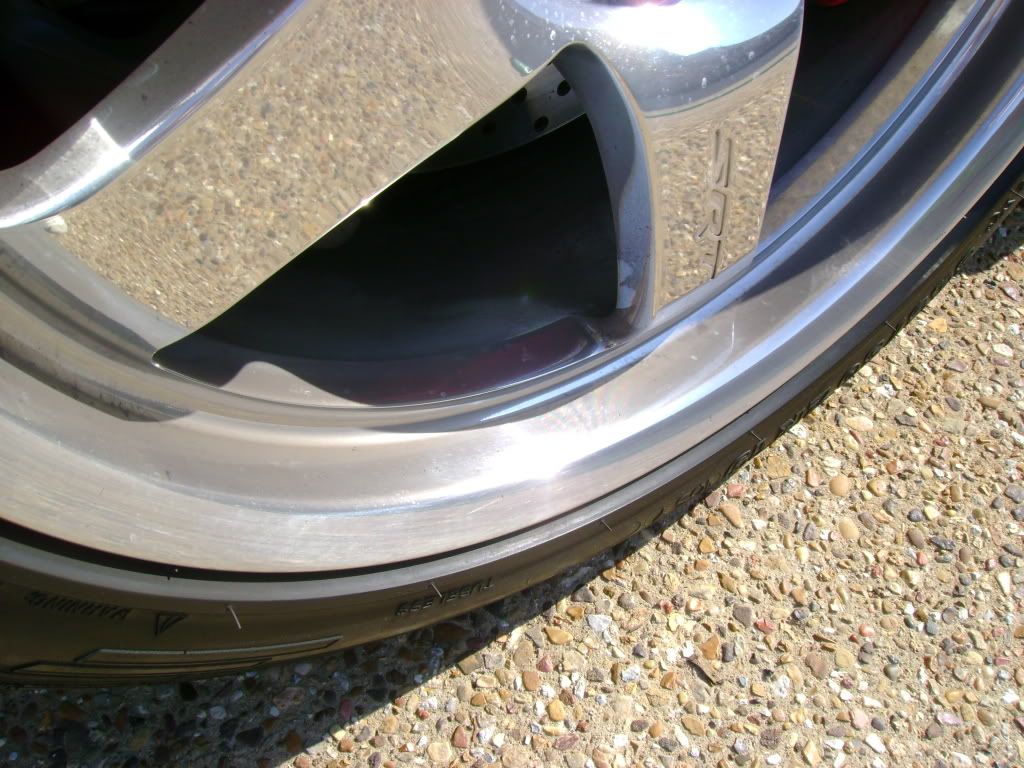
The wheels only had light brake dust and road film from street driving. After a light rinse, I washed them with just the car wash concentrate/water to remove the rest. Since I spent the majority of the time on paint correction, I only completed them with the sealant application that day. I was going to test the Magic Mix Metal Polish on those surfaces.
'00_Z:
Under the hood was very clean except for some light dust. I did a light damp towel wipedown to remove any compounding dust and water spots from the wash. No dressings applied here either.
PSU 98:
The wheels only had light brake dust and road film from street driving. After a light rinse, I washed them with just the car wash concentrate/water to remove the rest. Since I spent the majority of the time on paint correction, I only completed them with the sealant application that day. I was going to test the Magic Mix Metal Polish on those surfaces.
'00_Z:
Under the hood was very clean except for some light dust. I did a light damp towel wipedown to remove any compounding dust and water spots from the wash. No dressings applied here either.
