


My Interior and Engine Bay.......Build Thread
Wait a second the build is stopped because your are STILL waiting on an engine?
Good timing.
Just finished up the semester with 4.0!! Woo Hoo, its sweet when hard work pays off.
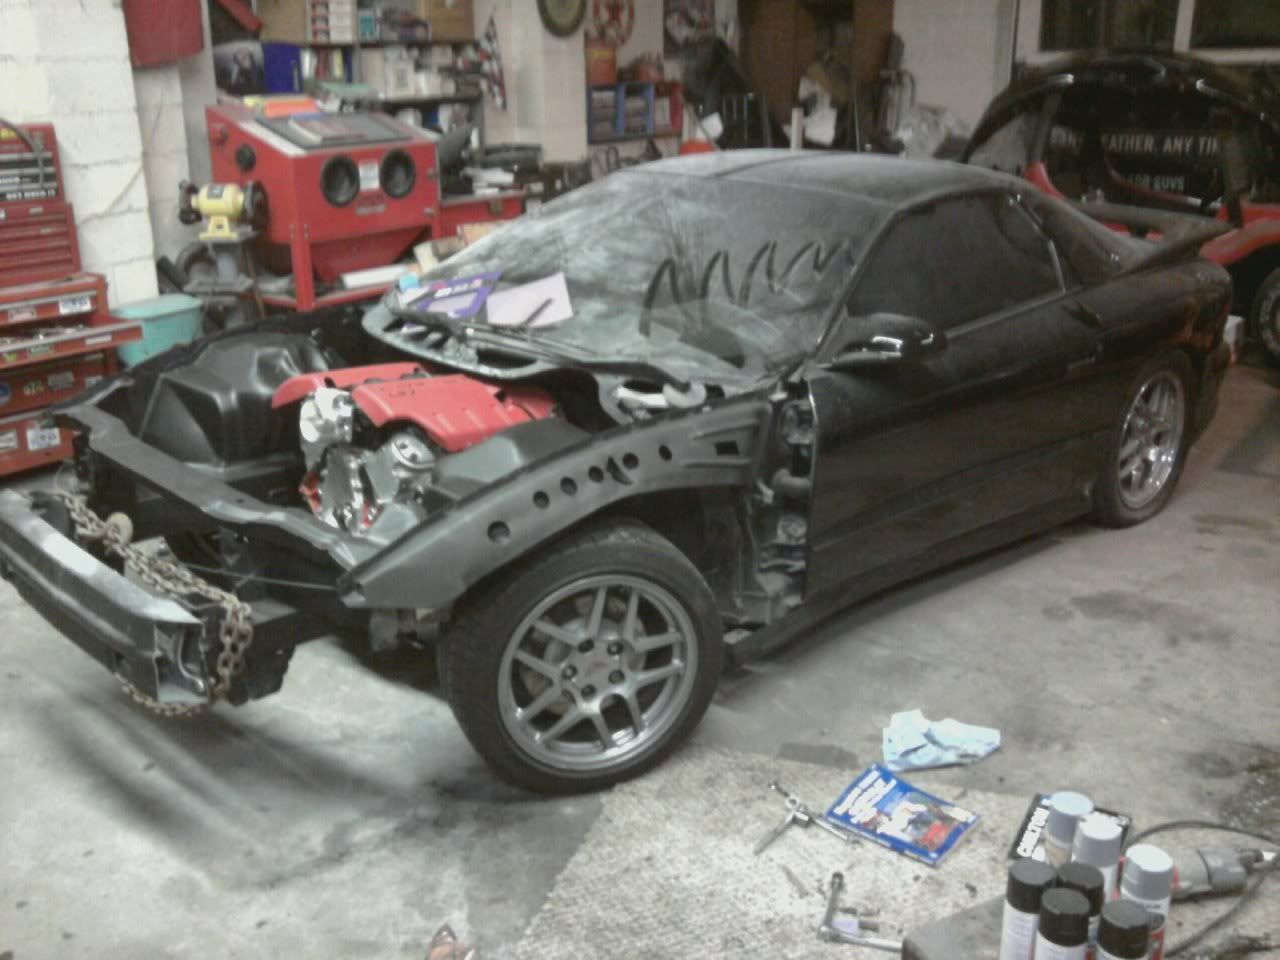
So I spent ~ 6hrs saturday and then another 14 or so yesterday sanding and laying bondo, and at 4AM last night I got it all primered. It doesnt look amazing, and I wasnt gonng update the thread at all, but w/e.
Ill sand it and then paint tomorrow. Its gonna be flat black... I decided I couldnt let it sit anymore, especially now that my motor is here. So I told my self that I had to have it primered before I went to bed last night. and thats as good as its gonna get... maybe next winter Ill tear it down and pay someone to do it better.
Just finished up the semester with 4.0!! Woo Hoo, its sweet when hard work pays off.
So I spent ~ 6hrs saturday and then another 14 or so yesterday sanding and laying bondo, and at 4AM last night I got it all primered. It doesnt look amazing, and I wasnt gonng update the thread at all, but w/e.
Ill sand it and then paint tomorrow. Its gonna be flat black... I decided I couldnt let it sit anymore, especially now that my motor is here. So I told my self that I had to have it primered before I went to bed last night. and thats as good as its gonna get... maybe next winter Ill tear it down and pay someone to do it better.
Last edited by PUNISHER TA; Apr 1, 2011 at 11:09 PM.
Bah! Disappointing to hear. I love to see a good clean engine bay, and It sucks when you put in all those hours just to do it half-assed in the end. I'd love to see you keep it up, especially now the weather is breaking and it should be easier to get in and do work. Keep that motivation up, you'll thank yourself in the end. I know how hard it is to see it sit that long, but if you wait just a bit longer to do it right, you'll be so much happier having seen your goals through all the way to the end.
Also, congrats on the 4.0. I just pulled my first this past quarter after 2 and 1/3 years of "almosts." Feels good, man.
Also, congrats on the 4.0. I just pulled my first this past quarter after 2 and 1/3 years of "almosts." Feels good, man.
LS1 Tech Stories
The Best V8 Stories One Small Block at Time

6 Common C5 Corvette Failures and What's Involved In Repairing Them
Pouria Savadkouei
Retro Modern Bandit Pontiac Trans AM Comes With Burt Reynolds' Autograph
Verdad Gallardo
Top 10 Greatest Cadillac V Series Performance Models Ever, Ranked
Pouria Savadkouei
Top 10 Most Powerful Chevy Trucks Ever Made!

Hennessey's New Supercharged Silverado ZR2 Has 700 HP
Verdad Gallardo
Coachbuilt N2A Anteros Is an LS2-Powered C6 Corvette In Italian Clothes
Verdad Gallardo
Awesome K5 Blazer Restomod Comes With C7 Corvette Power
Verdad Gallardo
10 Camaros You Should Never Buy

10 LS Engine Myths That Refuse to Die
Verdad Gallardo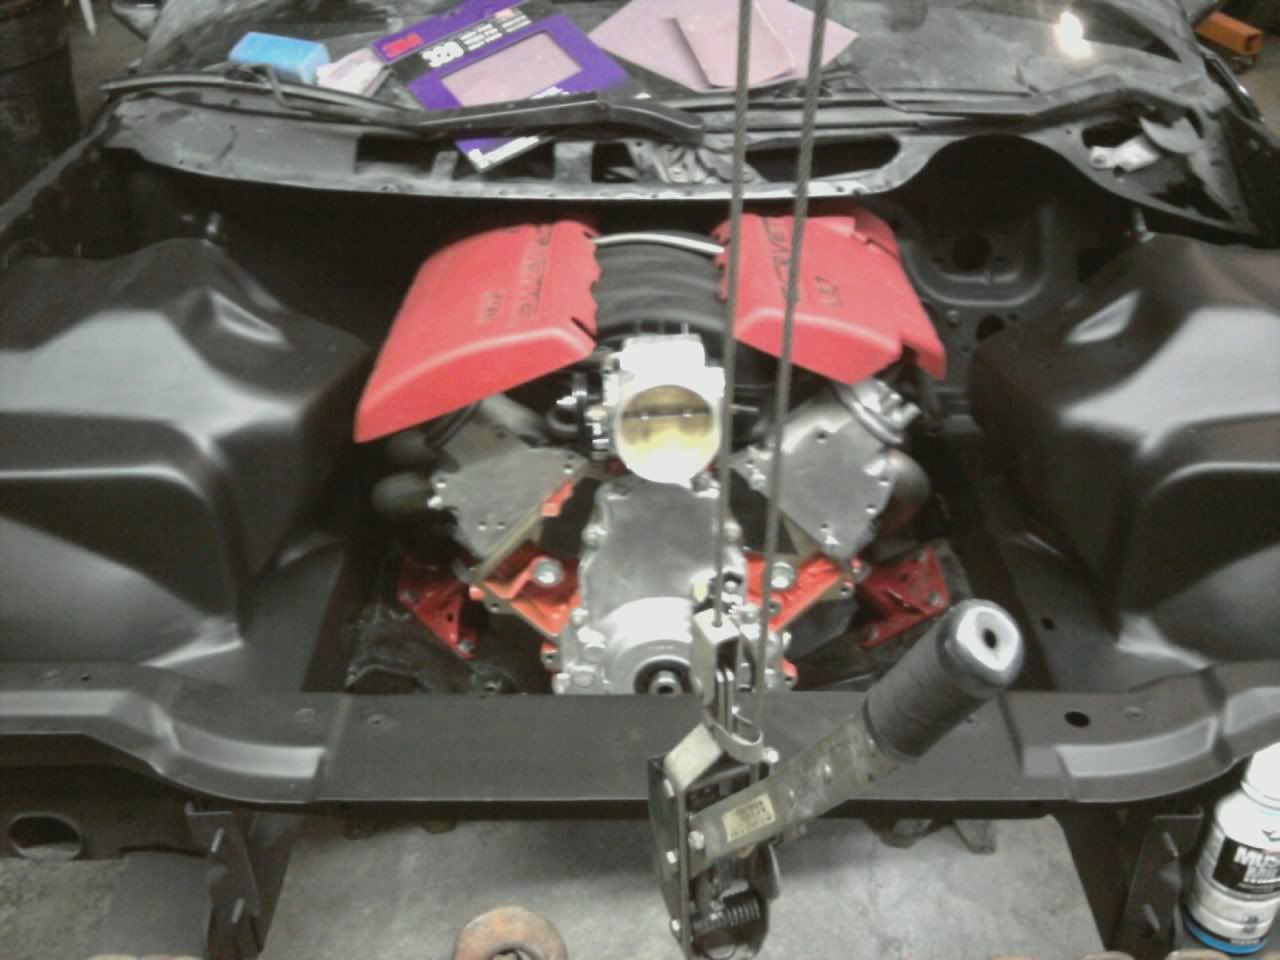


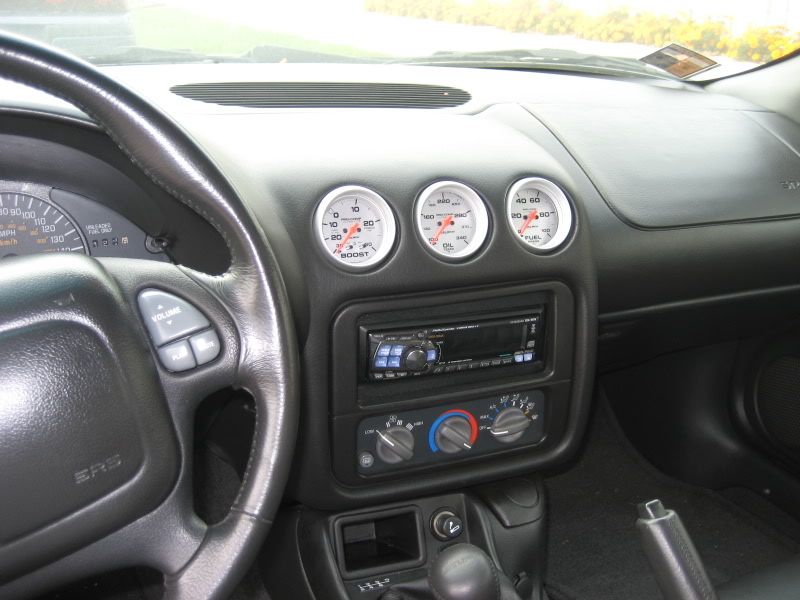
I had to take out the "inserts" then I used silicone to build up an edge for them to rest on...
I actually never finished it... maybe Ill do that to night, clean the interior and get some "finished" pictures.
Here is what my engine bay looked like
but it is already torn back apart. for more attention.
Last edited by PUNISHER TA; Nov 27, 2011 at 12:07 AM.
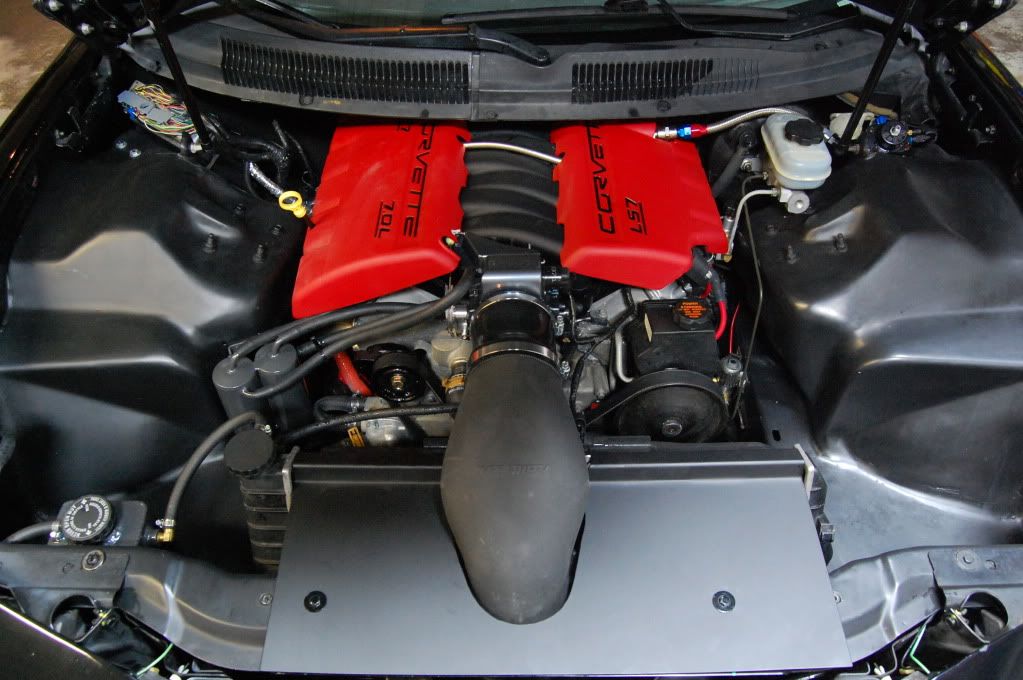
Pony- its not exactly an air lid, but its the halltech MF107R. Its an awesome piece, Im not sure why Ive never seen someone do it before. I was able to keep the radiator at the original angle. I did have to modify the core support a bit... (read - cut). And then I custom made the finisher. More on the halltech: 107mm, but the best part is that it moves the MAF much further away from the TB, where its suppose to be. My car idles much better.
Well the car is torn apart right now.
I bought a 5hp air compressor a month ago, and instantly became addicted to sandblasting every metal part on the car... lol
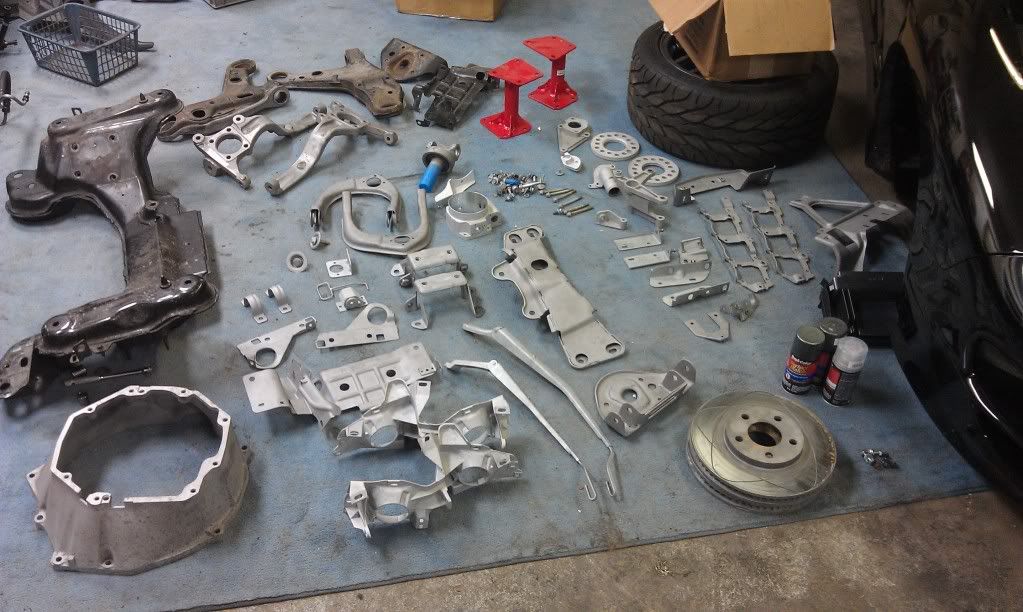
everything that can be powdercoated will be, everything else will be painted, nothing will be left bare..
Can't afford a tubular front suspension for awhile, so i blasted all the pieces, and I used a grinder to shave the parting line on the spindles, as well as the part numbers... lol no one will ever see it, but i figured why not.
Also the master cylinder, and basically anything that was cast and had a parting line... no longer does.
Lots of new ideas were implemented this time around, but most of it is just powdercoating.
Started shaving the valve covers... got one boss ground off... F that, thats a lot of work... so right now Im trying to find covers that I will be happy with.
Also, I really hate how the hose to the Oil Catch Can looks... too messy. and not symmetrical. So something needs to change there..
I will be making my own coil relocation, down by the oil pan... so now I just need to find some valve covers Im happy with, and I can get rid of the CORVETTE FRC's everyone hates.
Any other ideas, this is the time.
Thanks guys.
I bought a 5hp air compressor a month ago, and instantly became addicted to sandblasting every metal part on the car... lol
everything that can be powdercoated will be, everything else will be painted, nothing will be left bare..
Can't afford a tubular front suspension for awhile, so i blasted all the pieces, and I used a grinder to shave the parting line on the spindles, as well as the part numbers... lol no one will ever see it, but i figured why not.
Also the master cylinder, and basically anything that was cast and had a parting line... no longer does.
Lots of new ideas were implemented this time around, but most of it is just powdercoating.
Started shaving the valve covers... got one boss ground off... F that, thats a lot of work... so right now Im trying to find covers that I will be happy with.
Also, I really hate how the hose to the Oil Catch Can looks... too messy. and not symmetrical. So something needs to change there..
I will be making my own coil relocation, down by the oil pan... so now I just need to find some valve covers Im happy with, and I can get rid of the CORVETTE FRC's everyone hates.
Any other ideas, this is the time.
Thanks guys.