


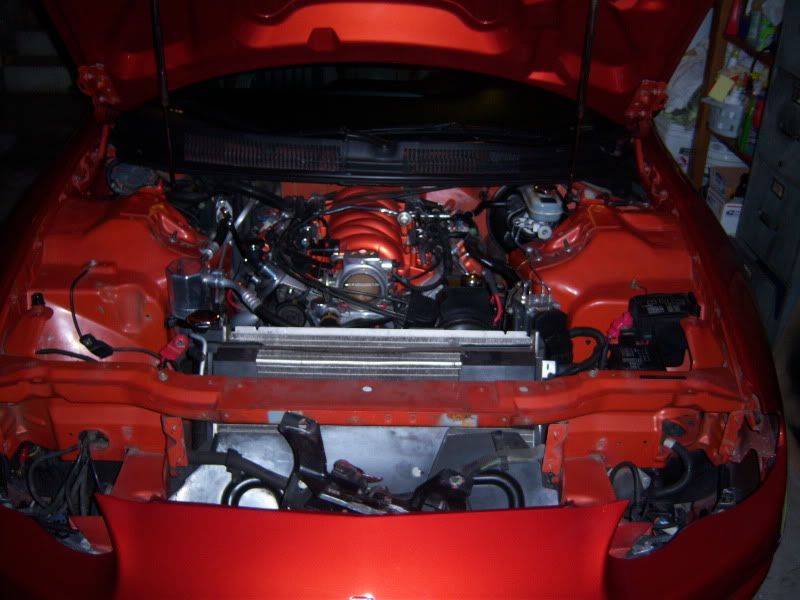
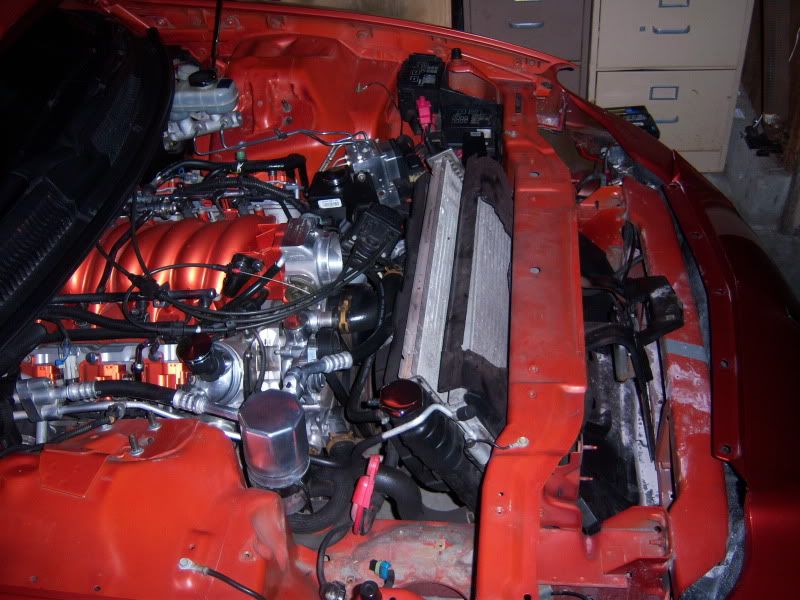
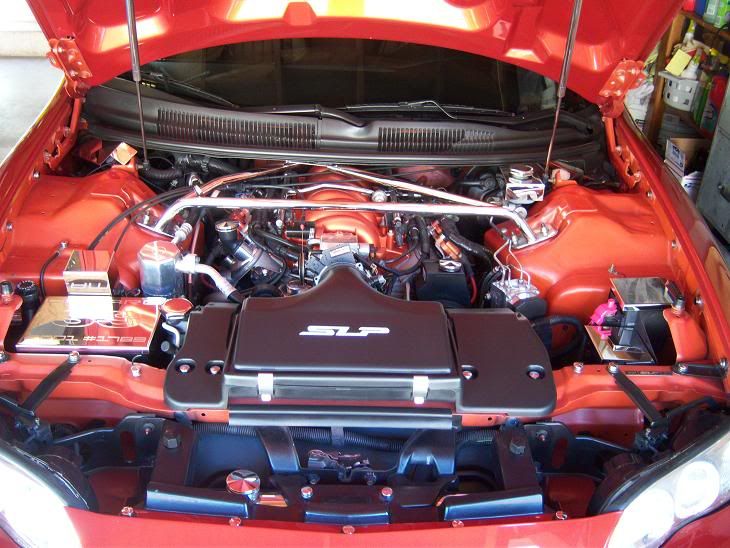
painted engine bays w/ motor in.
I just used a tube of body filler you can get from walmart. It took me about 3 to 4 applications cause when it dries it will sink a little into the holes. You just have to keep building it up then sand smooth. Not hard just takes a little time. I then just used scotch brite pad to smooth everything out. primed then painted with duplicolor wheel paint. the wheel paint seems to be a little more durable and matched my silver pretty well. Then about 3 to 4 coats of wheel clear.
[IMG] [/IMG]
[IMG]
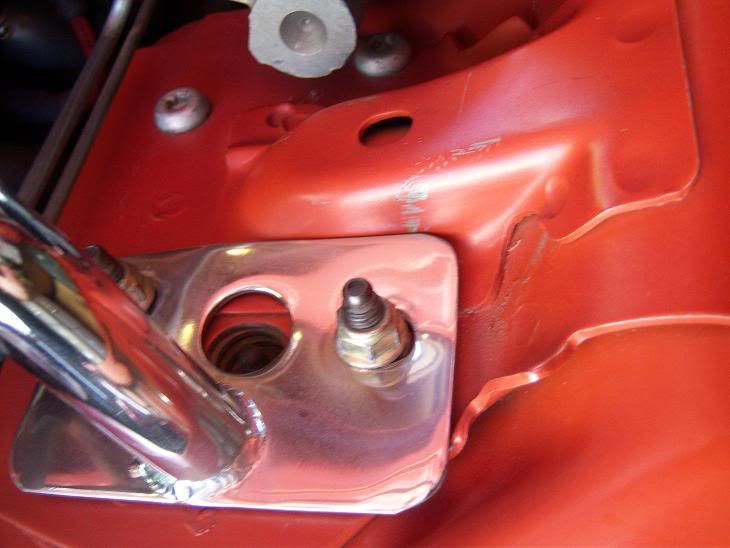
[/IMG] Another thing is you can take the brake fluid res. off and prop it up on the cowl to get it out of the way. It might be kind of hard to see in the pics. I know my masking job was kind of all over the place but when I did this I really didn't mean to get into it. Was fixing some knock sensor issues and just decided to paint the intake while it was off and then it morphed into the whole engine bay.
If you look at the sides of the PCM when you unplug it you will see where they black plastic thing has tabs thats holding it in...just release those and it will pull out...then take the two screws out the black part and the plastic thing will come out.
also, how do you remove the pcm? thinking about removing the ac lines/canister. it looks like it might be in the way.
I removed the headlight assembly,bumper support,traction control and the battery.
I'm also going to remove the manifold to try and reach the firewall.
I still need to remove the pcm,maybe the ac lines. i also have to work on the master cylinder area. anyone remove the brake fluid resivor? and what should i disconect to remove the fuse box besides the lil clips at the bottom?sorry guys. this is my first time removing all these areas.thanks!
it was quite filthy there. and to think that everyone thinks i have one of the cleanest engine bay on here...lol!
LS1 Tech Stories
The Best V8 Stories One Small Block at Time

Gas Monkey Built a 6-Wheel Ferrari Testarossa With a Corvette LT4 Engine
Verdad Gallardo
7 Most Reliable High-Performance Engines GM Has Ever Built
Verdad Gallardo
Amazing '71 Camaro Restomod Is Modern Muscle Car Under the Skin
Verdad Gallardo
6 Common C5 Corvette Failures and What's Involved In Repairing Them
Pouria Savadkouei
Retro Modern Bandit Pontiac Trans AM Comes With Burt Reynolds' Autograph
Verdad Gallardo
Top 10 Greatest Cadillac V Series Performance Models Ever, Ranked
Pouria Savadkouei
Top 10 Most Powerful Chevy Trucks Ever Made!

Hennessey's New Supercharged Silverado ZR2 Has 700 HP
Verdad Gallardo
Coachbuilt N2A Anteros Is an LS2-Powered C6 Corvette In Italian Clothes
Verdad GallardoAnother thing is you can take the brake fluid res. off and prop it up on the cowl to get it out of the way. It might be kind of hard to see in the pics. I know my masking job was kind of all over the place but when I did this I really didn't mean to get into it. Was fixing some knock sensor issues and just decided to paint the intake while it was off and then it morphed into the whole engine bay.
No. There are to bolts holding it to the booster that you take off and then it can be moved around. You will have to loosen the two bolts that hold the abs module in place and pull it up out of the bracket before you can move the reservoir. You will see once you get in there. It just makes painting the driver side tower lots easier. If you disconnect the ac you will have to recharge.
hmmm. I'm still iffy about the ac lines that run on the bottom side of the psg side.how much is it to recharge the ac? might just disconect it.
also theres a big wire hose that runs from the drivers bottom part on to the fuse box. did you disconect any of that or just loosen it up?
also theres a big wire hose that runs from the drivers bottom part on to the fuse box. did you disconect any of that or just loosen it up?
you didnt add enough hardener then luis. you need to remove it and start over. it should be dry to the touch and ready to sand in about 30 minutes usually. when i would do bodywork i would mix it hot so it would be drying up right when i was about done applying it
but he was saying that you didnt add ENOUGH hardener. so you need to remove it.
but i would be weary of just filling the holes with bondo... I welded them shut, ground it down, then bondo'd it.
Im no expert, but i do have quite a bit of experience just from working on mine(not done yet)

here the before pics.
here's a close up at the lil scratches i had.
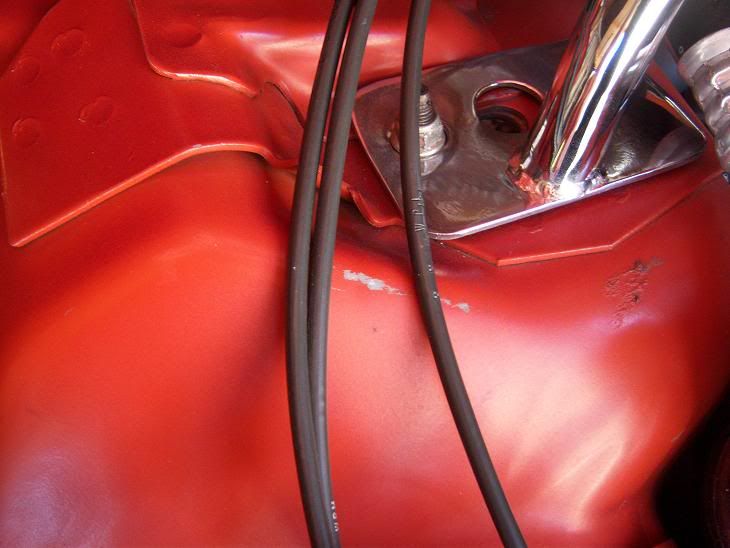
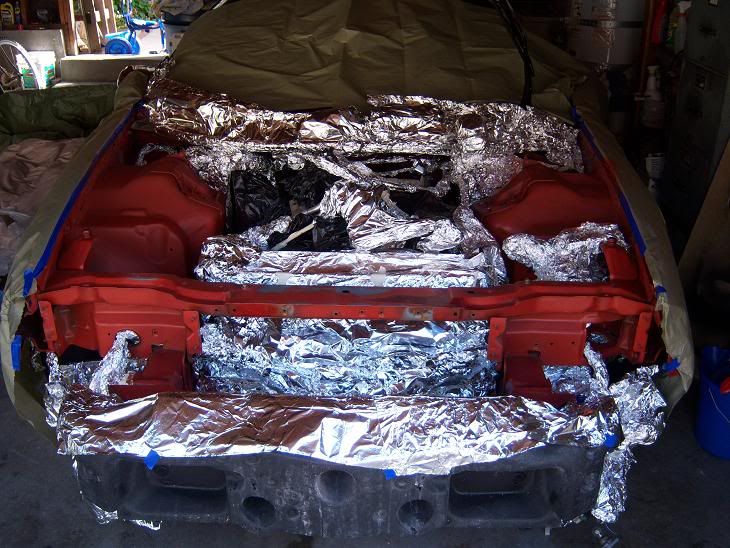
the body work turned out to be very time consuming. i hated every second of it. finally got all the holes filled in and rerouted the grounds like Datzneat once told me too. i removed
-front bumper
-pcm
-manifold
-coils/brackets
-valve covers
-headlight assembly
-coolant resivor
-battery
-ground wires
-detached the brake and clutch resivor
-window dash gard
-ac condenser
-ac and coolant hose that goes to the firewall/water pump.
-detached the fuse box
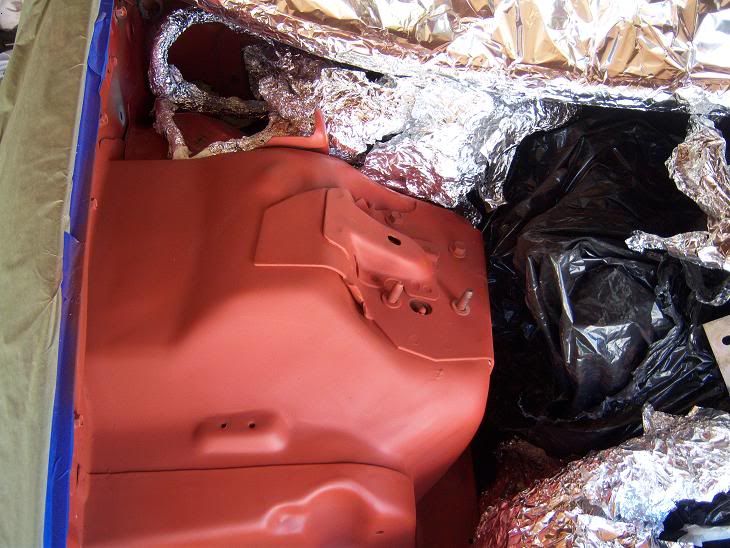
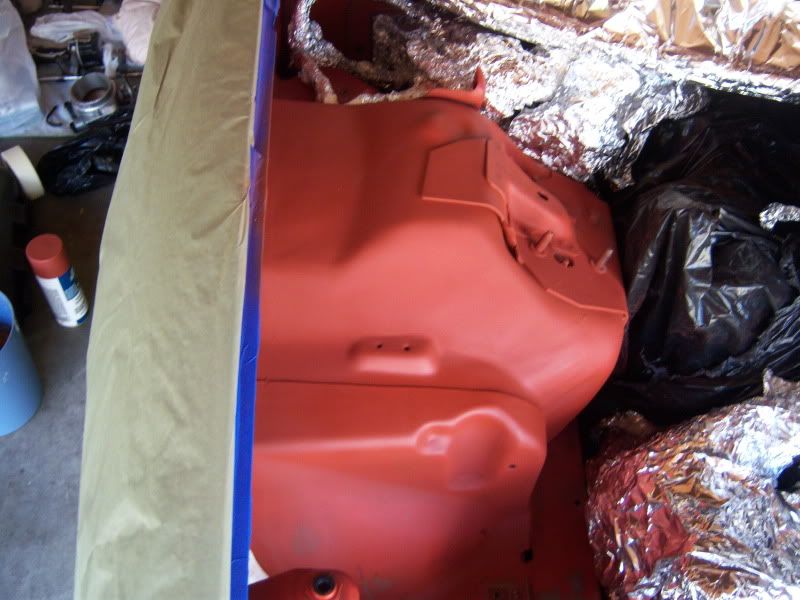
after about a week i finally got her ready for my painter to touch her up. i should be getting it done early next week. I should also get my mani/coils and brackets back from the paint shop soon.
here's a close up at the lil scratches i had.
the body work turned out to be very time consuming. i hated every second of it. finally got all the holes filled in and rerouted the grounds like Datzneat once told me too. i removed
-front bumper
-pcm
-manifold
-coils/brackets
-valve covers
-headlight assembly
-coolant resivor
-battery
-ground wires
-detached the brake and clutch resivor
-window dash gard
-ac condenser
-ac and coolant hose that goes to the firewall/water pump.
-detached the fuse box
after about a week i finally got her ready for my painter to touch her up. i should be getting it done early next week. I should also get my mani/coils and brackets back from the paint shop soon.
awe man, you're going to have a painter do it?
j/k, I'm just busting your *****. Next time I do mine I hope to take everything out, and tow it to a painter.
I have a "build" thread documenting my process in my sig.
j/k, I'm just busting your *****. Next time I do mine I hope to take everything out, and tow it to a painter.
I have a "build" thread documenting my process in my sig.