
Polished My Corsa Cat-Back --- Bling Master FTW!!!
 12-15-2009, 12:47 AM
#1
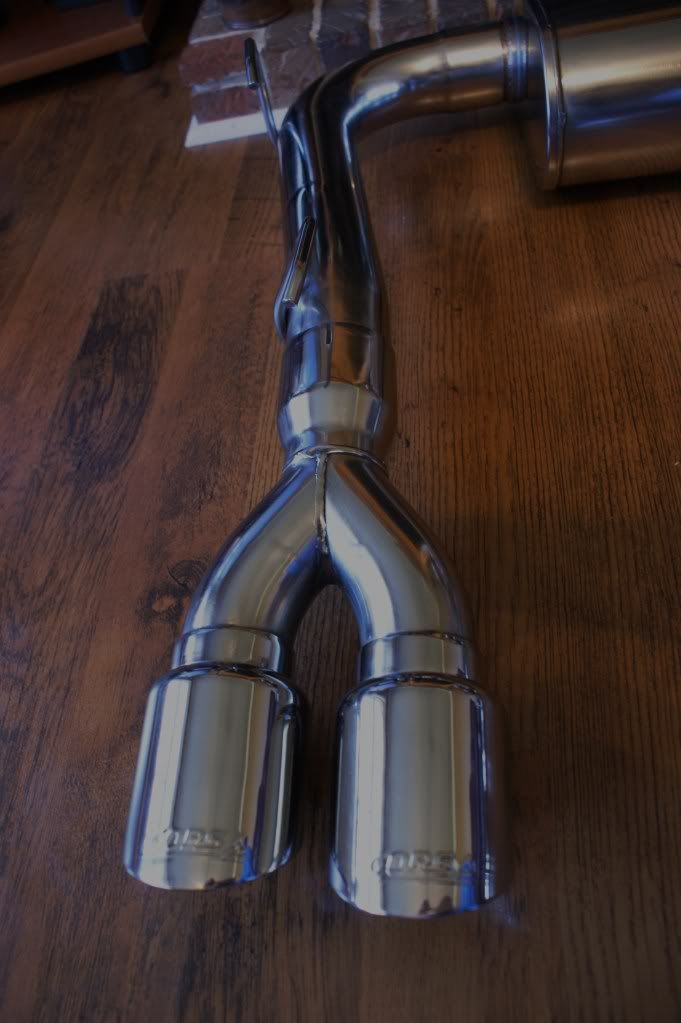
Well polishing my Corsa Cat Back has been on the list of MUST DOs for a few years but I would always find a reaon to put it off (because I KNEW it would be a PIA!!!) The with the install of my full polished (by hand...MY HAND) LLP headers and y-pipe it became even more apparent it had to be done. SOOO I finally bit the bullet last week and got started on it...and all I can say is I am kicking my *** for putting it off this long!!! It wasnt nearly as bad as I had thought it would be and it looks INCREDIBLE!!! The pictures dont do it any justice...the light and dark spots are just there from the pics!!!
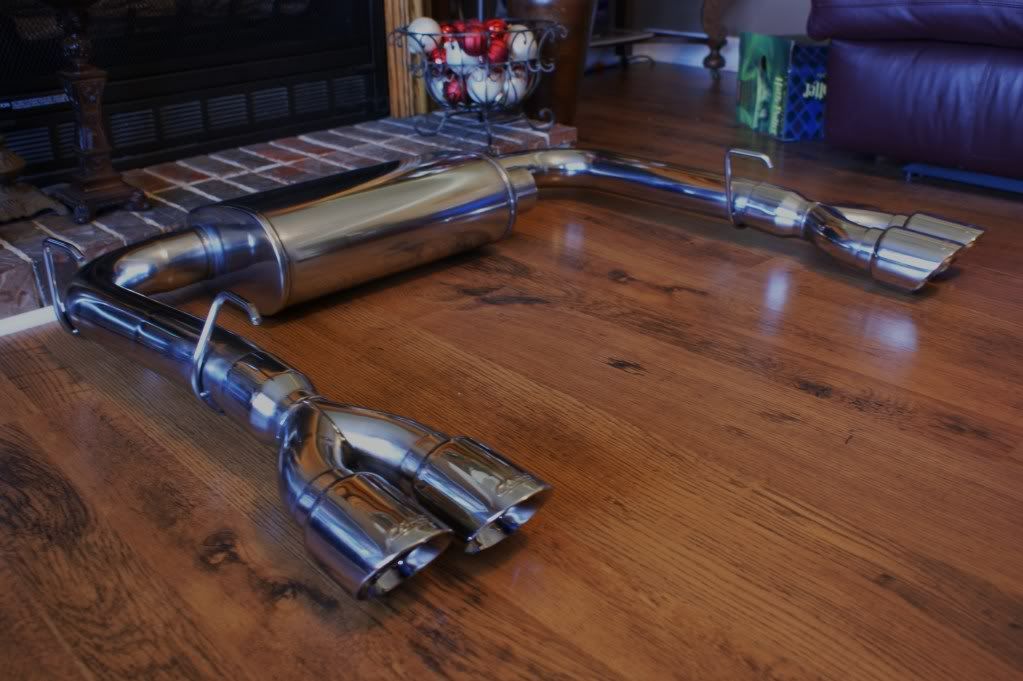

I am tellimg you, the more and more I use this stuff the more I am impressed with it!

I am tellimg you, the more and more I use this stuff the more I am impressed with it!
 12-15-2009, 12:58 AM
#4
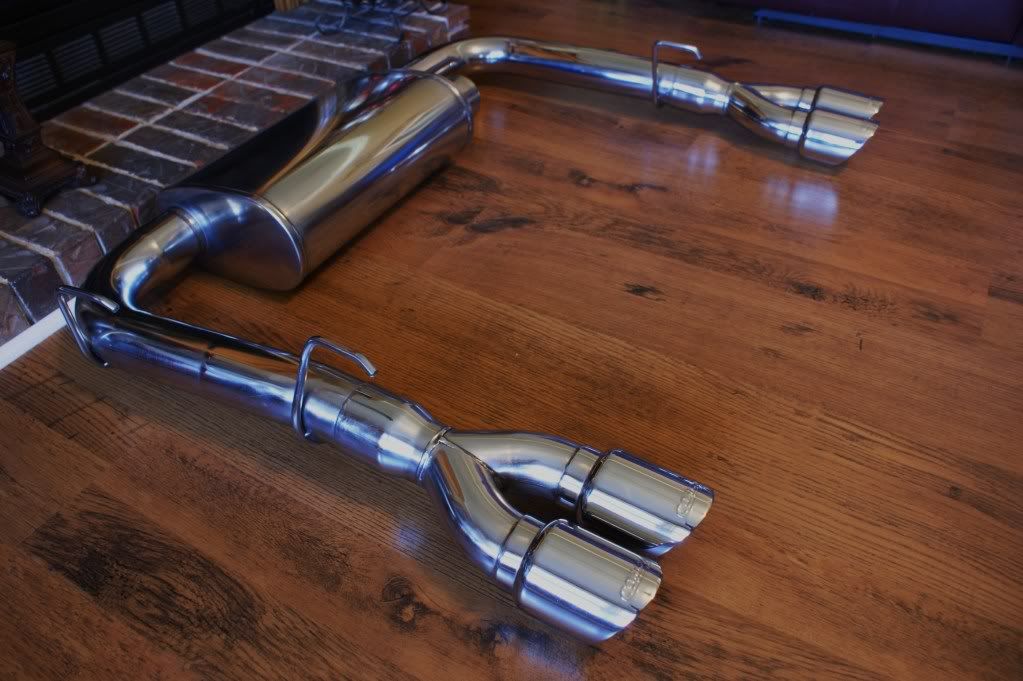
I am sure it will be asked...so the process I used was:
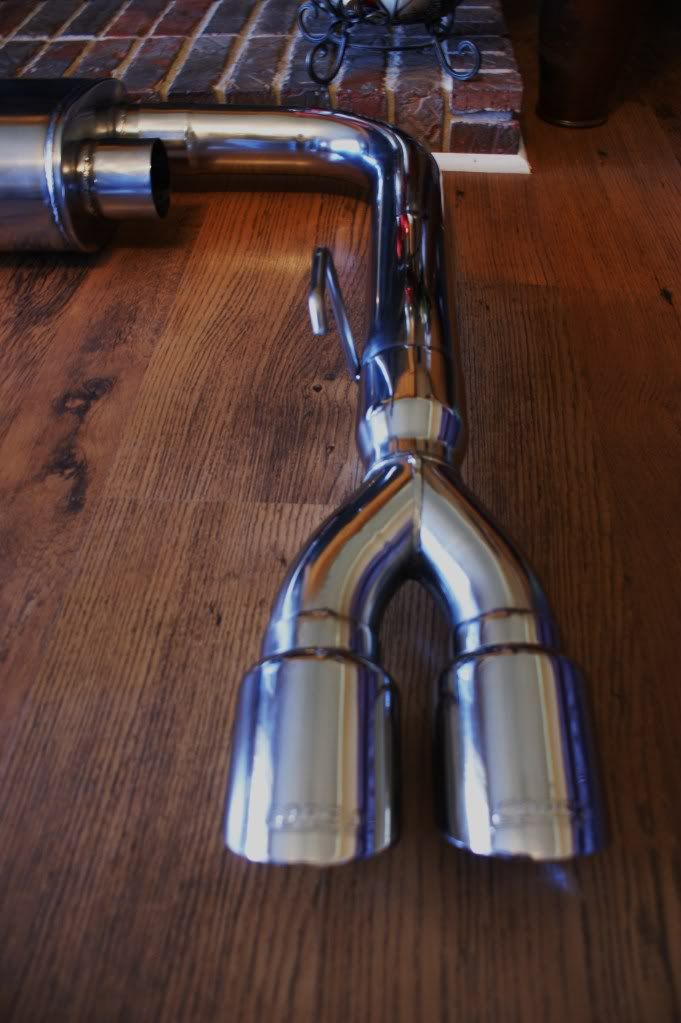
Cleaned and sanded the pipes with a Die Grinder (air) with a course sanding pad. That got out a lout of the casting and bending markes. The I followed with a medium and the fine pad to start working the marks left by the course pad out. Next I hand sanded with 320, then 500, then 800, then 1000, the 1500, the I wet sanded with 1000 and then wet sanded with 1500. I need to go back and wet sand with 2000 now that its back on the car. After that I polished them with Bling Master (green) and several different buffing bobs using a Die Grinder....I then followed with Bling Master Illuminator and a real soft bob. The final step was hand polishing with Bling Master and microfiber towels. I plan to add the Bling Master Sealer now that its on the car!
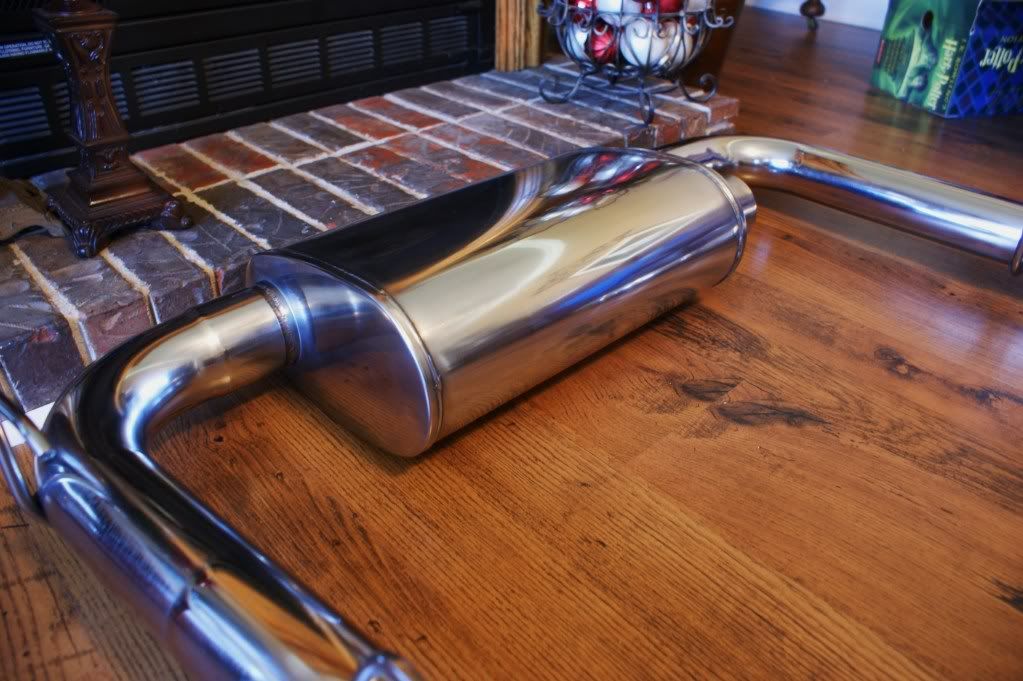
I sanded down the muffker with a orbital sander (air) using 320 and then 400 paper rather than saning pads on the grinder. All the other steps were the same.
Cleaned and sanded the pipes with a Die Grinder (air) with a course sanding pad. That got out a lout of the casting and bending markes. The I followed with a medium and the fine pad to start working the marks left by the course pad out. Next I hand sanded with 320, then 500, then 800, then 1000, the 1500, the I wet sanded with 1000 and then wet sanded with 1500. I need to go back and wet sand with 2000 now that its back on the car. After that I polished them with Bling Master (green) and several different buffing bobs using a Die Grinder....I then followed with Bling Master Illuminator and a real soft bob. The final step was hand polishing with Bling Master and microfiber towels. I plan to add the Bling Master Sealer now that its on the car!
I sanded down the muffker with a orbital sander (air) using 320 and then 400 paper rather than saning pads on the grinder. All the other steps were the same.
12-15-2009, 01:15 AM
#5
Iuno what to say either...you dont know what an exhaust sytem normaly looks like? Sorry I forgot to take any befores, I didnt know they would be needed.
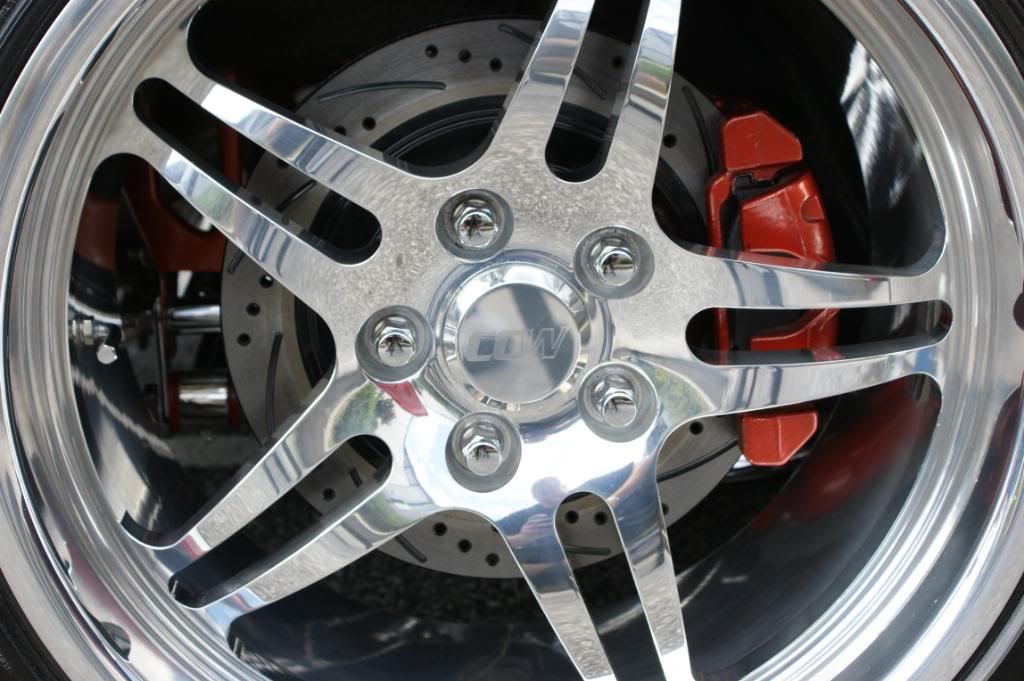
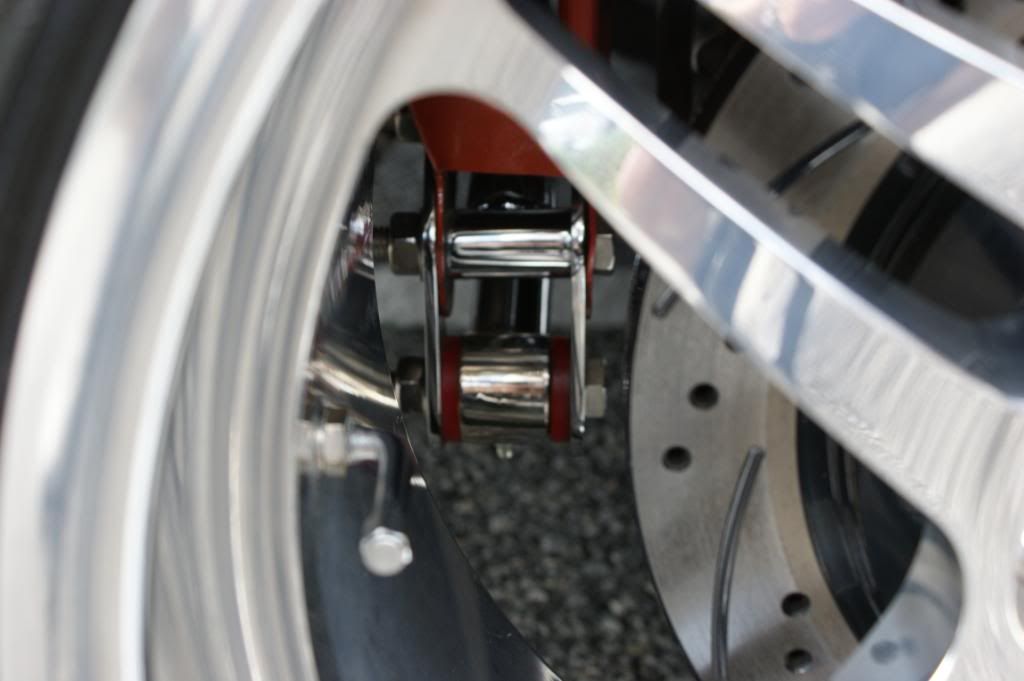
Here is the best I can do...about 18 months old but you can see the exhaust in these pics BEFORE it was polished.
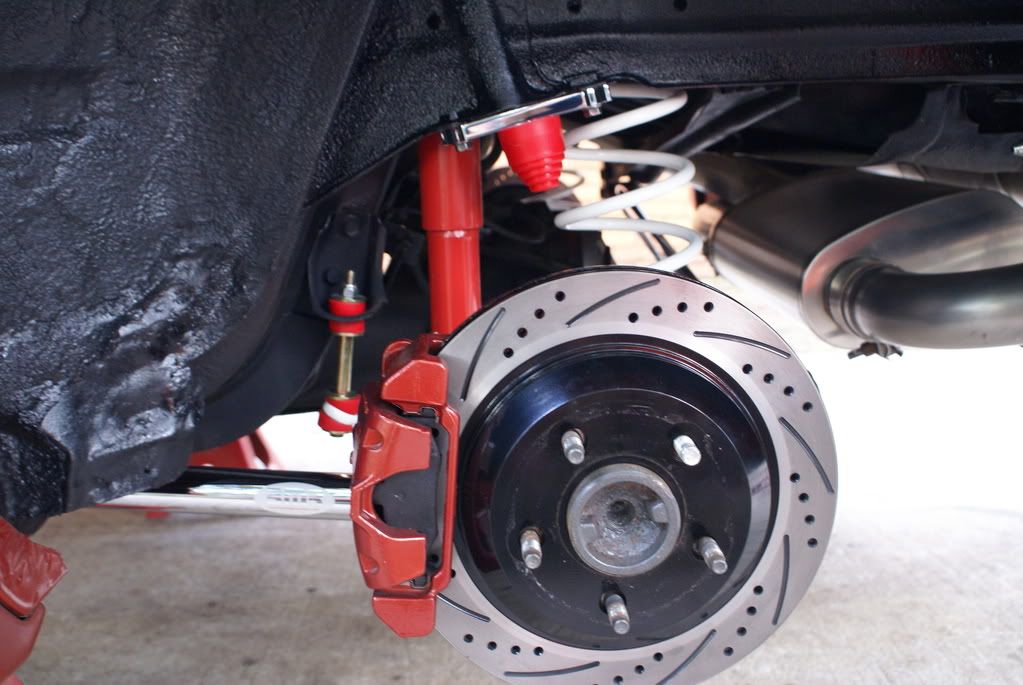
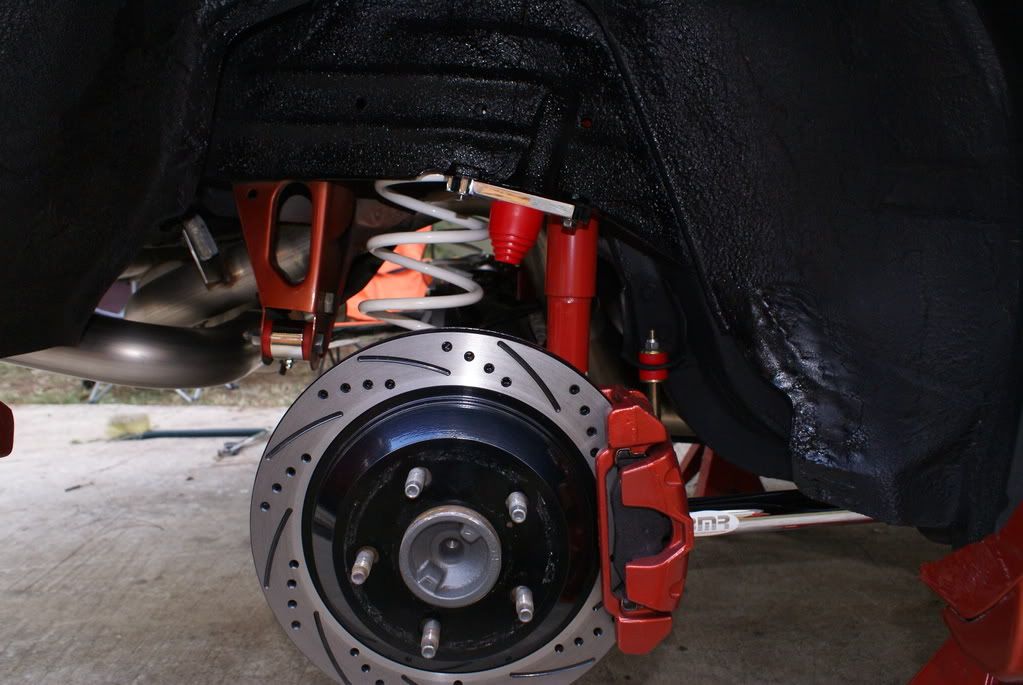
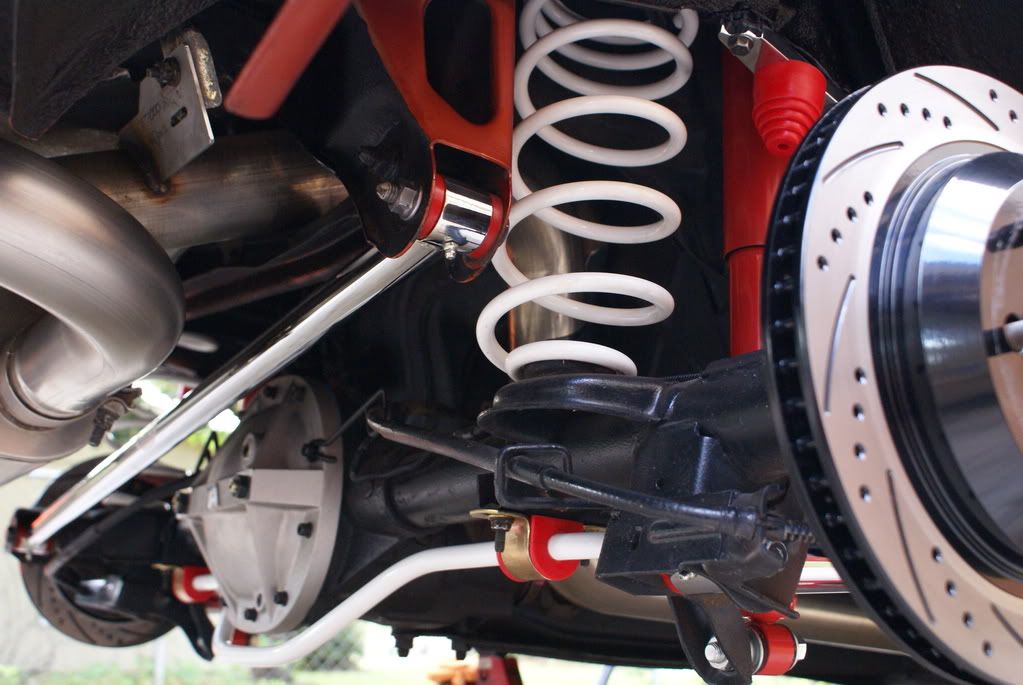
Here is the best I can do...about 18 months old but you can see the exhaust in these pics BEFORE it was polished.
Trending Topics
12-15-2009, 09:45 AM
#8
nice. i bought bling masters for all the wheels we have at our house, i had a feeling it would work well on stainless exhaust, just havnet had time to get around to it. but i dont have an excuse since i have a lift which makes that stuff really easy. im just lazy haha.
12-15-2009, 10:18 AM
#9
TECH Junkie
iTrader: (21)
Join Date: Aug 2004
Location: Virginia Beach, VA
Posts: 3,164
Likes: 0
Received 0 Likes
on
0 Posts

Blingmaster works great and the guys there seem like good people too. They are local to me, and i stopped in while I was working during the day to get a bottle. They only had one 16oz bottle left, and it had a small crack in it so he put it in a plain bottle and gave me a pretty steep discount (wasnt sure if it was for the crack or bc I was in uniform..but nice nonetheless).
They also offer tuning and have a shop as well. I will be taking my car there to be tuned and have some other work done. They get 2 thumbs up from me
They also offer tuning and have a shop as well. I will be taking my car there to be tuned and have some other work done. They get 2 thumbs up from me
 12-15-2009, 12:37 PM
#13

For anyone looking at doing this here's a detailed write up, step by step how to do it yourself. Lists all the parts and tools you will need. This guy's exhaust is crazy looking!!
http://www.svtperformance.com/forums...r-exhaust.html
http://www.svtperformance.com/forums...r-exhaust.html


 12-15-2009, 07:22 PM
#19
Thanks, like I said those are OLD pics. The sway bar mounts are now chromed and it has chromed LCA relocation brackets (as well as chromed LCA since you really cant seem them in the pics) and a chromed UPPER PHB.

A chromed TQ arm and SFCs are next. Also the front has chromed spindles and sway bar mounts.
A chromed TQ arm and SFCs are next. Also the front has chromed spindles and sway bar mounts.
12-15-2009, 07:34 PM
#20
Yes, they were cut from billet and chromed. Then Energy Suspension stops were used.
Blingmaster works great and the guys there seem like good people too. They are local to me, and i stopped in while I was working during the day to get a bottle. They only had one 16oz bottle left, and it had a small crack in it so he put it in a plain bottle and gave me a pretty steep discount (wasnt sure if it was for the crack or bc I was in uniform..but nice nonetheless).
They also offer tuning and have a shop as well. I will be taking my car there to be tuned and have some other work done. They get 2 thumbs up from me
They also offer tuning and have a shop as well. I will be taking my car there to be tuned and have some other work done. They get 2 thumbs up from me
Cecilia said thanks! She put all that down by herself! She thinks it is Whiskey color.