
Brand New!! Custom interior with HOW TO pics. Come on In.
 01-08-2012, 10:57 PM
#141
TECH Senior Member
Thread Starter
iTrader: (96)
Join Date: Aug 2007
Location: Turnin' Wrenches Infractions: 005
Posts: 24,241
Likes: 0
Received 81 Likes
on
72 Posts

1. Adding foam to the frame is cake once you get it apart. That mid-back bar I would wrap in something like foam and duct-tape to prevent it from cutting back through in the future. Just go to your local fabric store and check out what they got. It comes in all thicknesses. You just cut it, shape it, the tape or glue it where you want while picturing where the weight forces will be coming from so you can make a strong repair.
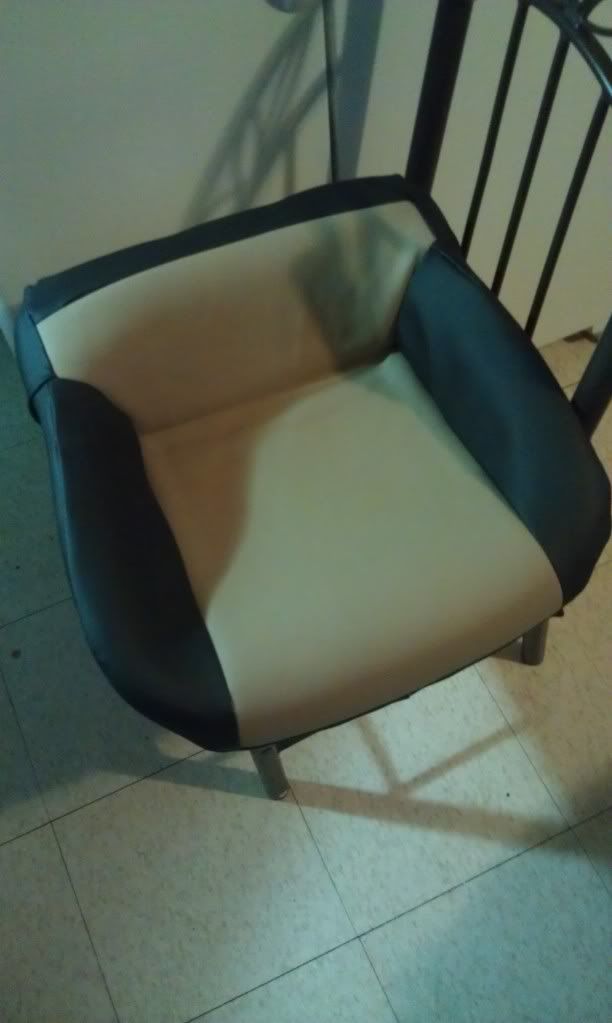
2. I used Allante. Its synthetic (fake) but very, very soft. Everyone that sees it likes it. It has a matte finish, its not shiny and plastic looking. You can also go with genuine leather for a reasonable price. Figure 2 yards per seat (7-8 total) for all four seats, that's a good general rule of thumb. I got 10 in case of repairs in the future and the door panels, 6 black, 4 red. Pick up some vinyl too to practice on. A straight stitch is simple as **** to master, but my one piece of advice is, start into the seam and after about an inch in, reverse the machine for about a half an inch, then start back forward. At the end of the seam do the same. This locks it in and keeps it from unraveling in the future.
2. I used Allante. Its synthetic (fake) but very, very soft. Everyone that sees it likes it. It has a matte finish, its not shiny and plastic looking. You can also go with genuine leather for a reasonable price. Figure 2 yards per seat (7-8 total) for all four seats, that's a good general rule of thumb. I got 10 in case of repairs in the future and the door panels, 6 black, 4 red. Pick up some vinyl too to practice on. A straight stitch is simple as **** to master, but my one piece of advice is, start into the seam and after about an inch in, reverse the machine for about a half an inch, then start back forward. At the end of the seam do the same. This locks it in and keeps it from unraveling in the future.
 01-15-2012, 11:18 PM
#142
Launching!
Join Date: Feb 2010
Location: Houston
Posts: 246
Likes: 0
Received 0 Likes
on
0 Posts
So I started with one back bottom seat which was originally cloth. Have you done a cloth one?
My cloth appears to be padded on all sides, with the cloth stitched on top of it. Was yours like this or does your Allante make up your entire cover?
Do you retain the original edge pieces which connect to the foam? Mine has a very rough fabric with an insert along the edge for the hog ring to grip and clamp onto the foam frame.
Finally, my back top piece has carpet on the back. I guess so when you have to folded down back, the carpet looks uniform. Did you leave the carpet intact or wrap the entire back piece in Allante?
Thanks!
01-16-2012, 10:15 AM
#143
TECH Senior Member
Thread Starter
iTrader: (96)
Join Date: Aug 2007
Location: Turnin' Wrenches Infractions: 005
Posts: 24,241
Likes: 0
Received 81 Likes
on
72 Posts
Any of the original grey pieces or hard plastic strips on the undersides of the seats I usually keep the factory stuff. The carpet is your call, you can re-stitch back through the factory sew line or you can remake the piece with new material, its your call. Most of the seats I have done were originally leather, but with cloth its the same idea. My covers are just Allante.
01-16-2012, 12:30 PM
#145


 02-12-2012, 07:12 PM
#149
TECH Senior Member
Thread Starter
iTrader: (96)
Join Date: Aug 2007
Location: Turnin' Wrenches Infractions: 005
Posts: 24,241
Likes: 0
Received 81 Likes
on
72 Posts
Looks good....You can go back and add some padding to the seat foam so your cover will fit tighter. Just play around with it and cut the foam in a sort of way that matches the pattern of the seat then spray glue it to the foam. Also, on the next seat try cutting your pattern a tad bit smaller and it will fit even tighter and look better.
02-12-2012, 09:59 PM
#151
TECH Senior Member
Thread Starter
iTrader: (96)
Join Date: Aug 2007
Location: Turnin' Wrenches Infractions: 005
Posts: 24,241
Likes: 0
Received 81 Likes
on
72 Posts
Each one you do will get better and better. You'll learn how to sew and cut patterns better each time. Eventually you can get them to fit so good you won't have to add padding at all.
02-29-2012, 07:50 PM
#152
TECH Apprentice
iTrader: (8)
Join Date: Apr 2011
Location: Felton, DE
Posts: 305
Likes: 0
Received 0 Likes
on
0 Posts
So for the colored inserts, you actually sewed the new material to the old inserts? I am trying to figure out how you got all of the seams into the colored inserts.


 08-12-2012, 08:59 AM
#156
Launching!
iTrader: (8)

Join Date: Aug 2003
Location: North Carolina
Posts: 287
Likes: 0
Received 0 Likes
on
0 Posts

hmm I just bought some corbeau Sport seats for the front, which don't match the lines of my back seats (seams run to the left and right, instead of up and down like factory). I may have to try to re-do my back seats to make them match the fronts. Any idea how much material I would need for just the back seats?
06-21-2014, 09:51 PM
#158
Launching!

Join Date: Aug 2012
Location: Johnstown, Pa
Posts: 259
Likes: 0
Received 0 Likes
on
0 Posts
Hey, I know this is an old *** thread but I just found it. I am wanting to redo my "deluxe" seats for my 96" my seats are like the last set of brown ones. (AFU) how do u get the piping sewn into the seat. Like the pattern. Do u actually sew the old cover to the back of the new one?
07-17-2014, 10:32 AM
#160
Teching In
Join Date: Aug 2013
Location: Rice Lake, WI
Posts: 23
Likes: 0
Received 0 Likes
on
0 Posts
Very nice work! Curious to if you've ever tried to strip all the stock foam and replace with any sort of gel or memory foam? You had mentioned this wasn't your first interior overhall. Have you ever played around with that kind of stuff?