Appearance & Detailing Interior & Exterior Appearance Modifications

cleaning up my engine bay(filling holes/paint)

Thread Tools
 
Search this Thread
 
Old 02-27-2010 | 11:45 AM
  #1  
ls1curt's Avatar
Thread Starter
8 Second Club
iTrader: (31)
 
Joined: Jun 2009
Posts: 1,206
Likes: 3
From: CT
Default cleaning up my engine bay(filling holes/paint)

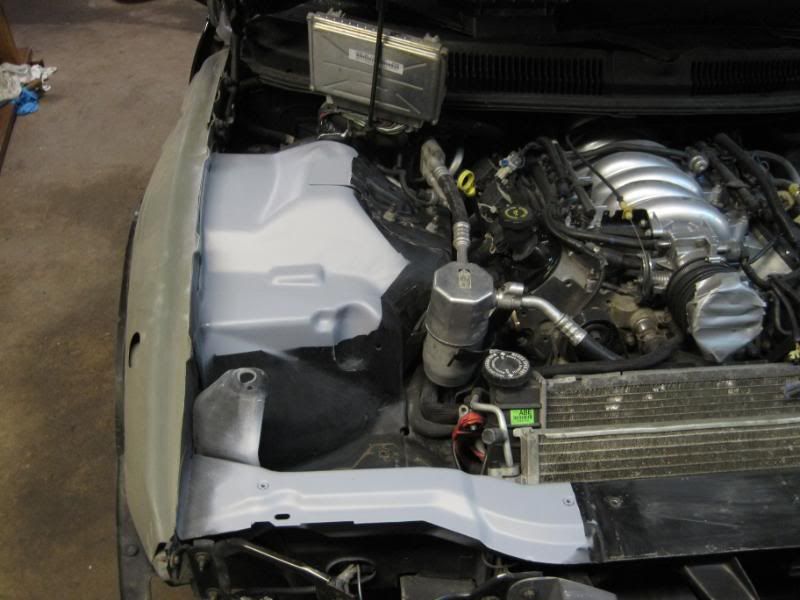
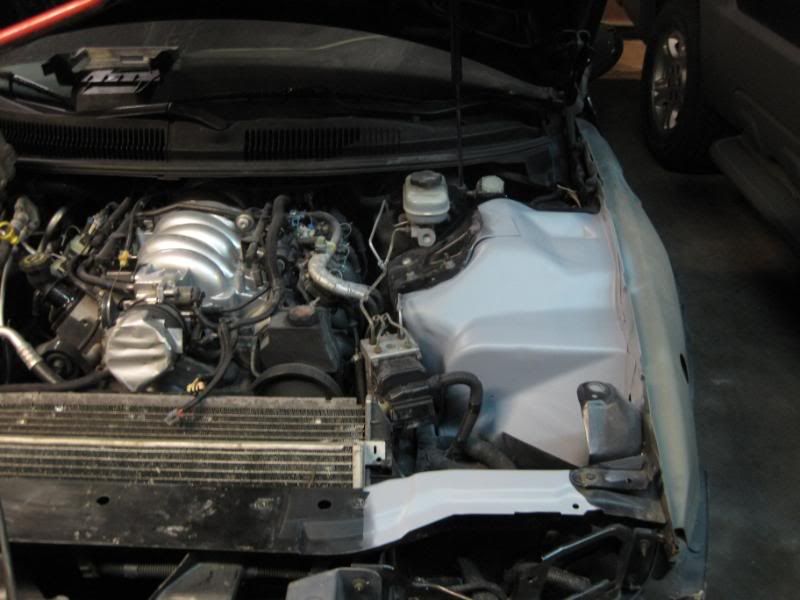
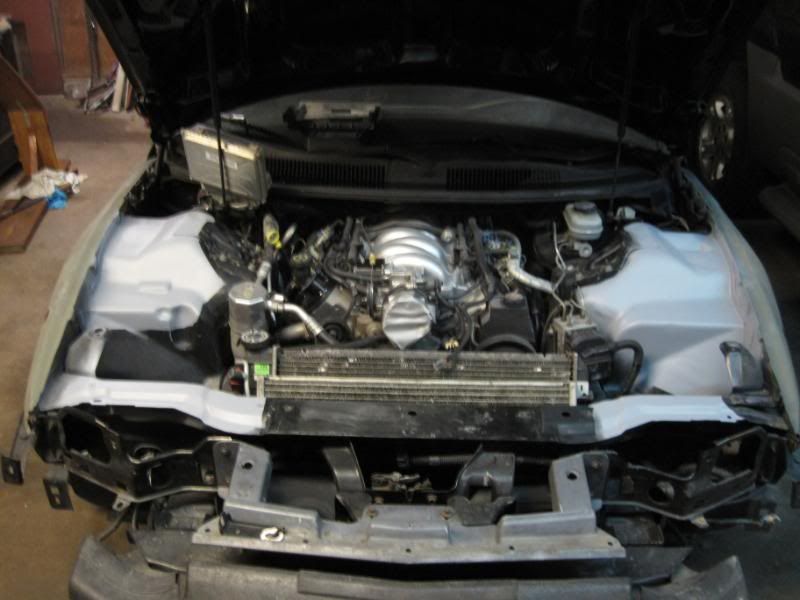
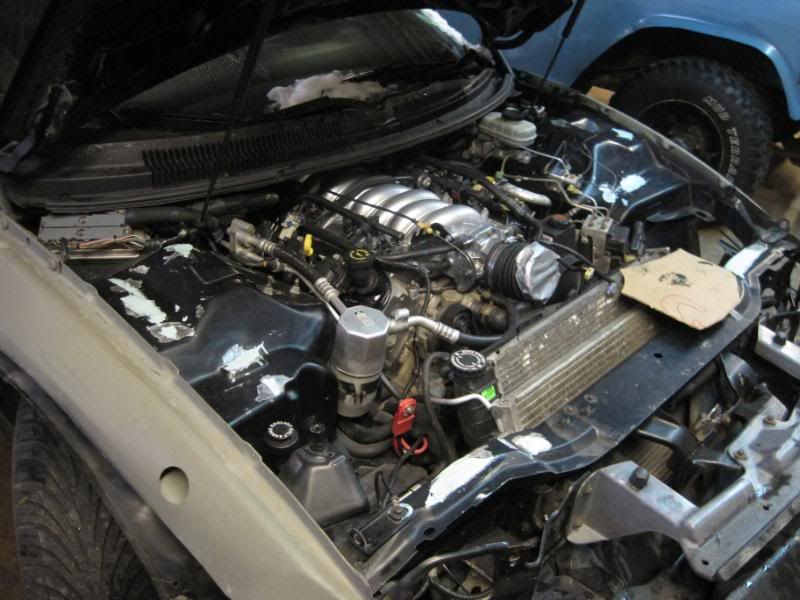
hey, figured i'd post up some pics. it was sleeting out this morning so i pulled the Z in the garage and started to weld up the holes in the engine bay. i had already done the wire mods on both sides so i filled all them and some of the holes for the grounds. i just got them welded and ground down so far. ill hopefully get them all bondoed up today.
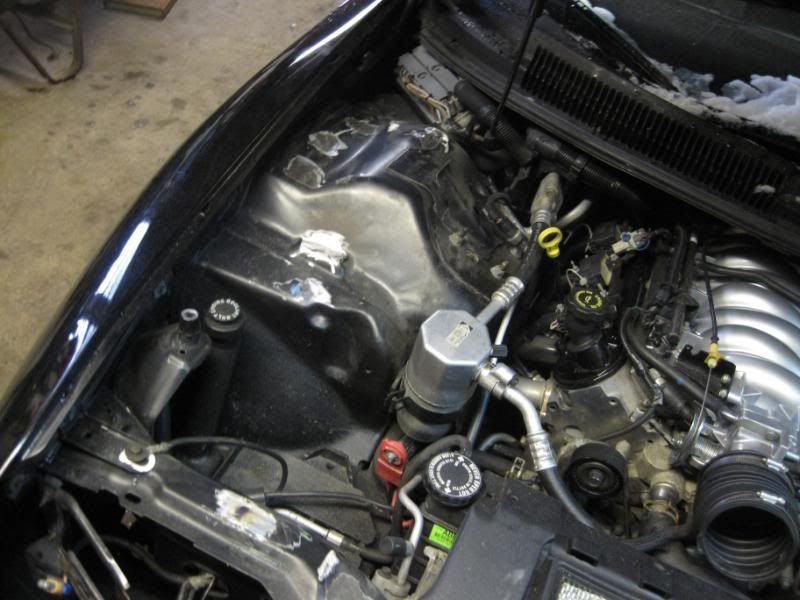
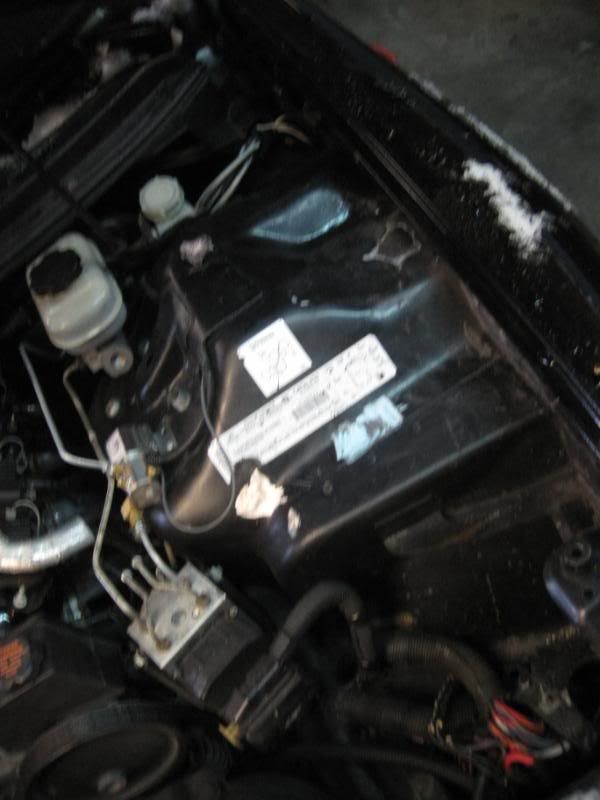
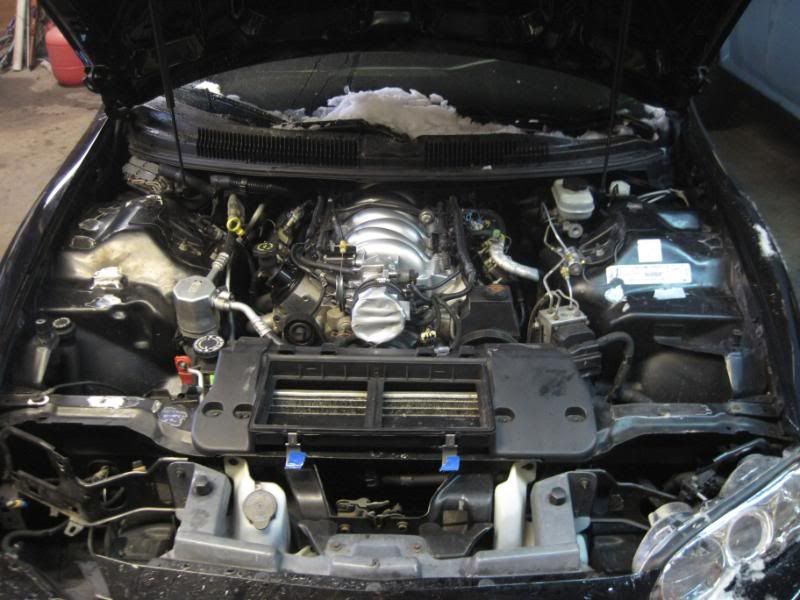
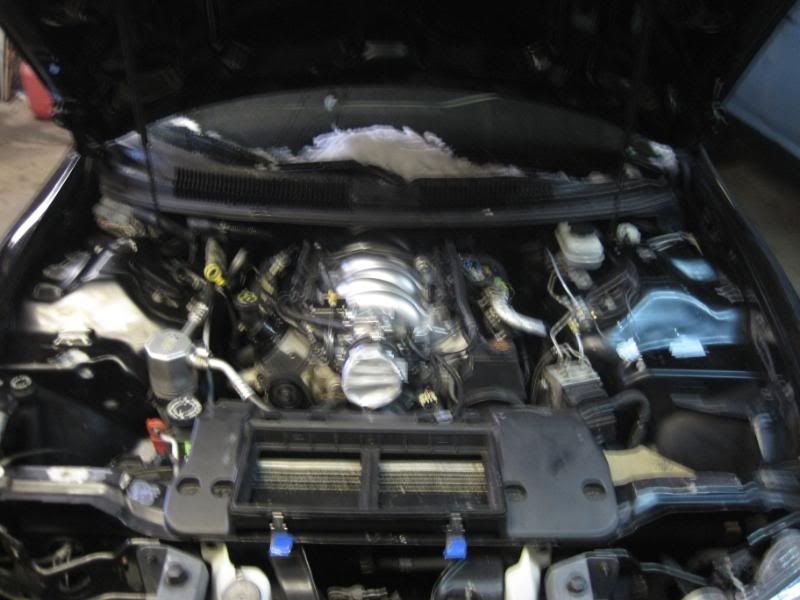


what do guys think, any other spots i should do before i start to bondo it? im also gonna make a cover to go over where the fuses were
Old 02-27-2010 | 12:56 PM
  #2  
transsam's Avatar
9 Second Club
iTrader: (5)
 
Joined: Feb 2005
Posts: 720
Likes: 3
From: San Diego - Gaslamp Quarter
Default

Subscribing.
After 3 engine swaps, and the scrapes and scratches, well... I'd like to see how yours turns out.
Old 02-27-2010 | 12:58 PM
  #3  
crimson_bird's Avatar
TECH Veteran
iTrader: (4)
 
Joined: Aug 2009
Posts: 4,138
Likes: 7
From: The Bay Area, CA
Default

looking good so far. keep us posted on your progress.

and the intake is looking pretty good too. i like the silver.
Old 02-27-2010 | 02:03 PM
  #4  
a98ws6's Avatar
TECH Addict
iTrader: (48)
 
Joined: Aug 2003
Posts: 2,272
Likes: 1
From: KCMO
Default

Show me pics of where you put your fuses and how its all routed. I'm doing this now while my engines out.
Old 02-27-2010 | 02:34 PM
  #5  
ls1curt's Avatar
Thread Starter
8 Second Club
iTrader: (31)
 
Joined: Jun 2009
Posts: 1,206
Likes: 3
From: CT
Default

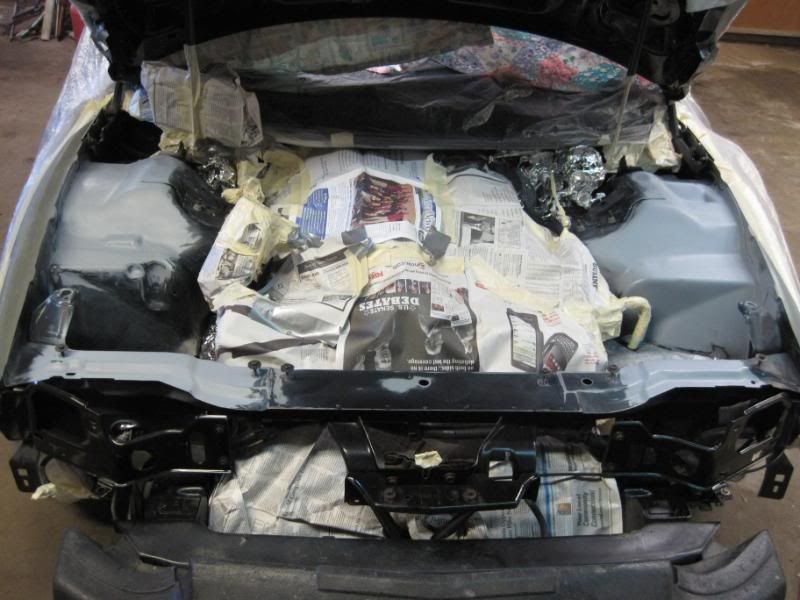
got it all bondoed up, next will be priming it. i also pulled the fenders and bumper off. they are def getting repainted, the whole car might be, im not positive yet but im thinkin im gonna just do everything
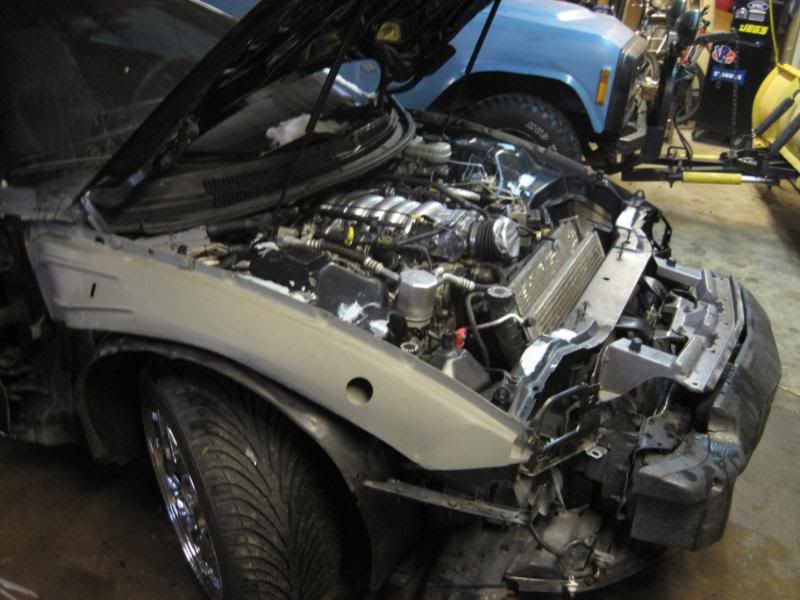
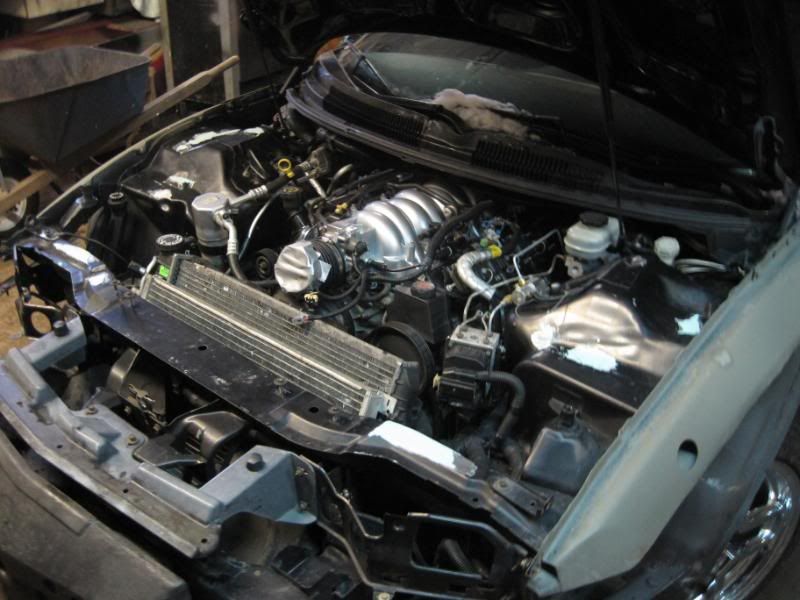
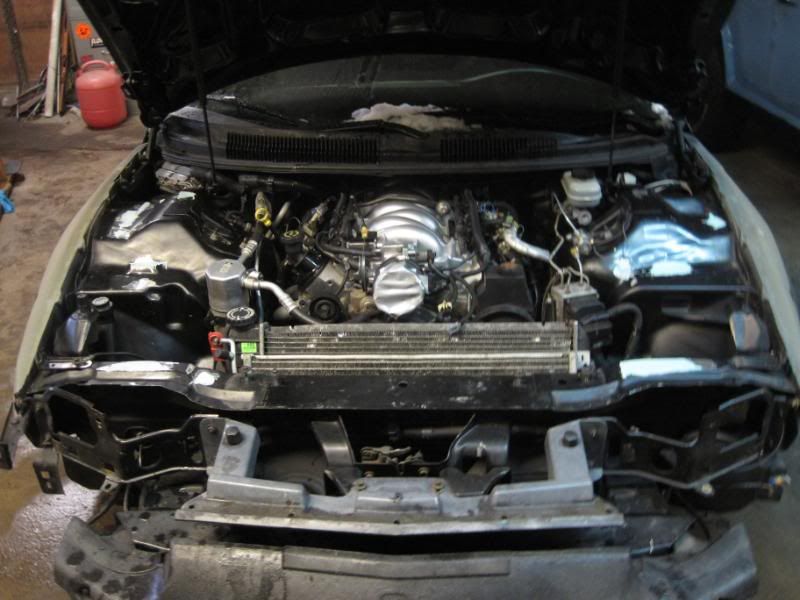


a96ws6, ill get you some pics in a little bit, the fuses are just stuffed in that whole under where they sit and then im makin a cover for them
Old 02-27-2010 | 03:10 PM
  #6  
CAMARO_THUNDER's Avatar
10 Second Club
iTrader: (1)
 
Joined: Aug 2003
Posts: 85
Likes: 0
From: 77531
Default

Originally Posted by a98ws6
Show me pics of where you put your fuses and how its all routed. I'm doing this now while my engines out.
I would also like to see this.
Old 02-28-2010 | 03:06 PM
  #7  
ls1curt's Avatar
Thread Starter
8 Second Club
iTrader: (31)
 
Joined: Jun 2009
Posts: 1,206
Likes: 3
From: CT
Default

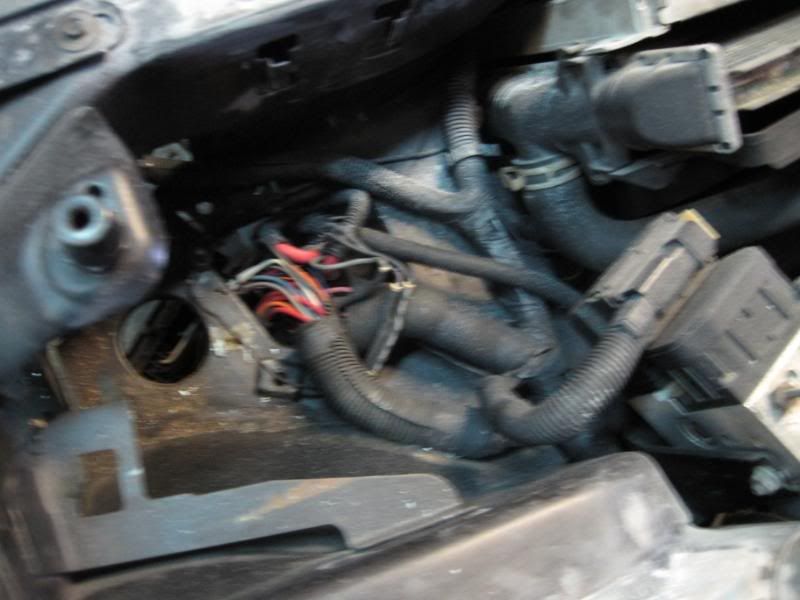
took some pics of the fuses today. not the best but you get the idea. sorry its so dirty, been sanding some bondo

Old 02-28-2010 | 03:24 PM
  #8  
kyles2000z's Avatar
TECH Addict

iTrader: (8)
 
Joined: Aug 2005
Posts: 2,541
Likes: 2
From: Spartanburg, SC
Default

Good work....I've done the same thing with mine (hid fuses, battery, everything else...filled in holes, etc, etc, etc.) Keep us updated!
Old 02-28-2010 | 05:25 PM
  #9  
ls1curt's Avatar
Thread Starter
8 Second Club
iTrader: (31)
 
Joined: Jun 2009
Posts: 1,206
Likes: 3
From: CT
Default

thanks kyle. your actually the motivation behind this
Old 02-28-2010 | 08:14 PM
  #10  
kyles2000z's Avatar
TECH Addict

iTrader: (8)
 
Joined: Aug 2005
Posts: 2,541
Likes: 2
From: Spartanburg, SC
Default

LOL wow didn't know that......when you're done, be sure to get some lexan and cut it to fit over the fuse box hole...it hides all that mess of wiring. It's very easy to do. I also opted to remove the brace that holds the fuse bos holder thing. It is spot welded to the tower.

Old 02-28-2010 | 08:43 PM
  #11  
ls1curt's Avatar
Thread Starter
8 Second Club
iTrader: (31)
 
Joined: Jun 2009
Posts: 1,206
Likes: 3
From: CT
Default

i was thinking about putting a piece of sheetmetal in there and tacking it in. im still playing with some cardboard to get the shape right. yeah i think im gonna pull that fuse support out too
Old 02-28-2010 | 08:45 PM
  #12  
kyles2000z's Avatar
TECH Addict

iTrader: (8)
 
Joined: Aug 2005
Posts: 2,541
Likes: 2
From: Spartanburg, SC
Default

Well if it's only a sheet of lexan, you can remove it in half a second if you ever need to. Mine actually velcro down so they are eay to pull off.
Old 02-28-2010 | 09:25 PM
  #13  
02gtp4now's Avatar
TECH Junkie
iTrader: (7)
 
Joined: Oct 2006
Posts: 3,748
Likes: 0
From: lebanon,mo
Default

nice, i need to do this but im lazy
Old 02-28-2010 | 09:26 PM
  #14  
19BLACKBIRD99's Avatar
TECH Enthusiast
 
Joined: Jun 2009
Posts: 501
Likes: 0
From: Birmingham, Alabama
Default

This is on my "to do list" haha
Old 03-01-2010 | 10:21 AM
  #15  
ls1curt's Avatar
Thread Starter
8 Second Club
iTrader: (31)
 
Joined: Jun 2009
Posts: 1,206
Likes: 3
From: CT
Default

do you have any pics of how you attached the lexan to the car? where did you put the velcro. i like the idea of being able to remove it
Old 03-01-2010 | 10:49 AM
  #16  
black_sheep454's Avatar
12 Second Club
iTrader: (9)
 
Joined: Feb 2007
Posts: 1,469
Likes: 0
From: Lebanon, Mo.
Default

Mines gettin this when the new motor gets built
Old 03-03-2010 | 07:00 PM
  #17  
ls1curt's Avatar
Thread Starter
8 Second Club
iTrader: (31)
 
Joined: Jun 2009
Posts: 1,206
Likes: 3
From: CT
Default

got it primed yesterday, will hopefully be painting it this weekend


Old 03-06-2010 | 11:28 AM
  #18  
ls1curt's Avatar
Thread Starter
8 Second Club
iTrader: (31)
 
Joined: Jun 2009
Posts: 1,206
Likes: 3
From: CT
Default

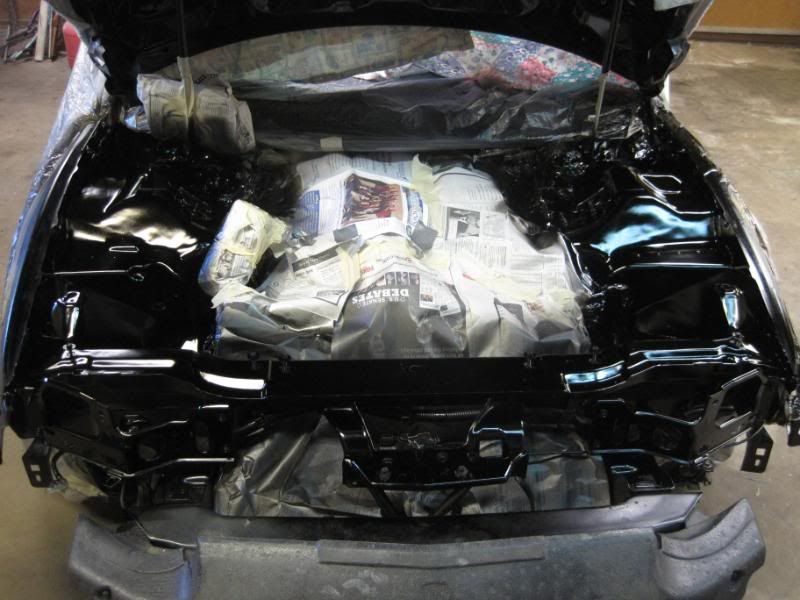
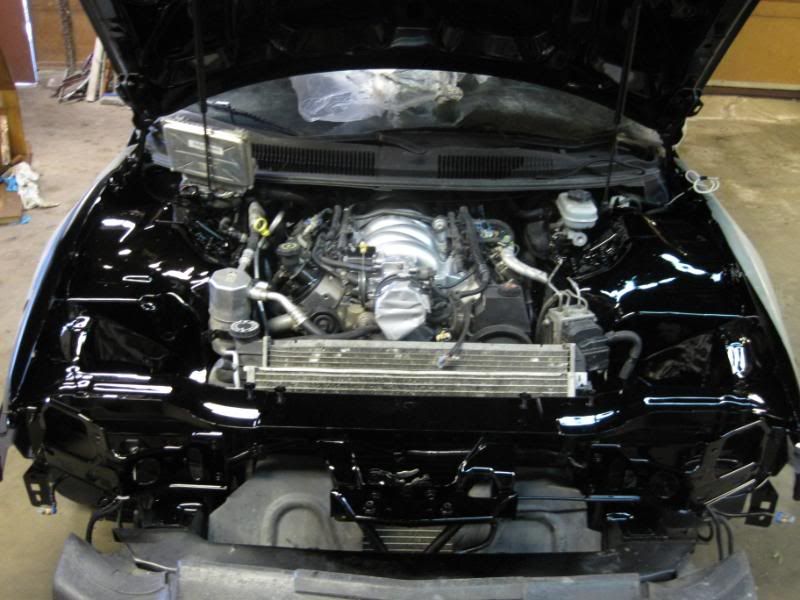
everything based

Old 03-06-2010 | 01:44 PM
  #19  
ls1curt's Avatar
Thread Starter
8 Second Club
iTrader: (31)
 
Joined: Jun 2009
Posts: 1,206
Likes: 3
From: CT
Default

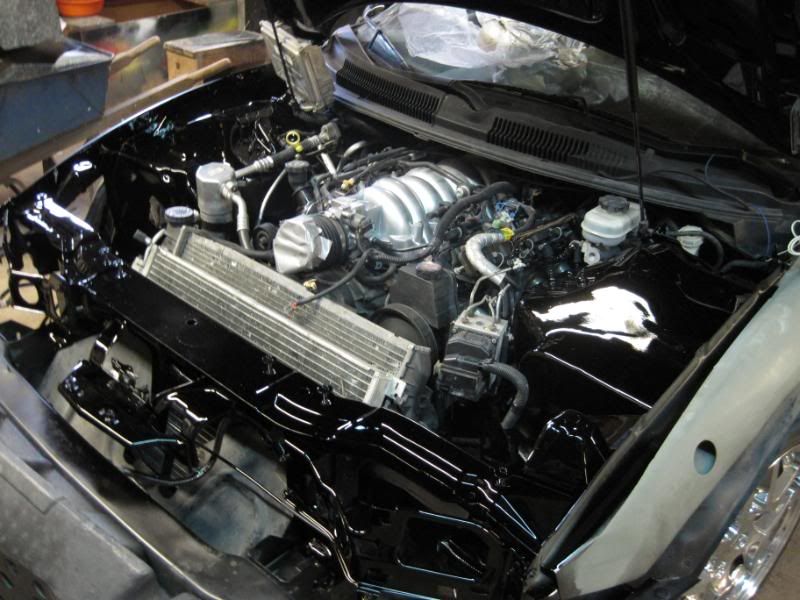
all cleared, just gotta put it back together now


Old 03-06-2010 | 01:59 PM
  #20  
kyles2000z's Avatar
TECH Addict

iTrader: (8)
 
Joined: Aug 2005
Posts: 2,541
Likes: 2
From: Spartanburg, SC
Default

I hope you at least used an HVLP gun and real paint after all that work. Rattle can is not acceptable for this!!!!


Quick Reply: cleaning up my engine bay(filling holes/paint)


All times are GMT -5. The time now is 11:32 PM.