


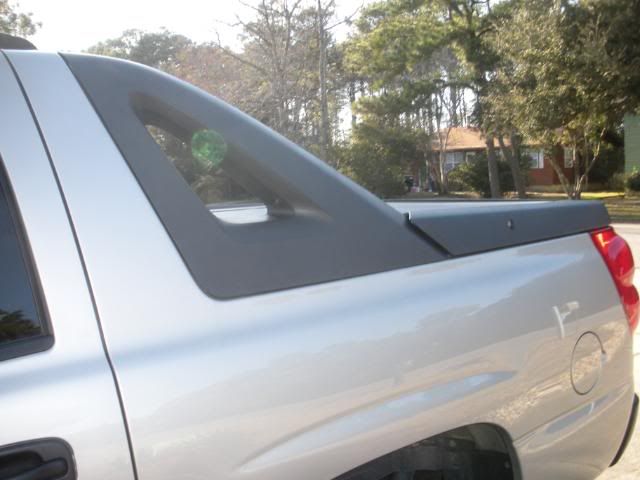
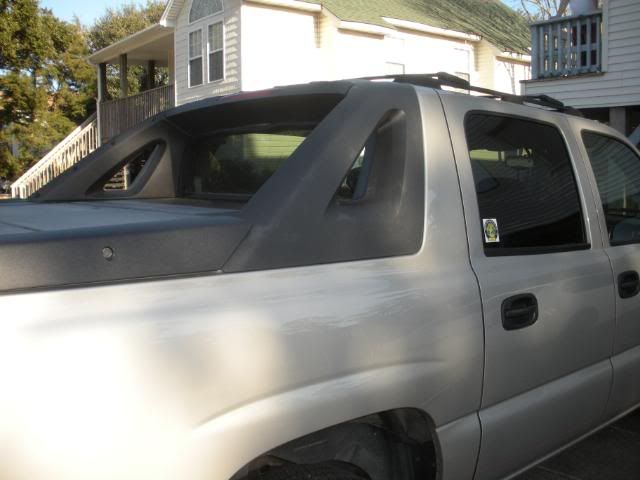
torch mod/ plastic restoring
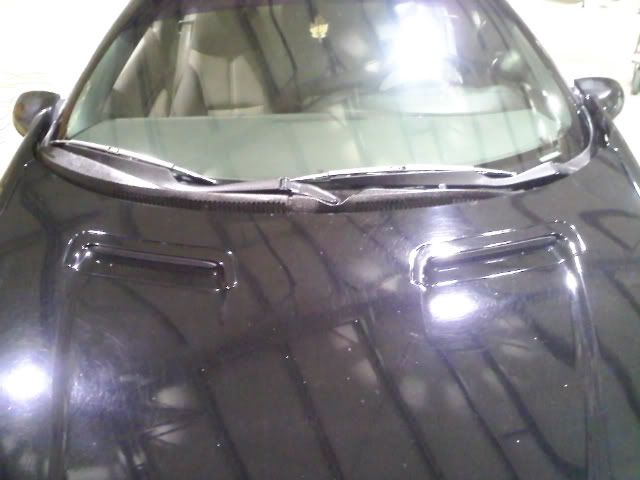
so i did the heat gun trick to my grandfathers avalanche today. i didnt get to finish due to my heat gun breaking. it is about 90% i have to do touch ups and where i obviously didnt get to yet. very easy to do just set your heat gun for high, and put it about 2 inches away from the plastic, and move slowly.
Staging Lane
Joined: Sep 2005
Posts: 51
Likes: 0
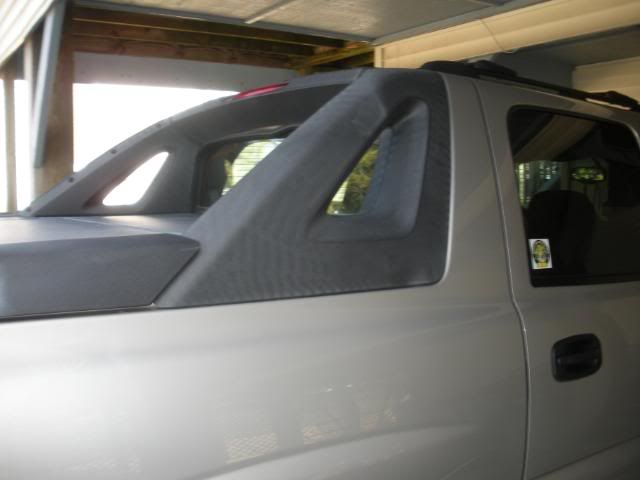
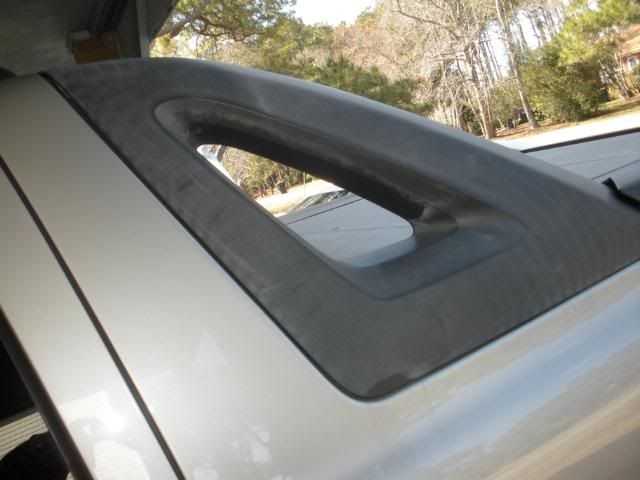
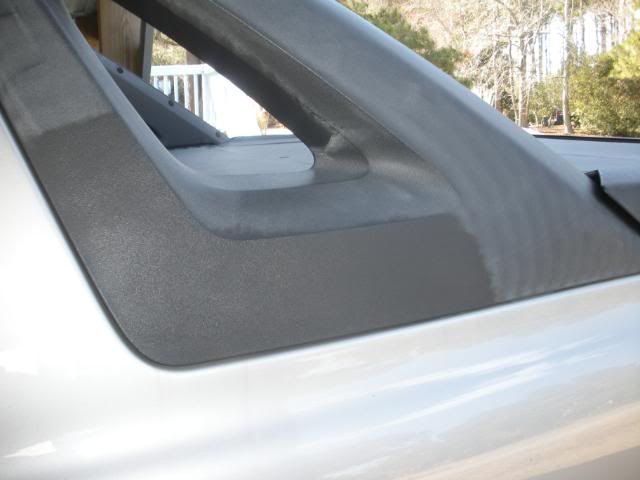
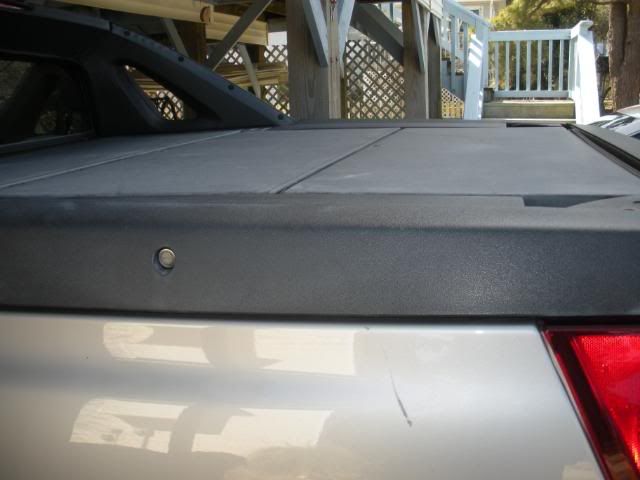
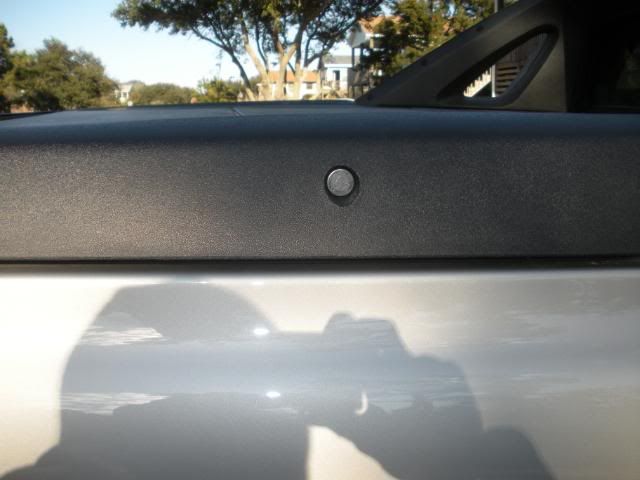
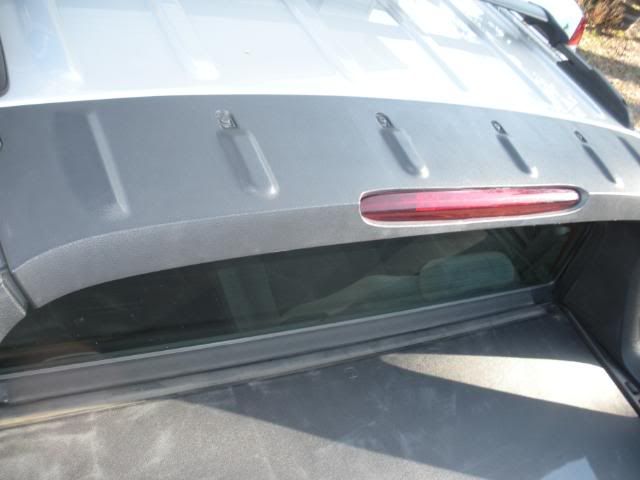
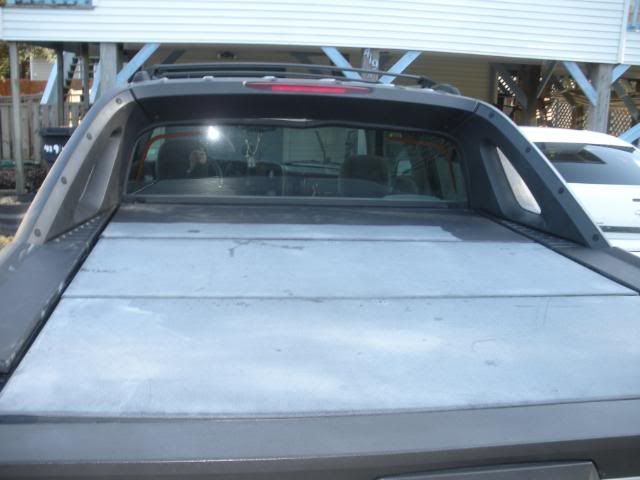
After reading this and doing a little research I decided to tackle my giant plastic windshield wiper thingy. I've tried pretty much everything you could buy at a well stocked auto store to restore that plastic, nothing came close to this! After close to 200k miles and never seeing the inside of a garage besides mods, my plastic was well weathered, gray, and rough.
Results:

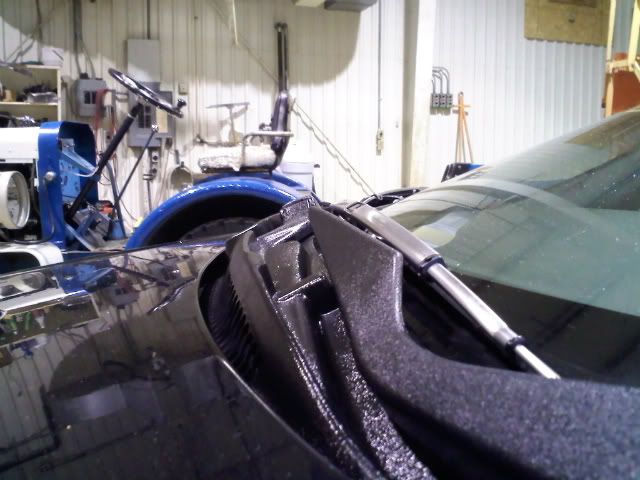
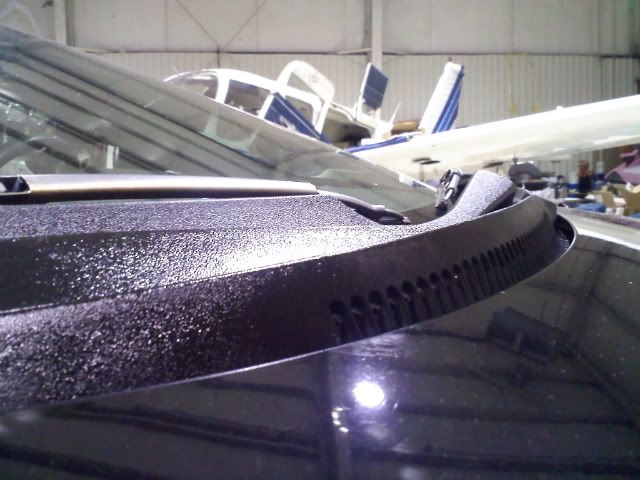
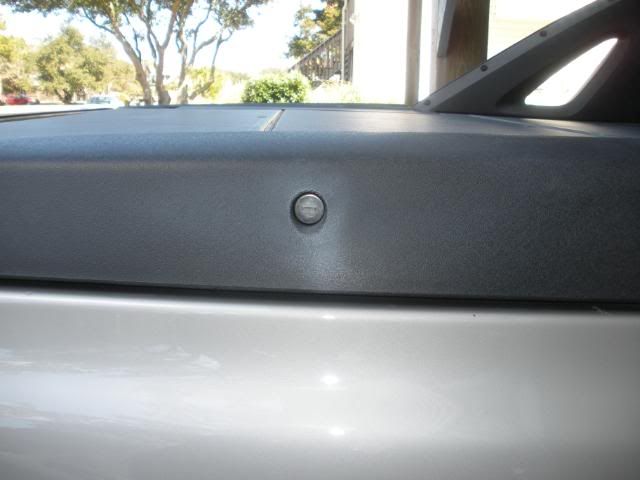
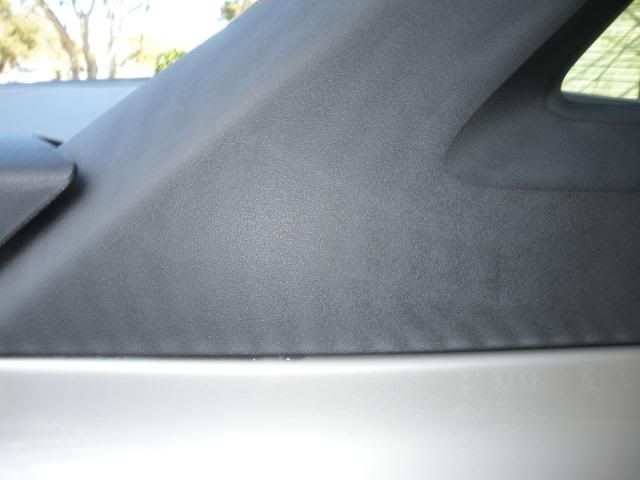
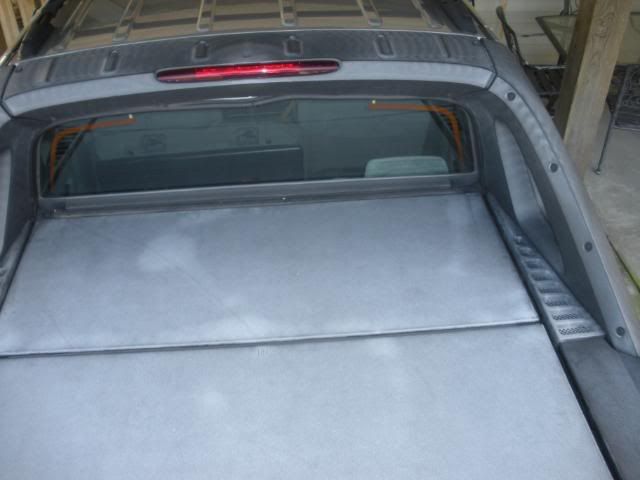
Here you can sort of see the areas I did not bother with. If I had known how well this was going to work I would have taken before pics. The plastic also lost its rough texture and feels brand new.
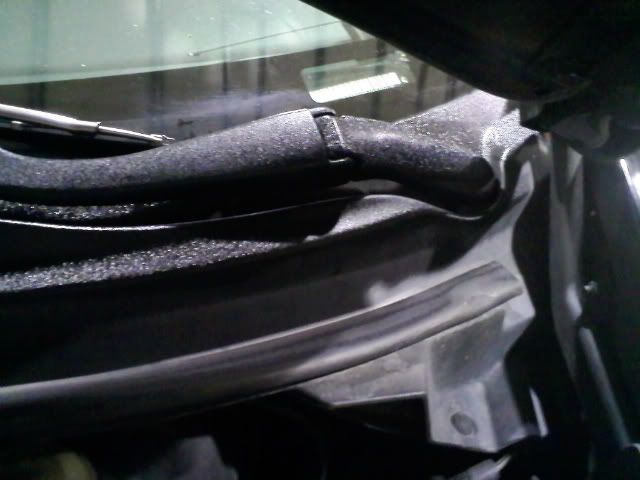
After running a few test spots I found the best (for me anyways) process.
1. Clean with rubbing alcohol, this will also take off wax residue if you're clumsy like me and bump into everything while waxing
2. Lots of armorall, till it won't soak it up within 5 minutes
3. Heat gun on high (mine had 2 settings) Hold it about 2 inches from the plastic and move slowly like the OP said. Low settings heated the plastic to the point it was going to deform but not getting the desired results. You only want to heat the surface, not all the way through. This worked best for me.
Note:
If you're not careful with direction and speed you can melt high spots too much while not flashing the low areas, think of using a buffer and being careful around edges and high spots.
Now I need to clean the car up to match, it's almost too shiny!
Results:
Here you can sort of see the areas I did not bother with. If I had known how well this was going to work I would have taken before pics. The plastic also lost its rough texture and feels brand new.
After running a few test spots I found the best (for me anyways) process.
1. Clean with rubbing alcohol, this will also take off wax residue if you're clumsy like me and bump into everything while waxing
2. Lots of armorall, till it won't soak it up within 5 minutes
3. Heat gun on high (mine had 2 settings) Hold it about 2 inches from the plastic and move slowly like the OP said. Low settings heated the plastic to the point it was going to deform but not getting the desired results. You only want to heat the surface, not all the way through. This worked best for me.
Note:
If you're not careful with direction and speed you can melt high spots too much while not flashing the low areas, think of using a buffer and being careful around edges and high spots.
Now I need to clean the car up to match, it's almost too shiny!
Trending Topics
LS1 Tech Stories
The Best V8 Stories One Small Block at Time

Topdon ONE vs. Artidiag 800 BT2: Which is the Diagnostic Tablet For You?
Pouria Savadkouei
Gas Monkey Built a 6-Wheel Ferrari Testarossa With a Corvette LT4 Engine
Verdad Gallardo
7 Most Reliable High-Performance Engines GM Has Ever Built
Verdad Gallardo
Amazing '71 Camaro Restomod Is Modern Muscle Car Under the Skin
Verdad Gallardo
6 Common C5 Corvette Failures and What's Involved In Repairing Them
Pouria Savadkouei
Retro Modern Bandit Pontiac Trans AM Comes With Burt Reynolds' Autograph
Verdad Gallardo
Top 10 Greatest Cadillac V Series Performance Models Ever, Ranked
Pouria Savadkouei
Top 10 Most Powerful Chevy Trucks Ever Made!

Hennessey's New Supercharged Silverado ZR2 Has 700 HP
Verdad Gallardo


i didnt use armor all, and i just washed the truck with normal car soap the day before to take anything off the plastic. its really simple. for step by step pictures, umm it really wouldnt make a difference. use your heat gun on the high setting hold 2 inches away, and watch your plastic become "restored". the slower you move your heat gun across the area the more even it will work. and the truck did hold all texture and shape, just be care to not touch the heat gun to the plastic because then you will have a nice little mark in it.
i have yet to finish the truck (busy with school and work) when i do ill do a complete set of pictures, in the same spot so you can see before and after.
i have yet to finish the truck (busy with school and work) when i do ill do a complete set of pictures, in the same spot so you can see before and after.