
LED foglights & LED angel eyes install, 96 WS6: Pics
 08-26-2010, 09:46 PM
#1

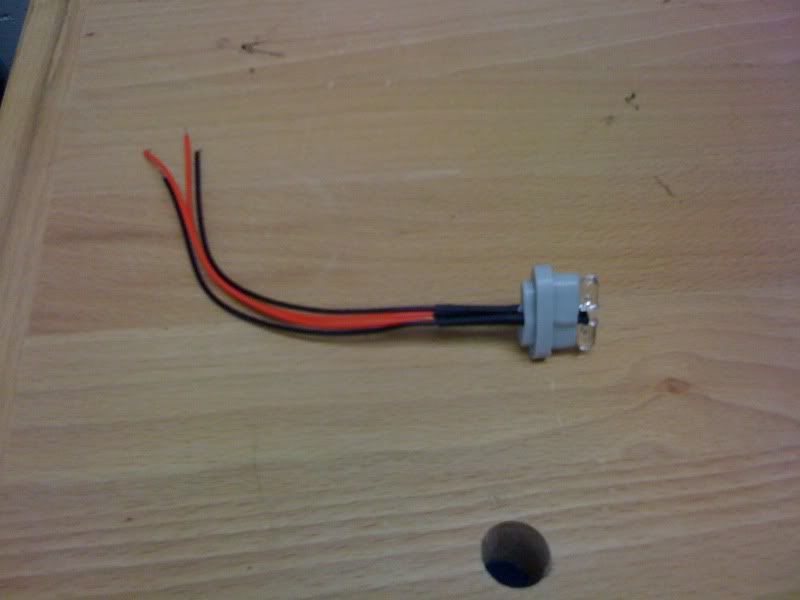
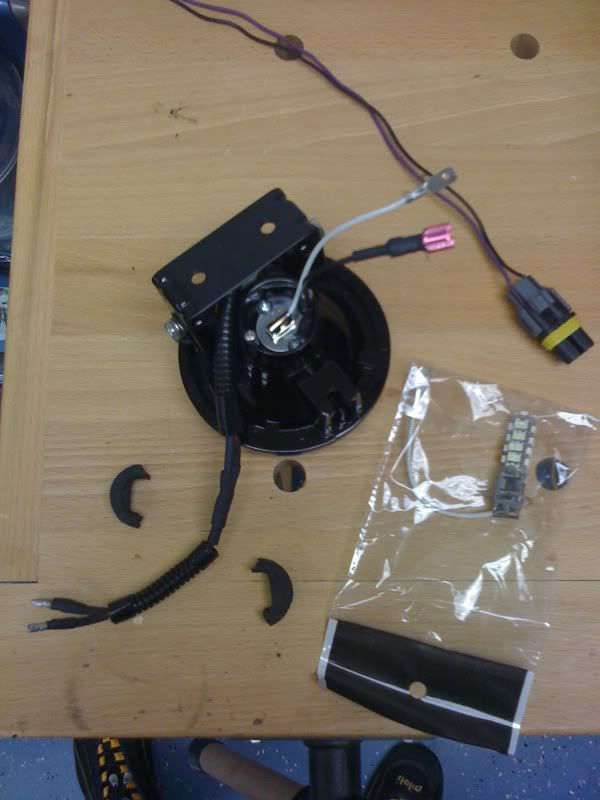
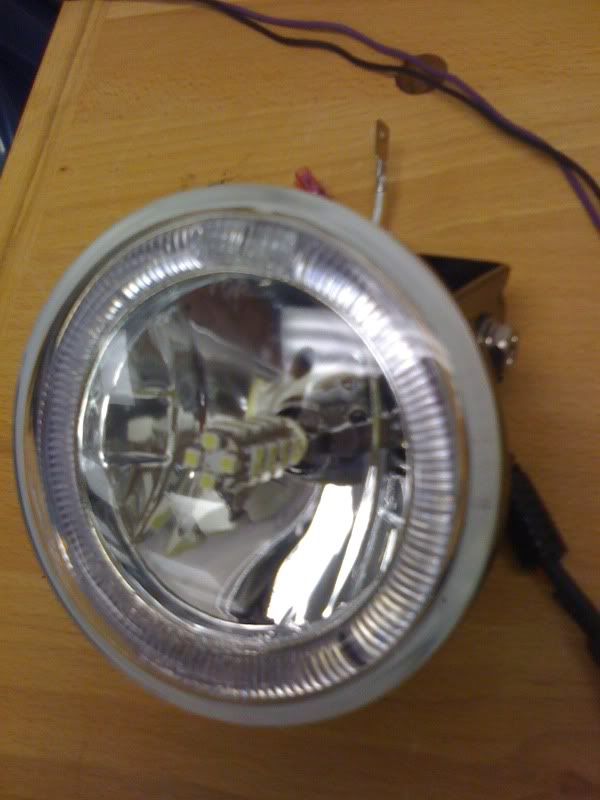
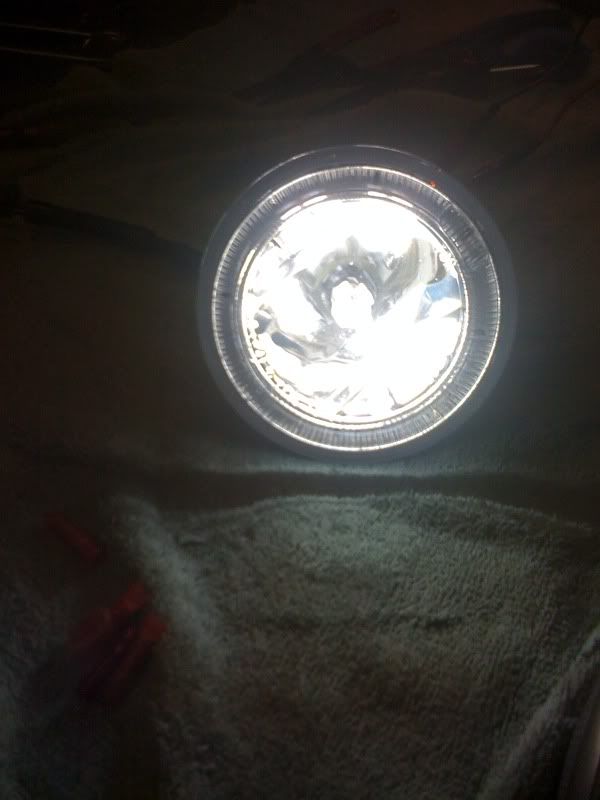
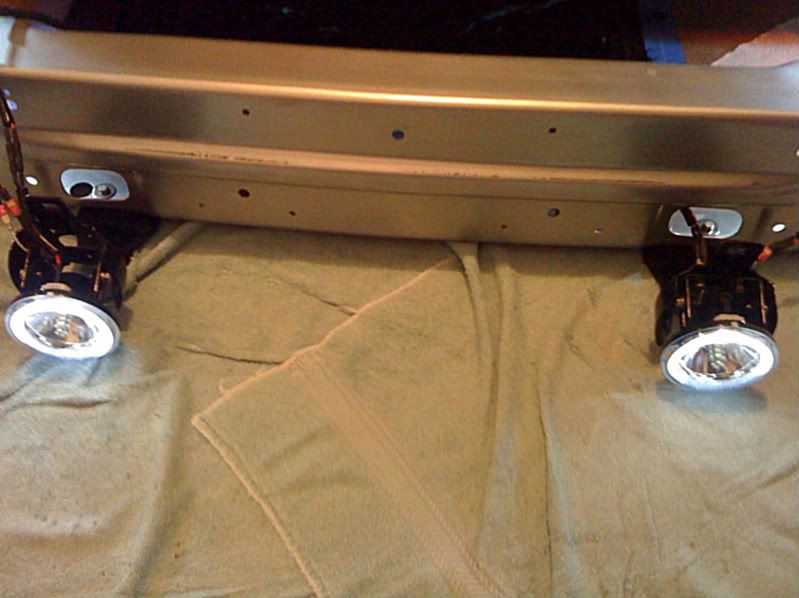
I decided to do a pair of small upgrades to my fog lights (Hella optilux). I originally had the H3 6000k HID's and just wanted to try something different. I pulled the nose off the car to make the whole process easier. It takes like 10 minutes to completely dis-assemble nose on these cars  I first pulled out the stock led's from the angel eyes and wired in a set of 30,000 MCD super whites on each eye. Then I made a quick harness update to the 880 fog light connector and hooked up my H3 LED 36 SMT towers (super white) for the fog lights. The whole process is very straight forward and the results are fantastic! I will try and take some pics with the nose back on the car at night so you can see the result, but for now I just took a couple of pics on the retrofitting and a few shots of the lights.
I first pulled out the stock led's from the angel eyes and wired in a set of 30,000 MCD super whites on each eye. Then I made a quick harness update to the 880 fog light connector and hooked up my H3 LED 36 SMT towers (super white) for the fog lights. The whole process is very straight forward and the results are fantastic! I will try and take some pics with the nose back on the car at night so you can see the result, but for now I just took a couple of pics on the retrofitting and a few shots of the lights. 
The following users liked this post:
Angiesbird02 (04-10-2021)
 08-26-2010, 10:17 PM
#4
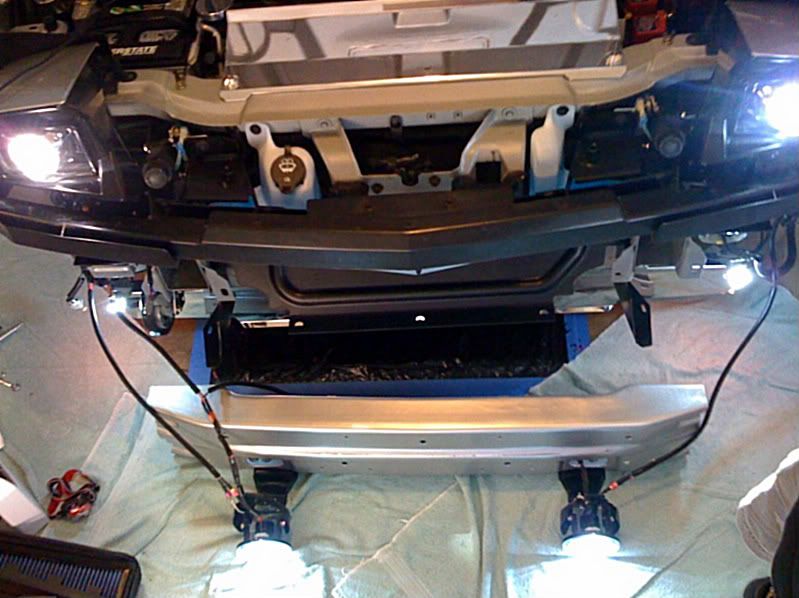
The nose is very straight forward. I just removed the the 7 plastic clips from the edge of the top portion of the nose where it meets the hood (just go from one side to the other). Remove 3 bolts from each side of the nose above the turn signal markers. There will be a plate that comes off (watch out so it does not fall on your head  ). dis-connected the turn signal markers. Then I removed 3 large plastic clips from the middle bottom where the air goes up to the radiator. You also have to remove the triangle shaped black inserts from the bottom that are in front of each tire. I think there are 7 bolts on each side. That's it, just remove the nose. I put down towels to protect the paint when I pulled off the nose (I was doing it by myself). Now you remove 5 large plastic retainers from the styrofoam nose and it comes right off. Next you remove the 3 large bolts from each side of the crash bar and you can completely remove that item as well. It may not be needed for every situation, but it only take another 10 minutes. That pretty much will take you an hour the first time you do it, but the next time you can remove all of this stuff in about 20 minutes total
Parts:
1. ebay: package of prewired and resistored 5mm (30,000 MCD) superwhites
2. A pair of 36 SMT LED tower H3's from autolumination dot com
3. you will need some basic skills in soldering, heat shrink, and crimping
4. Have fun and enjoy the results!
). dis-connected the turn signal markers. Then I removed 3 large plastic clips from the middle bottom where the air goes up to the radiator. You also have to remove the triangle shaped black inserts from the bottom that are in front of each tire. I think there are 7 bolts on each side. That's it, just remove the nose. I put down towels to protect the paint when I pulled off the nose (I was doing it by myself). Now you remove 5 large plastic retainers from the styrofoam nose and it comes right off. Next you remove the 3 large bolts from each side of the crash bar and you can completely remove that item as well. It may not be needed for every situation, but it only take another 10 minutes. That pretty much will take you an hour the first time you do it, but the next time you can remove all of this stuff in about 20 minutes total Parts:
1. ebay: package of prewired and resistored 5mm (30,000 MCD) superwhites
2. A pair of 36 SMT LED tower H3's from autolumination dot com
3. you will need some basic skills in soldering, heat shrink, and crimping
4. Have fun and enjoy the results!
Trending Topics
08-27-2010, 12:14 PM
#8
Lanaue, Thanks
BigMike, lol
Meine96ws6, They are definitely bright for a 36 SMT H3 tower. I want to try out the new 65 SMT or 102 SMT H3's when they become available. It should be within the next 3 to 6 months. I'm betting the 102 SMT will be pretty darn close to H3 HID output if the MCD rating is high powered.
BigMike, lol
Meine96ws6, They are definitely bright for a 36 SMT H3 tower. I want to try out the new 65 SMT or 102 SMT H3's when they become available. It should be within the next 3 to 6 months. I'm betting the 102 SMT will be pretty darn close to H3 HID output if the MCD rating is high powered.
08-29-2010, 02:04 PM
#9
Staging Lane

Join Date: Mar 2006
Location: oklahoma
Posts: 72
Likes: 0
Received 0 Likes
on
0 Posts
SUPERBRIGHTLEDS website have an exact match 880 led fog bulb that is a direct plug n play for 1995 and up ws6's, havent tried them yet...just located them on the site last night.