'99 Blk Camaro Z28 Paint correction
 11-28-2010, 09:20 AM
#1
TECH Fanatic
Thread Starter
iTrader: (12)
Join Date: Aug 2006
Posts: 1,296
Likes: 0
Received 0 Likes
on
0 Posts
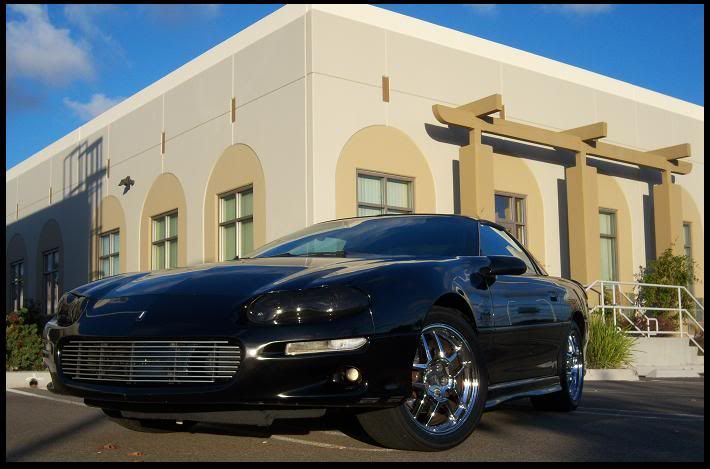
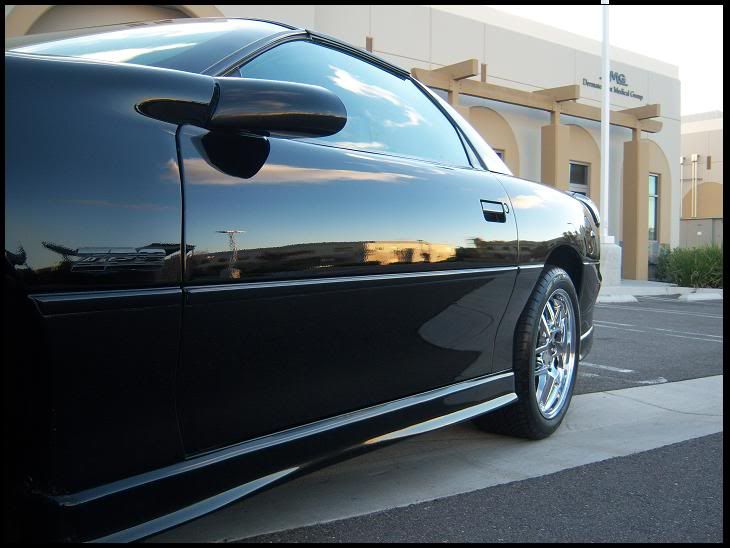
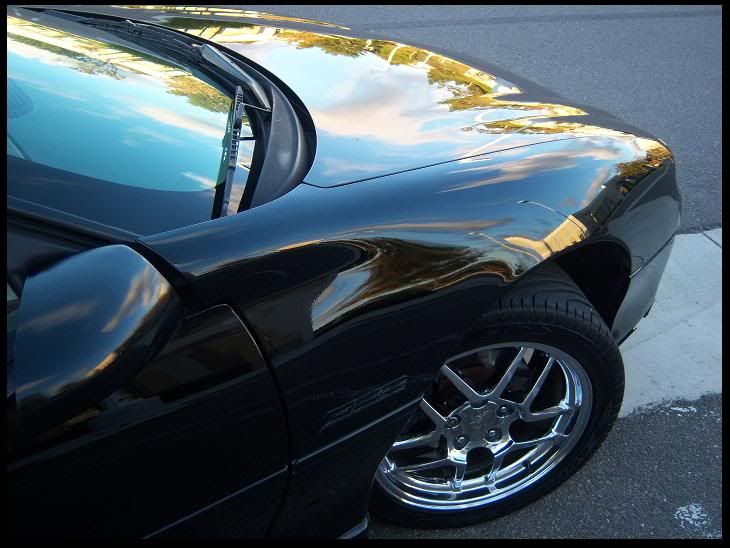
here's another Black car for the books... I got around to finally spend some time on my Gf's Z28. this car was in very bad shape. She gets her car washed at a local car wash
it was gone over with ultimate compound a few months ago,but never got the time dedicated that it needed. even with that UC it was no match for this car. I finally got sometime off during thanksgiving and worked on the car for 3 days.
Process-
-Wash with Meg Soap
-Clayed with quick detailer spray
All with DA
-Meg 105/yellow pad Some spots requiered Meg red cutting pad
-Meg 205/ Meg blk. Pad
-2 coats of Chemical guys Jet Seal 109(love that stuff)
-wheels
-Surf city killer chrome
-no touch seriously Wet for tires
-windows/Glass cleaner
time invested-3 Days 16 Hrs
Here's the Before Pics
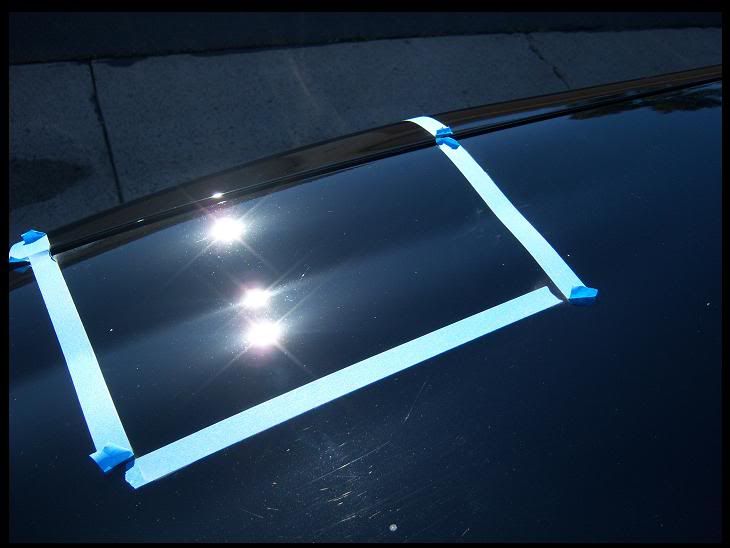
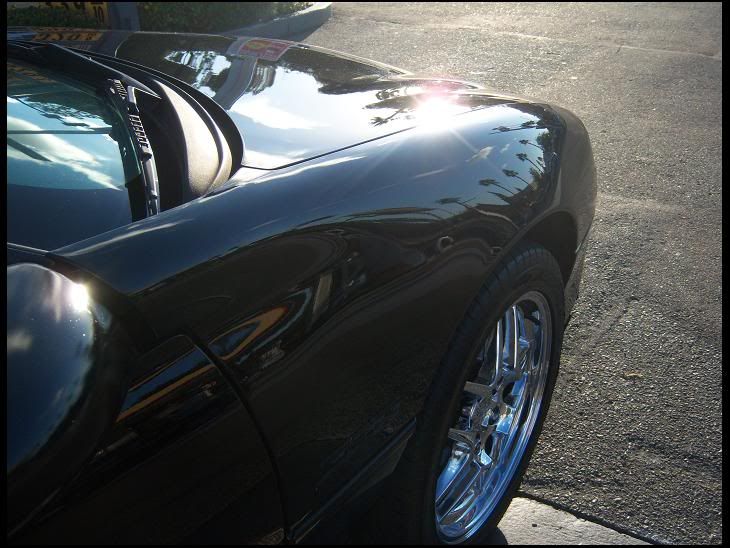
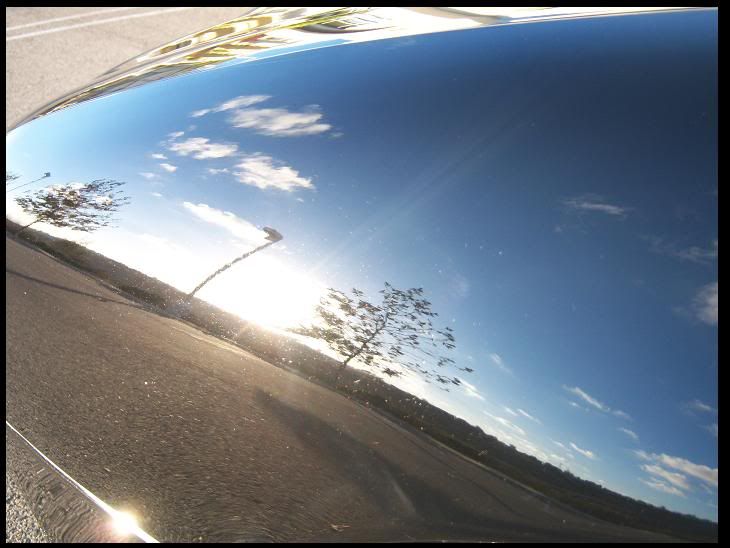
50/50 shots with 105/205
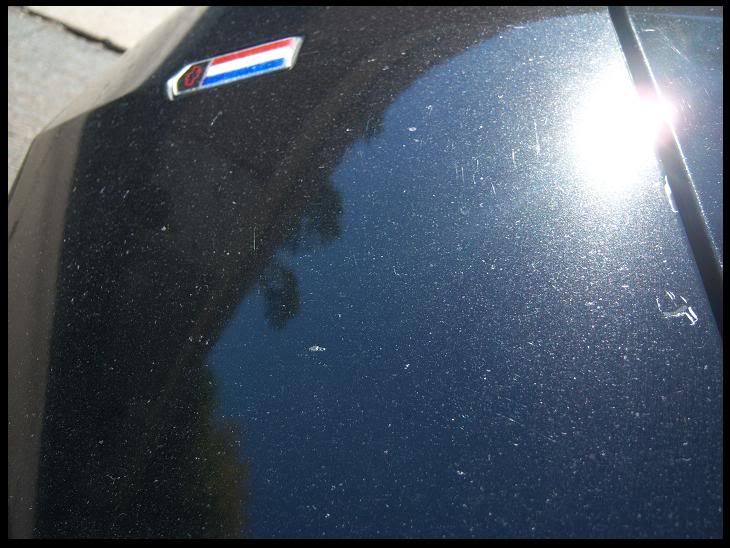
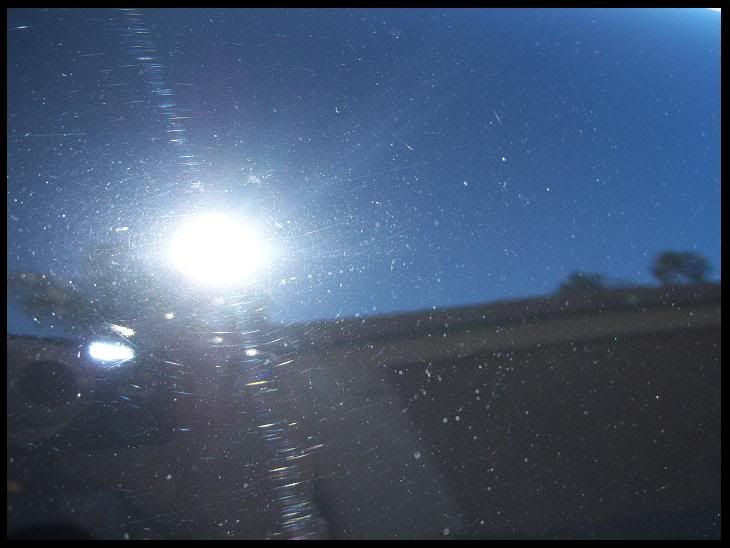
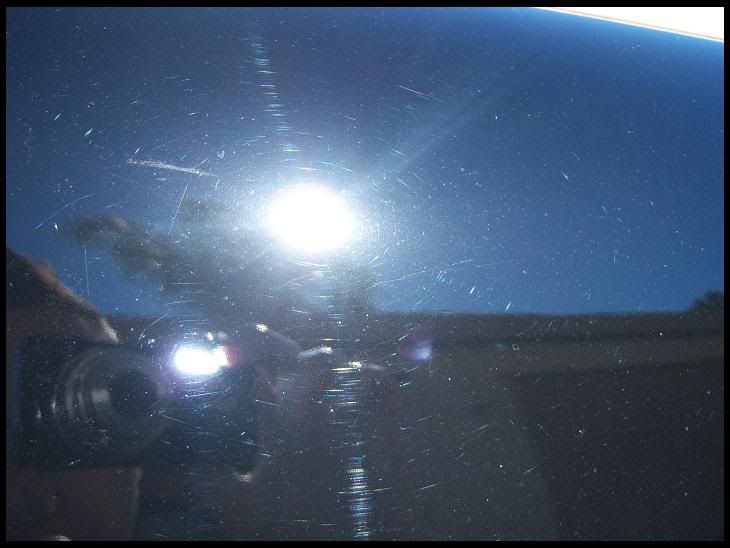
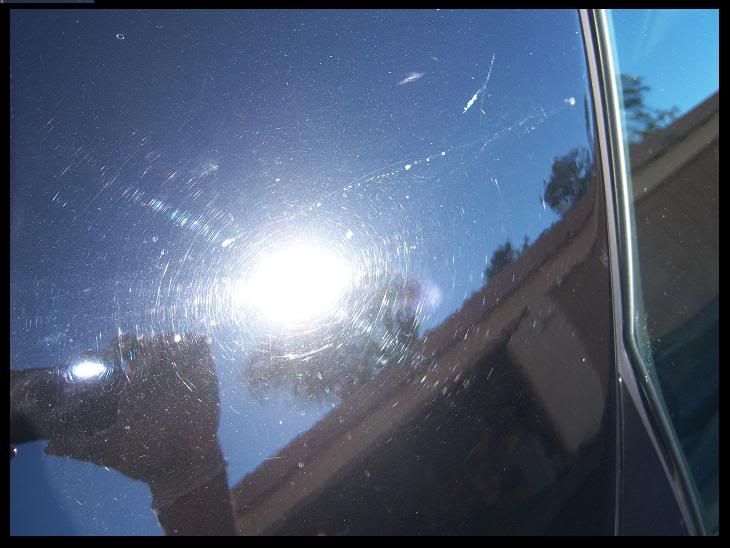
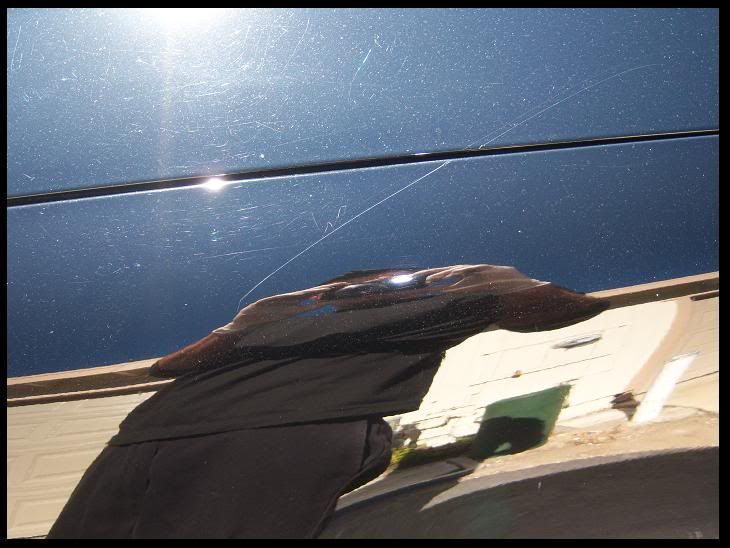
closer look at the defect area

sunlight on area being tested
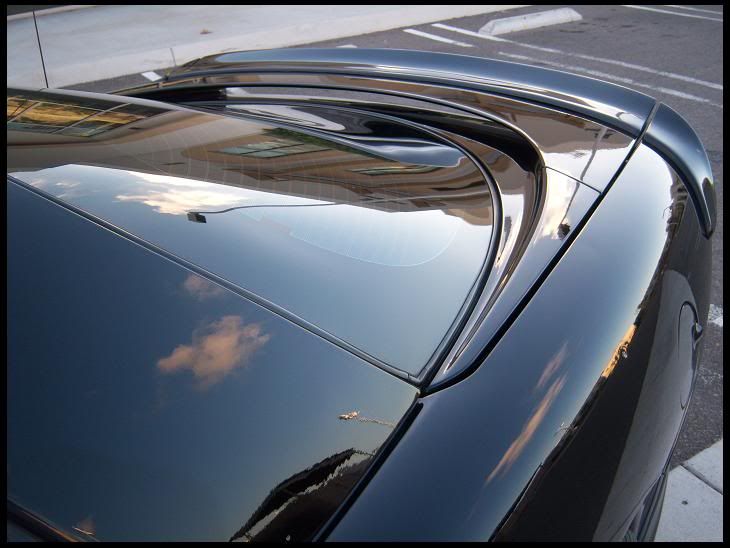
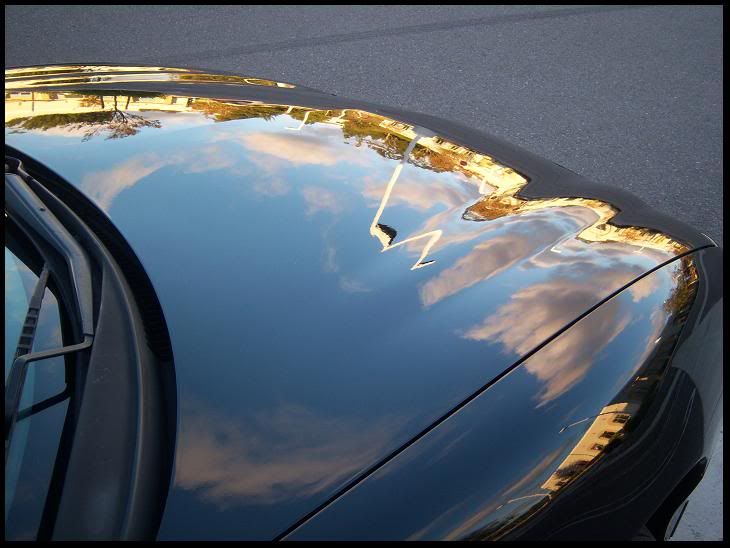
this hood is in really bad shape with alot of deep scratches. some showing primer (those wont be coming out) A raccoon went crazy on her hood. with all that I still got it looking amazingly good.
it was gone over with ultimate compound a few months ago,but never got the time dedicated that it needed. even with that UC it was no match for this car. I finally got sometime off during thanksgiving and worked on the car for 3 days.
Process-
-Wash with Meg Soap
-Clayed with quick detailer spray
All with DA
-Meg 105/yellow pad Some spots requiered Meg red cutting pad
-Meg 205/ Meg blk. Pad
-2 coats of Chemical guys Jet Seal 109(love that stuff)
-wheels
-Surf city killer chrome
-no touch seriously Wet for tires
-windows/Glass cleaner
time invested-3 Days 16 Hrs
Here's the Before Pics
50/50 shots with 105/205
closer look at the defect area
sunlight on area being tested
this hood is in really bad shape with alot of deep scratches. some showing primer (those wont be coming out) A raccoon went crazy on her hood. with all that I still got it looking amazingly good.


 11-28-2010, 10:51 AM
#4
Launching!

Join Date: Sep 2009
Location: Toronto, Ontario, Canada
Posts: 266
Likes: 0
Received 0 Likes
on
0 Posts

That looks a lot better, was wondering if you could give some tips. What Da you using? Also why do you tape off certain areas? Any tips on me trying it myself? My car is also black and a dd so it has seen some better days from all the **** on the highway, that and my work in the summer is on a dirt road, with big trucks always driving through the parking lot so it gets caked in dust. Any help on where to start looking for a guide, etc. Also how do you protect from swills and other **** from wrecking the paint again? Any help would be greatly appreciated.
11-28-2010, 01:32 PM
#6
11 Second Club
iTrader: (1)
Join Date: Sep 2010
Location: Oceanside, CA
Posts: 98
Likes: 0
Received 0 Likes
on
0 Posts
Before pics look exactly like my '99 Z28 on the front bumper and front of the hood (Been like that since I got it) I can't wait to at least clay bar/wax it. Nice job I'm really hoping I can do half as good a job as you!
Trending Topics
11-28-2010, 08:51 PM
#9
TECH Fanatic
Thread Starter
iTrader: (12)
Join Date: Aug 2006
Posts: 1,296
Likes: 0
Received 0 Likes
on
0 Posts
That looks a lot better, was wondering if you could give some tips. What Da you using? Also why do you tape off certain areas? Any tips on me trying it myself? My car is also black and a dd so it has seen some better days from all the **** on the highway, that and my work in the summer is on a dirt road, with big trucks always driving through the parking lot so it gets caked in dust. Any help on where to start looking for a guide, etc. Also how do you protect from swills and other **** from wrecking the paint again? Any help would be greatly appreciated.
here are some good info on proper paint care
http://www.meguiarsonline.com/forums...ad.php?t=37320
http://www.meguiarsonline.com/forums...ad.php?t=29505
11-28-2010, 08:58 PM
#11
TECH Junkie
Join Date: Oct 2009
Location: Rutherford, North Carolina
Posts: 3,551
Likes: 0
Received 1 Like
on
1 Post
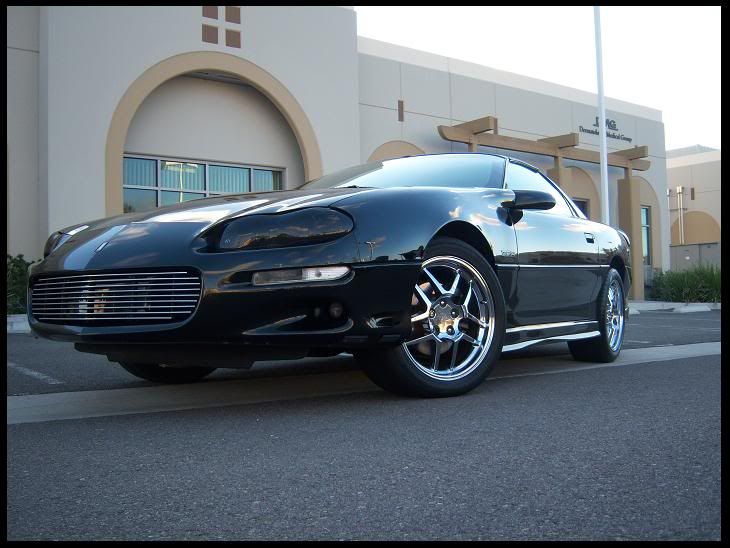
Looks alot better. Would look even better without the headlight covers though. But I guess thats owners preference though. But none the less great work on it.
 11-28-2010, 11:12 PM
#13
Launching!
Join Date: Sep 2009
Location: Toronto, Ontario, Canada
Posts: 266
Likes: 0
Received 0 Likes
on
0 Posts
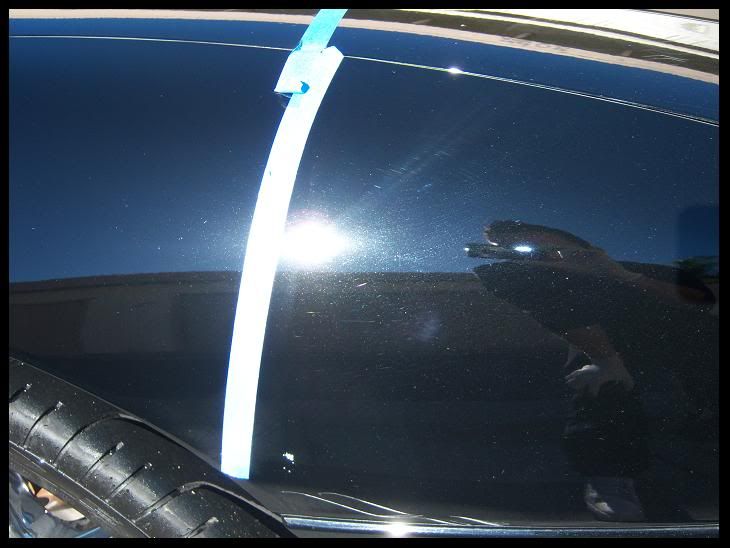
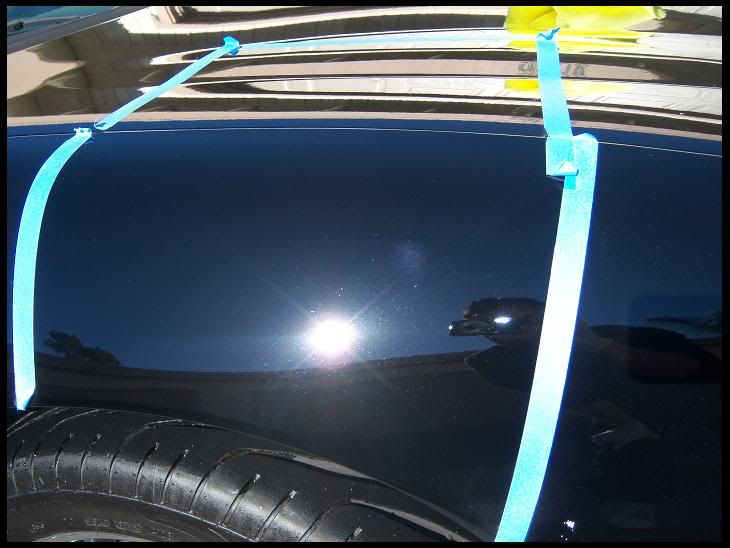
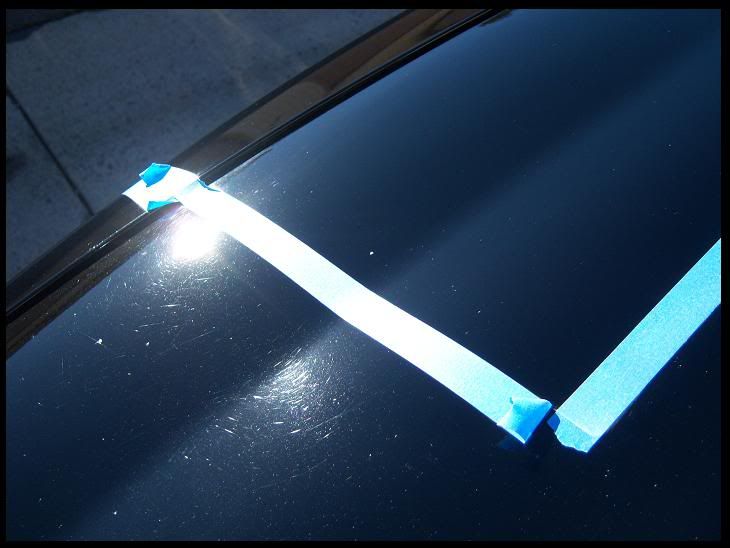
I'm using the porter cable 7424 with the items listed on the top. I tape off those area and use them as What is called a "test spot". a test spot is a very important factor in detailing. why do I do it? well you always want to see how your product is going to react with the paint. every paint is different. do a test spot and see what pad/product combo works best for that car. another reason is you dont want to go over the whole car with a certain product and then later realize that you didnt make the right decission on that product. by then it can be too late an also a waste of time. so do a test spot and you will see what the rest of the car should look like.
here are some good info on proper paint care
http://www.meguiarsonline.com/forums...ad.php?t=37320
http://www.meguiarsonline.com/forums...ad.php?t=29505
here are some good info on proper paint care
http://www.meguiarsonline.com/forums...ad.php?t=37320
http://www.meguiarsonline.com/forums...ad.php?t=29505
